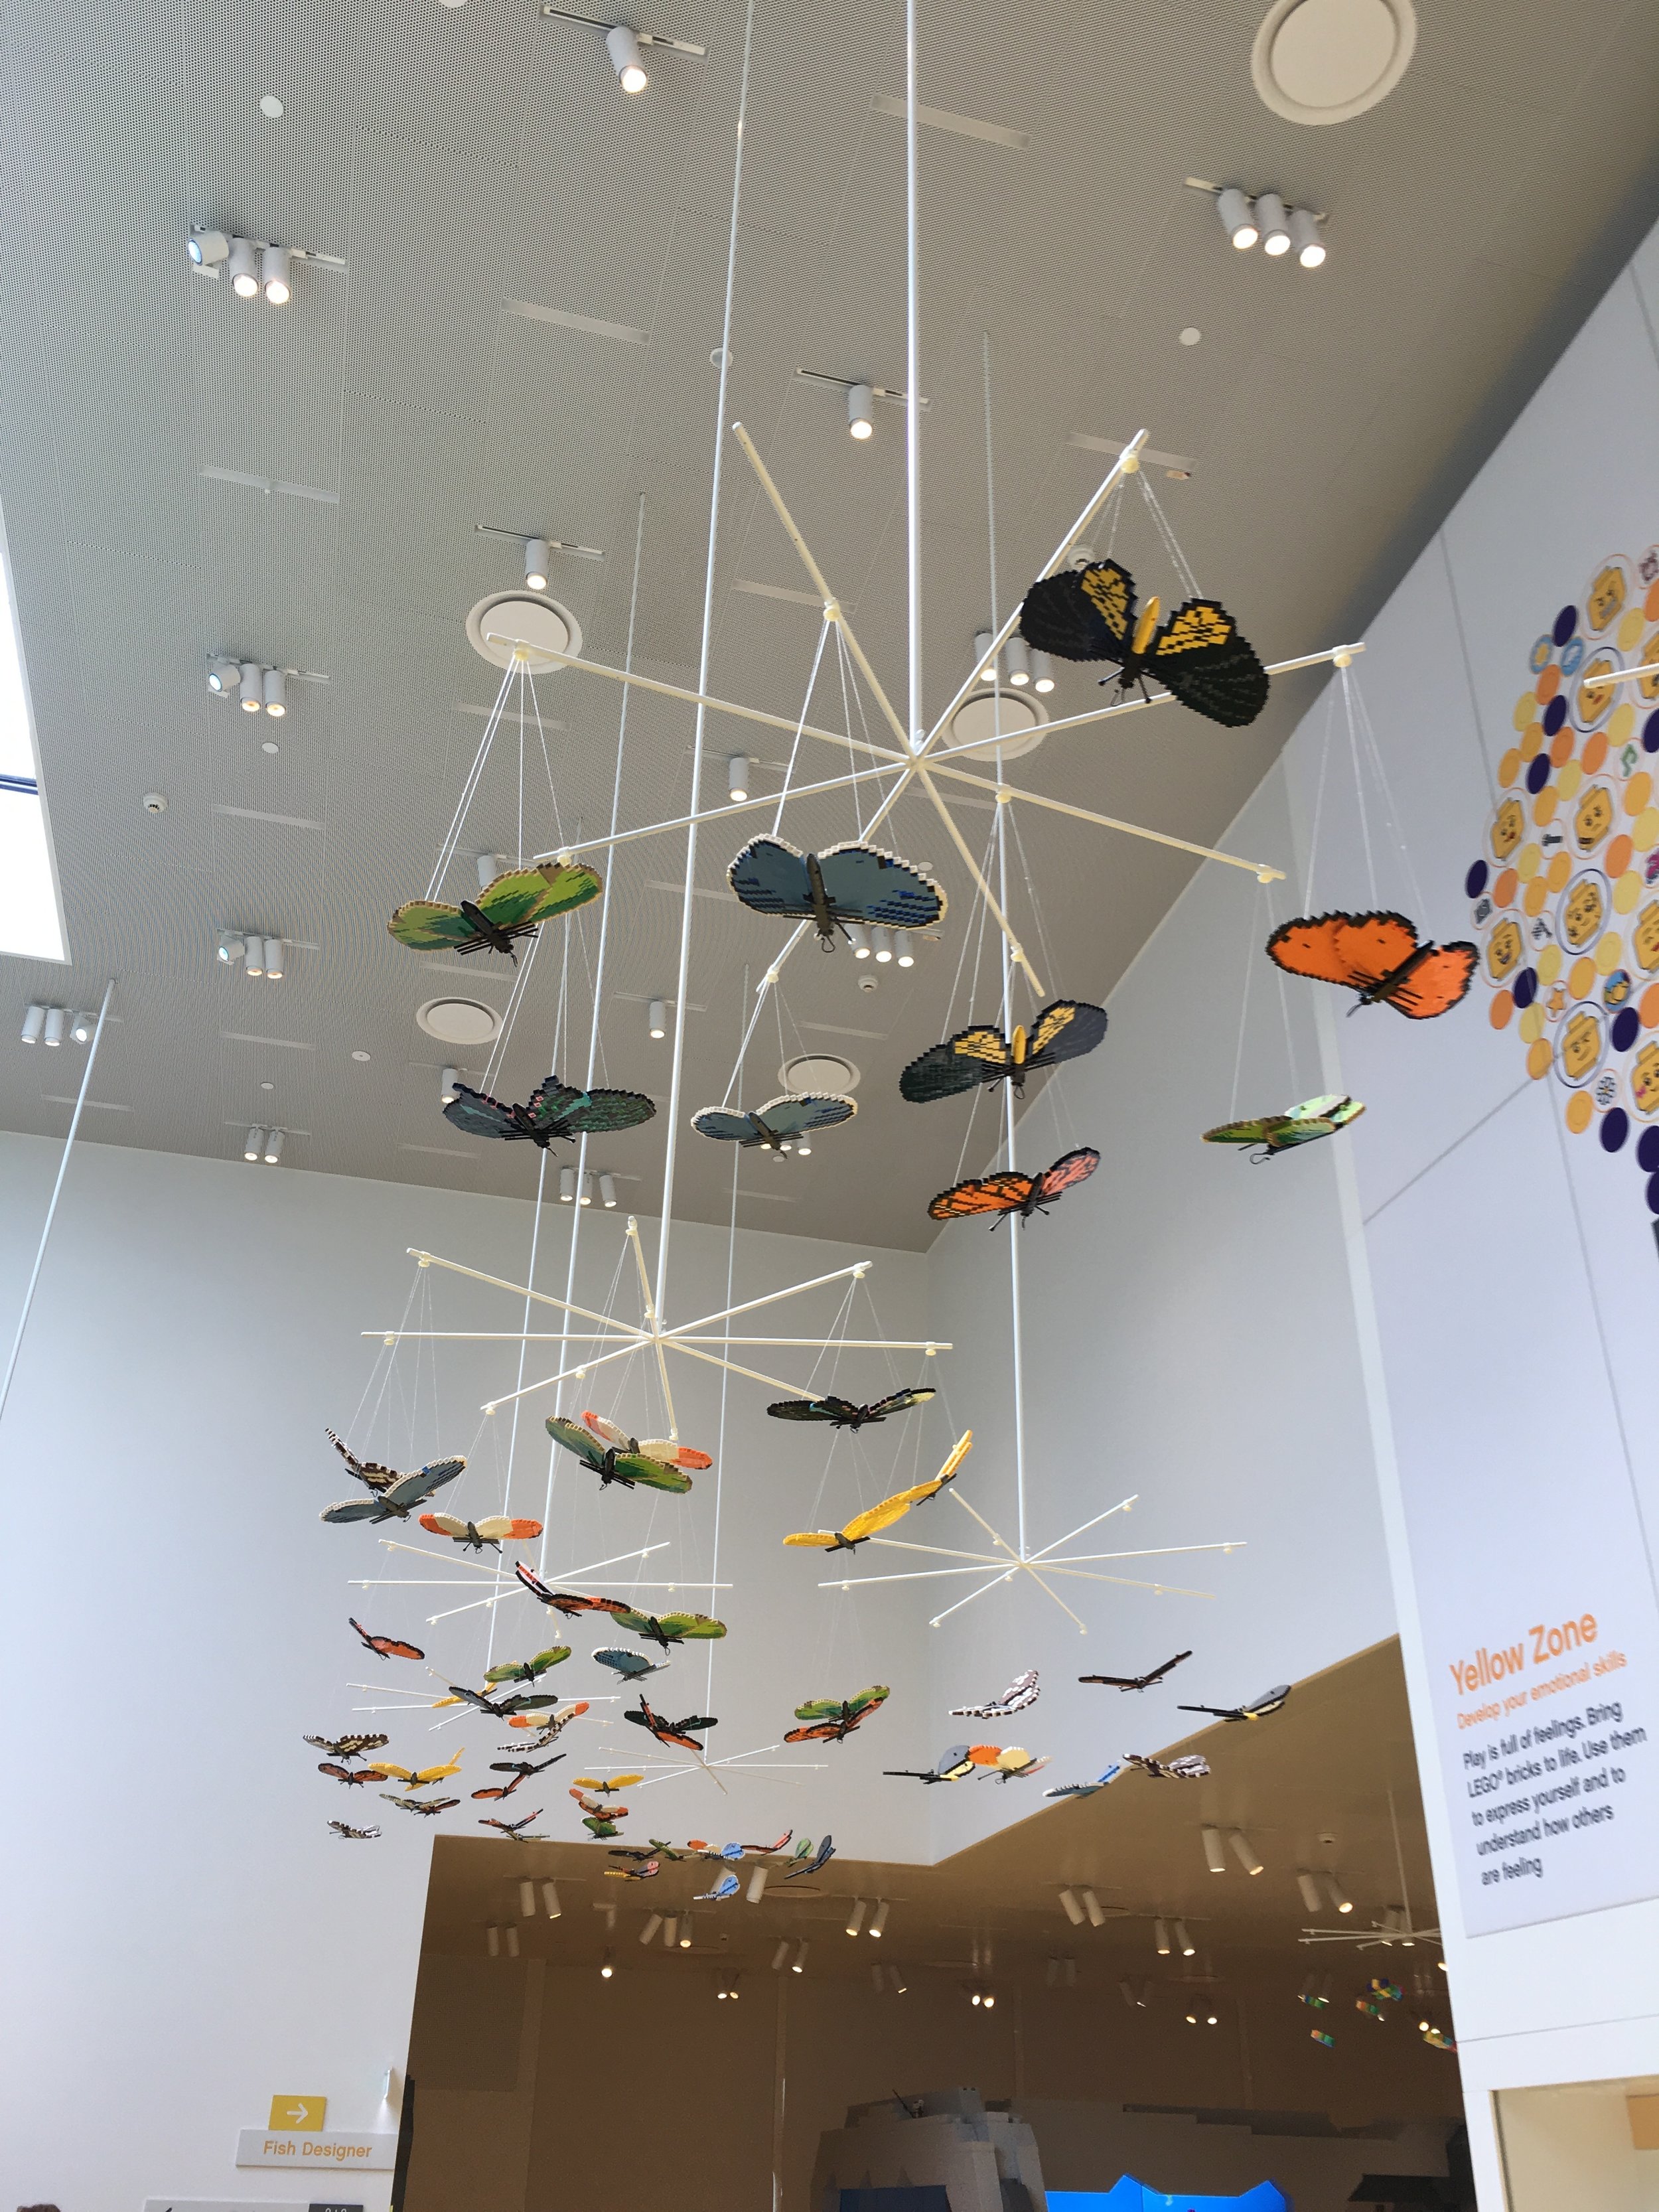
Part 1 went through the green and yellow zones. Now it’s onto the red and blue zones. In no particular order…
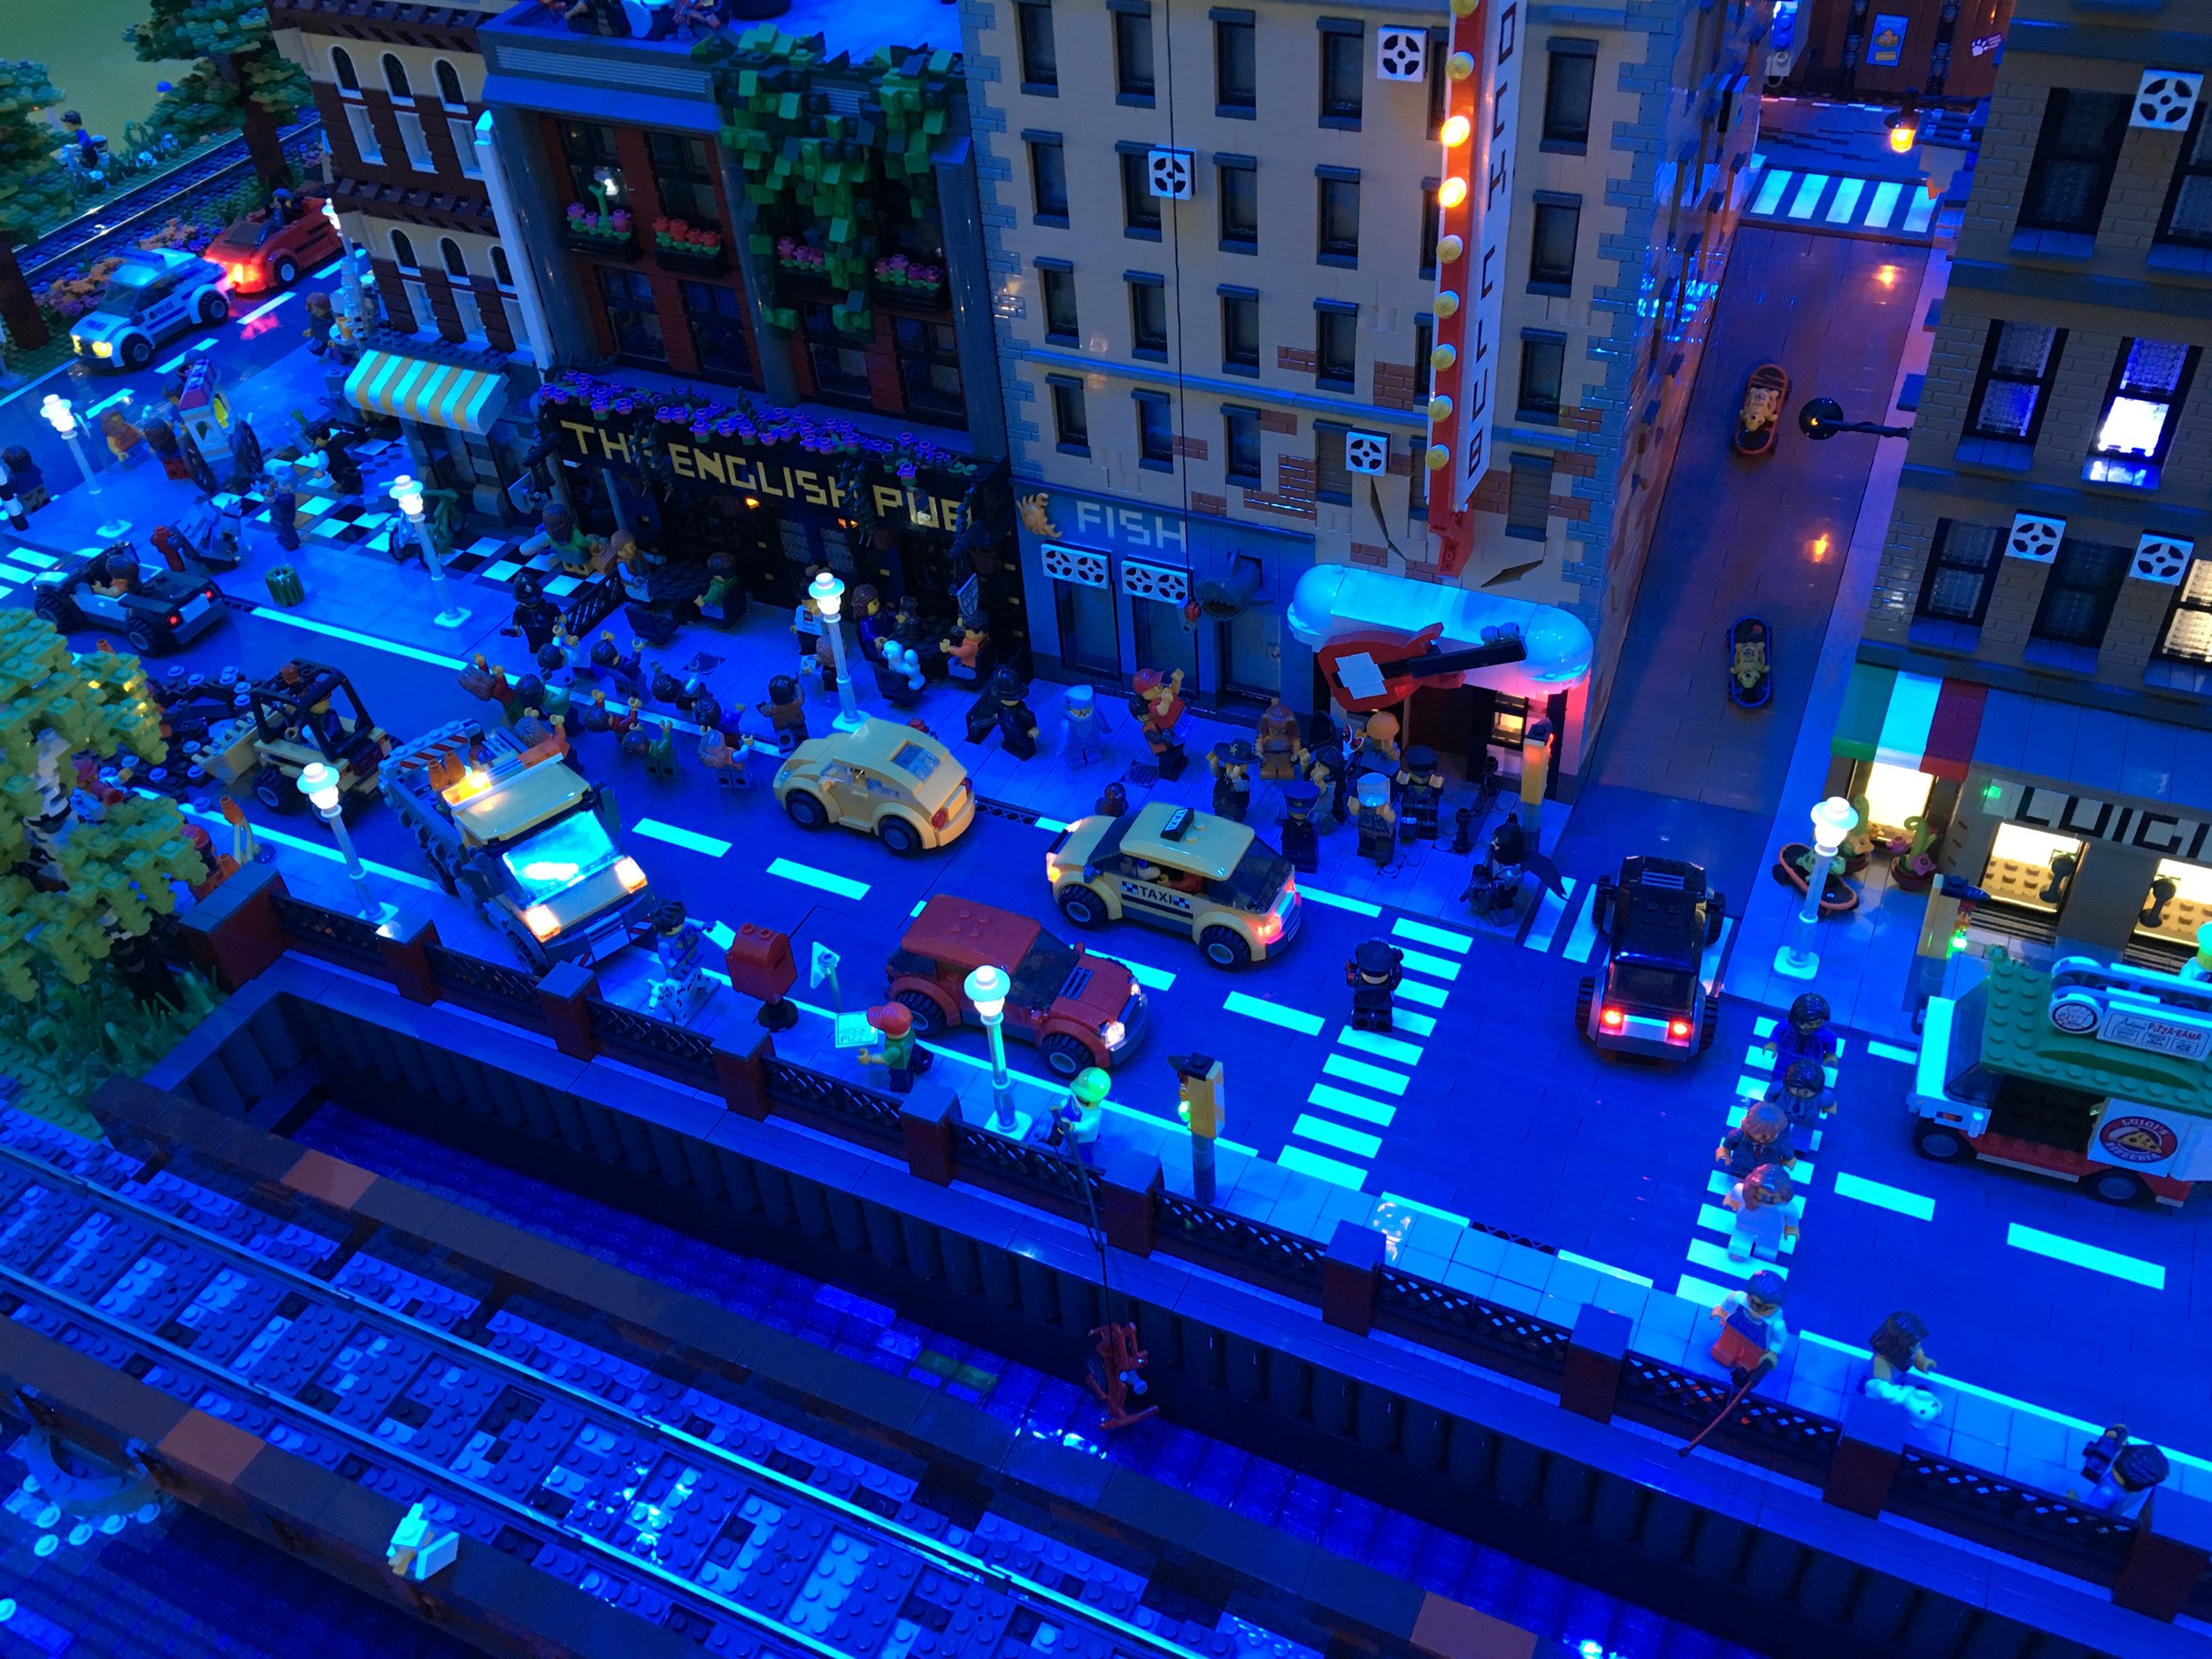
Starting in the blue zone, the City Architect area highlights city planning and how bricks can be used to map out cities. The activity here involves a digitally projected city. The city has red, yellow, blue, and green people running around it. Each type of person has different needs which are represented by colors. I forget which is which, but there are trees, homes, and industry.
In order to “play,” you look for an area on the digitally projected map where a lot of people of the same color are building up in an area. I found a bunch of red people. I went to the red tower and found a red 8x8 plate. Then I built my miniature building. After you build your building, take a picture of it at the kiosk, you put your building down on the digital map. The people see it and then they go inside your building and happiness abounds.
My 5-year old didn’t appreciate this one as much as building with plates isn’t quite for 5-year olds. I enjoyed it as an adult. The only challenging part was trying to build. The piles of parts are all white and clear. It was hard to find the exact piece you wanted as there was no change in color. Despite that, it was definitely something different and fun.

The City Architect area

My addition to the City Architect area

More of the City Architect area
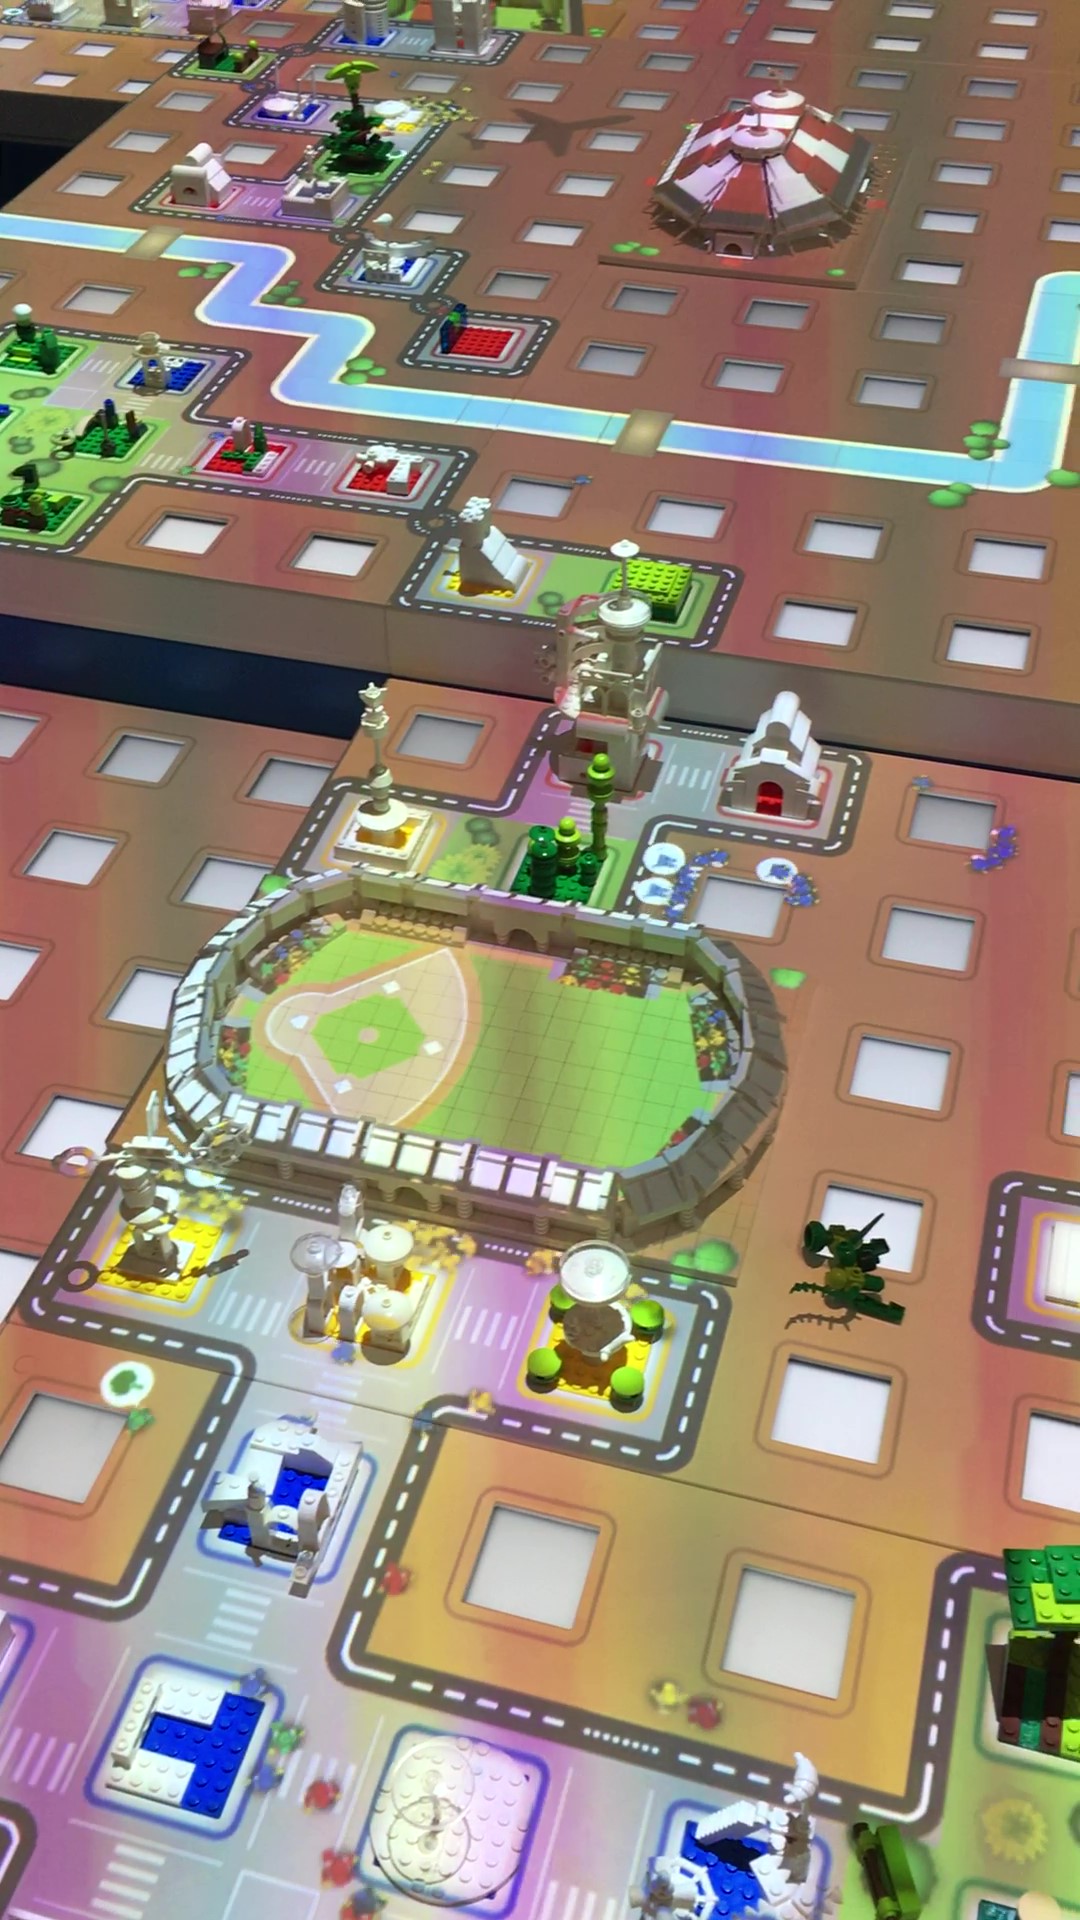
Here is the “play” area for City Architect. You can see some of the buildings created by others and some of the pre-made buildings like the stadium. You can see the different colored people walking around the city.
Right next to the City Architect area is the LEGO® DUPLO® Train Builder section. My almost 2-year old loved this section. It was just a giant pile of tracks, engines, train cars, some train drivers, and a few DUPLO bricks. Not much to it other than free play. There were a few tracks set up… not sure if they were from previous guests or if some of the workers pre-build the tracks at the start of the day.
Unlike many places, all of the train engines had full up batteries and worked well. I wonder how often they make sure everything is charged?
My little one wasn’t the only one playing there and I think LEGO did it right to mix in some of the DUPLO activities near the brick activities so older kids and younger kids could have fun in the same area.

Next to the City Architect area is the Robo Lab. There is a screen at the entrance that tells you when the next game will start. There is space for a line to form, but we never had to wait as there were always slots open whenever they were starting a new game and we wanted to play. The worker scans you in and you get assigned a screen. My 5-year old found a stool to stand on and the worker was able to scan my NLS or I in with my kiddo so we could help out.
So the game… it is based on the CITY Arctic theme. The story goes that a scientific research vessel is trying to go get some woolly mammoths and they get caught in a storm. The mammoths and minifigures are frozen in the ice. Your job is to steer a robot around the ice to unfreeze the minifigures so they can break the mammoths free.
The controls are pretty easy to pick up. You can go forward, backwards, turn either way, freeze something (if you need to build an ice bridge over the water), or melt something. You can adjust how much you turn too, but that was a bit more challenging for my 5-year old and the adjustment button didn’t always cooperate.
Time starts, you watch an intro clip, your robots do a dance, and then you get to it. With some help, my 5-year old enjoyed it. Every time you free a minifigure, there is much rejoicing. The system will let you program around 12 moves with the robot. We stuck to 1 or 2 with my 5-year old, but there were some adults there putting more moves in. During one session there were a number of younger kids on our side of the play area and the worker came over to “help” us out.
In the end after the celebration because you got all of the minifigures out and the mammoths were freed, you get a picture sent to your file saying that you did a “great job!” Much like the City Architect activity, this one was quite different and I liked it. It still involved LEGO, but it involved problem solving and thinking in different ways than the building activities. I’m curious if this activity will evolve over the years?

The playing area… some robots out looking for the frozen minifigures (shown by the gray-ish blobs). The larger white hunks are the frozen mammoths.

We did it!

Here we are using the flame thrower to unfreeze a minifigure. You can see the control screen. The top line is where you drag the commands and then hit play. The next row is the different commands that you can drag up to the top row.
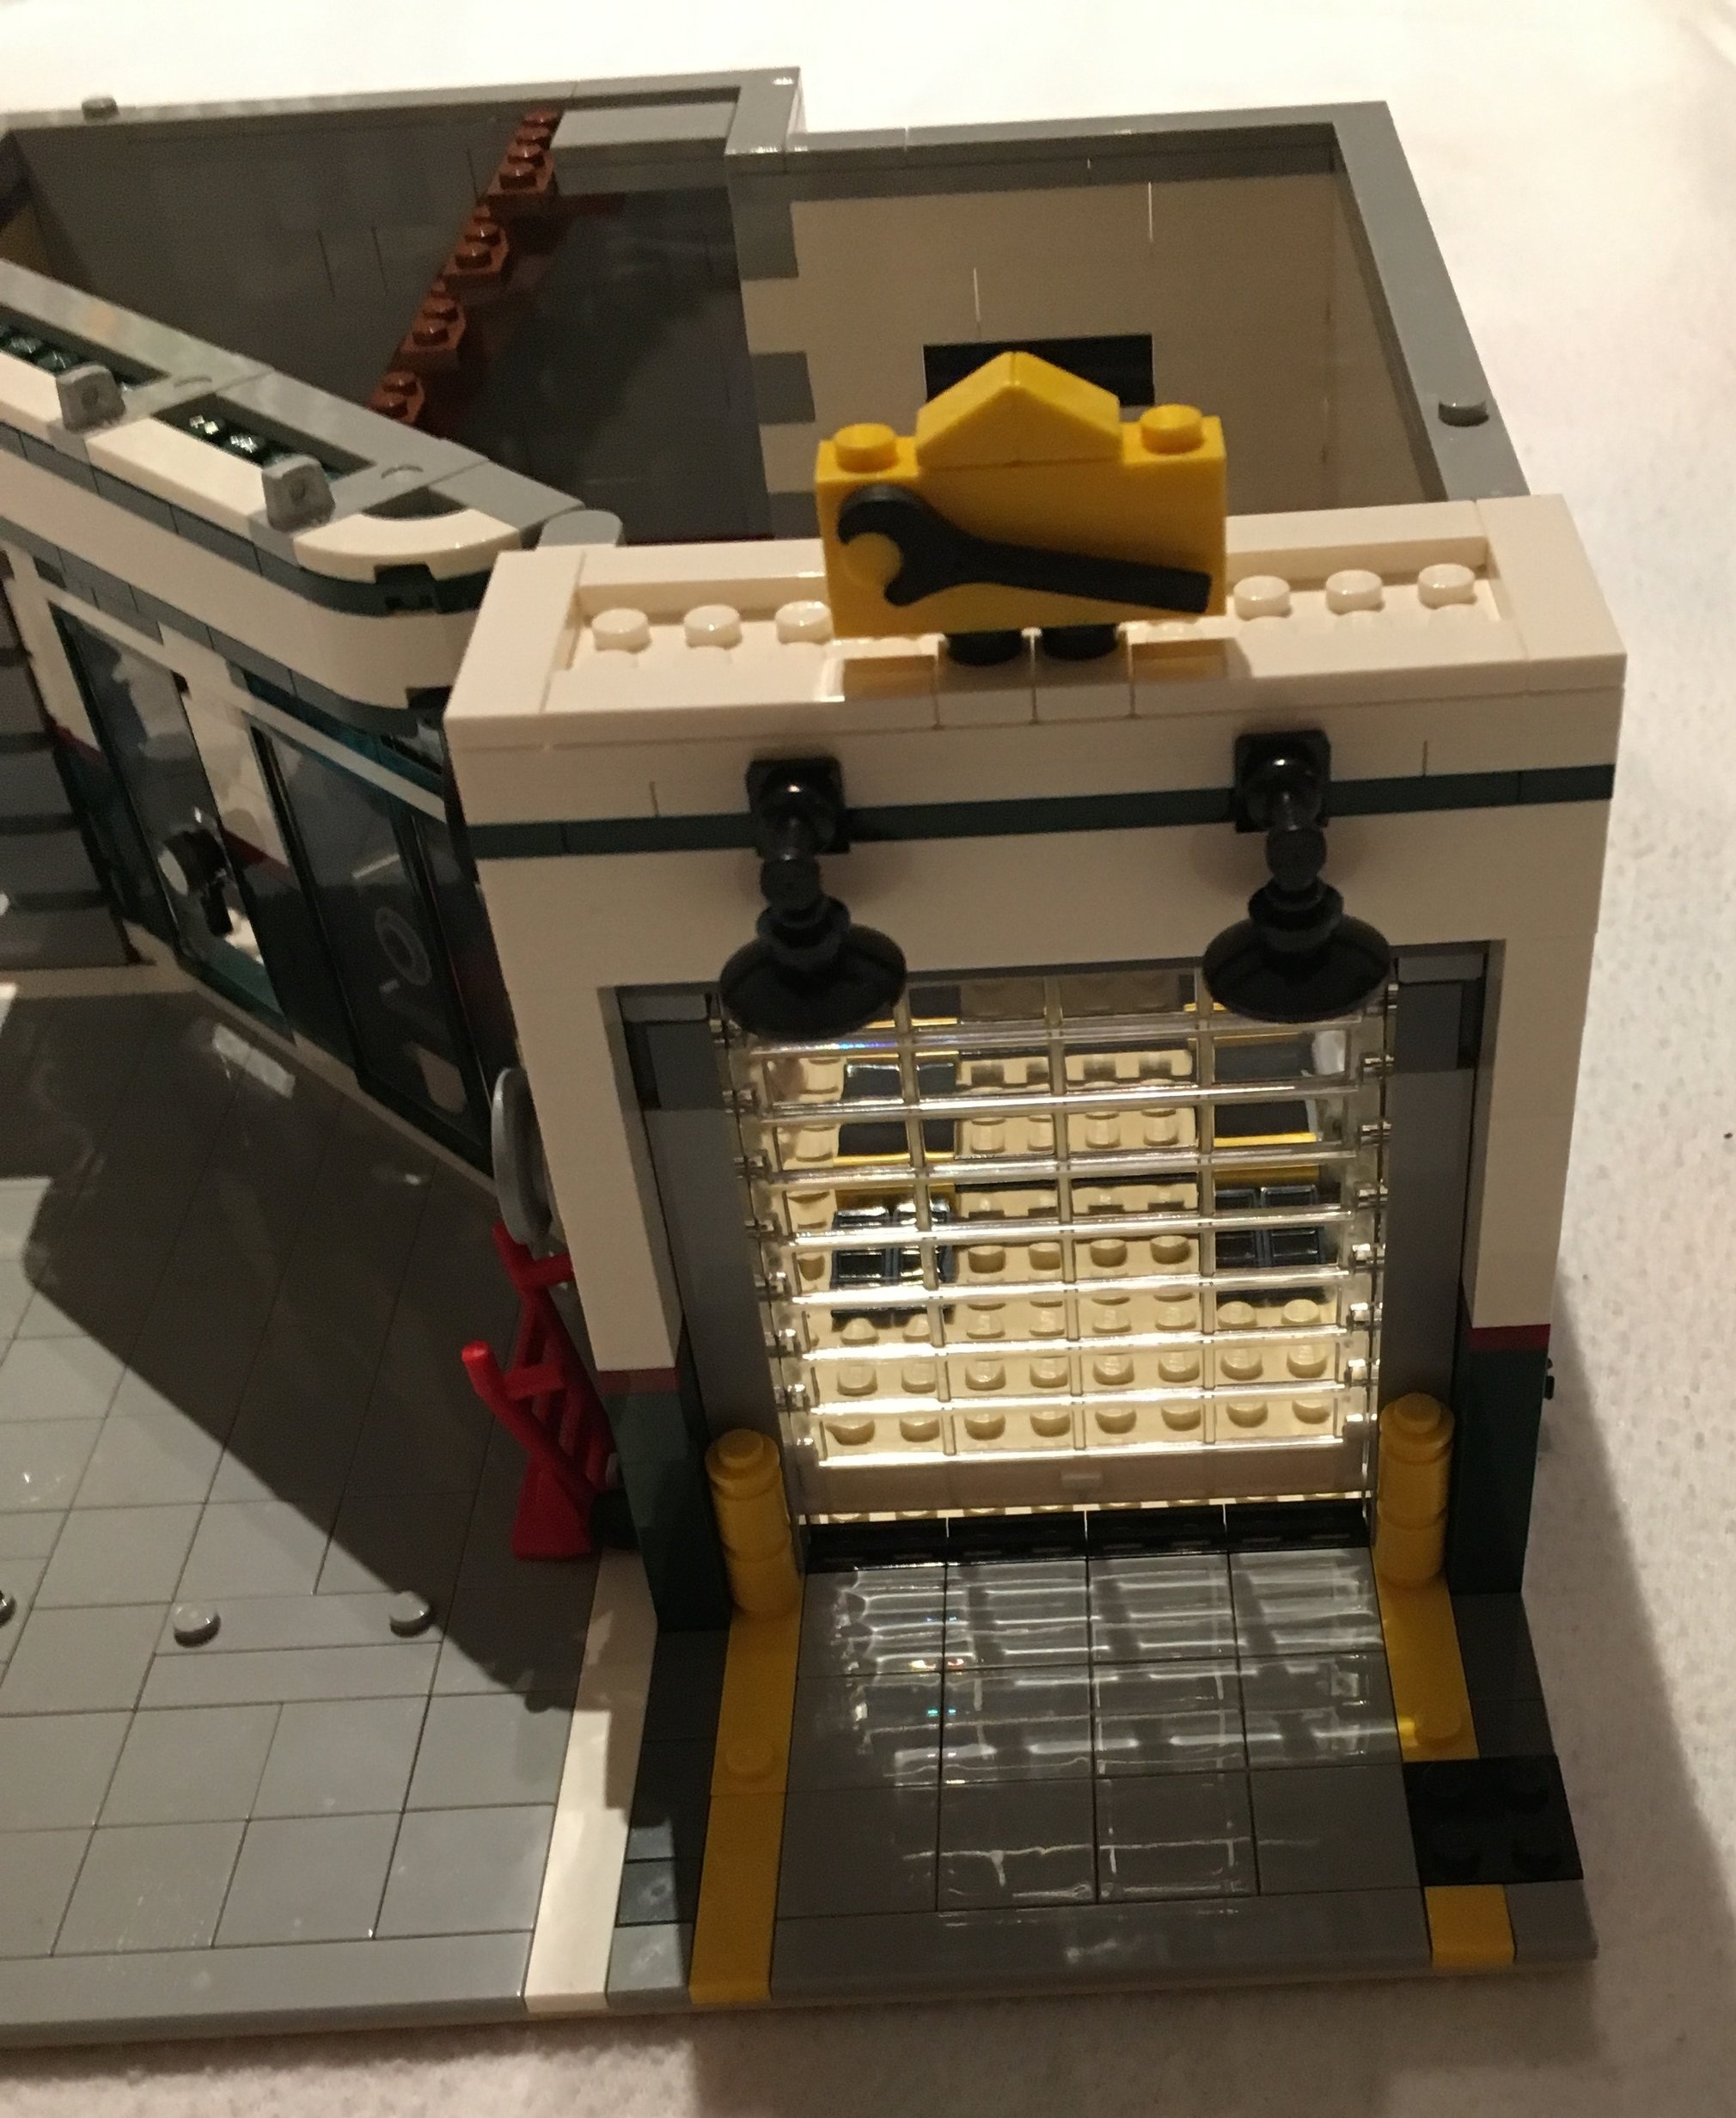
The last part of the Blue Zone is the Test Driver area. There are 2 sections. The one shown below is the race track. With a pile of bricks and wheels, you build a car, put it up there against others, and race it to the bottom. You set it up against a gate, there is a button to press, the gate goes down, and you watch to see who gets to the bottom first. Then you can adjust your car to make it better.
The other part has a ramp that is angled downward. It then hits a jump and you have to get your car to go through a circle while airborne. This is where I should have taken a picture of it, but I didn’t. We built a few cars with not much success. A worker stopped by and saw my 5-year old having some trouble and then gave a building tip to help ensure success. It worked and we got our cars through the circle. I won’t say what the tip is in the event you go and want to try it on your own. This part was fun only I found it odd that there is a video that plays if you are successful, but it is not your car. It's some other random car going through.
You can also take pictures of you holding your car with your wrist band and the kiosks there.

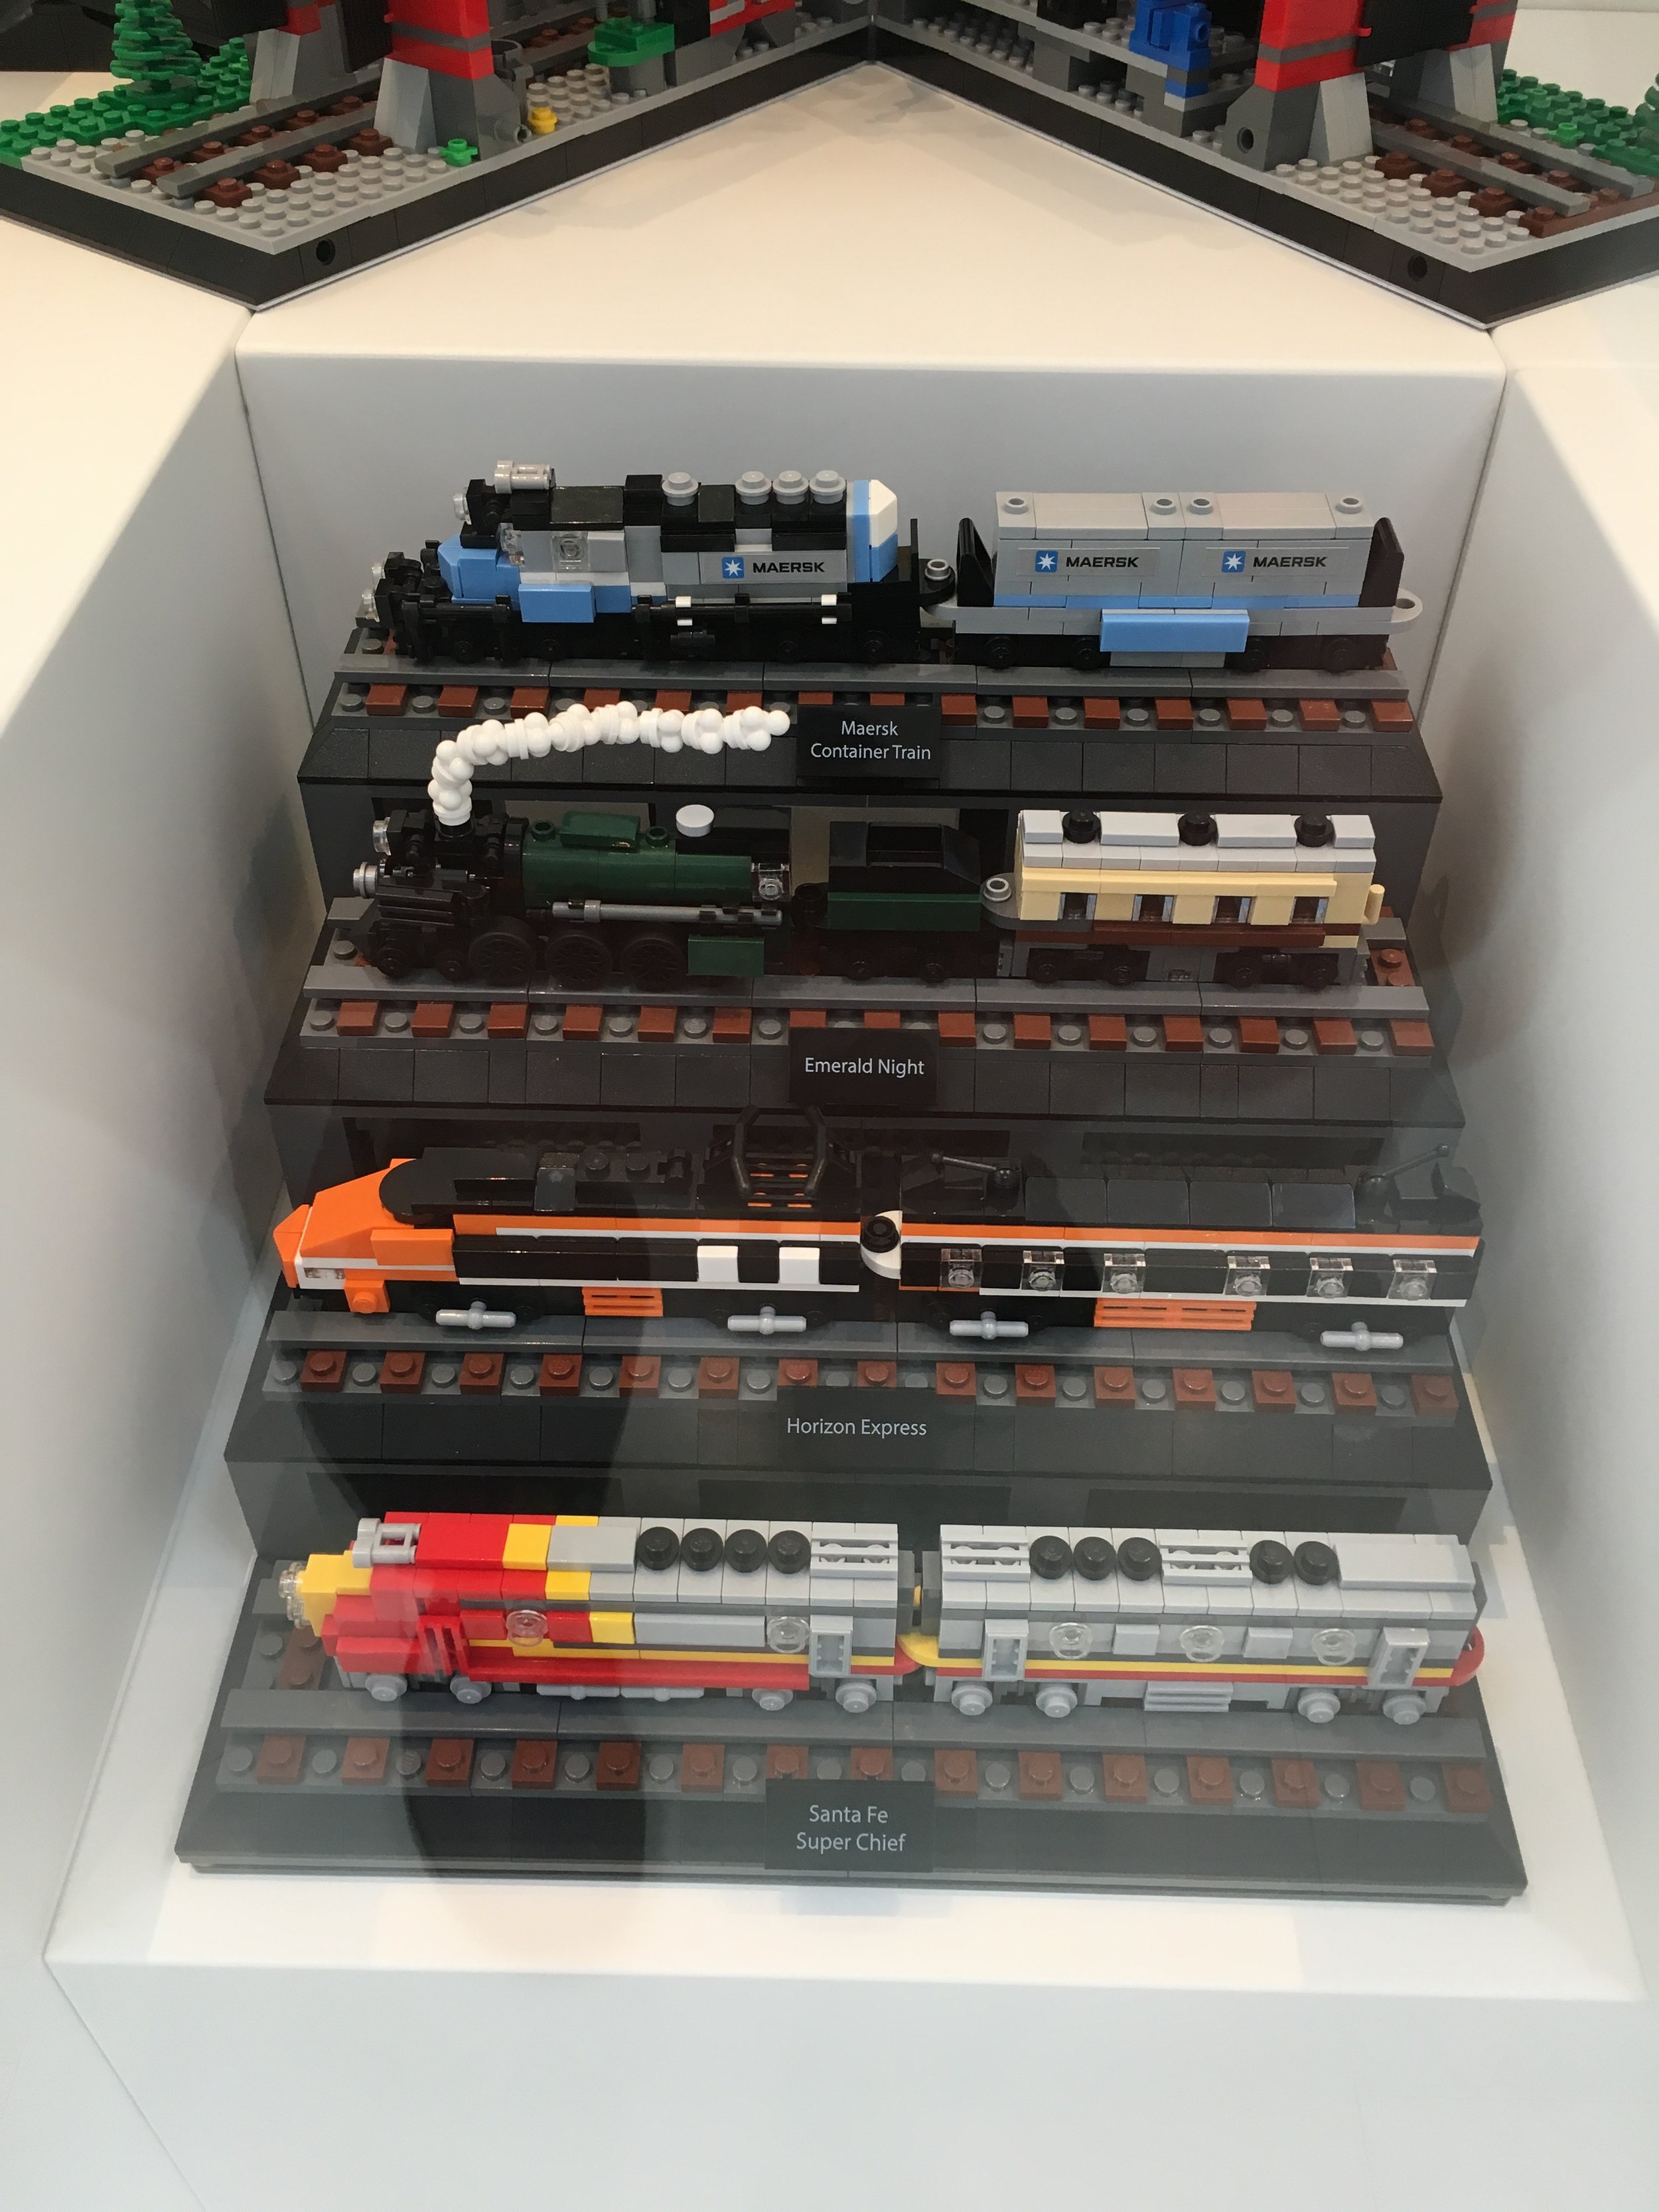
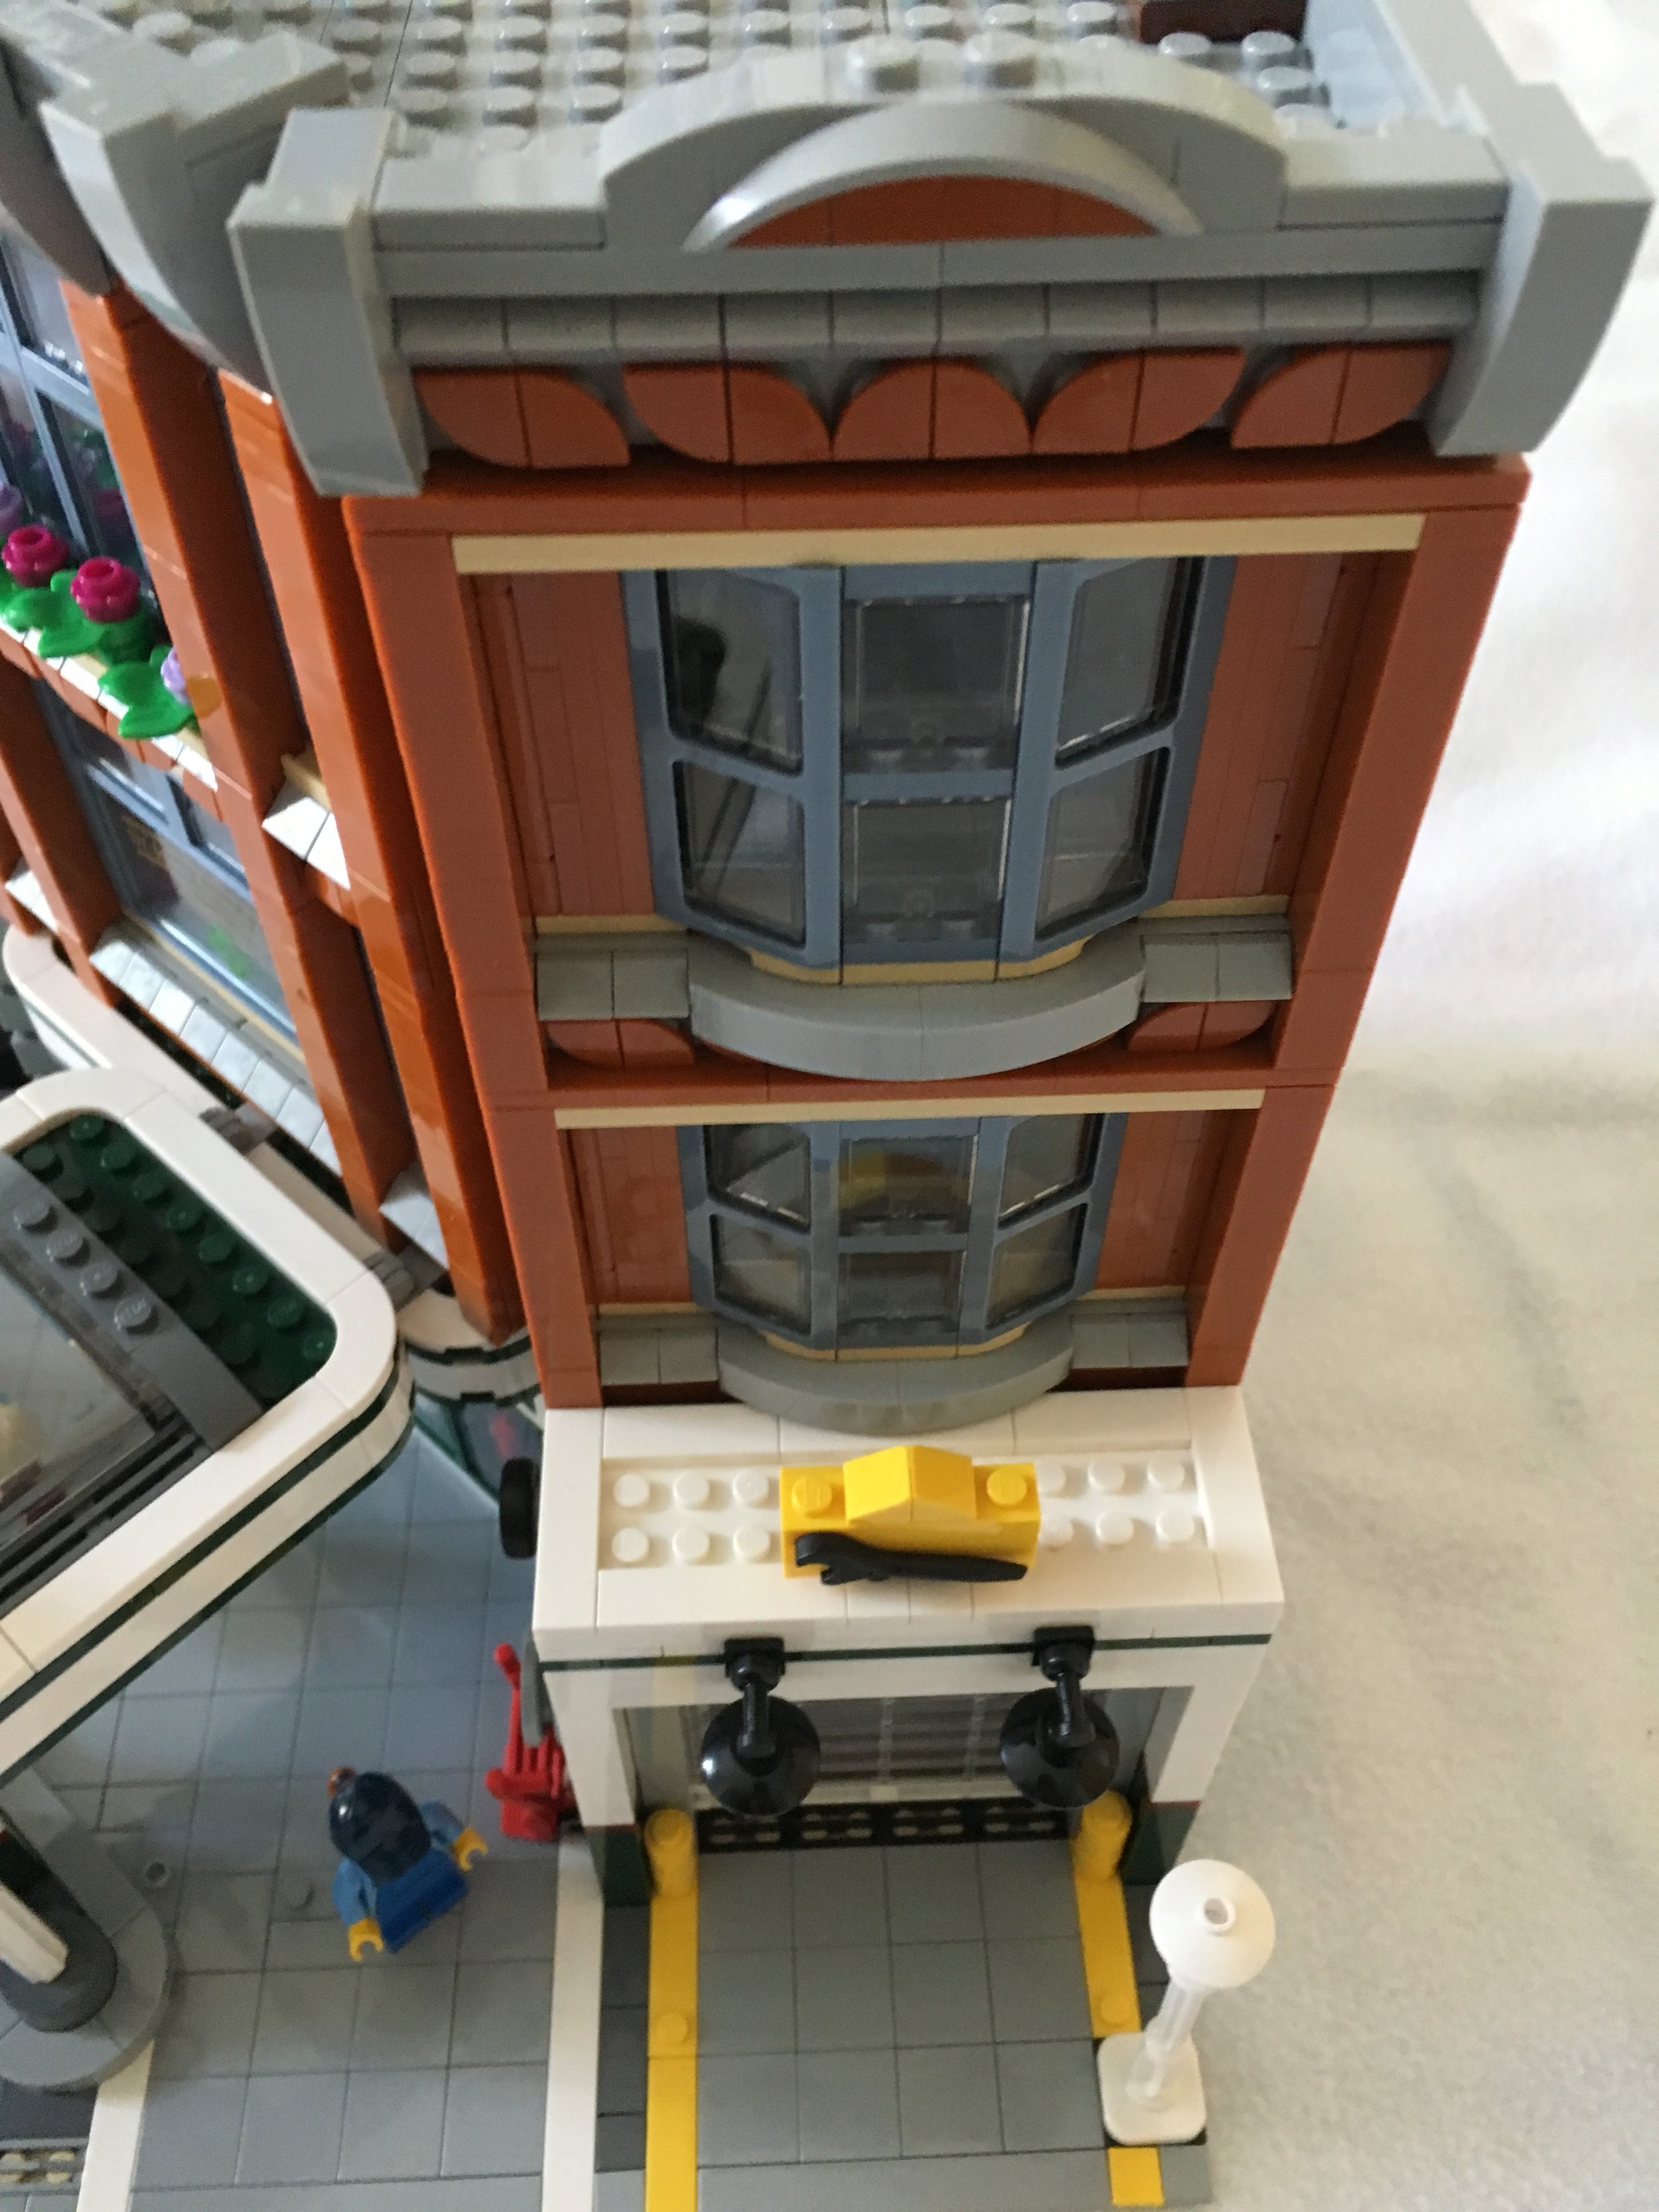
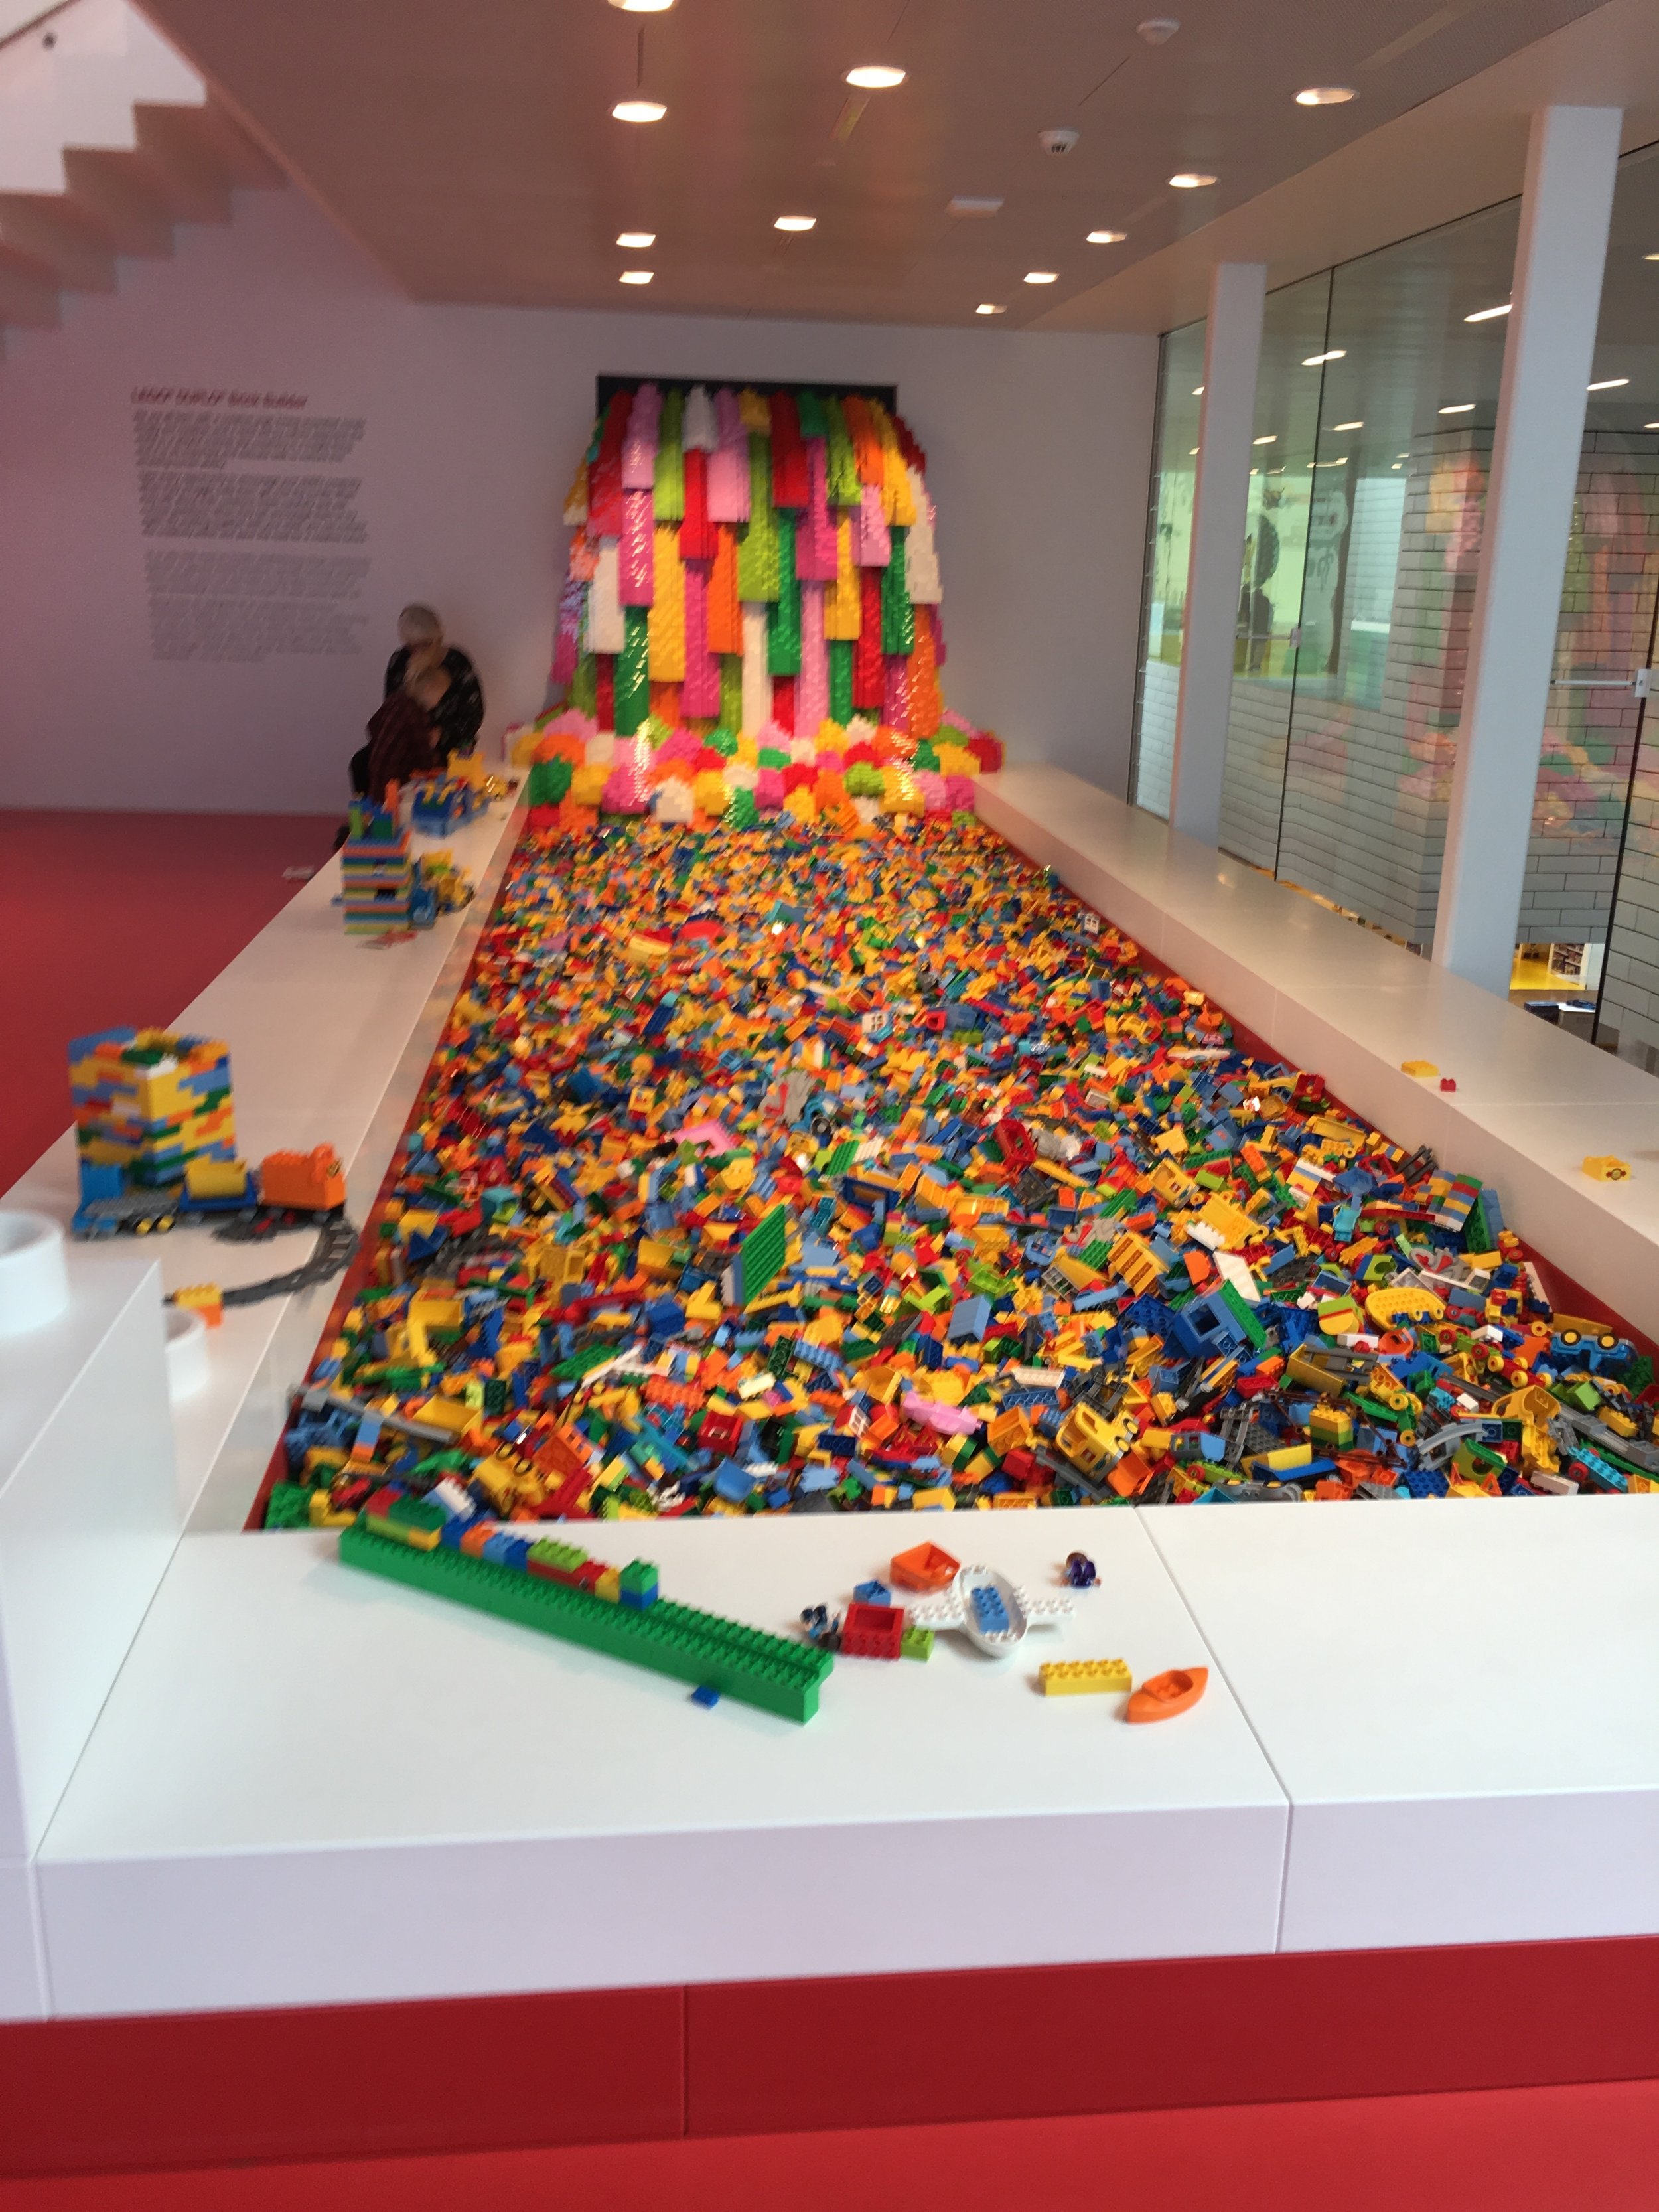
Onto the Red Zone. The main part of this section is the LEGO® Brick Builder area. This is essentially a free build area. There are a large amount of pieces and you can build whatever you want. The main area is right next to a brick built waterfall. This area had all sorts of colors of pieces. Some people leave their designs for others to see and some attach their designs to the waterfall. The LEGO® House even has a few fan built creations on display for others to see. Also in this area is a LEGO® Movie 2 build station for Queen Watevra Wa'Nabi. There are a number of different faces and then a bunch of pieces to go with it. Think of it as a giant set #70825-1: Queen Watevra’s Build Whatever Box. Next to those is another area with just yellow pieces for you to build with.

Free builid area next to the brick waterfall

Queen Watevra Wa'Nabi - Build Station

Yellow brick building area. You can see a bunch of the fan sets on display in a case in the back right of the picture. In the back left, you can see 2 of the kiosks for scanning your wristband and taking some pictures of your builds.
Also in the Red Zone is the LEGO® DUPLO® Brick Builder area. There is a DUPLO waterfall and then a large amount of DUPLO pieces to build with. We built a large “road” for my 2-year old to stack the DUPLO figures on. We must have found around 50 to put on the road.
The last section of the Red Zone is the Creative Lab. In looking at videos online, it looks like the LEGO® House changes what they do here often. Our visit was a large castle build. There were tables full of 2x4 bricks of all sorts of colors. You could pick a 16x16 or 16x32 base plate and then build a “brick” that was 10 bricks high out of bricks. It was just the outside, you didn’t have to fill in the entire base plate. My NLS built a 16x32 brick and my 5-year old built a 16x16 brick (with help). My almost 2-year old played with some DUPLO that the awesome LEGO® House worker brought over for him. We did not see the completed product, but by the end of the day it looked they they’d finish the next day.
A LEGO logo in the area.
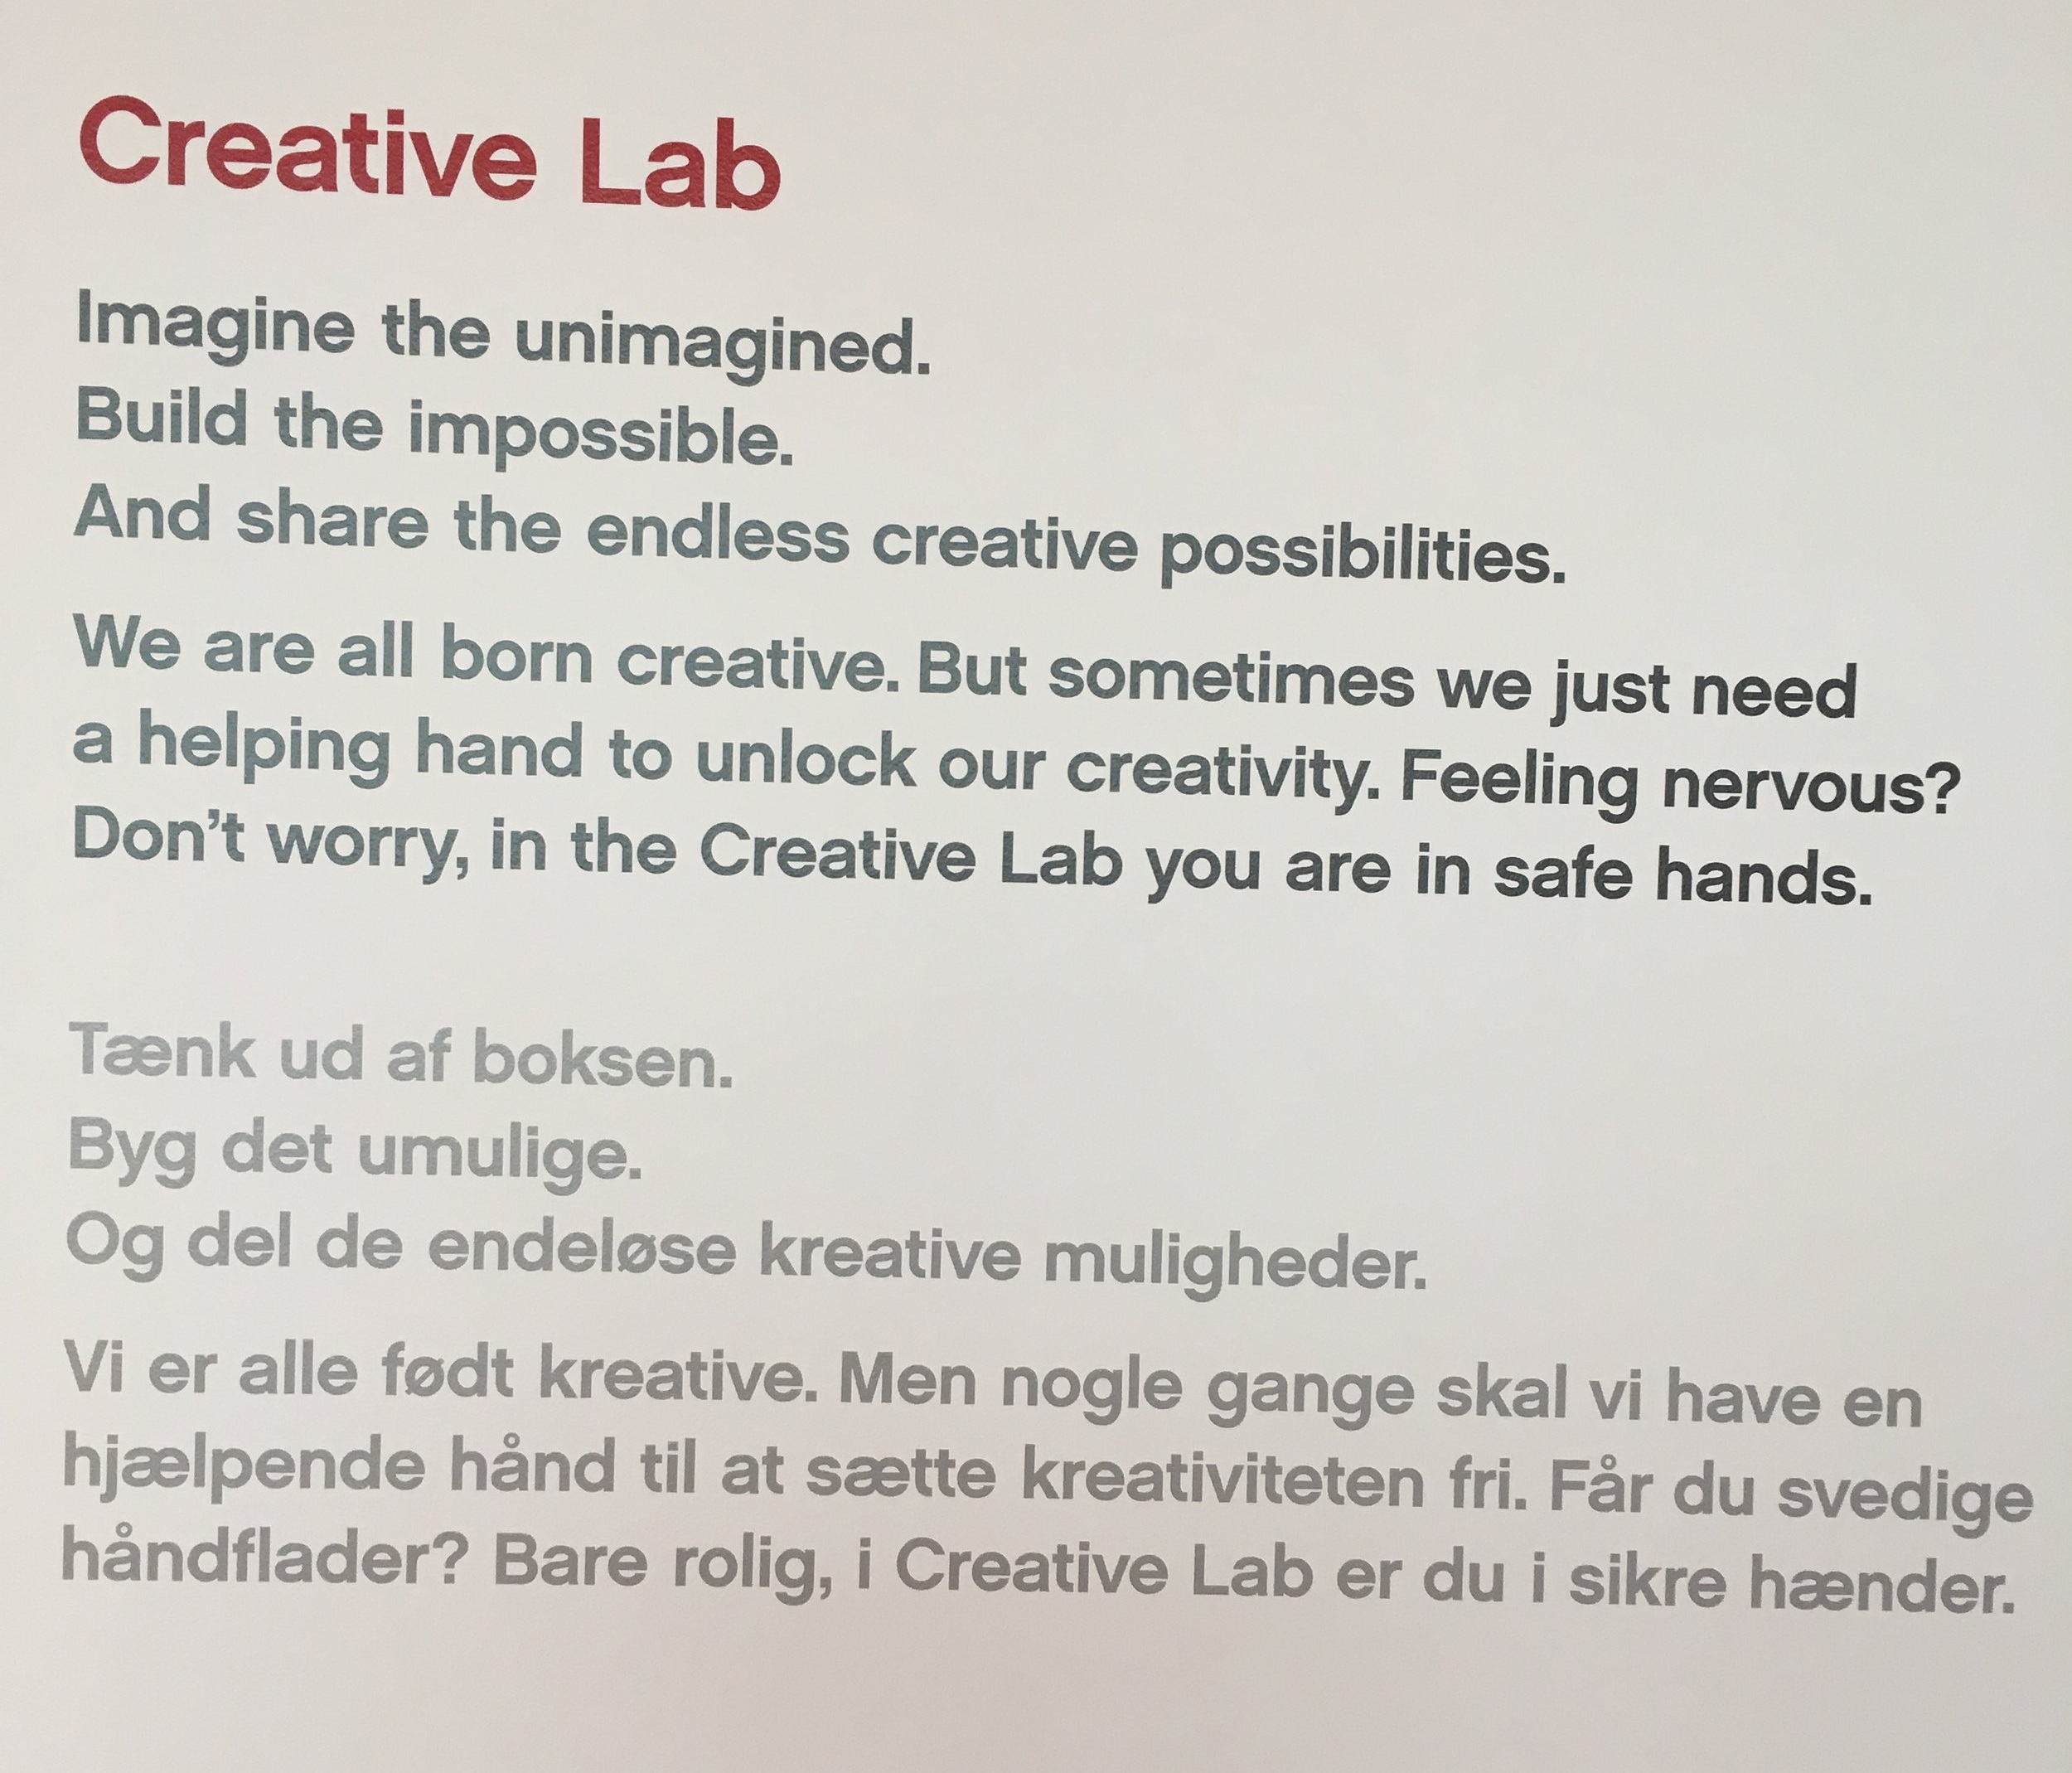
A description of the Creative Lab

This is where the “castle” was at when we left.

Sign for the Creative Lab

The LEGO® House worker building the castle. You can see a table with bricks to the right.

Here is the instruction booklet for the final product.
I still have more posts about the LEGO® House, but I wanted to include this part and wasn’t sure where to put it so it’ll go here.
As you leave the Experience Zones you pass a machine that makes 2x4 red bricks. You can watch the process in action (it was running one of the 2 days we were there). It spits out the new bricks, bags them, and shoots them out into a box. Then you scan your wrist band, it generates a card with your name, and a design for how to assemble the 6 bricks. The worker there told us the exact number… 900 million-ish if I recall correctly. And if you are wondering they have a DUPLO 6 Bricks bag too. My almost 2-year old got a DUPLO bag, but not the card with the build because he was free to enter the Experience Zones.

Brick building machine
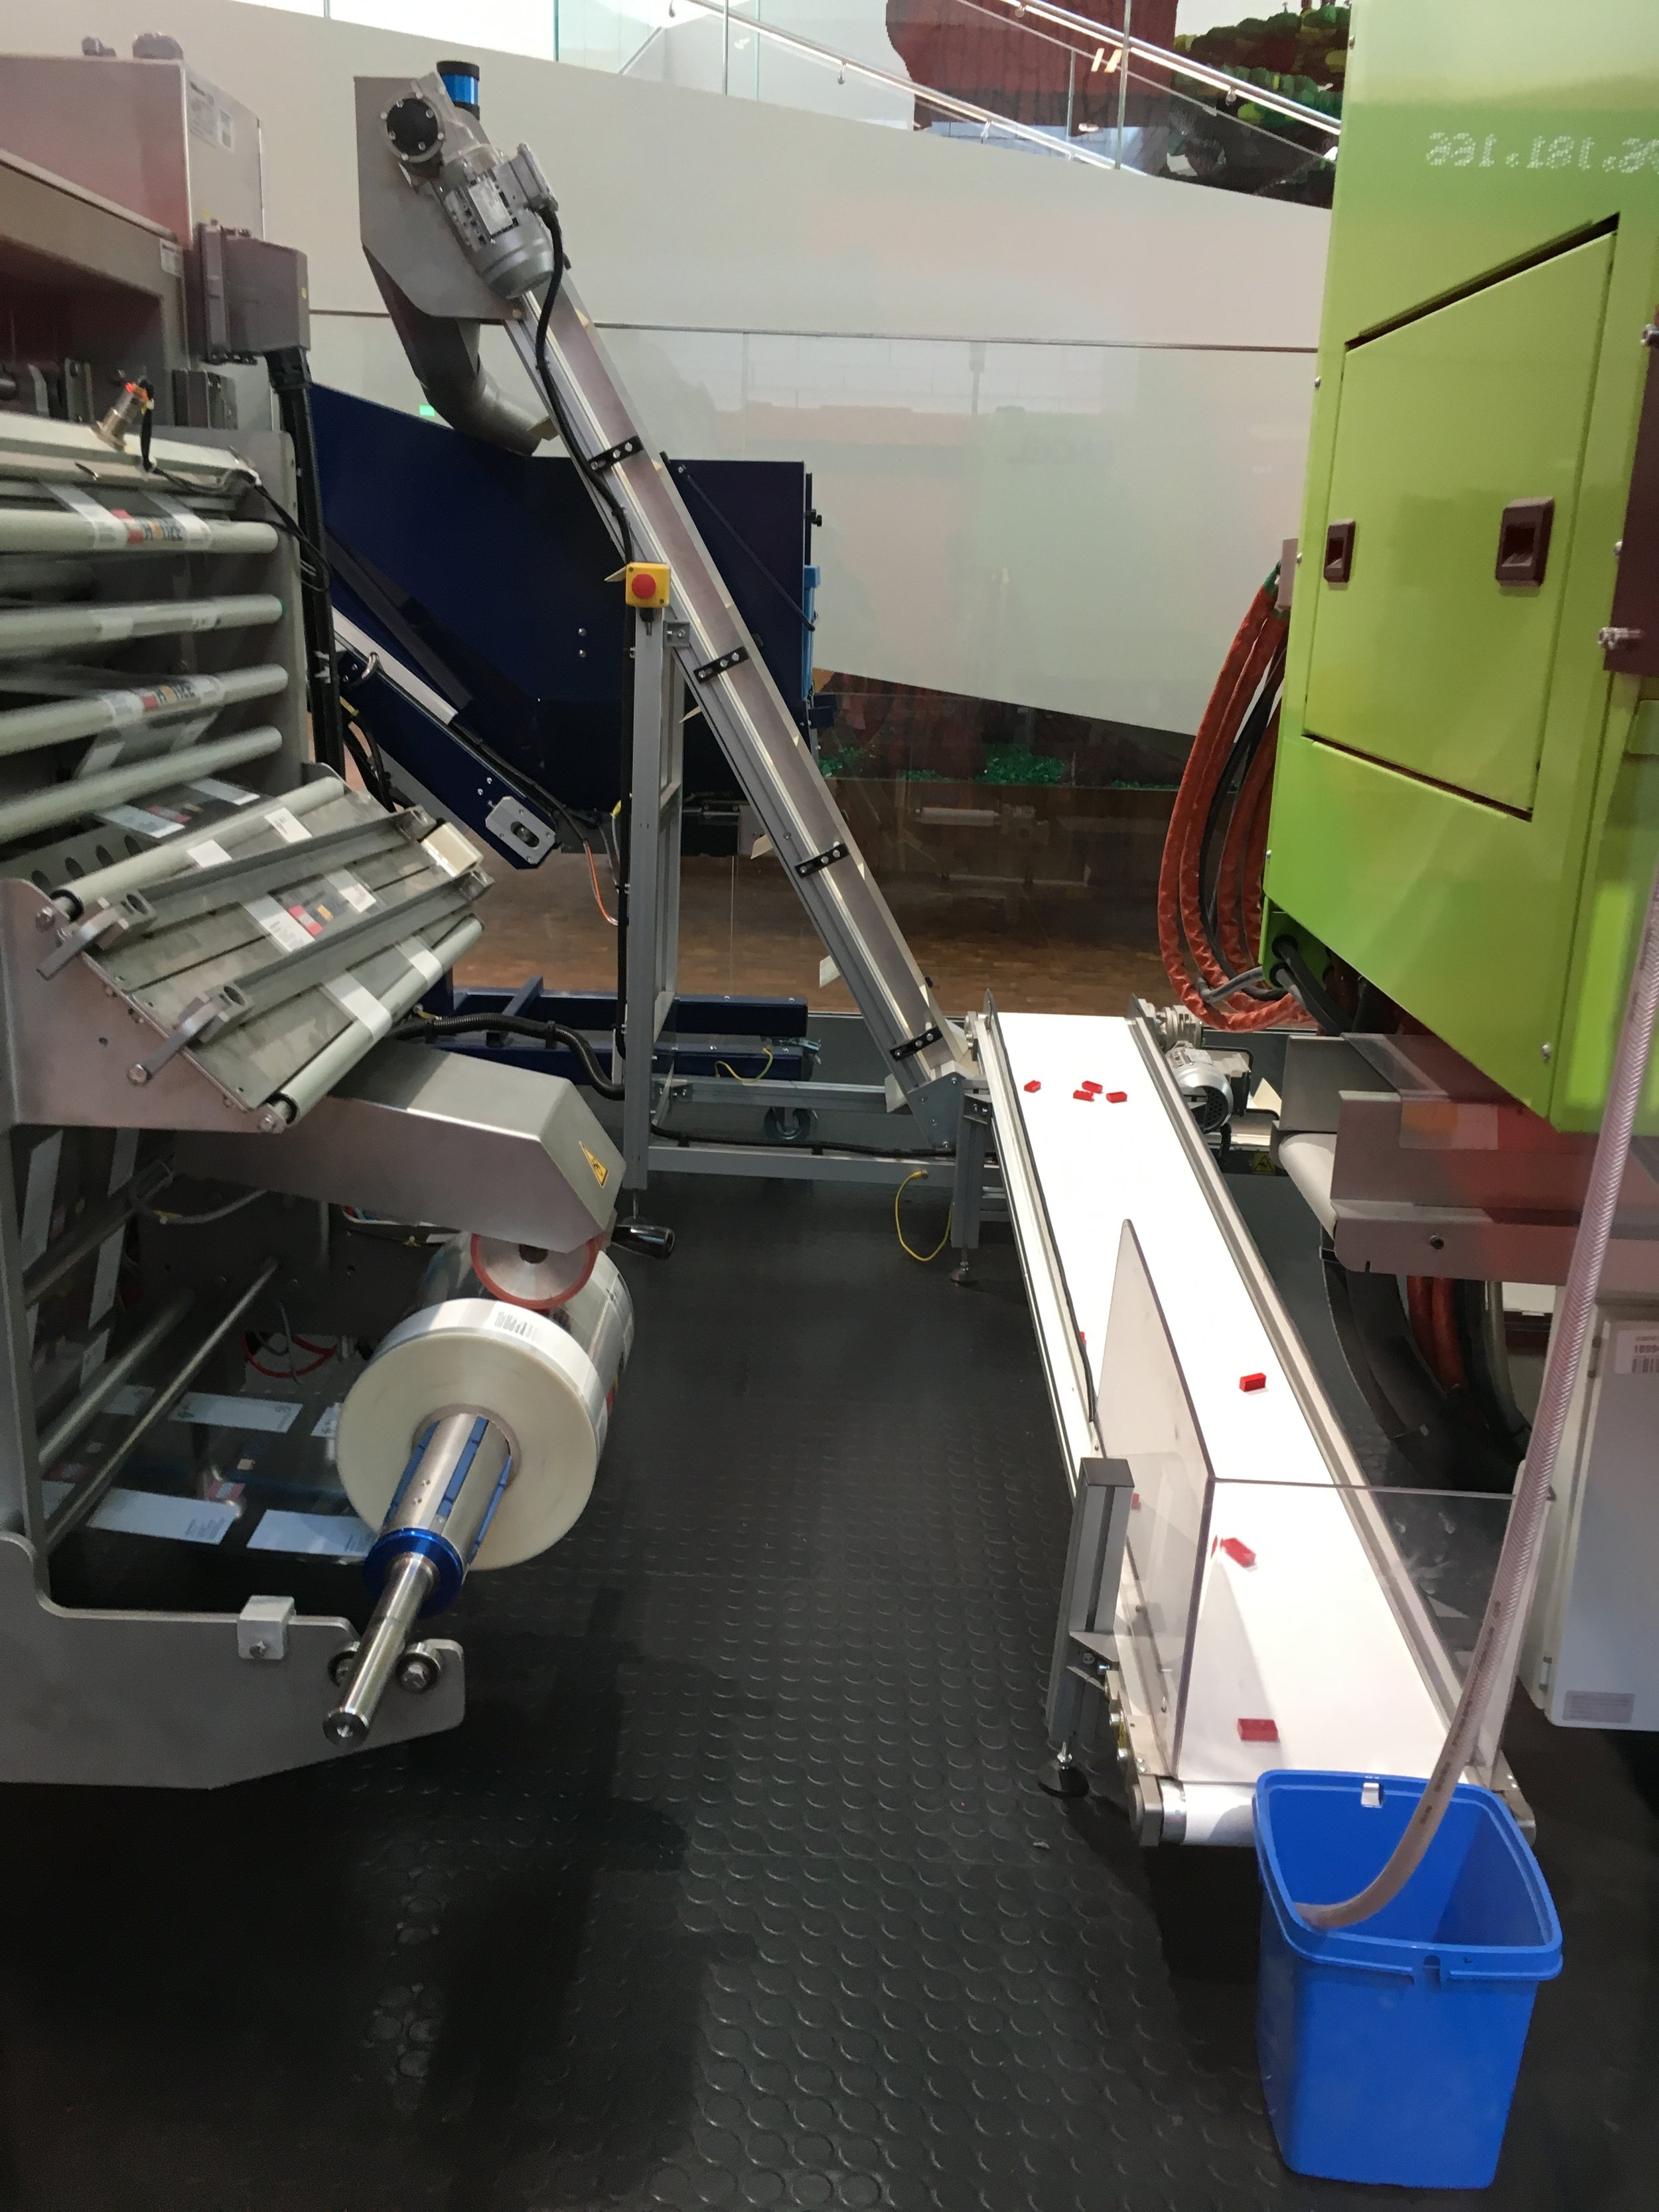
The new bricks on a conveyor belt.

This is where the final product came out.
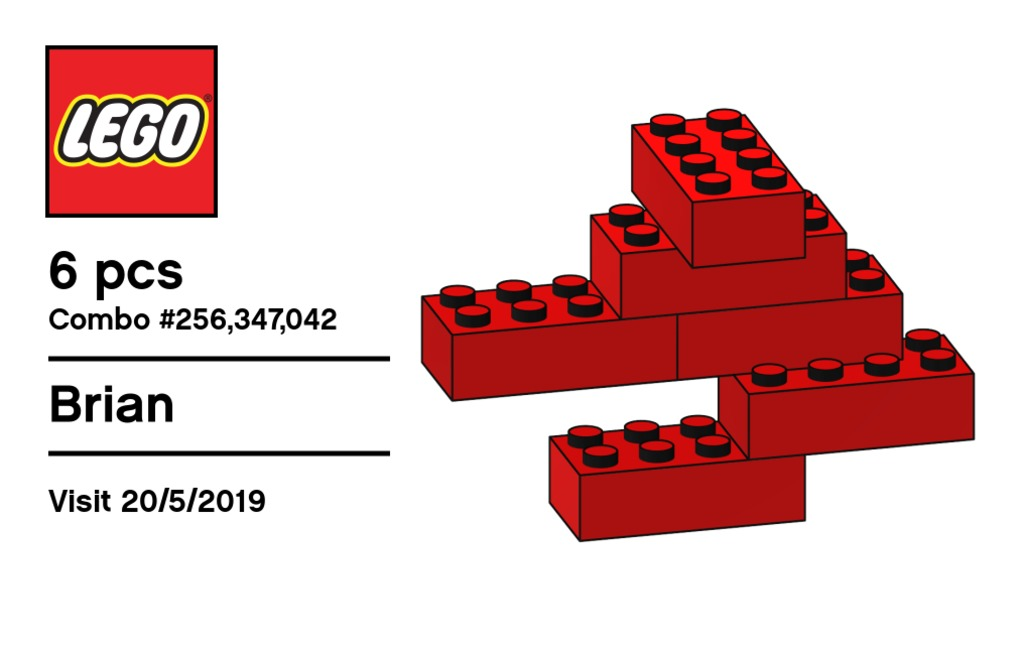
The card you get with your build and the combination number
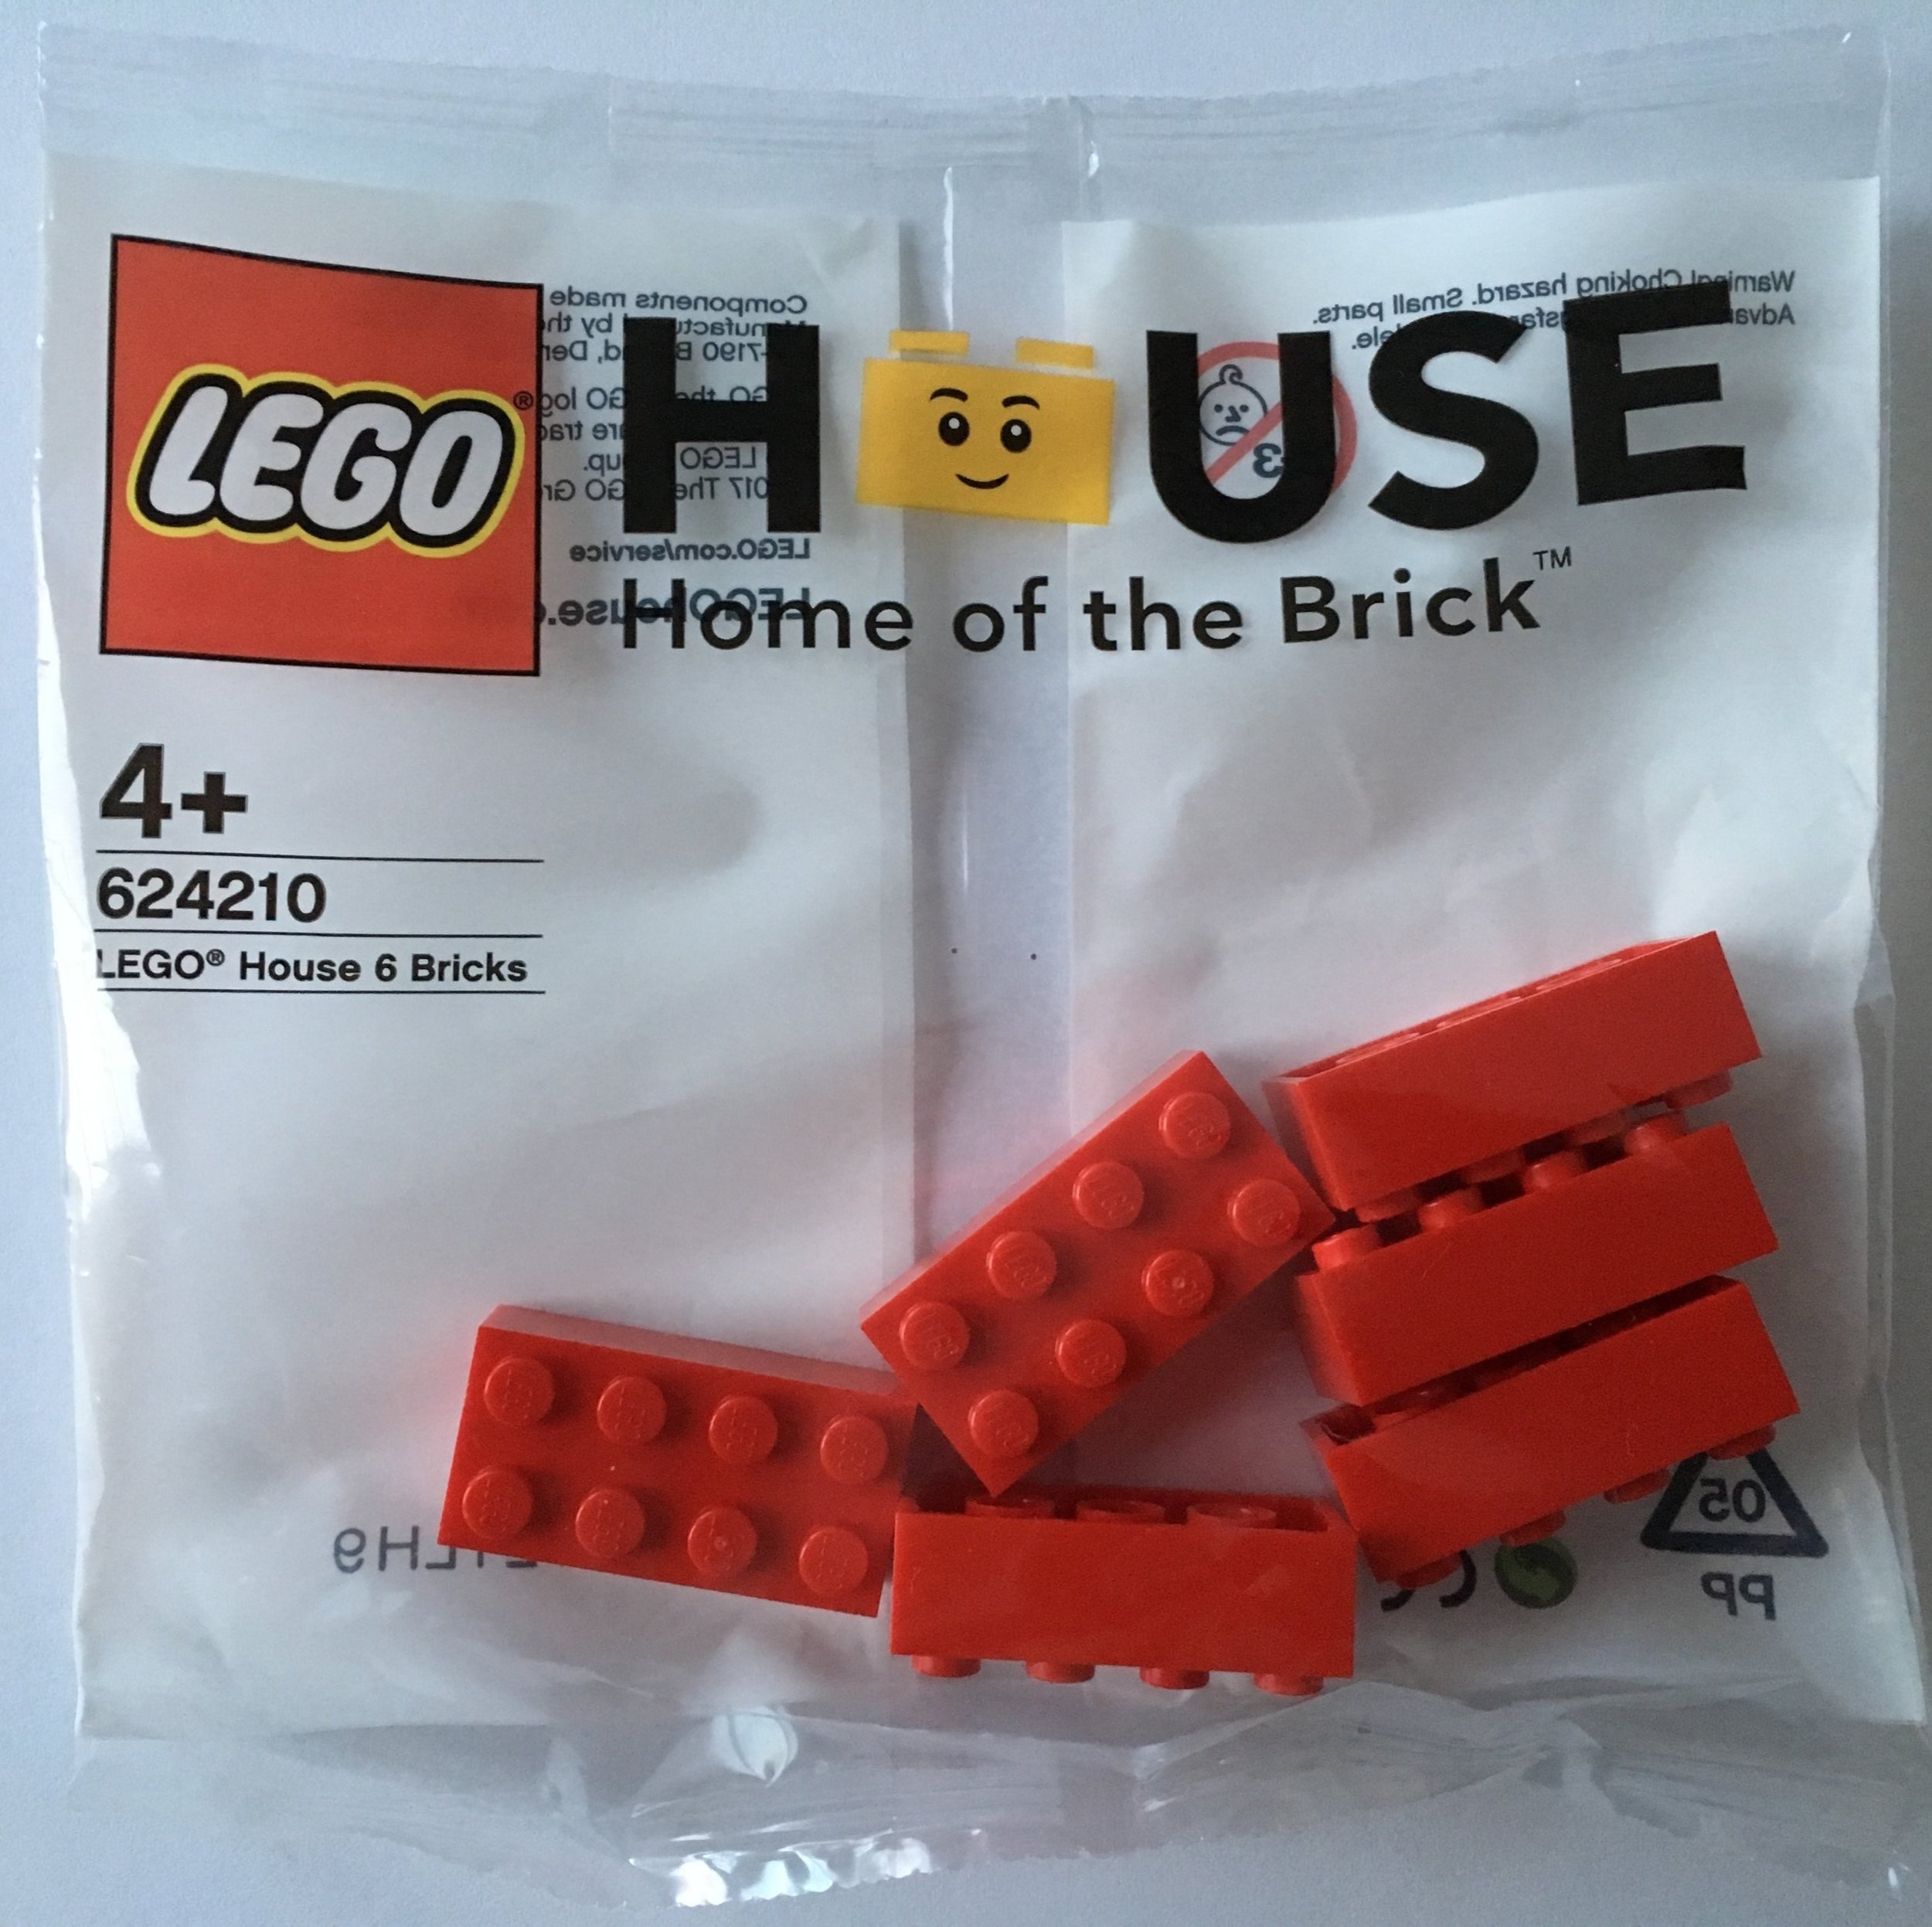
Here is what you get. Set number 624210-1: LEGO® House 6 Bricks.
Awesome! That’s my wrap up. As an AFOL, I had a blast in the experience zones. My kids had a blast too. And she even admitted it, my NLS had a great time too. It was definitely worth the time and expense to get there.
That wraps up the Experience Zones. A few more things left to cover. In the mean time, happy building!