I went to Billund and the LEGO® House and it was awesome! Over the next few posts, I plan to give some reviews and share my experience to help others who may be planning a trip there. If you missed my post about planning your trip in the early stages, you can see it here.
For most Americans, the experience starts with landing in Billund at the airport. Since I live in Germany, the experience was a drive to Billund through Germany. The total drive for my family was around 10 hours, but we broke it up into a few days. We drove to northern Germany and spent a bit of time there before heading north.
Most countries in Europe greet you with a sign like the one to the left. The border had a checkpoint on the inbound side. We did not have to stop so that was good for us.
And while us crazy AFOLs would love to think that the border has brick built cars and minifigures waving to you as you drive in, I can assure you that it is not the case.
We drove to Vejle, Denmark (highlighted on the right) and established our base camp there for our visits to the LEGO® House (we planned for 2 days) and touring around elsewhere in Denmark.
If you’ve never been to Denmark, it’s pretty expensive. We found that out quickly as lodging in the Billund area is not cheap. People come for LEGO® and then there’s another theme park there, which I had never heard of, called Lalandia. The place we found in Vejle was a townhouse which works for my family as we can cook our own food versus going out to eat a lot.
Picture from Google Maps
The drive from Vejle to Billund was around 30 minutes so not bad at all. Vejle is not a big city and we were on the outskirts. After driving out of Vejle, the drive to Billund was mostly through countryside, farm areas, and small sections of housing.
This was our greeting to Billund… again no LEGO® references yet. Sorry.
Our first greeting to LEGO® comes along the roadside. There were actually a few sets of large 2x4 bricks along the side of the road. Some had cows grazing nearby. There were some buildings nearby so I wasn’t sure if those were owned by The LEGO® Group or not.
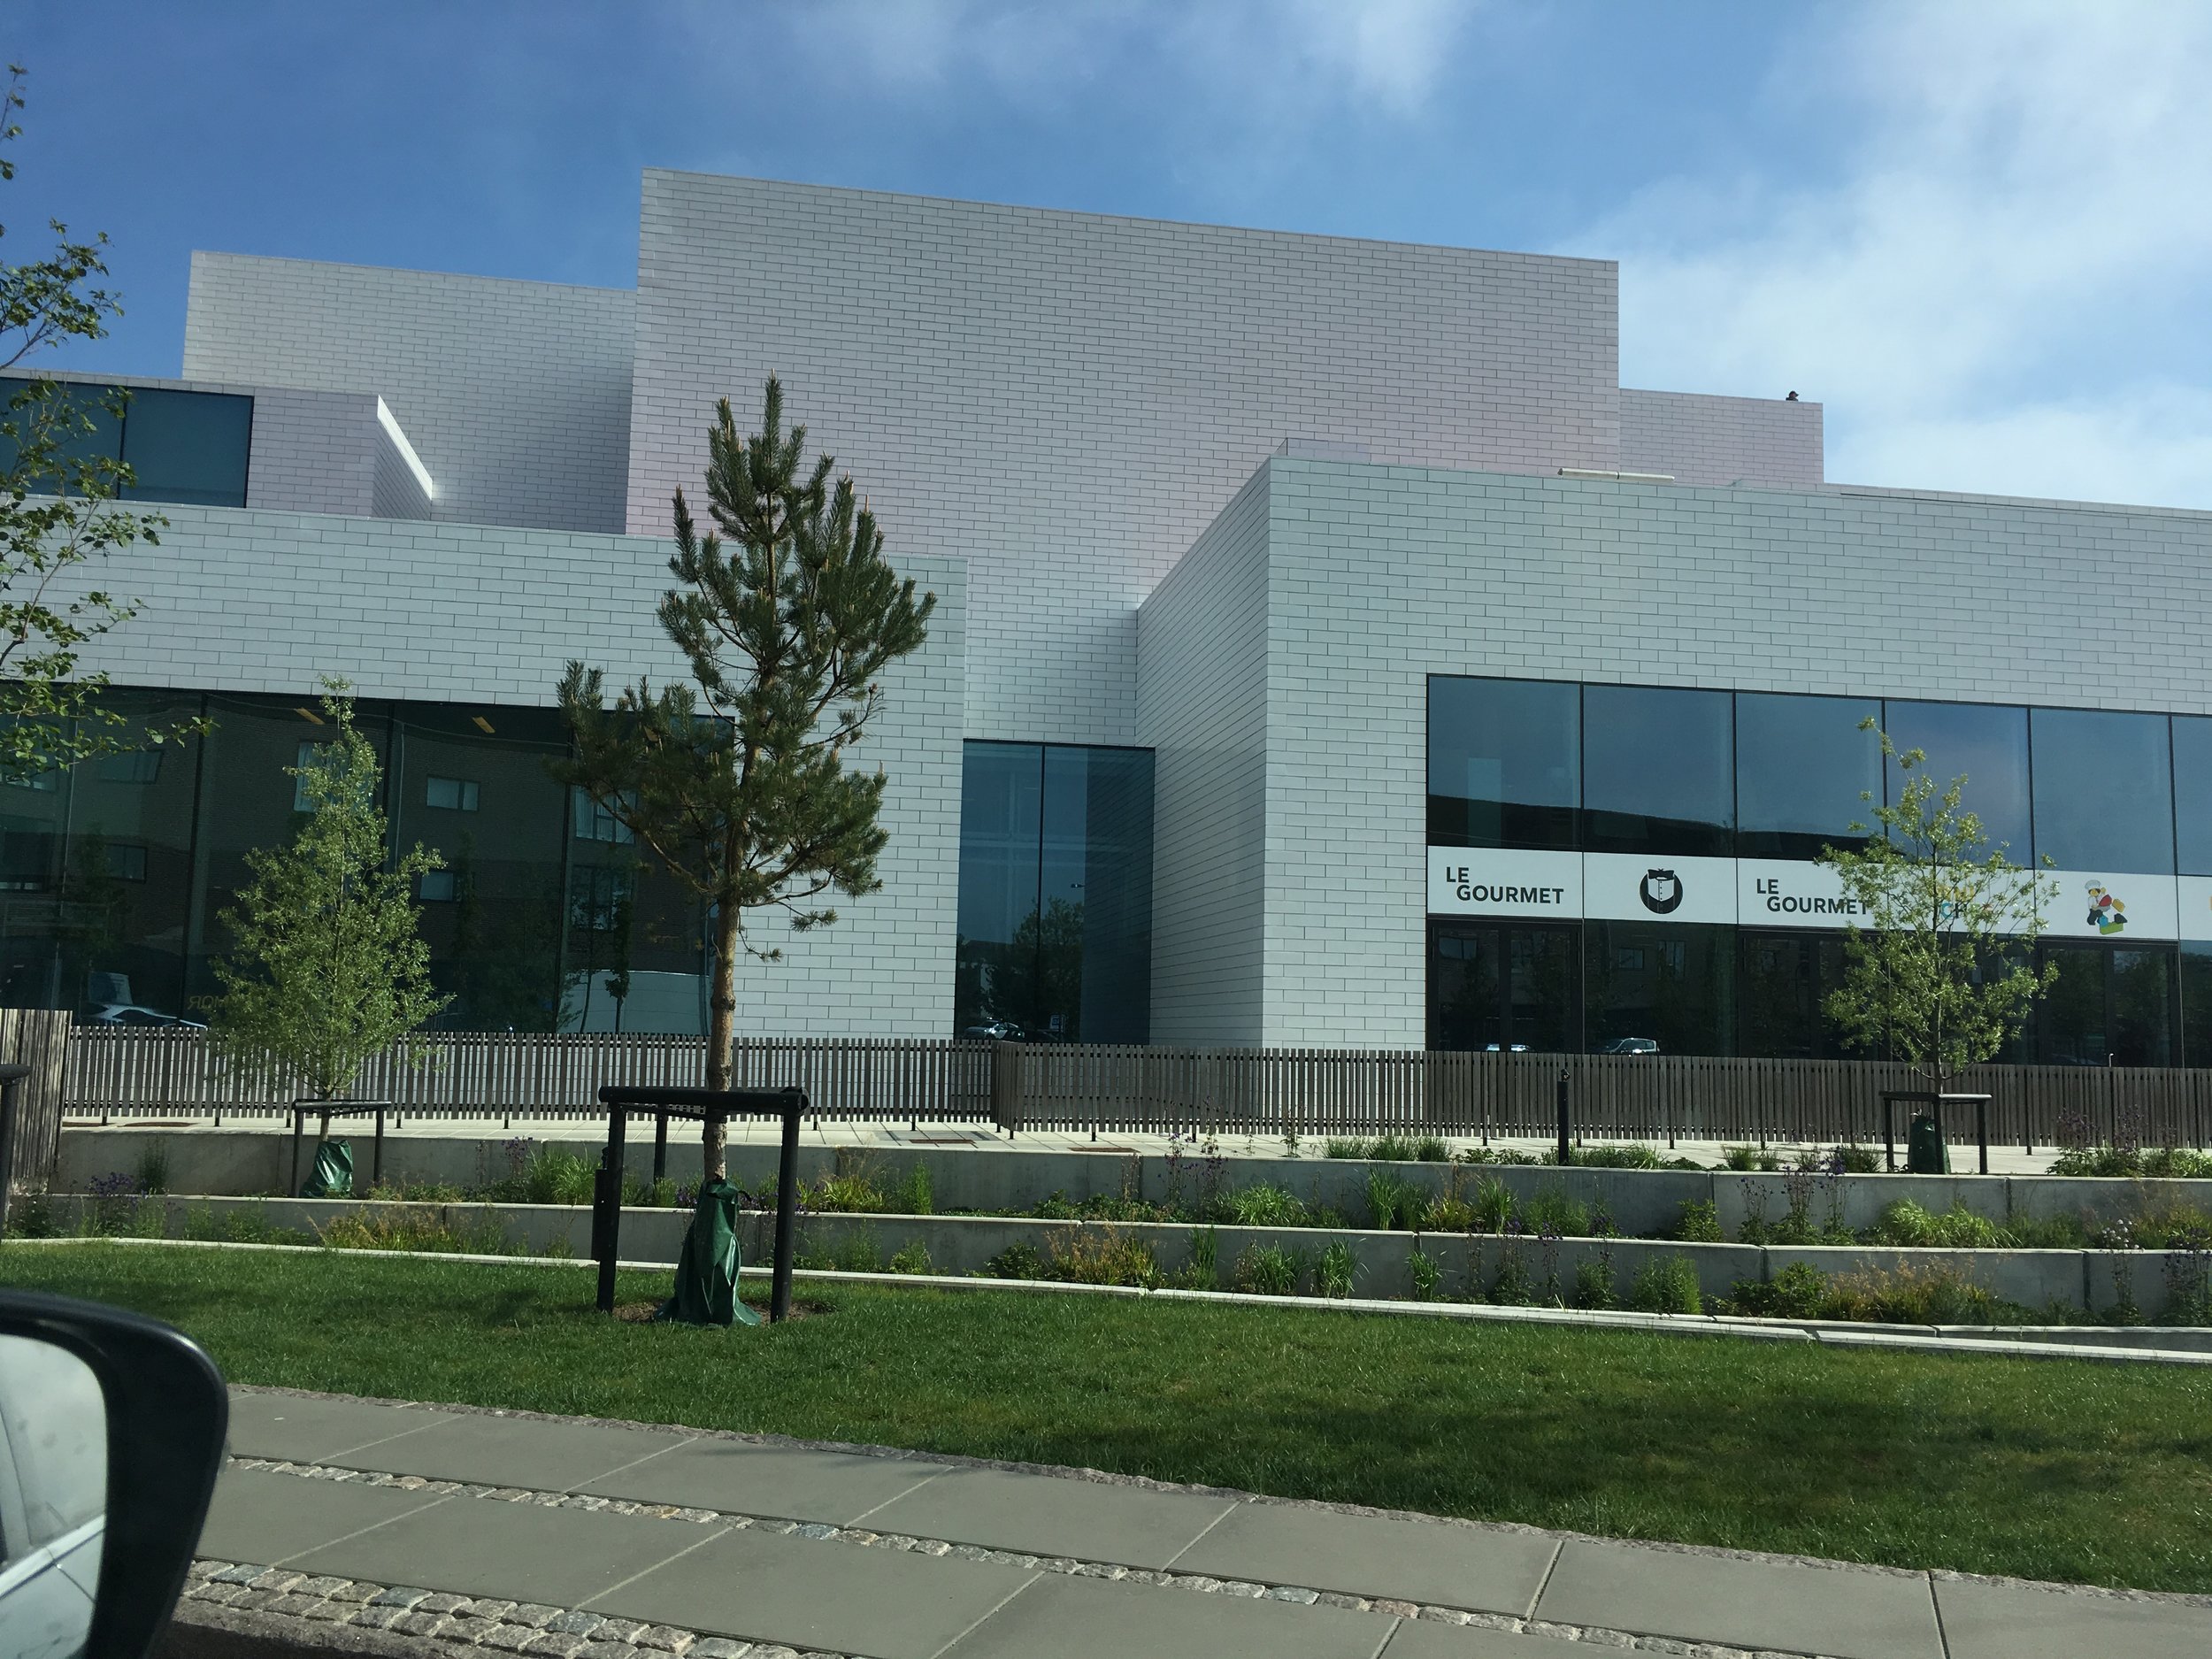
And then there it was… the LEGO® House.
There is a lot of new development going on around it (as you can see in the picture) and the roads around it have a bunch of newer looking shops and restaurants. In my excitement to be there, I of course focused all of my pictures on the LEGO items so I apologize for not getting anything on the surrounding areas. We did stop at a bakery there (yum) and my wife found a cool print that said Billund in a shop nearby. Other than that, our visit focused on the brick.
We parked in the parking garage nearby. It’s about 500 meters or so from the garage to the LEGO® House. For each of the two days we spent there, the cost to park was 60 DKK. We paid $8.98 on one day and $8.99 on the second day with the change in exchange rate. This isn’t bad considering we’ve parked in Europe for much worse. In some of the bigger cities such Brussels and Munich, we paid around $25 for the day. My work sent me to Frankfurt and parking there was around $40 for the day (which they thankfully reimbursed me for).
Back to the brick… we were excited to see more and more LEGO® references and we liked how the signs in the garage looked like they could be bricks stacked on each other. Each floor of the garage had a different theme on the wall. We didn’t get pictures of those, but definitely better than some of the plain, boring parking garages I have been in.
We made it! After seeing all of the videos and blog posts of others, it was very exciting to be there in person. Over the next few posts, I will go through the inside and give some related reviews to the LEGO® House experience.


