I had never been to a LEGOLAND anywhere and a recent family trip took us by Goshen, NY so we figured, why not plan to visit LEGOLAND New York for a day. I had a lot of Insider Points so I used them for the tickets (despite tickets in the US being double the number of points over tickets at other LEGOLANDs not in the US). Tickets are listed as $49 each if you get them online in advance. We opted not to stay at the hotel attached to the park as that was more than we wanted to spend. We found a hotel that was about 20 minutes away and the price was reasonable.
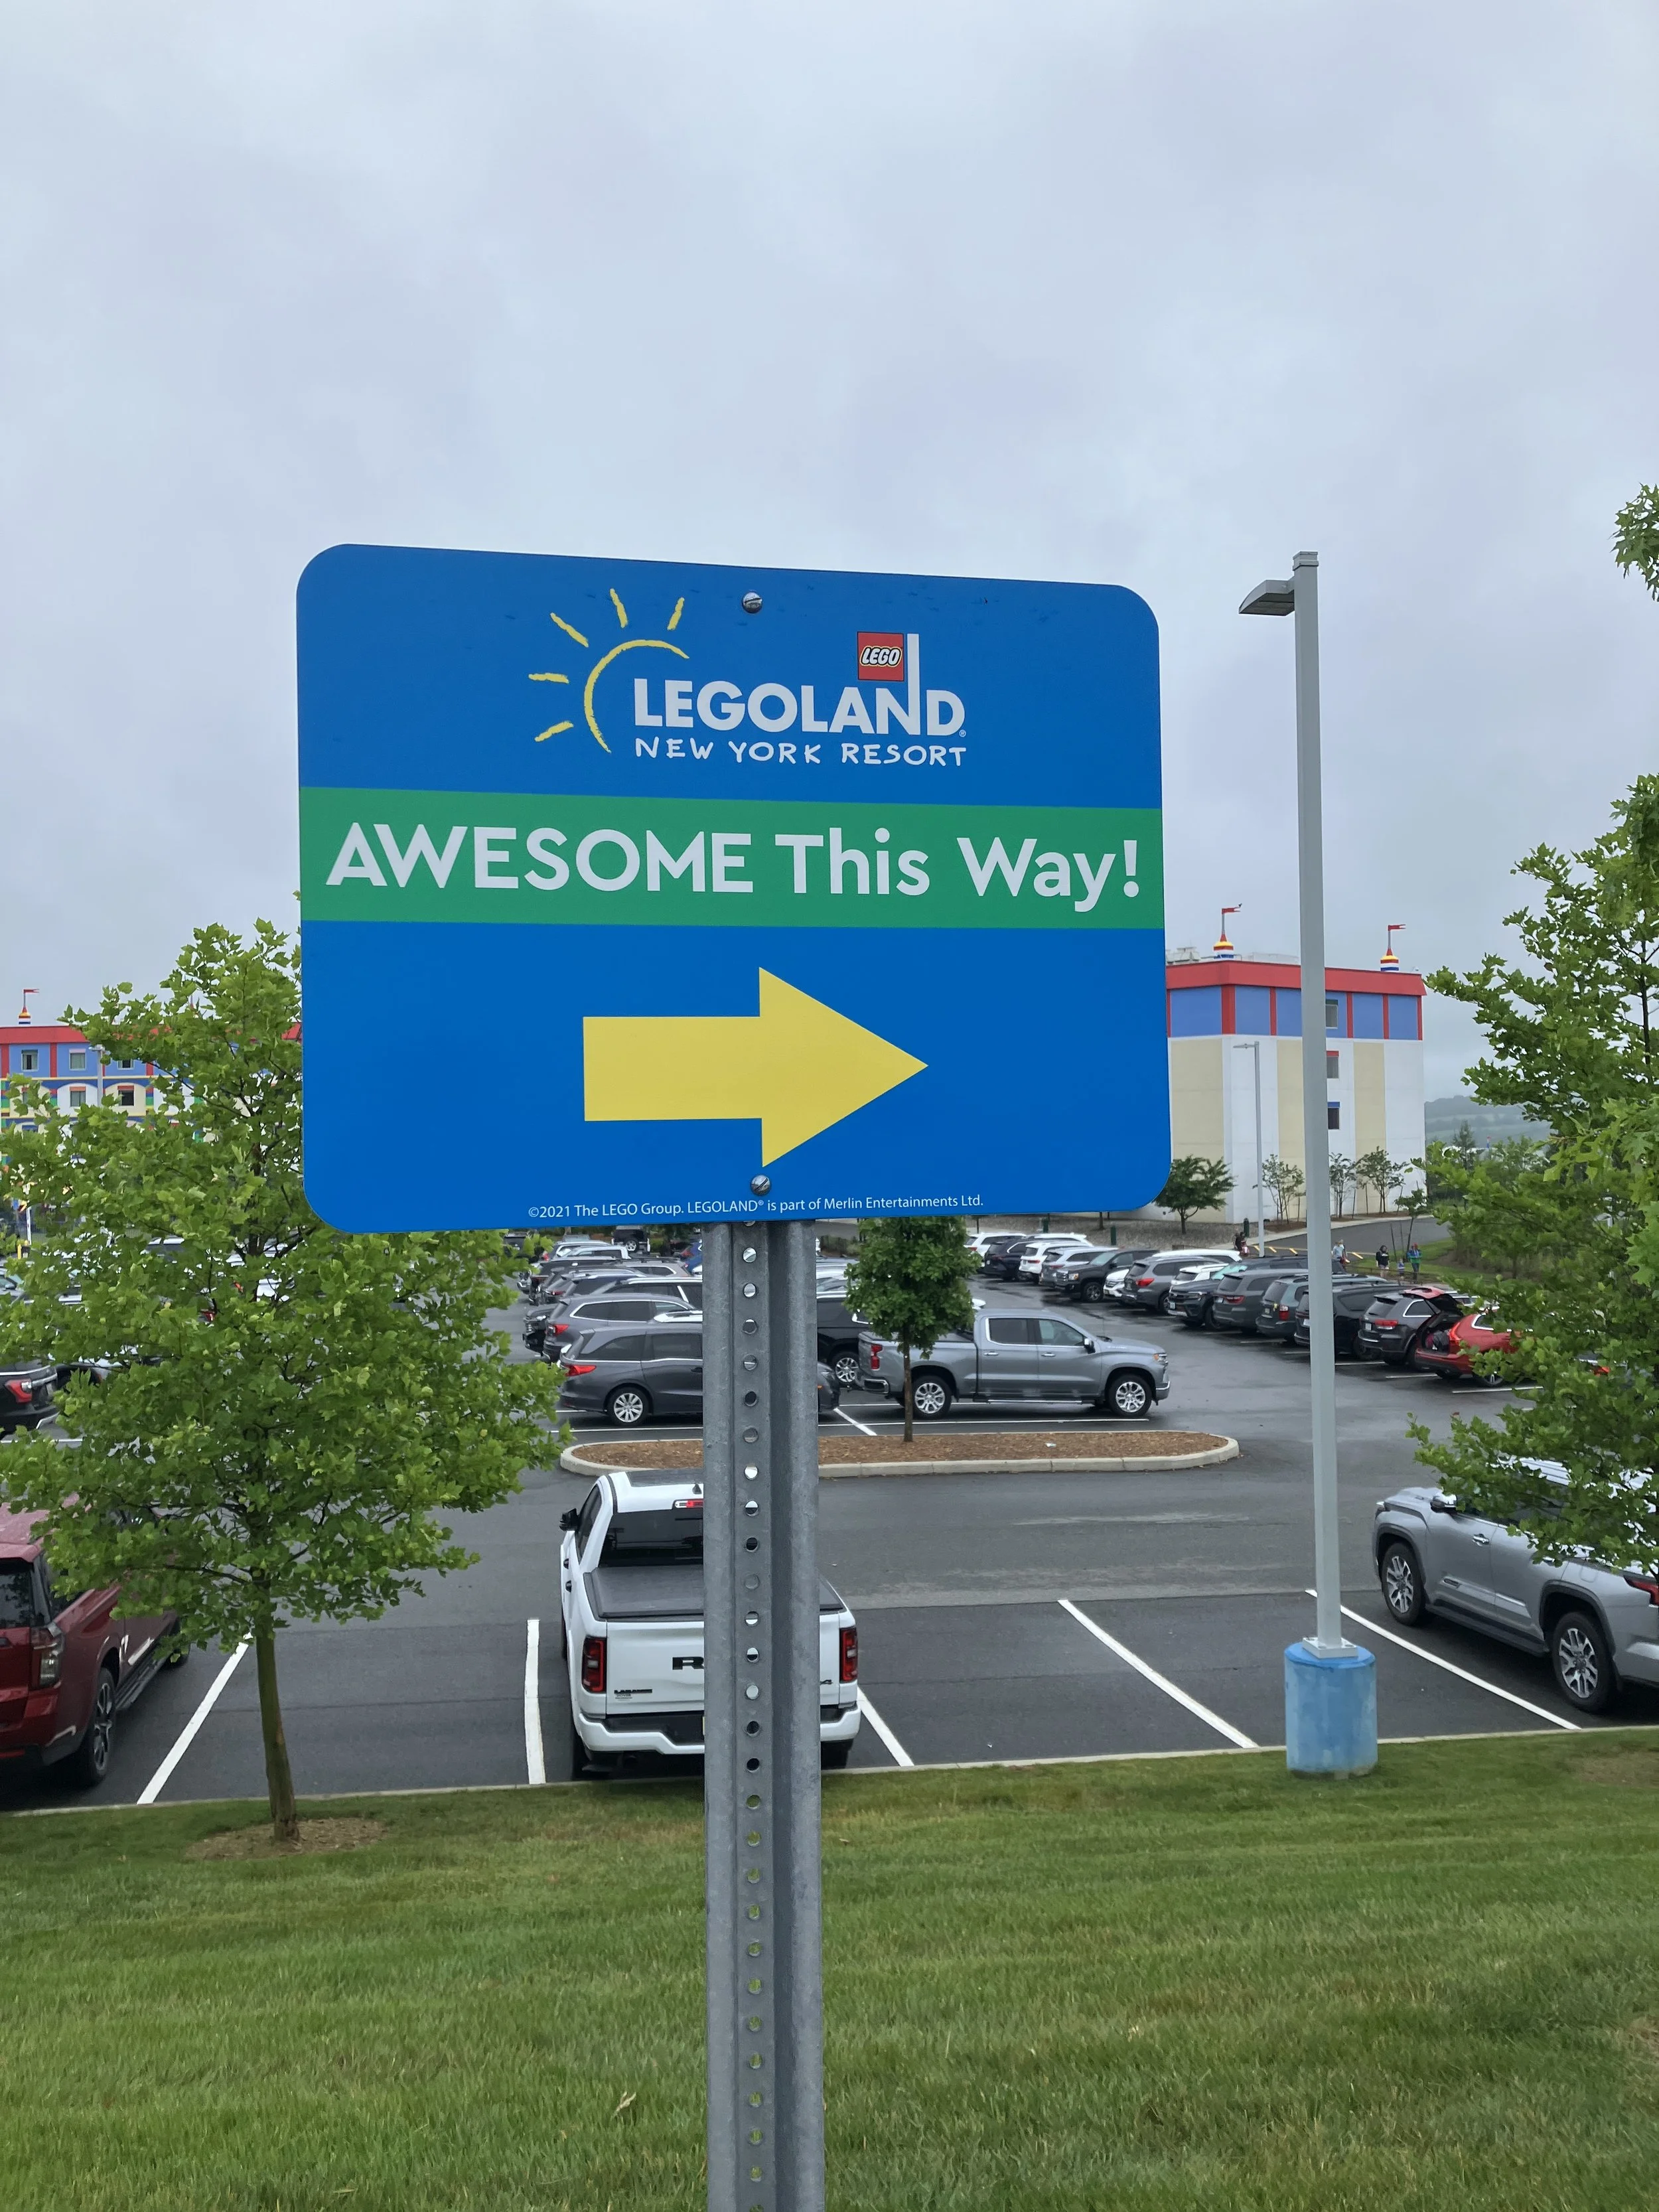
Traveling to the park was easy. It’s not in a busy area of the state and the traffic was not bad. We arrived before the park opened and there was no line for parking. Of note, we went while schools in NY were still in session, but PA schools had already been out for a few weeks. That may have helped with the crowds. There are two large parking lots. The closest lot to the park is $55 a day before tax and the further lot is $38 a day before tax. We opted to walk a couple extra minutes to save $17.
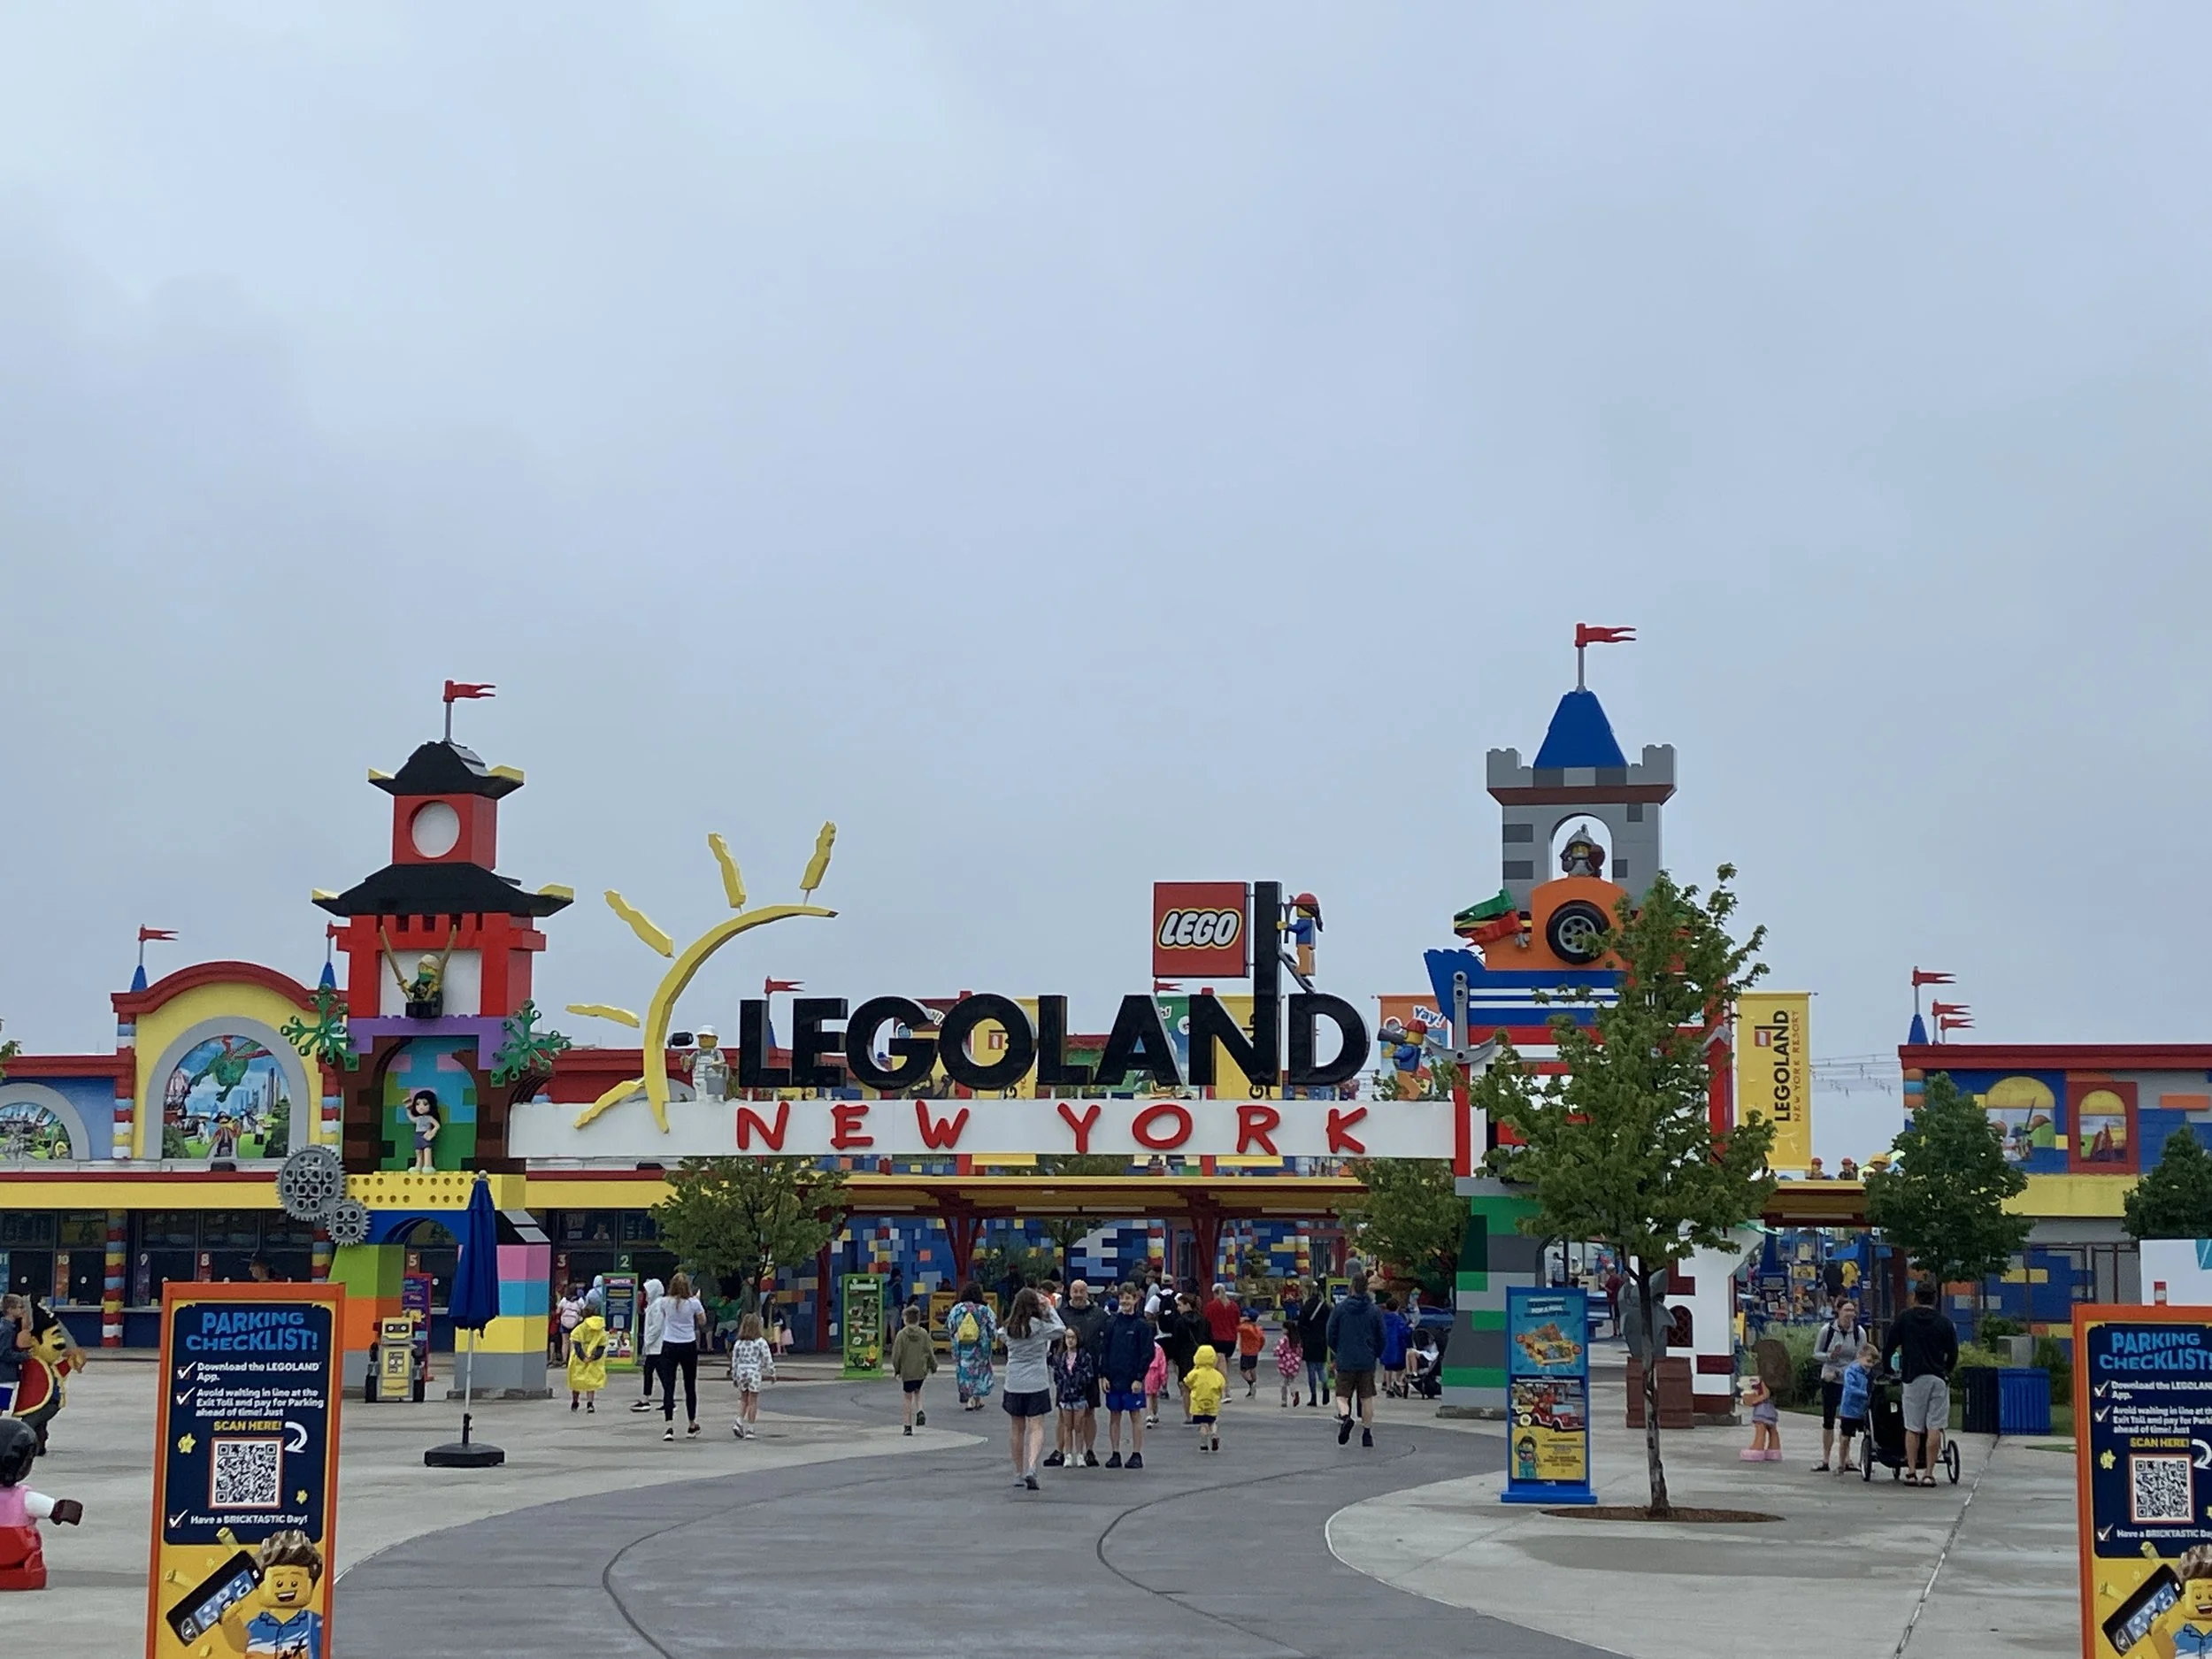
Entry was easy. I had the tickets on my phone and we were scanned in and ready to go. The park entrance pictures are below.
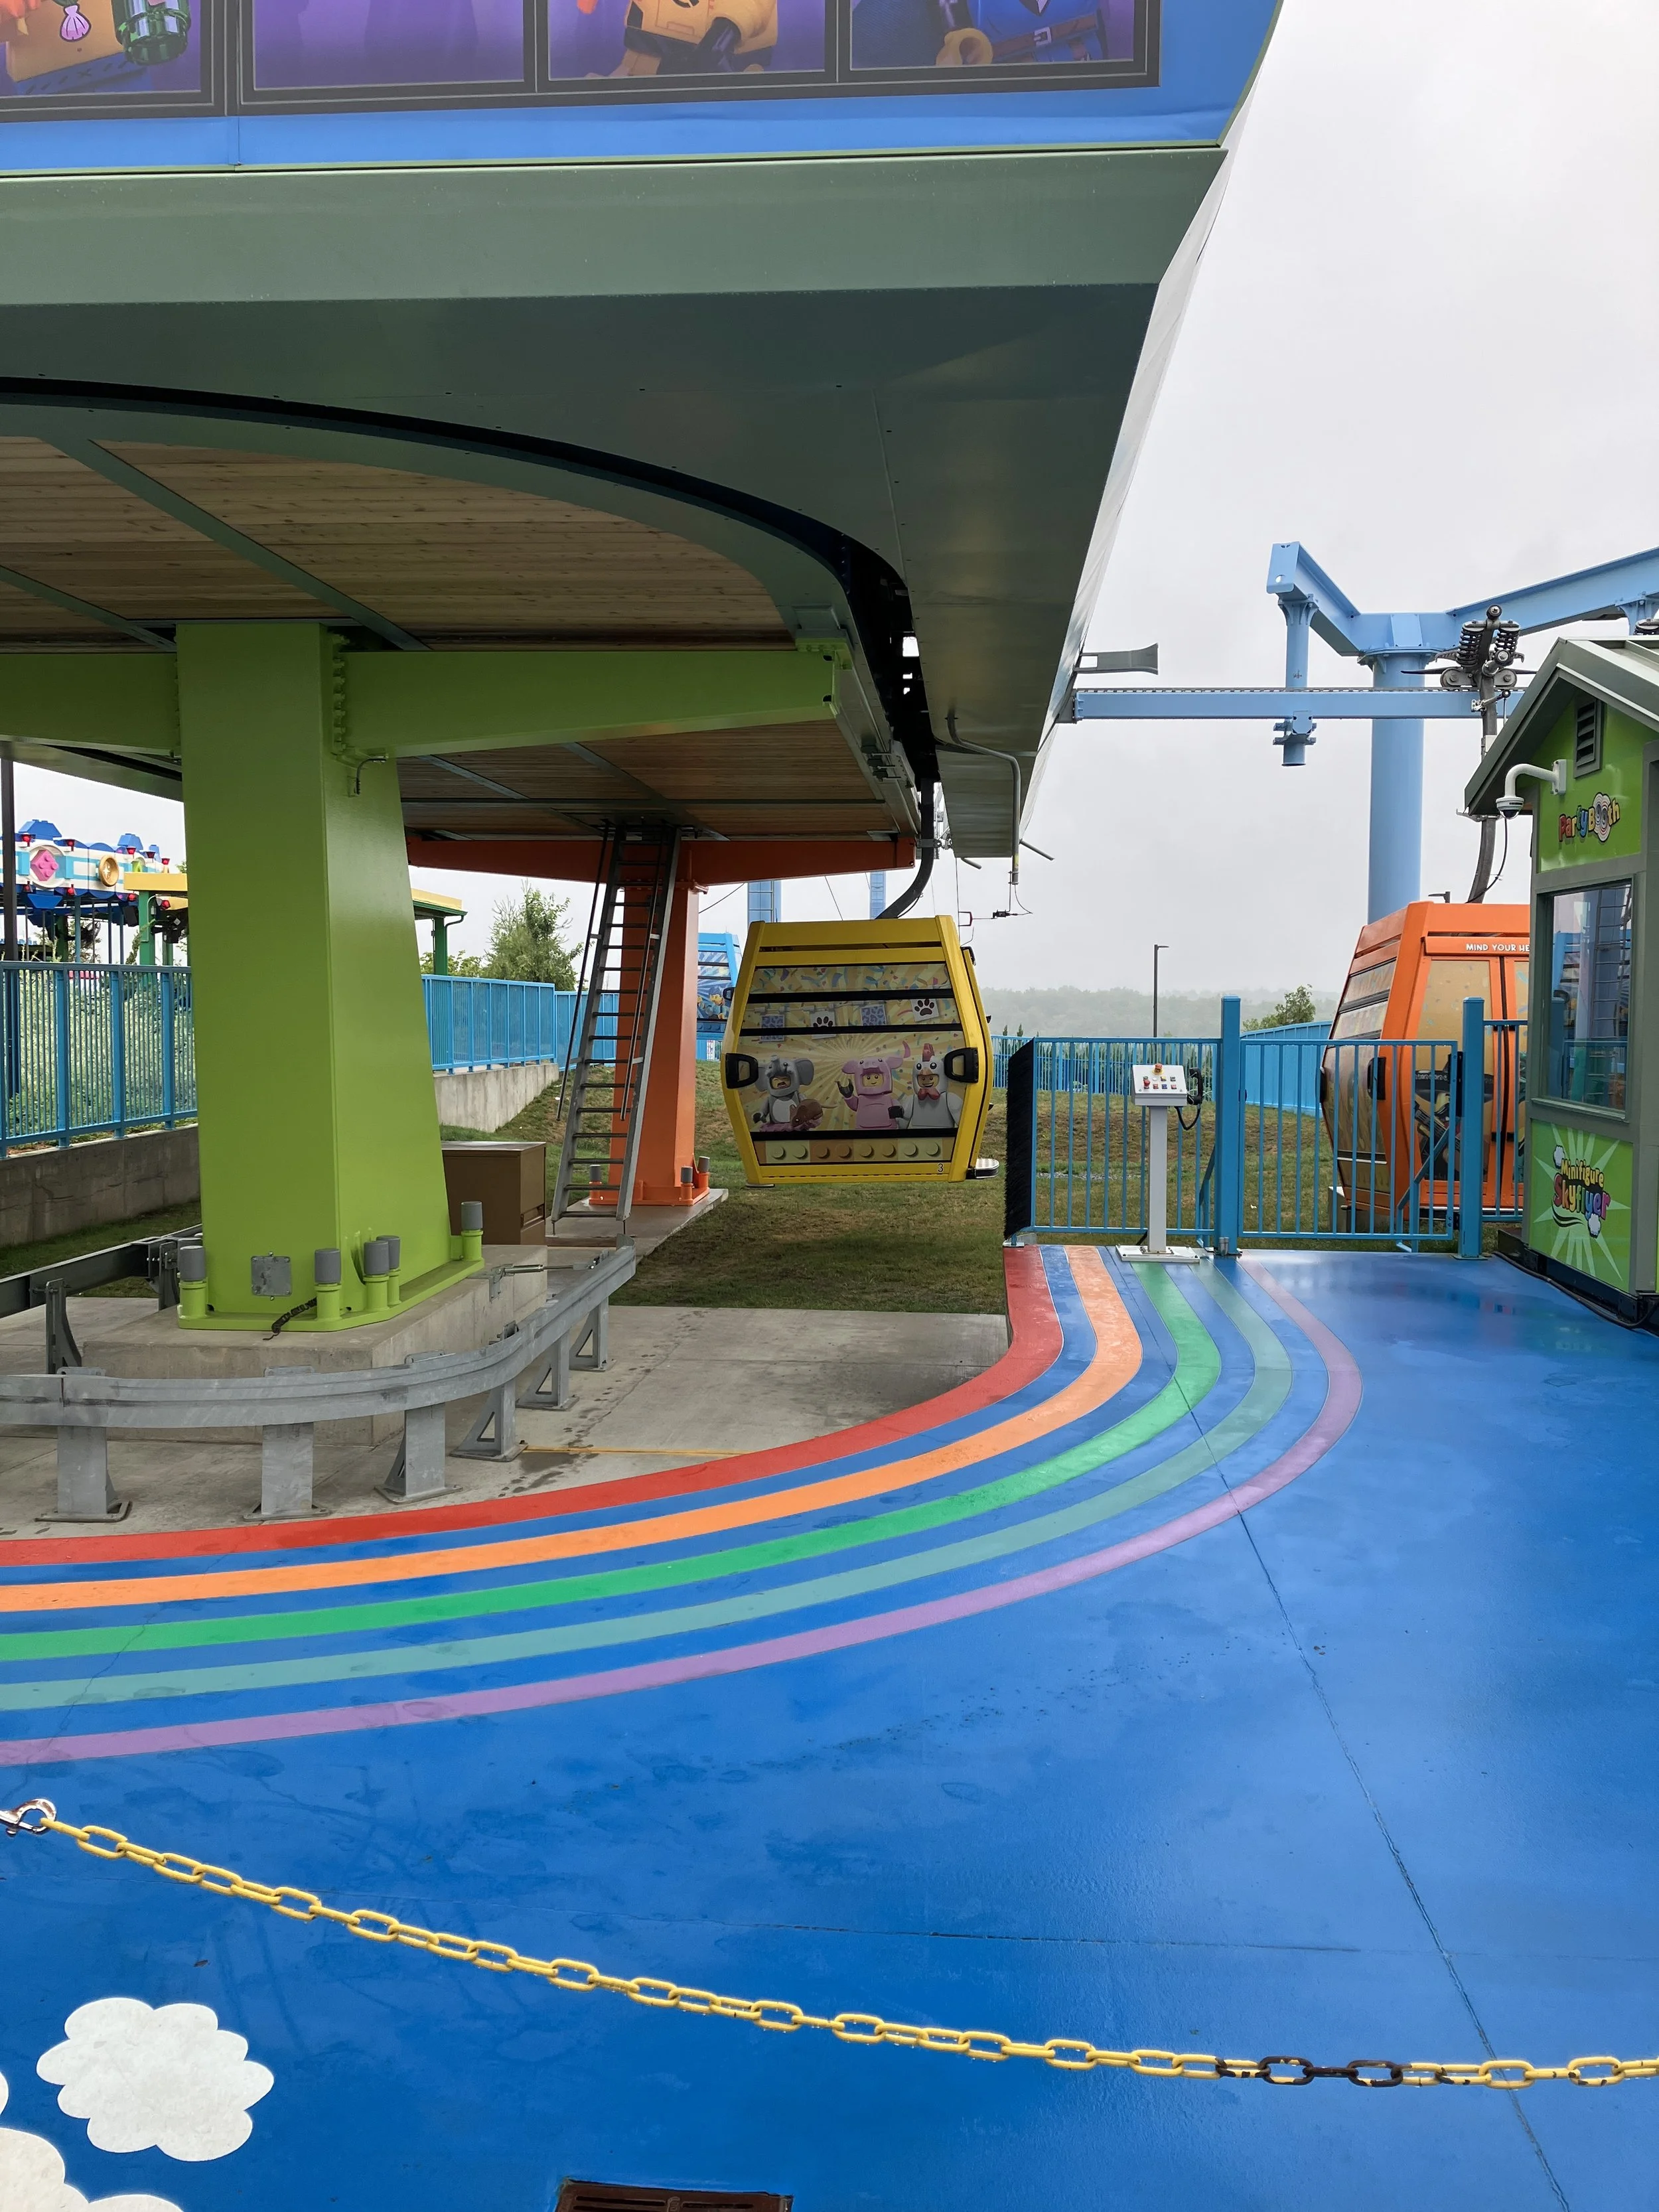
LEGOLAND New York is on a hill, but it does have a gondola that will take you from close to the entrance to near the Pirate section of the park. We took the gondola right away thinking everyone else would start at the front and work back and we’d do the opposite. Each gondola car has a different minifigure theme and it was fun to watch the different minifigures on each one as they went by.
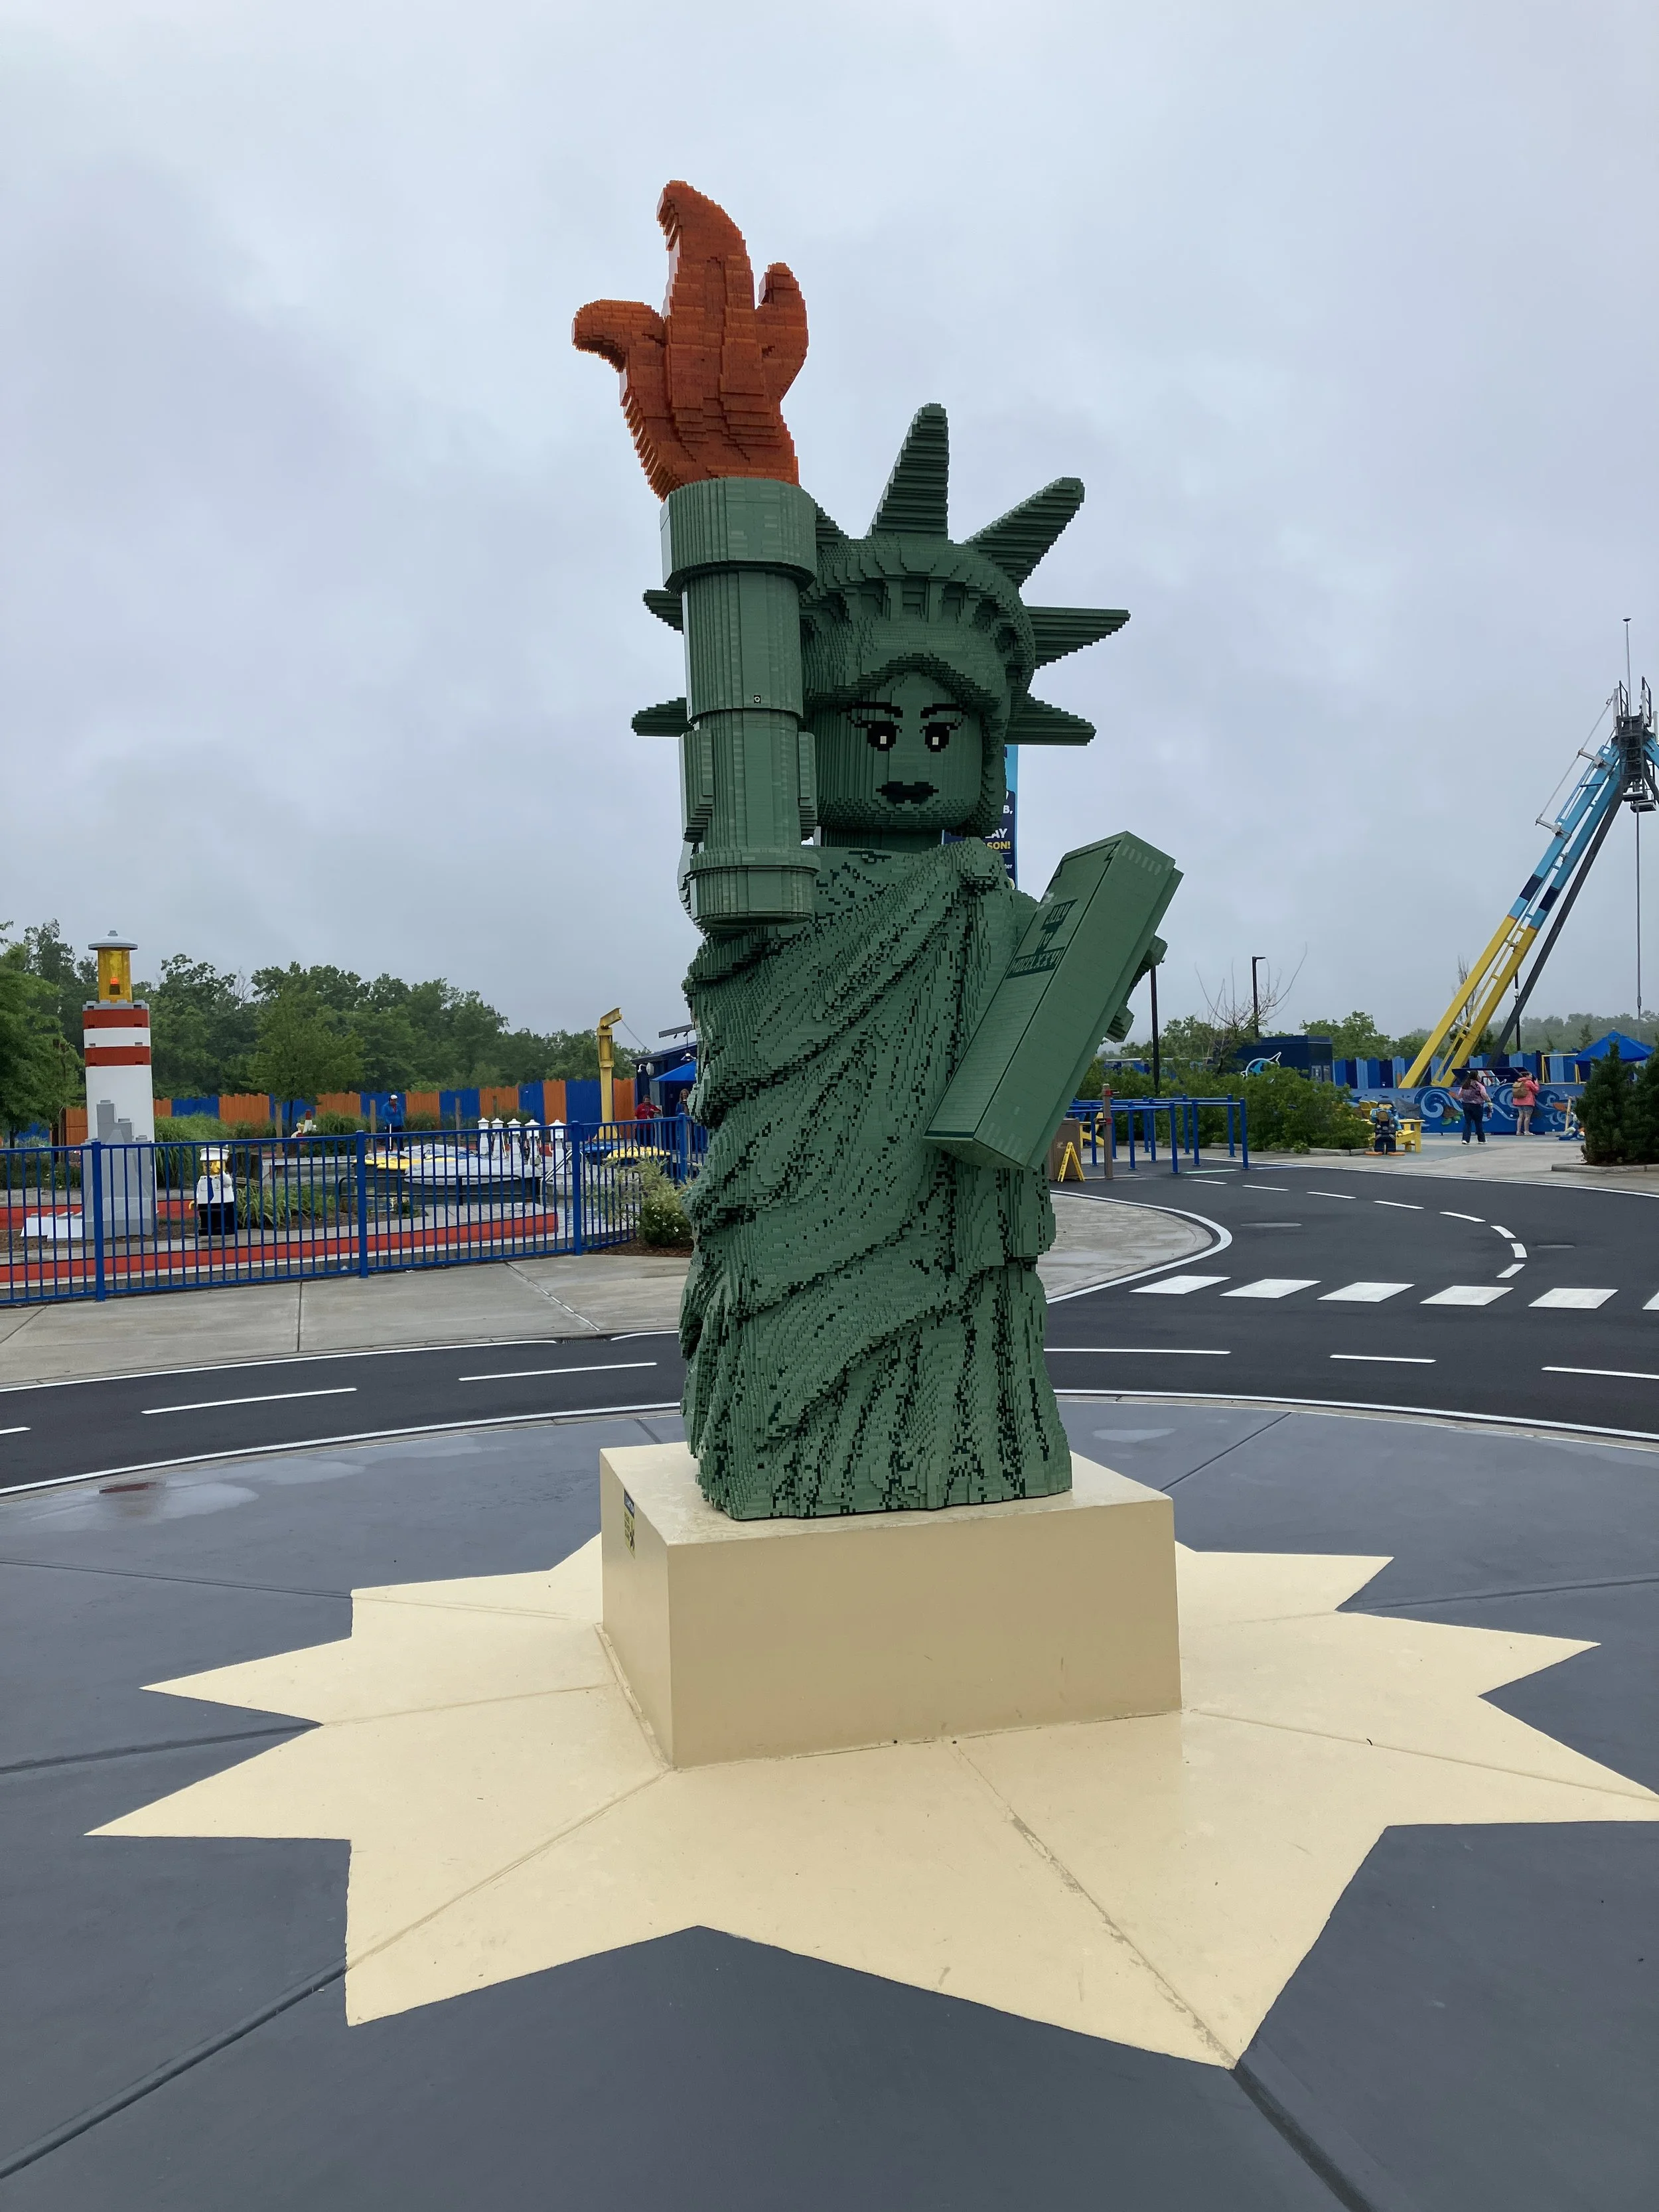
We started in the CITY area with the large minifigure of the Statue of Liberty to welcome you (as seen below). We started with some cars kids could drive around a road system. There was no wait and most of the cars were empty so my kids had only a handful of other drivers to deal with. My kids had fun, but my older one was almost too tall to fit in the car.
Next was a LEGO fire truck ride where you had to pump a handle to get the truck to move from one end of the lot to the other. Then you had to get out and use another pump to spray water at a building facade. The windows had screens with smoke and fire on them. You had to put out the fire and then get back into the truck and drive back. It was a short experience, but fun and no line.
There were other activities and some additional things you could pay for, but we decided to move on.
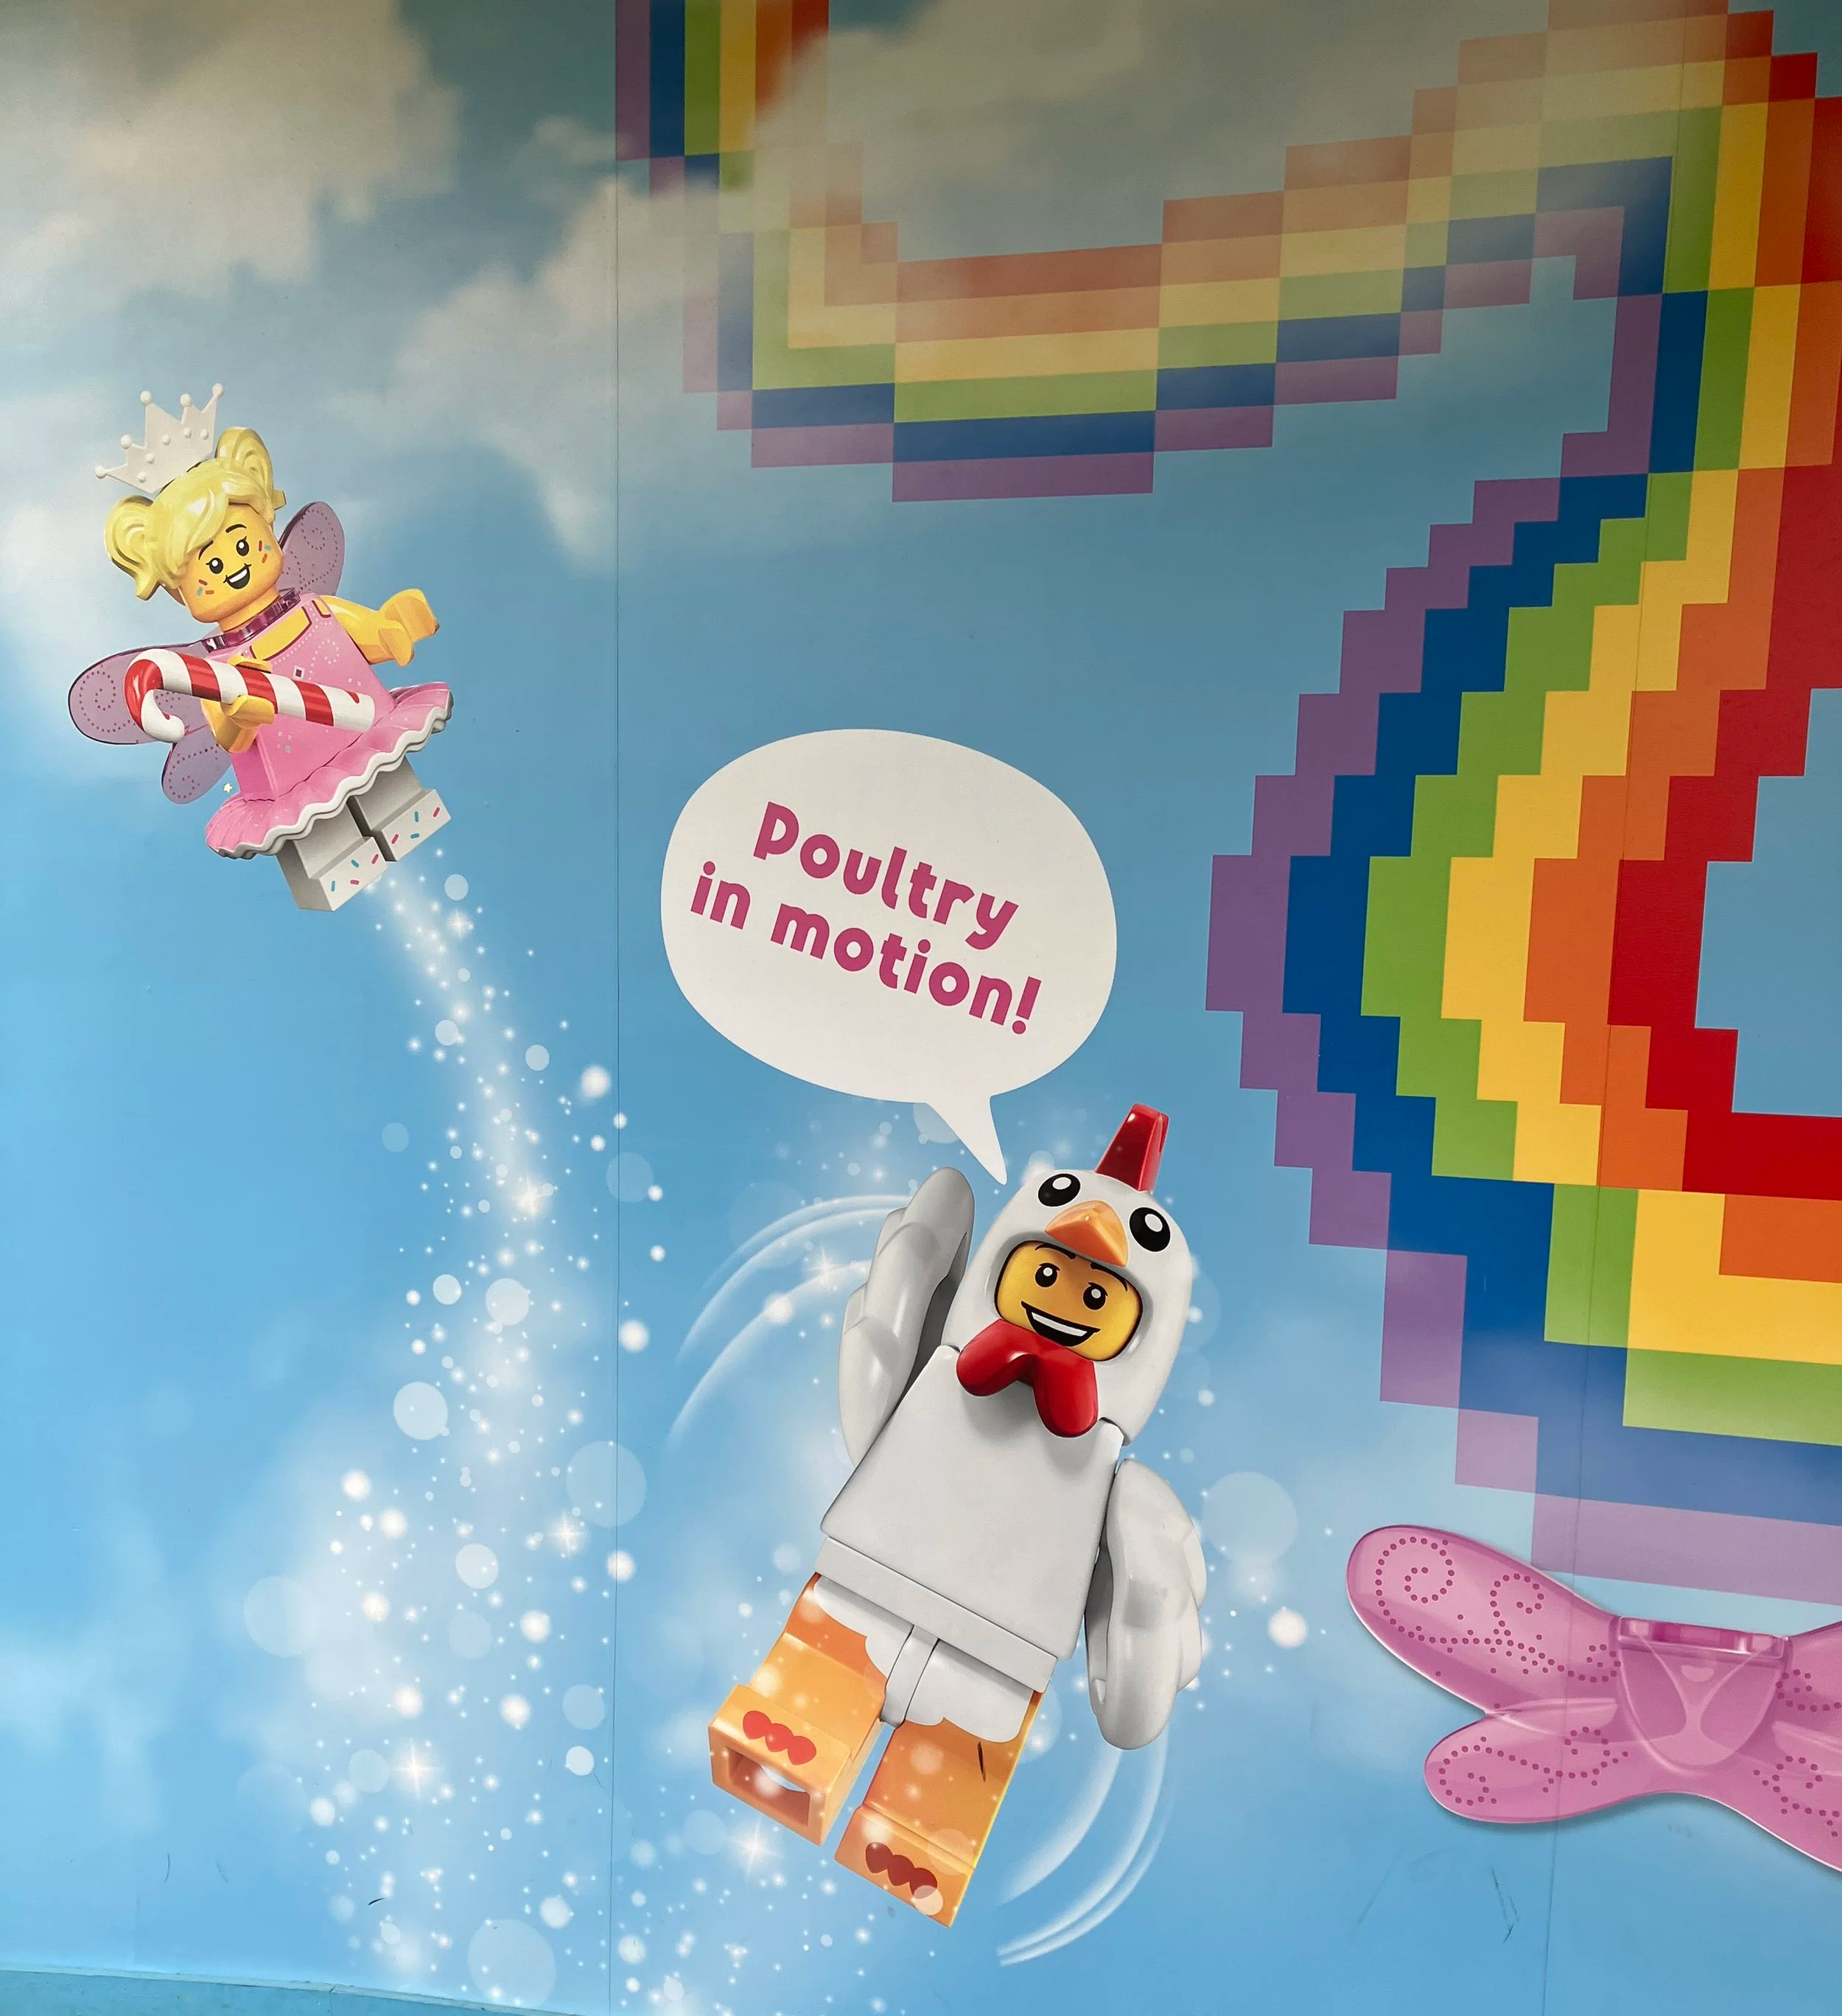
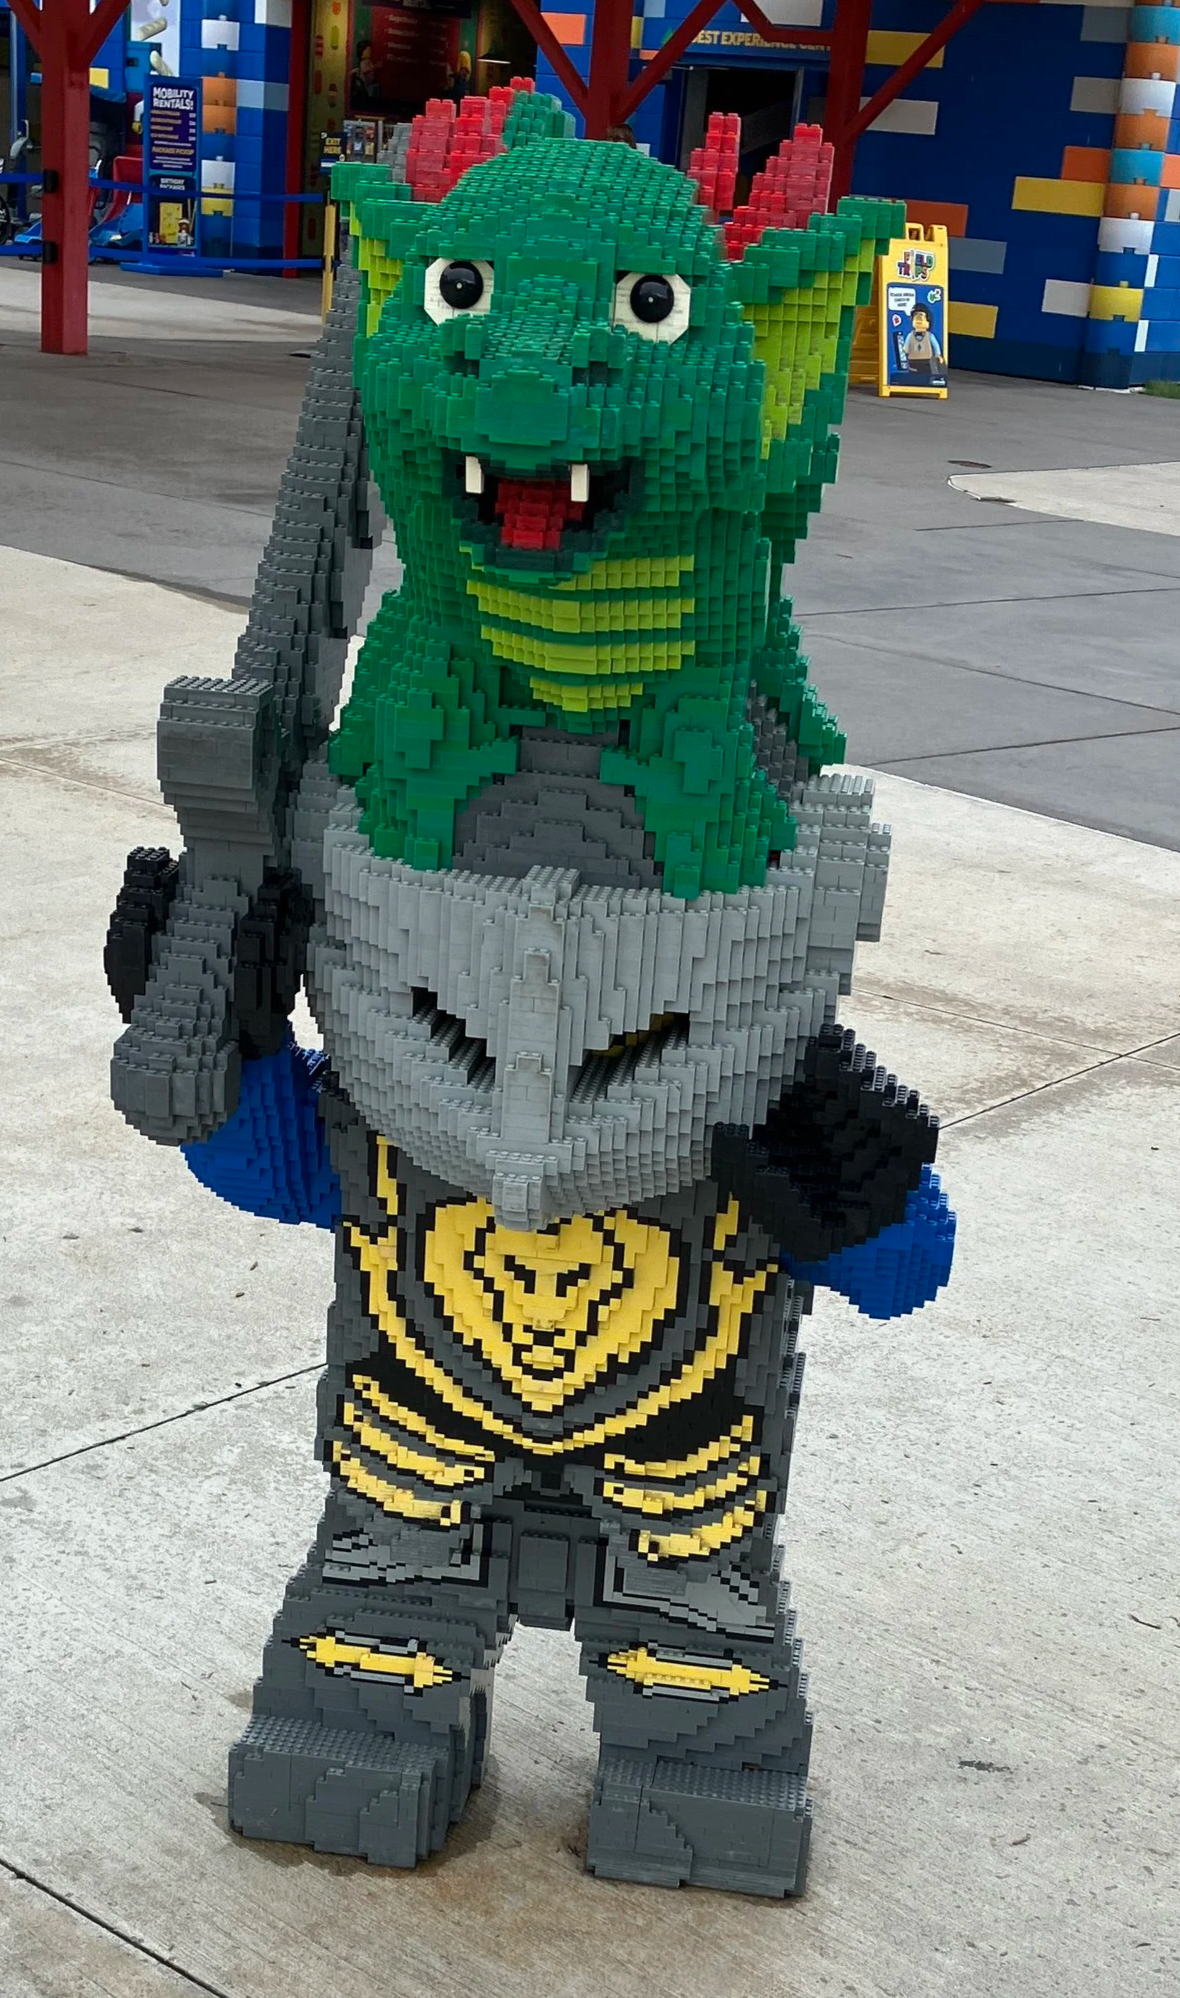
Throughout the park, there are some great decorations made of brick or just painted/printed on walls. This wall had numerous minifigures on it. Some of them were set up so you could stand in front and have wings like the fairy wings on the right. I didn’t take pictures of every display, but between the builds or random large scale LEGO flowers, and decorations, it still made you feel you were in LEGOLAND and not some random amusement park.
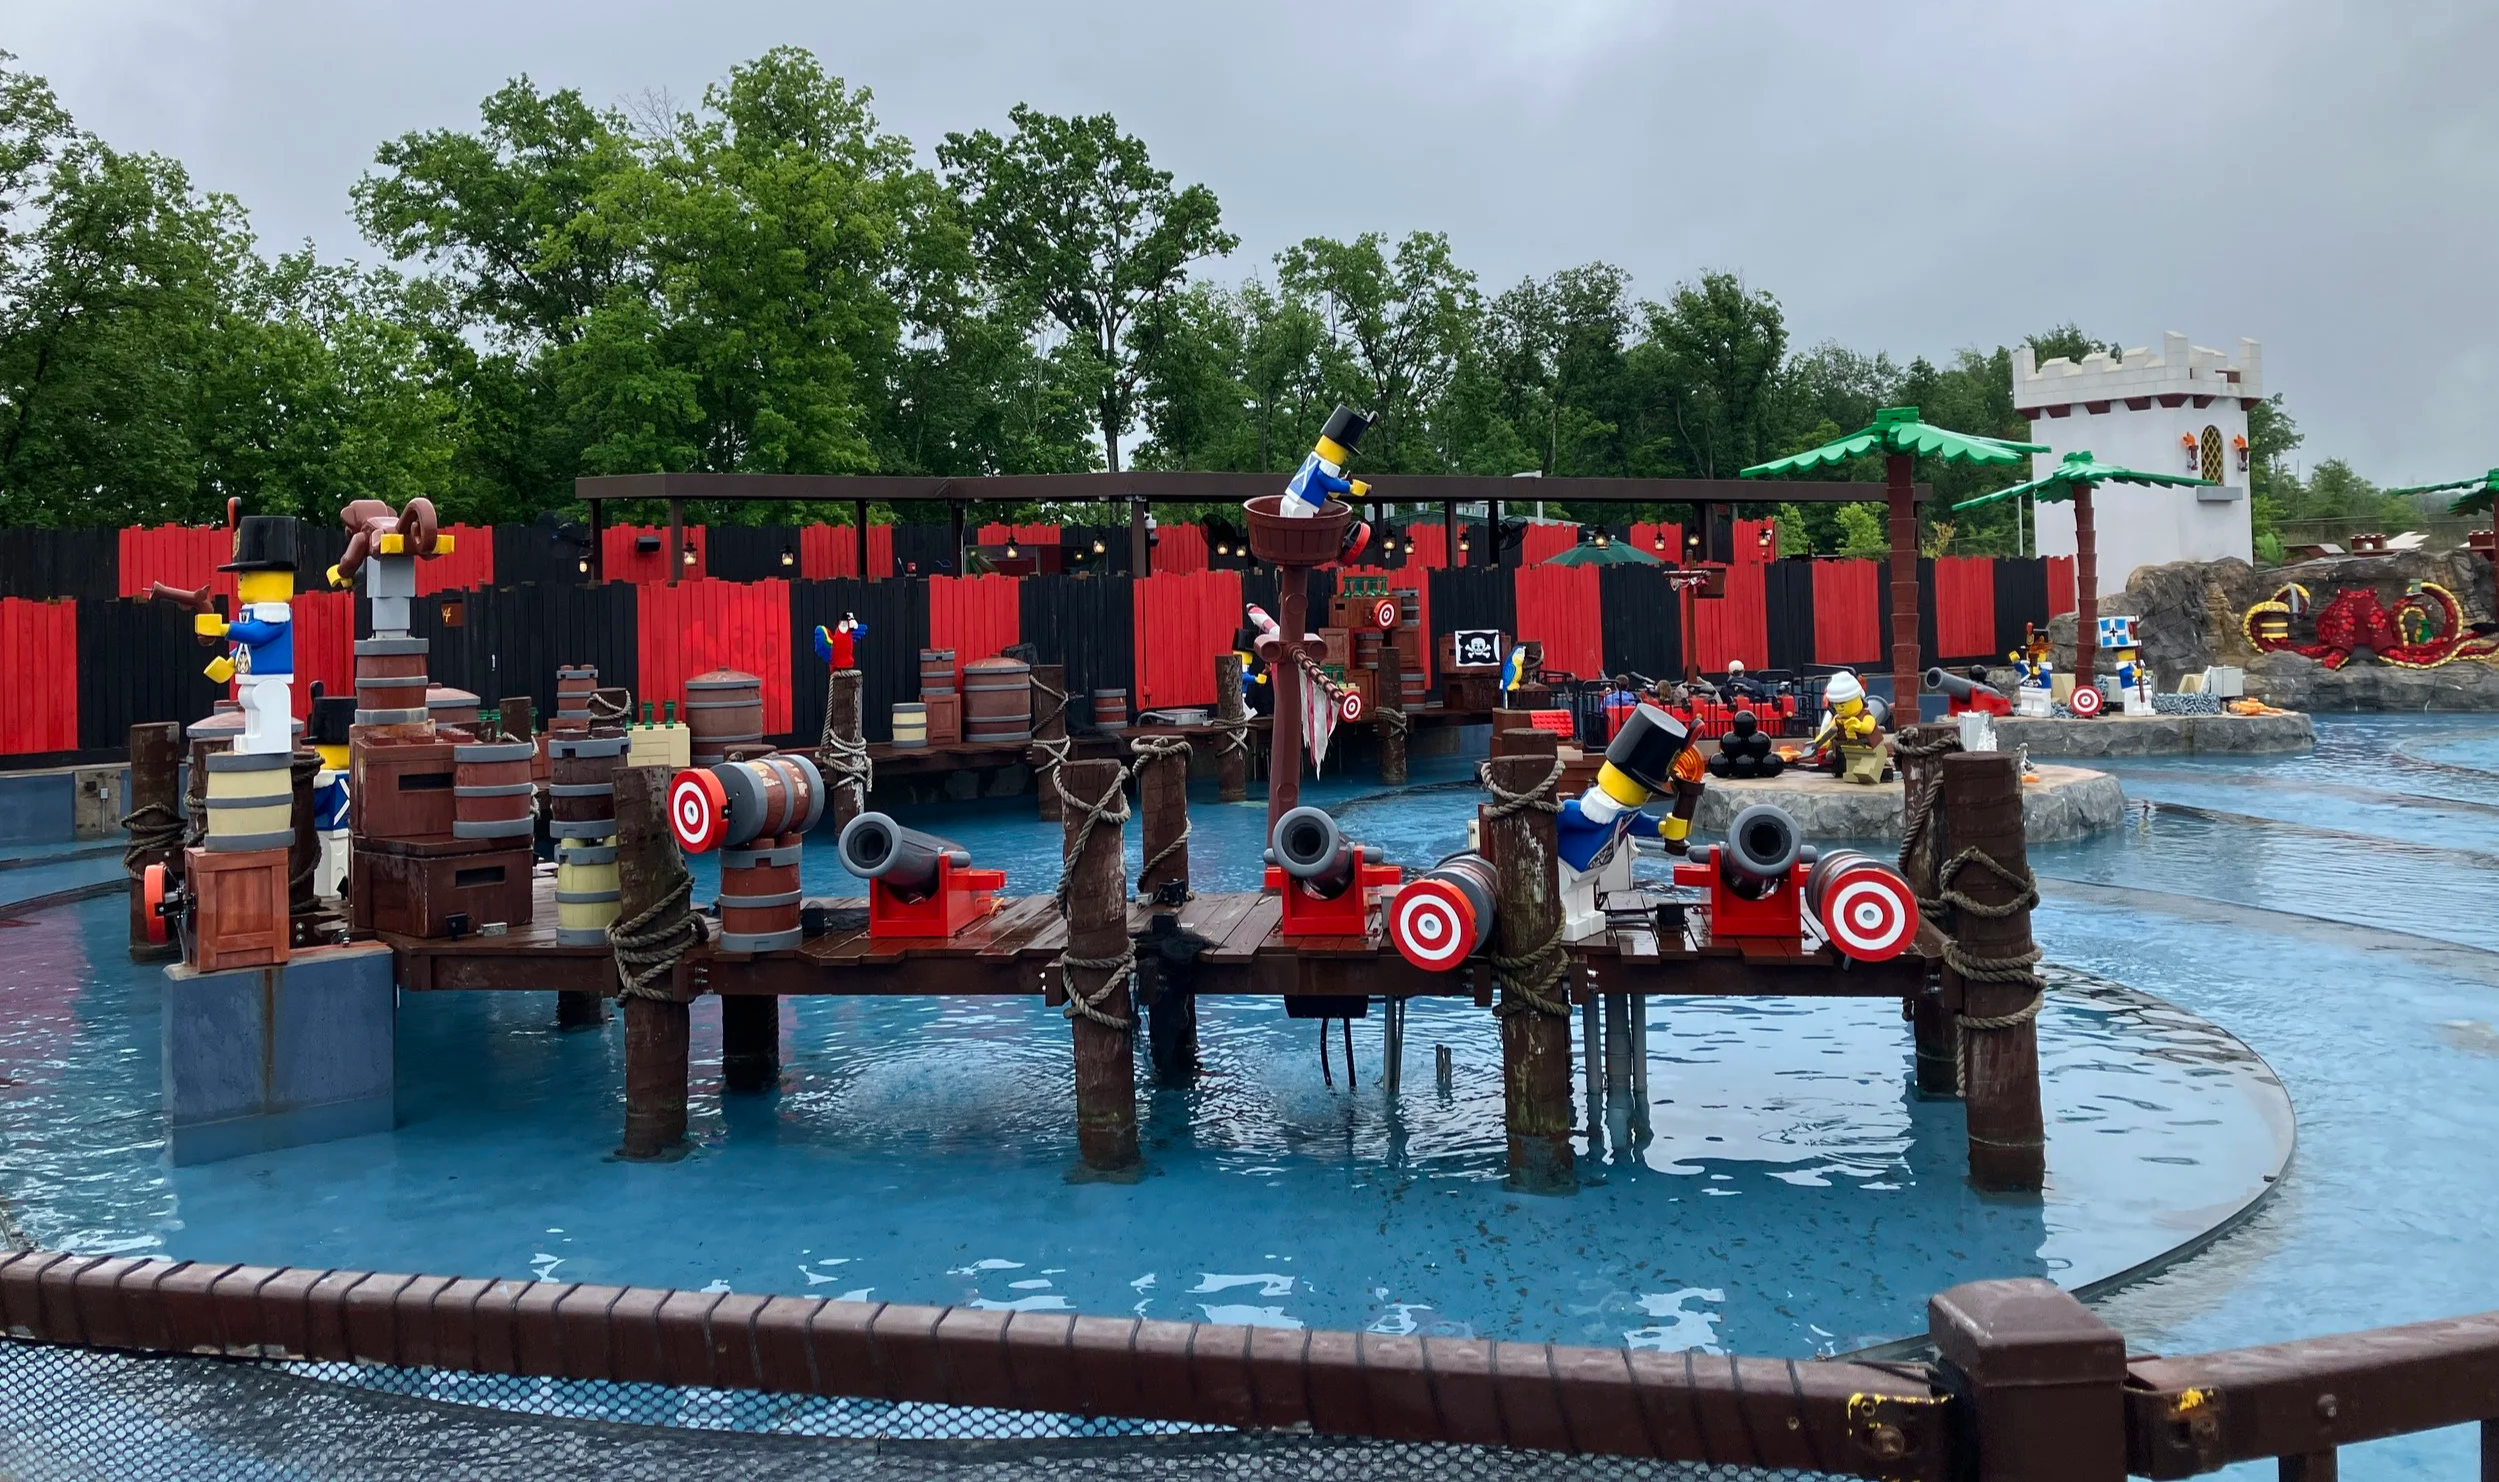
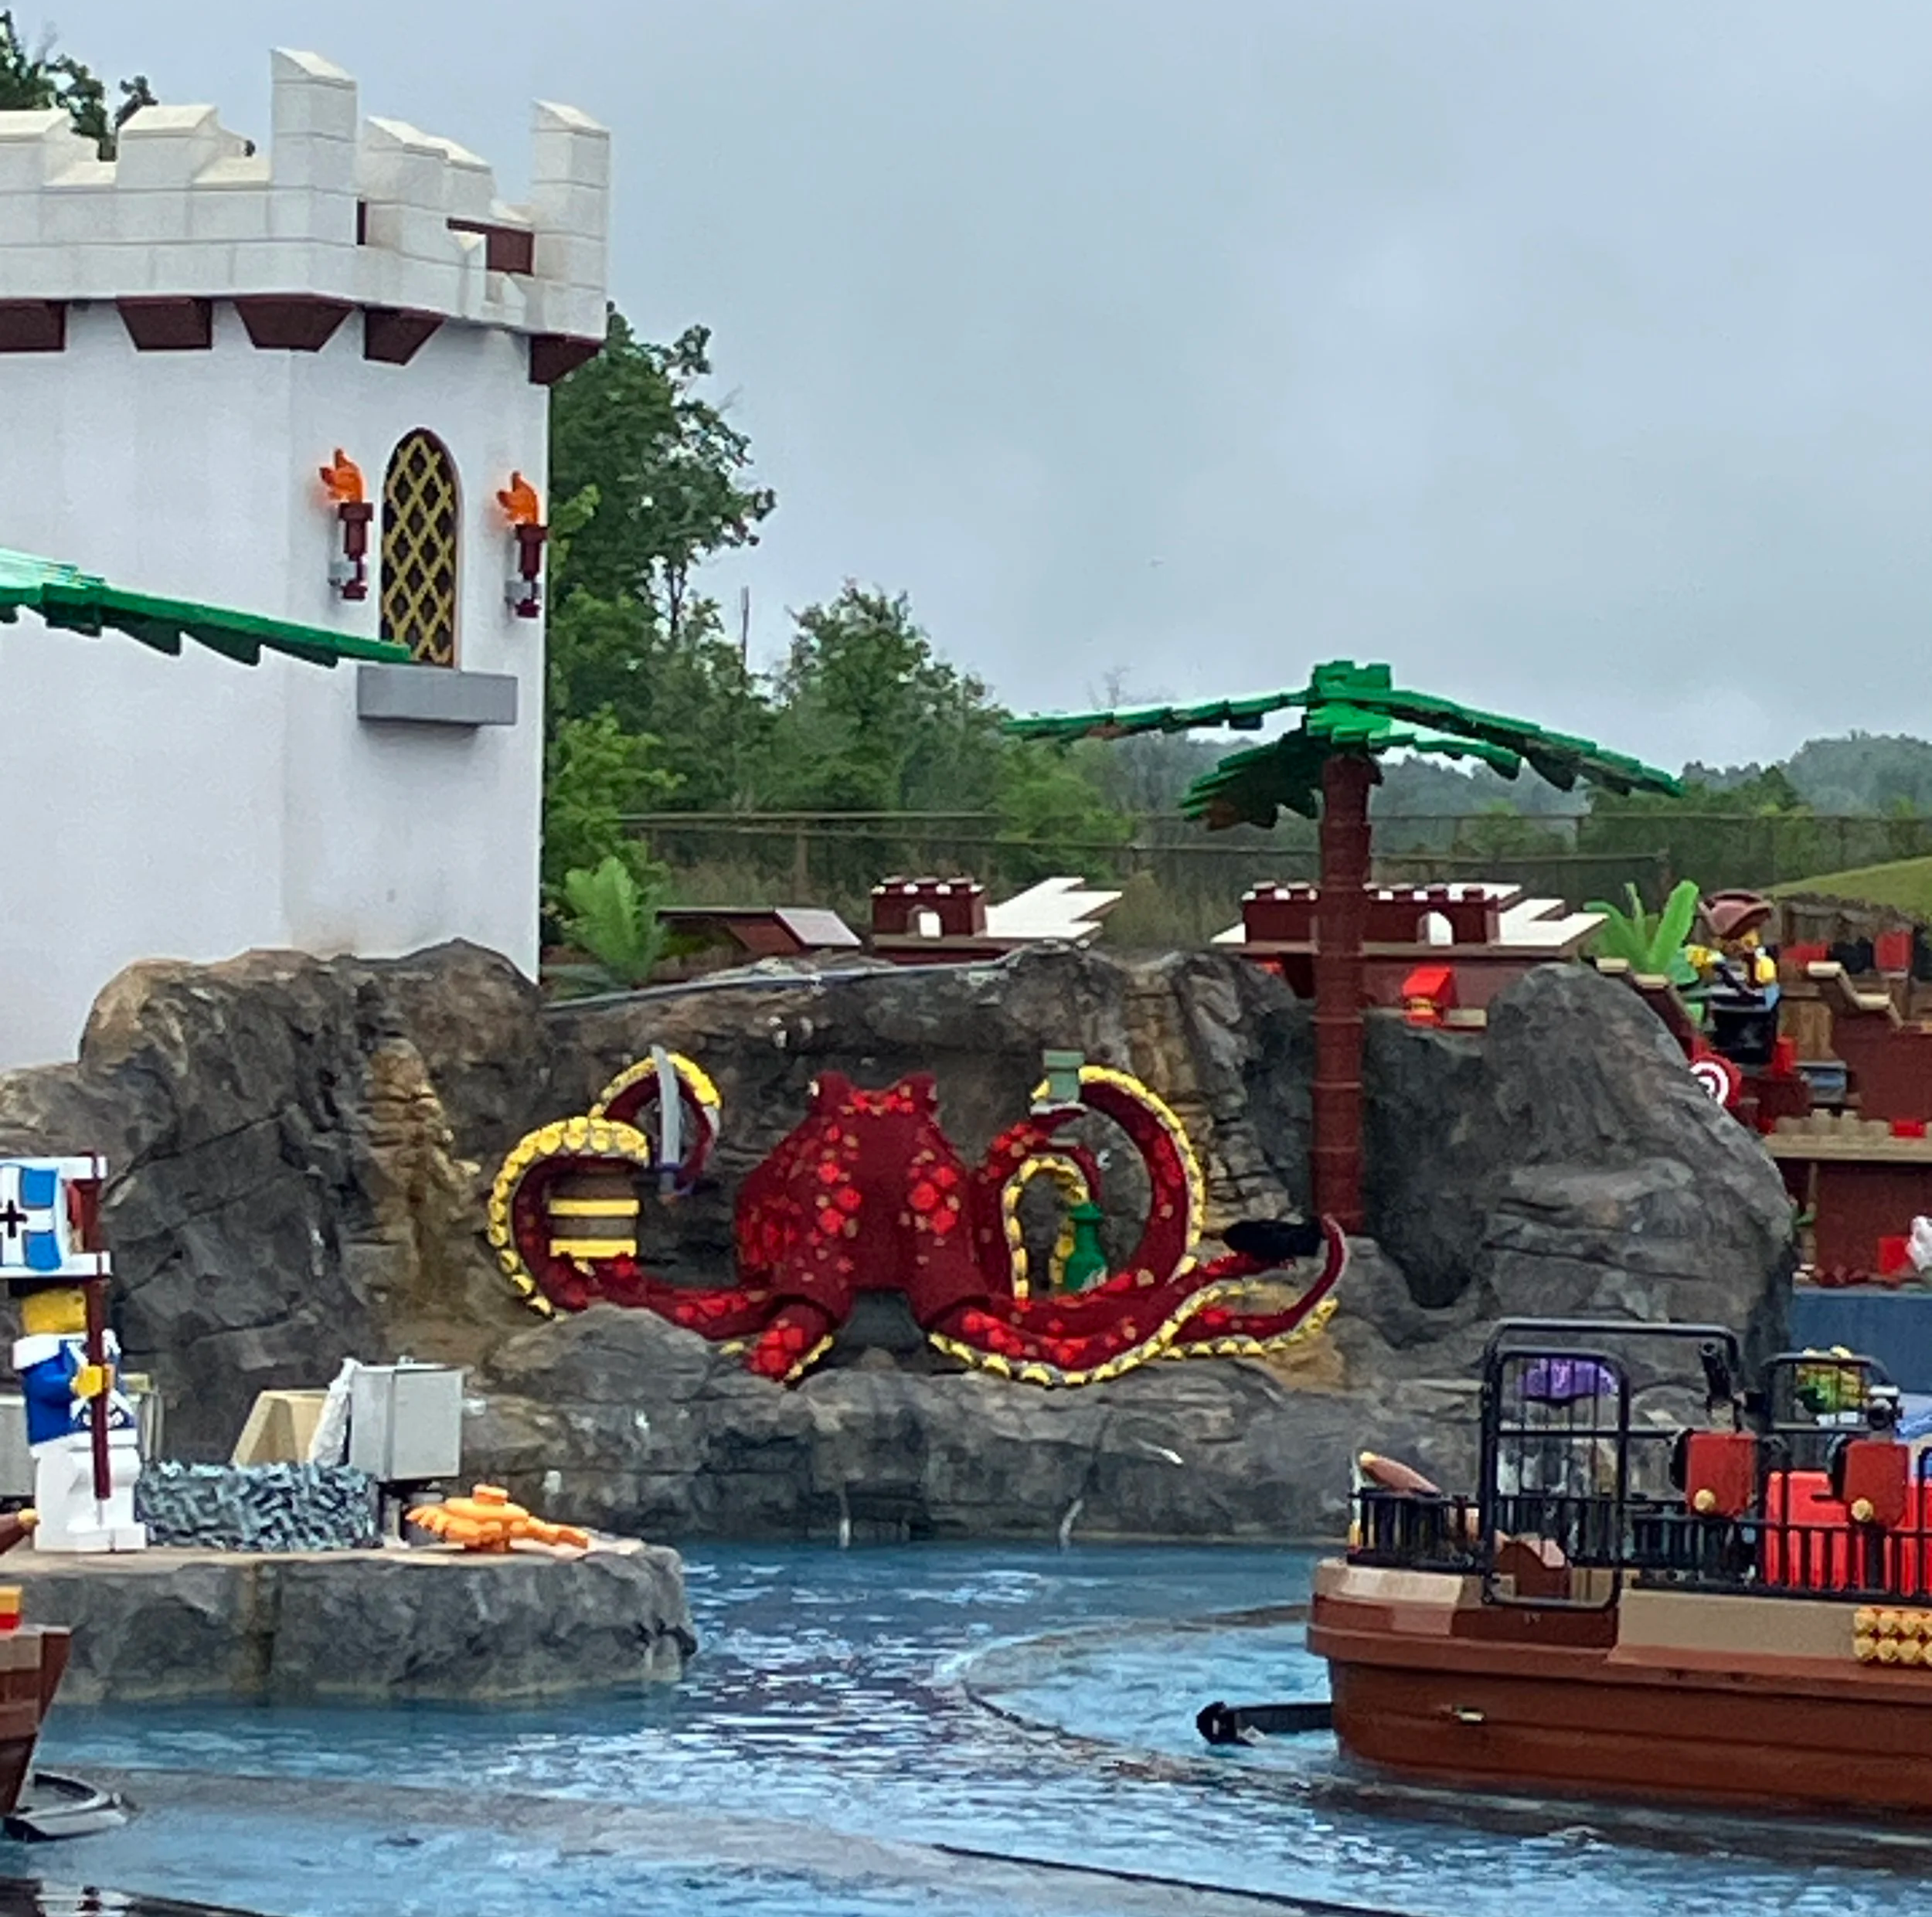
We hit the pirate section next. My kids and Non-LEGO Spouse (NLS) road the ride pictured below. You’re on a boat with water cannons that you can pump to shoot at the various targets or at people not on the ride. The fun part is that if you’re not on the ride, you can also shoot water at the people on the ride. Unfortunately, most of the water cannons not on the ride were broken which was a trend seen through a lot of the park with items not kept up for whatever reason.
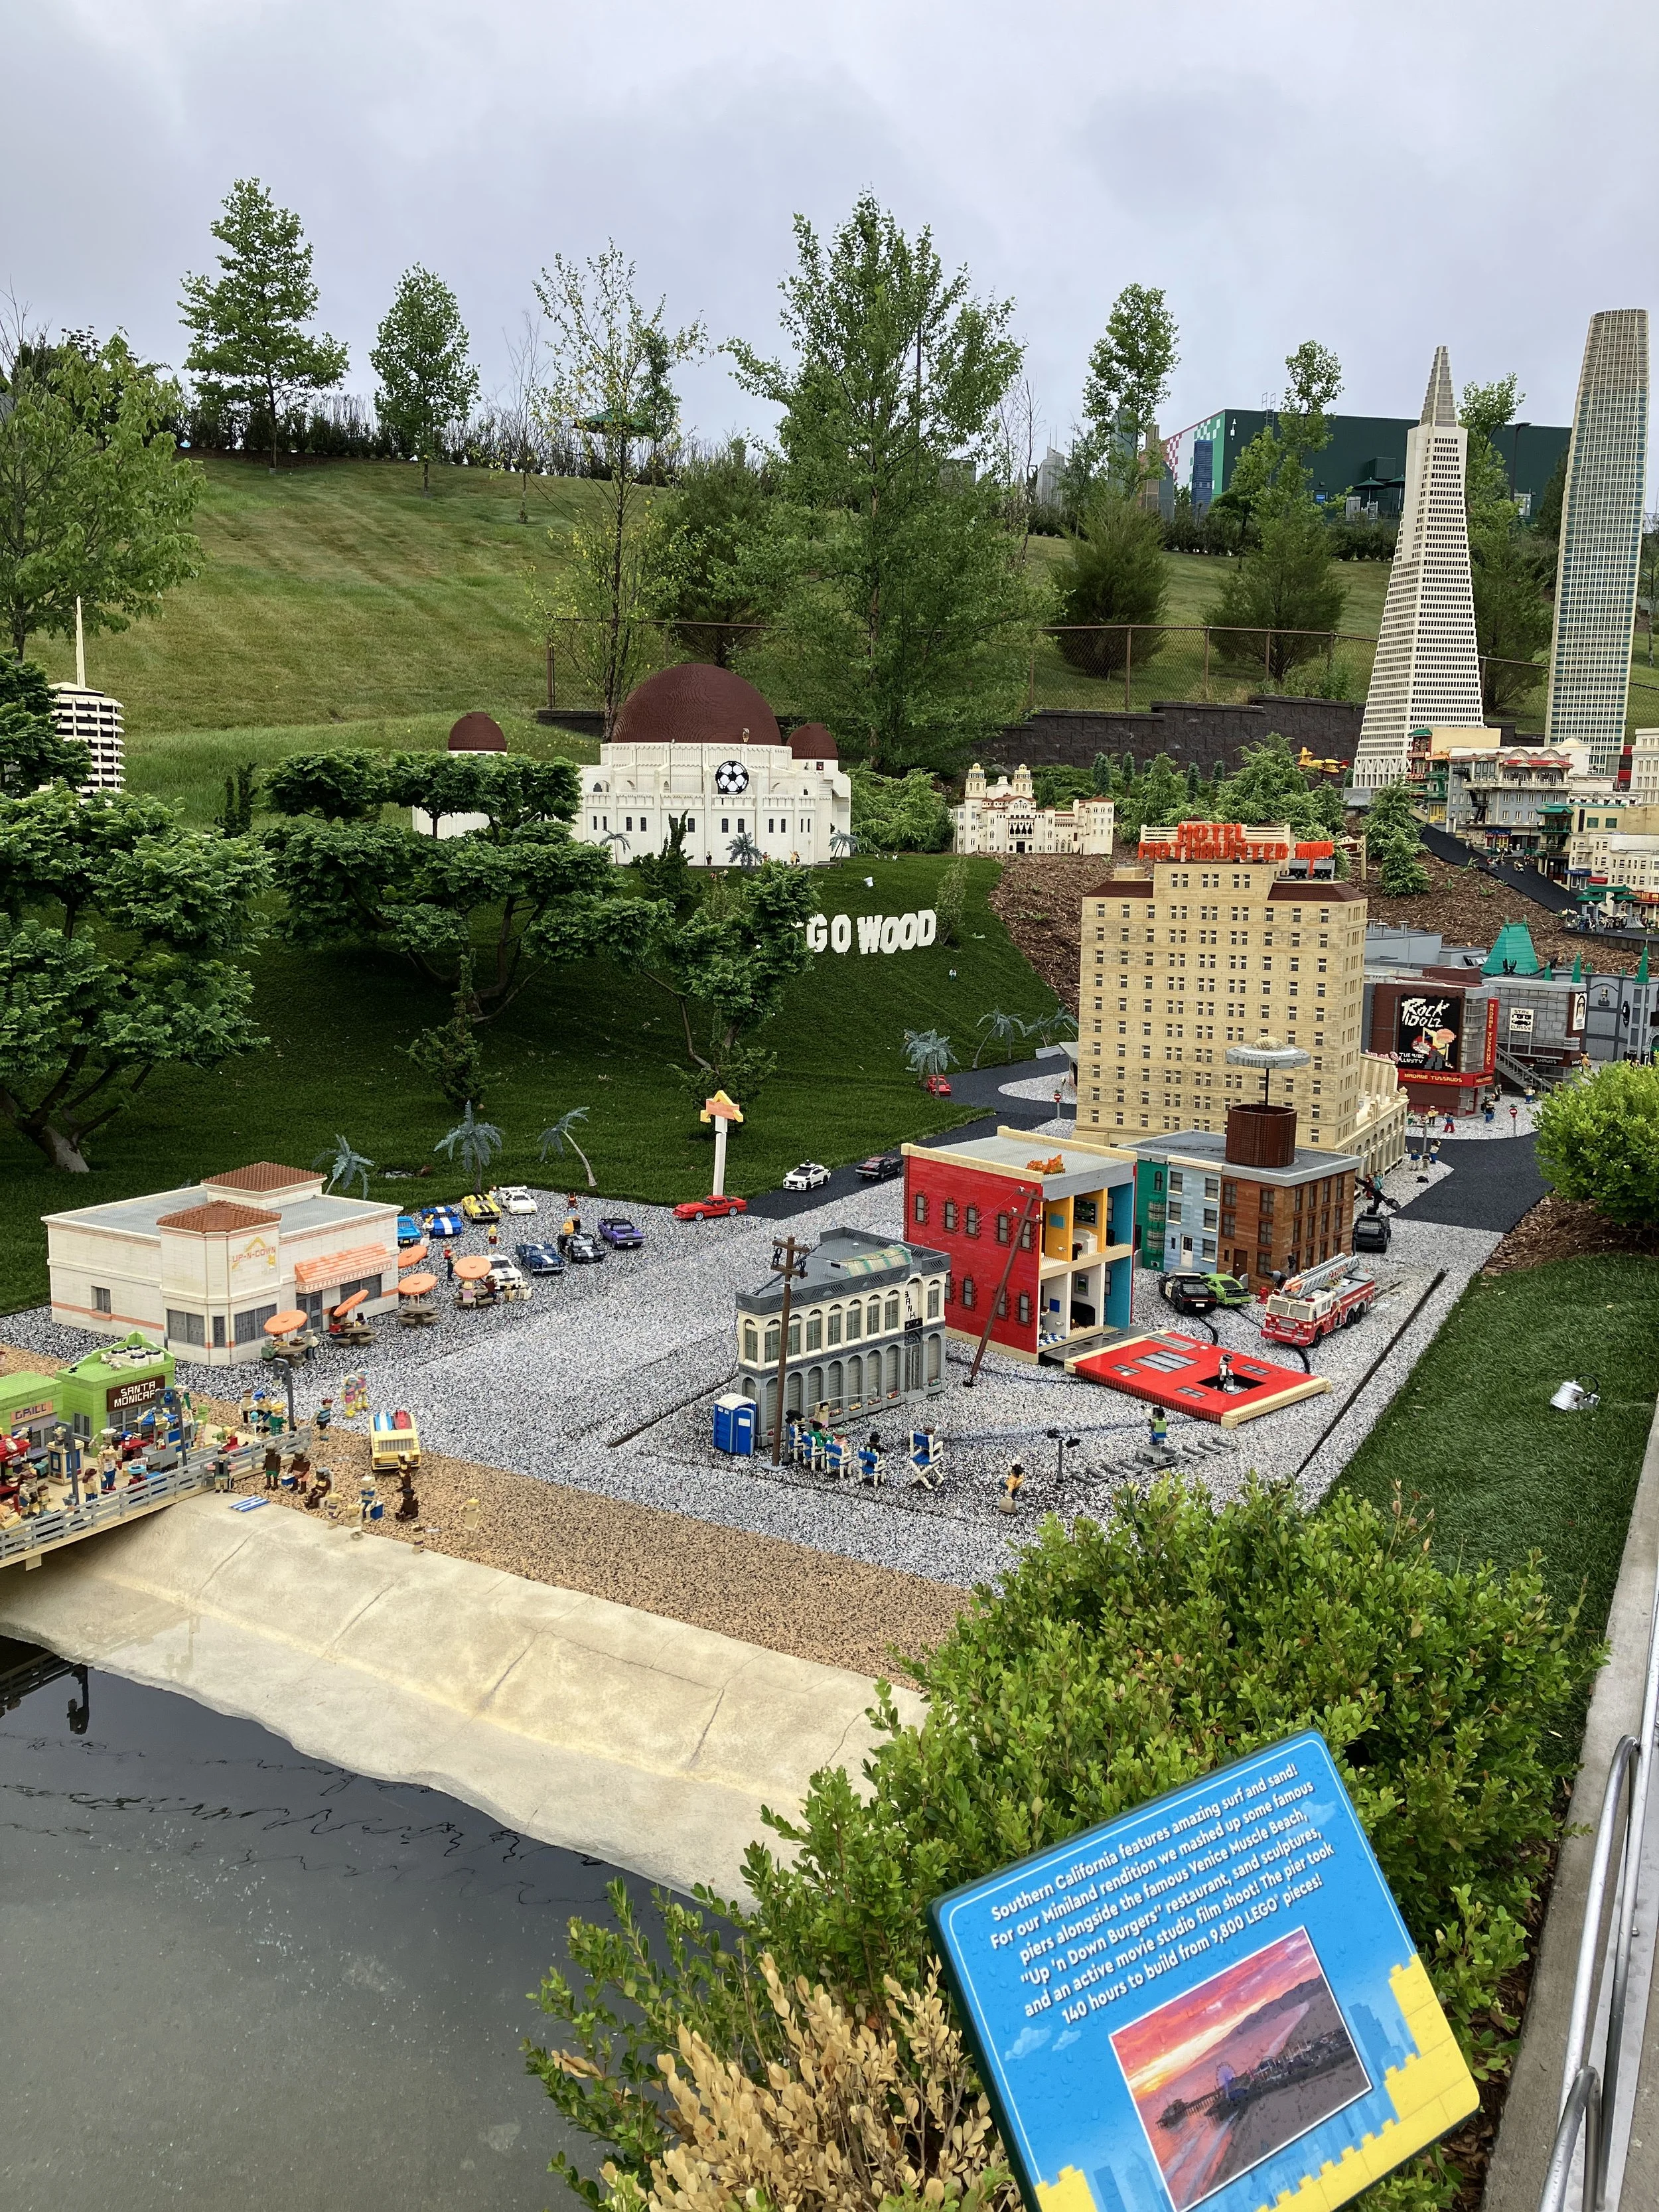
Mini Land is a fun section of the park with lots of great builds. The builds are placed in with real and fake plants so it’s not 100% brick. Some of the builds have movement, sound, or lights. While I get that the builds are out in the elements, there were a lot of sections with parts missing or broken functions. I was surprised that they didn’t replace things or at least find something to cover up areas where a display had broken.
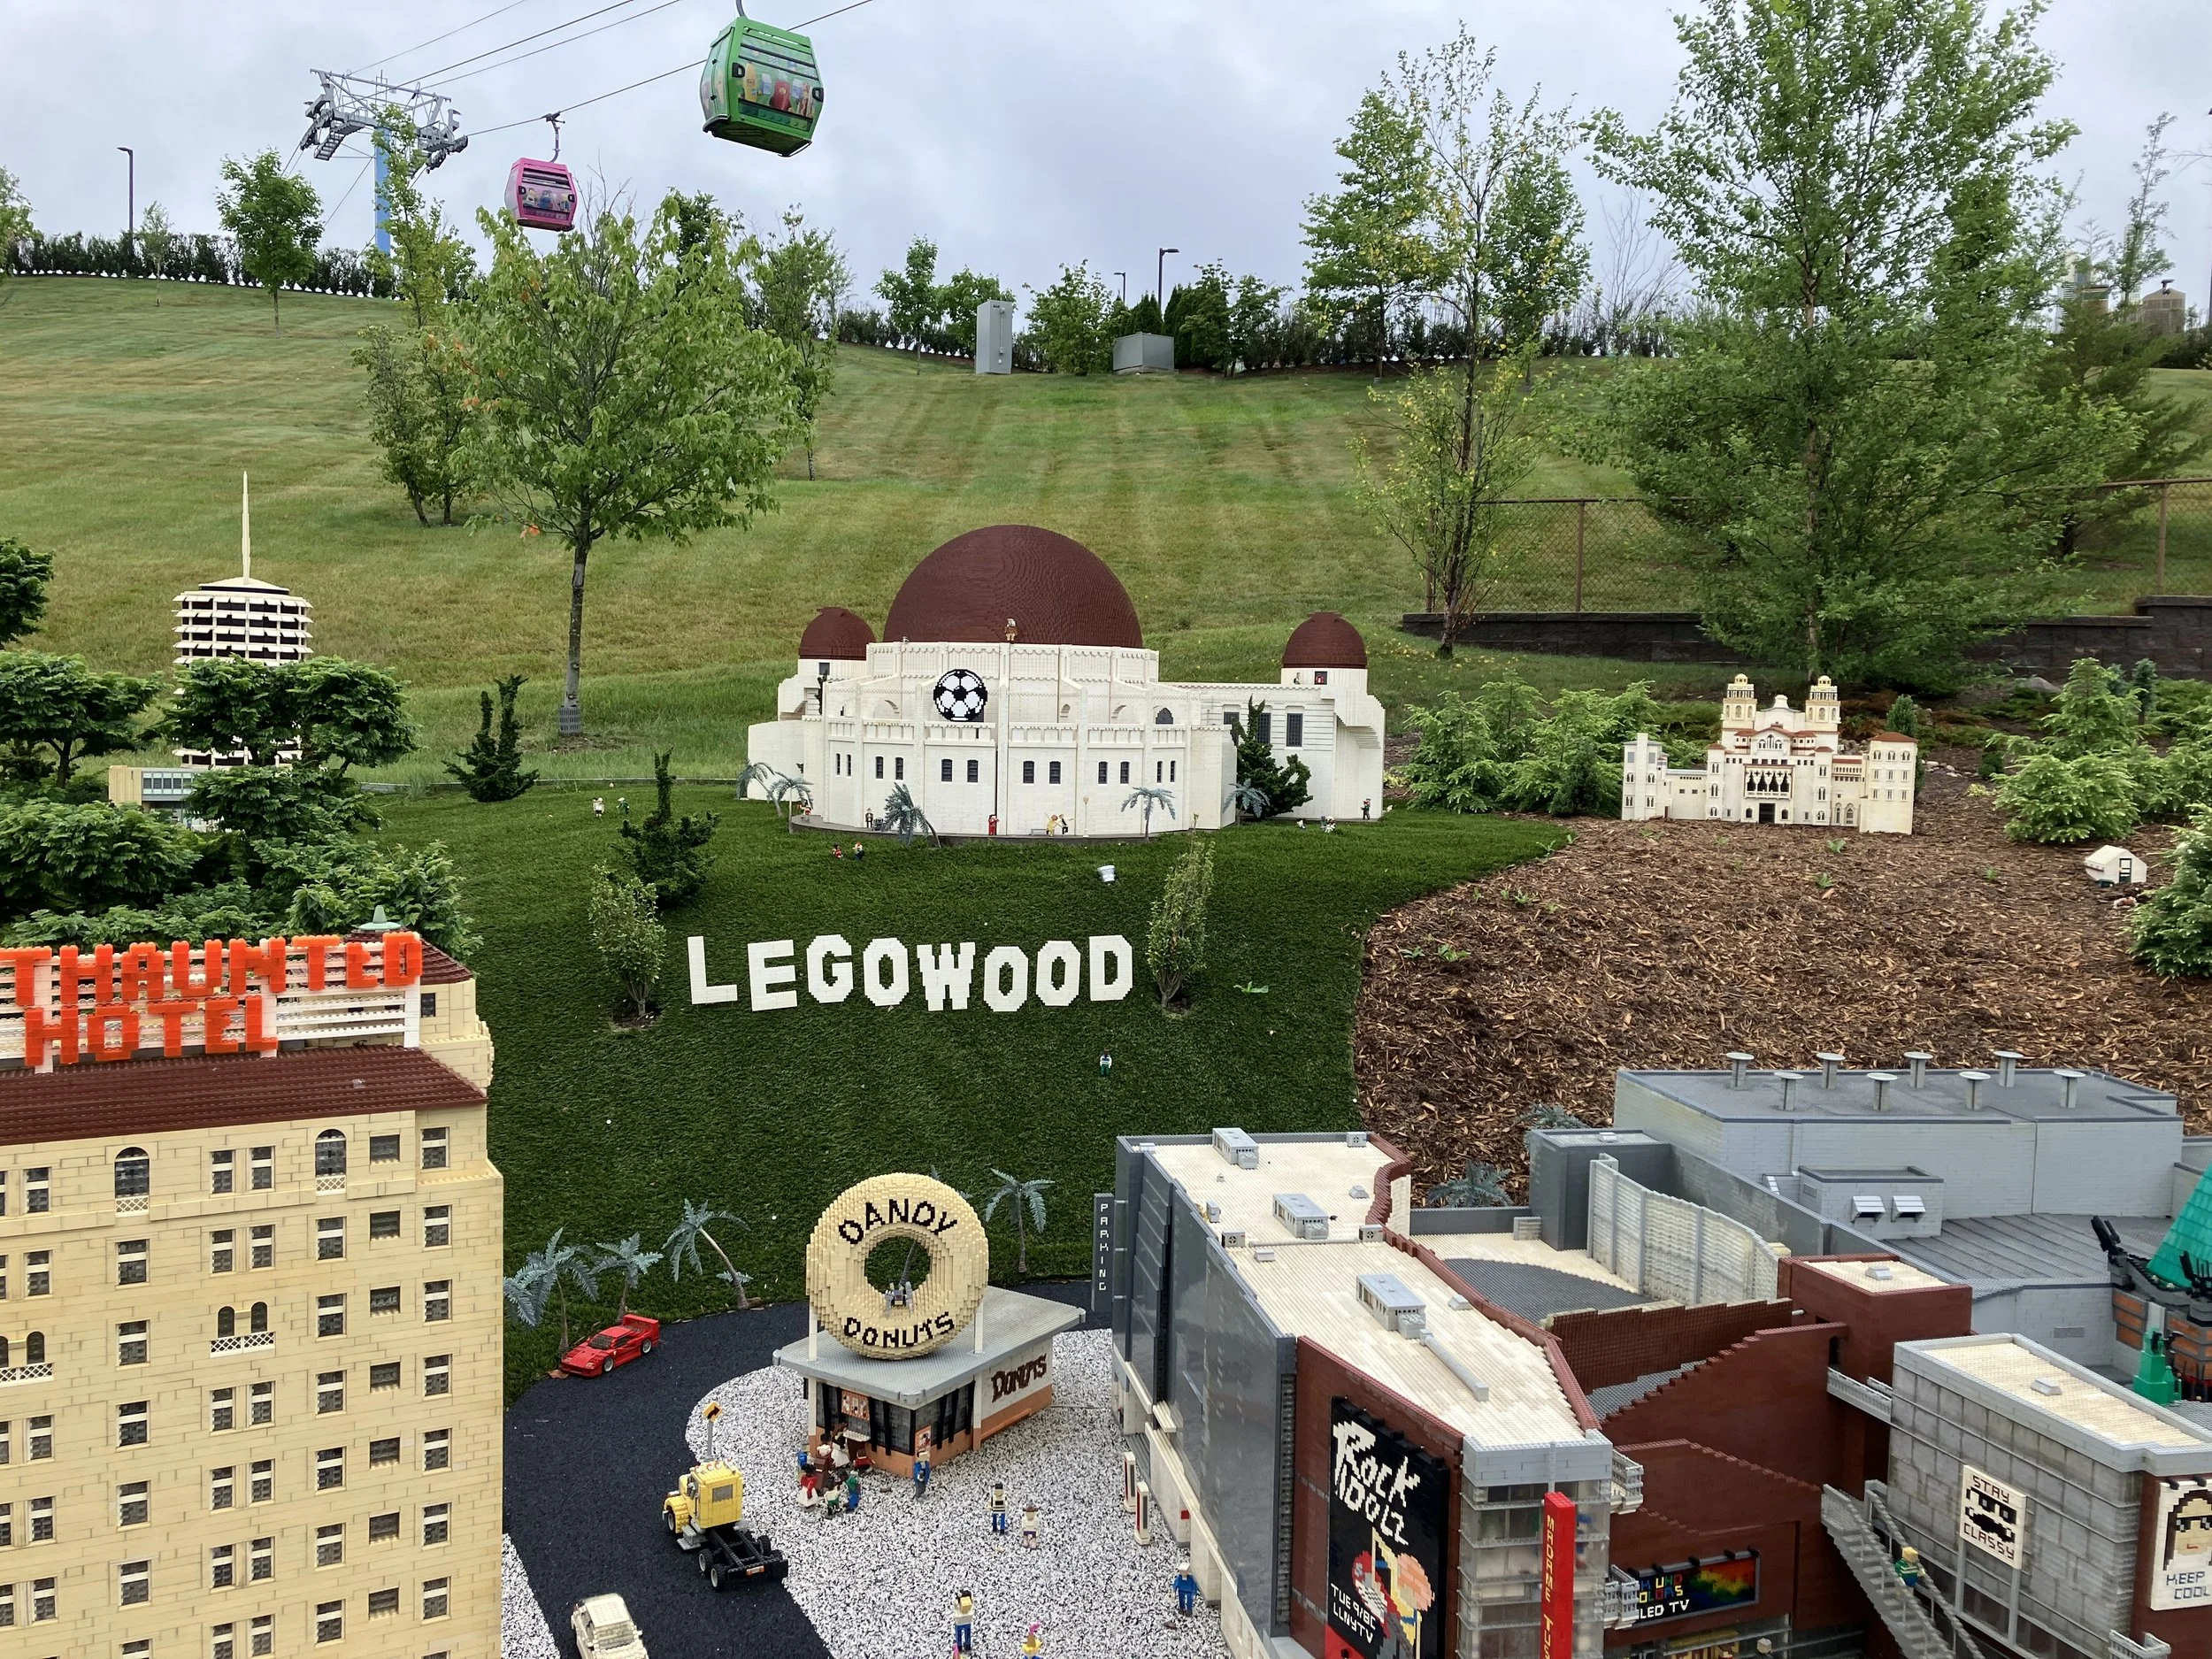
The first section we stopped in was LEGOWOOD with a action scene built in that you could trigger while a movie producer watched.
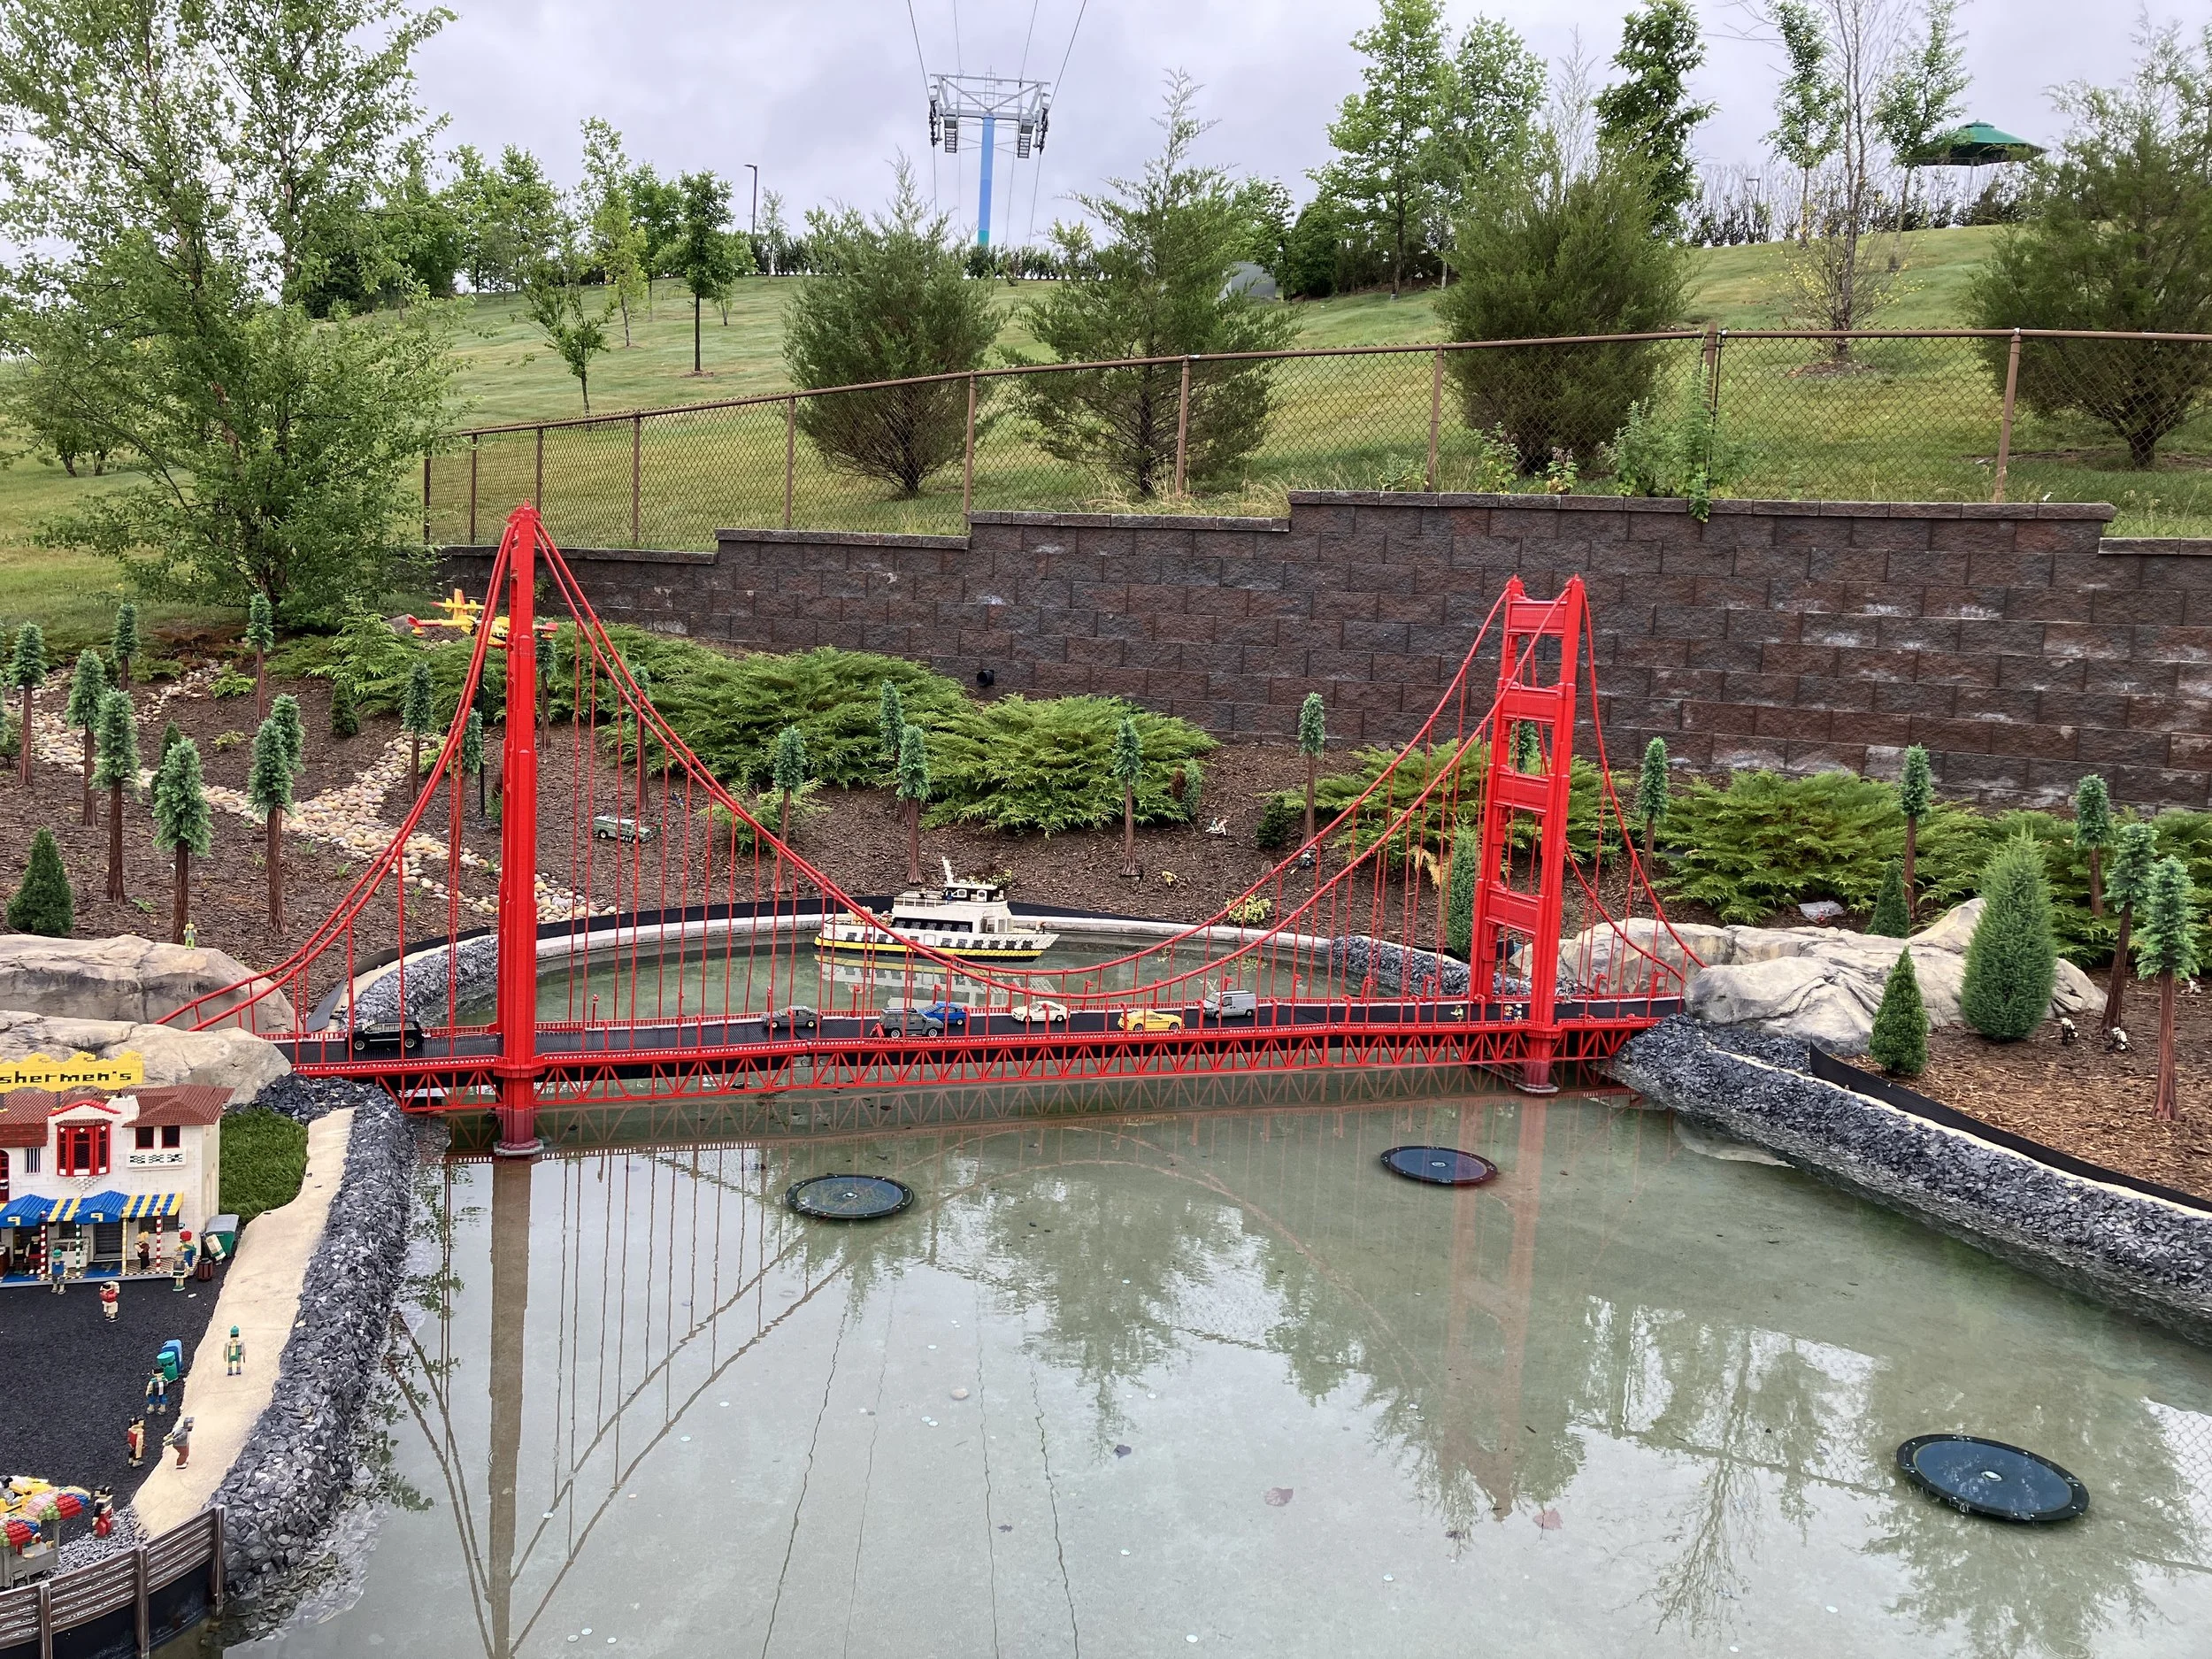
San Francisco was next with a Golden Gate Bridge. I won’t spoil them, but there are a lot of Easter Eggs hidden in the builds so really pay attention if you ever go to see what things they mix into the builds. My favorite here was the Sea Lion that was a Lion.
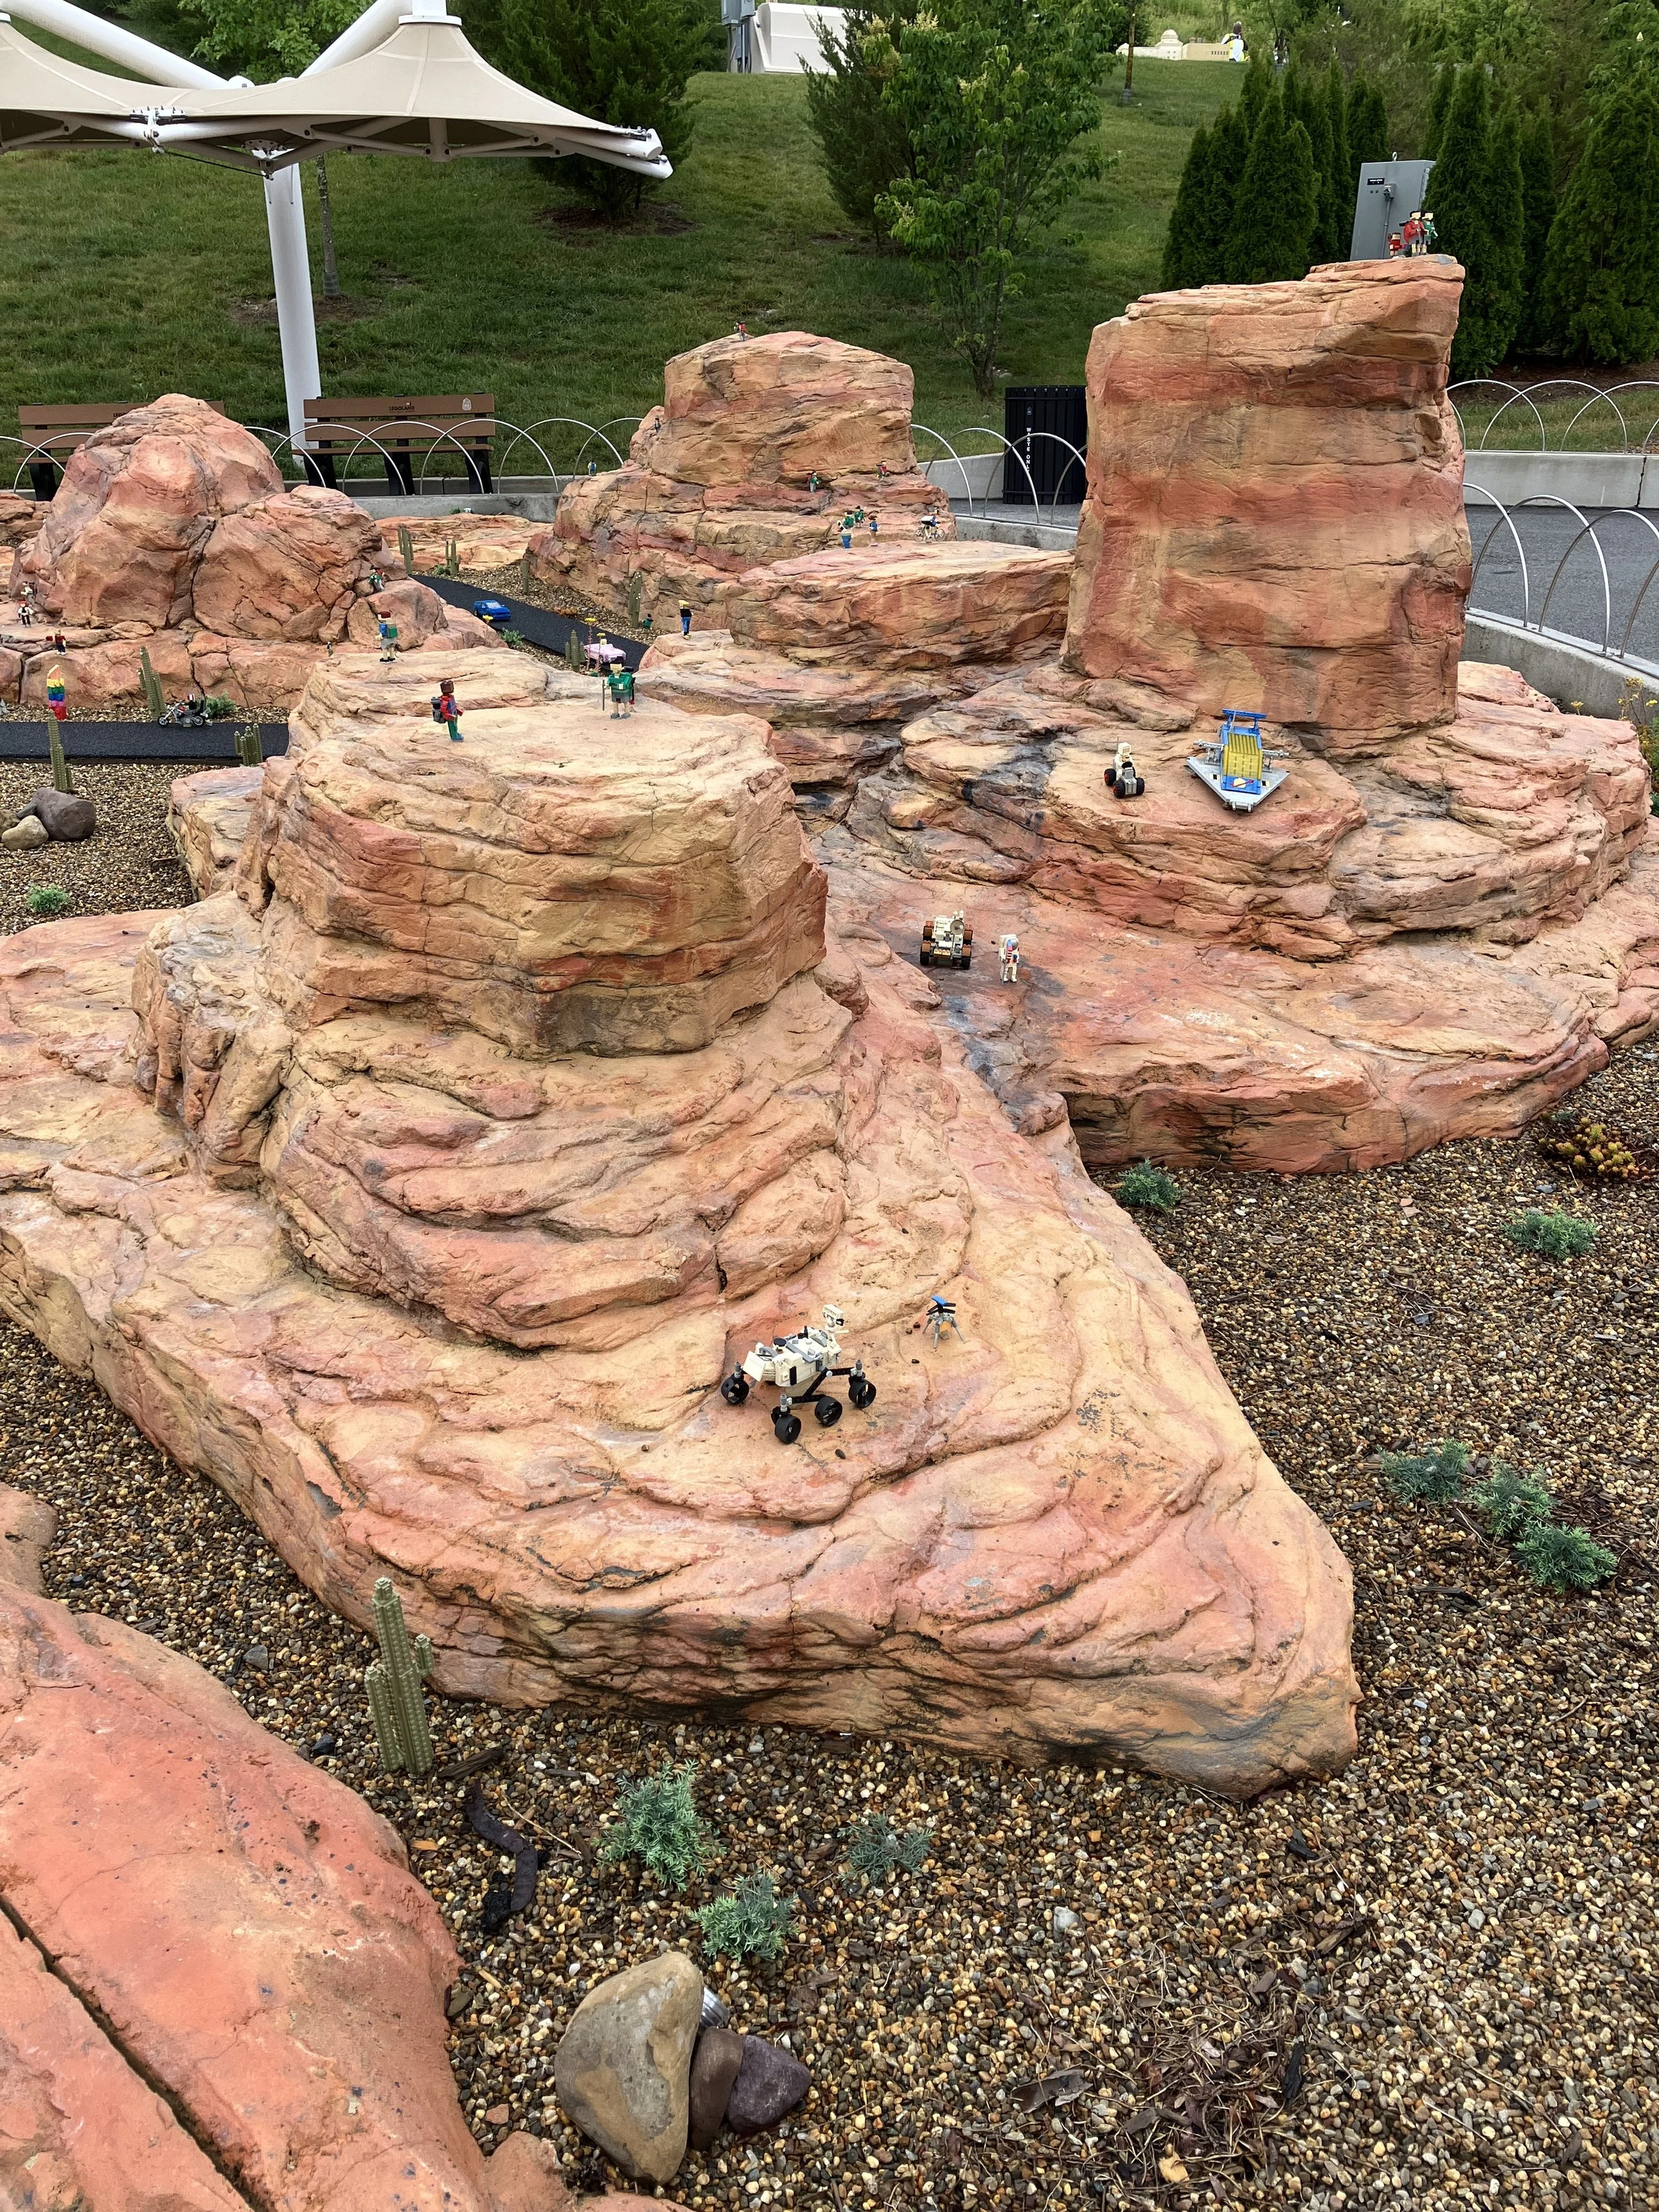
Las Vegas was next with the Strip and Downtown mixed in. Next to it was a southwestern scene which I assume was meant to be Arizona.
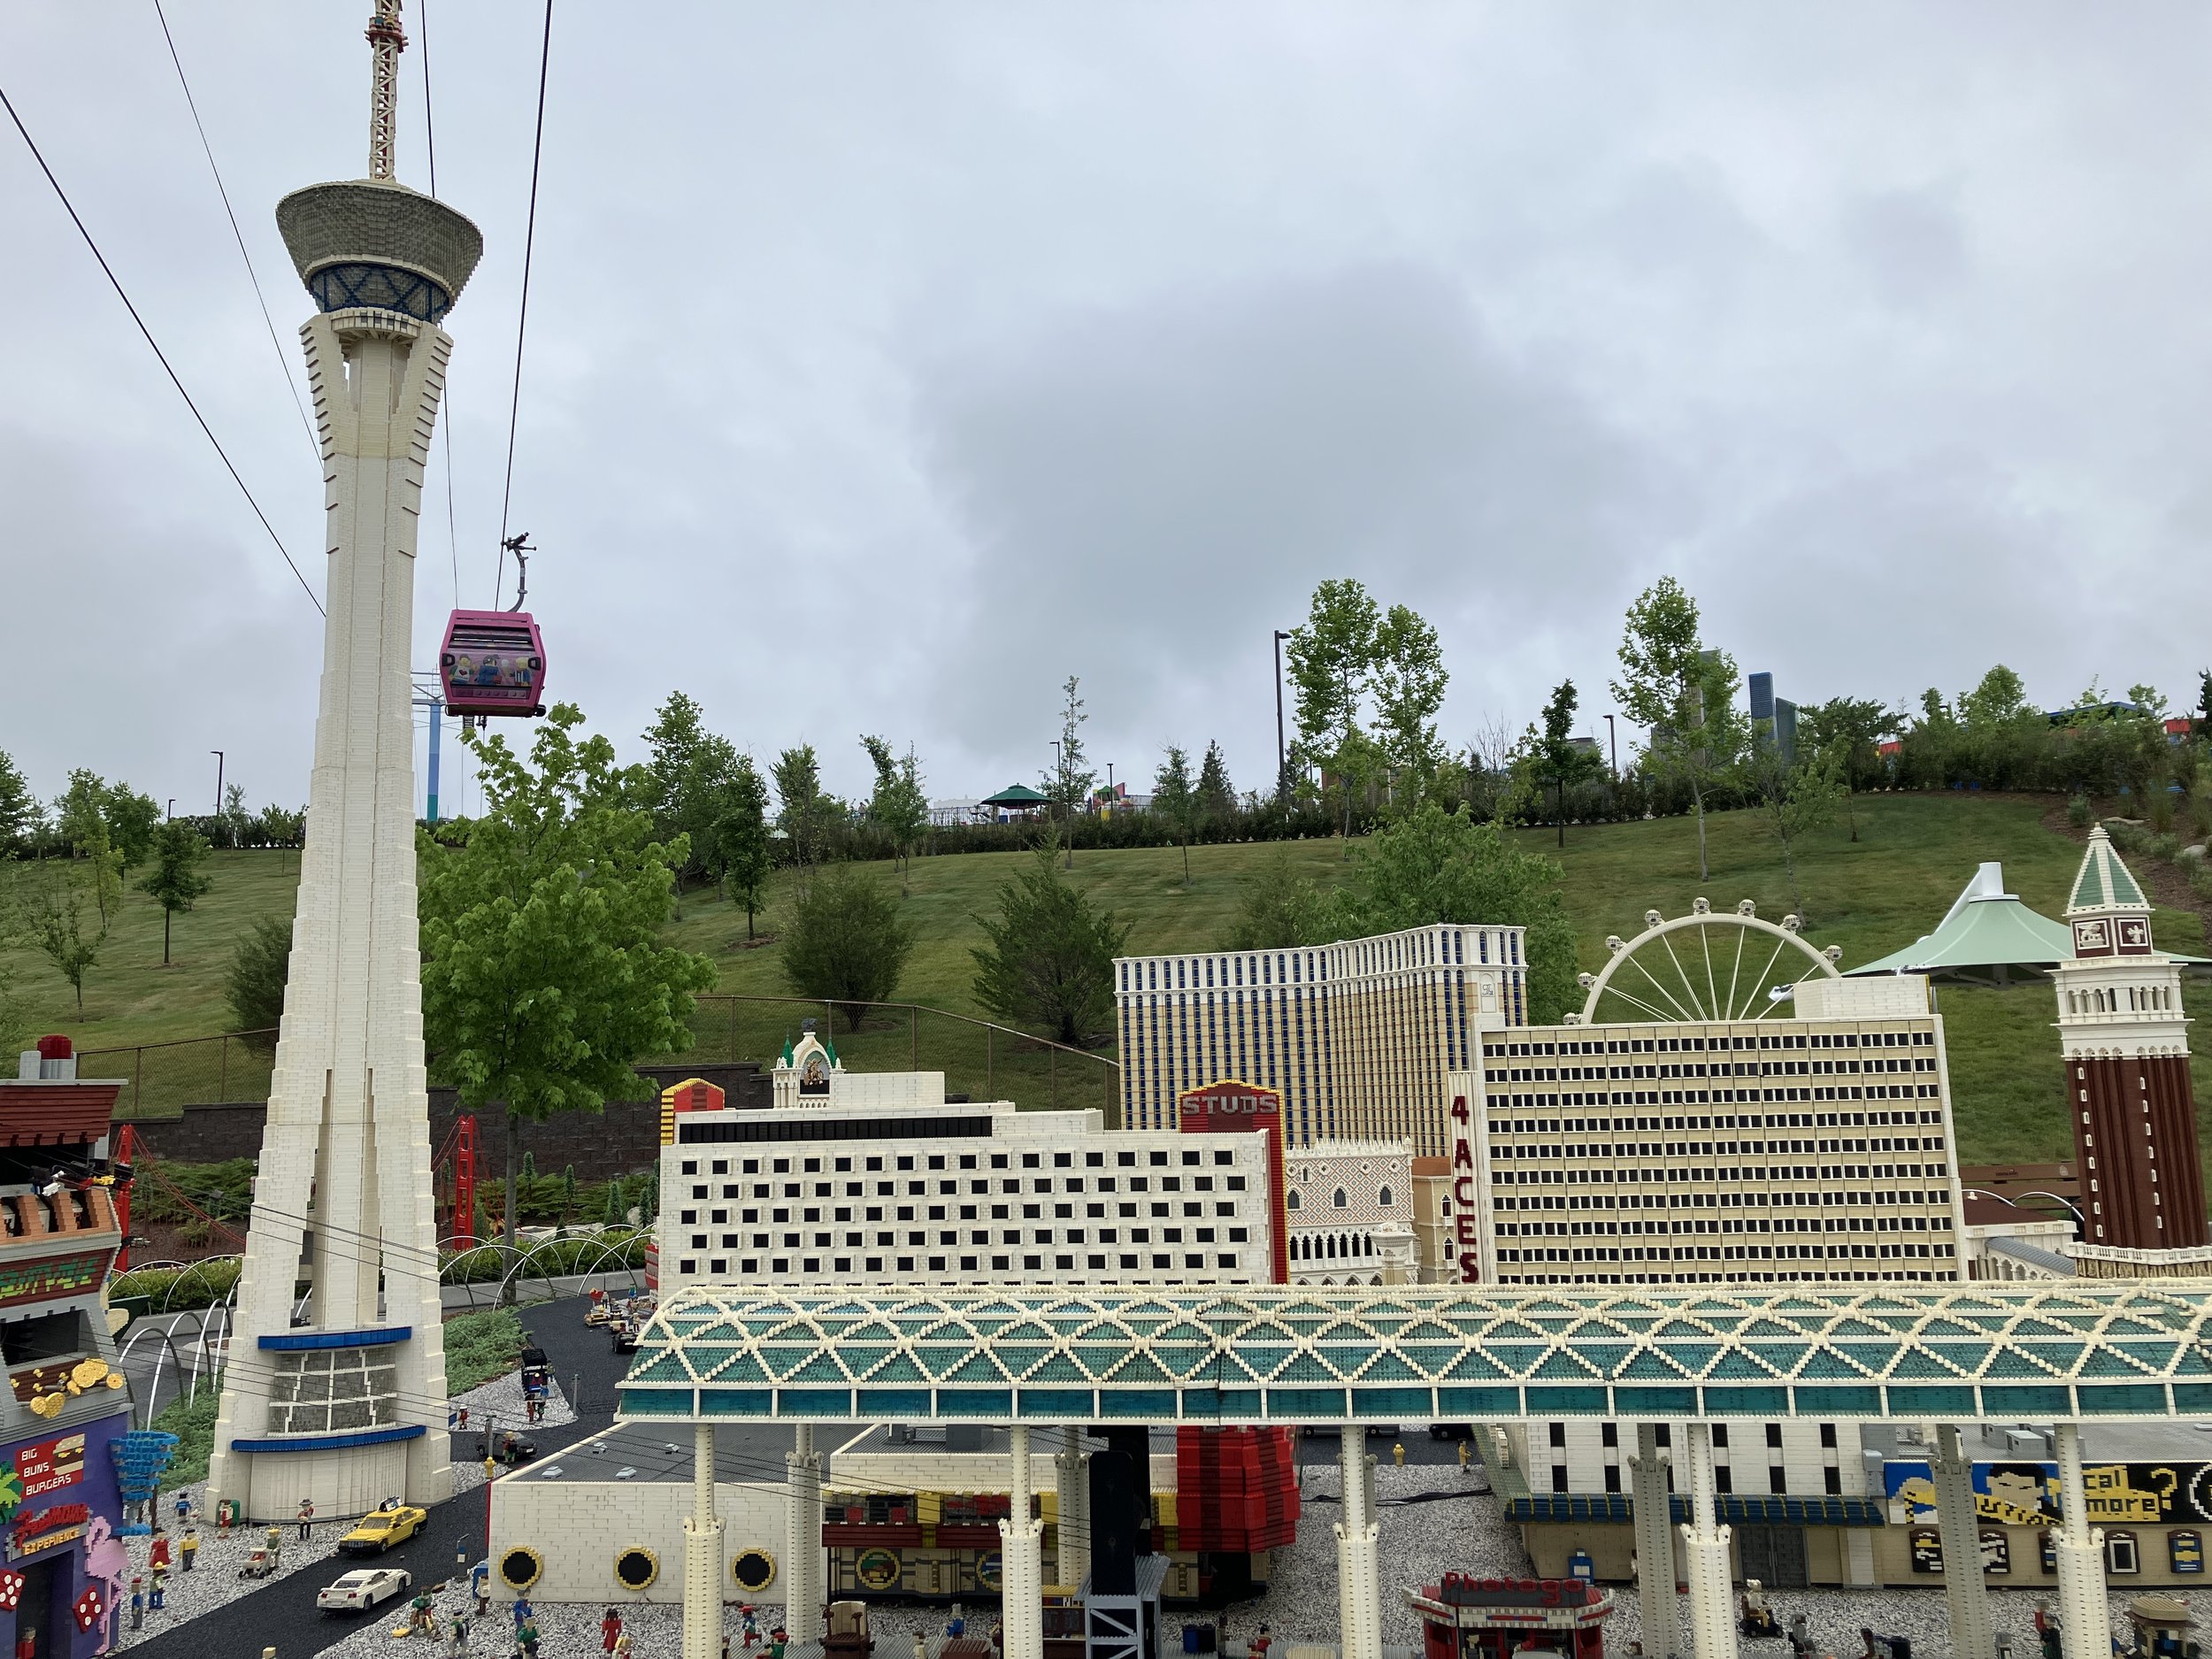
A replica of the Bellagio hotel (minus the branding). Sadly the fountains didn’t function.
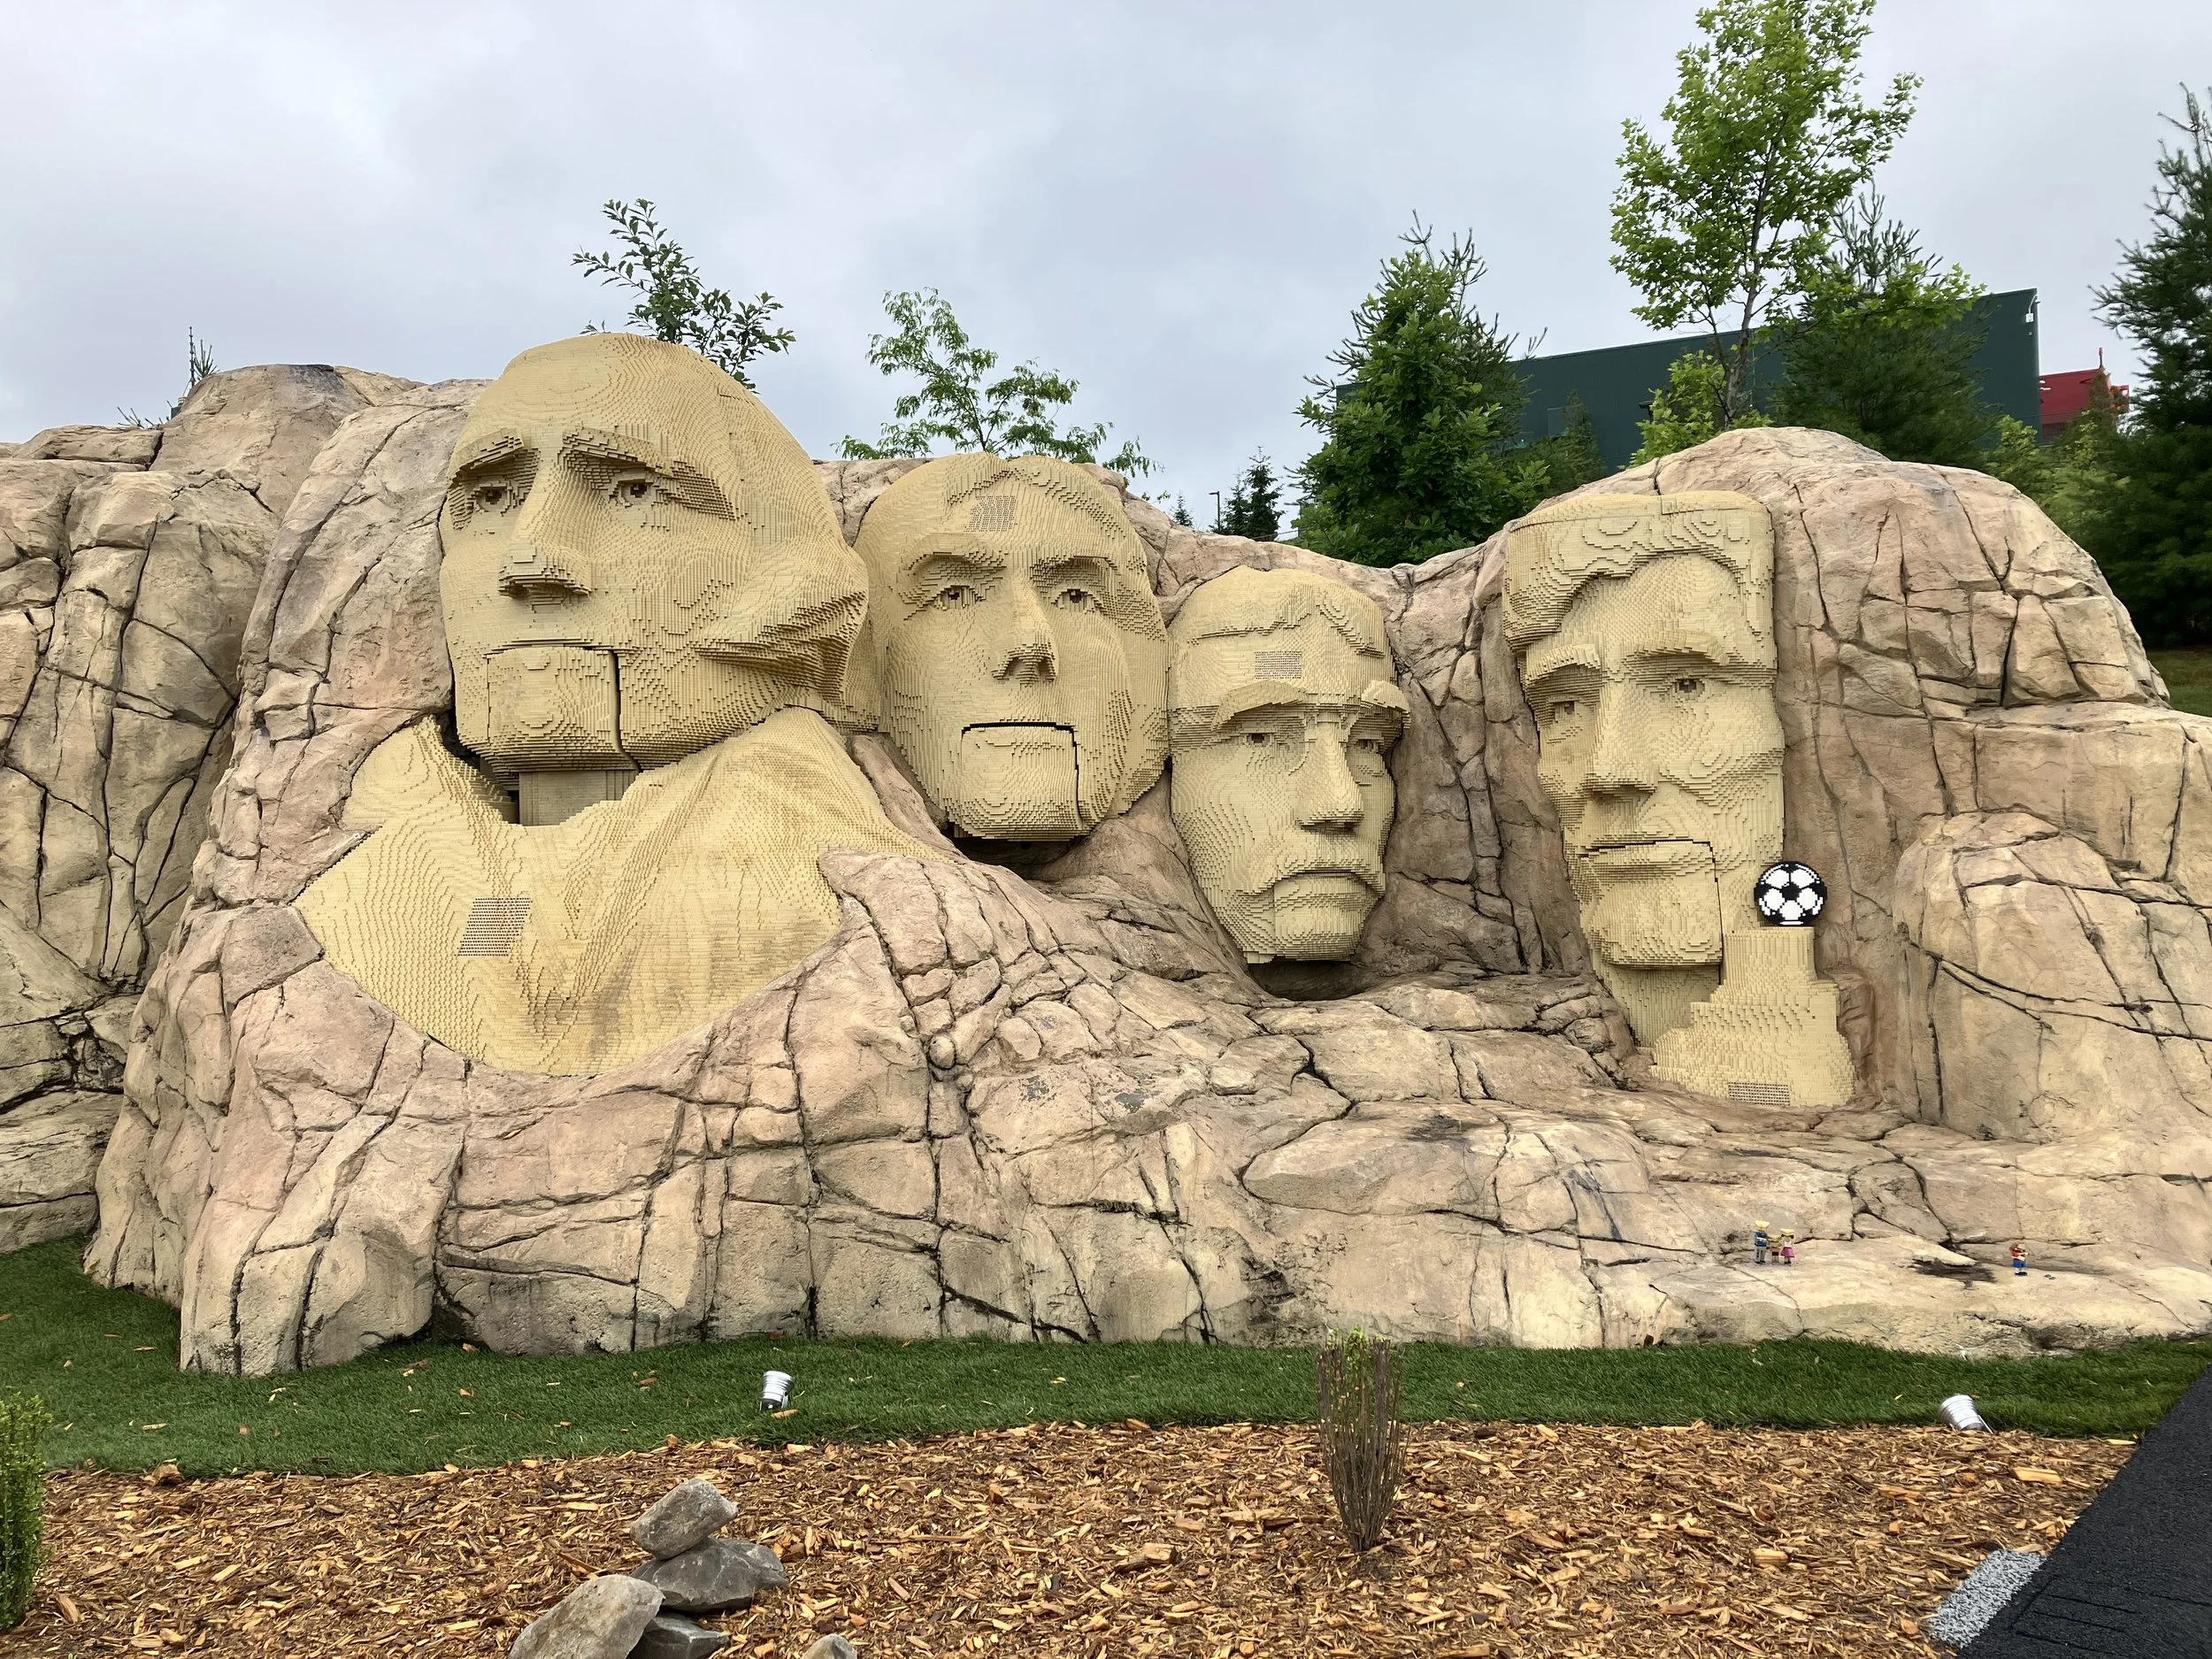
The next picture is of Mount Rushmore which was a mix of LEGO bricks and some sort of sculpting material. The heads sang a bad rendition of “Yankee Doodle” when you hit a button. Also, you can see a soccer ball with the World Cup approaching, you had to count the number of soccer balls hidden throughout Miniland. I didn’t get any pictures of them, but there were a few activities you could do related to the world cup and a few builds. My kids tried to kick a soccer ball into a net being blocked by a large minifigure. The minifigure was on a rotating stand that I was allowed to control. I didn’t do so well.

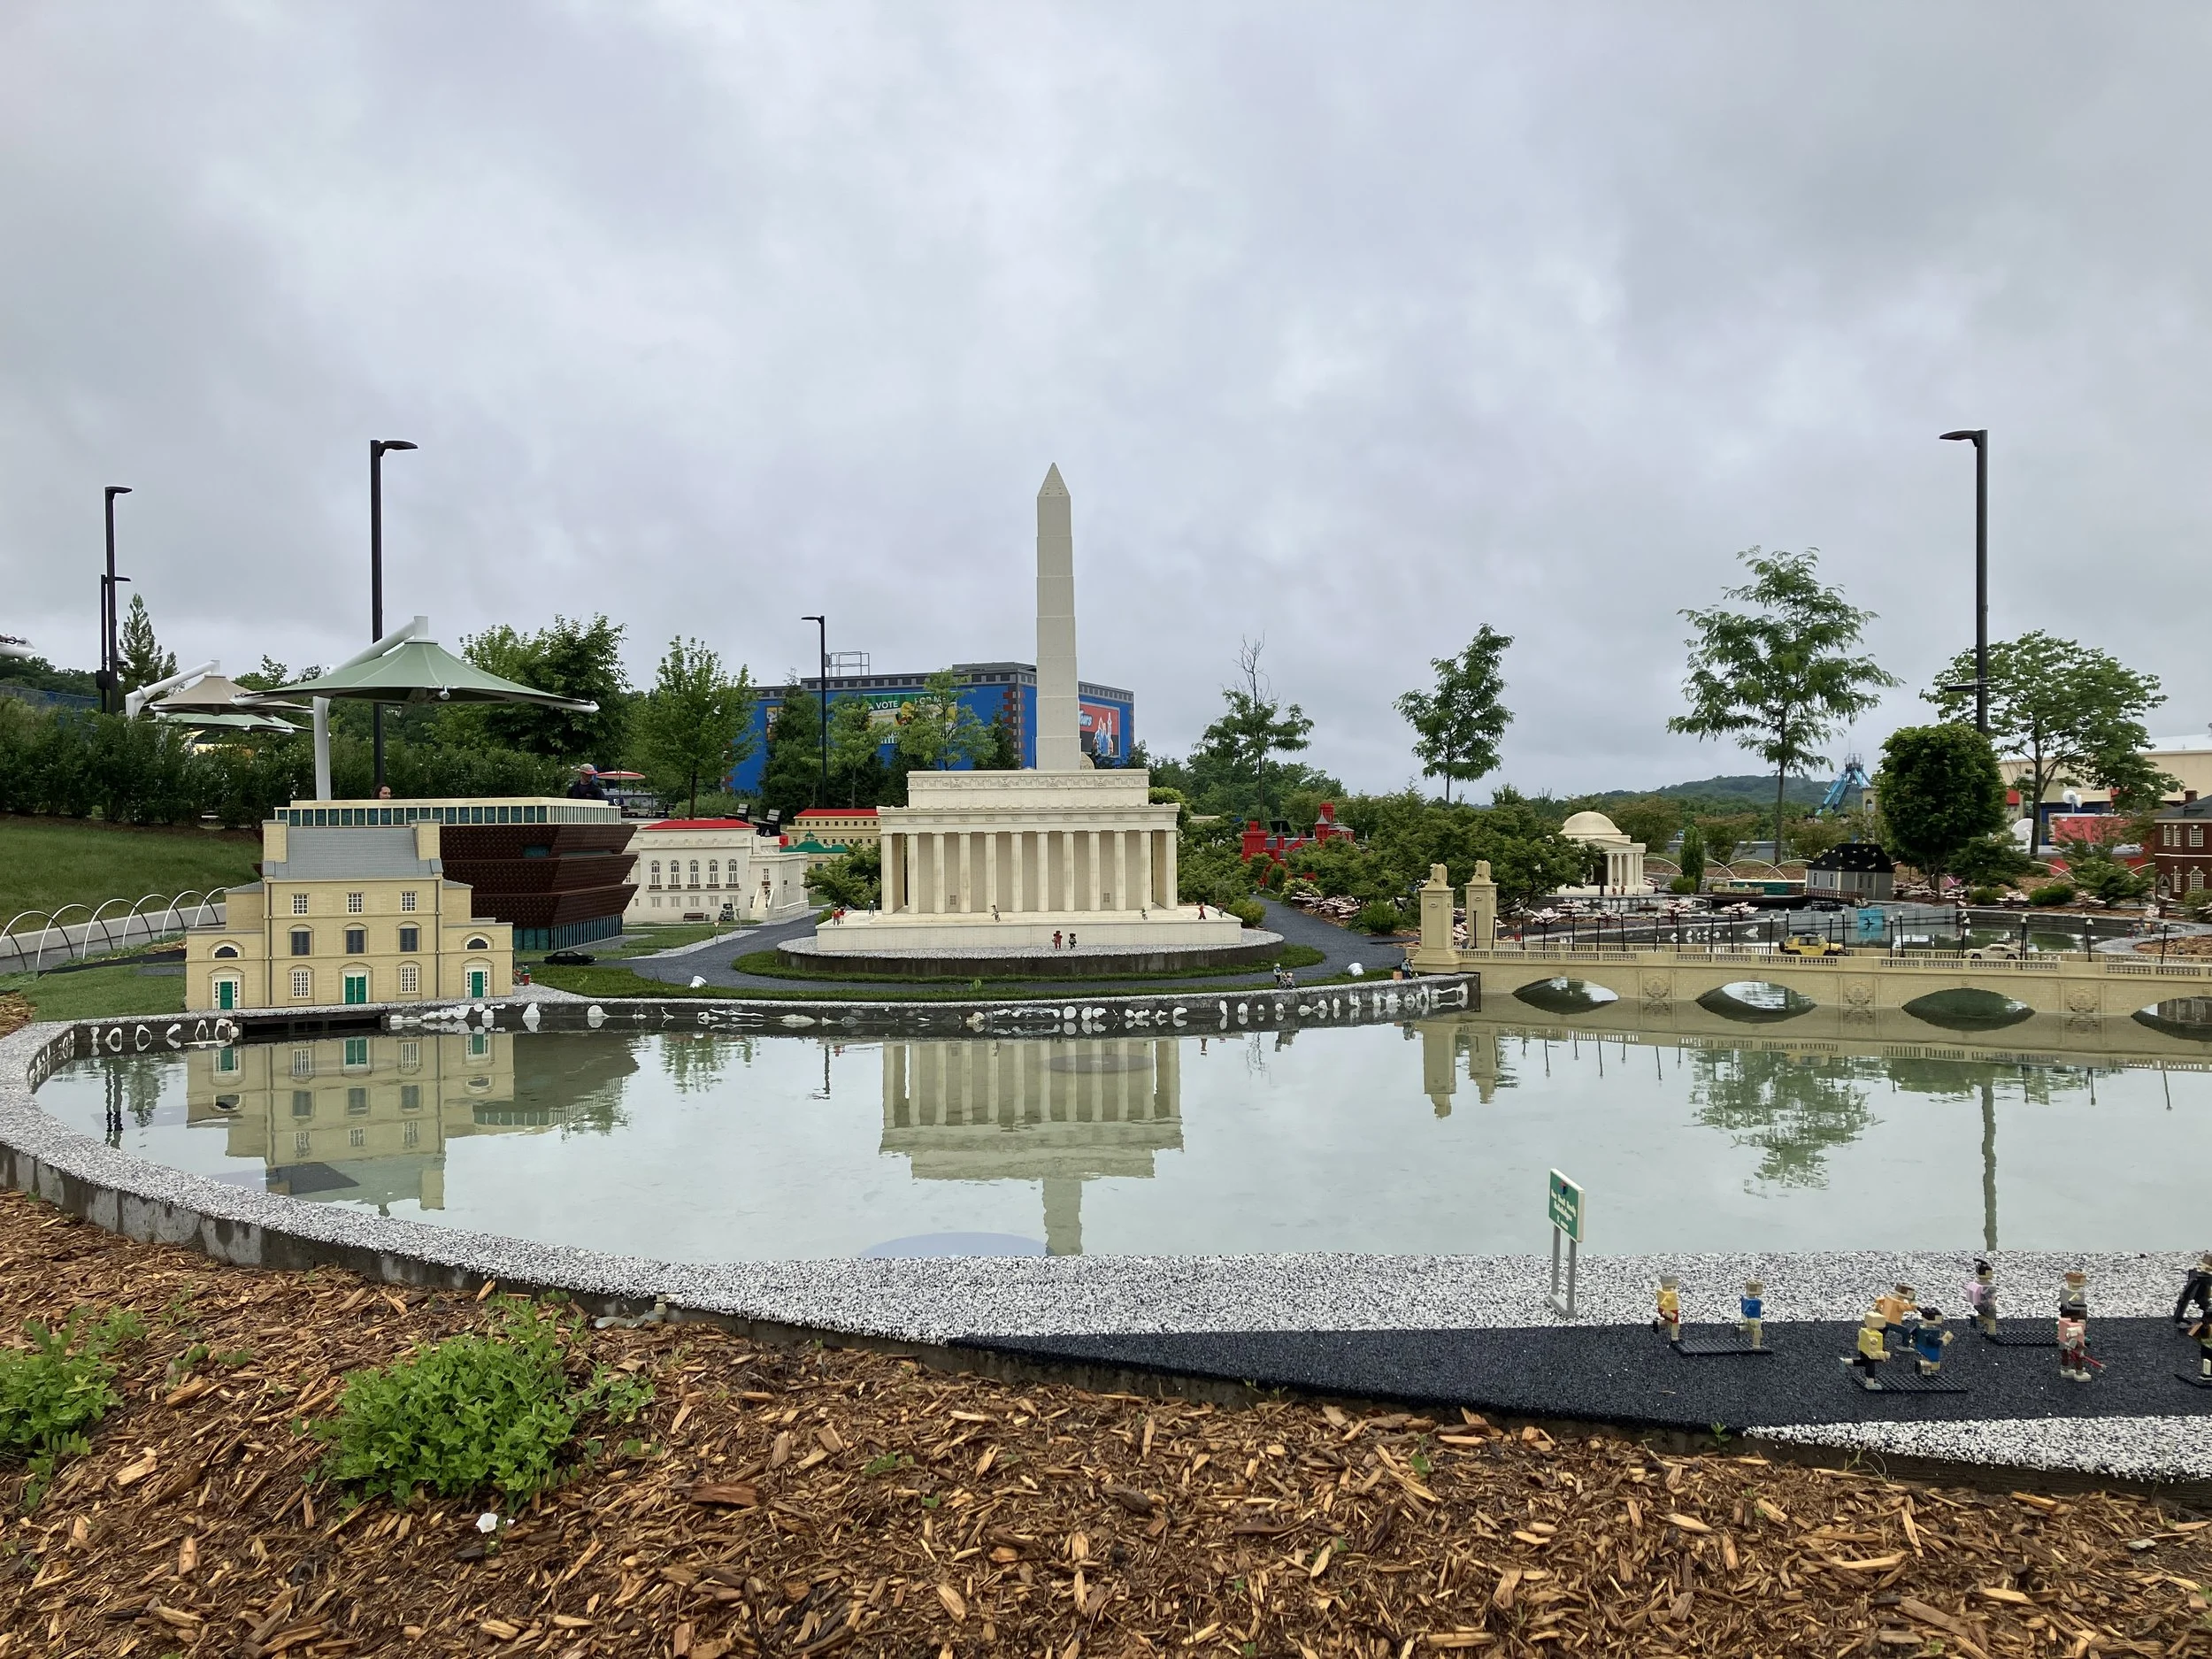
The Washington DC area was detailed with some impressive builds of the structures there.
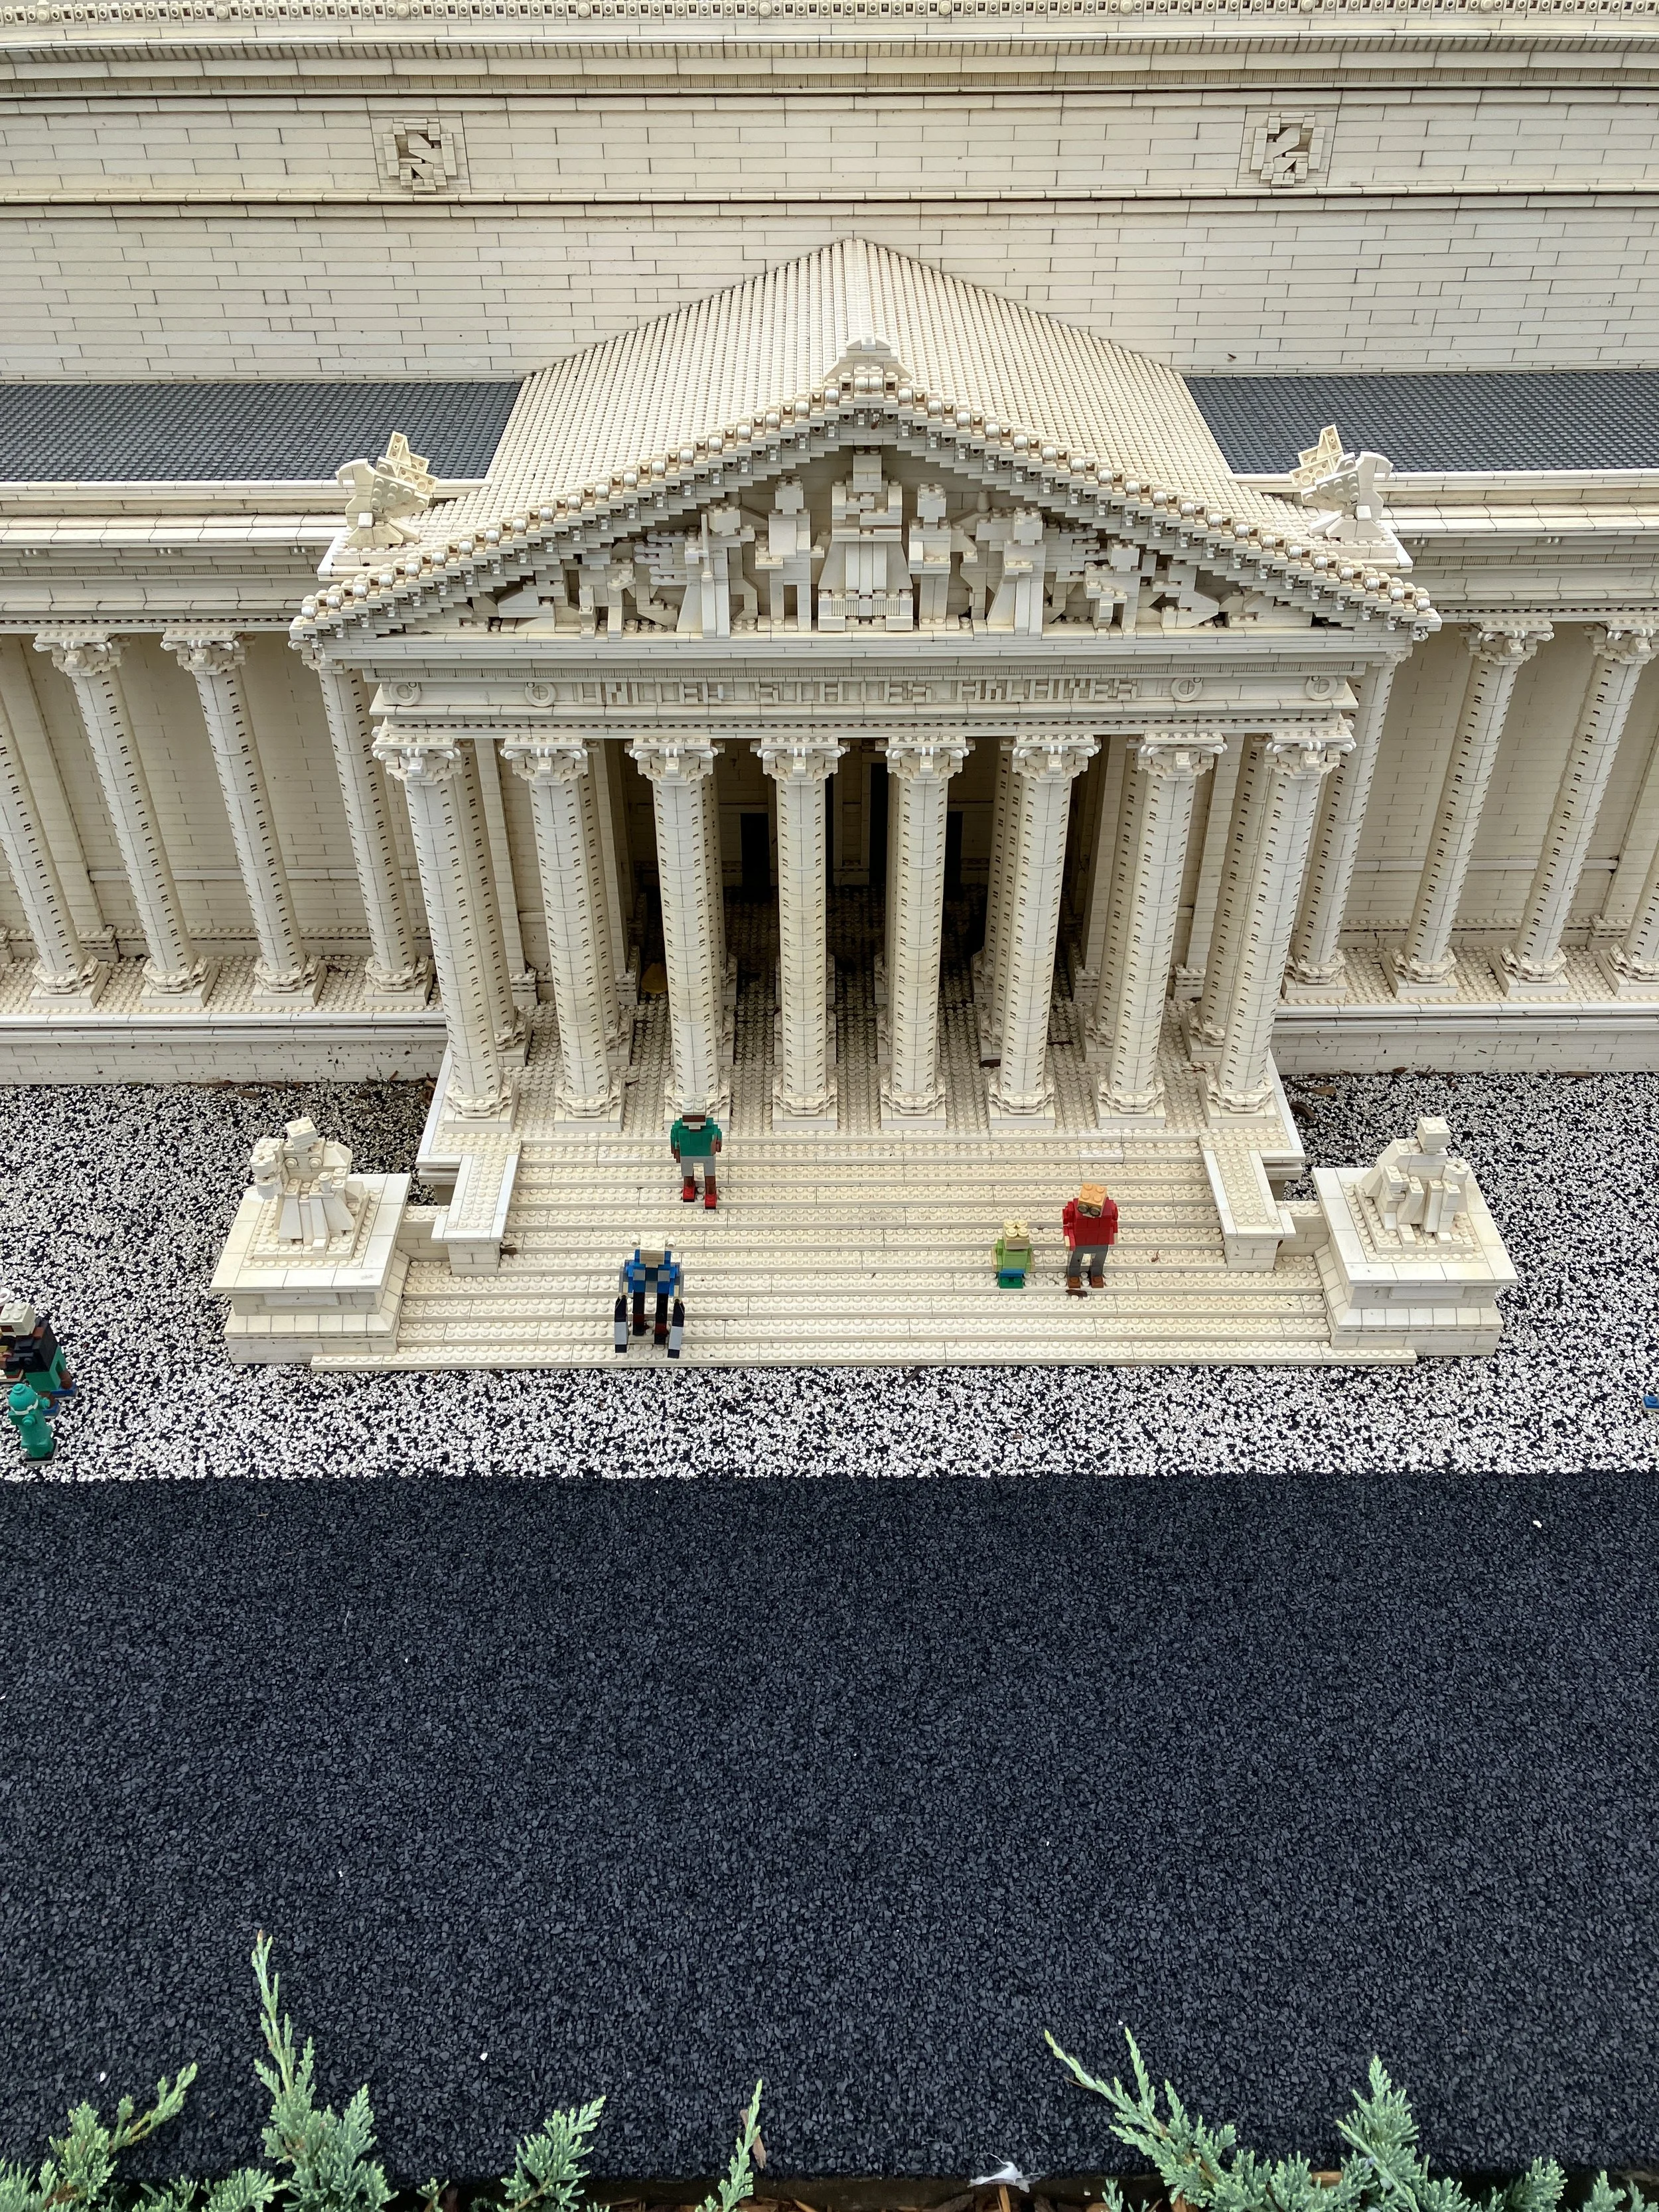
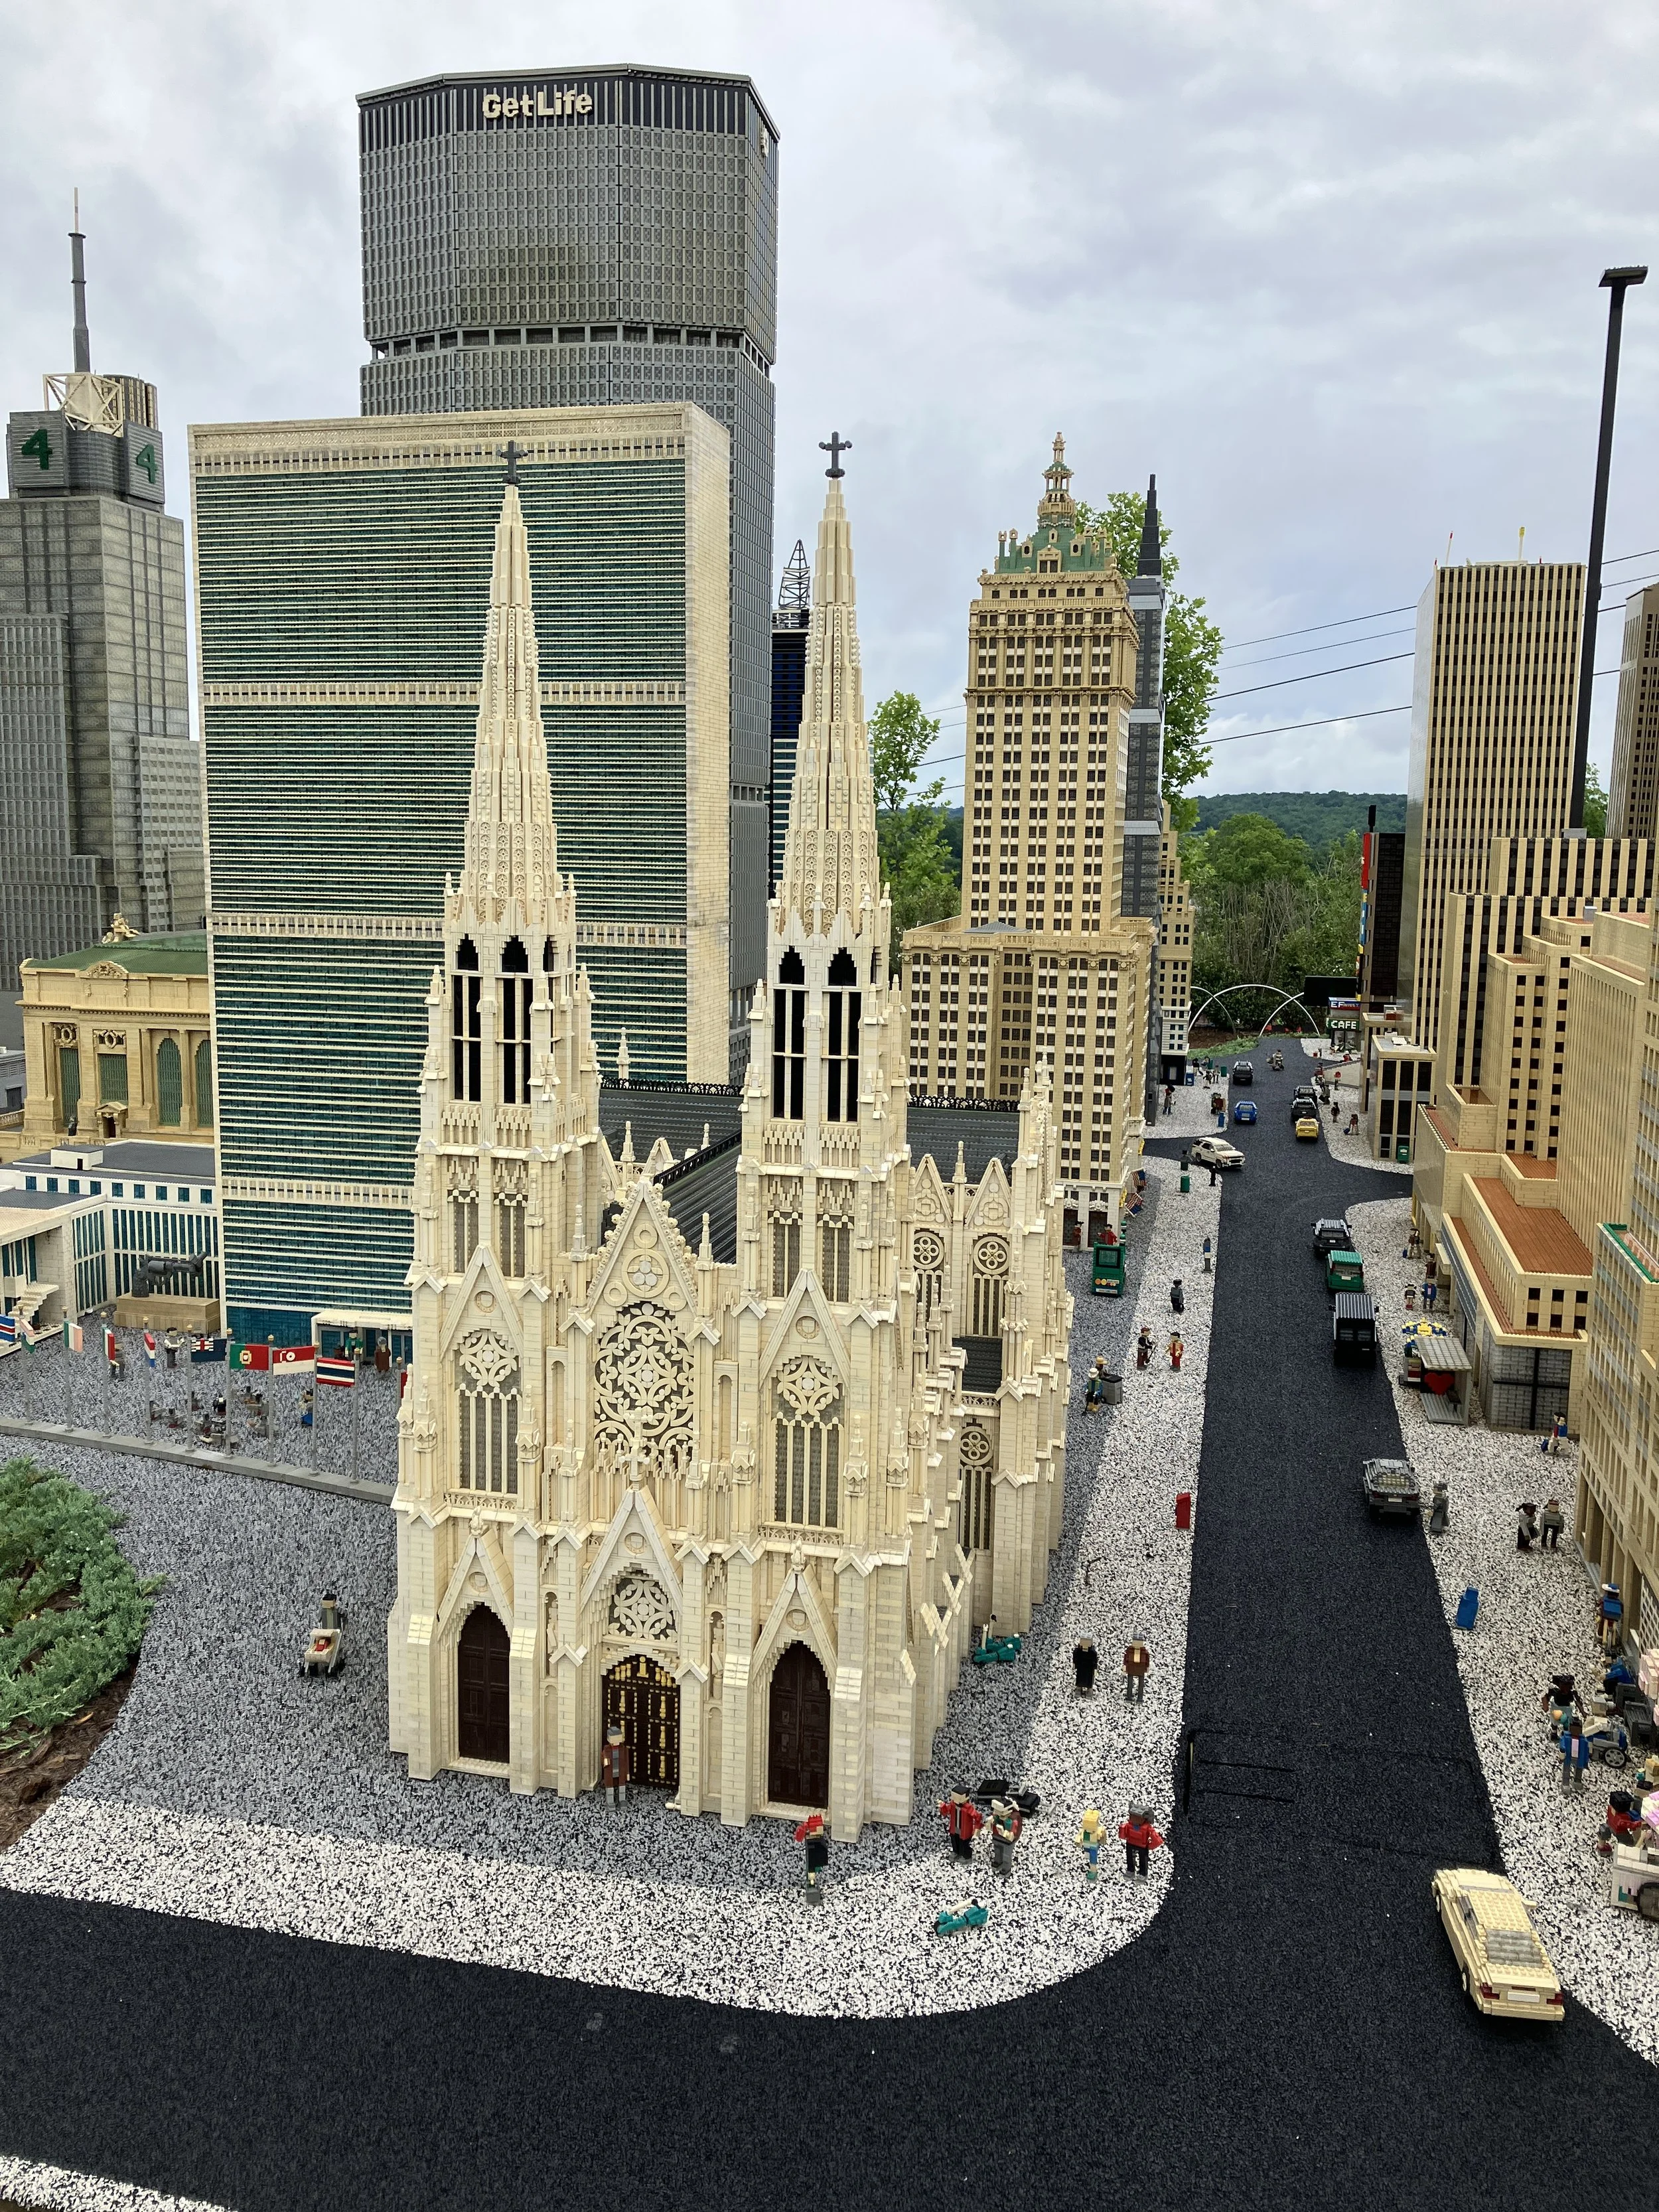
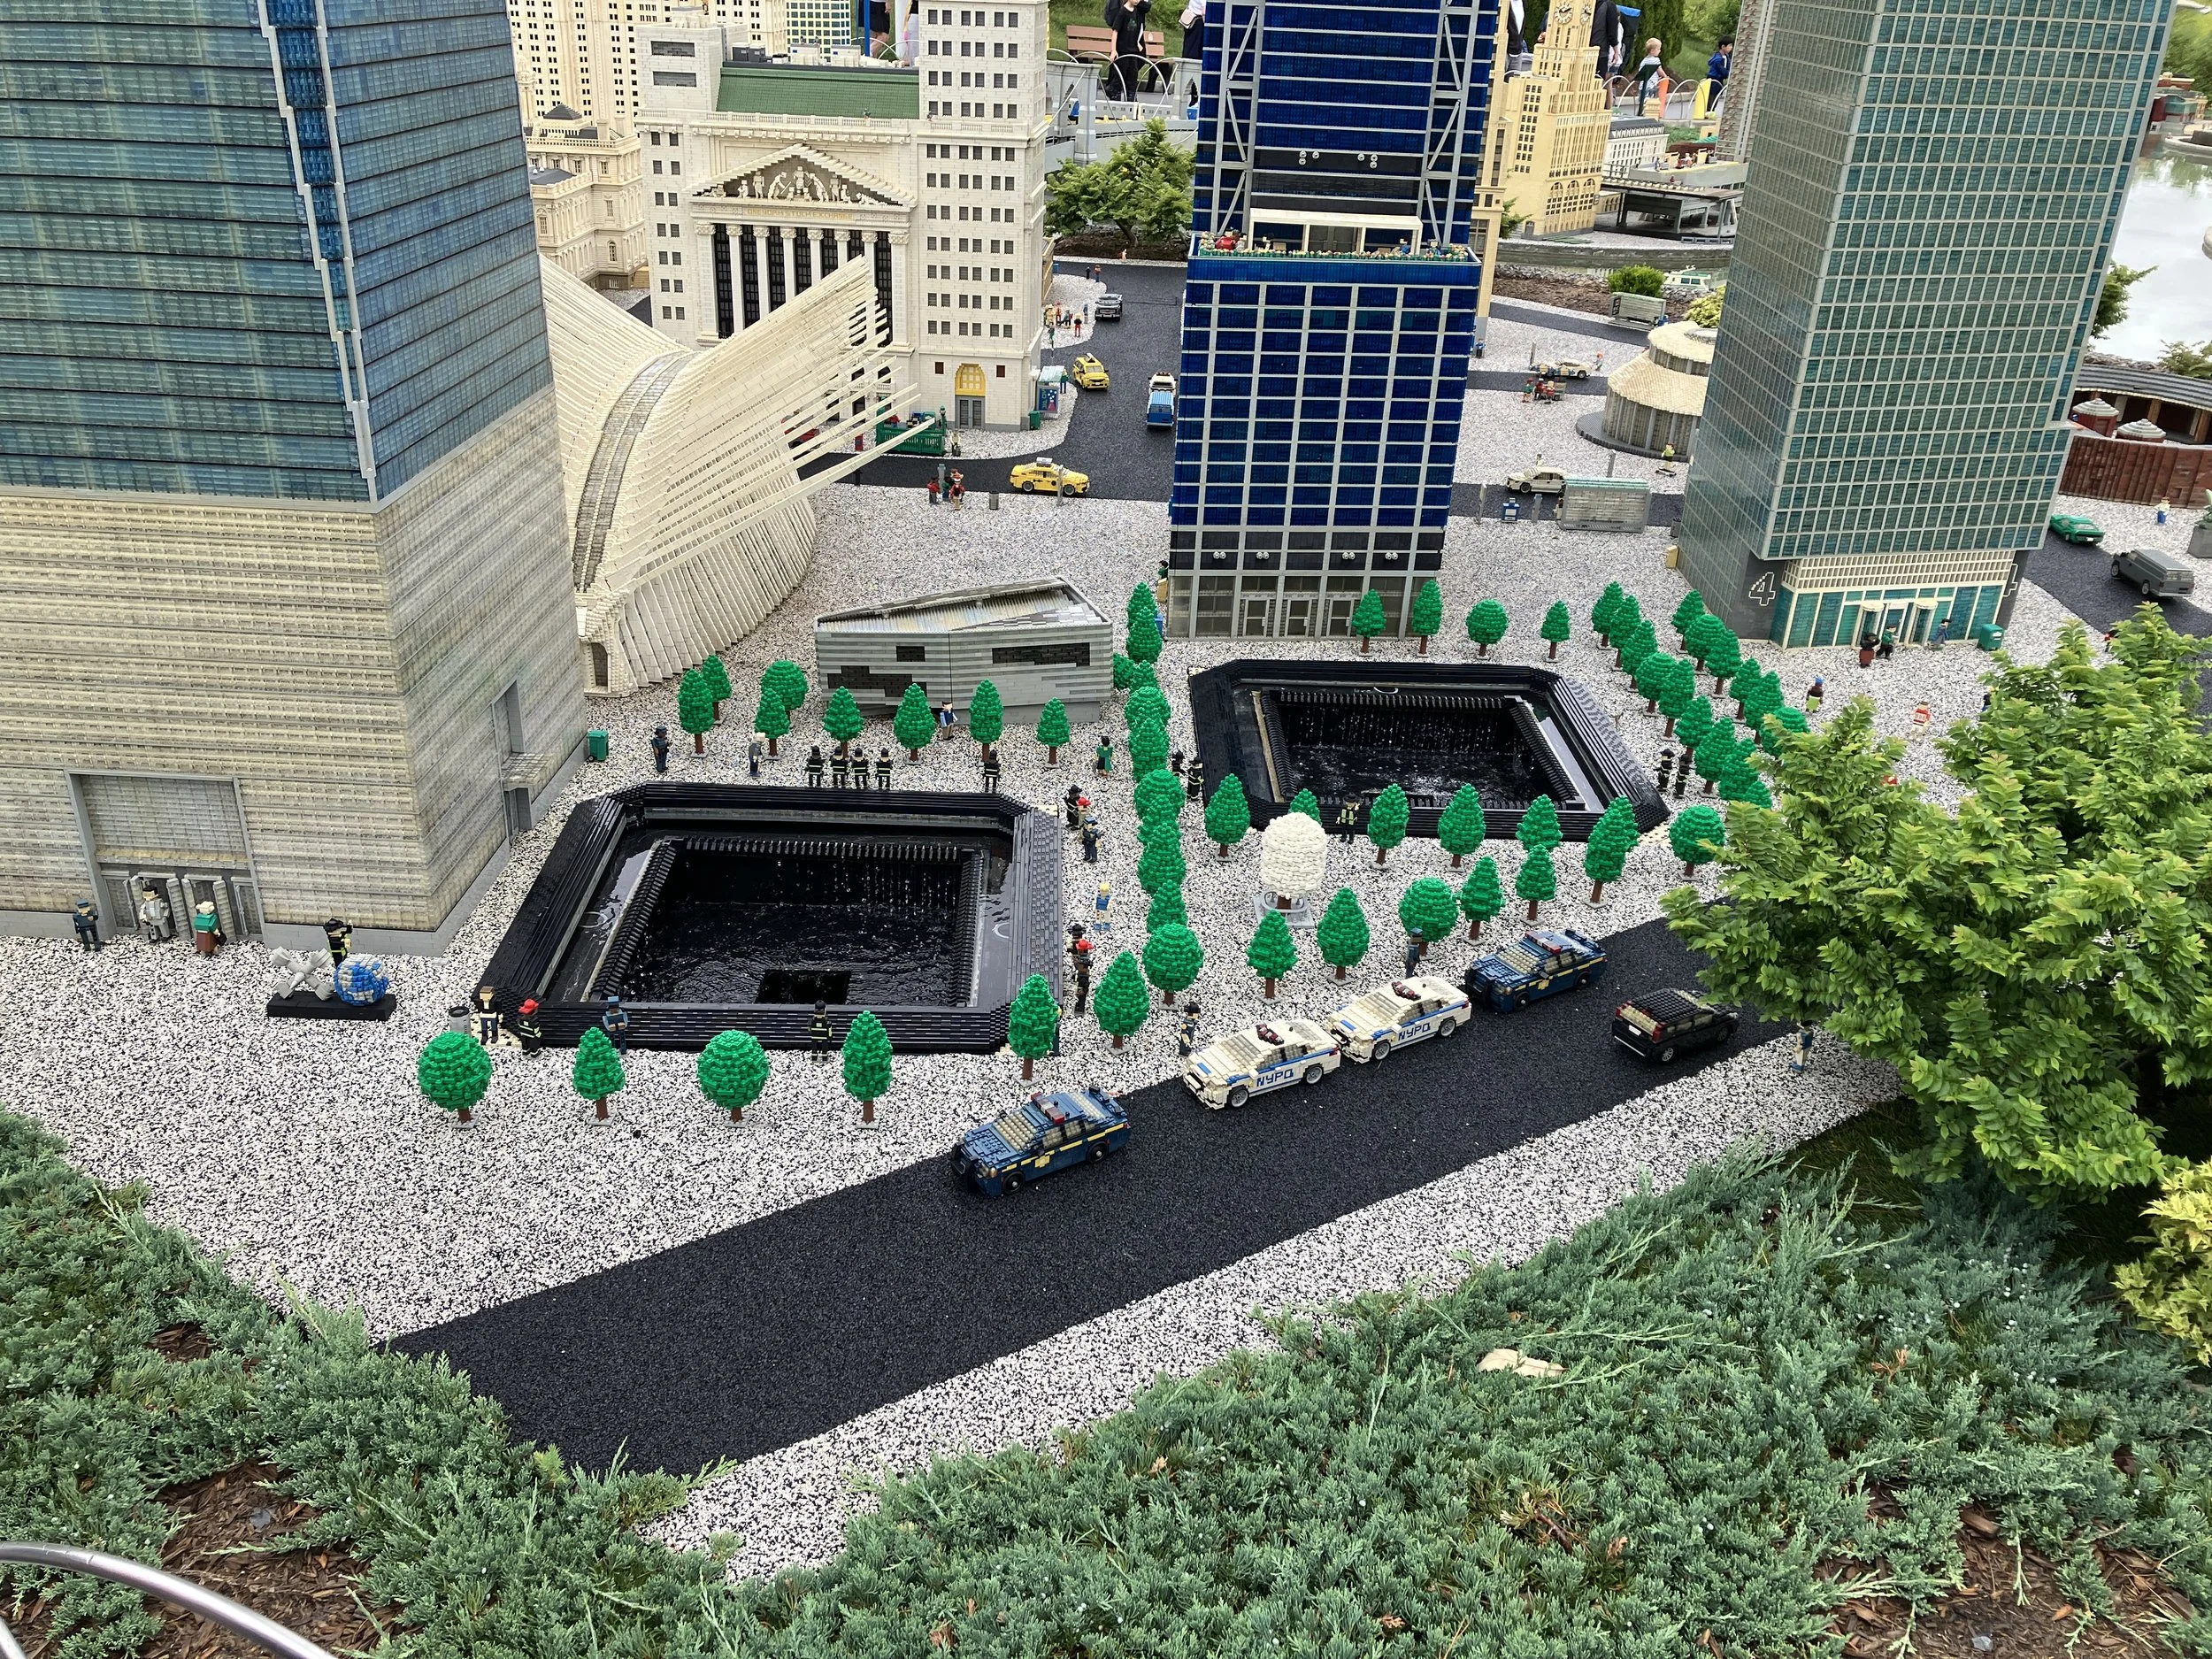
The New York City area was also very detailed and it had a lot of fun Easter Eggs. Here are just a few pictures of what we saw.
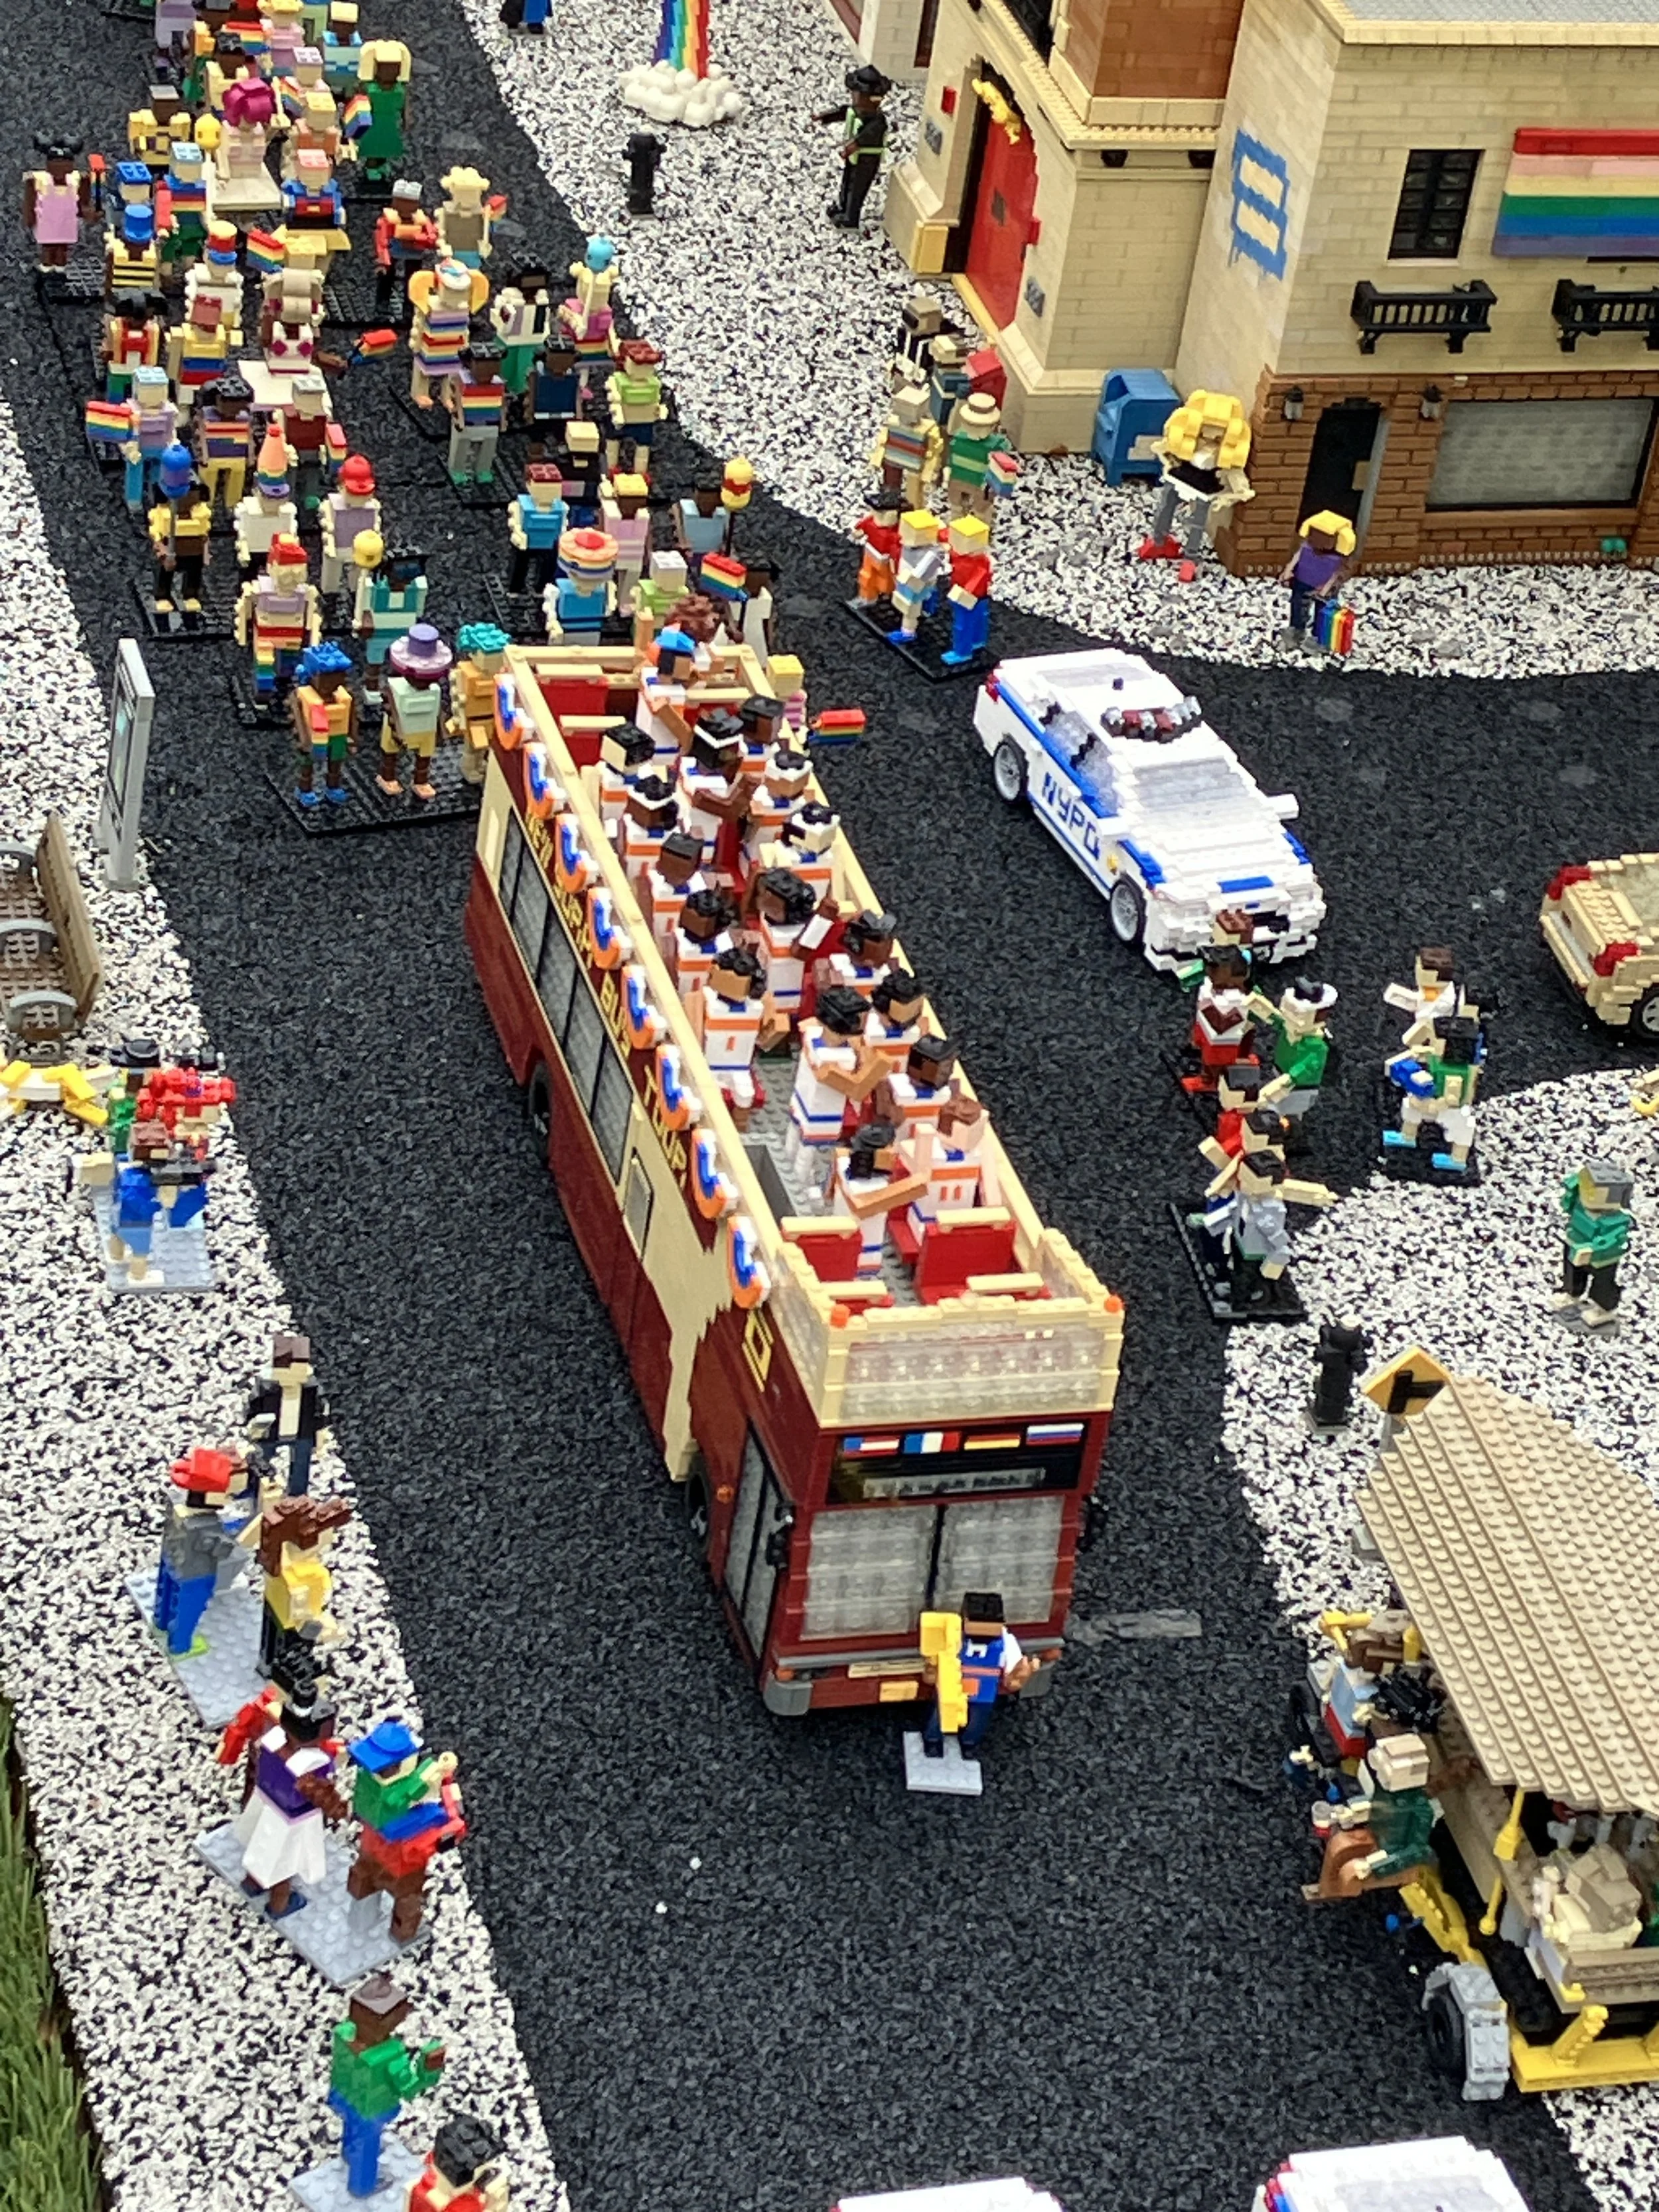
The Knicks had recently won the NBA Championships and they included the celebration parade which was a fun way to add in some relevant current events into Miniland.
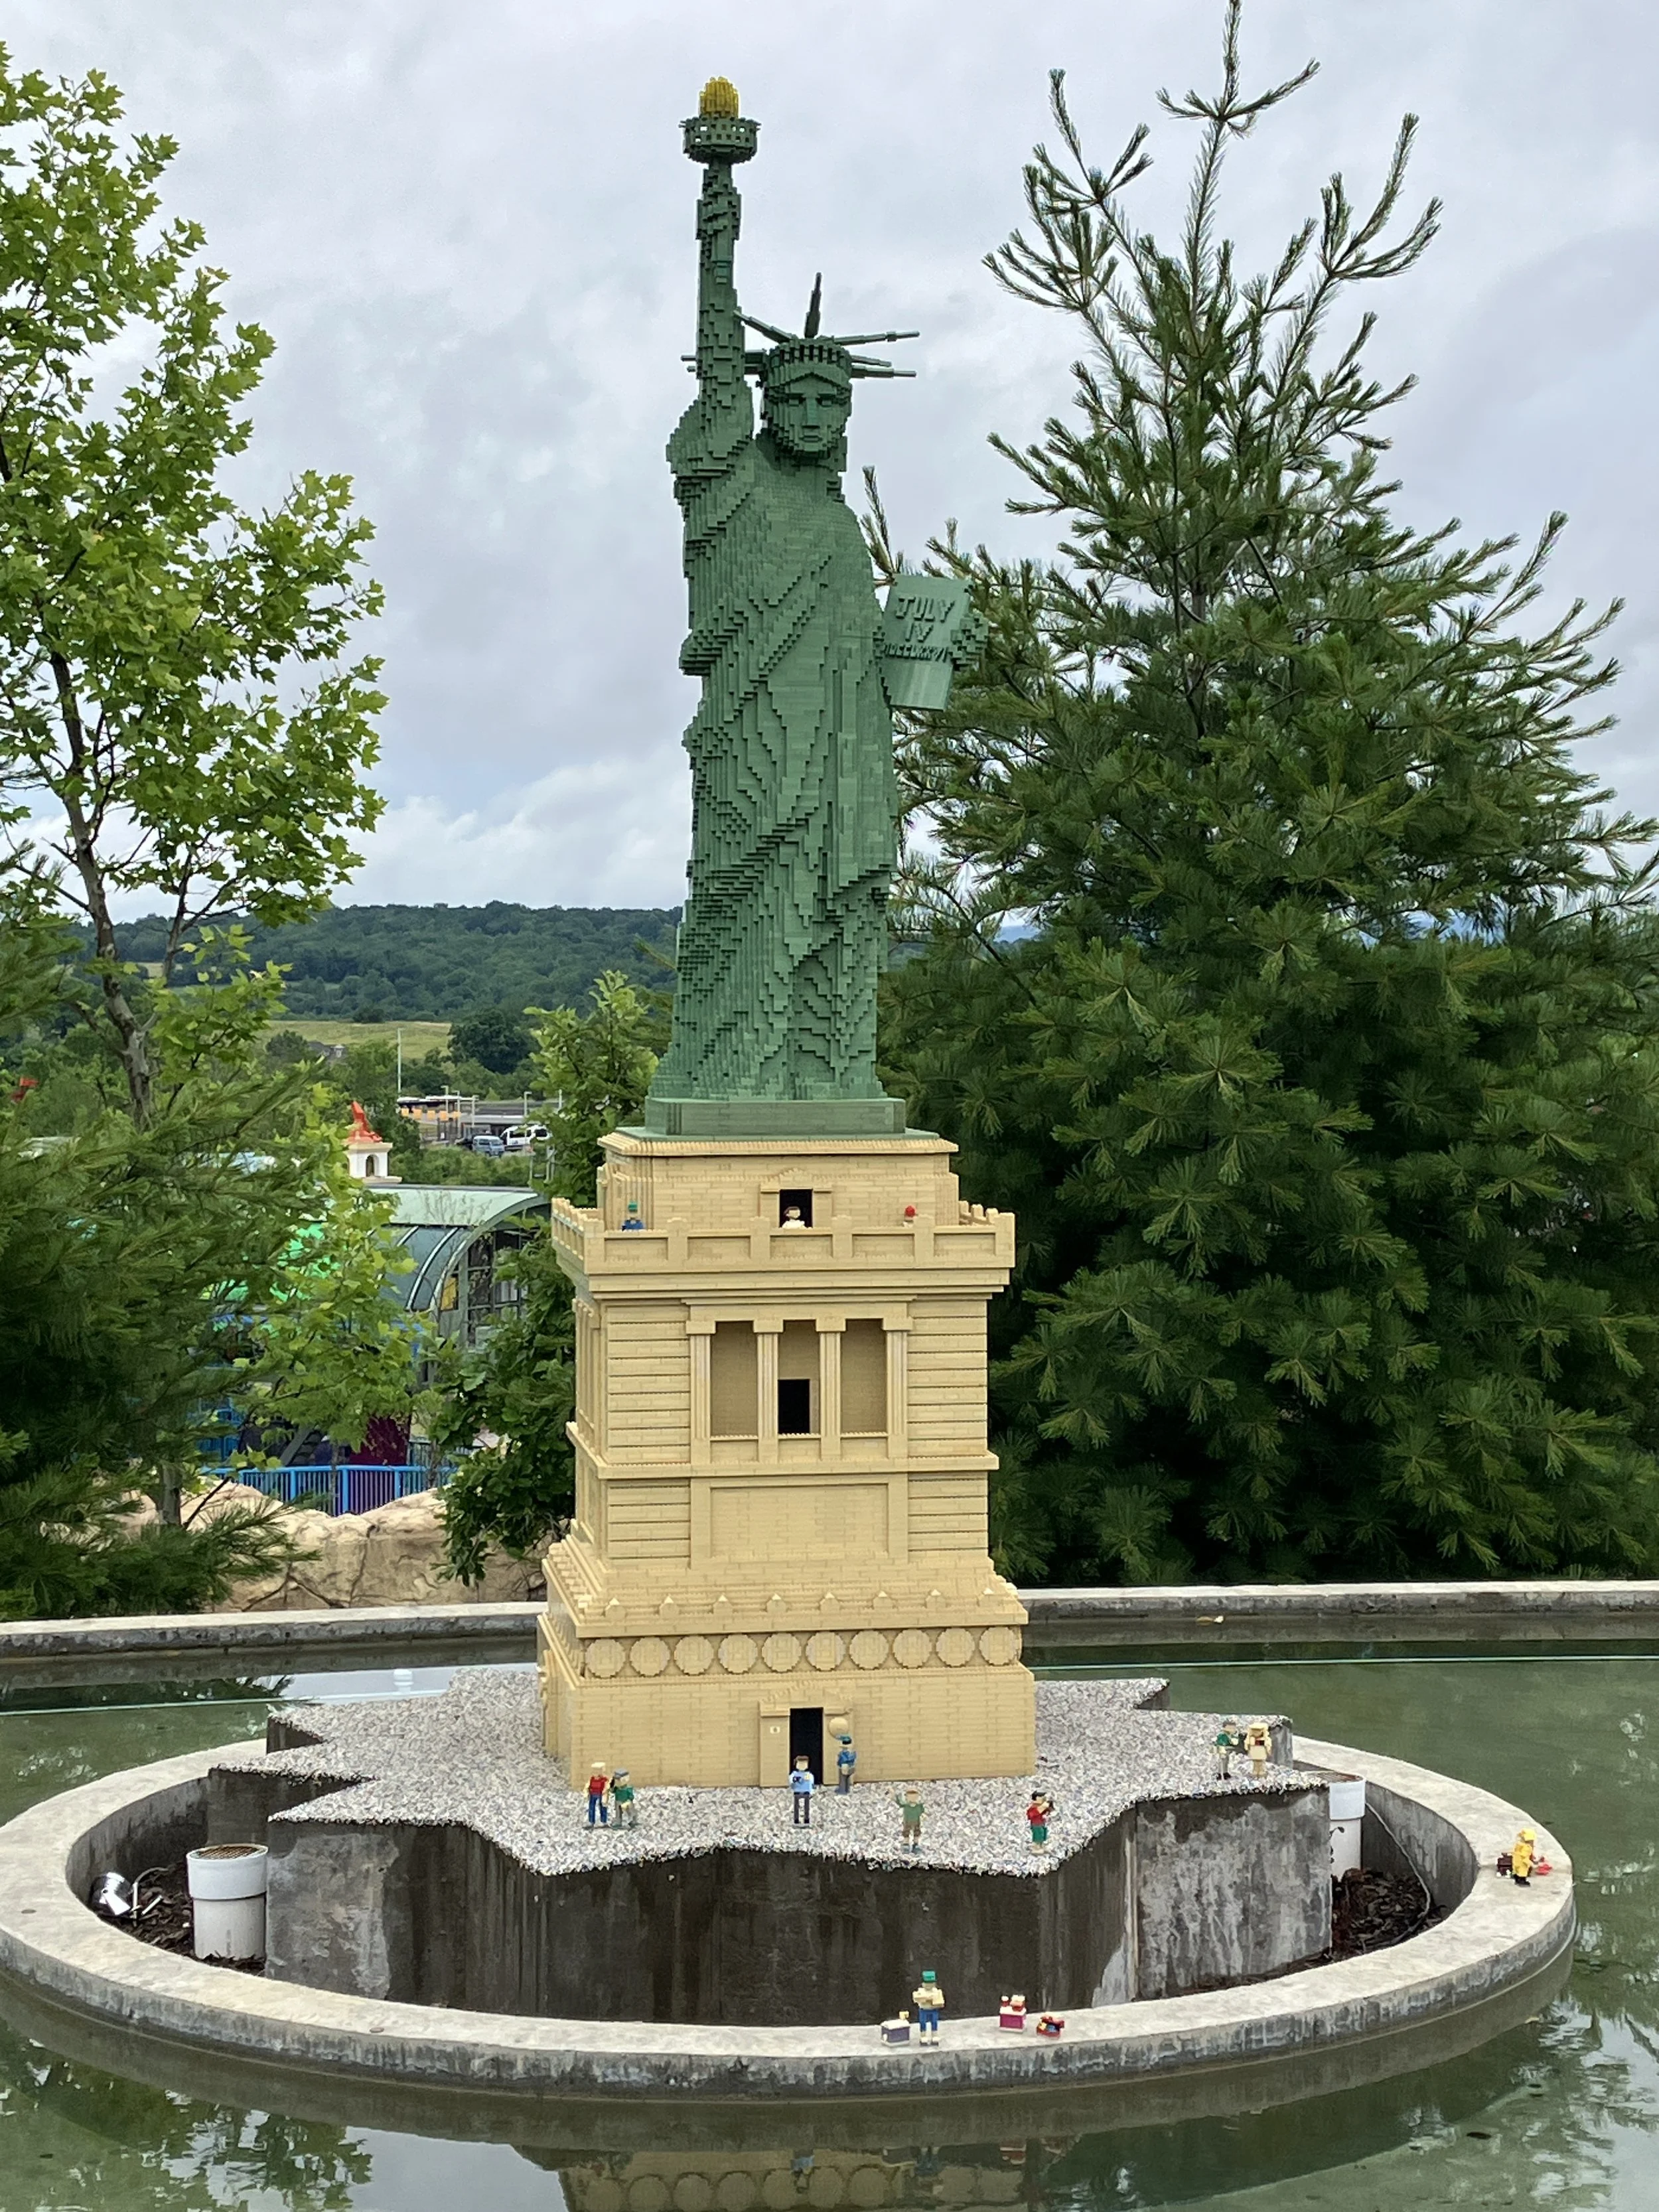
Also, yet another Statue of Liberty, but this one is of the actual statue instead of a minifigure.
I skipped over our visits to the Castle area with a few rides and a build area as I didn’t get any pictures there. I decided to enjoy my time there instead of taking loads of pictures to add to a blog post later.
One thing I will point out is that food there is expensive and from what I’ve read, not that good. A bonus for the park is that you can get a stamp, leave the park, and come back in the same day. We had a cooler in the car, bought some sandwiches and snacks at a grocery store that morning, and ate lunch in our car. It was much cheaper and we ate what we wanted.
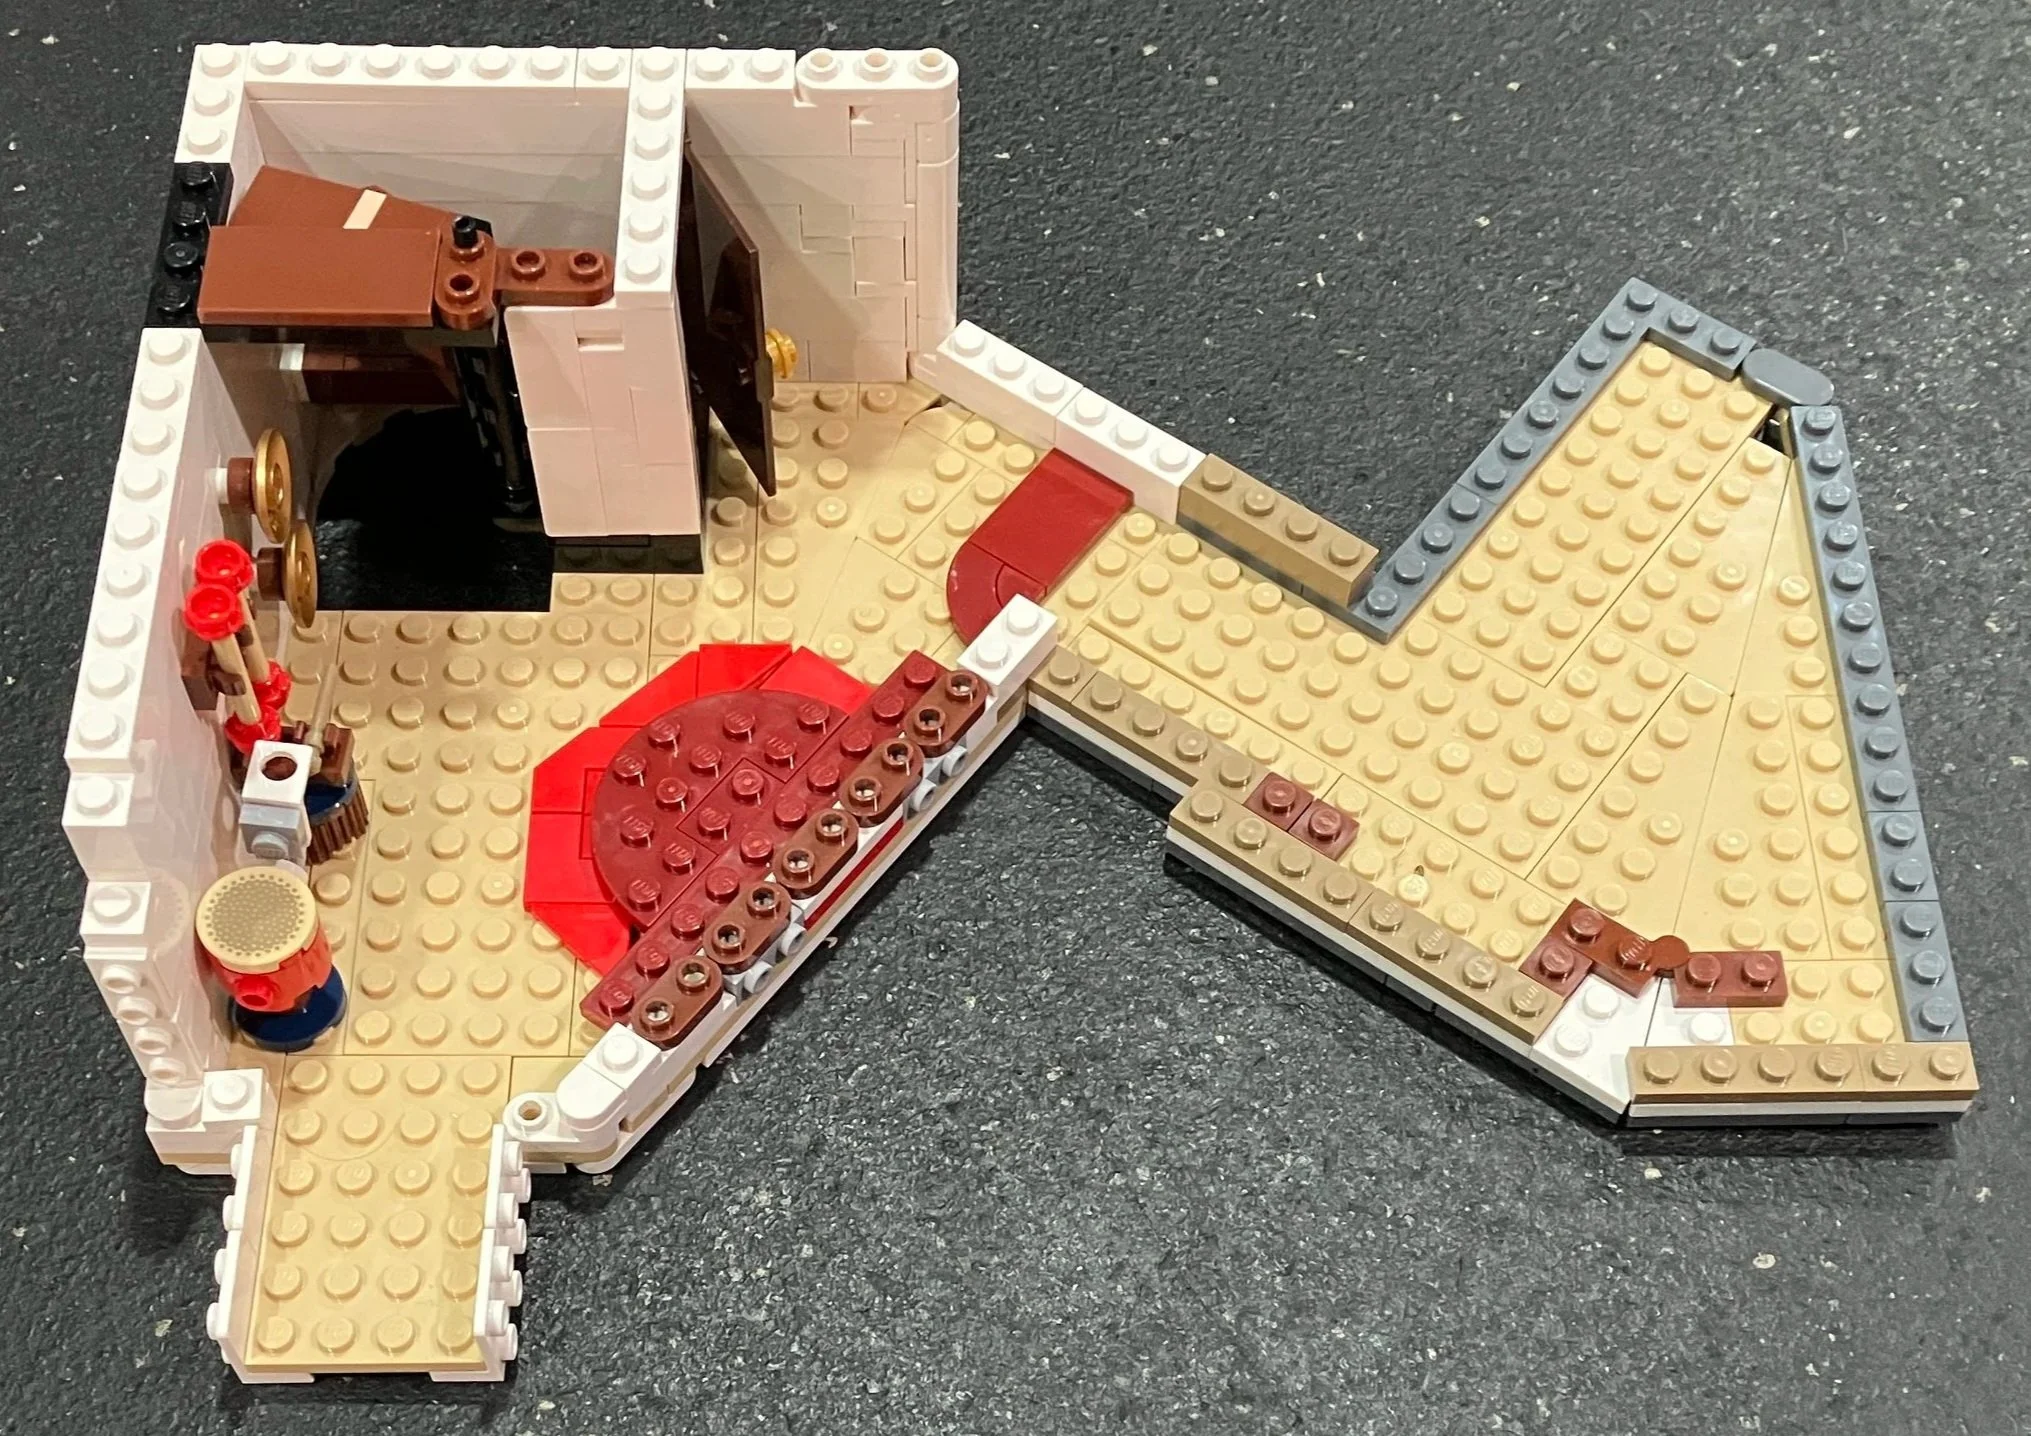
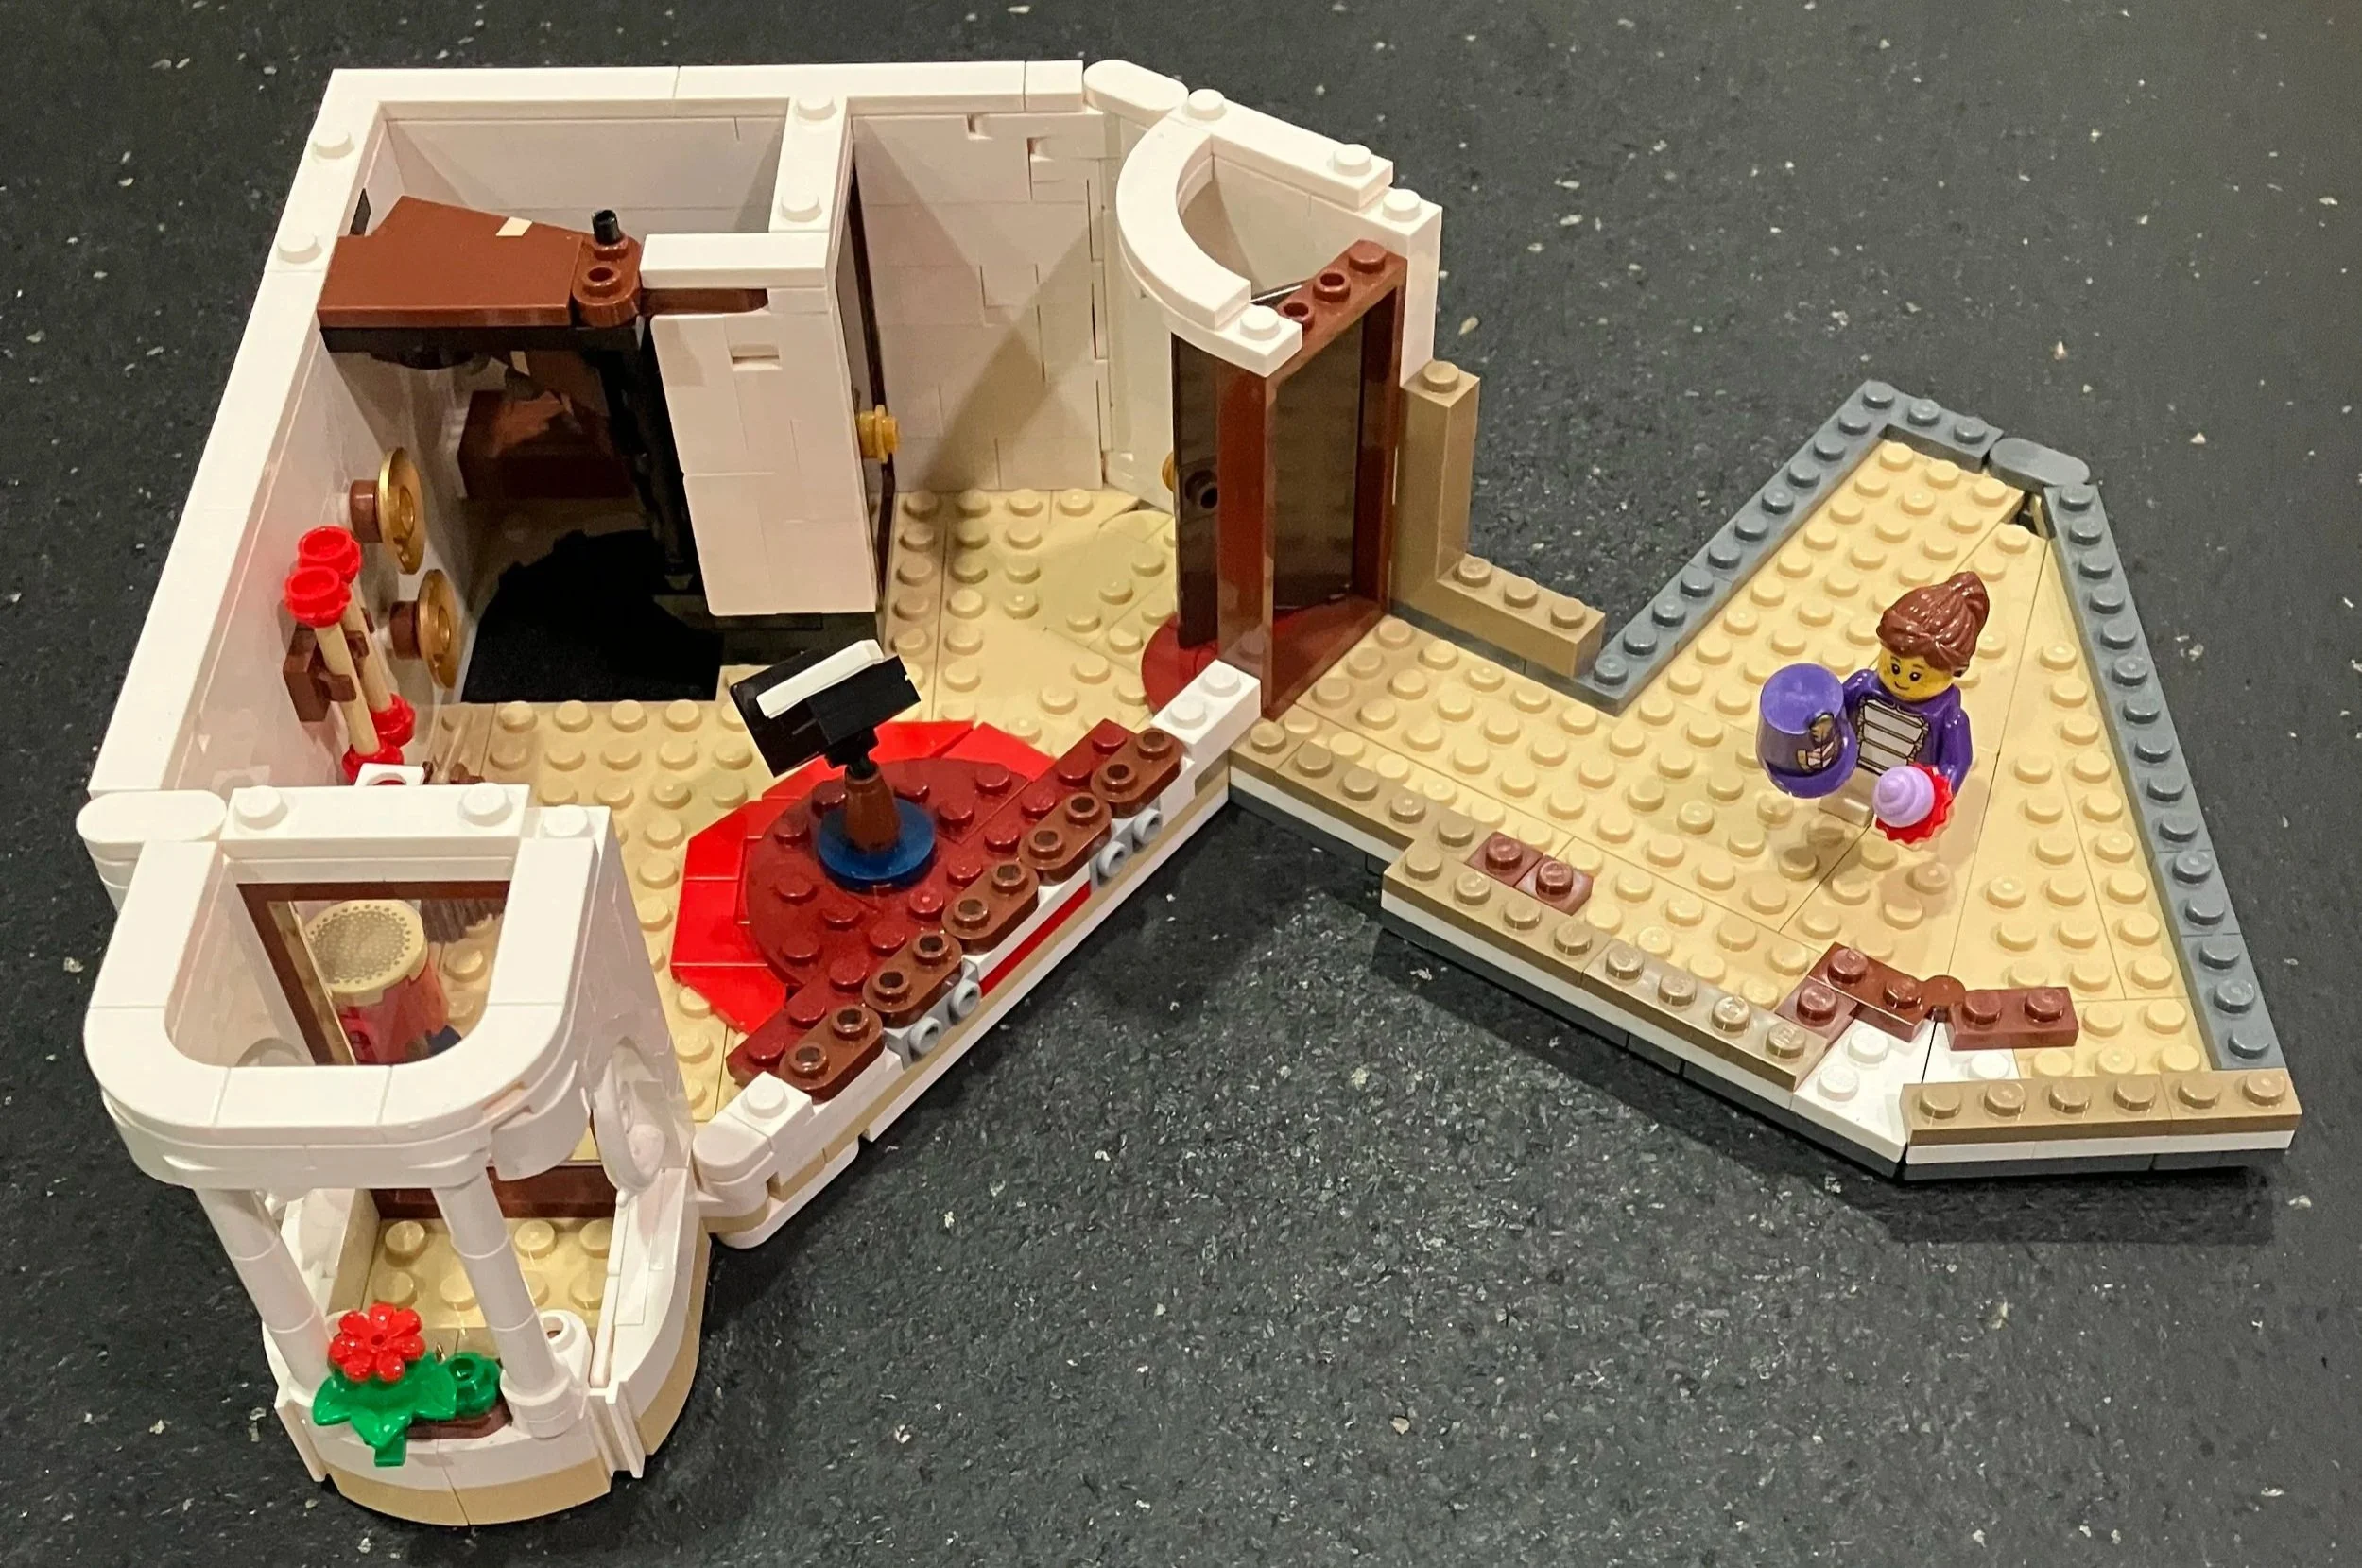
After lunch, we stopped at one of the build areas. One of the buildings has spaces to build with large rubber bricks, Duplo, and LEGO. My family stuck to the LEGO and built cars to race down tall ramps or a ramp where you could compete with others. You could get a set of wheels and a minifigure, but you had to sign them out from a worker at the front desk. I thought that was kind of lame, but I’m sure people try and take minifigures. We enjoyed building cars, but it was tough to use the racing ramp as kids were going wild while their parents doom scrolled on their phones at nearby benches.
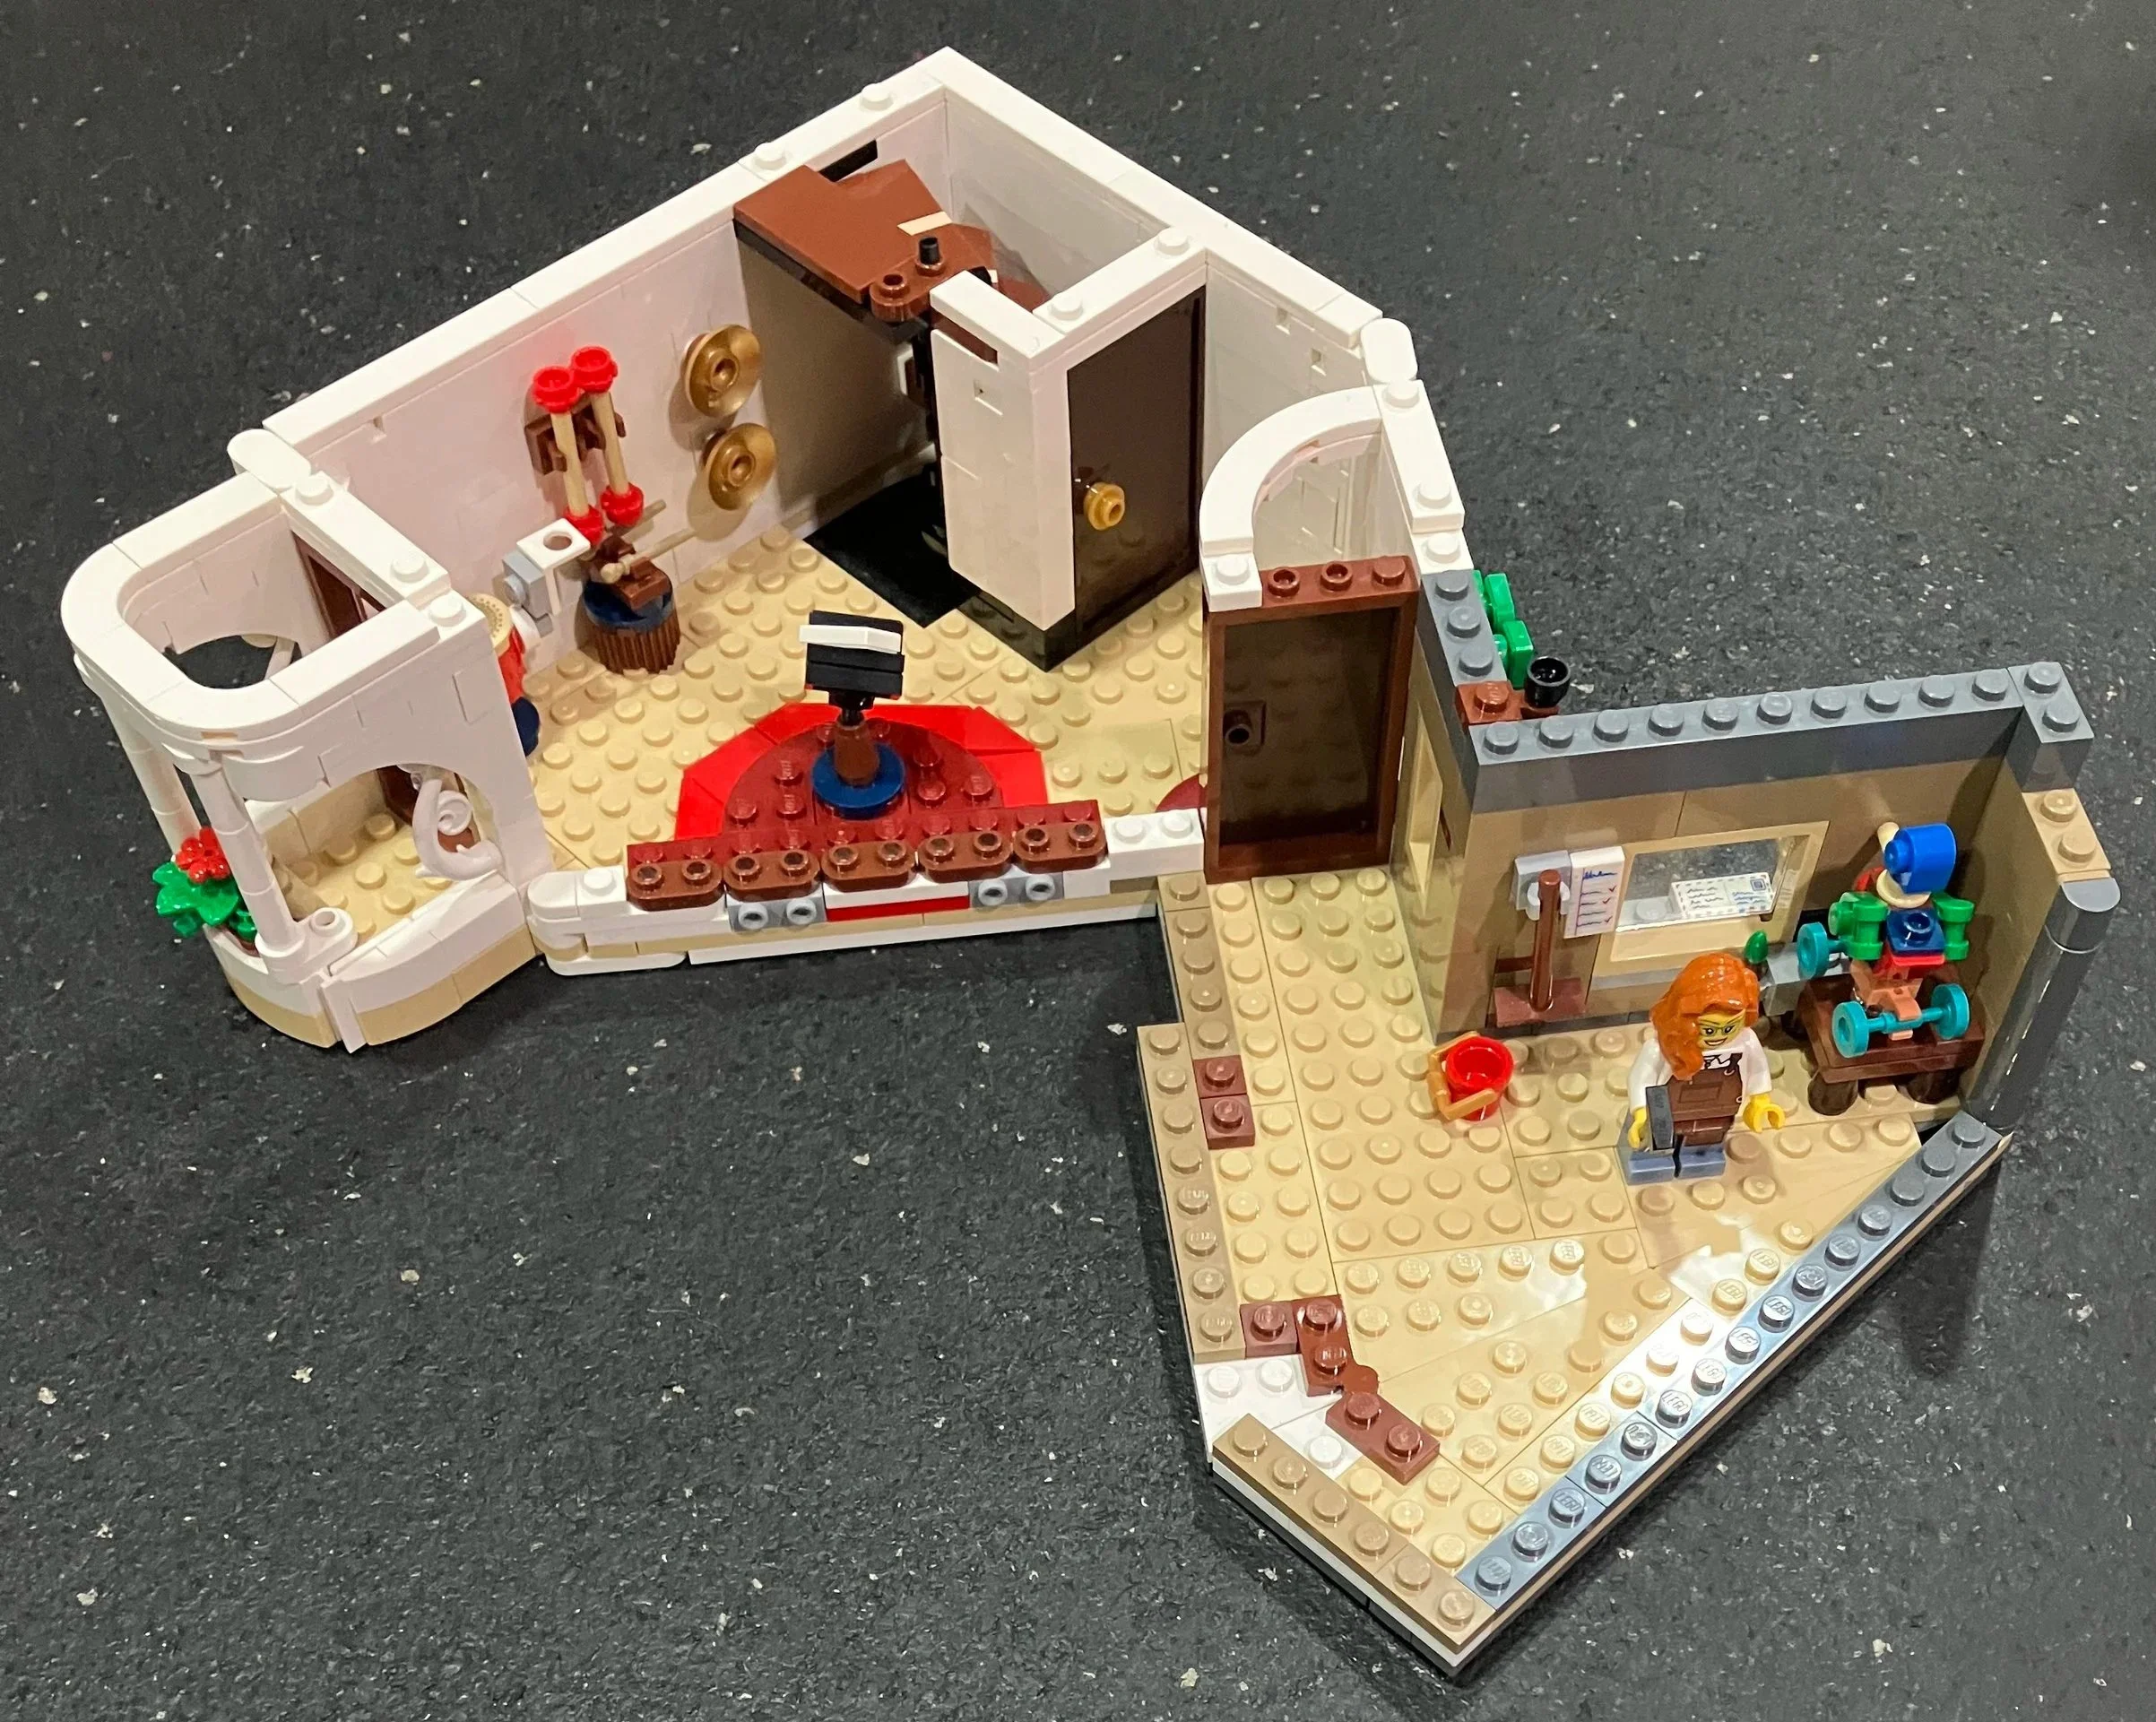
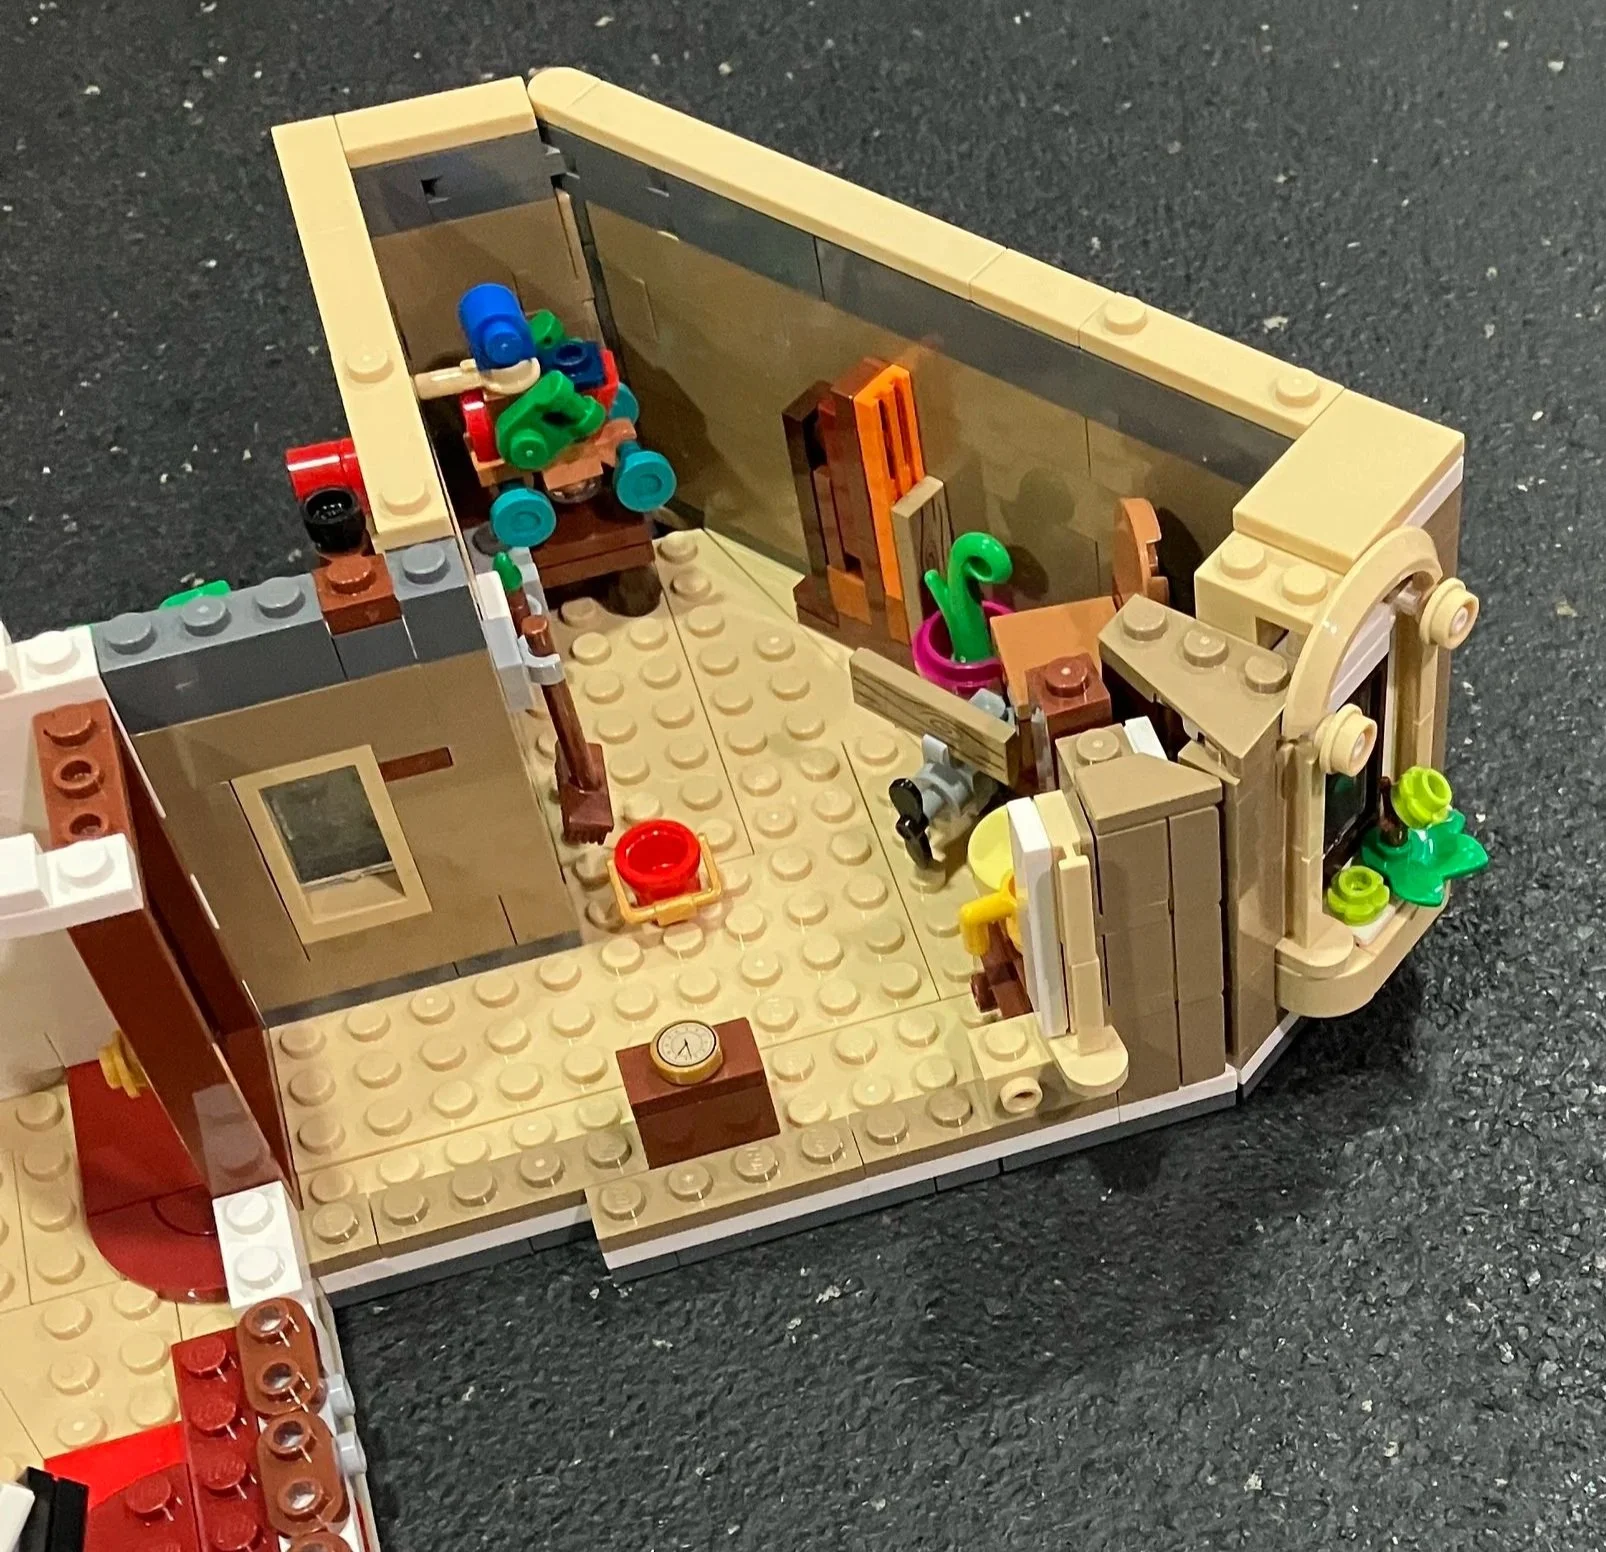
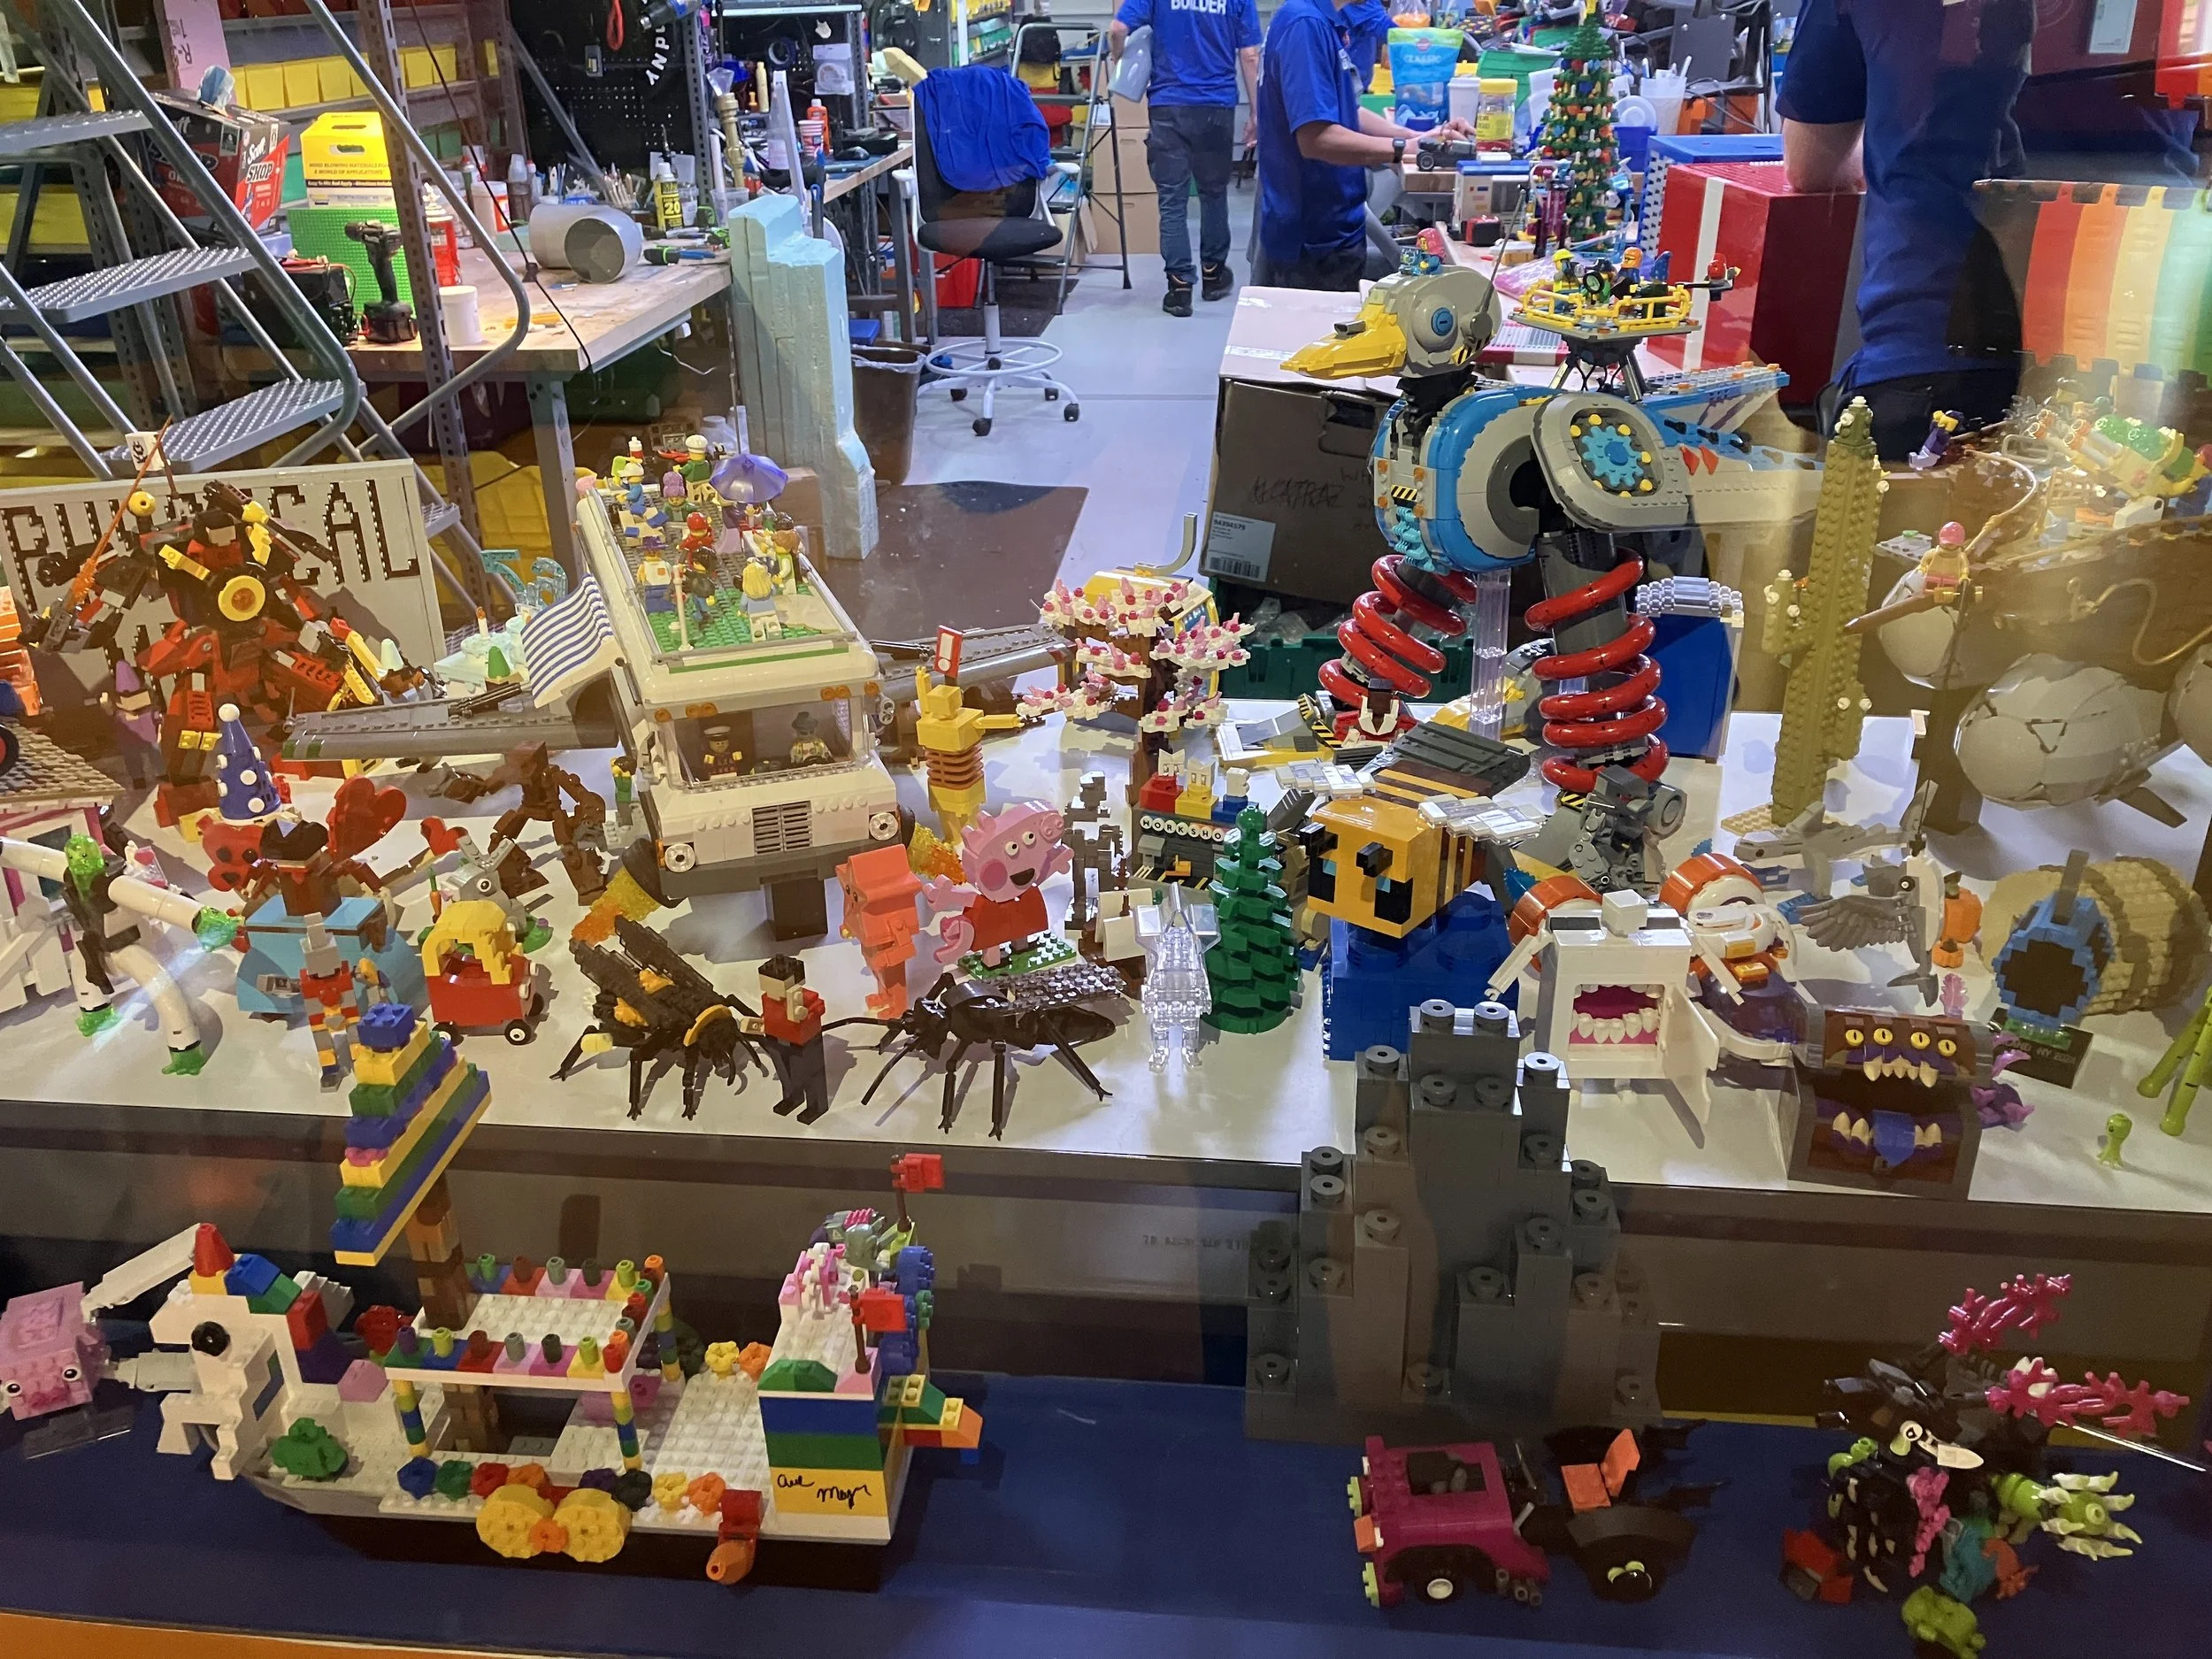
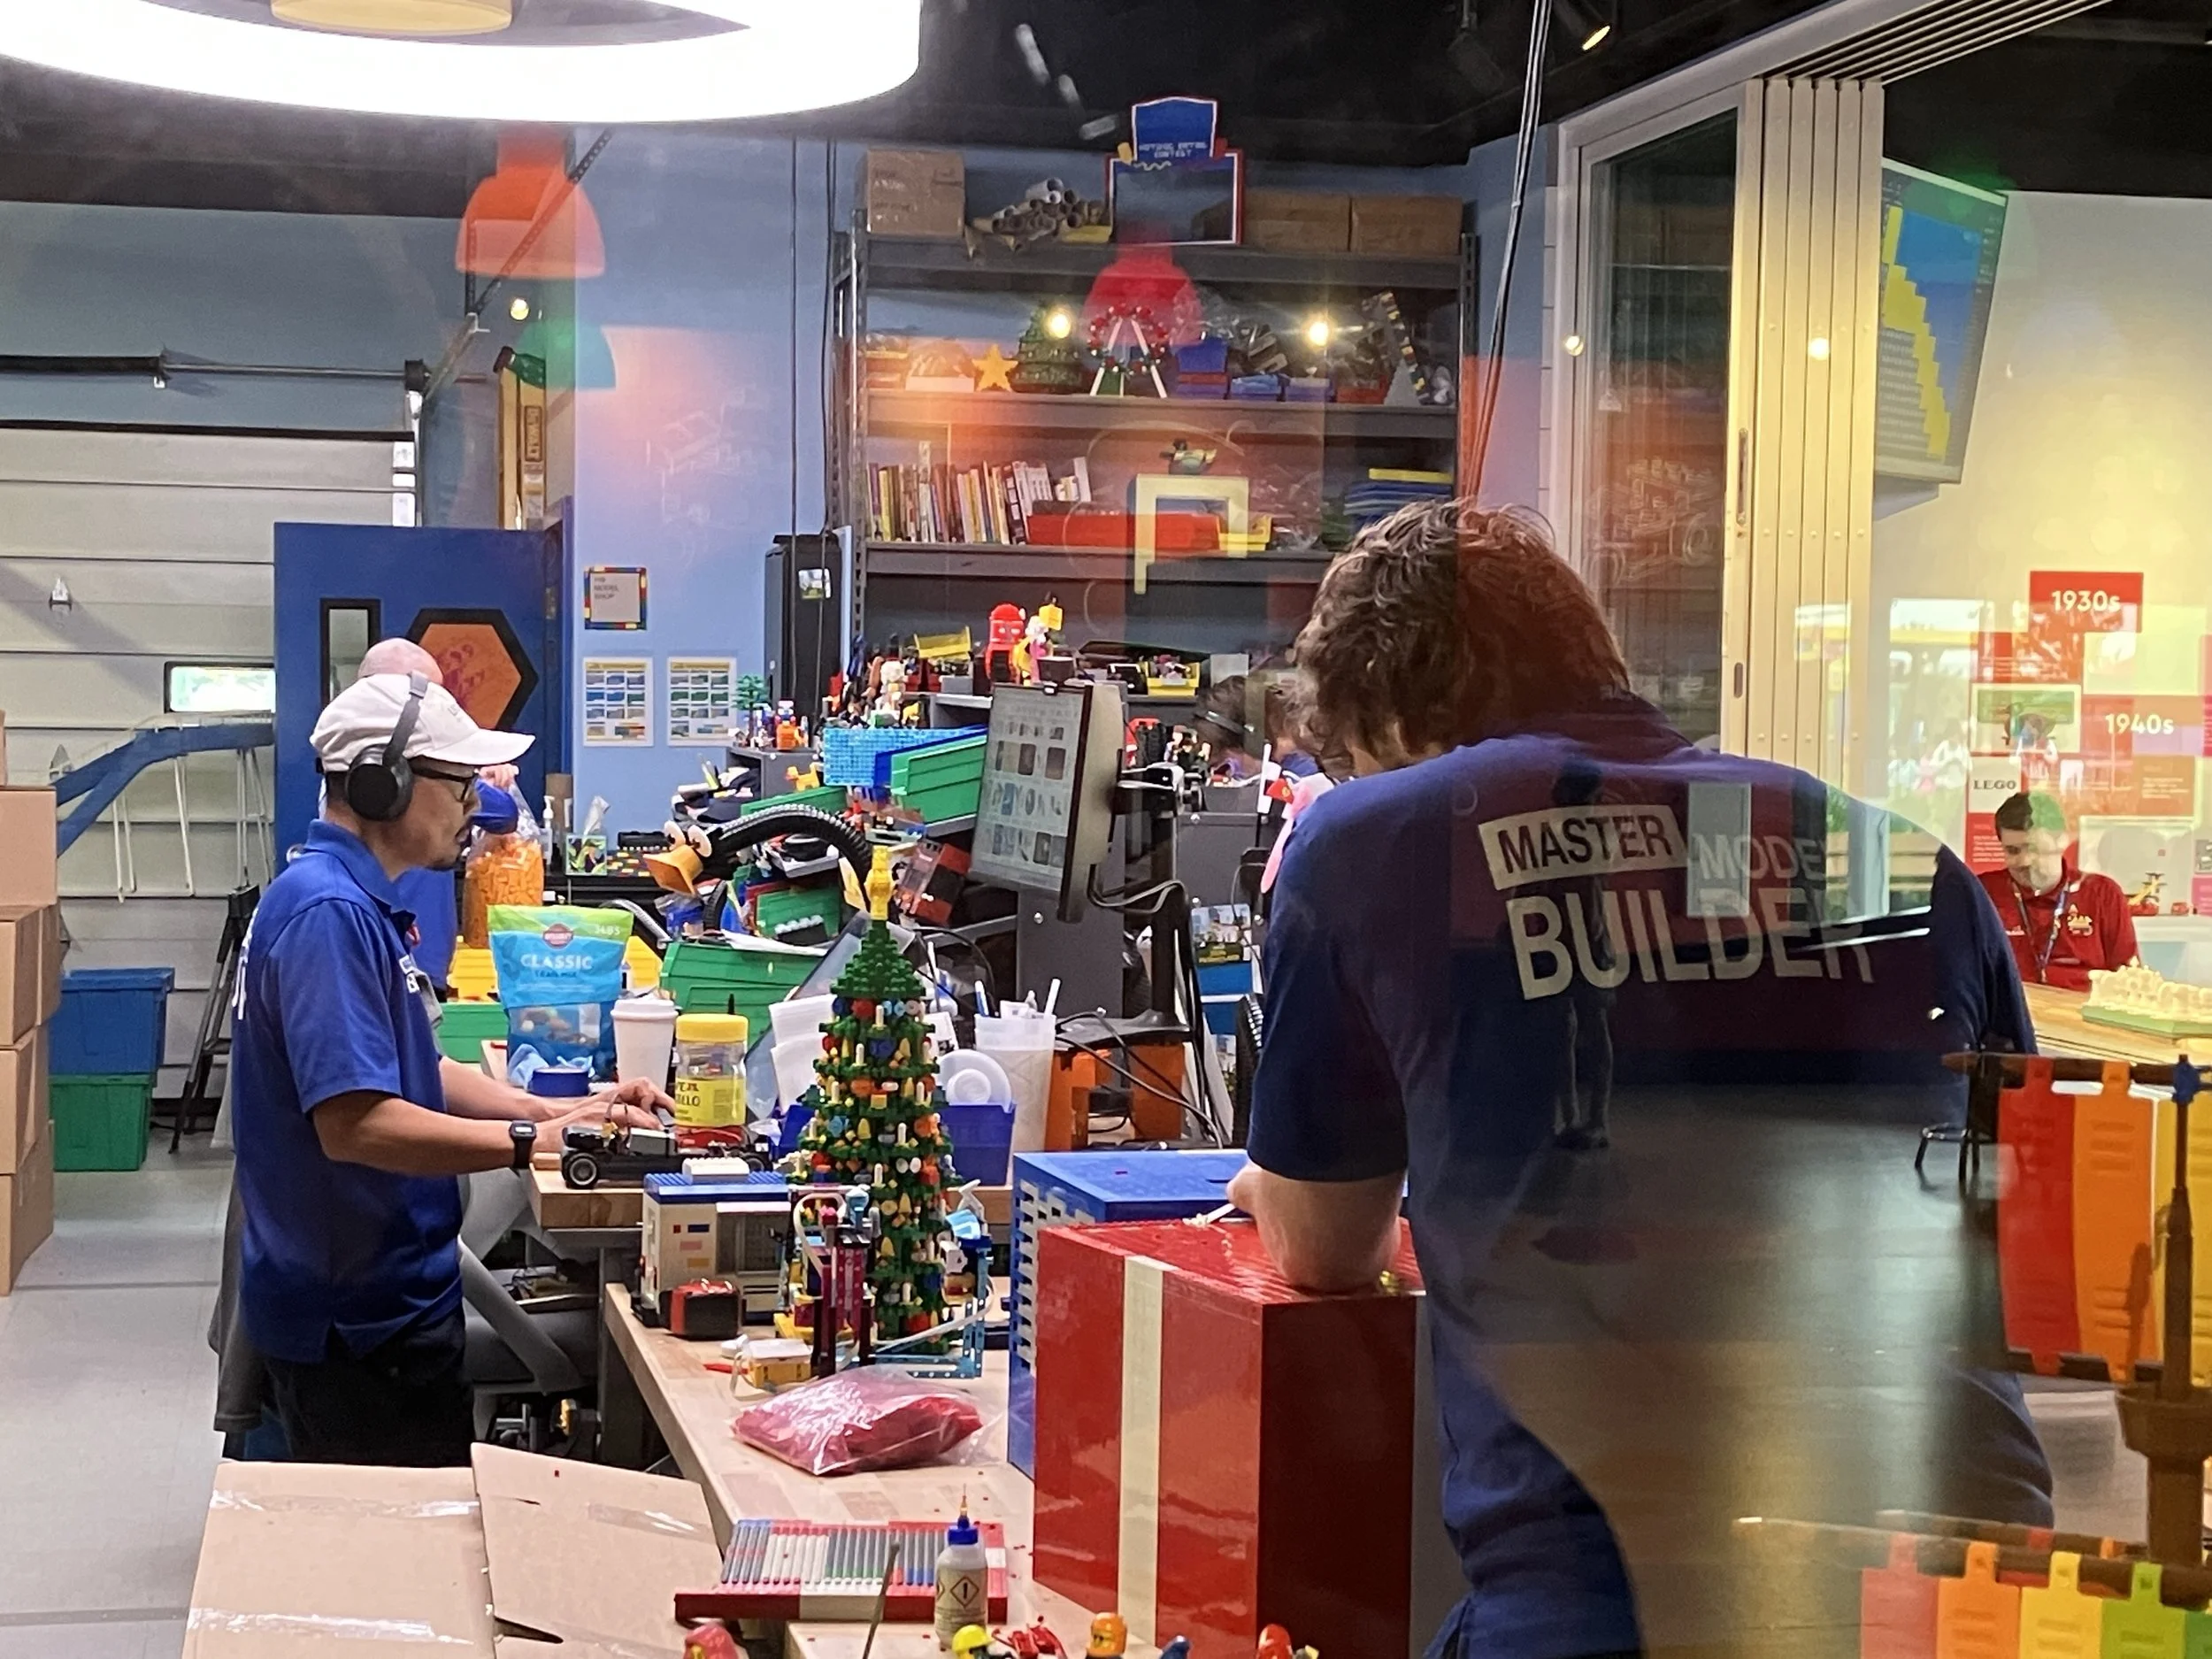
In another area of the building were some of the master builders who create the builds for the park. They had some of their builds on display in a window which was cool to see. You could go watch them build and talk with them if you wanted.

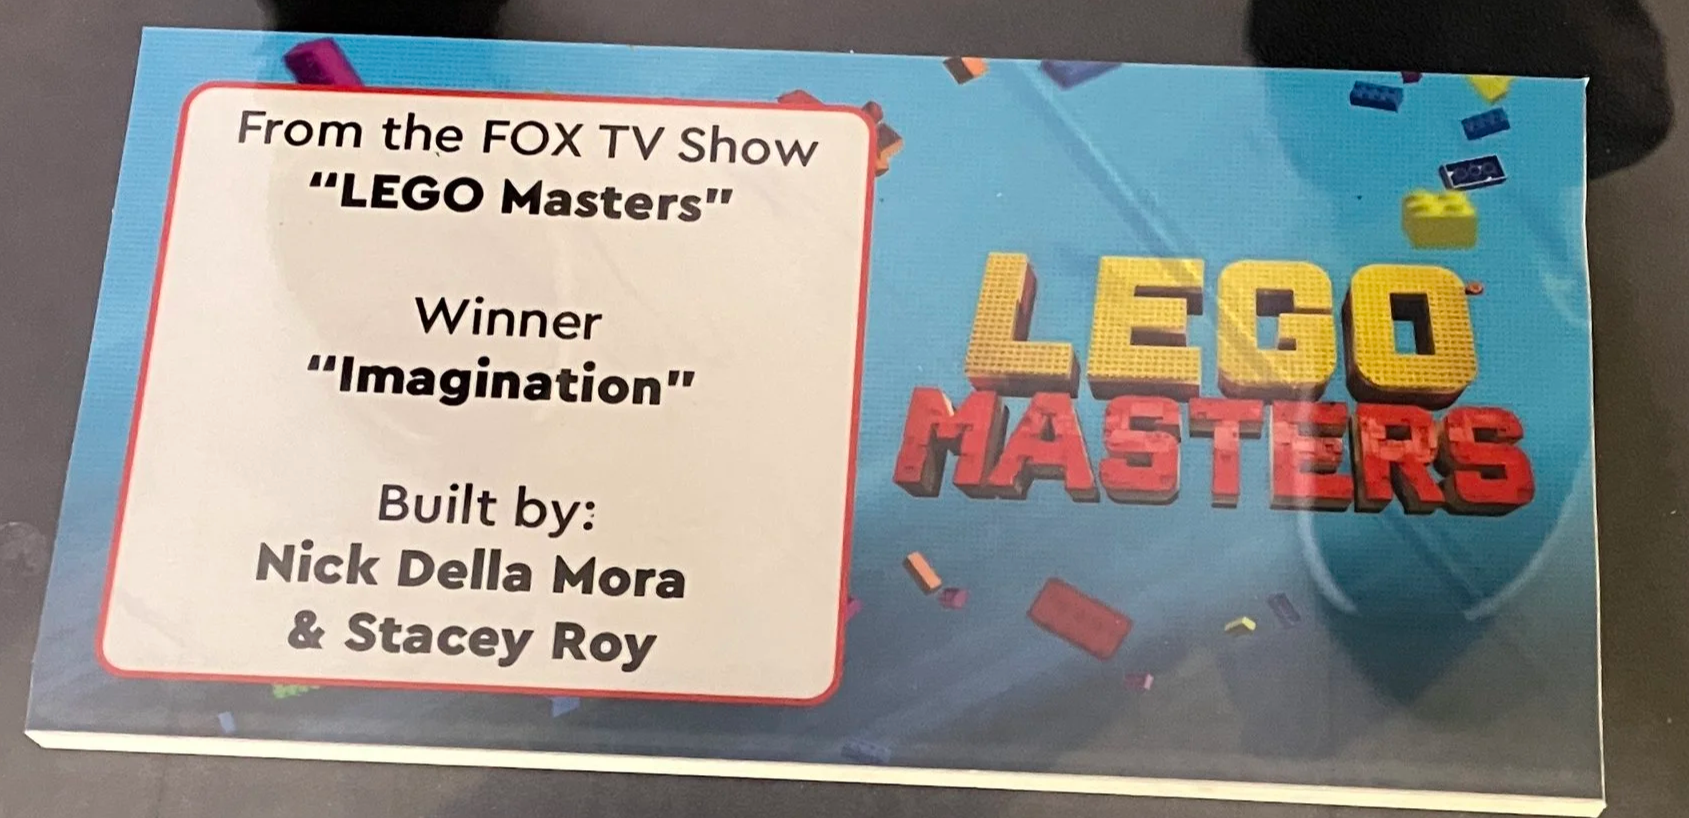
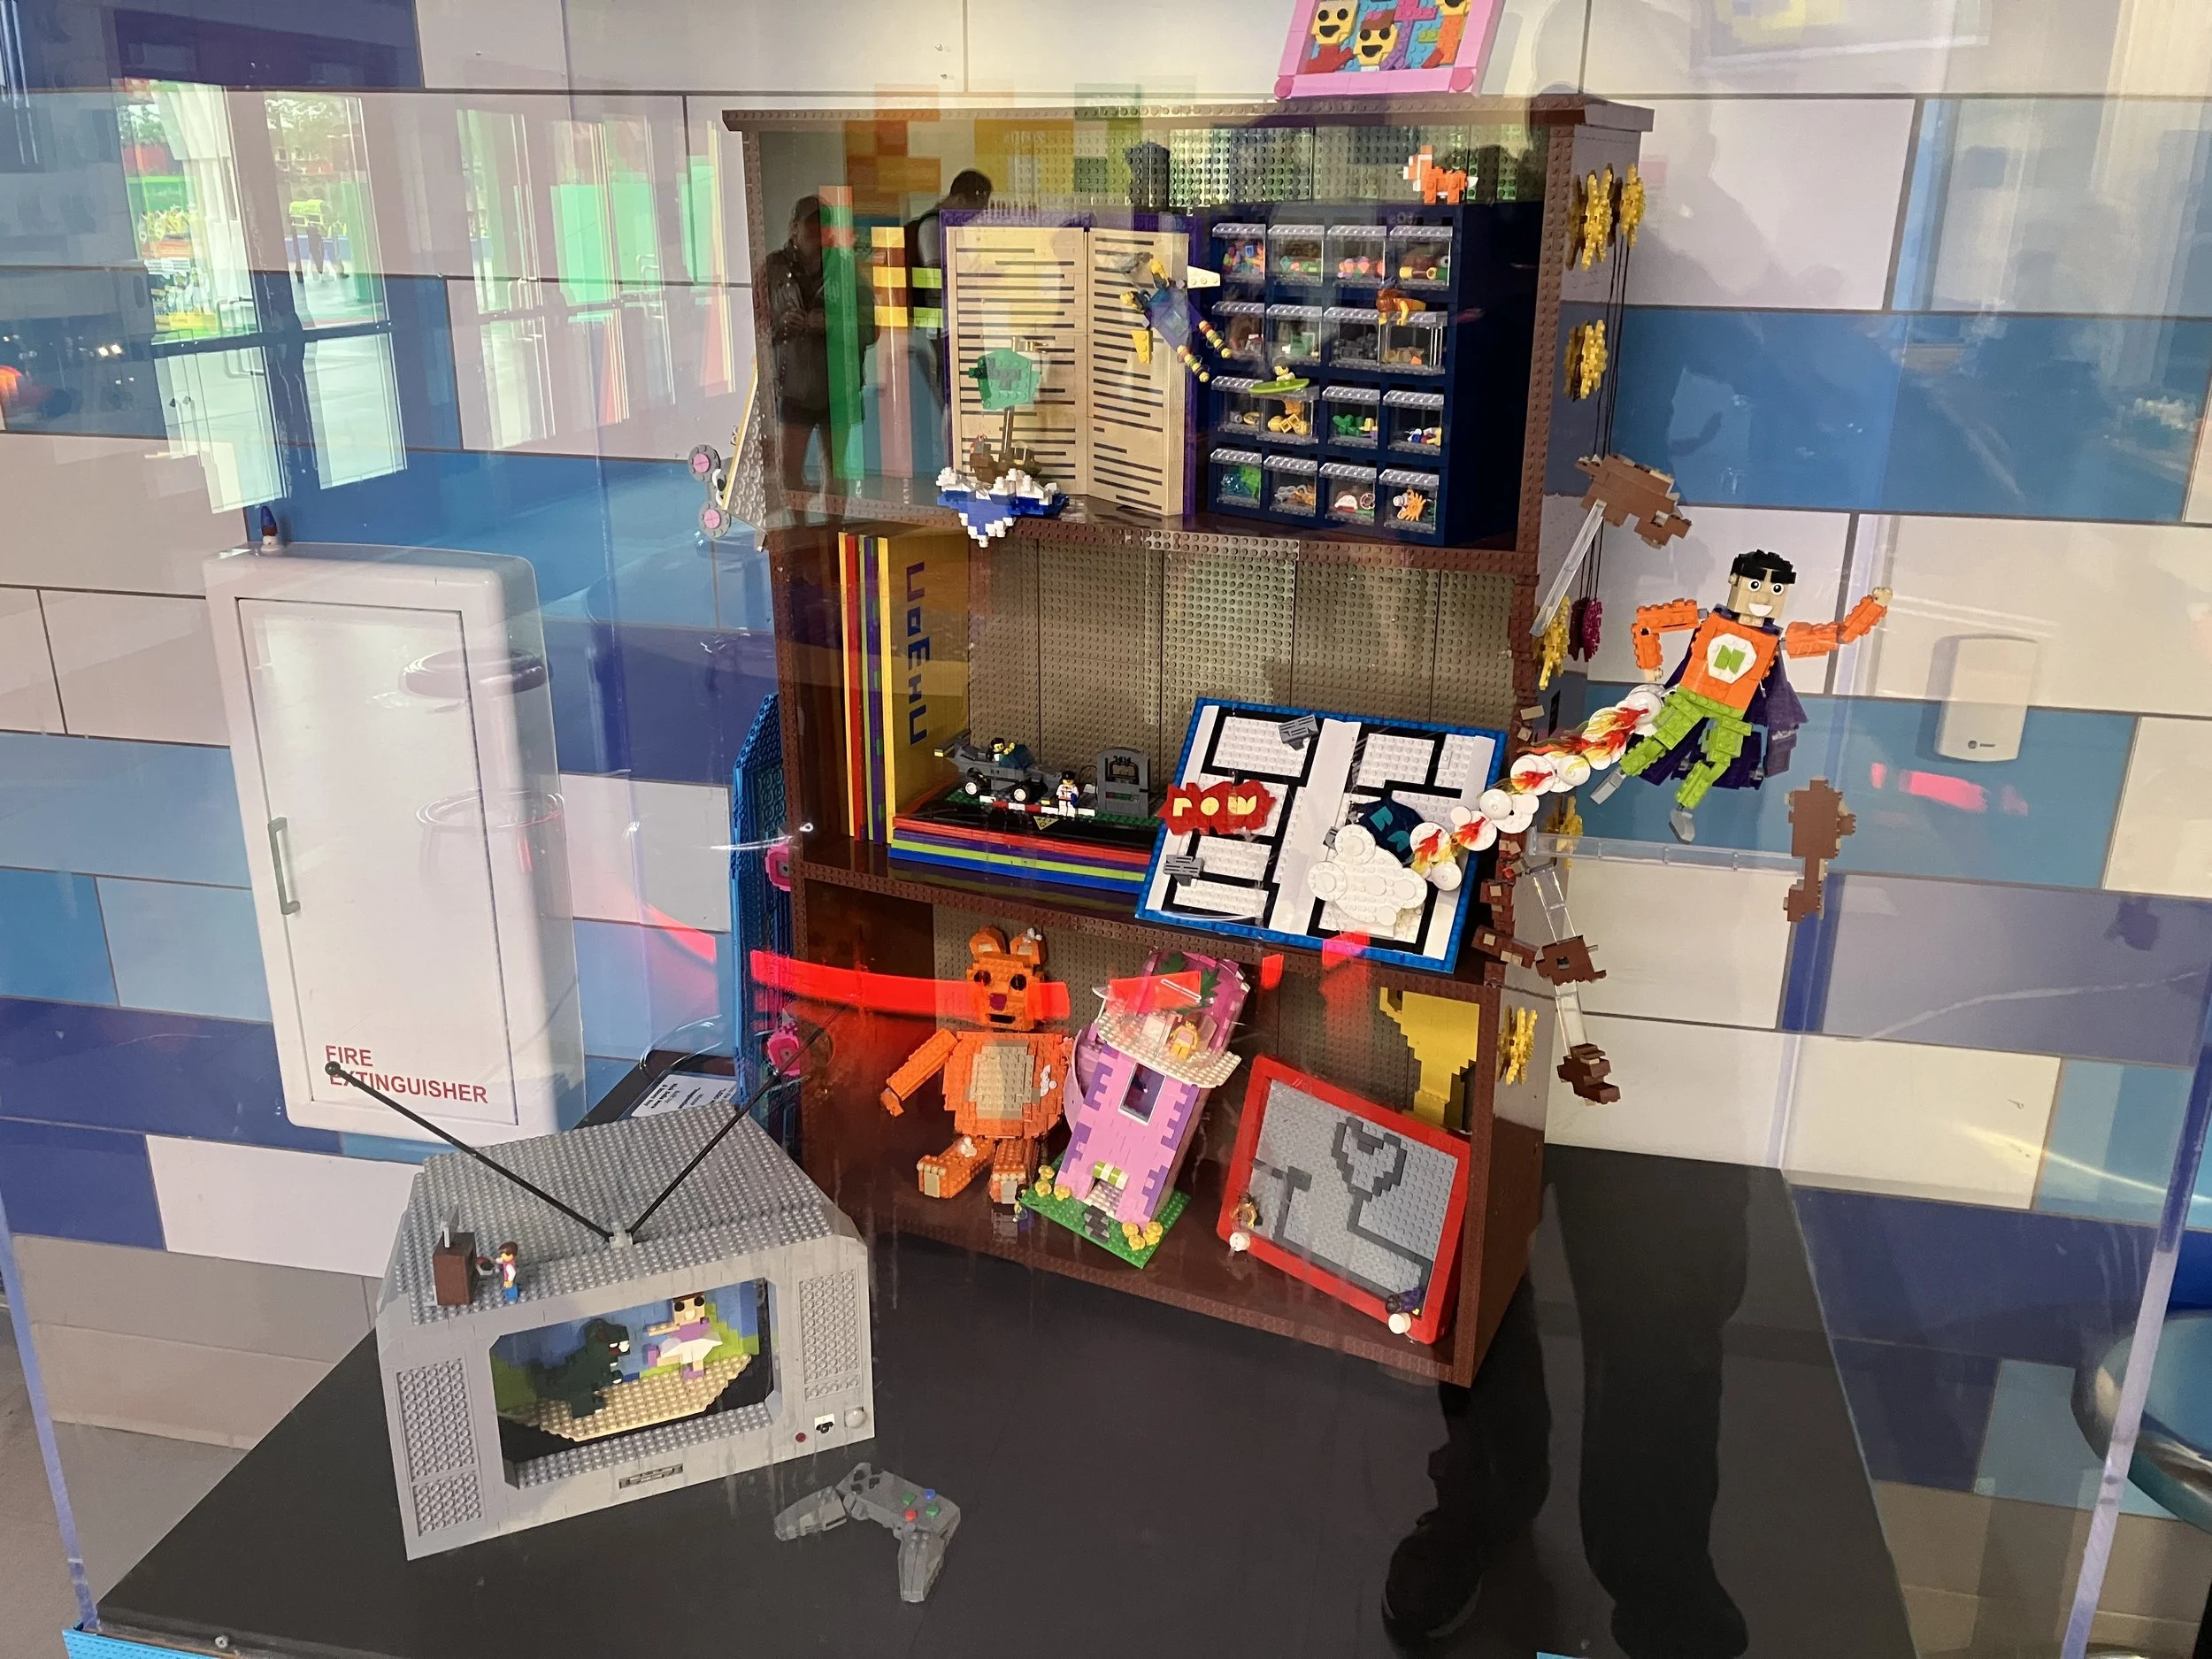
The area with the master builders also had a LEGO Masters build on display. The picture isn’t the greatest as it has the reflection from the case around it, but you get the idea.
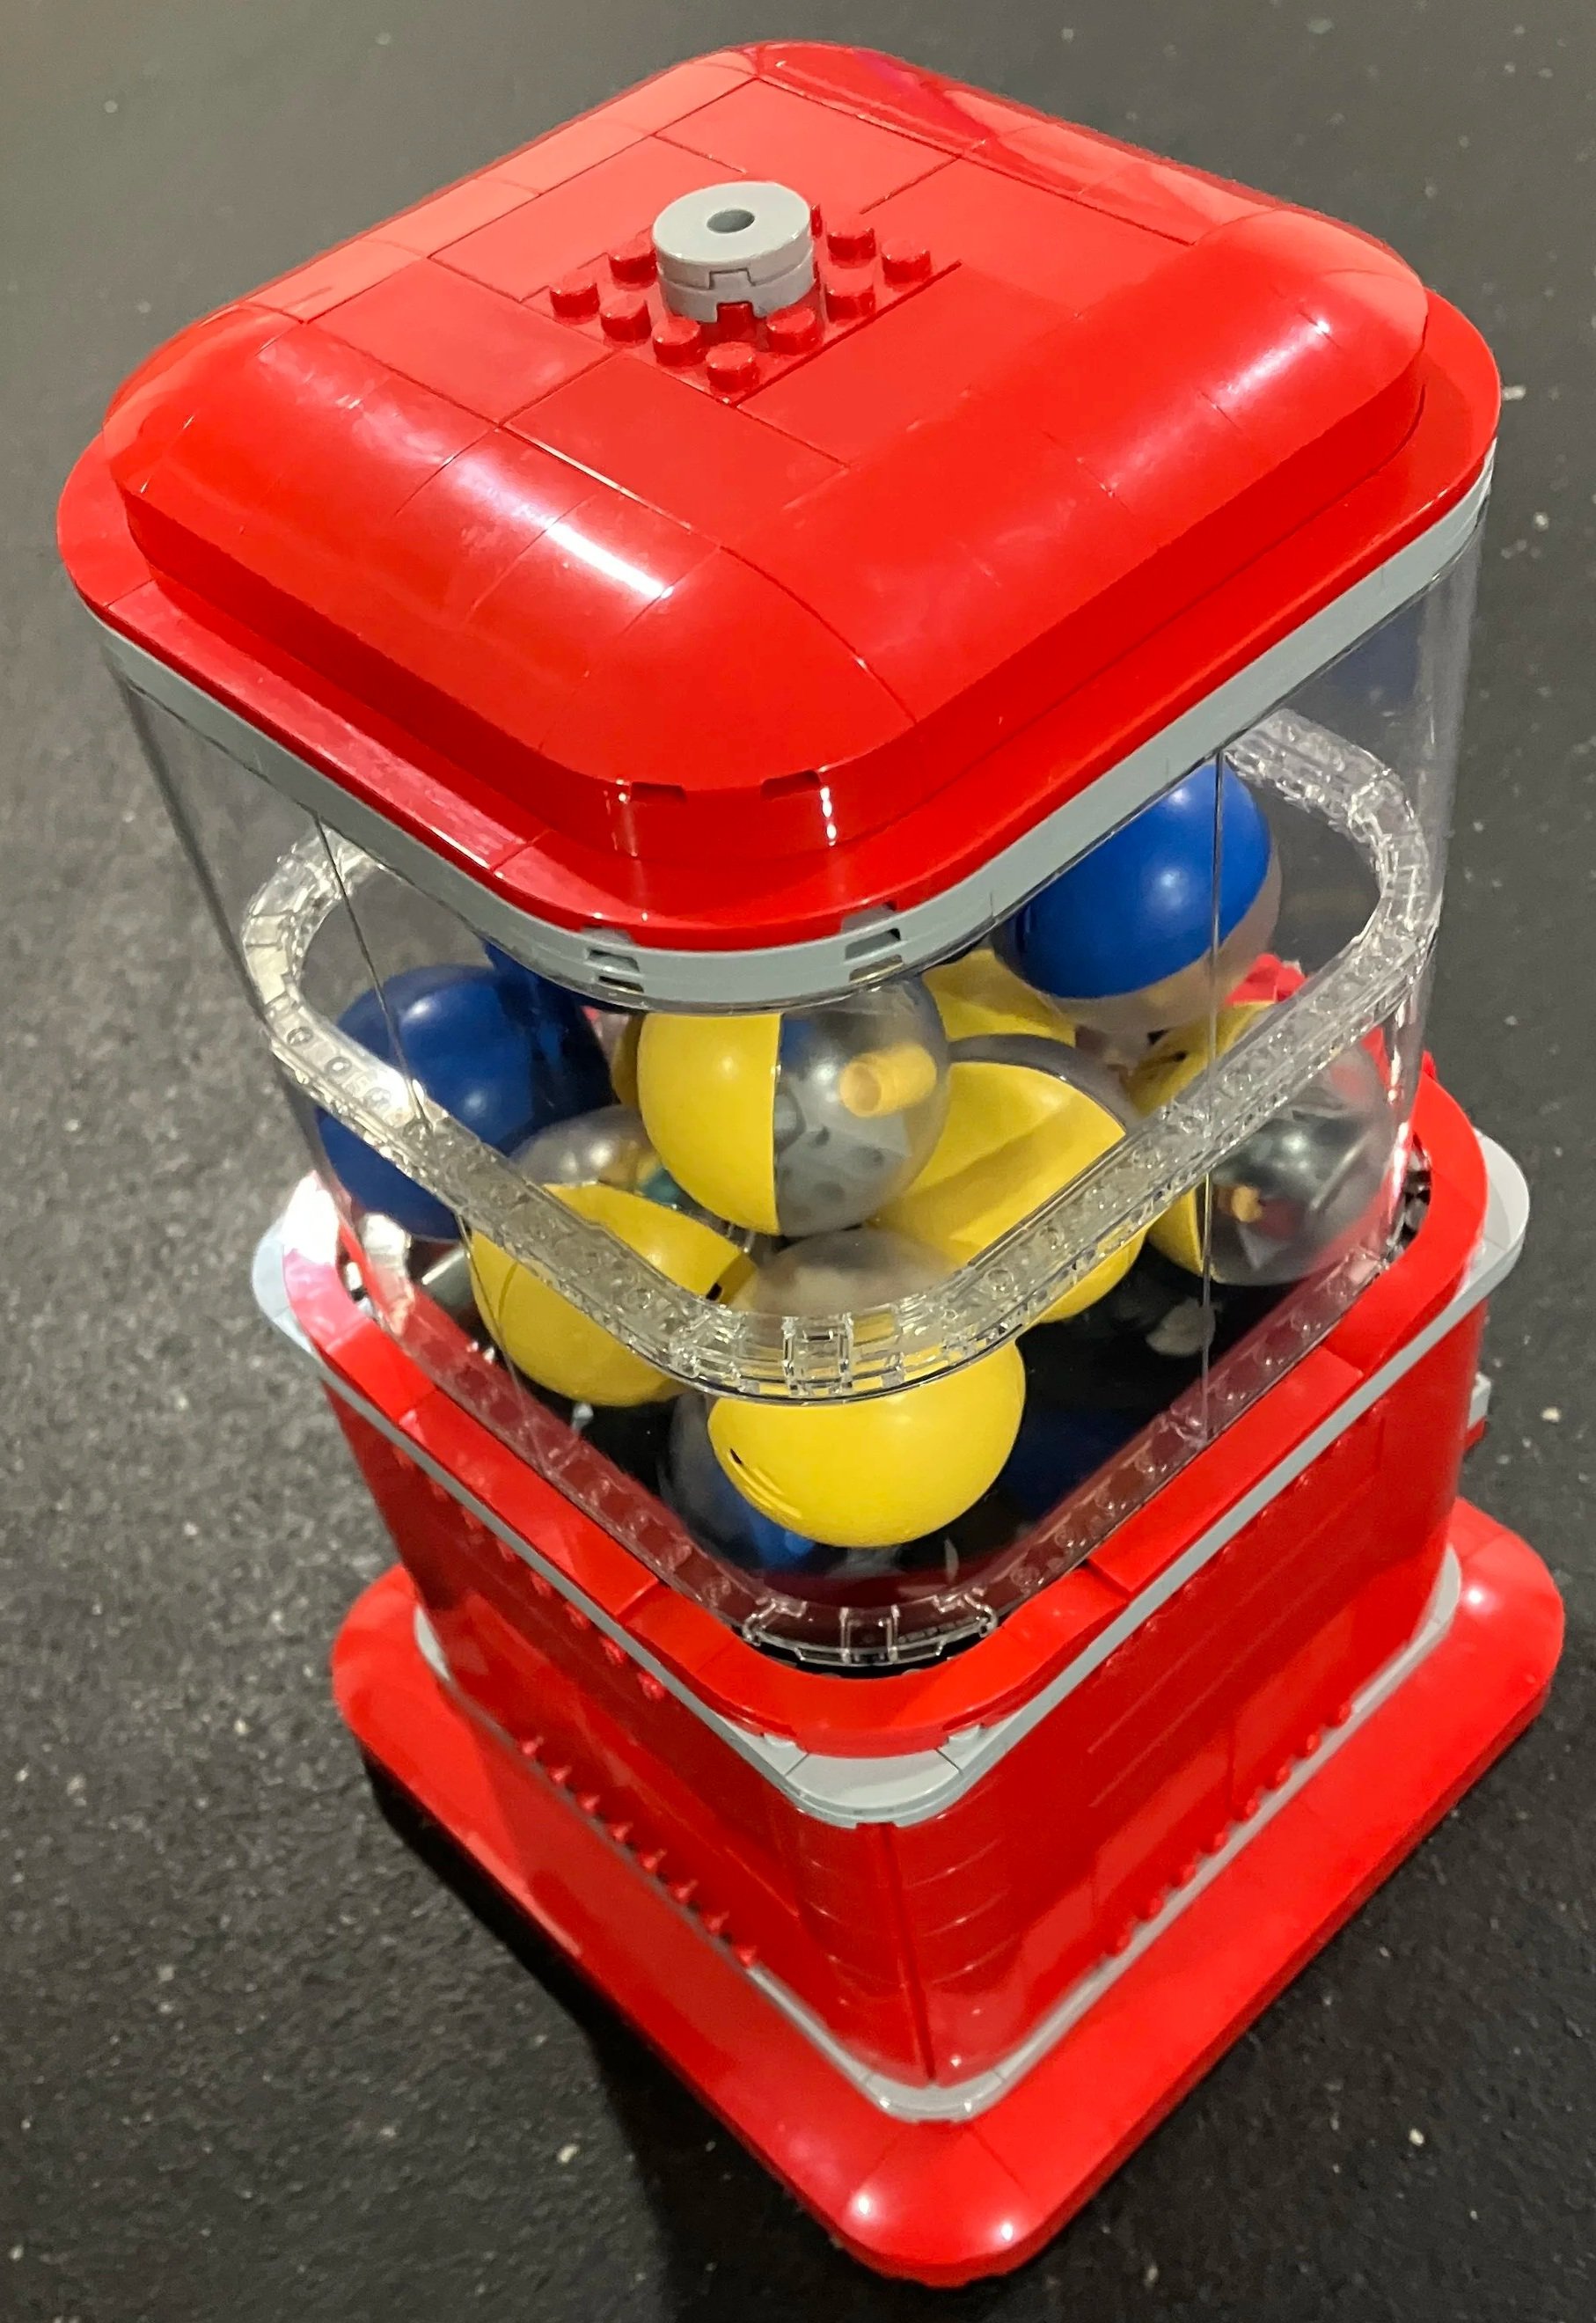
Also in this room was a large bin with red, yellow, and blue 2x4 bricks. You could build whatever you wanted and then put them on a table next to it for display. We all did this and then displayed our builds. A worker was there to grab random items and take them apart to replenish the bin of bricks.
One thing I will note is that the bricks were sticky. I assume it’s from whatever solution is used to clean the bricks. Also many of them were well worn from either heavy use or too many cleanings. My hands were pretty gross after anytime we built, but thankfully there were plenty of restrooms around to go and wash your hands off. This was different from the LEGO House in Billund where the bricks seemed to be in great condition and definitely were not sticky.
Here’s a shot of some of the master builders at work.
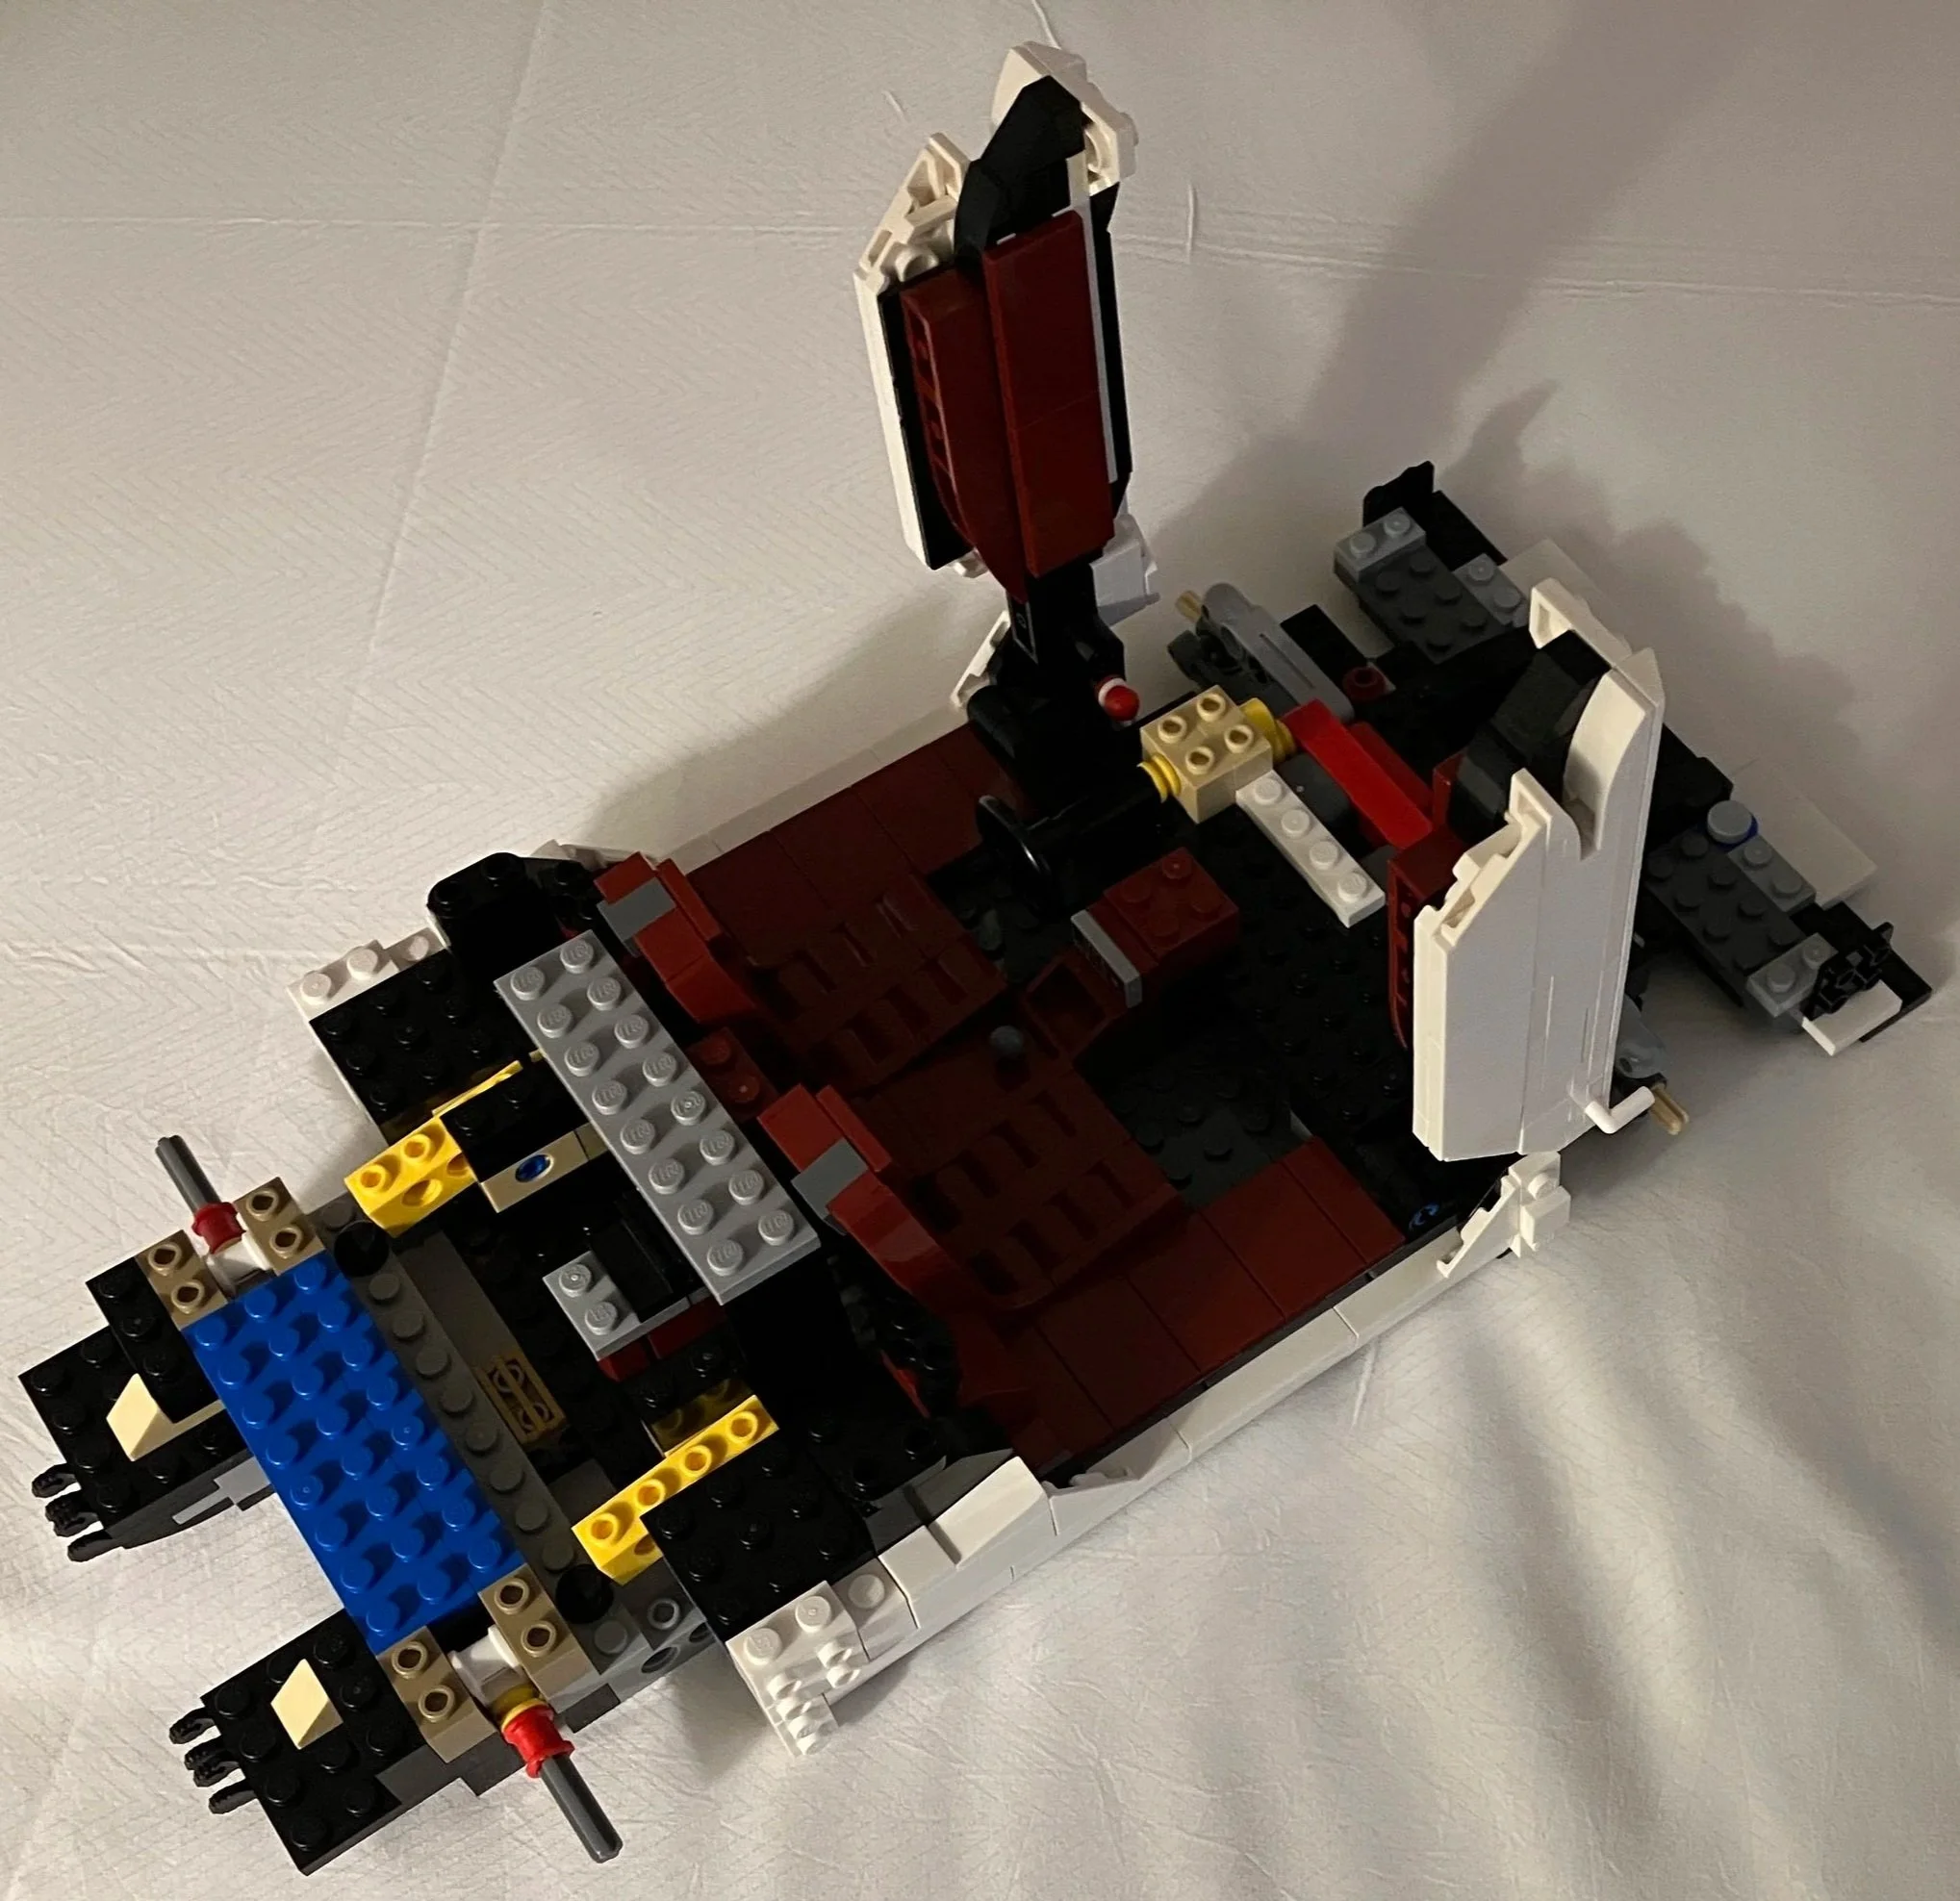
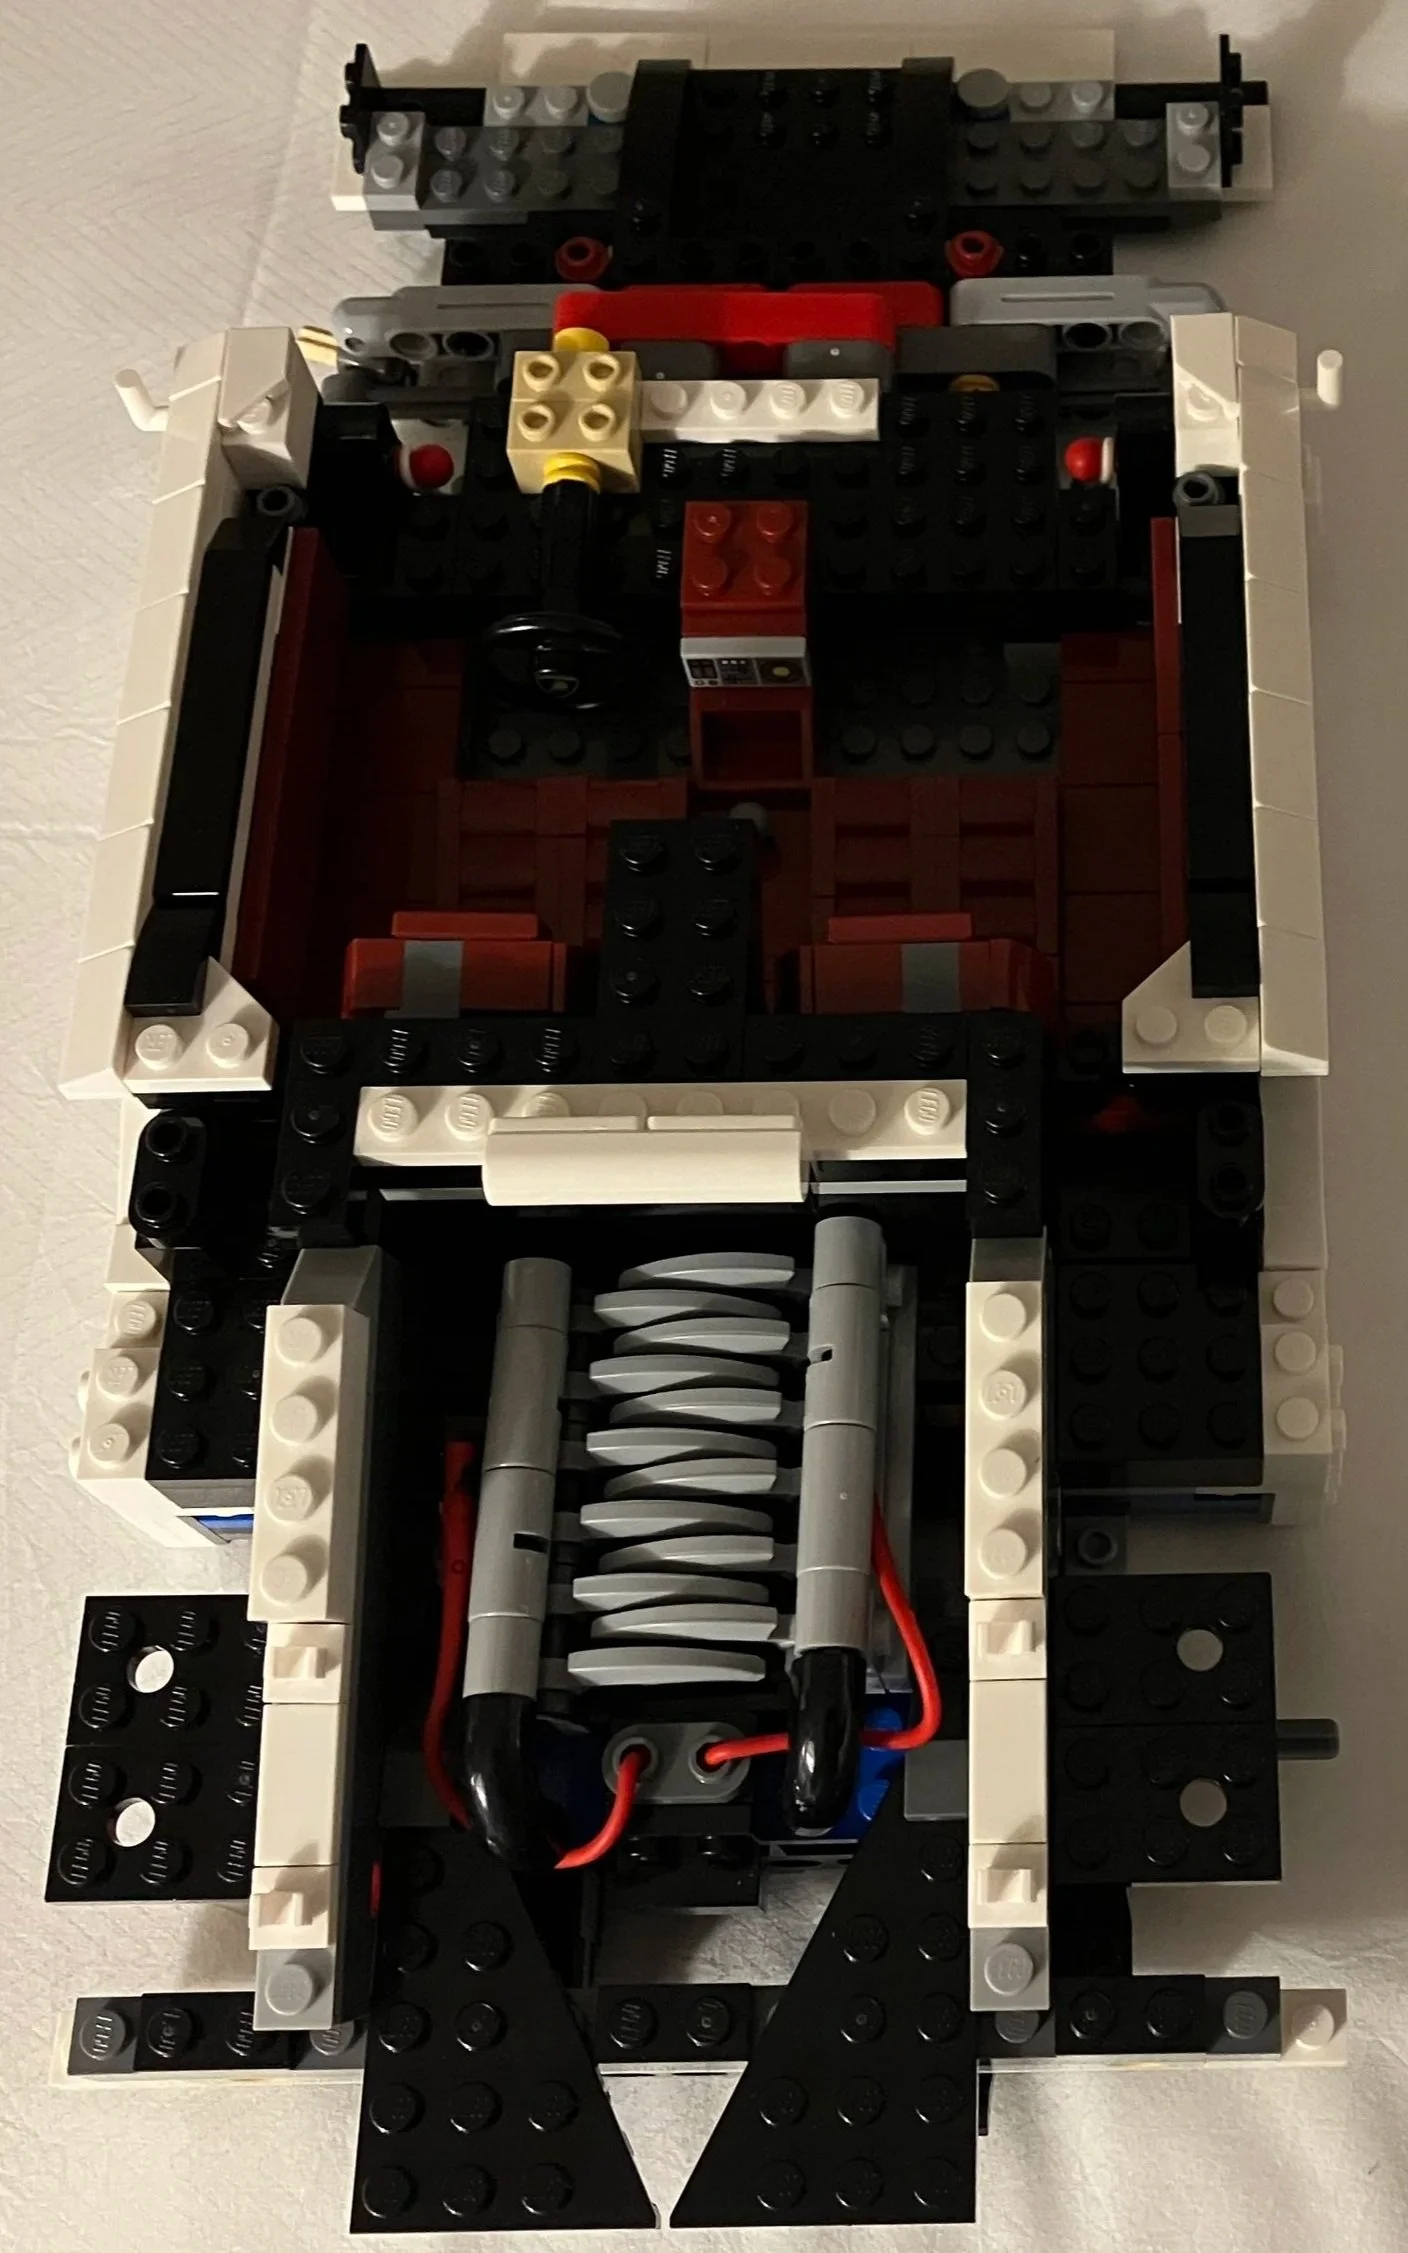
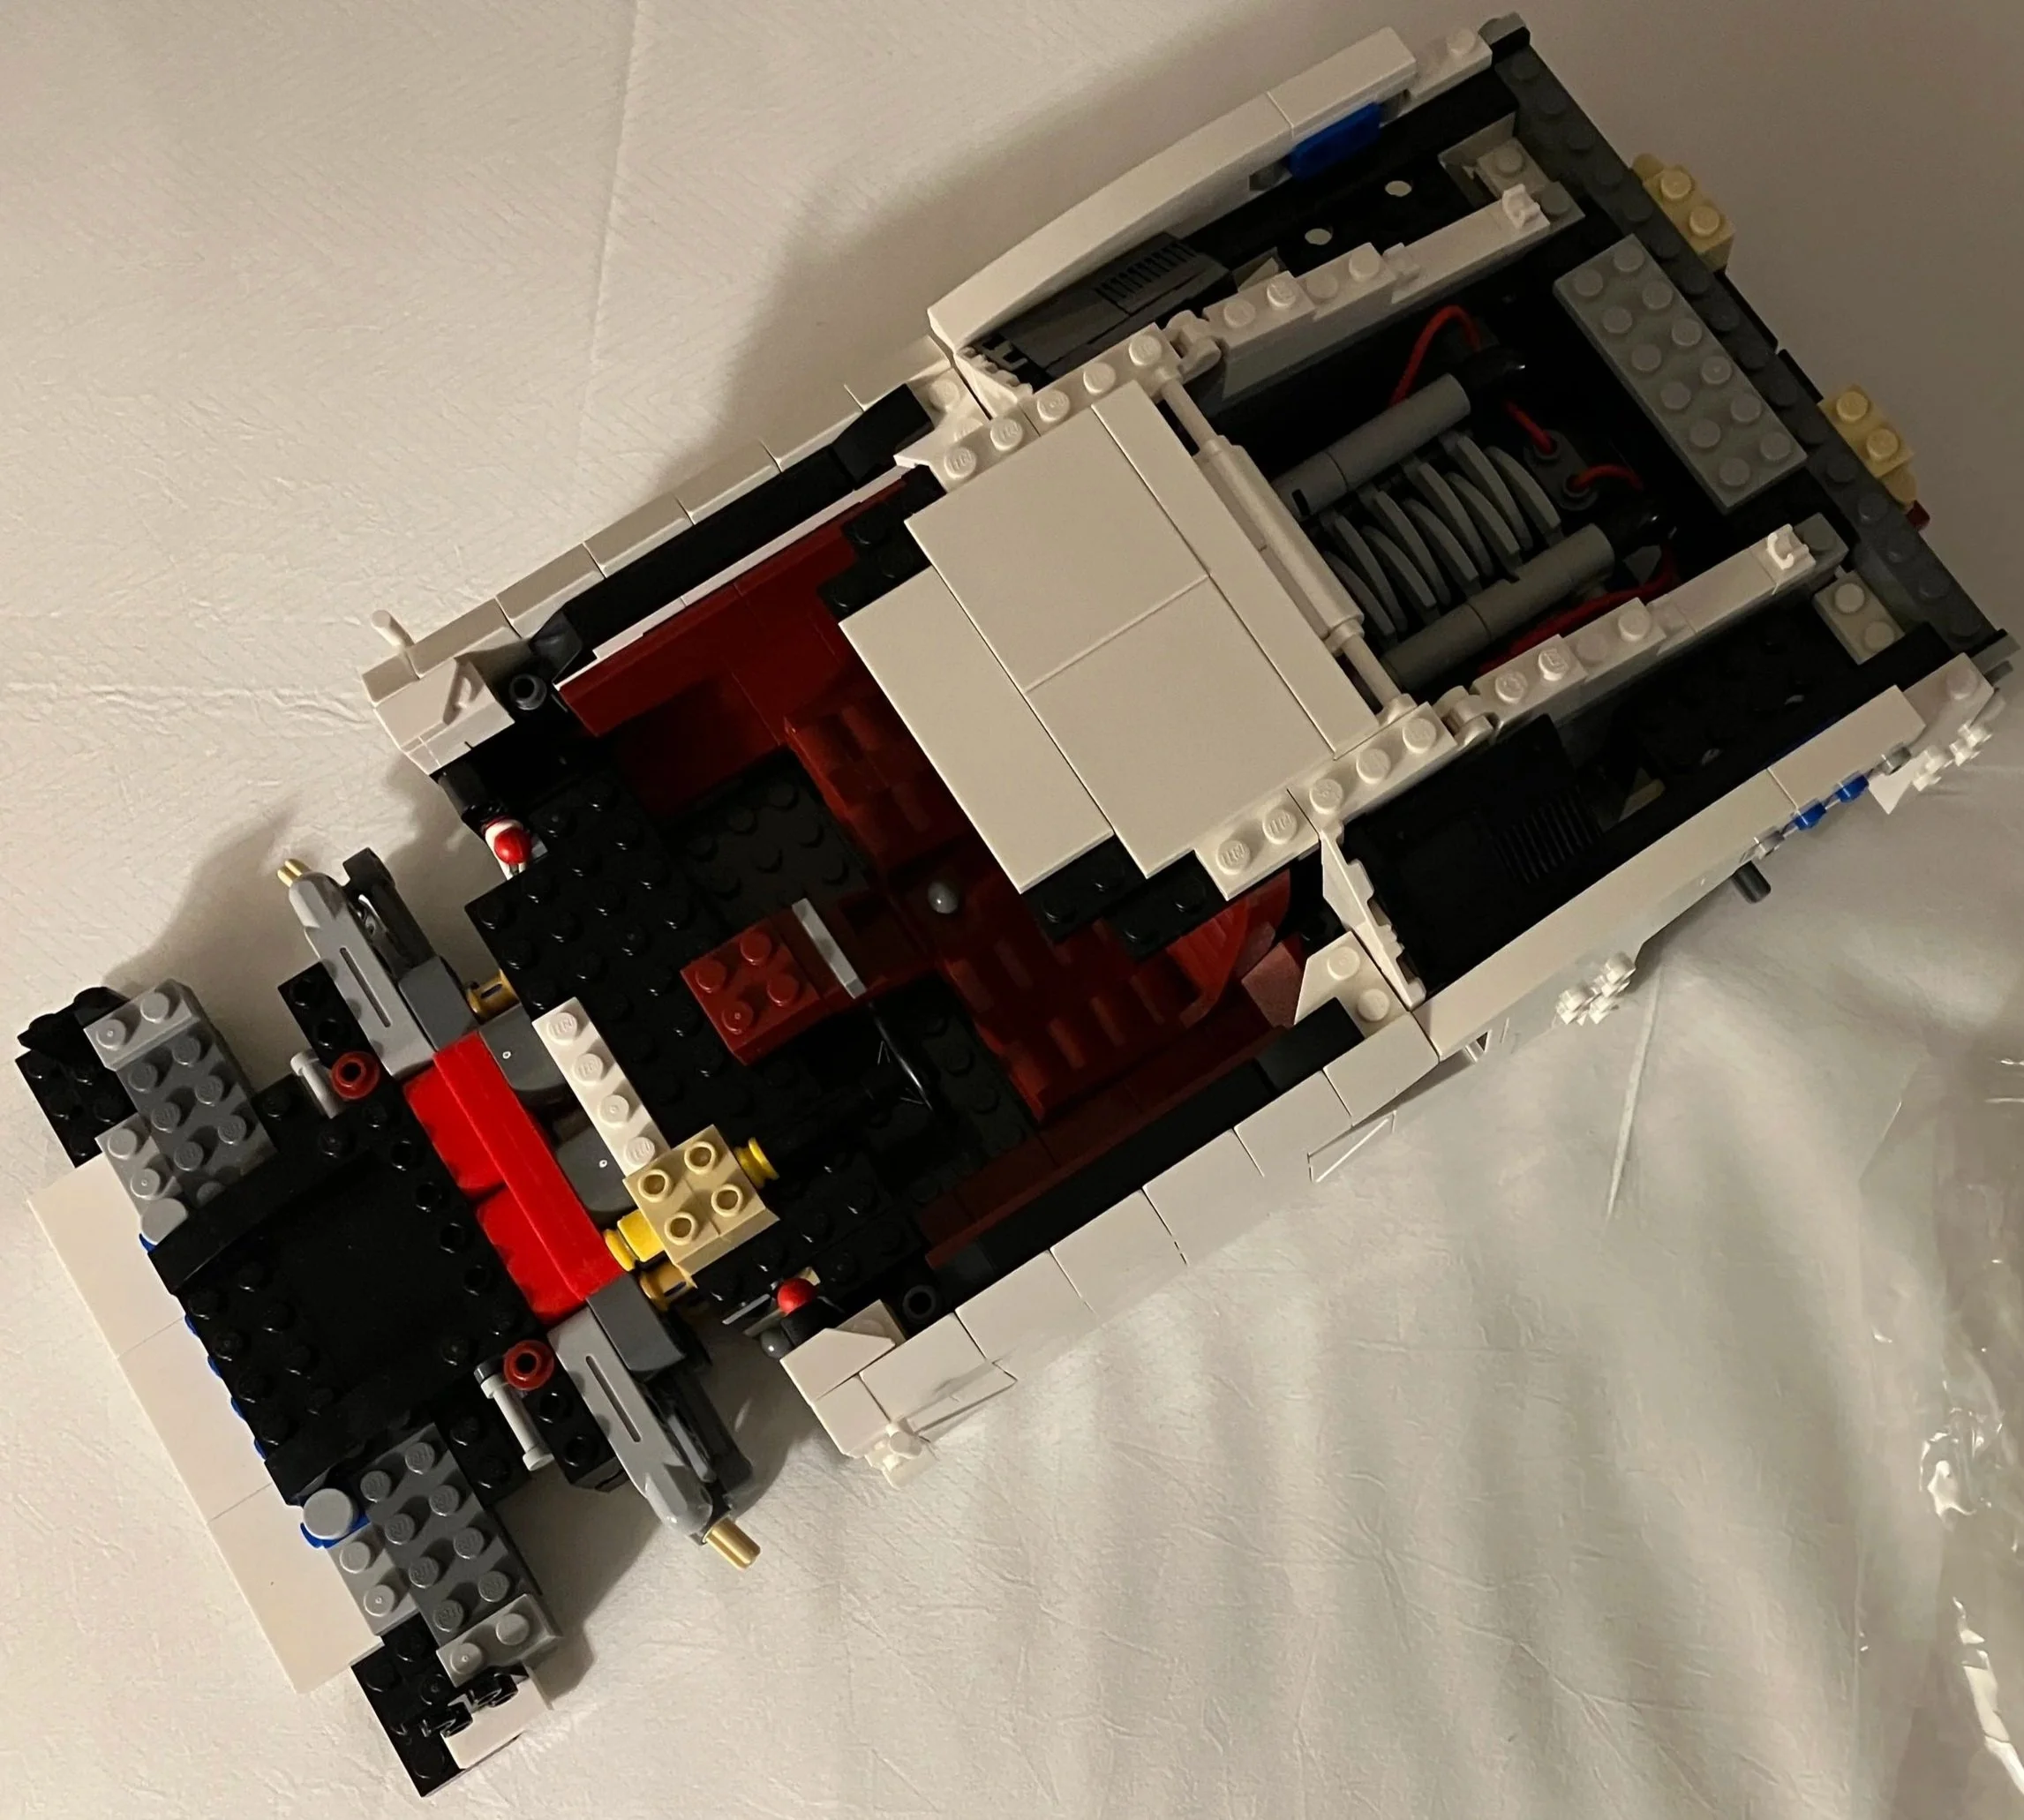
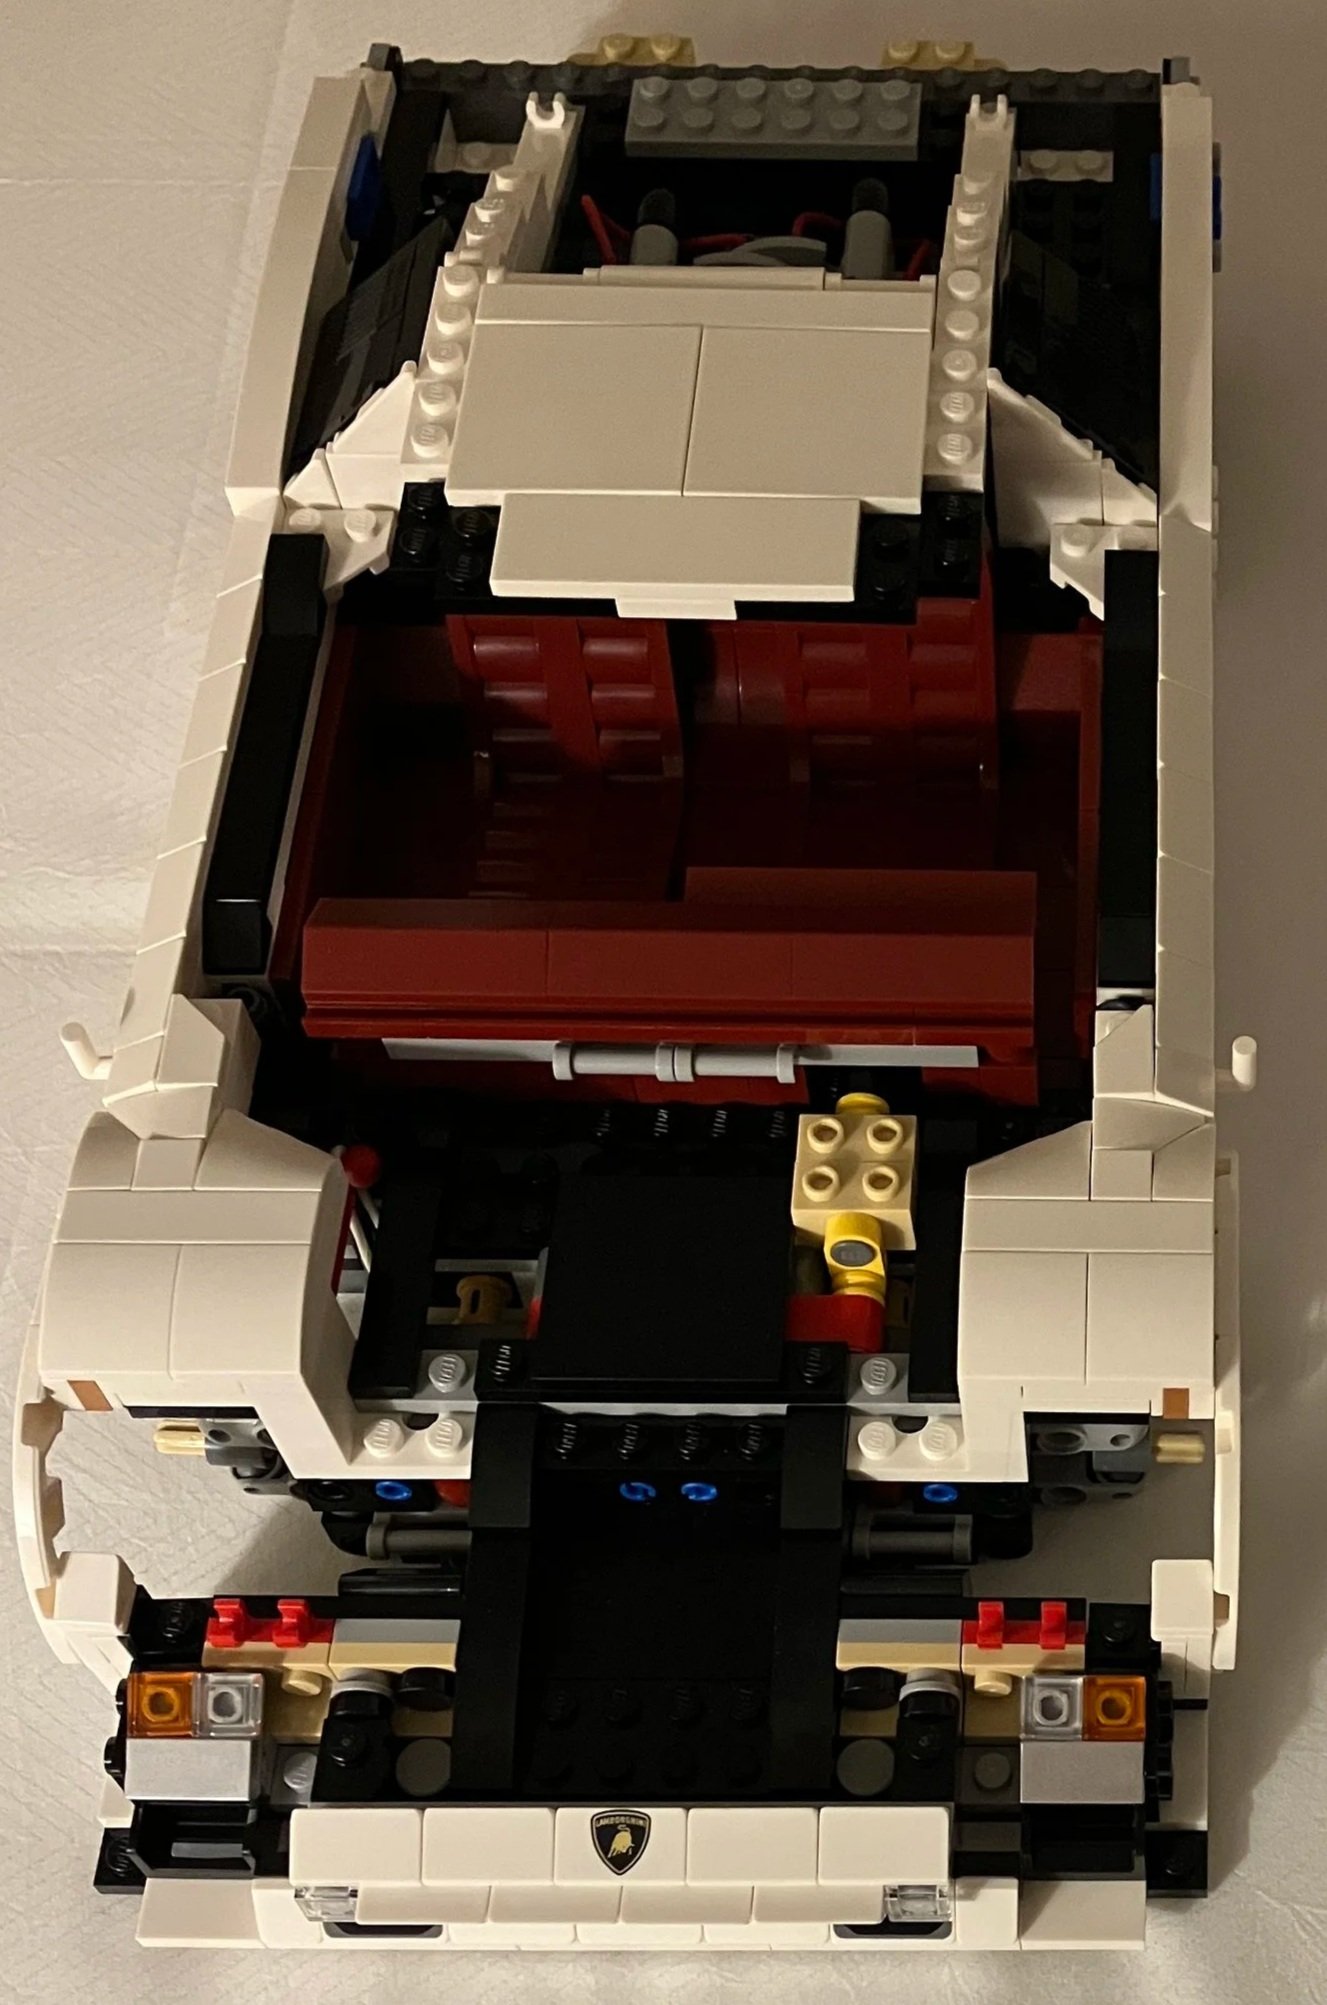
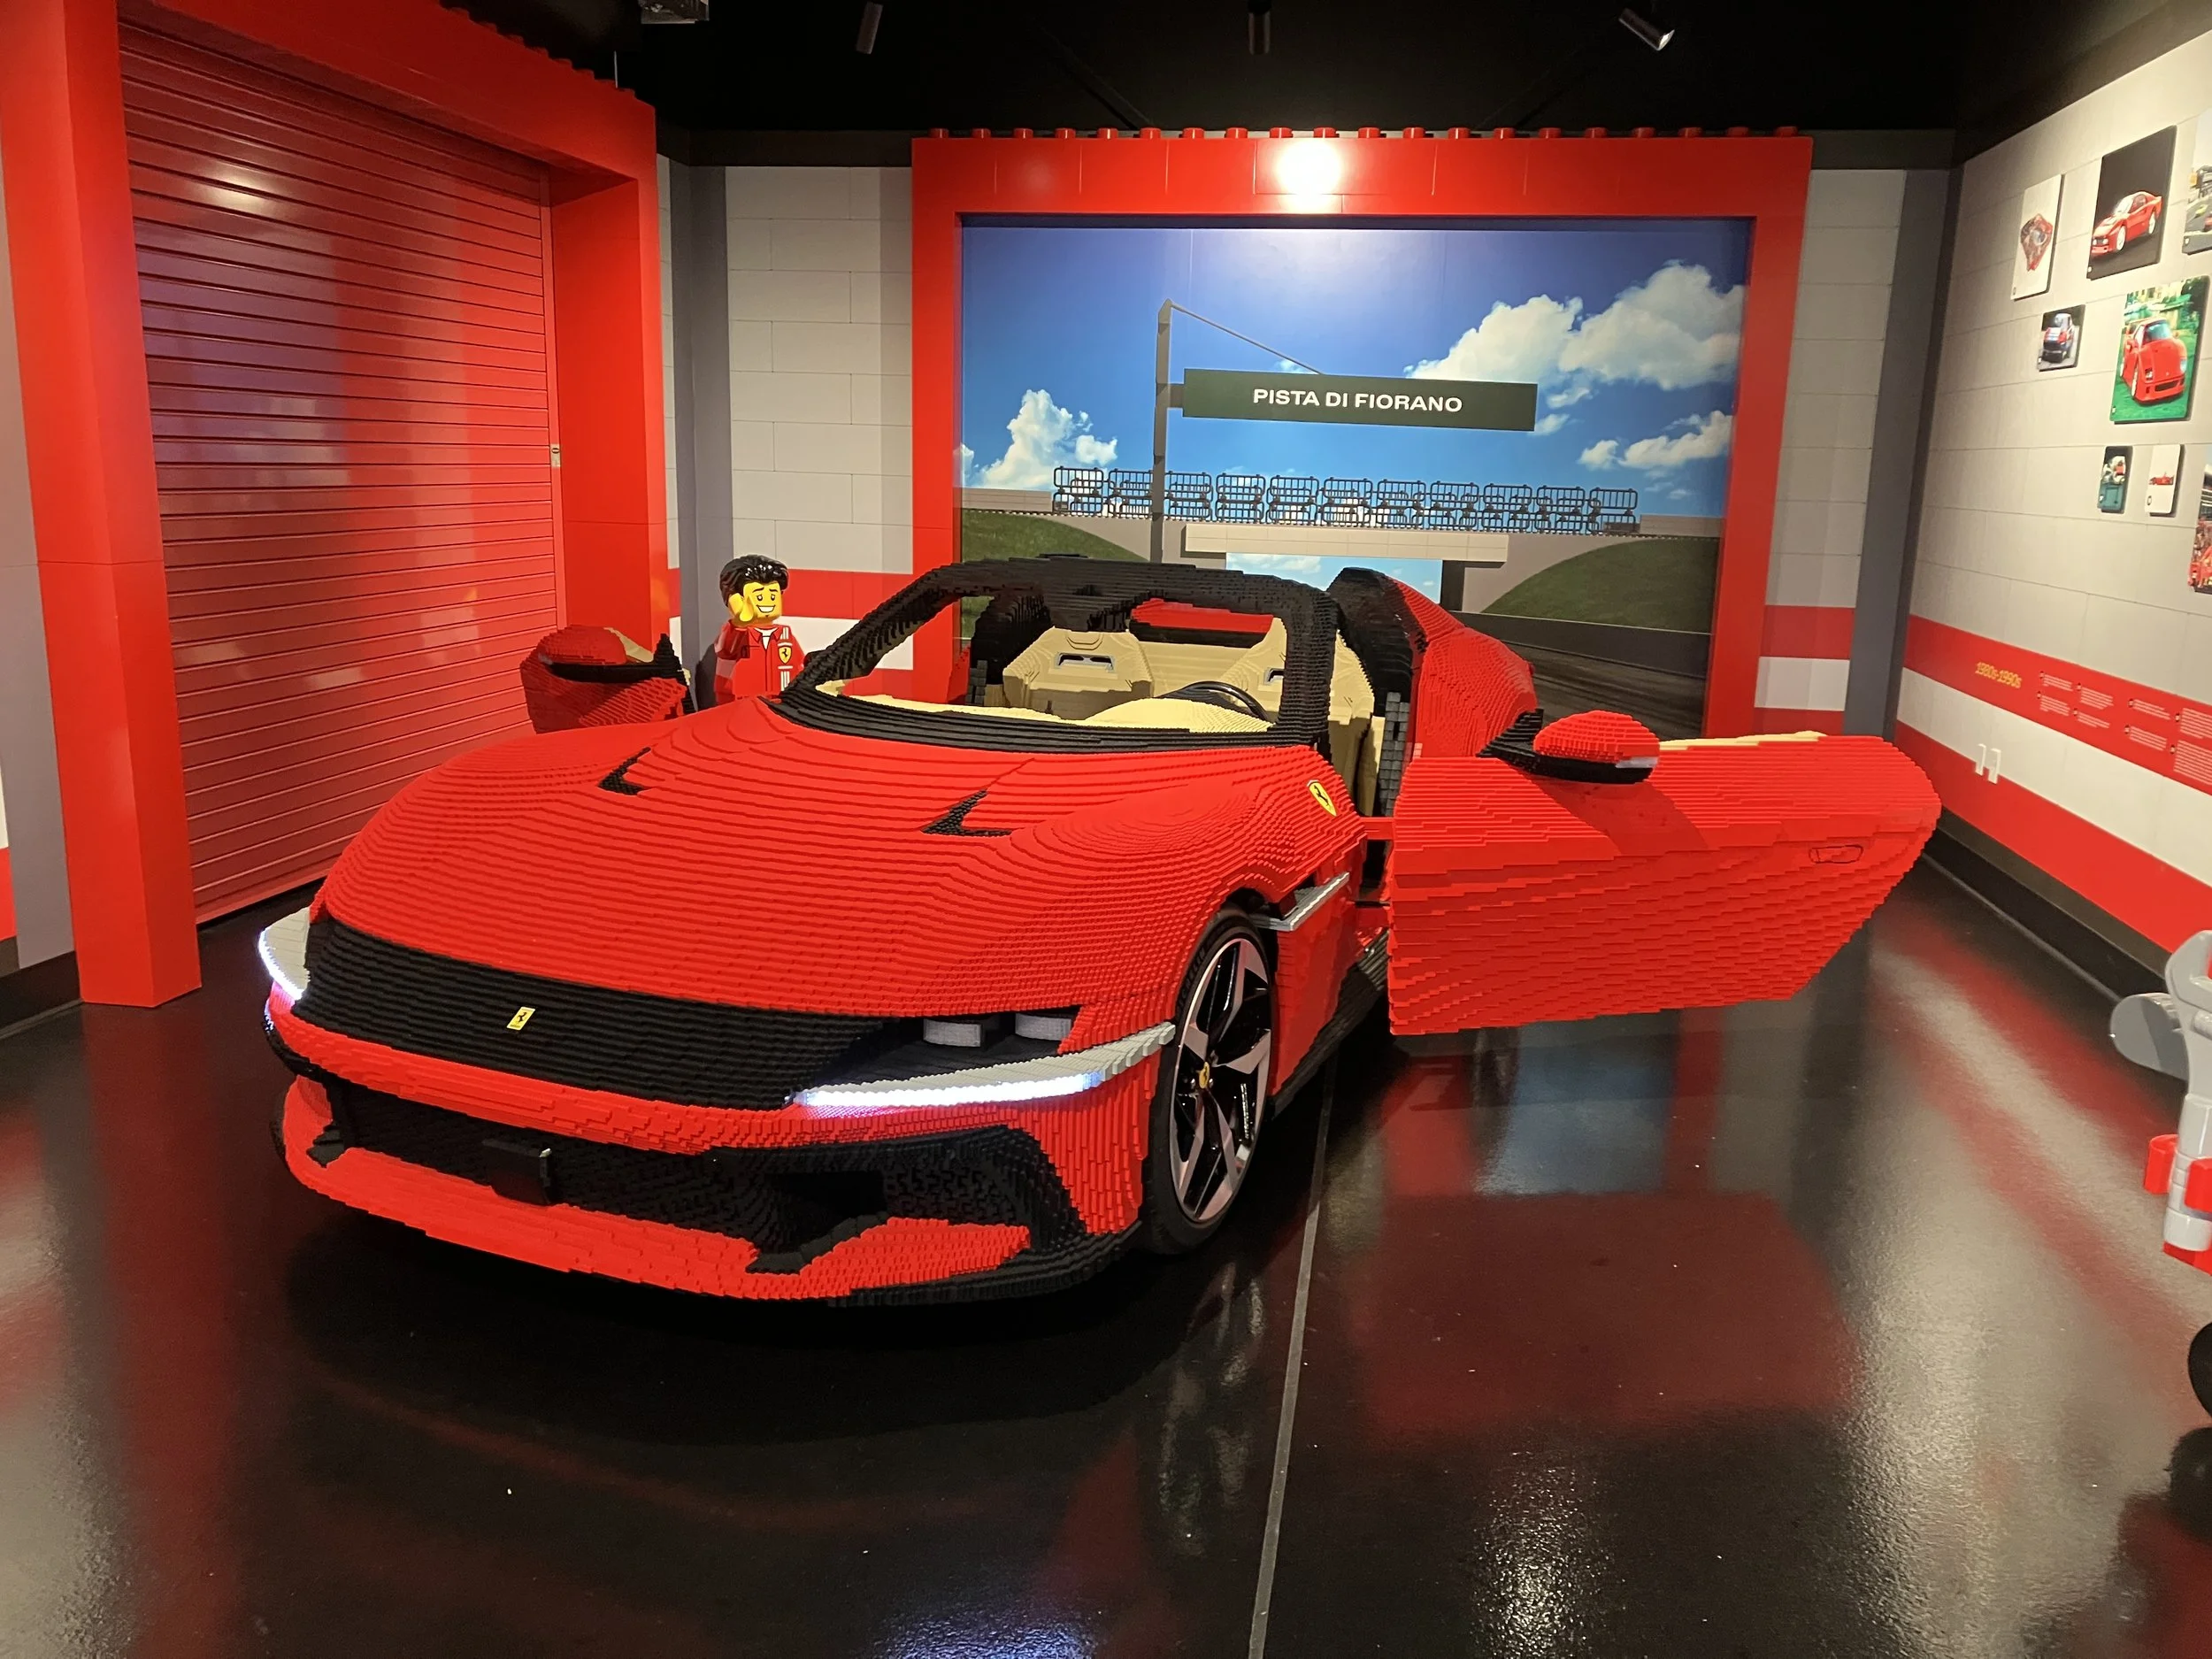
Another area we want to was the Ferrari experience which was a temporary event at the park. When you walked in, you were greeted by a large LEGO brick built Ferrari that you could sit in. We didn’t sit in it, but I did get a picture.
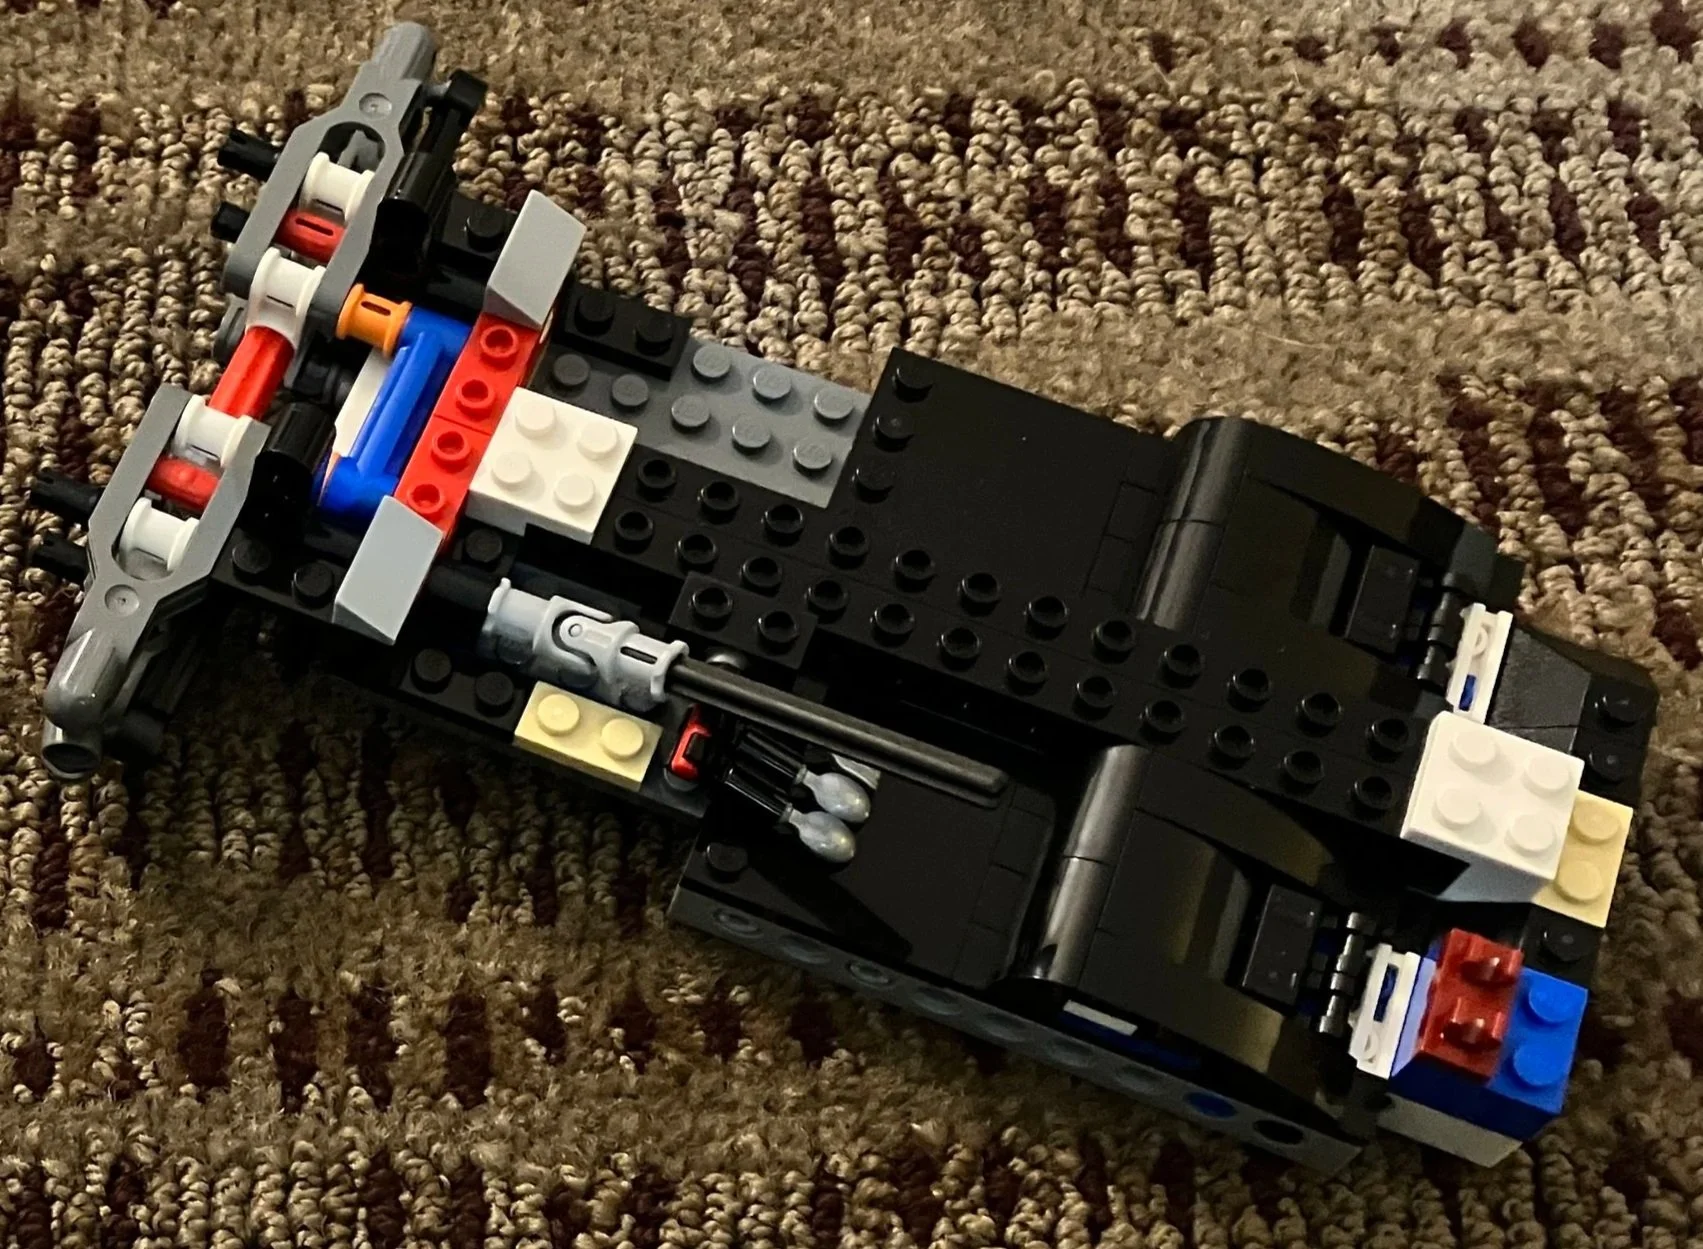
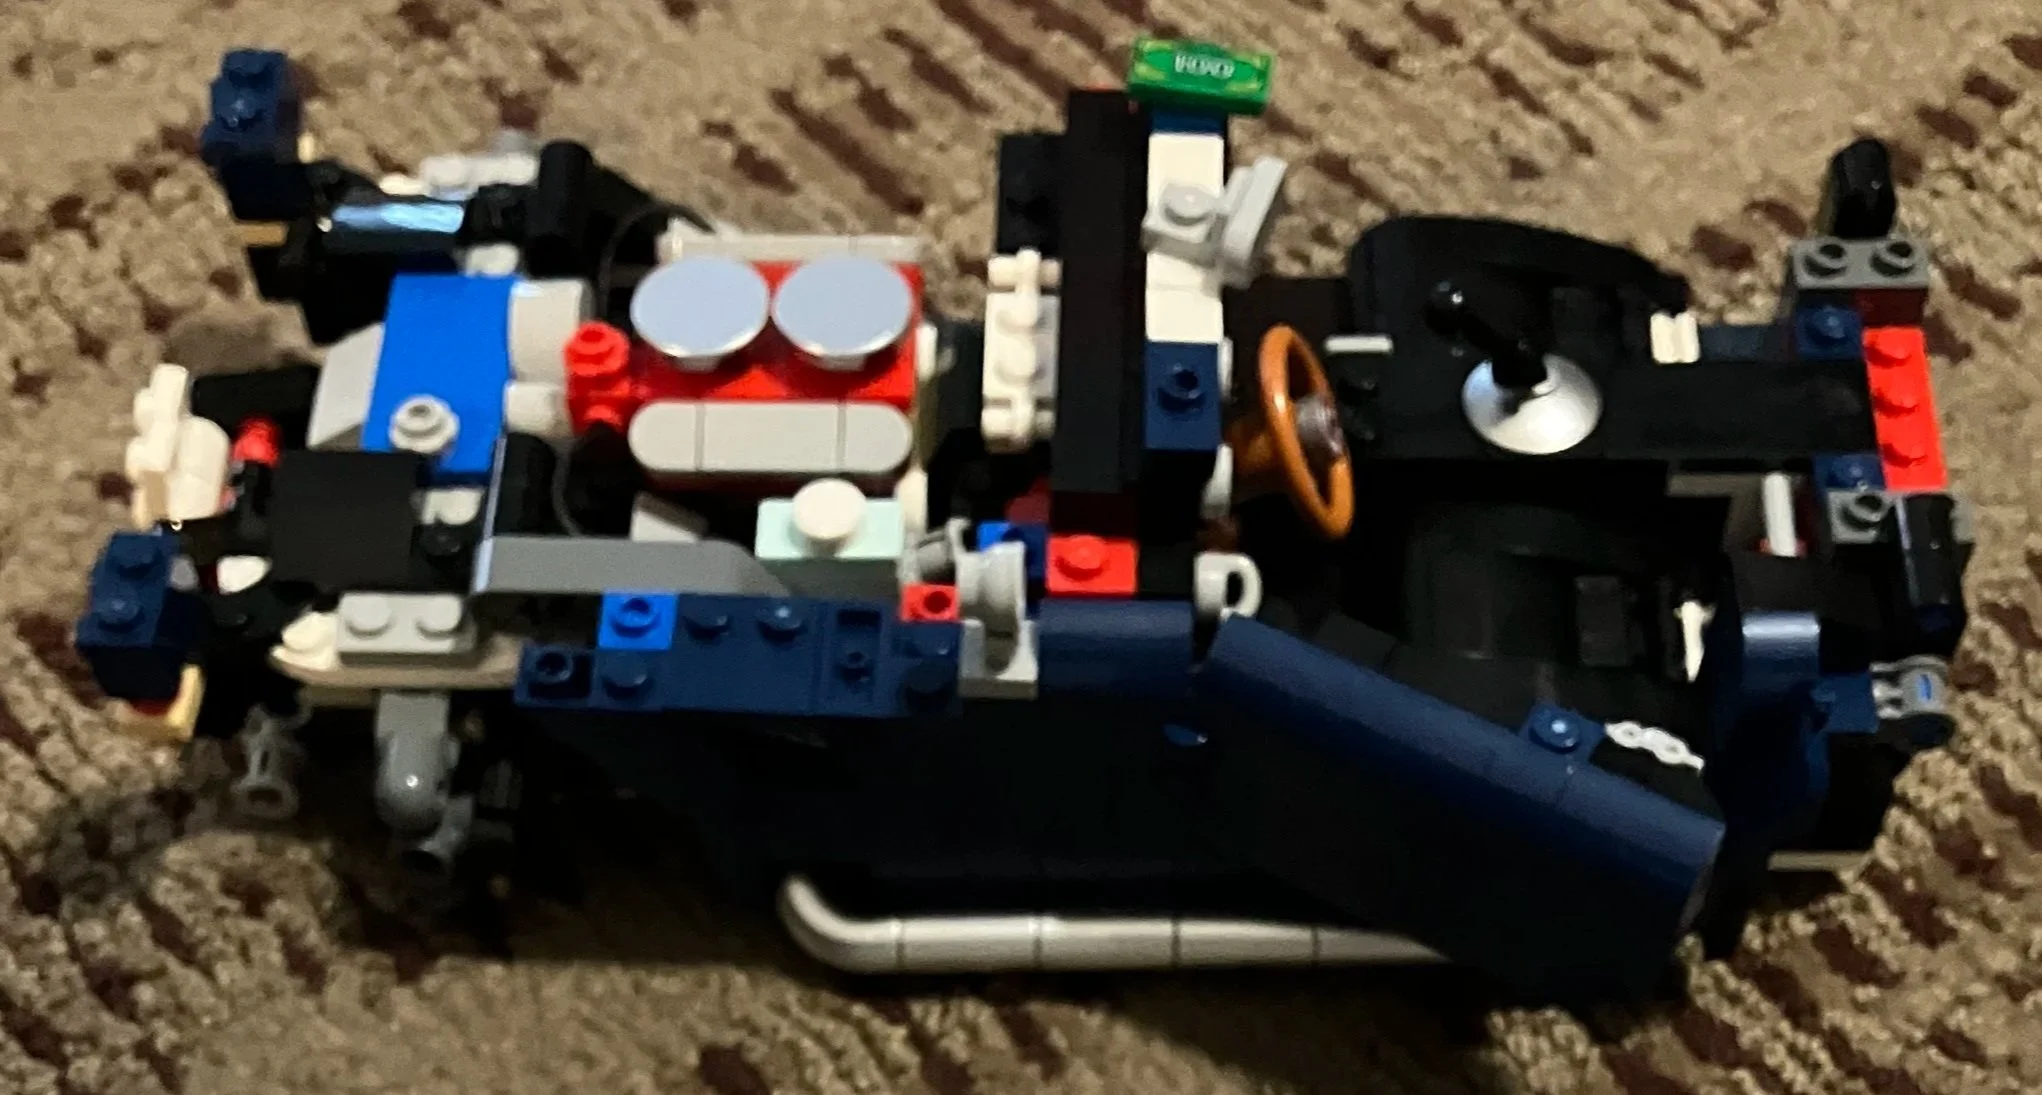
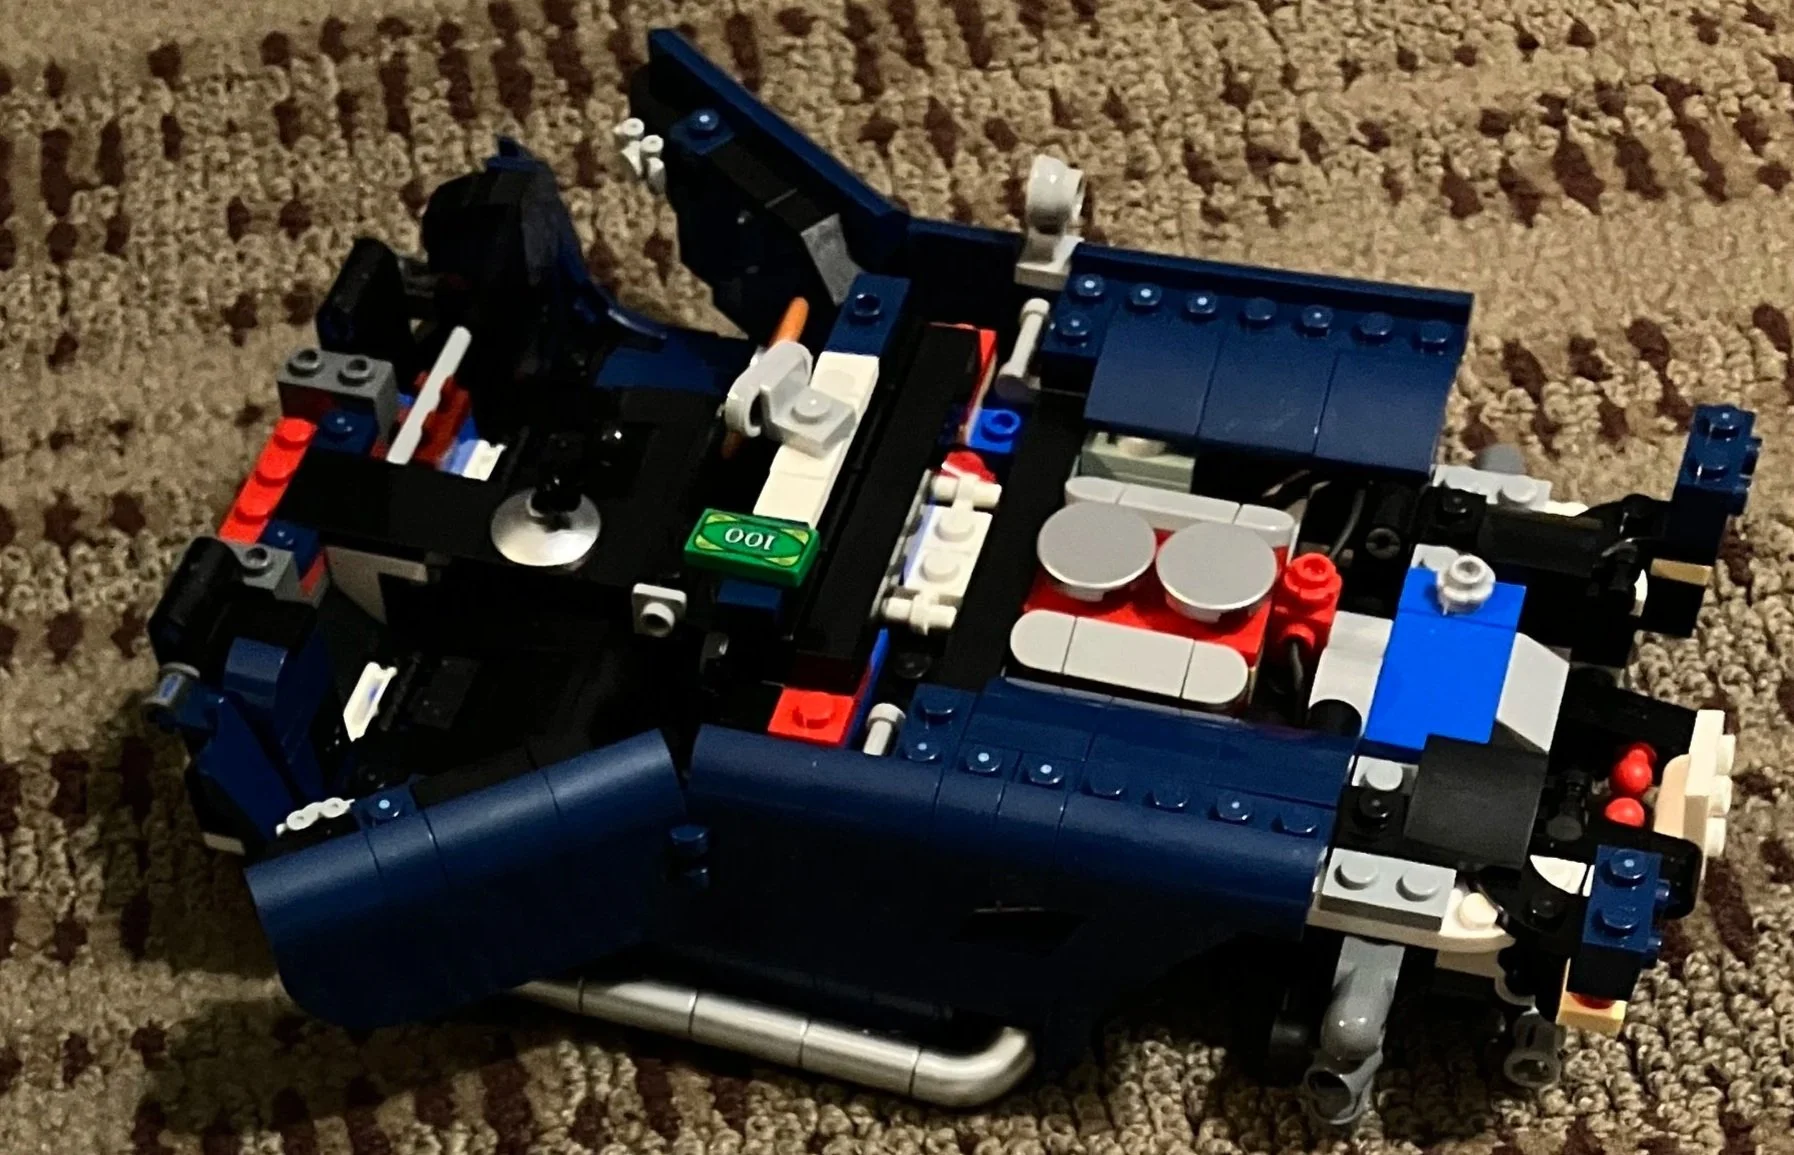
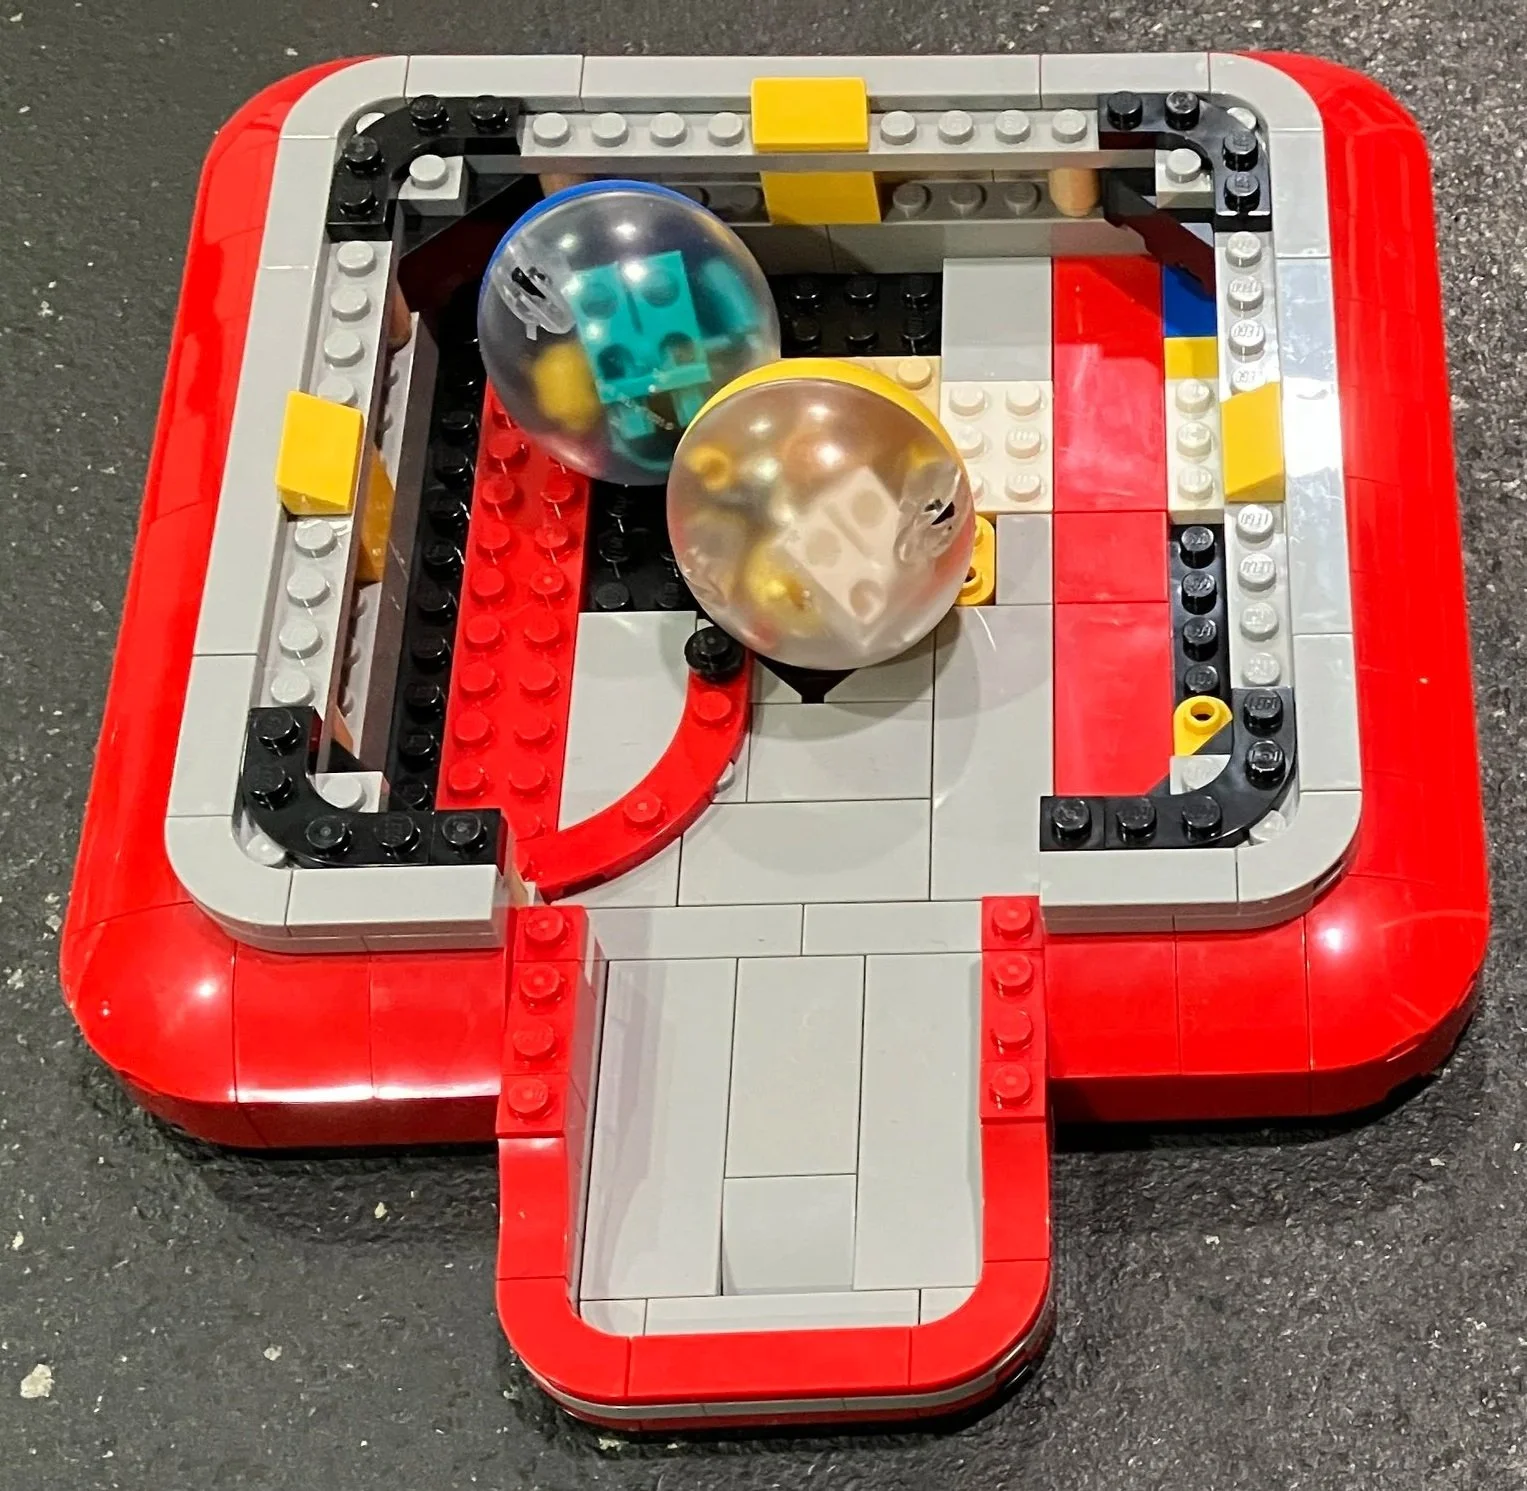
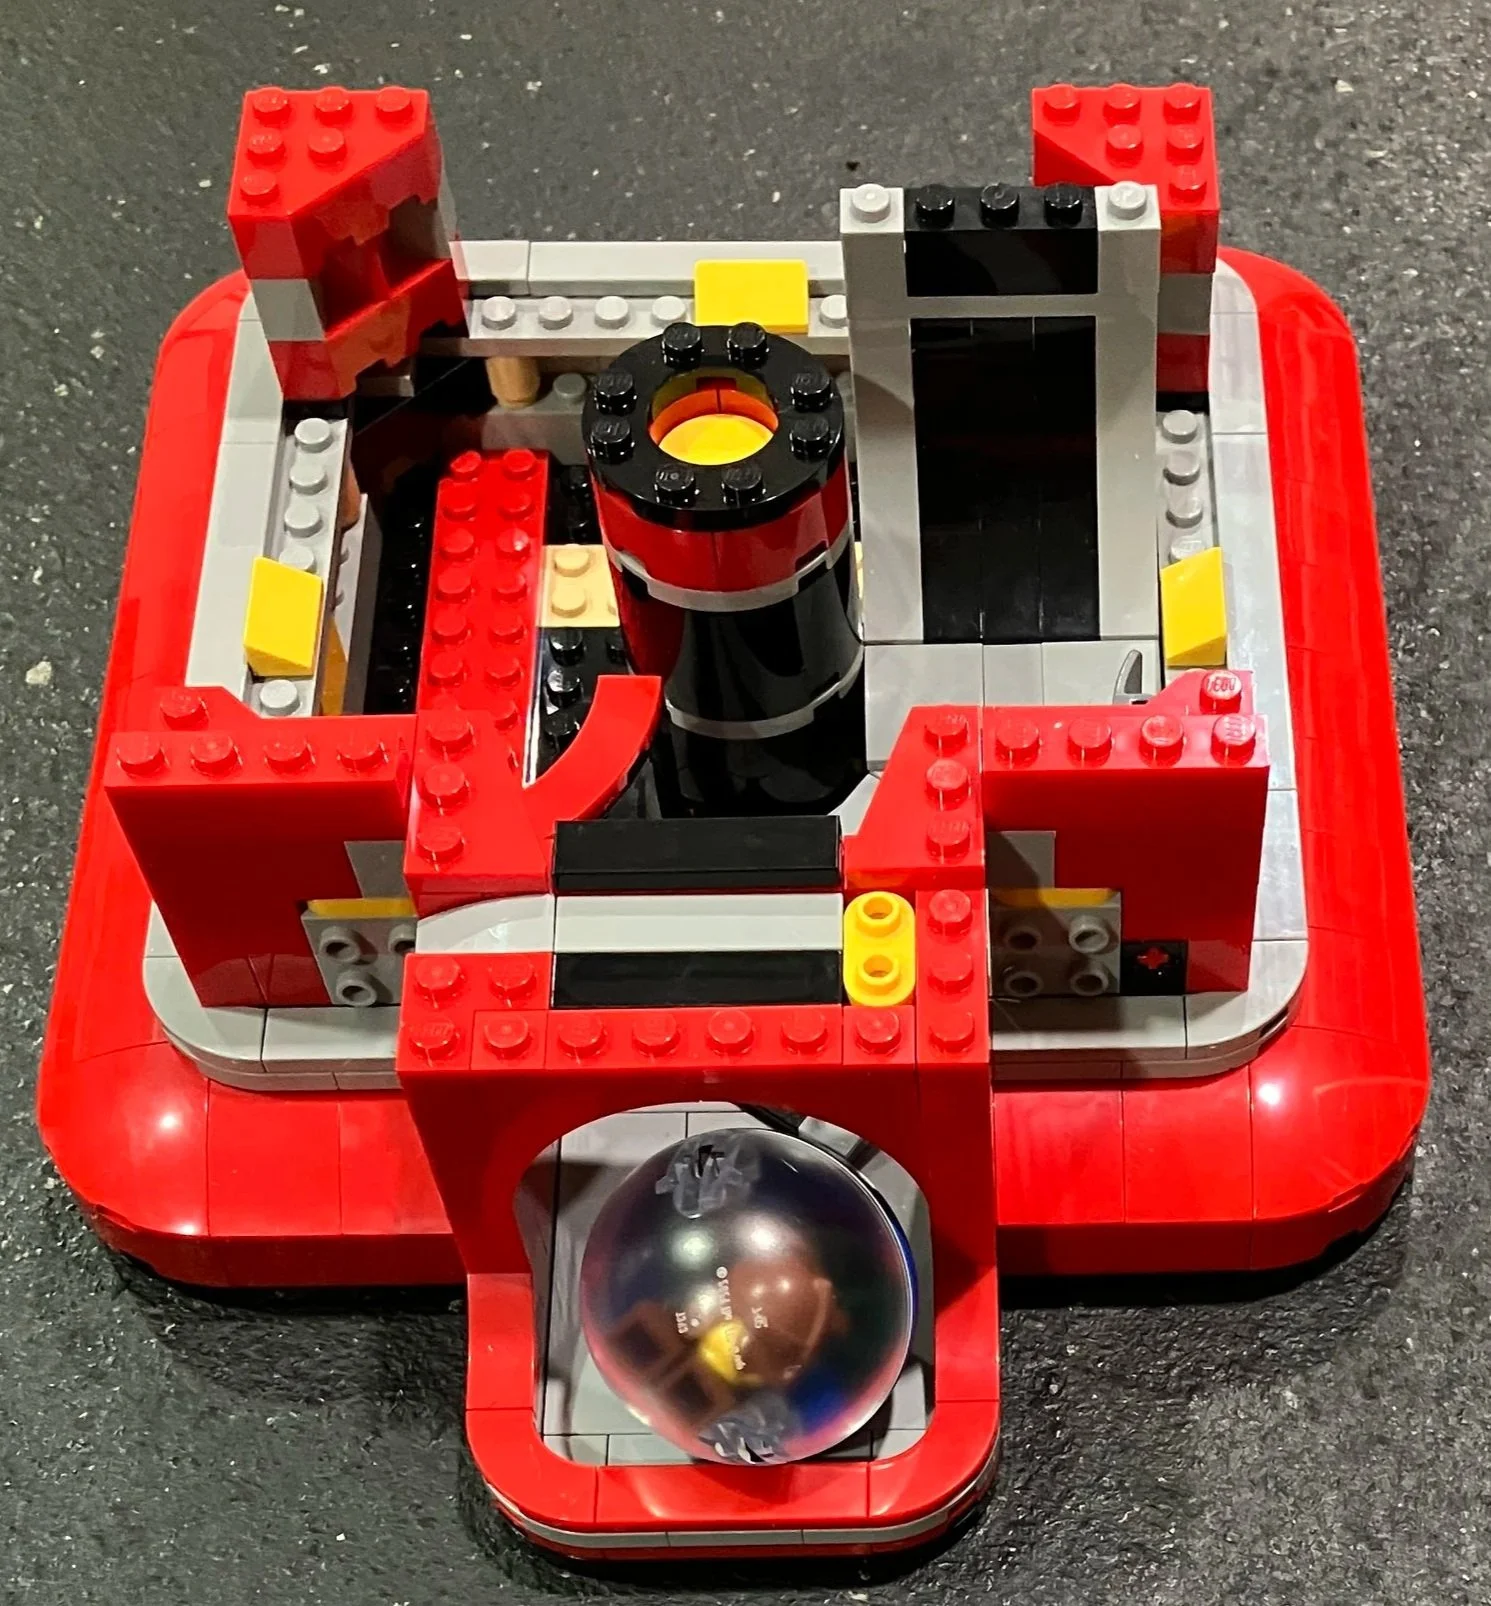
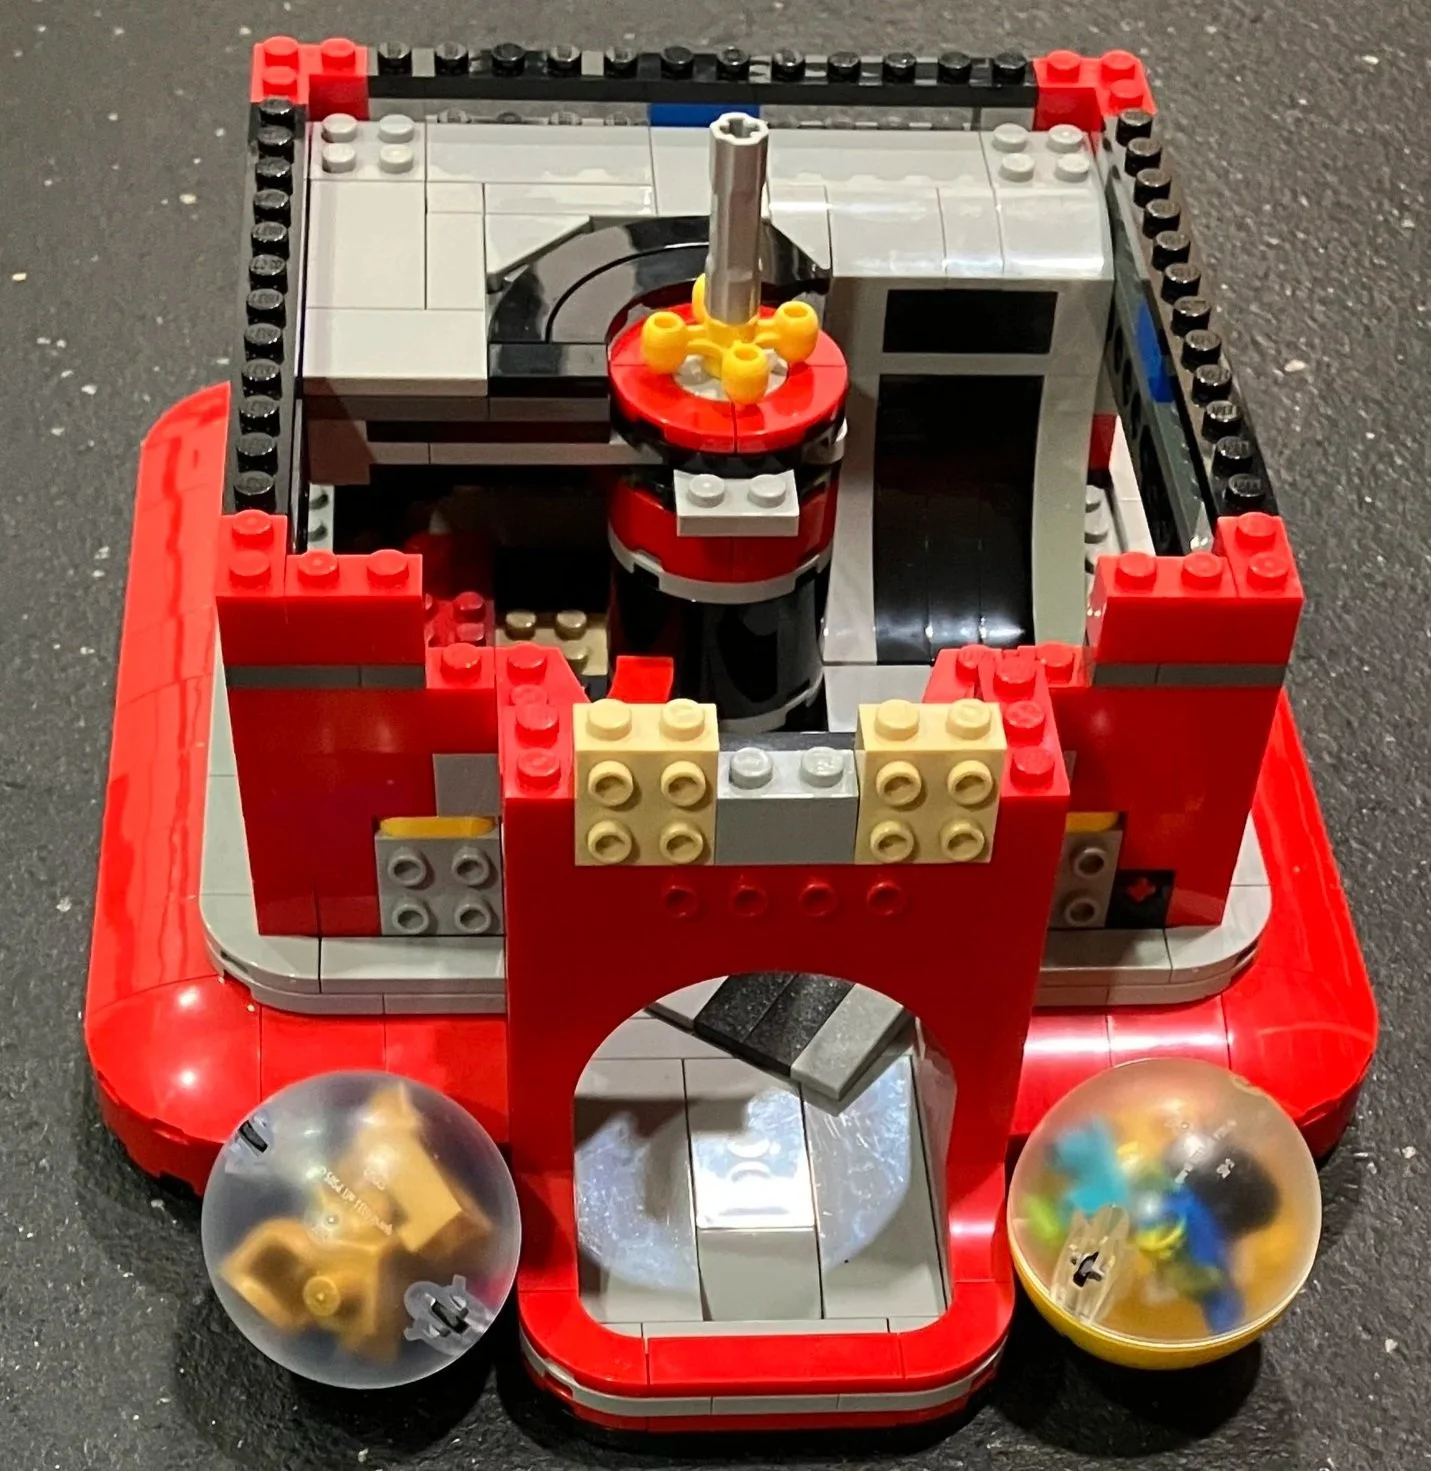
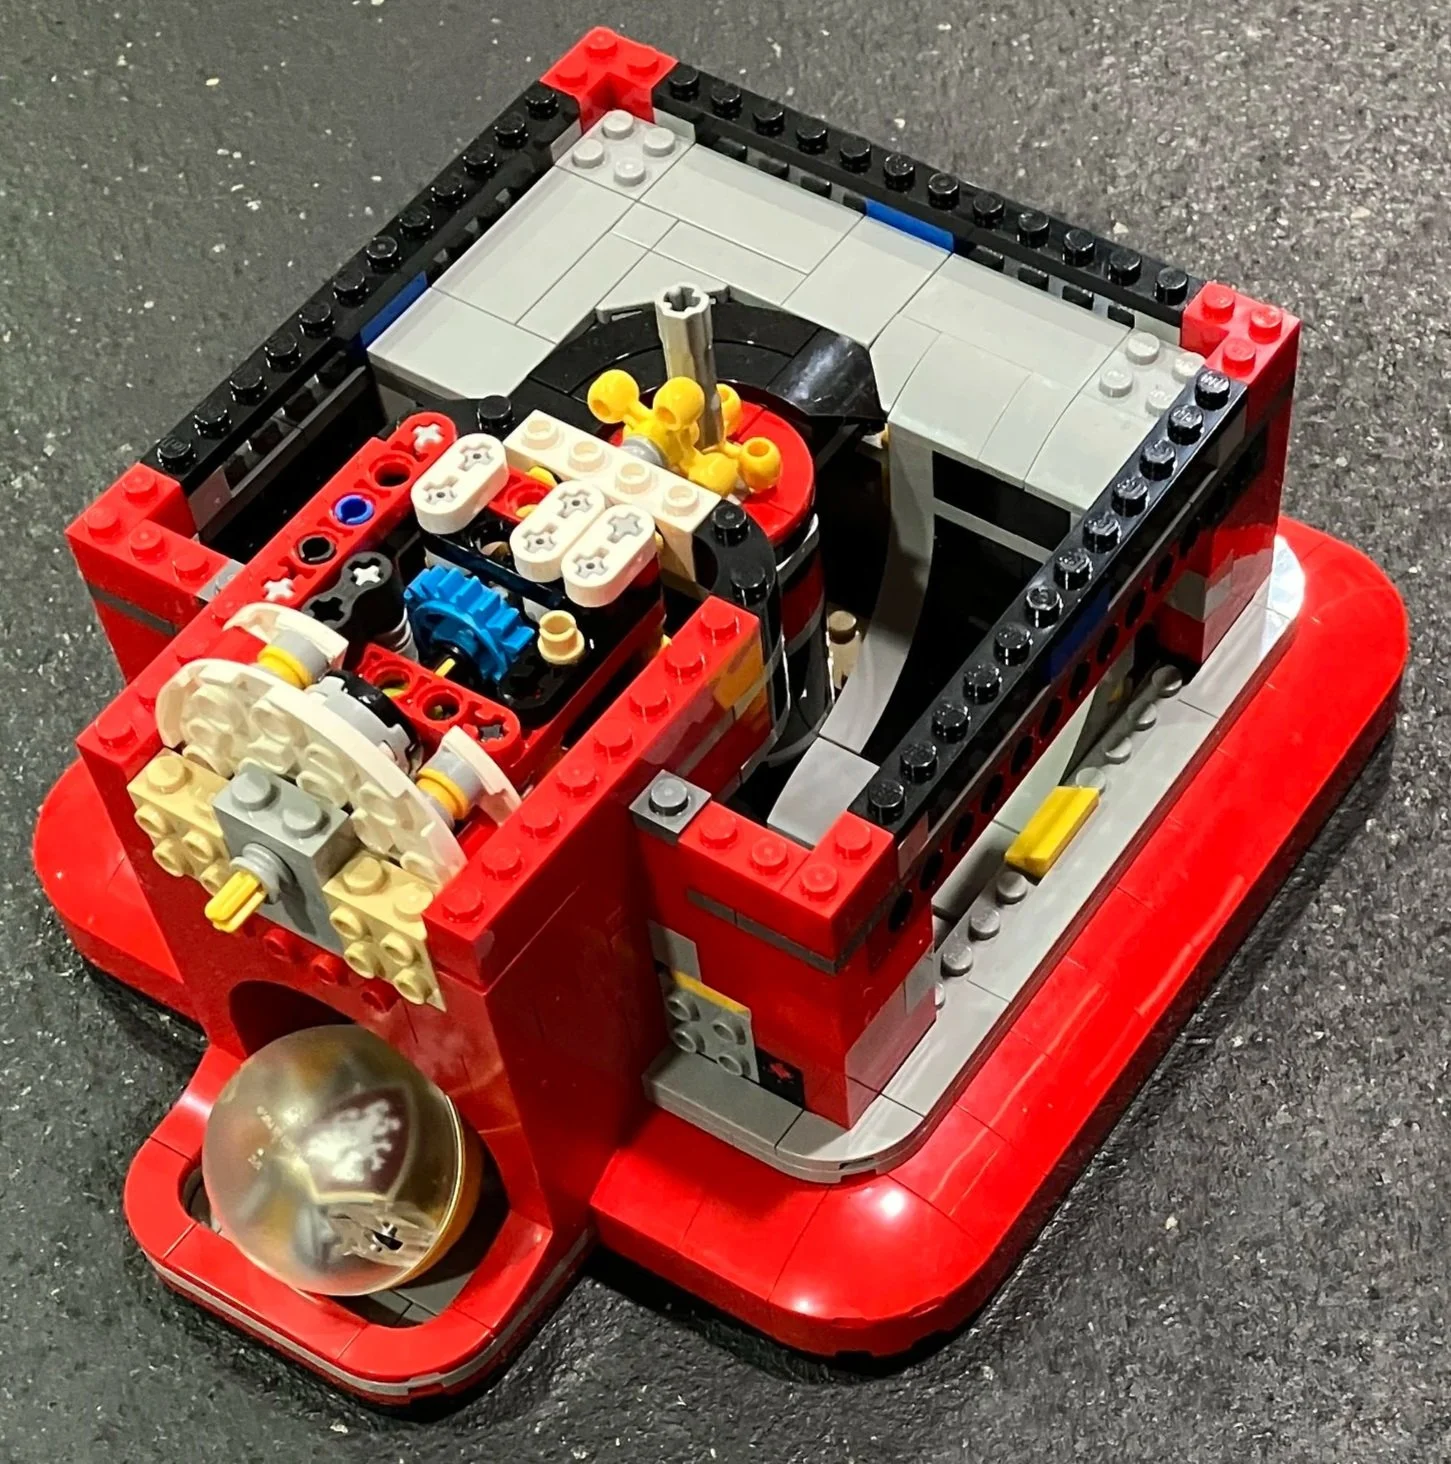
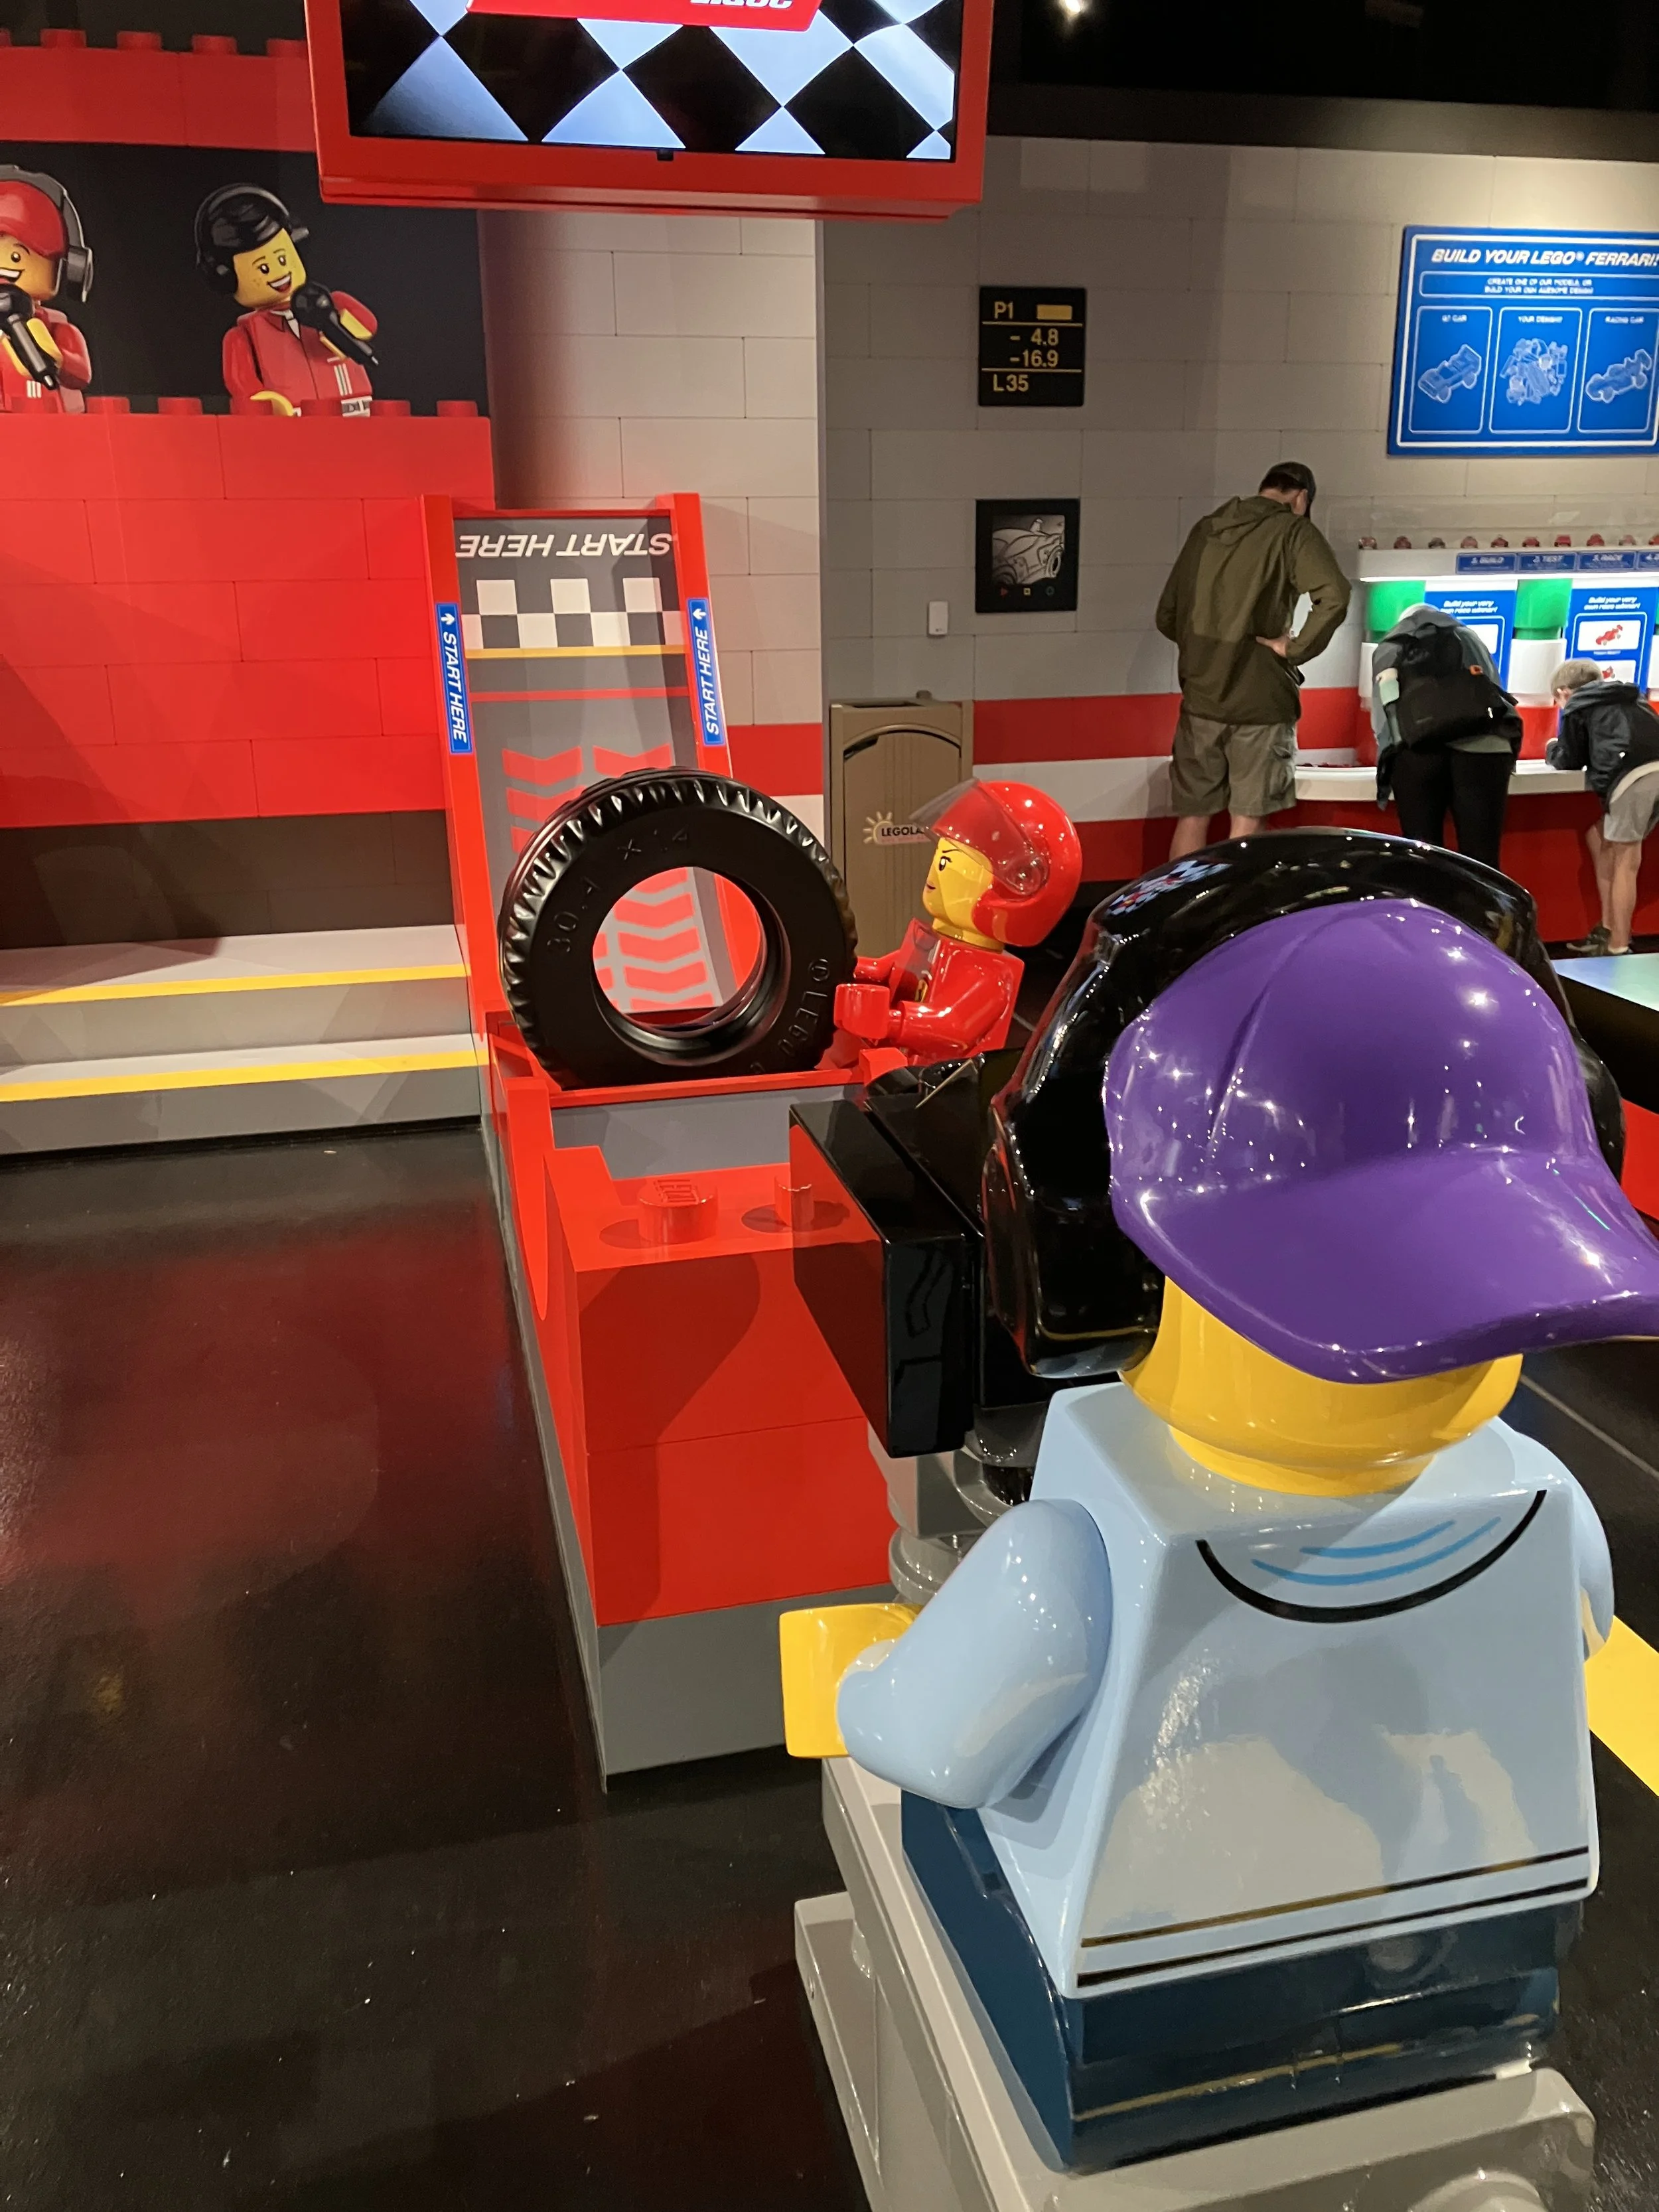
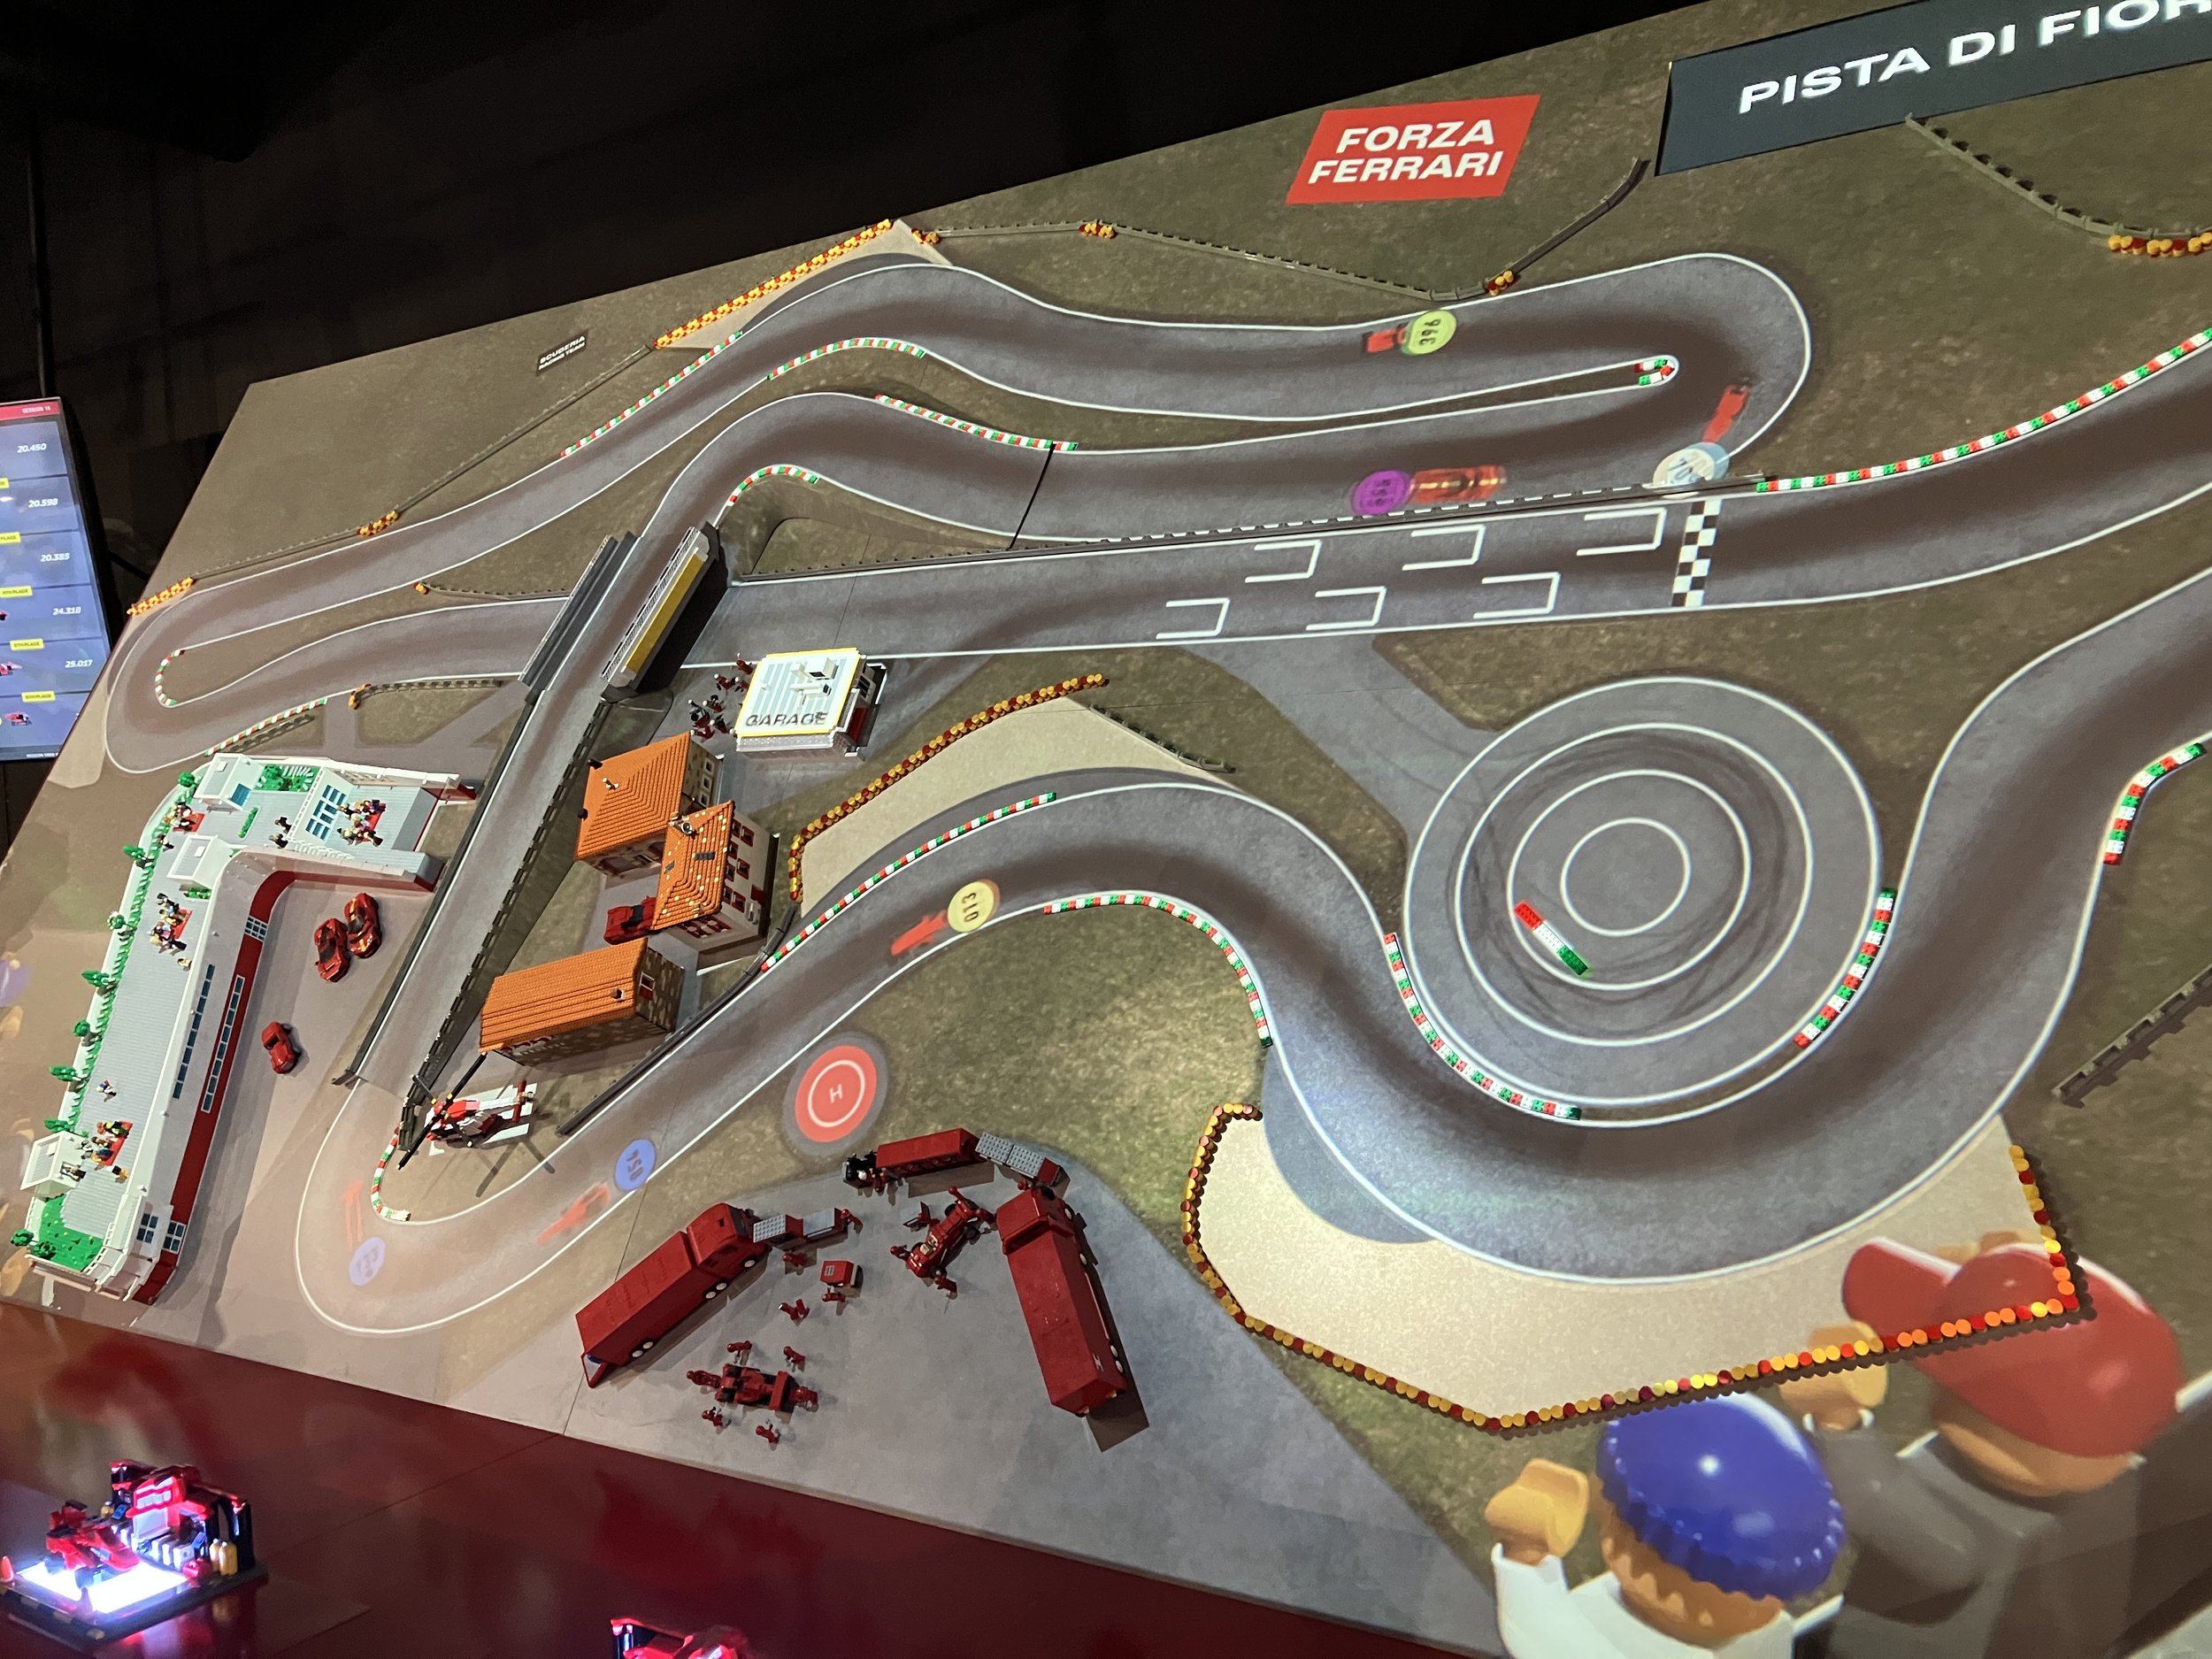
The rest of the area was a build experience. You got a wheel base from a worker and then there were numerous pits of parts in Ferrari colors to build your own car. Then you could test it on various ramps, race it against others, try to get it over a jump, or enter it into a digital race. My kids both tried the digital race. You scanned a car you built and then could race it using some preset buttons for speed around a track. It didn’t always work as advertised, but they still had fun. You could also pick a pre-made design from one of the Speed Champions sets to race. Once you were done, you could enter your physical build onto a conveyer belt where a LEGO brick built crowd cheered as the car went by. At the end, you car falls into a bucket for the workers to take apart. We saw a few kids who were sad they couldn’t get their car back and didn’t realize what would happen. Overall it was a fun experience and one of the better build areas at the park in my opinion.
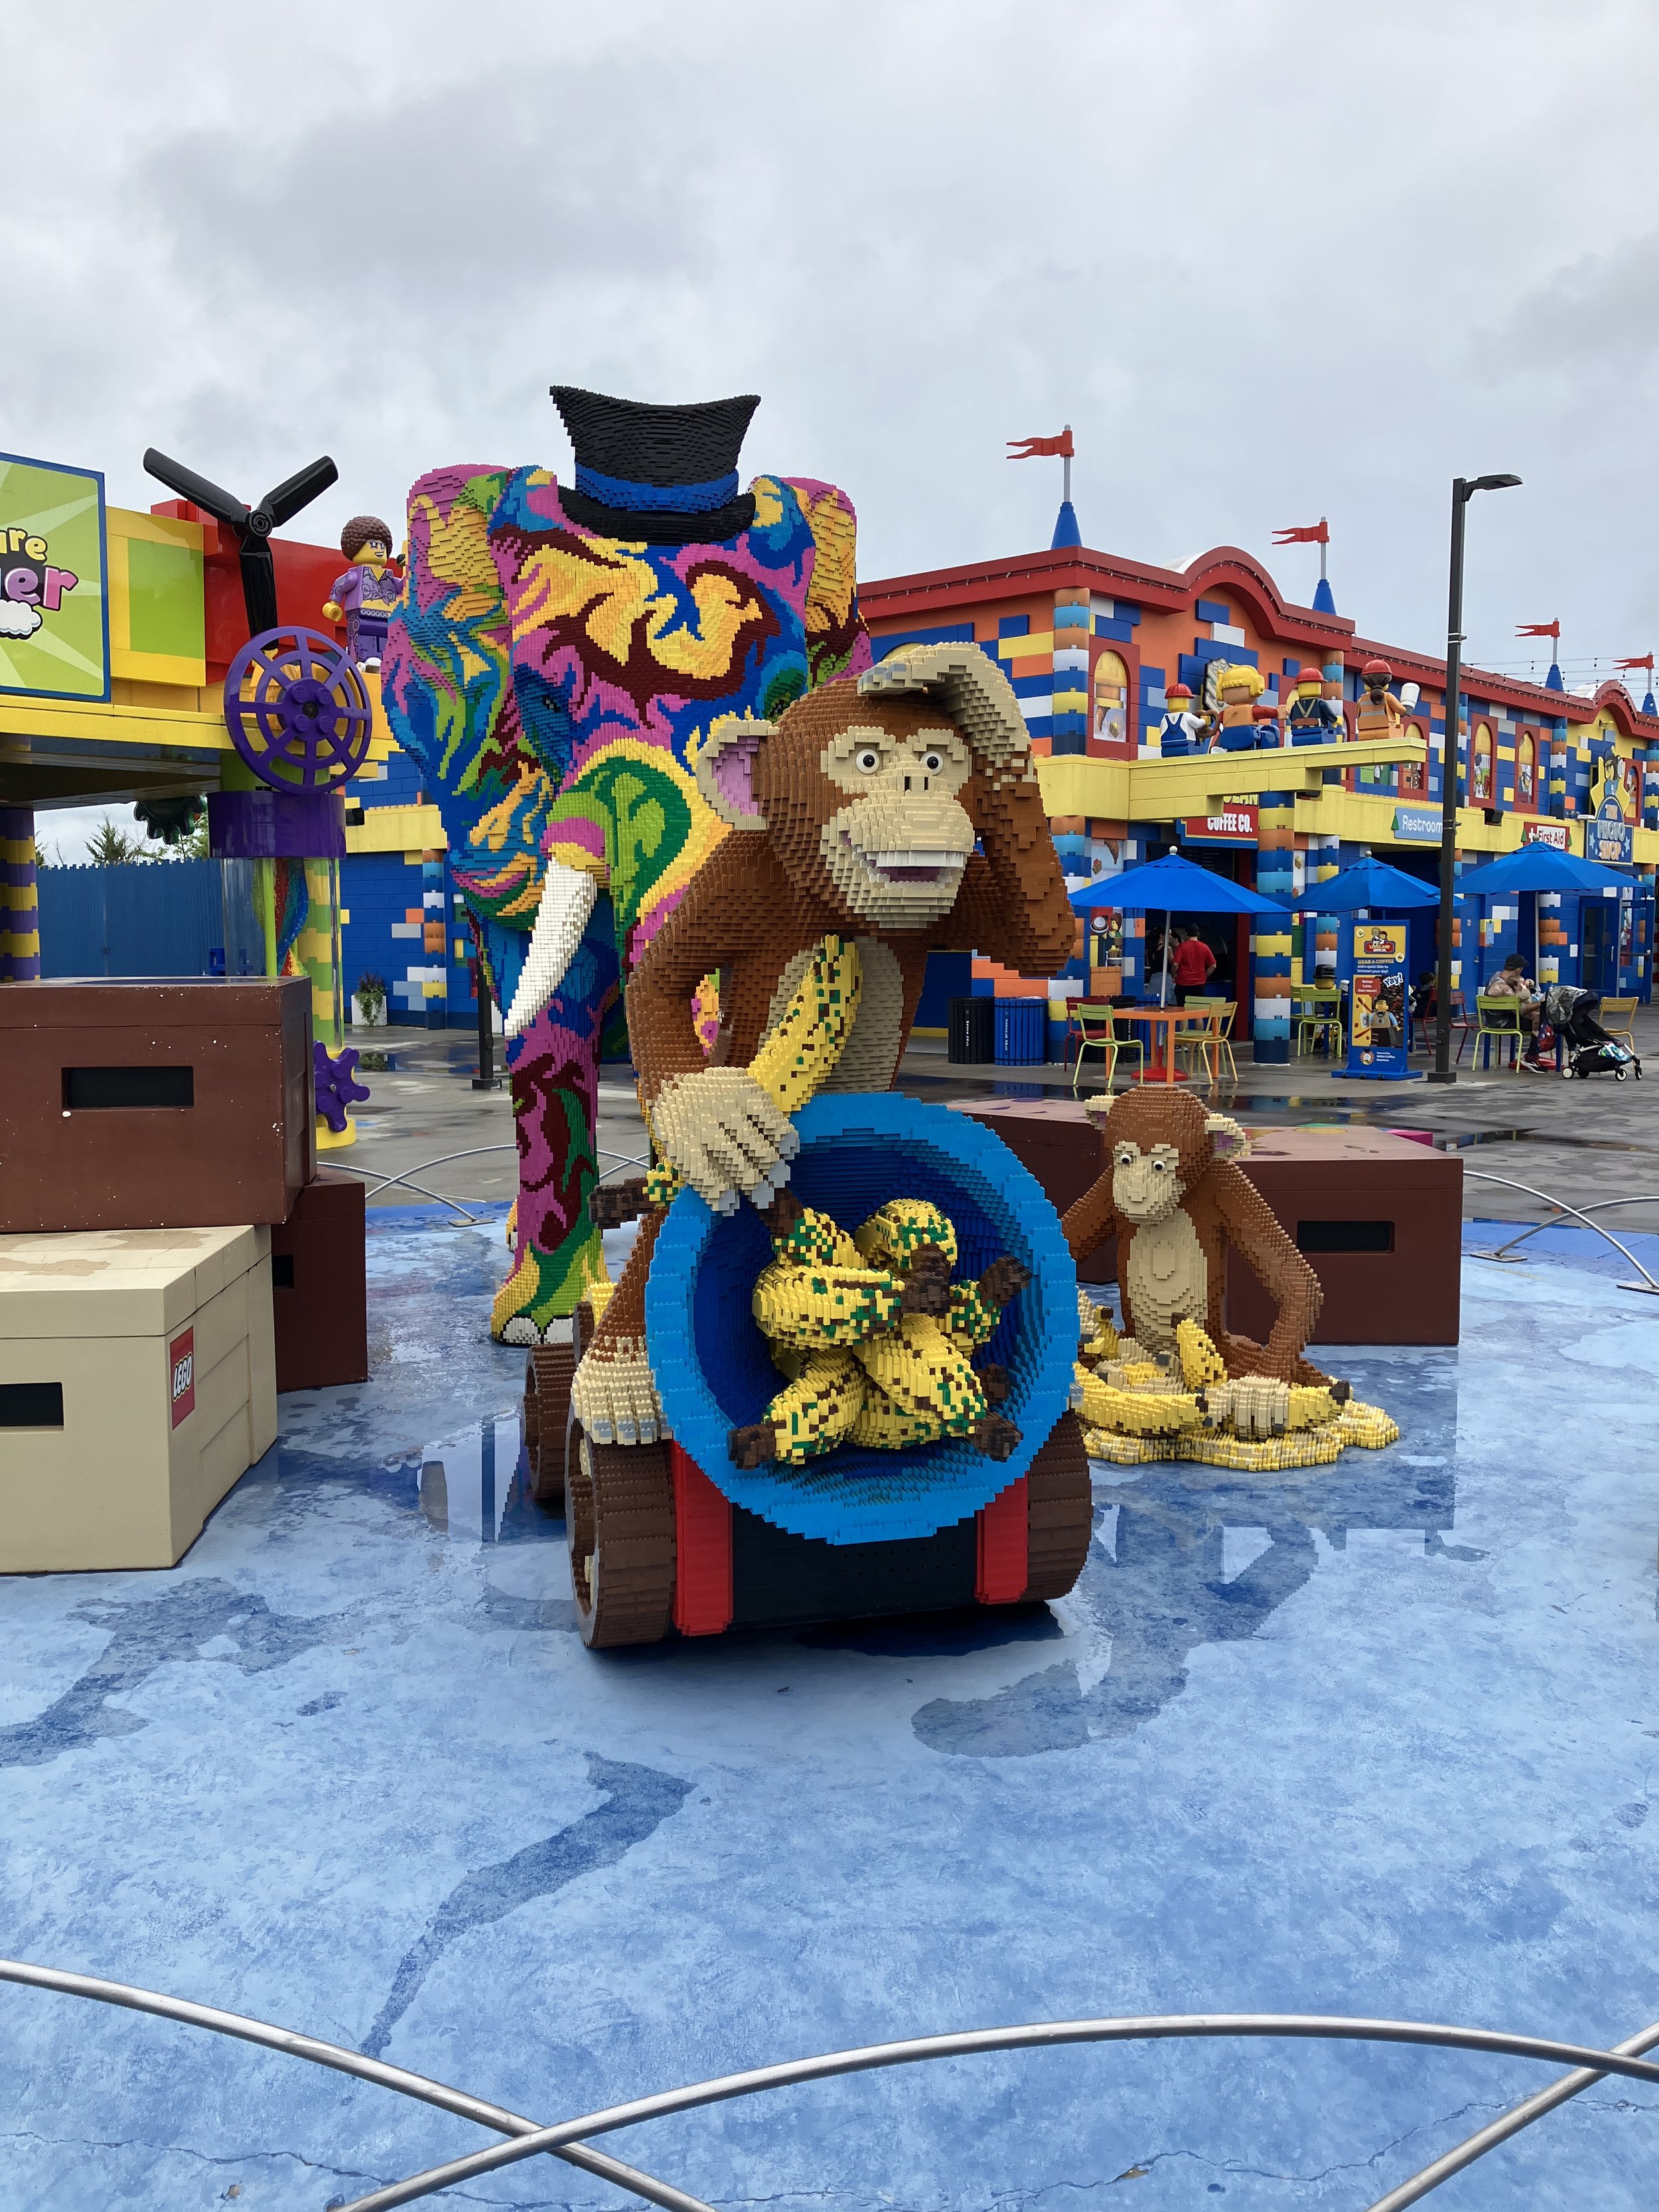
There were a lot of big builds at the park and I didn’t get pictures of each of them. Here are just two. While rides are great and all, if you go, try to spend some time looking at some of the big builds as they are impressive at such a big size.
Before I get to the store, there is a ride where you go through a fictional process of how sets are made. At the end of this ride is where you can visit the pick-a-brick wall. We didn’t pick-a-brick at the park, but know that it’s an option and it’s not at the store.
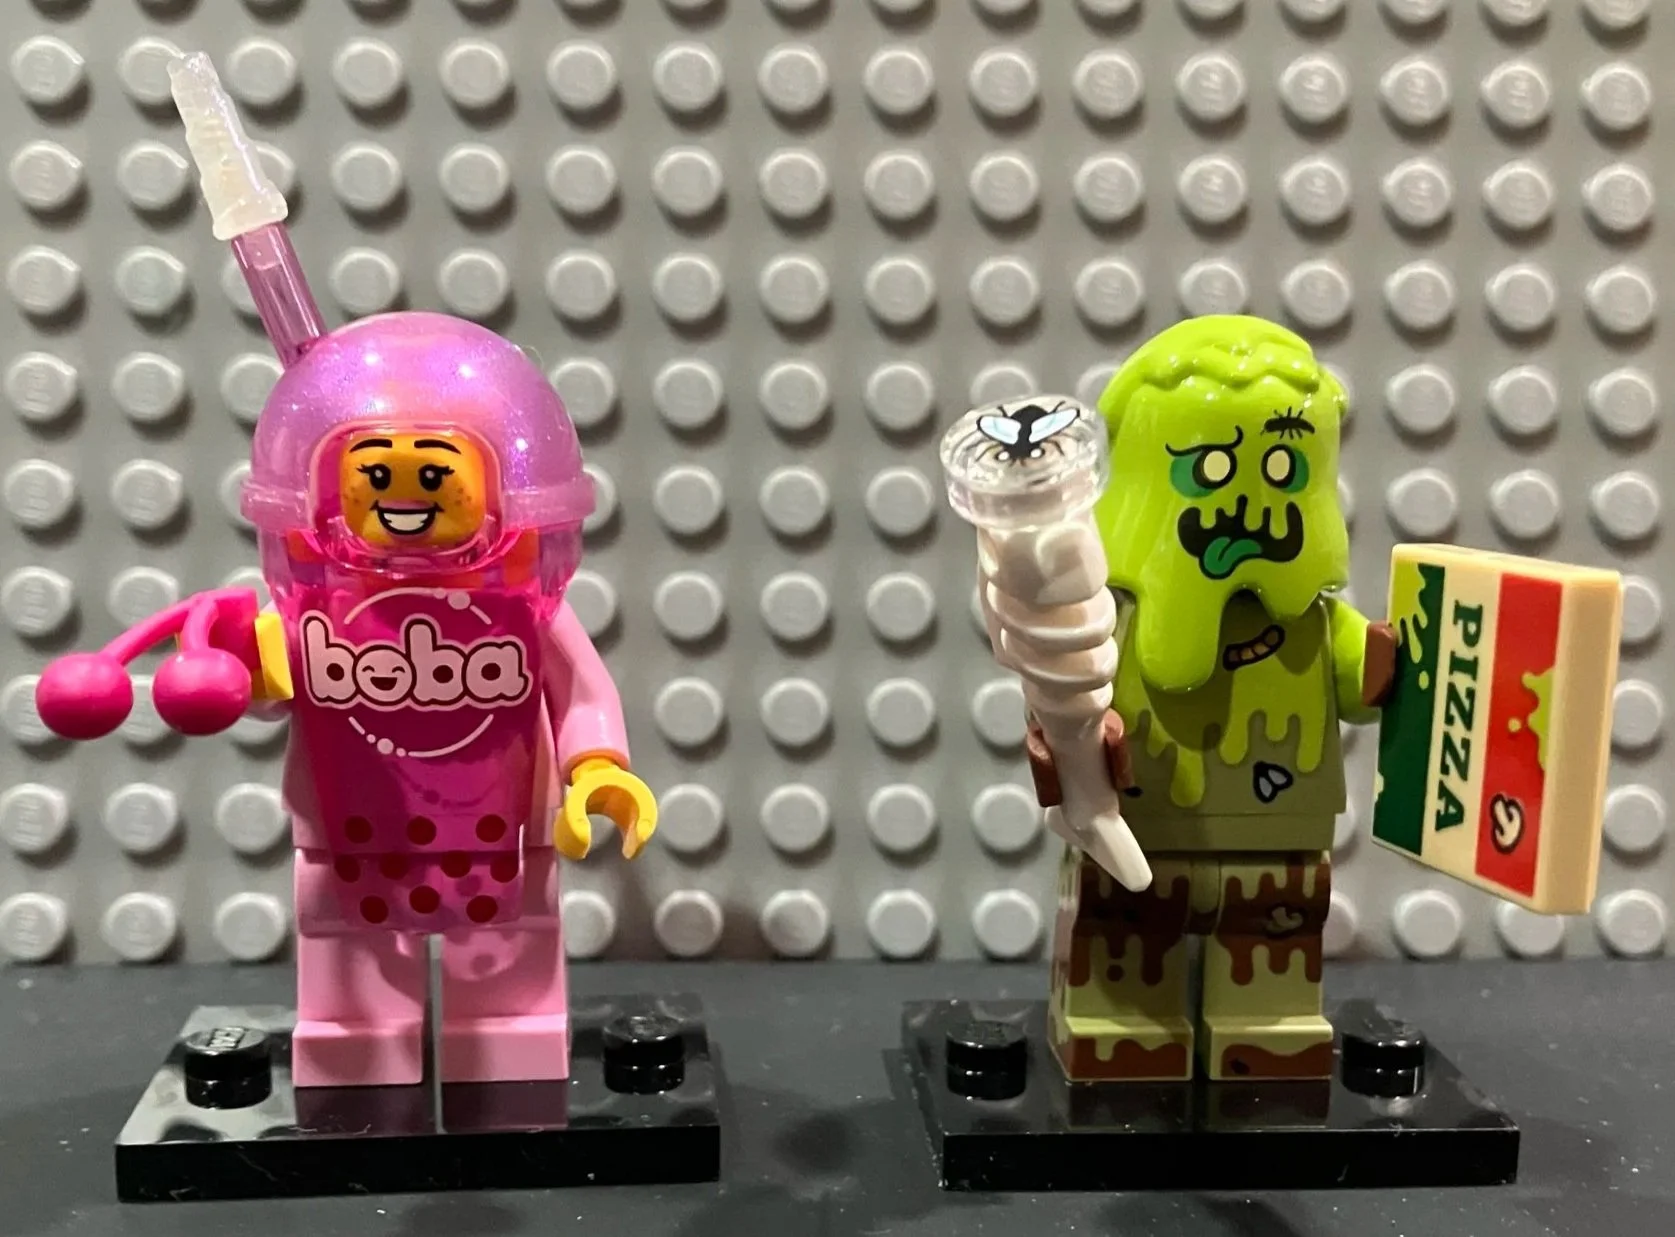
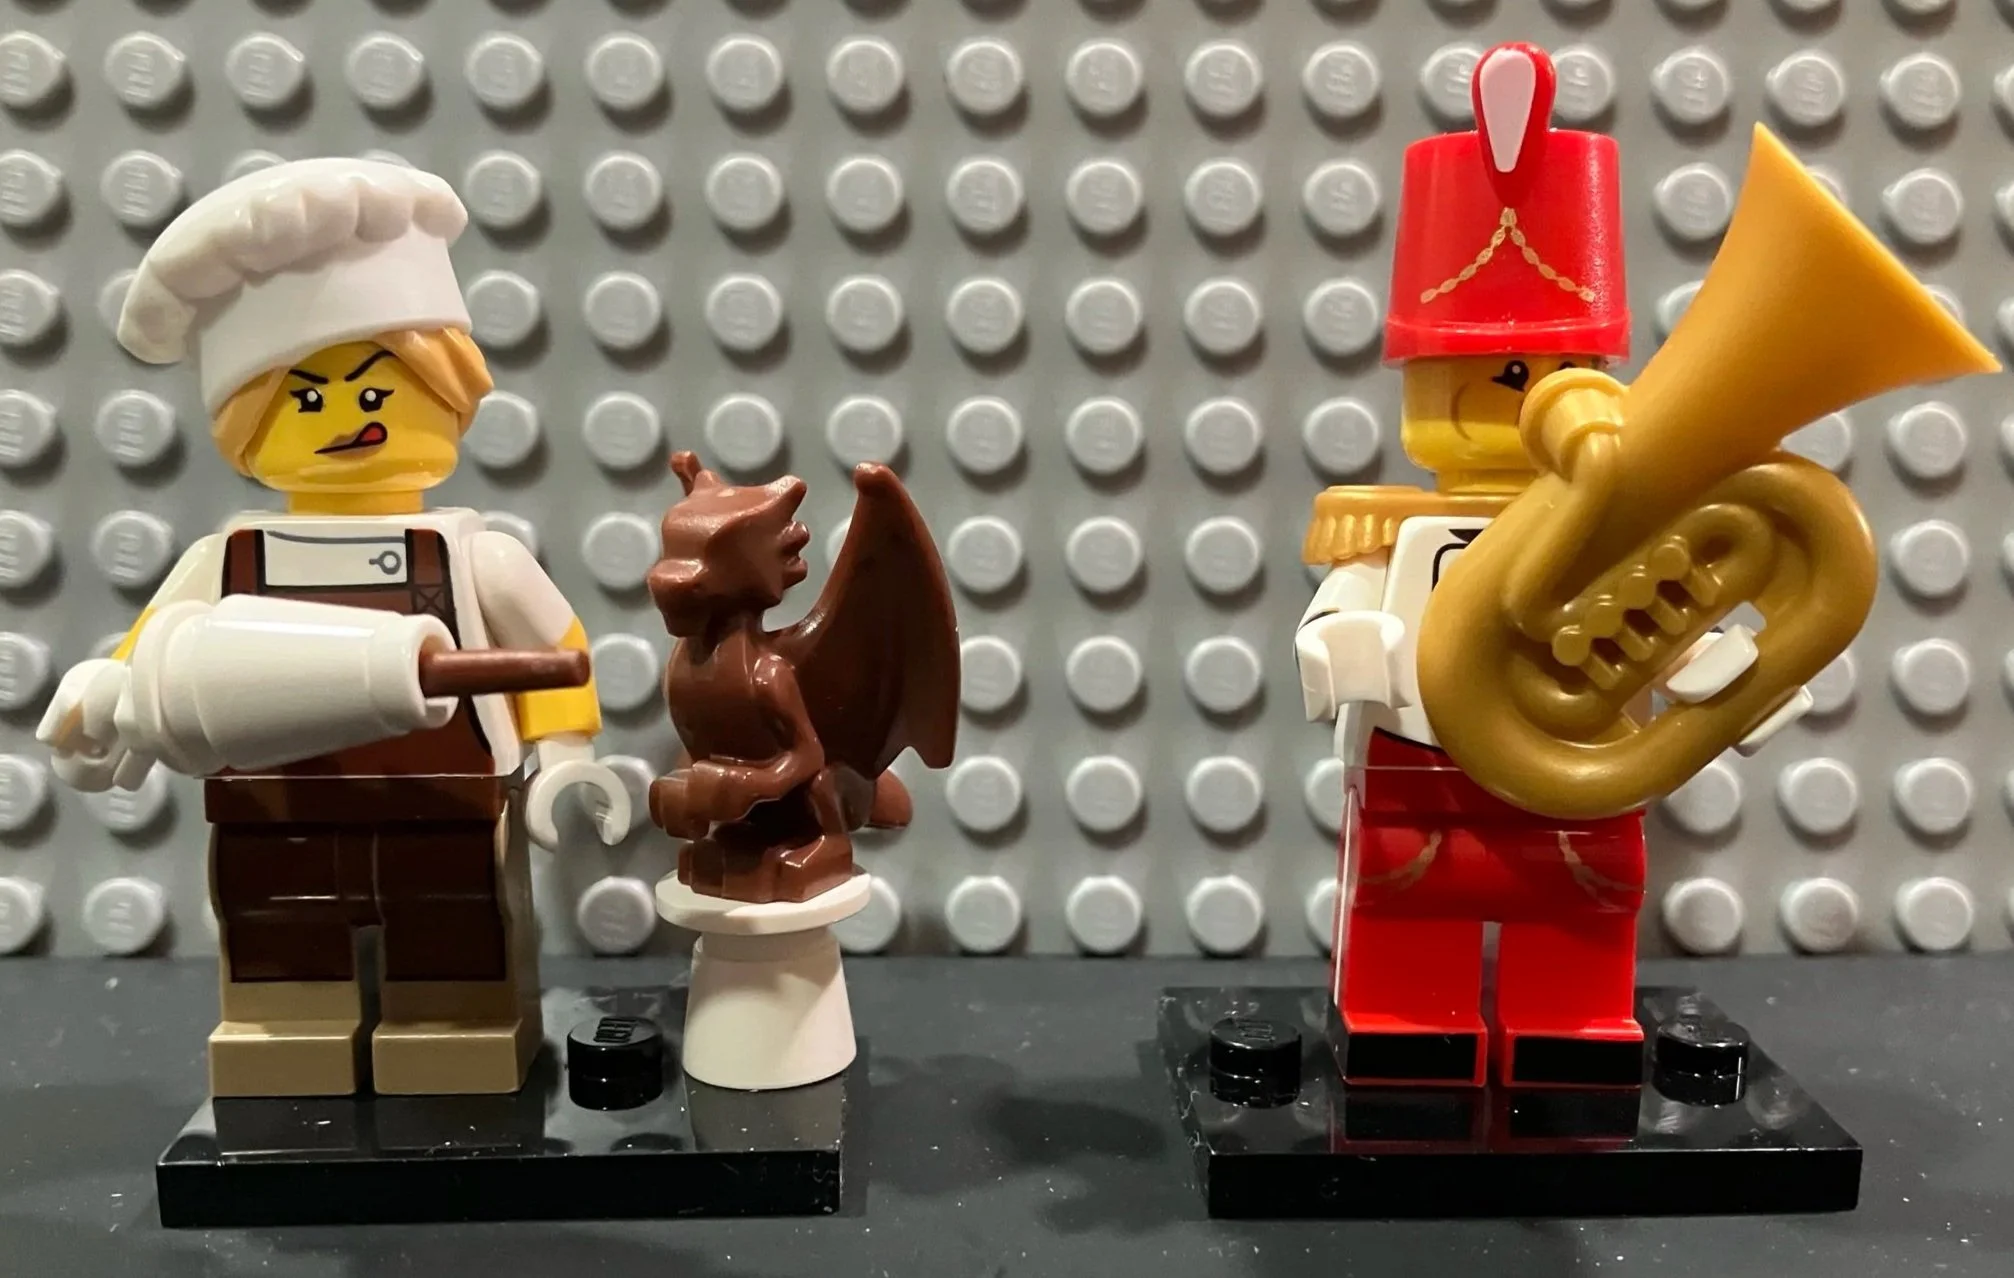
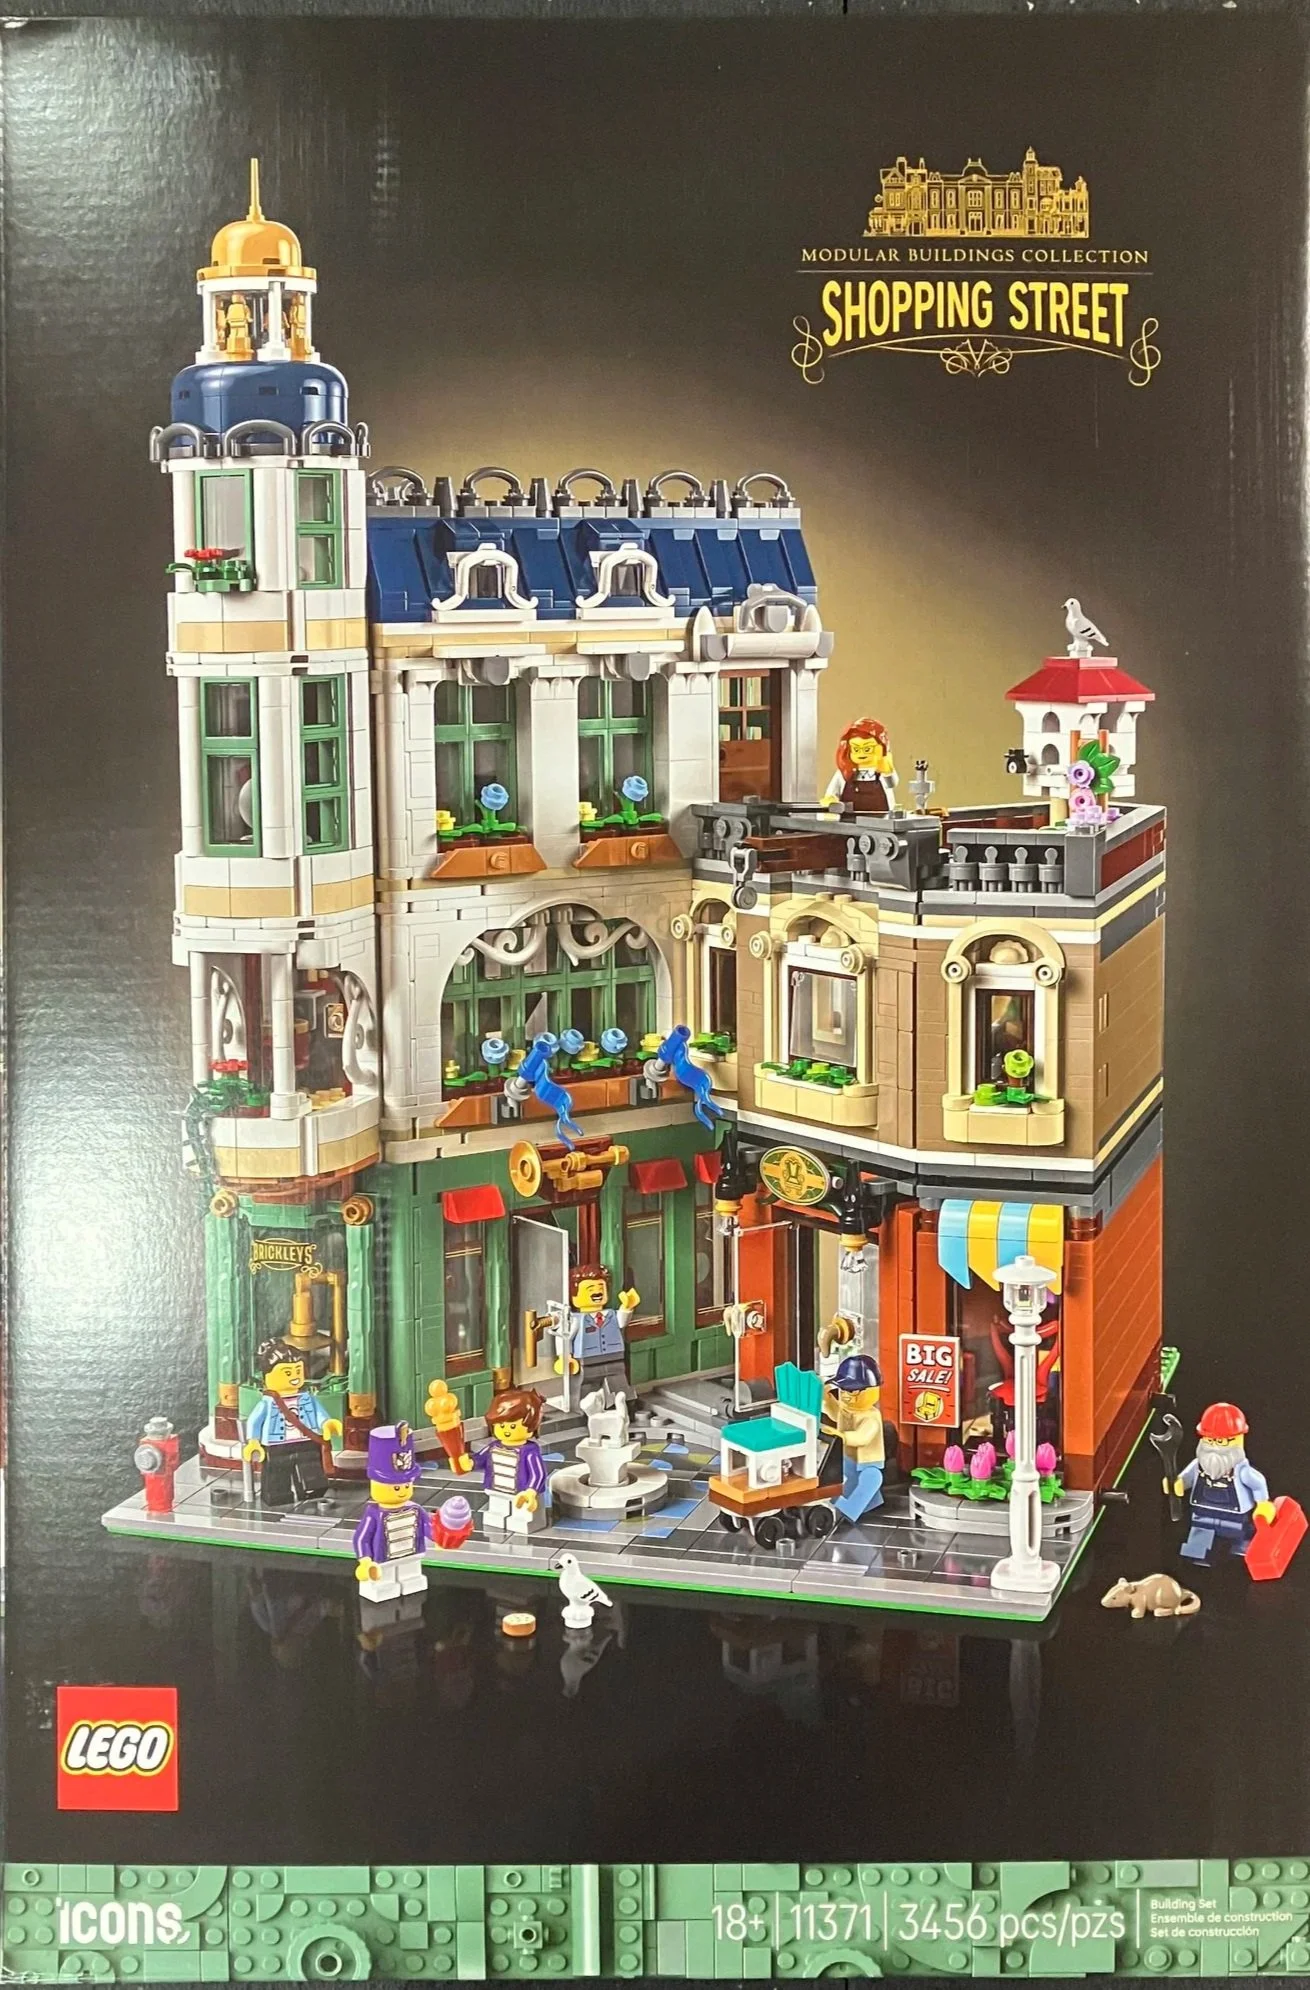
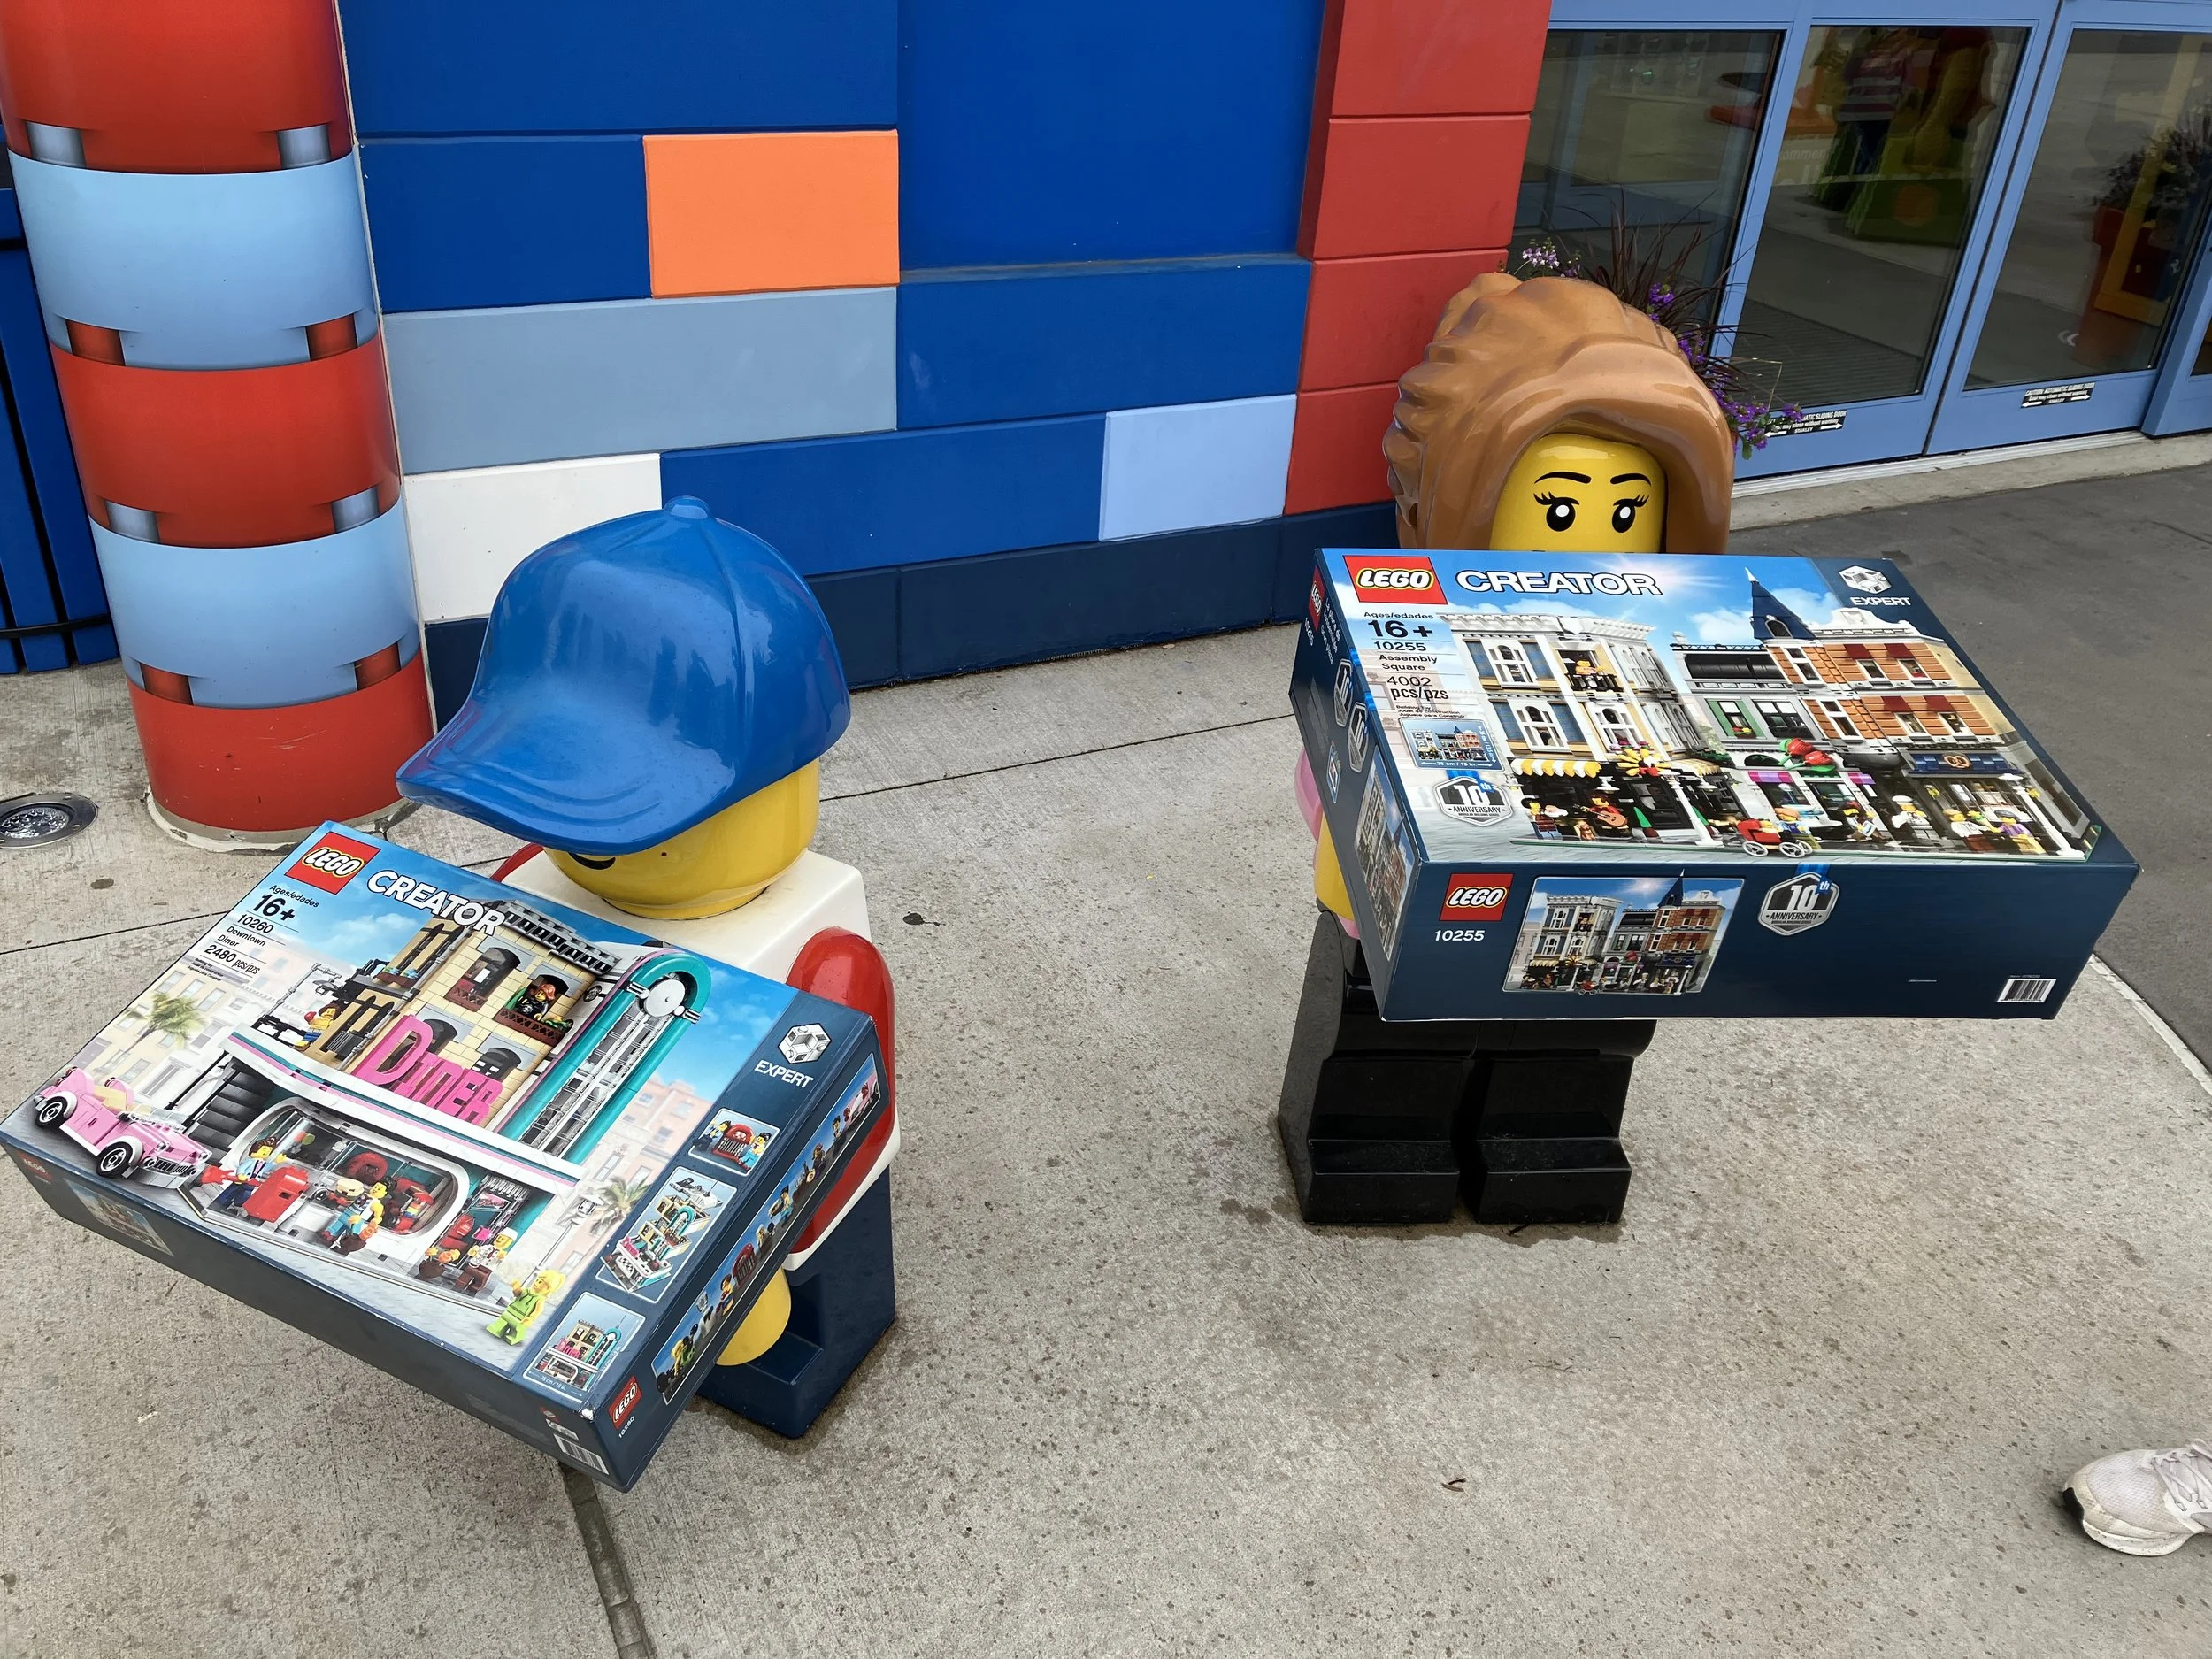
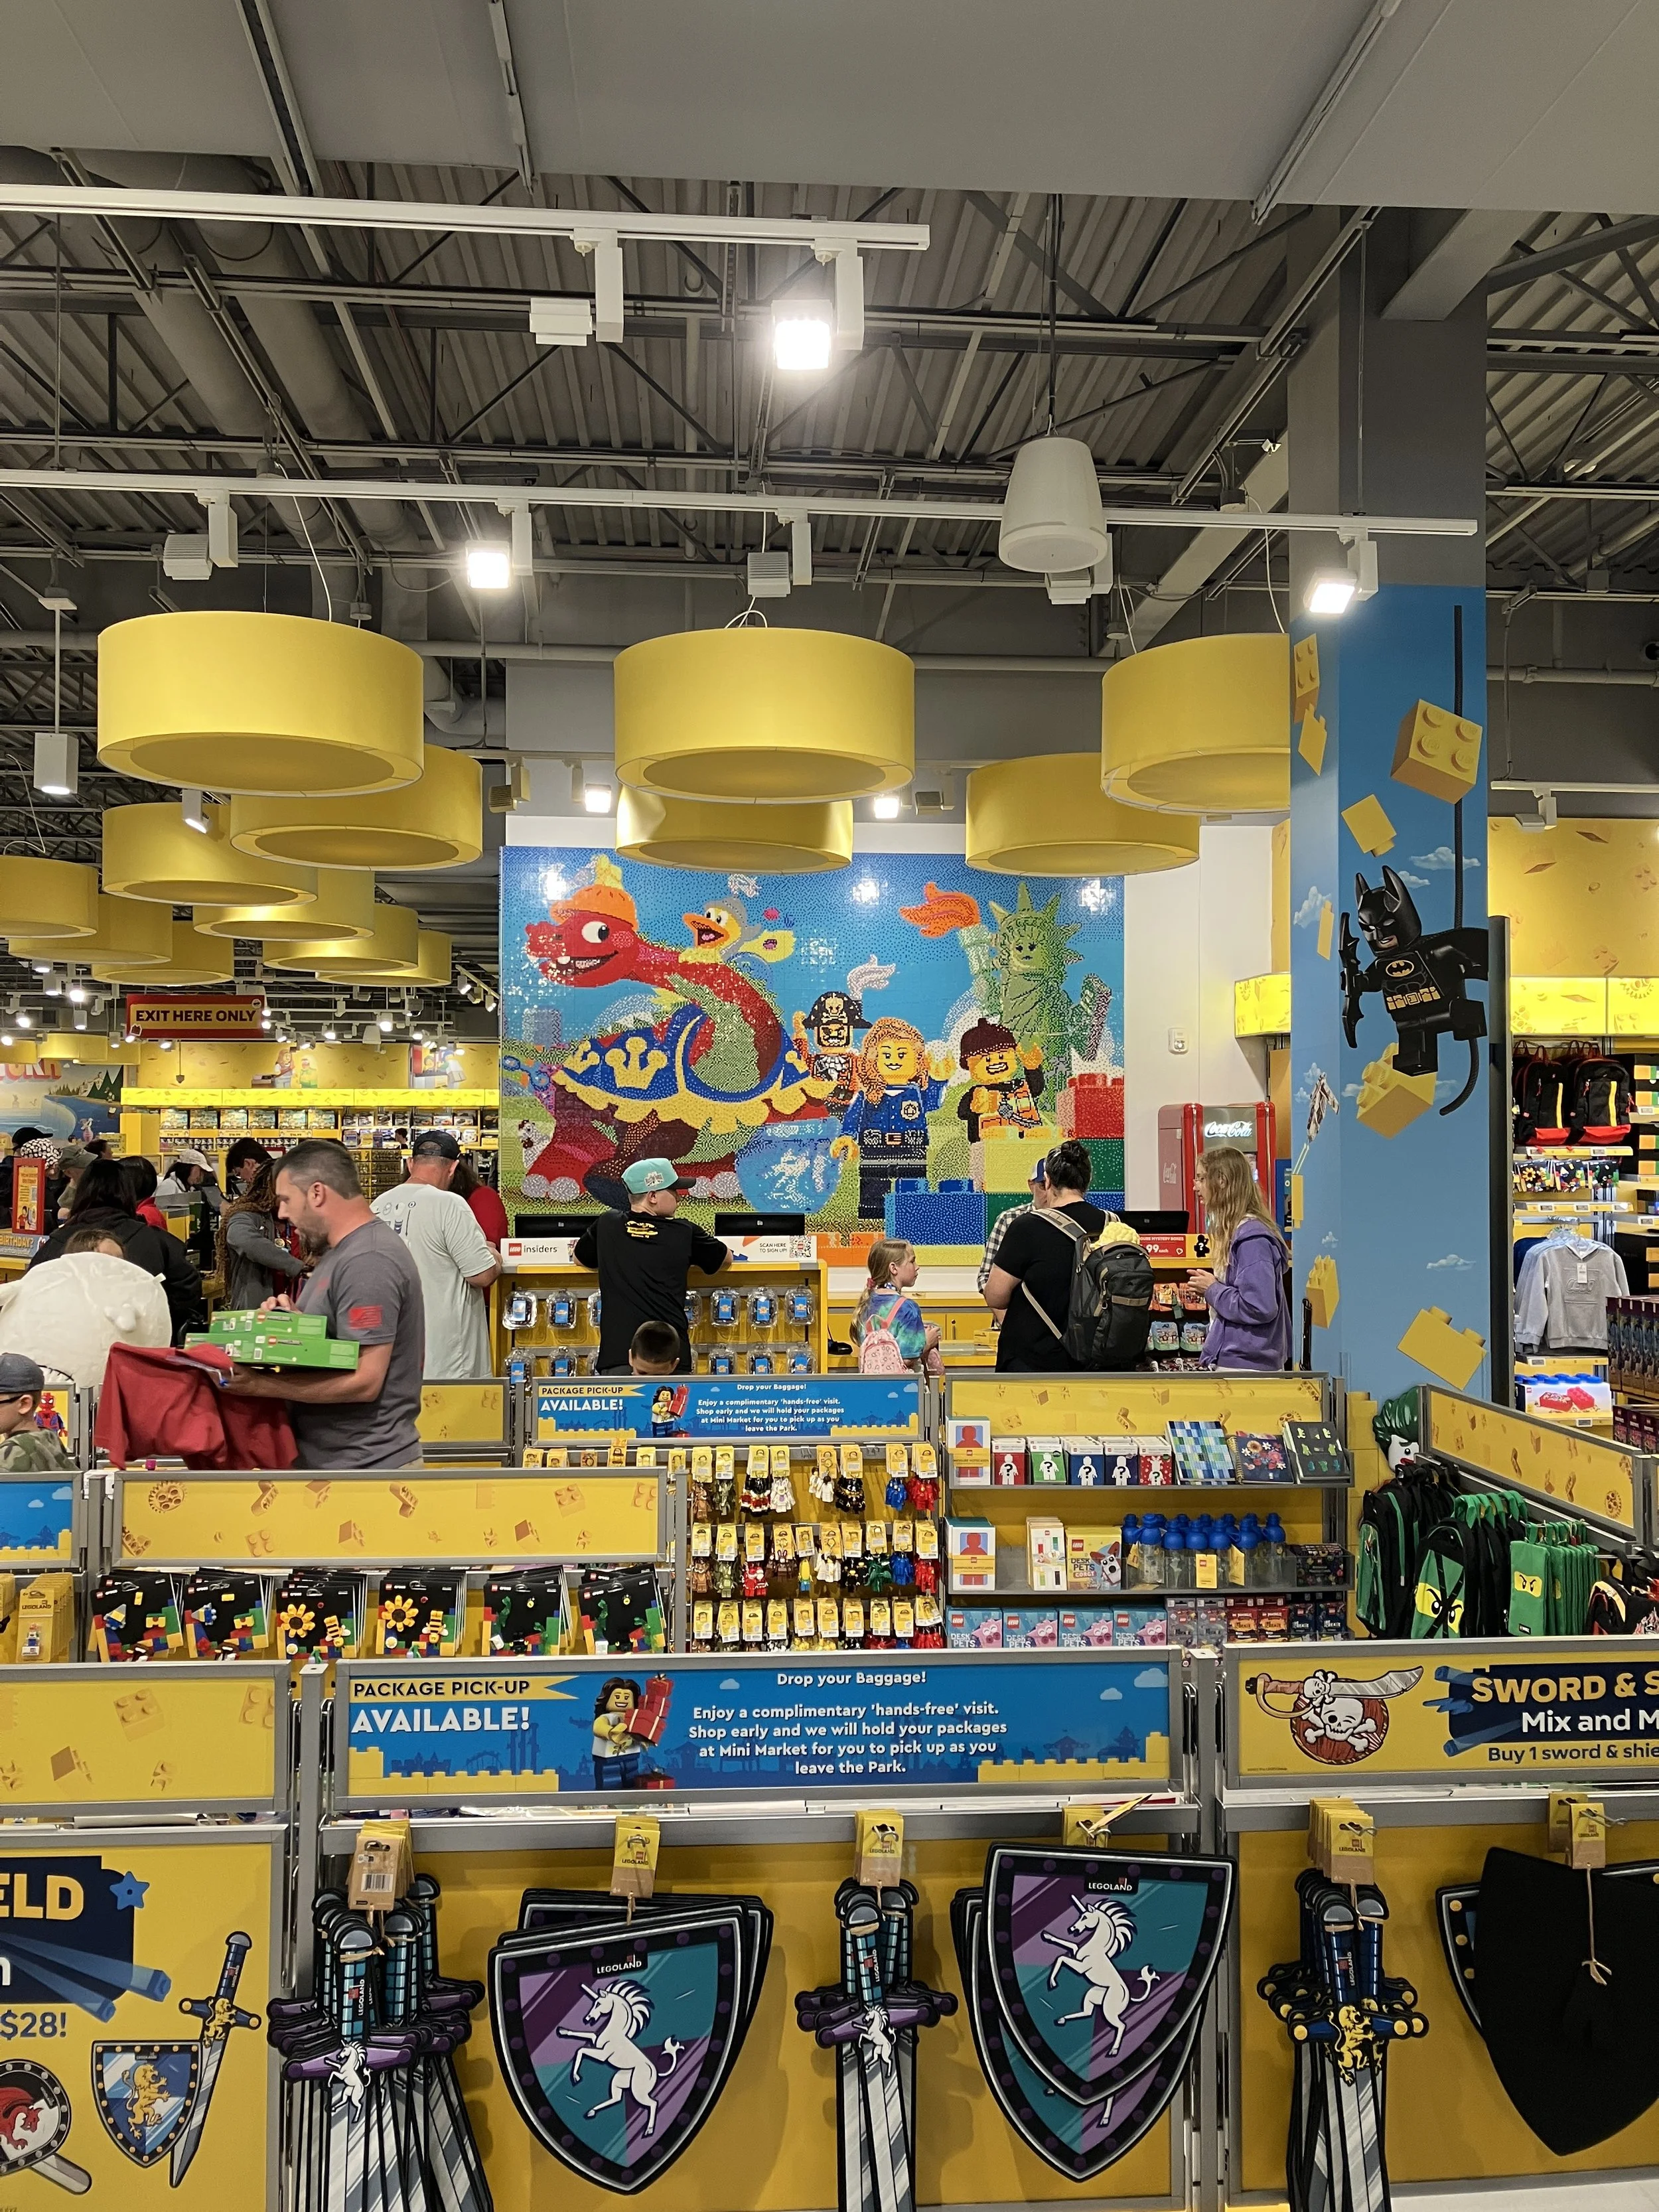
In front of one of the store entrances were two minifigures holding boxes with retired modular building sets. If only they still sold those. The store itself is pretty big. It had the majority of the sets in LEGO’s catalog at the time and the prices were mostly the same. Collectible minifigures were $2 more then retail which was a notable exception. The store also sells some of the exclusive LEGOLAND sets that you can only get at LEGOLAND (or the LEGOLAND online store). On a positive note, you can make your purchases at the start of the day and pick them up at the store before you leave.
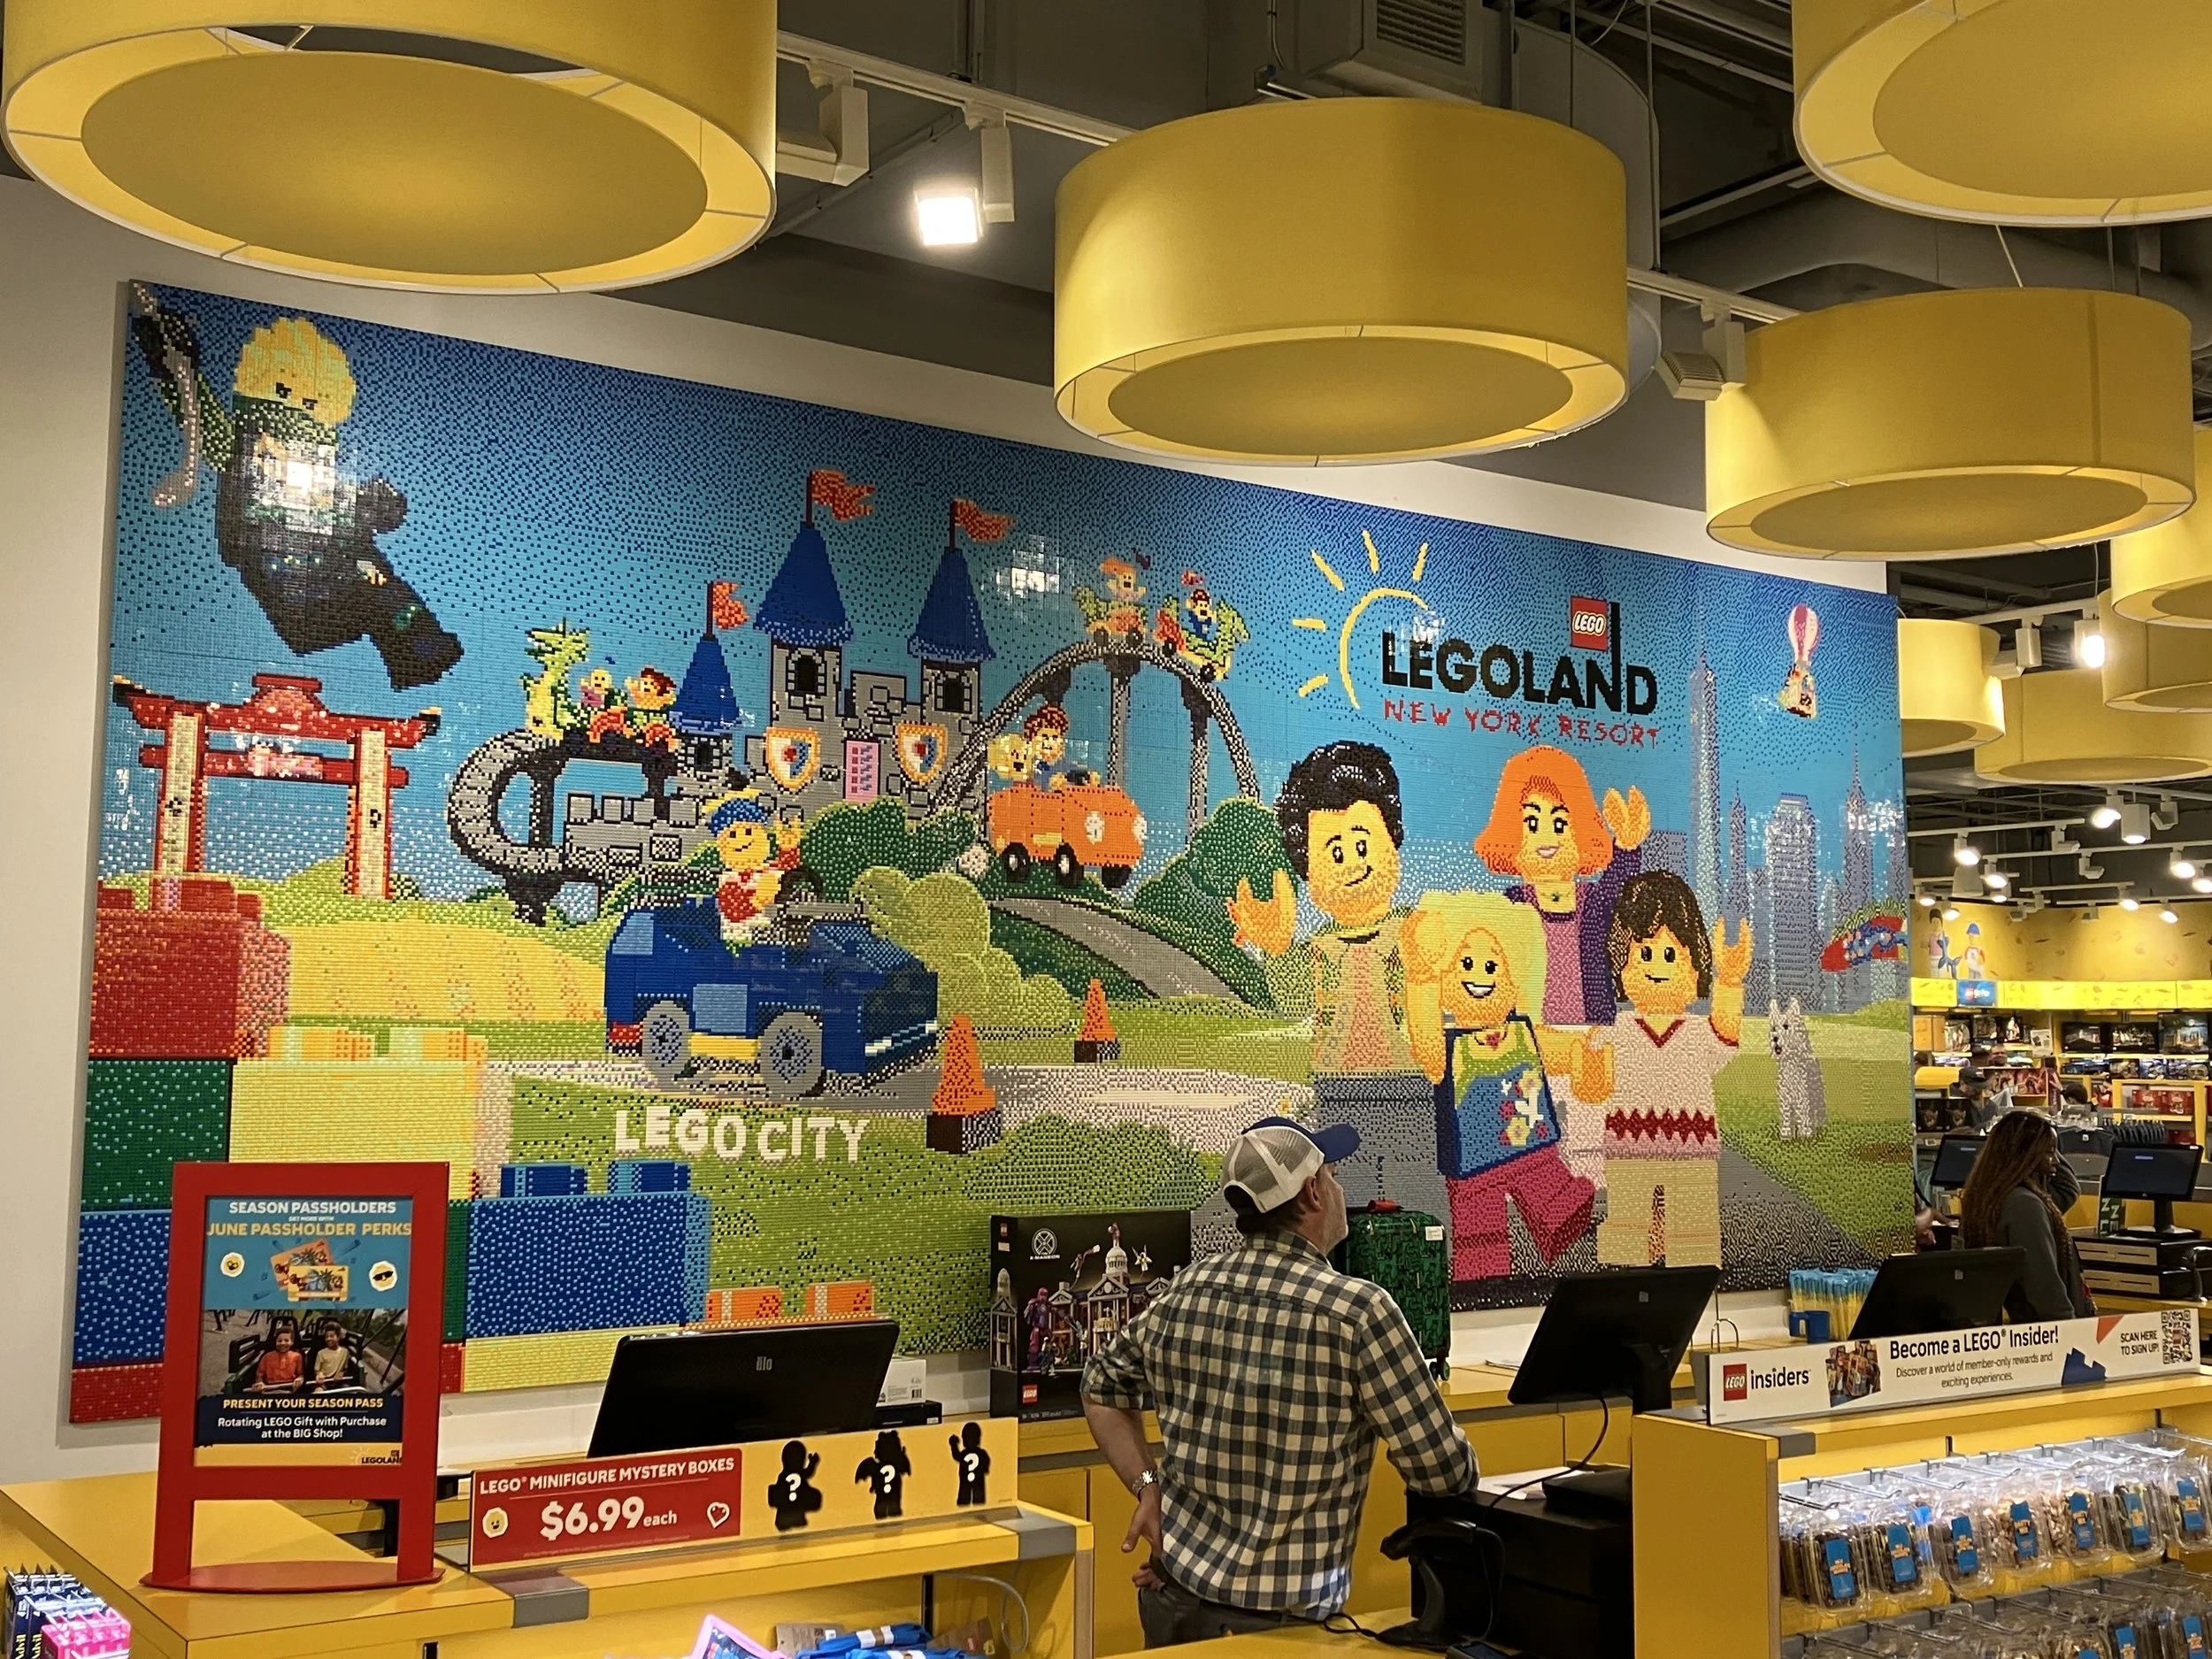
The store had some fun brick-built mosaics inside which was fun to see. We went at the end of the day so it was pretty crowded. They had plenty of workers so no line at check out which was nice. You can also use Insider Points or earn additional points with purchases.
Overall, we had fun. The rides were decent although some had more time with safety checks than actual time on the ride, but whatever. We went on a good day where it wasn’t super busy and the weather was nice. The mix of building, rides, and looking at builds was fun. At no time did anyone say they were bored so that was good.
I was disappointed in the upkeep of the park with broken sections of Miniland and various rides. The park is only five years old and it’s already showing its age. Come on LEGO! Step up and follow the motto of only the best is good enough.
Would I go back? I’m not sure I would anytime soon. We did it once and we’re good for a while. Maybe in a few years or if they put in a lot of new things?
Have you ever been to LEGOLAND NY? What were your thoughts?
Happy building!