There are multiple ways to leave the Masterpiece Gallery and you can go into the different Experience Zones which are color coded (green, blue, red, and yellow). If you want a full up tour, there are plenty of videos on YouTube that show you everything. I will just go through the experiences my family and I had in each area.
So not in any particular order…
The green zone has a character creator section where you there are a number of bins of minifigure parts. Besides legs, torsos, craniums, and hats/hair, there are also a lot of accessories. There was everything from weapons to skate boards to foods. It actually made the task of building a minifigure rather daunting as there were so many options to choose from.
Once you build your minifigure, you can go over to the kiosk, scan your wrist band, and then it asks you to put your minifigure into the background. It takes a picture of it and then you can pick from a number of magazine backgrounds. My skiing, bread holding, mug holding minifigure with a green hat is on “MINI” magazine for being the “minifigure of the year.”
A few notes:
-You can take as many pictures at the kiosks as you want. I originally thought it was limited and if you took one, it would erase the last one. In actuality, it stores them all and then you can download them all through the LEGO House app after your visit. I think my 5-year old took around 8 pictures of minifigures.
-In the character creator area, they have a number of spots with various base plates set down. This allows you to create a whole bunch of minifigures and place them down. A few people made full armies of the same minifigure. Some just made random groups.


Also in the green zone is the Story Lab. This section allows you to make your own stop motion movie. There are about 20 stations or so and on the day I went, there was no line. If there is a line, don’t worry as they limit you to 20 minutes. I was told that if I needed more time they would give it to me since there wasn’t a line.
You watch a short video at the beginning that explains how it works and then you get to it. There are 3 cameras and you take pictures based on what part of the scene you are working. They also have a few special effects that you can throw in.
My 5-year old and I focused on using just one camera in the center of the scene. A tip for everyone… we had too much going on. We wanted to use all of the vehicles and people they gave us so it took too long to adjust everything. At the end of 20 minutes, we had only taken maybe 25 shots so our video was very short. I recommend focusing on moving just 1 or 2 things each frame. Still, it was a lot of fun. In the end, you get to see your video. They add an intro in, you get to select your title, and at the end your name(s) are in the credits. Since my kid and I both worked on it, the credits used me as the producer and my kid as the director and so on.
Your video is tied to your wristband. The worker scans your wristband with a phone to log you in and the video gets saved for downloading later. So don’t worry, you can keep it forever!

Next in the green zone is the World Explorer section. For this section, the kiosk is tied to a bunch of small cameras set up inside of some giant brick built displays. You can rotate the camera and it puts you (a minifigure you) in the scene wherever you take the picture. Then you get a scrap book of all of the pictures you took.
I only did the scrap book thing once as I spent most of my time just looking at the scenes. They are packed with detail, creativity, and humor. If you look closely, you can see a lot of fun things that designers did. Every few minutes, the scene changes to night time and it lights up. Then it switches back to daytime and the lights go off.

A giant ship yard at night

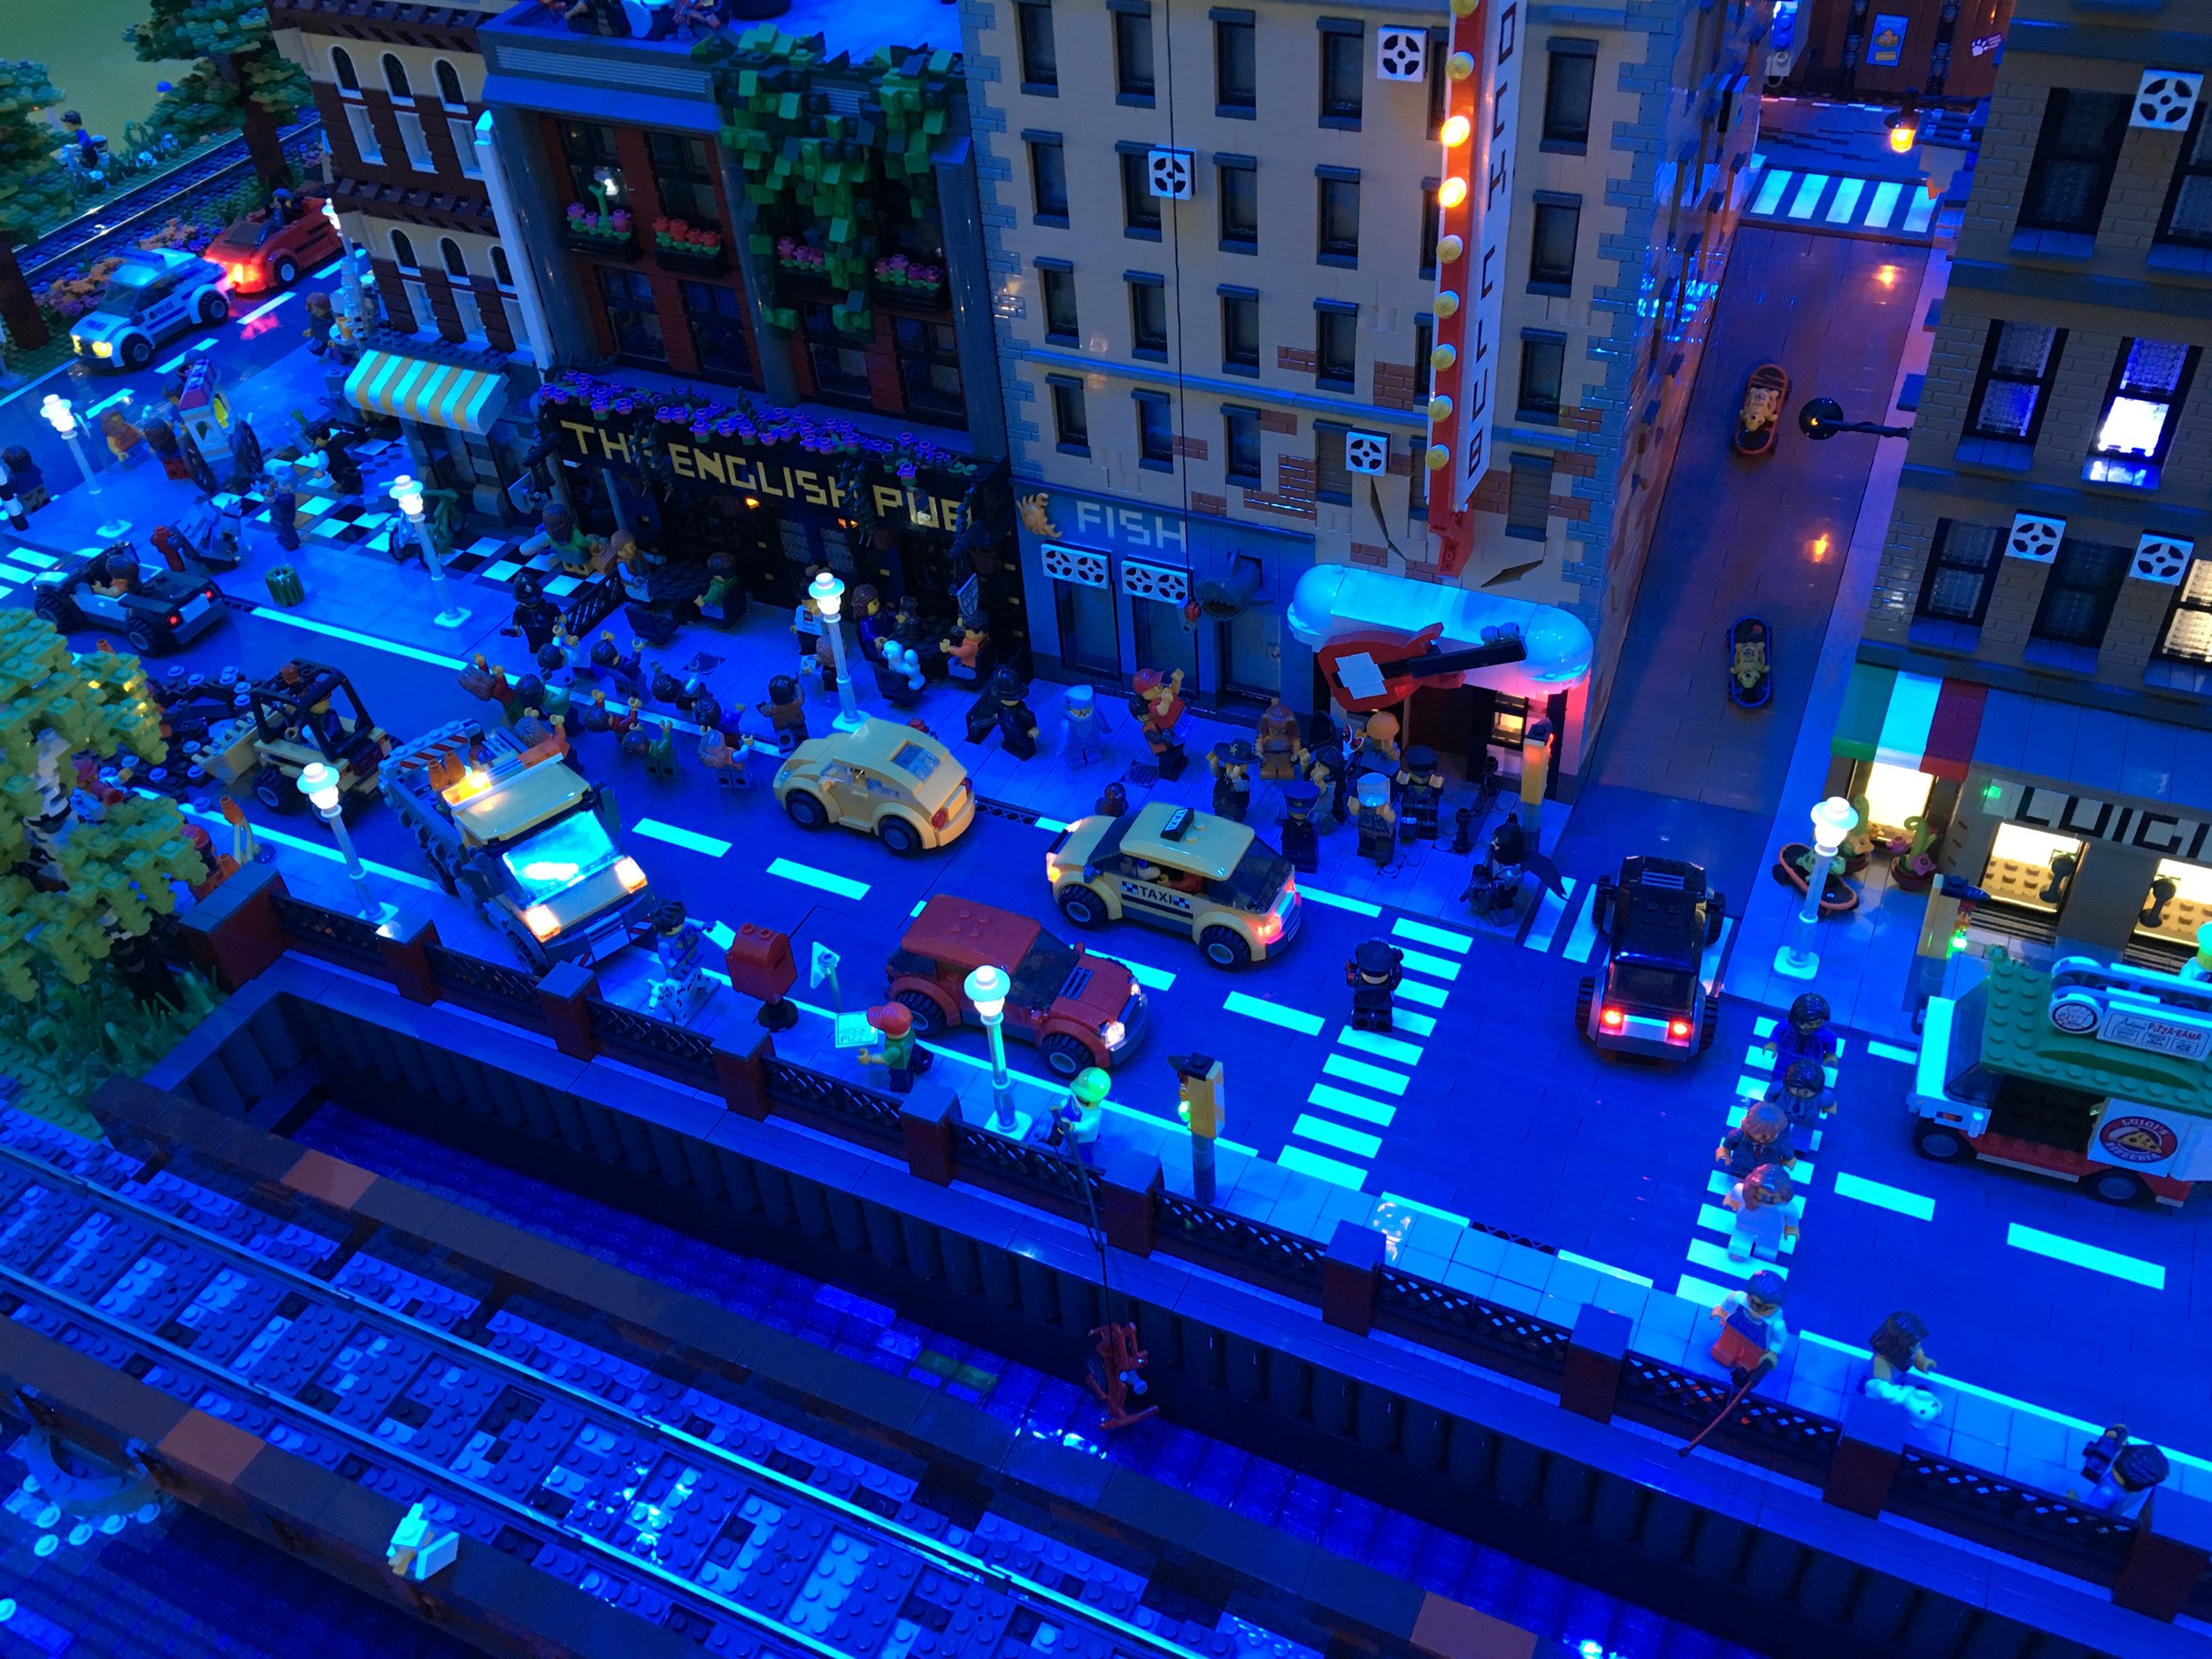
In the center of the shot is a cinema. I like the Octan logo on the building to the top left. It’s also pretty cool how all of the cars have lights that light up to include even the smallest ones.
Another part of the CITY.

The billboard says “got bricks?”

The city again at night

The city in the daytime.
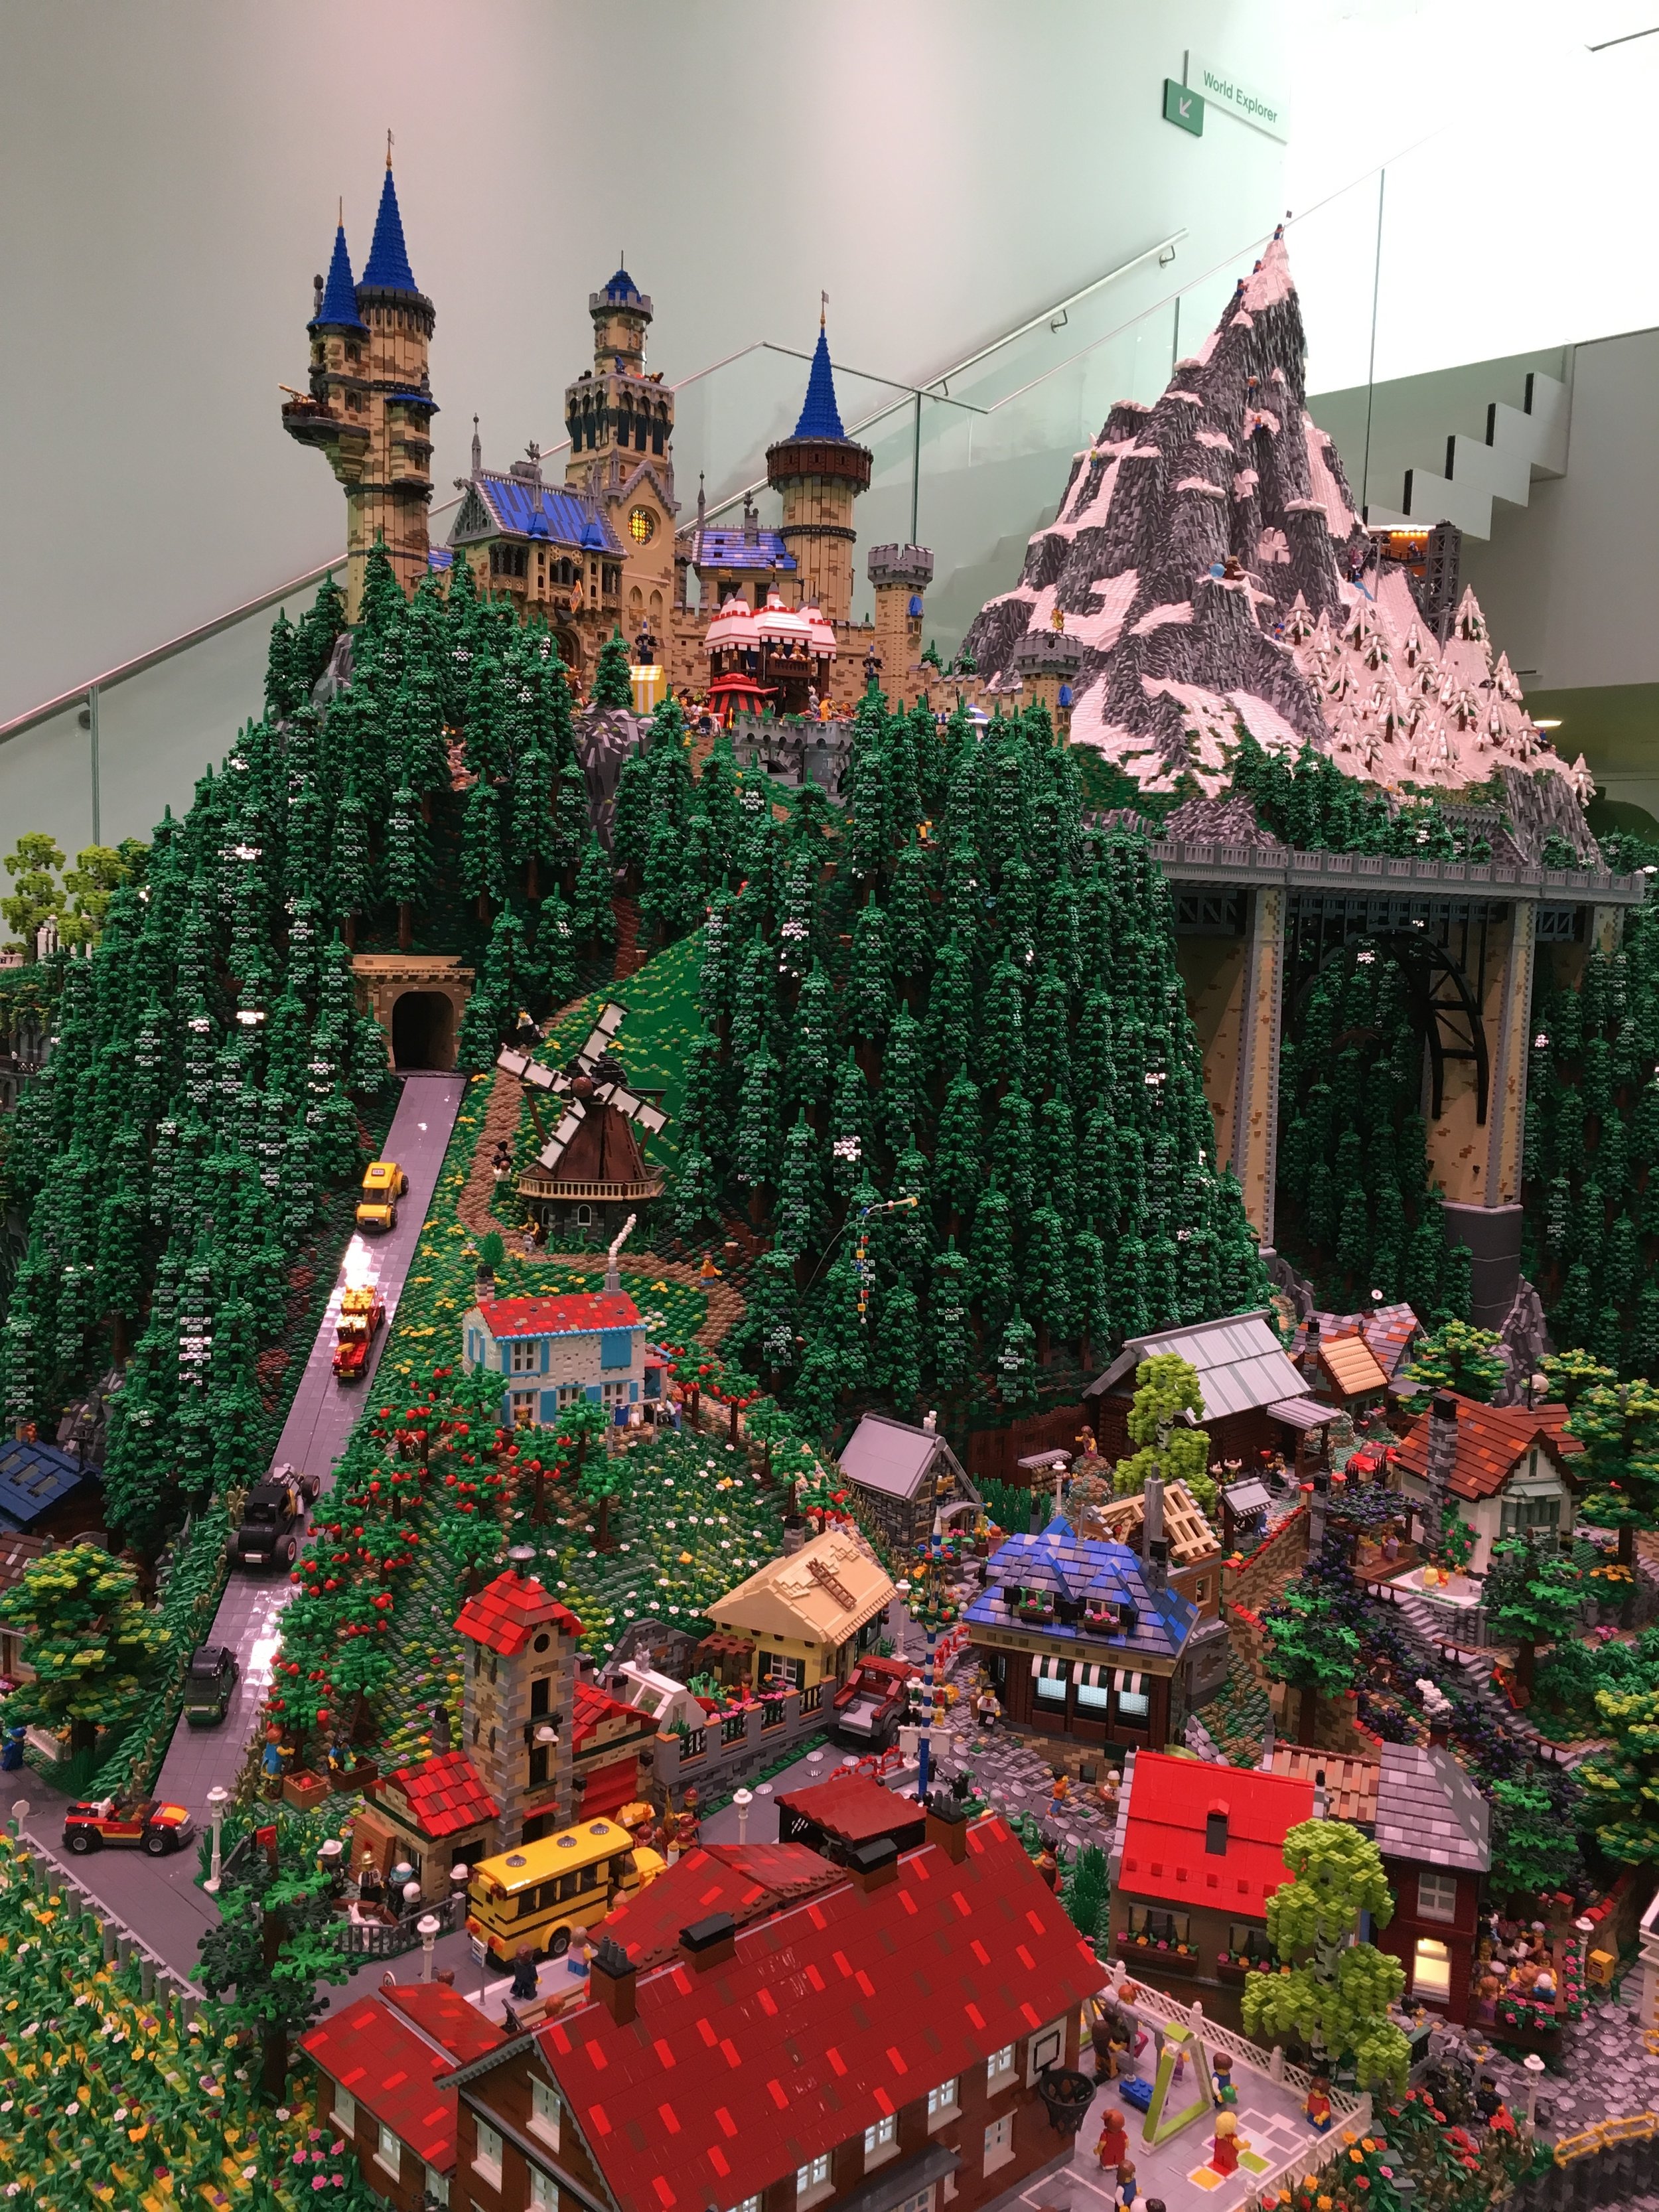
Mountain scene with a castle on top.
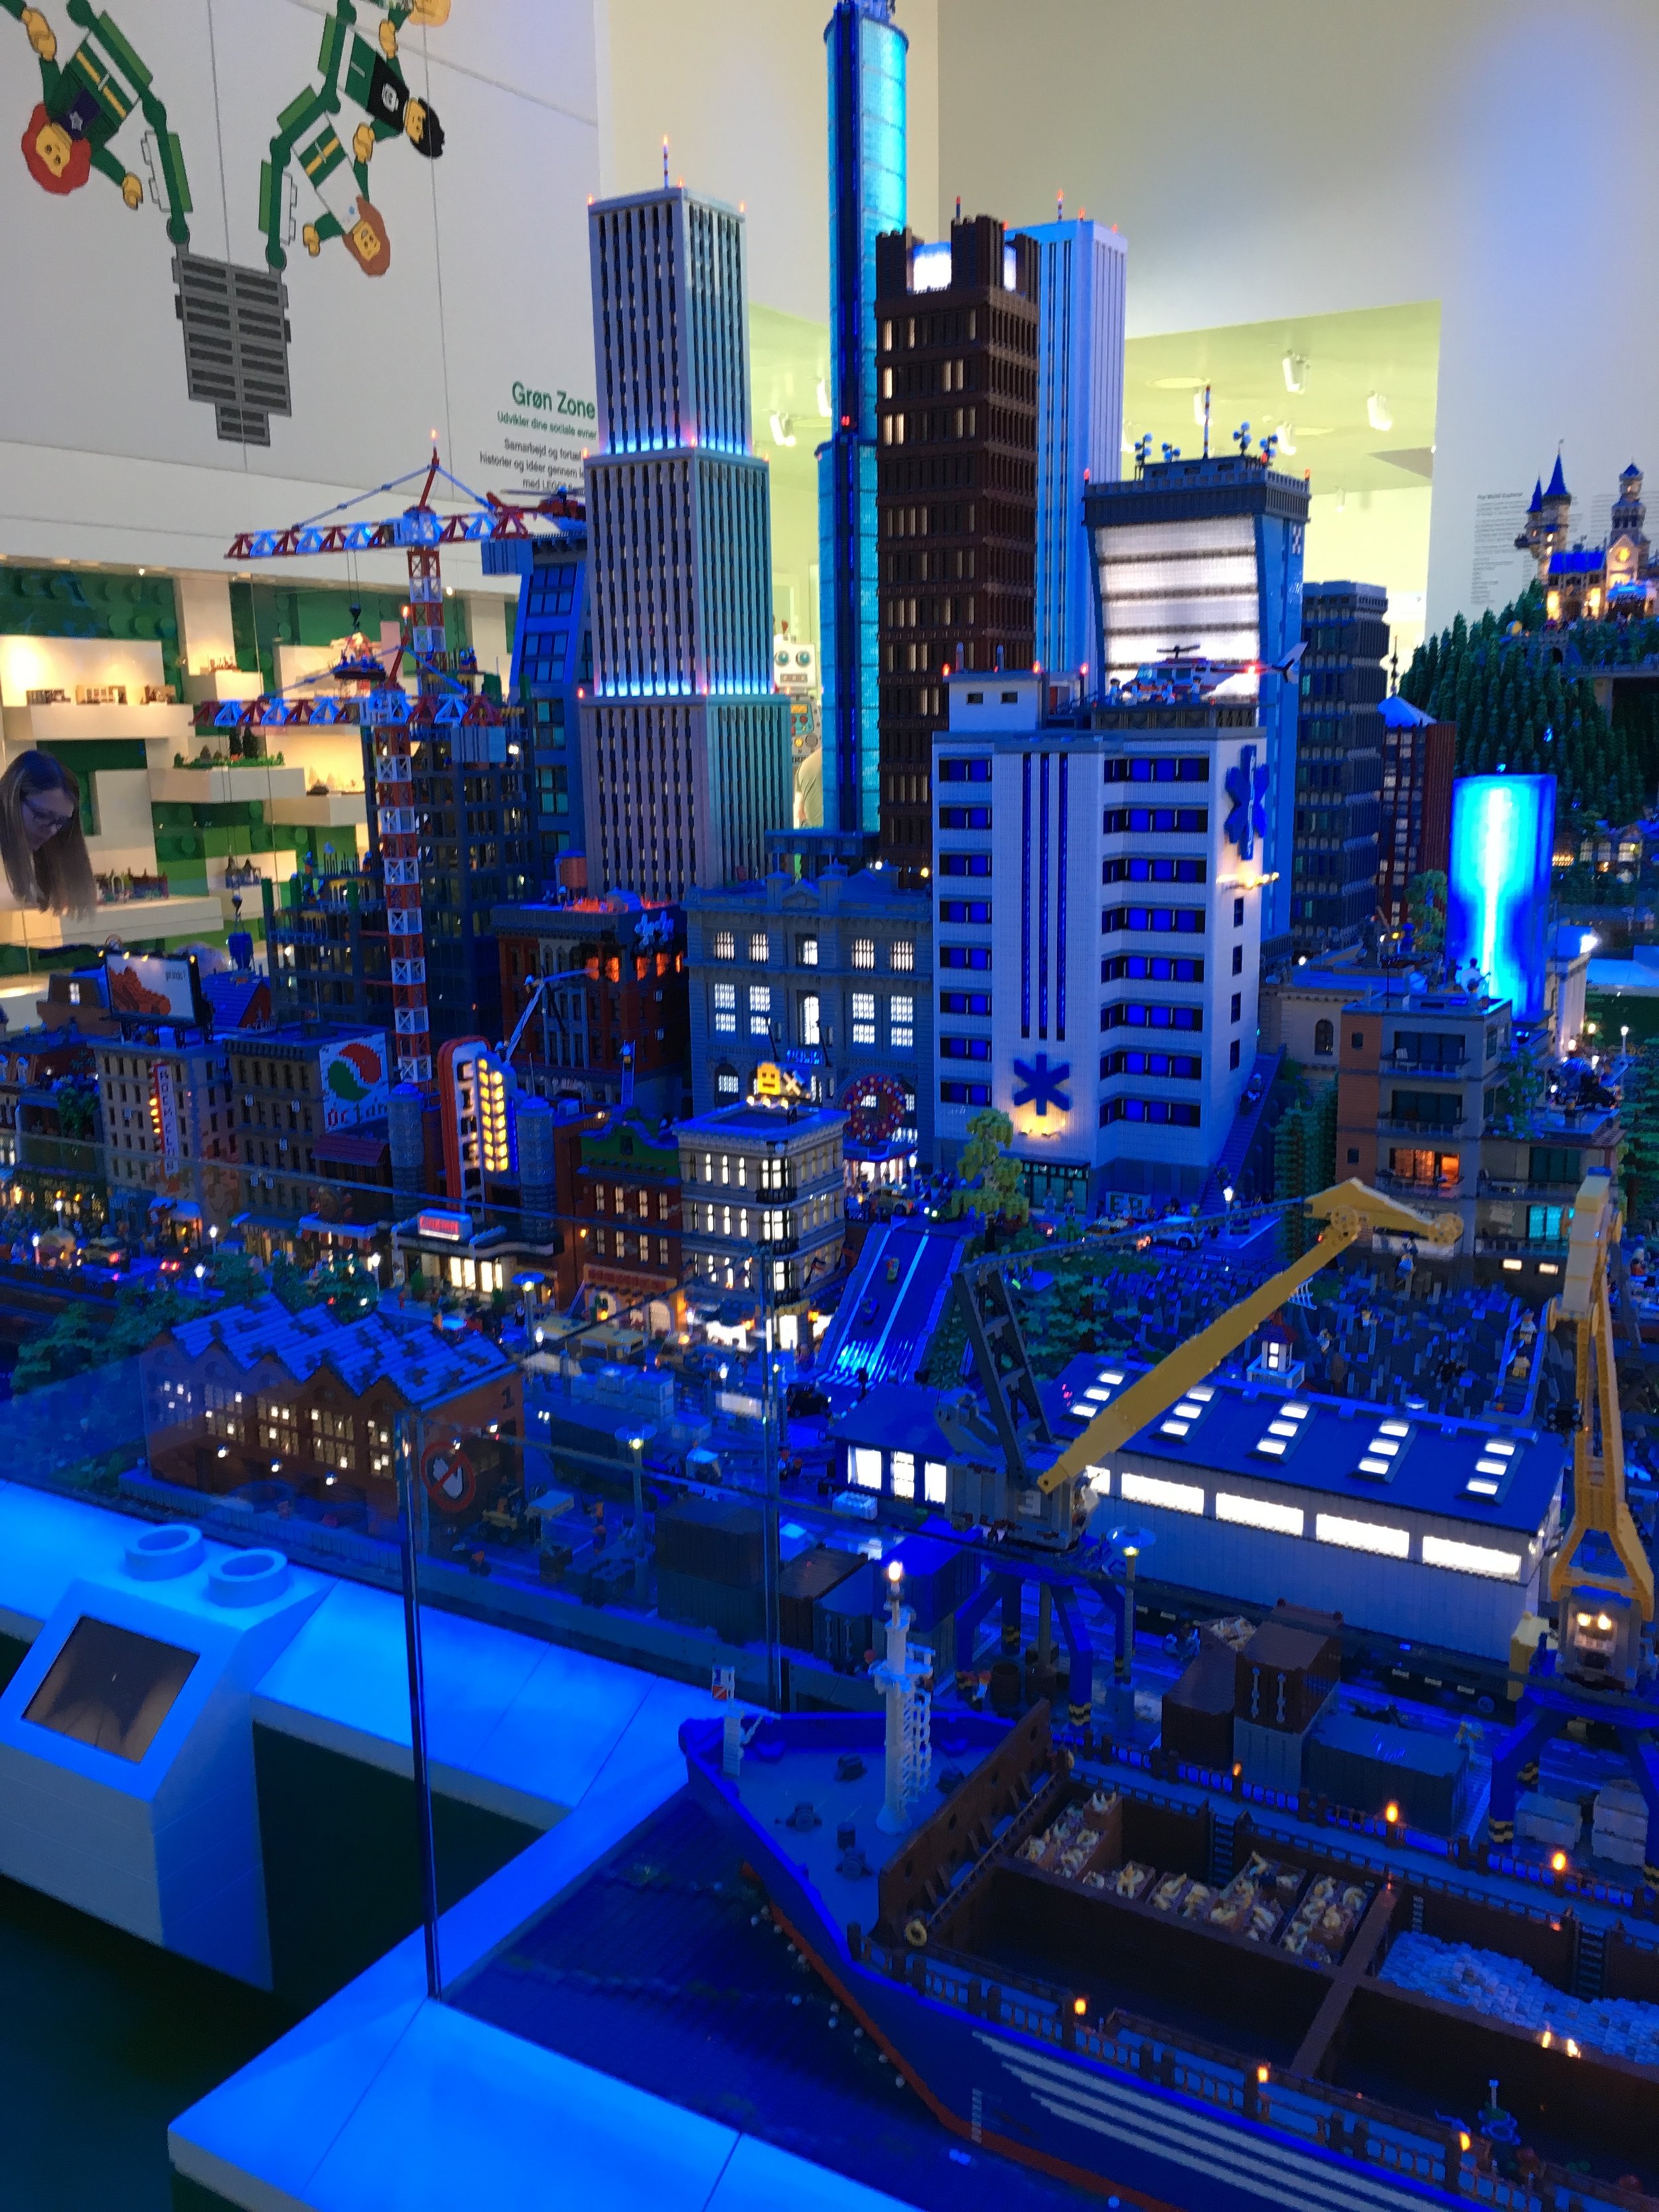
The city area with some skyscrapers.

There is a screen with a view from the front of a train going through the city. The odd part was that the train wasn’t even running so it’s obviously pre-recorded.

The English Pub. You’ll notice the minifigure coming out of the pub has a LEGO logo on it. If you watch the video by “What’s Inside,” they interview Stuart Harris who at the time was the Senior Experience Designer at the LEGO® House. He points out his minifigure and we learn that if you work at LEGO, your calling card is your own personalized minifigure. We found another 2-3 of these minifigures throughout the display to include one that was bungee jumping.

The beach, forest, volcano, amusement park scene.
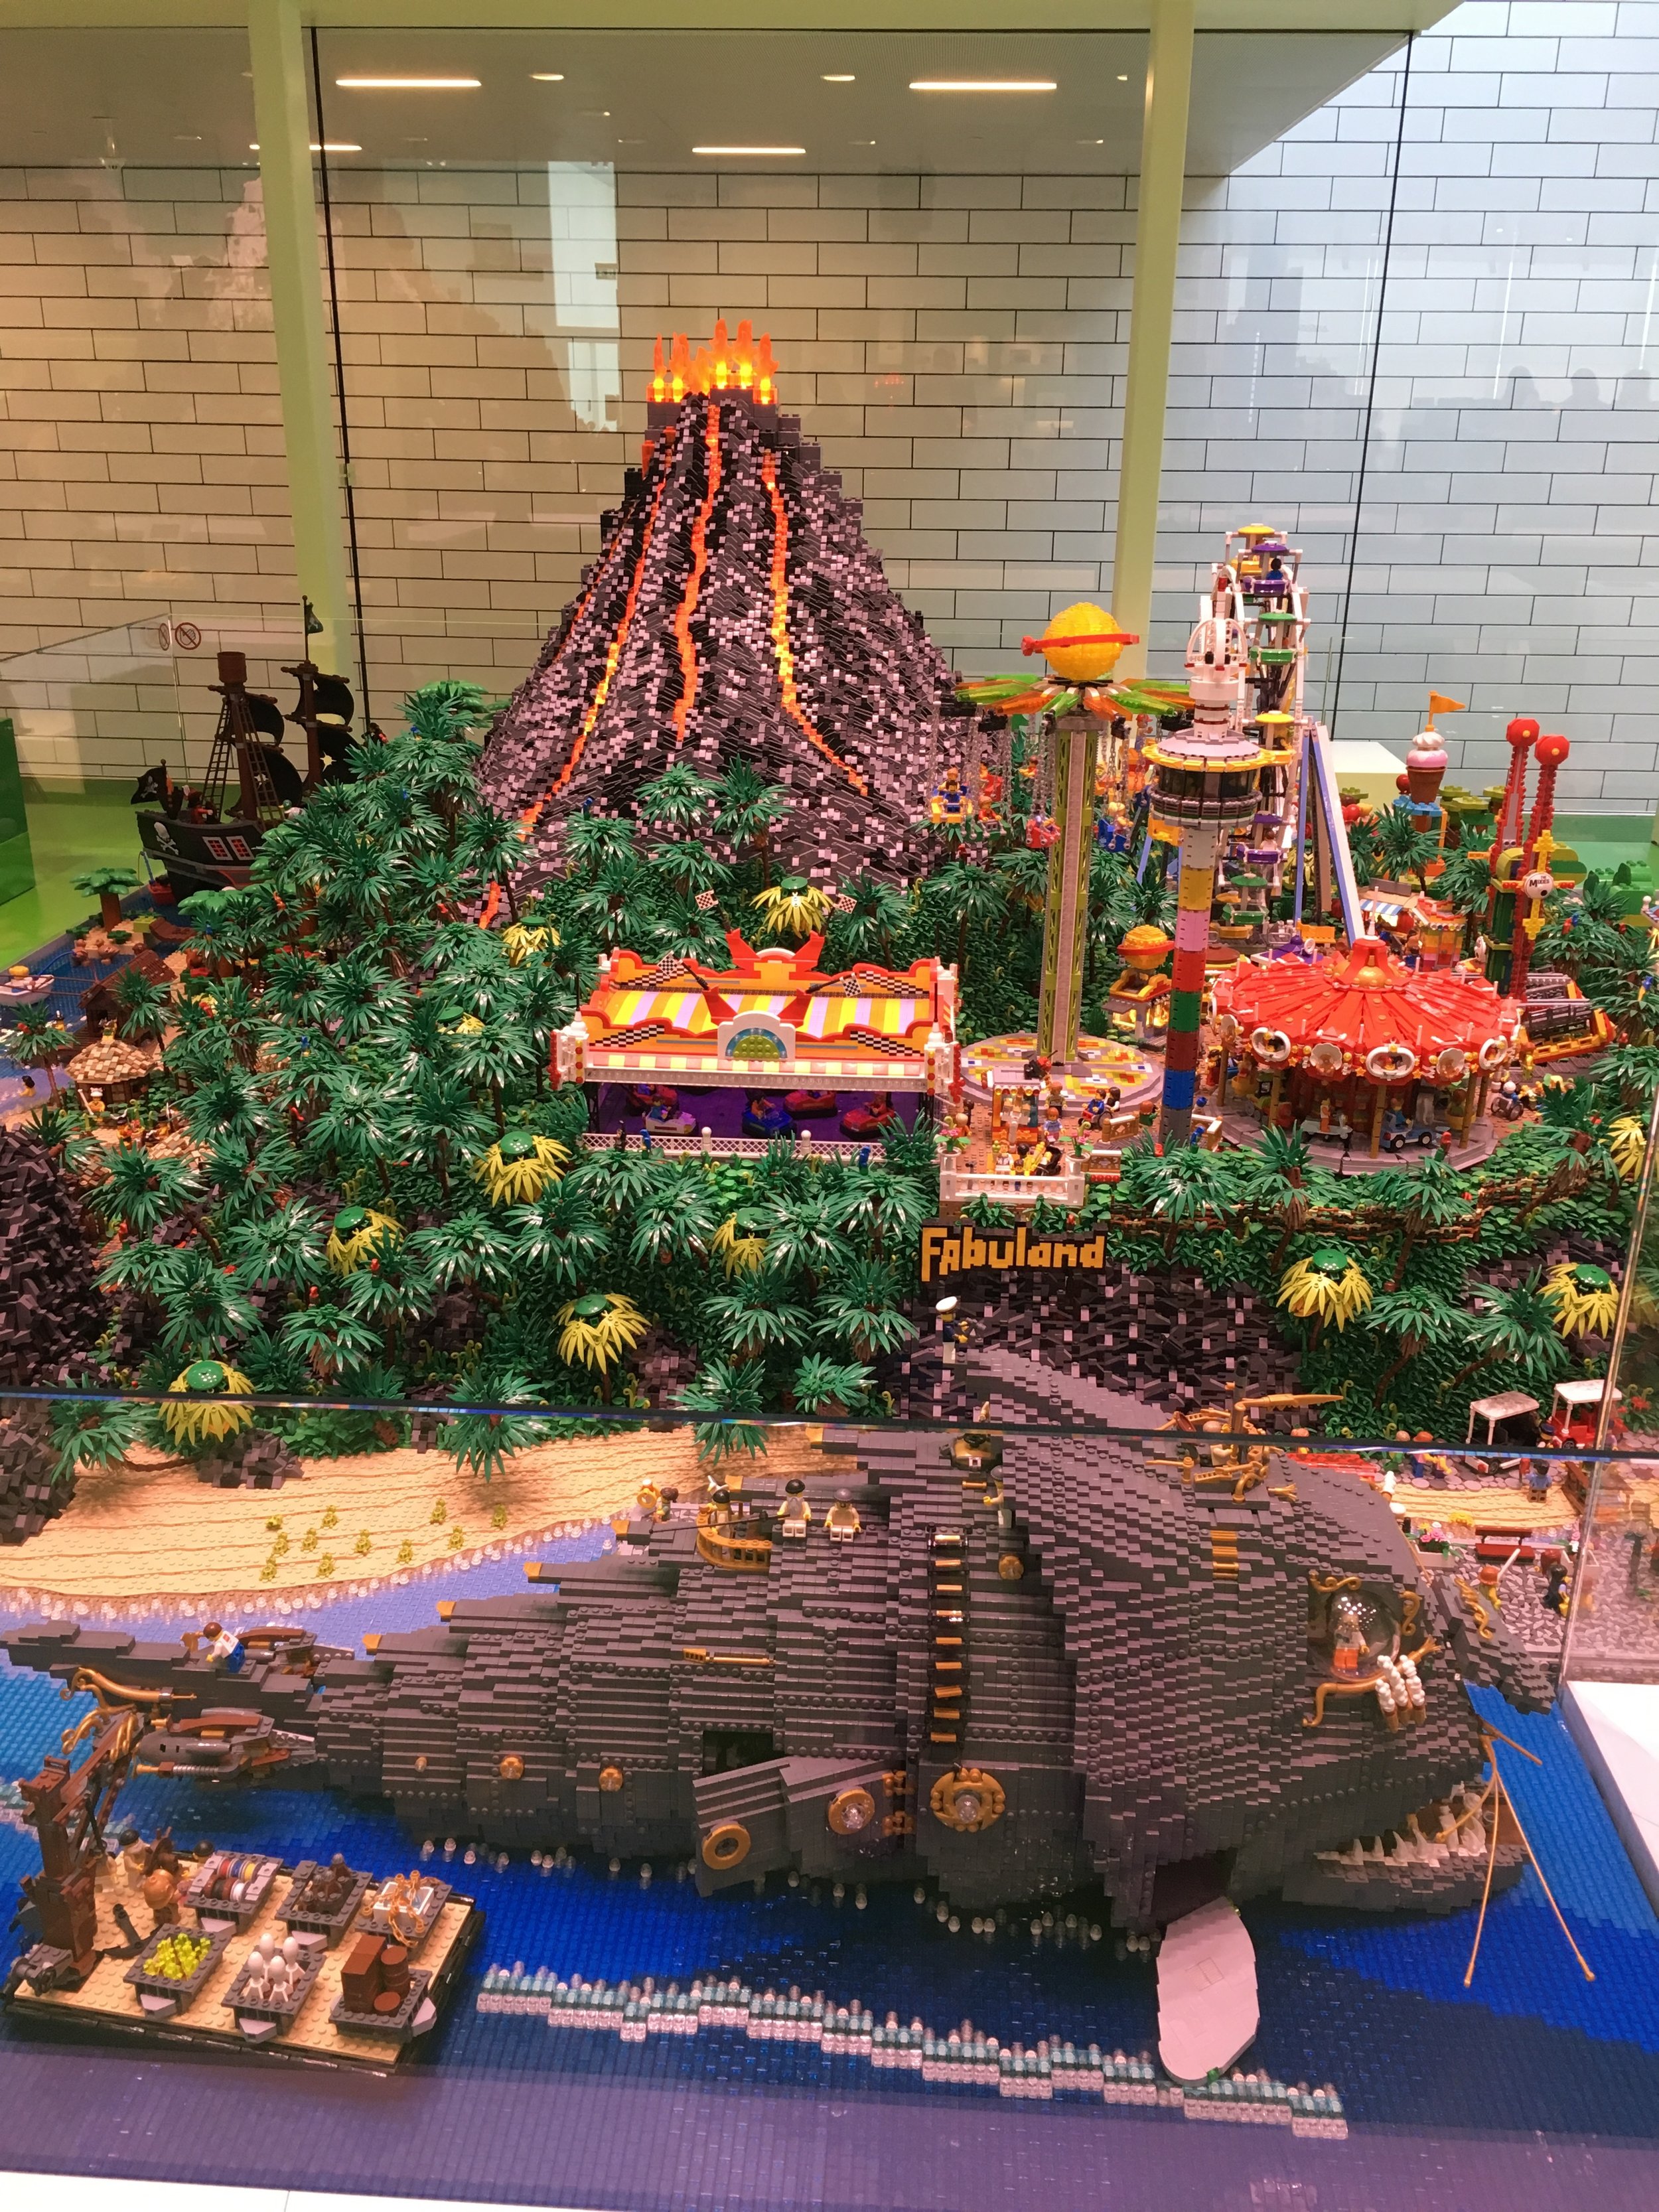
A better shot of the volcano and Fabuland park with a giant fish that the minifigures can explore.
Throughout the LEGO® House, there are numerous display cases with various MOCs inside. Most have signs next to them (like these) that say who built it and where they are from. Some are just items built in one of the Experience Zones that were left and someone at the LEGO® House decided to display them.
Here are a few pictures of fan models. They are covered in glass so I apologize for the reflections you see.

Some small scenes with minifigures

A brick built LEGO museum

A brick built ad for “The LEGO Movie”
Onto the yellow zone… first up was the critter creator. You can build some sort of creature to live in the brick vegetation. There is also section (that I didn’t take a picture of) where you can build creatures and they go on a table. Every few minutes the table lights up, music plays, and it vibrates. The workers said the game is to start your figure on the outside and see if you can race someone else to the center of the table. My 5-year old just enjoyed dancing to the music and we have a video of one of the workers dancing along. You can also race your creatures down a slope with these snake things that move. We didn’t have as much luck with this section.

Here is my critter

A view looking back… you can see the slope where you can race critters down past the snake things and a build area.

Here is the picture I took of my critter at the kiosk
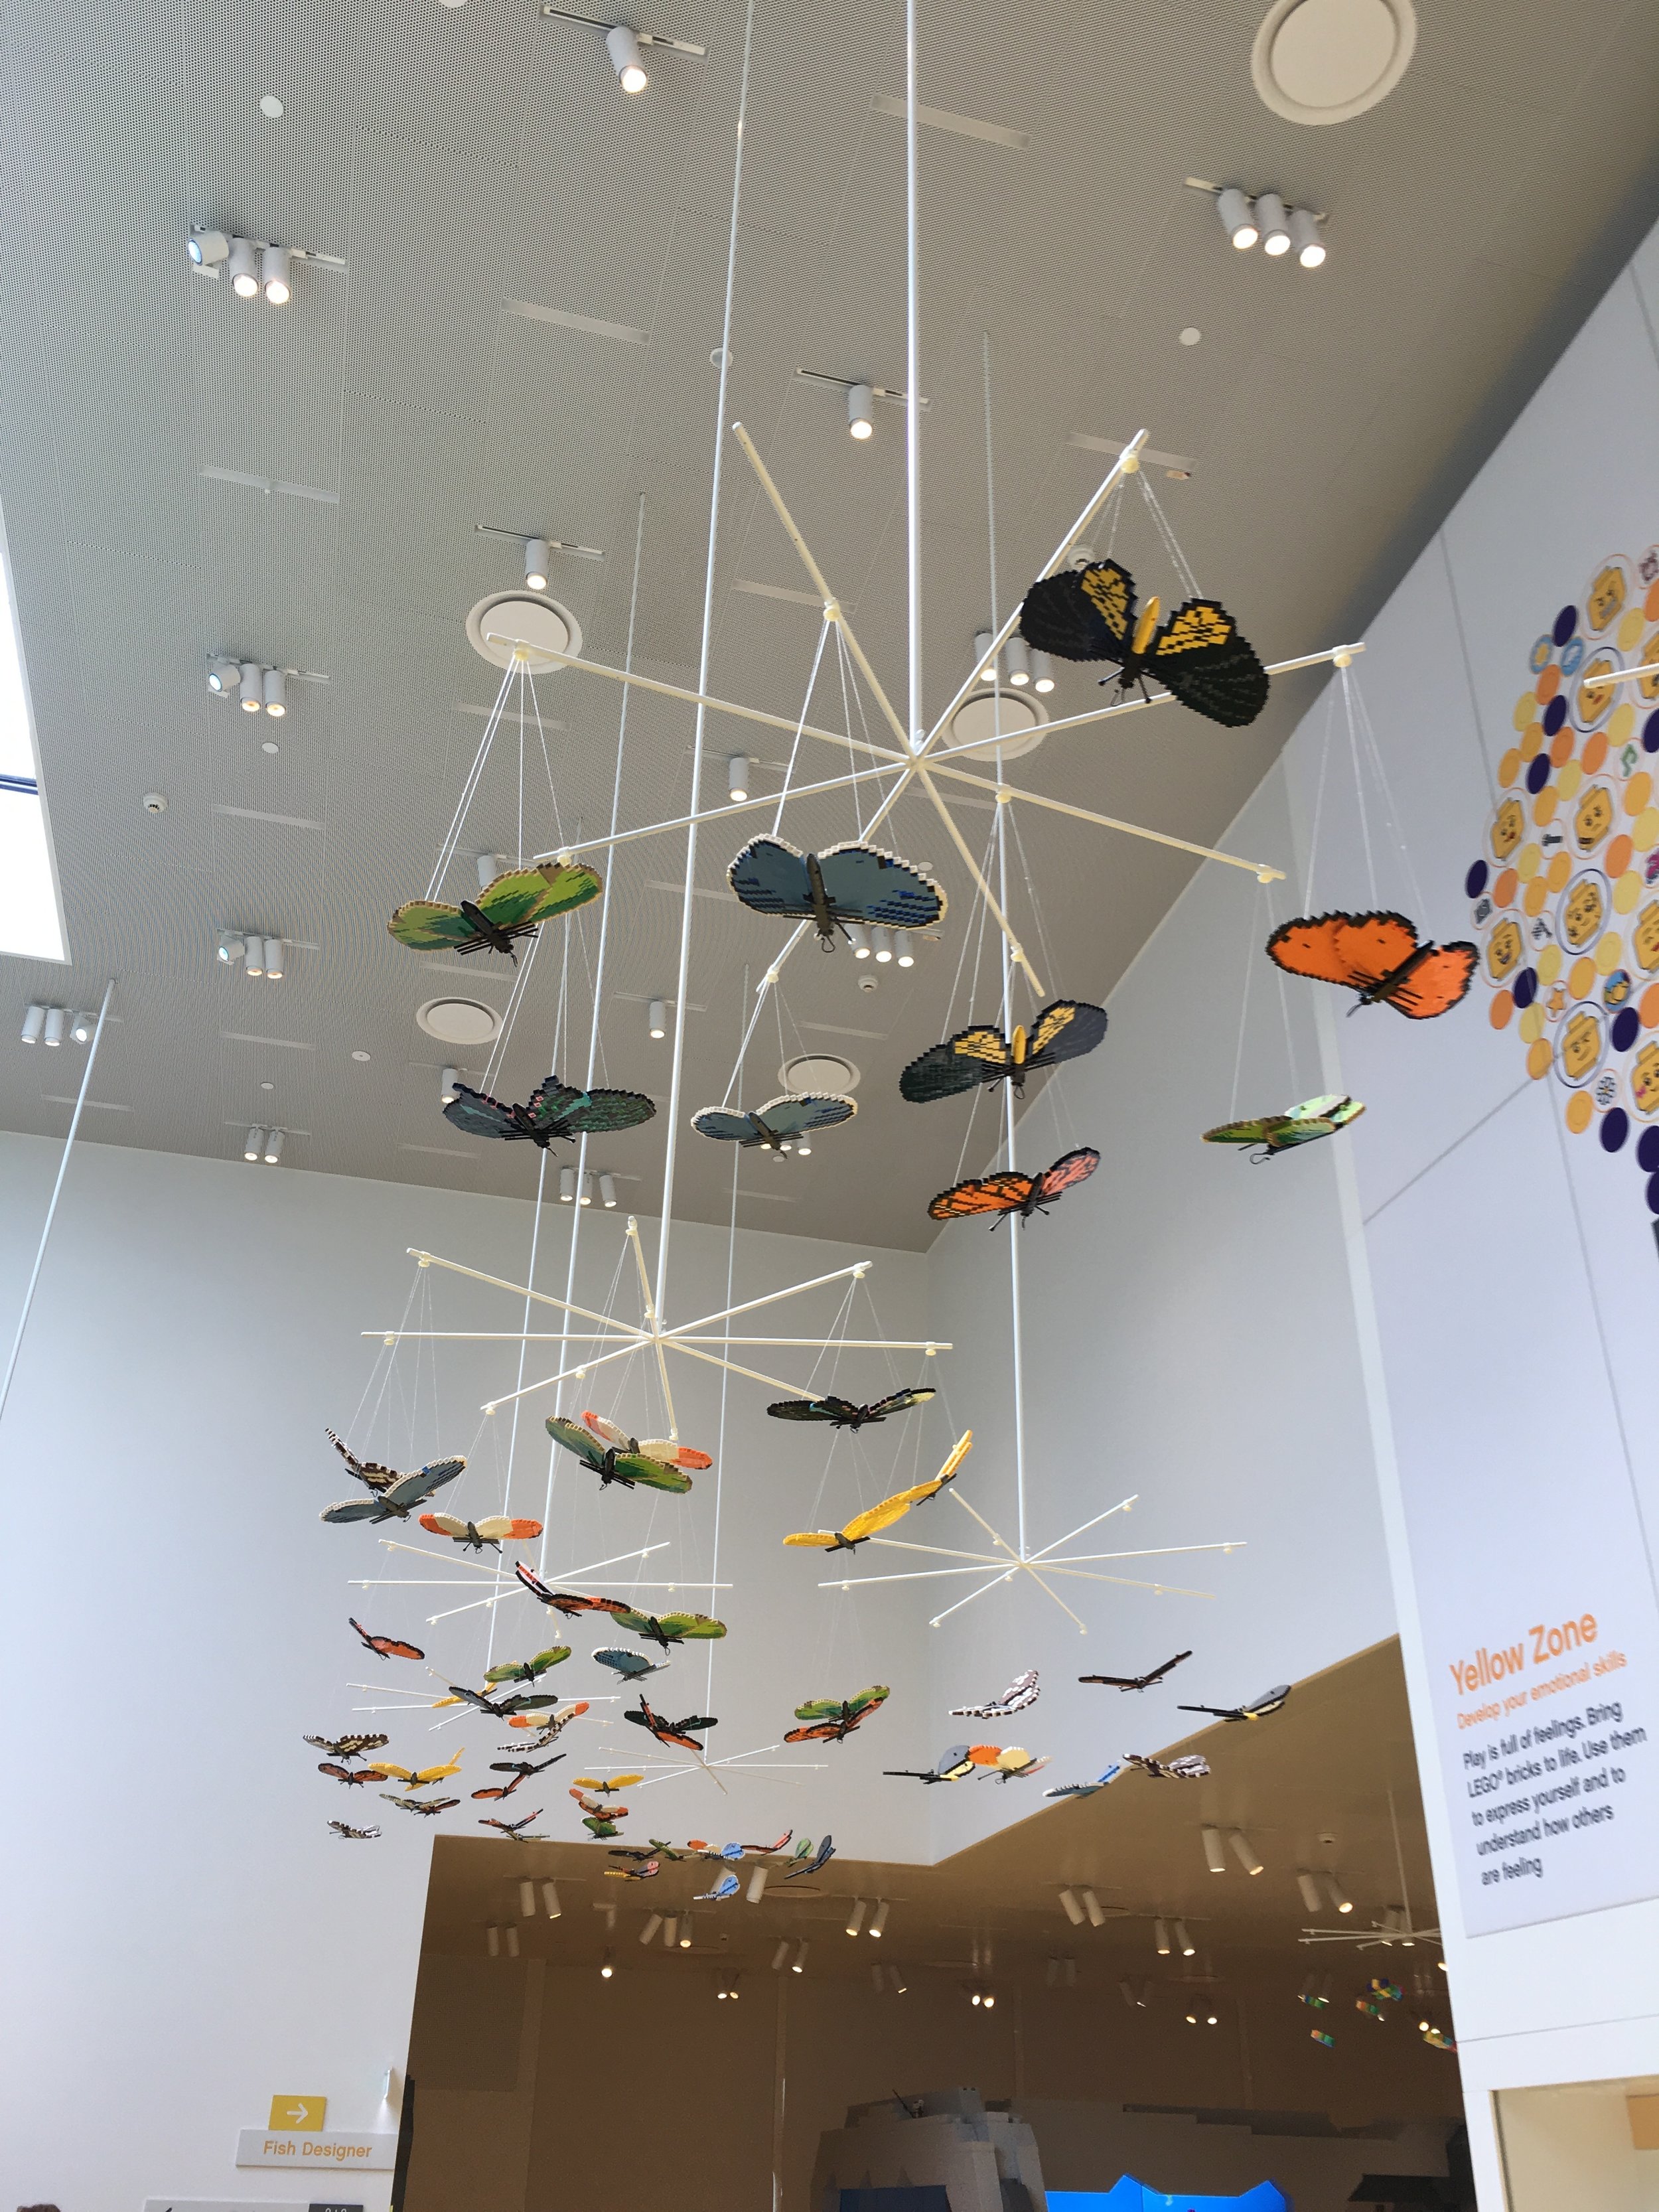
Next in the yellow zone is a Flower Artist section. This section was made up of various yellow pieces to make flowers. They have most of the stems pre-made and then you just create what you want. It was interesting to see what people came up with based on the bricks available. I pictured my flower below. If you go to the LEGO® House website, you’ll see that they are building with colored bricks so they must switch out the bricks after a while so you can build different types of flowers.
Also, be sure to look up while you are there as they are some brick built butterflies flying overhead while you build the flowers.

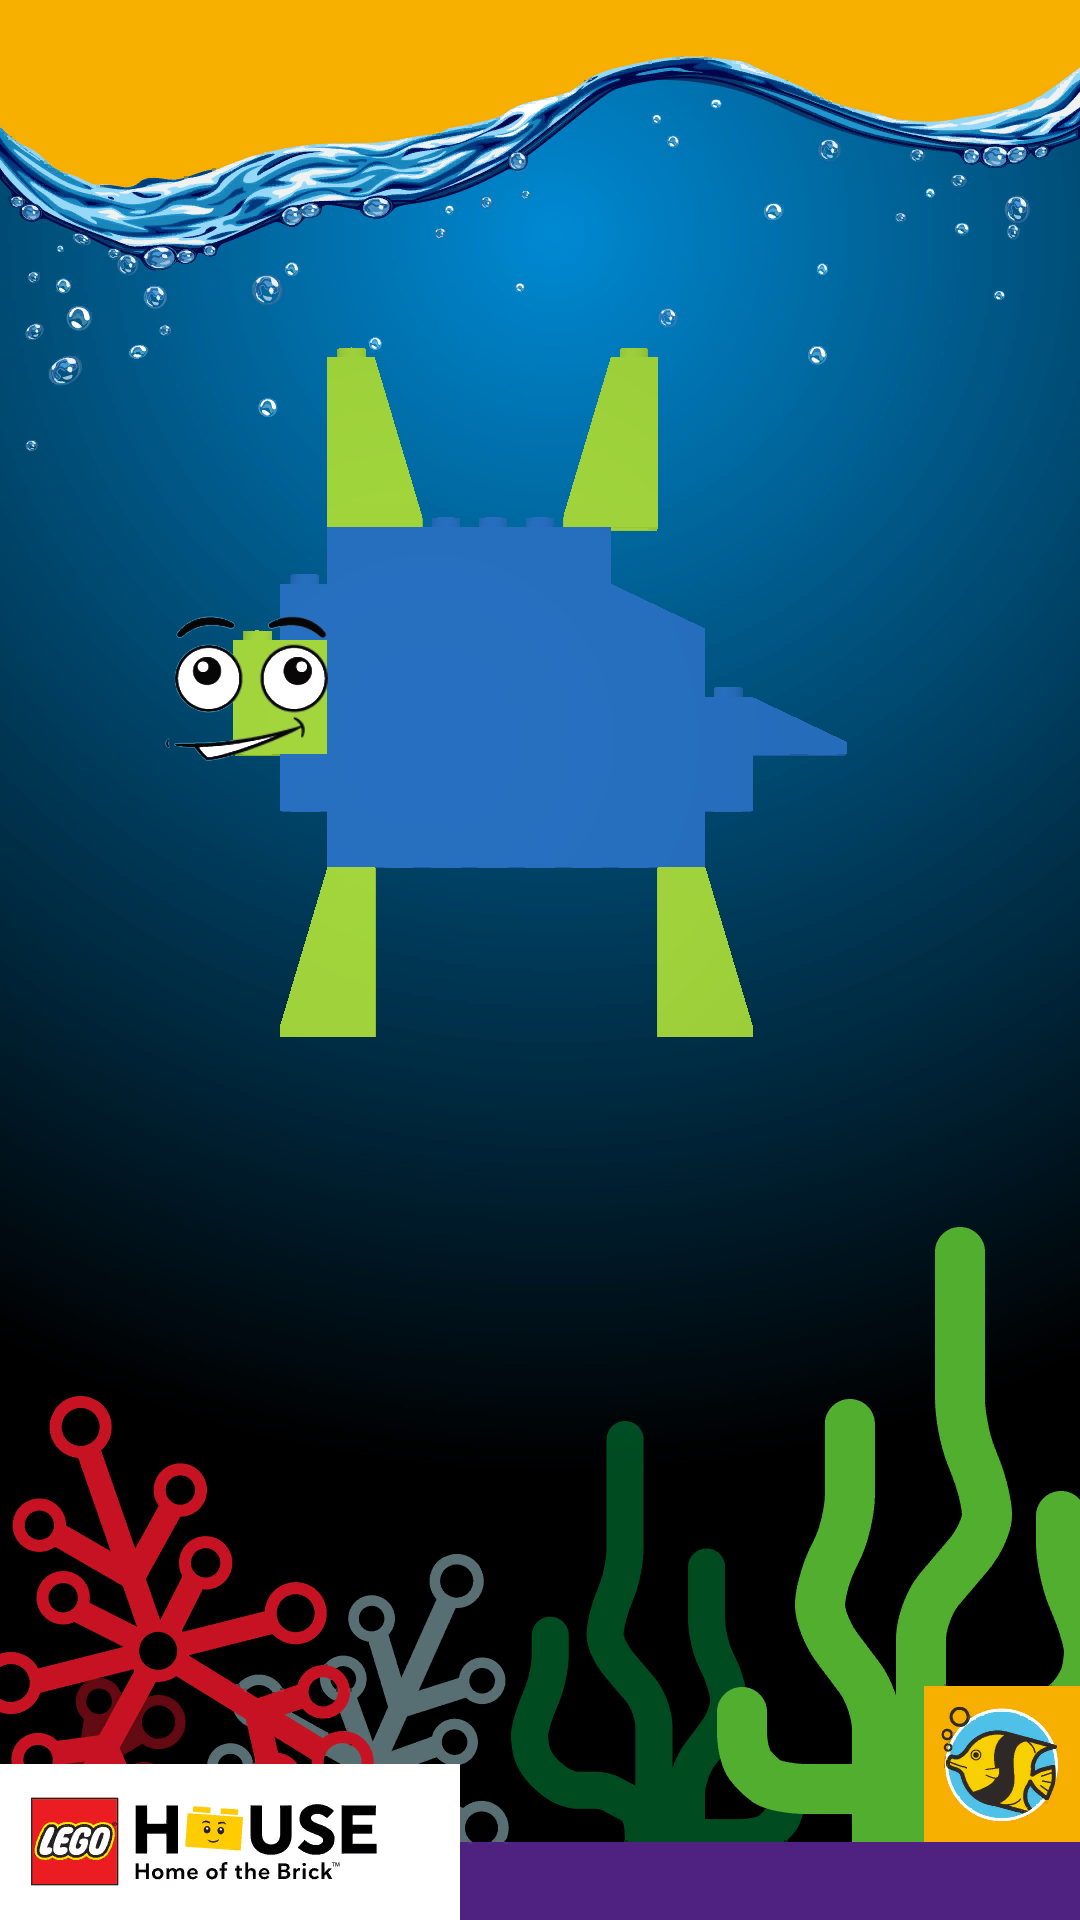
Next in the Yellow Zone is the Fish Designer. You build a sea creature out of bricks that fits in a specified space, you scan it in, you pick out digital eyes and a mouth, and then on the screen, you watch your fish swim through a pipe into a big fish tank. My 5-year old enjoyed this section the best. We may have around 30 pictures of various sea creatures from my kid.
My fish on the screen swimming through the tank.

One of the many my 5-year old built. This one is an eel.

My fish from the picture the kiosk gives you. The scan didn’t catch all of the angles very well so my tail shows just as a 1x1 brick versus a slope.
One thing I did not capture is the DUPLO® contributions. In going to the LEGO® House, we were concerned that my 2-year old would not have much to do. We figured that my NSL or I would have to hang with the younger kiddo while the other one went around with the older one. We were proven wrong. It seemed like every zone had a DUPLO® play area. The yellow zone had the LEGO® DUPLO® Mood Builder section. They had some stop motion videos playing of Simon the Snail and a few other creatures and they change their emotions based on what happened. Then in a giant pile, you could build your own creature with various faces/emotions. Most importantly, the younger kiddo could play while the older kiddo played. This worked out great! I have some pictures of the other DUPLO® sections that I will post in part 2.
My wrap up for this first post… what a great experience! The activities were great for kids, but even as an adult I enjoyed them. I do wish I had more time to look at all of the fan-built MOCs throughout the Experience Zones, but kiddos don’t want to do that when there are all sorts of fun activities to do. I’ll post more on the Experience Zones soon. In the meantime, happy building!