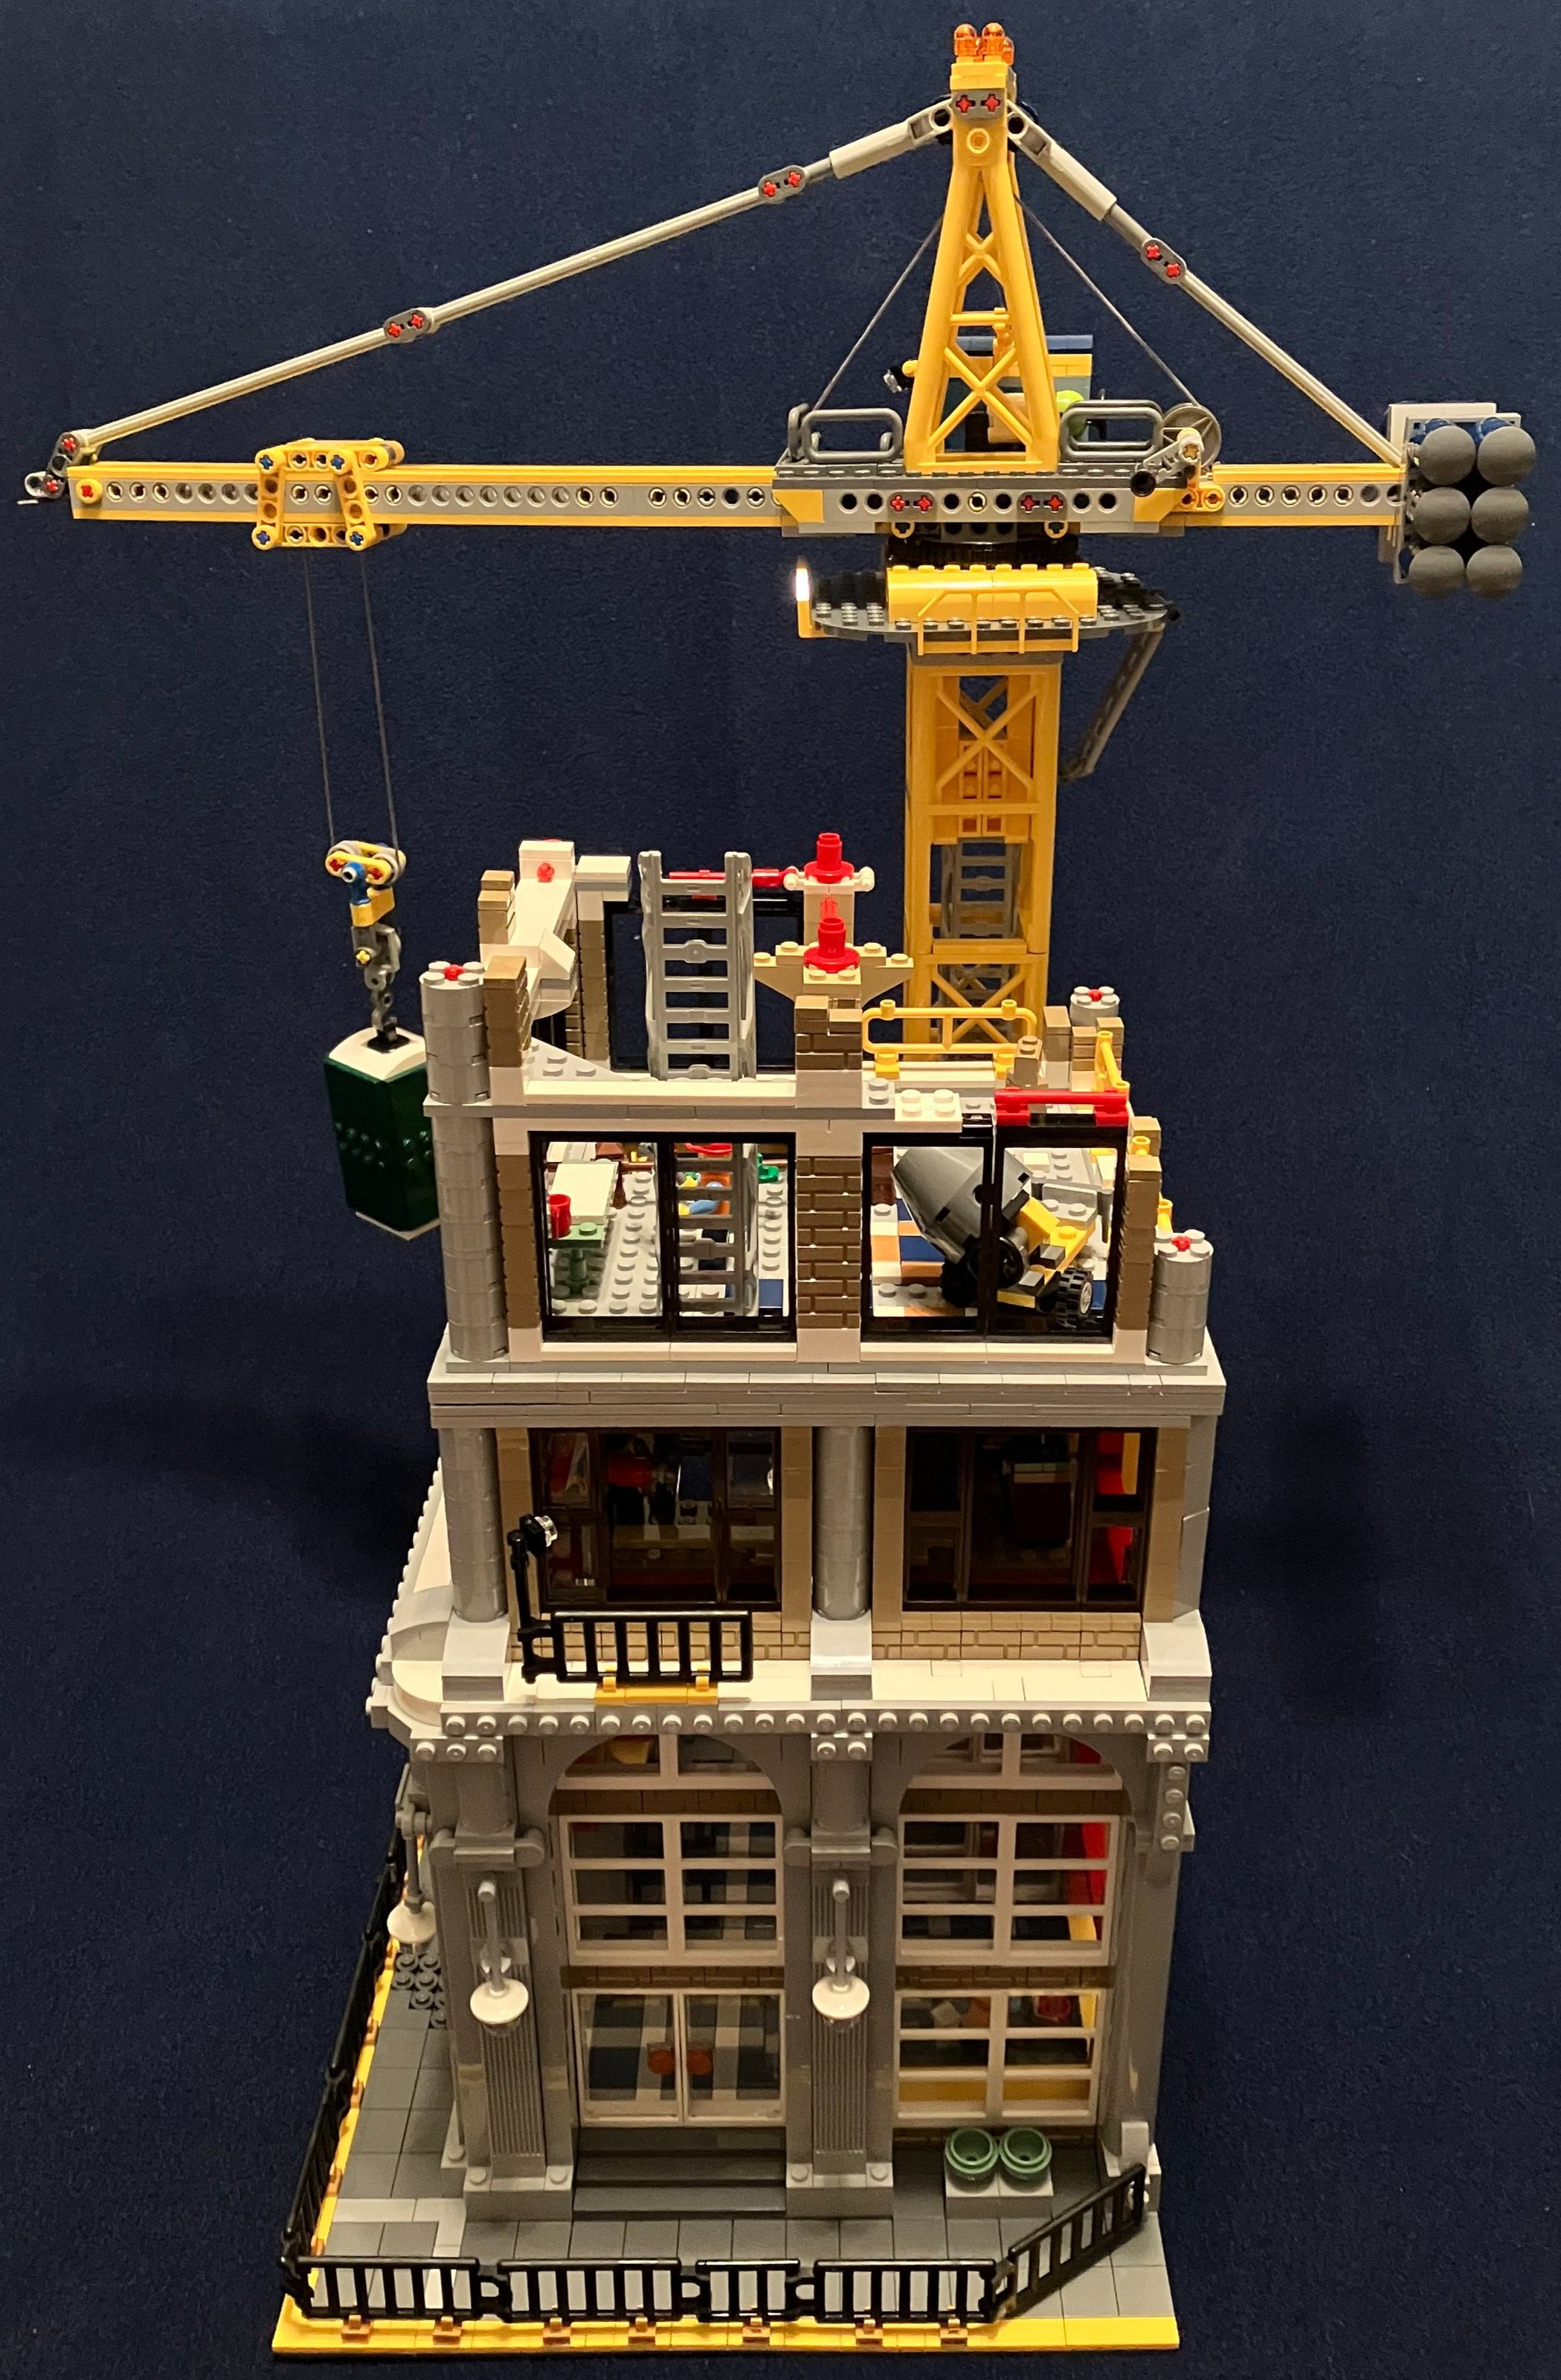
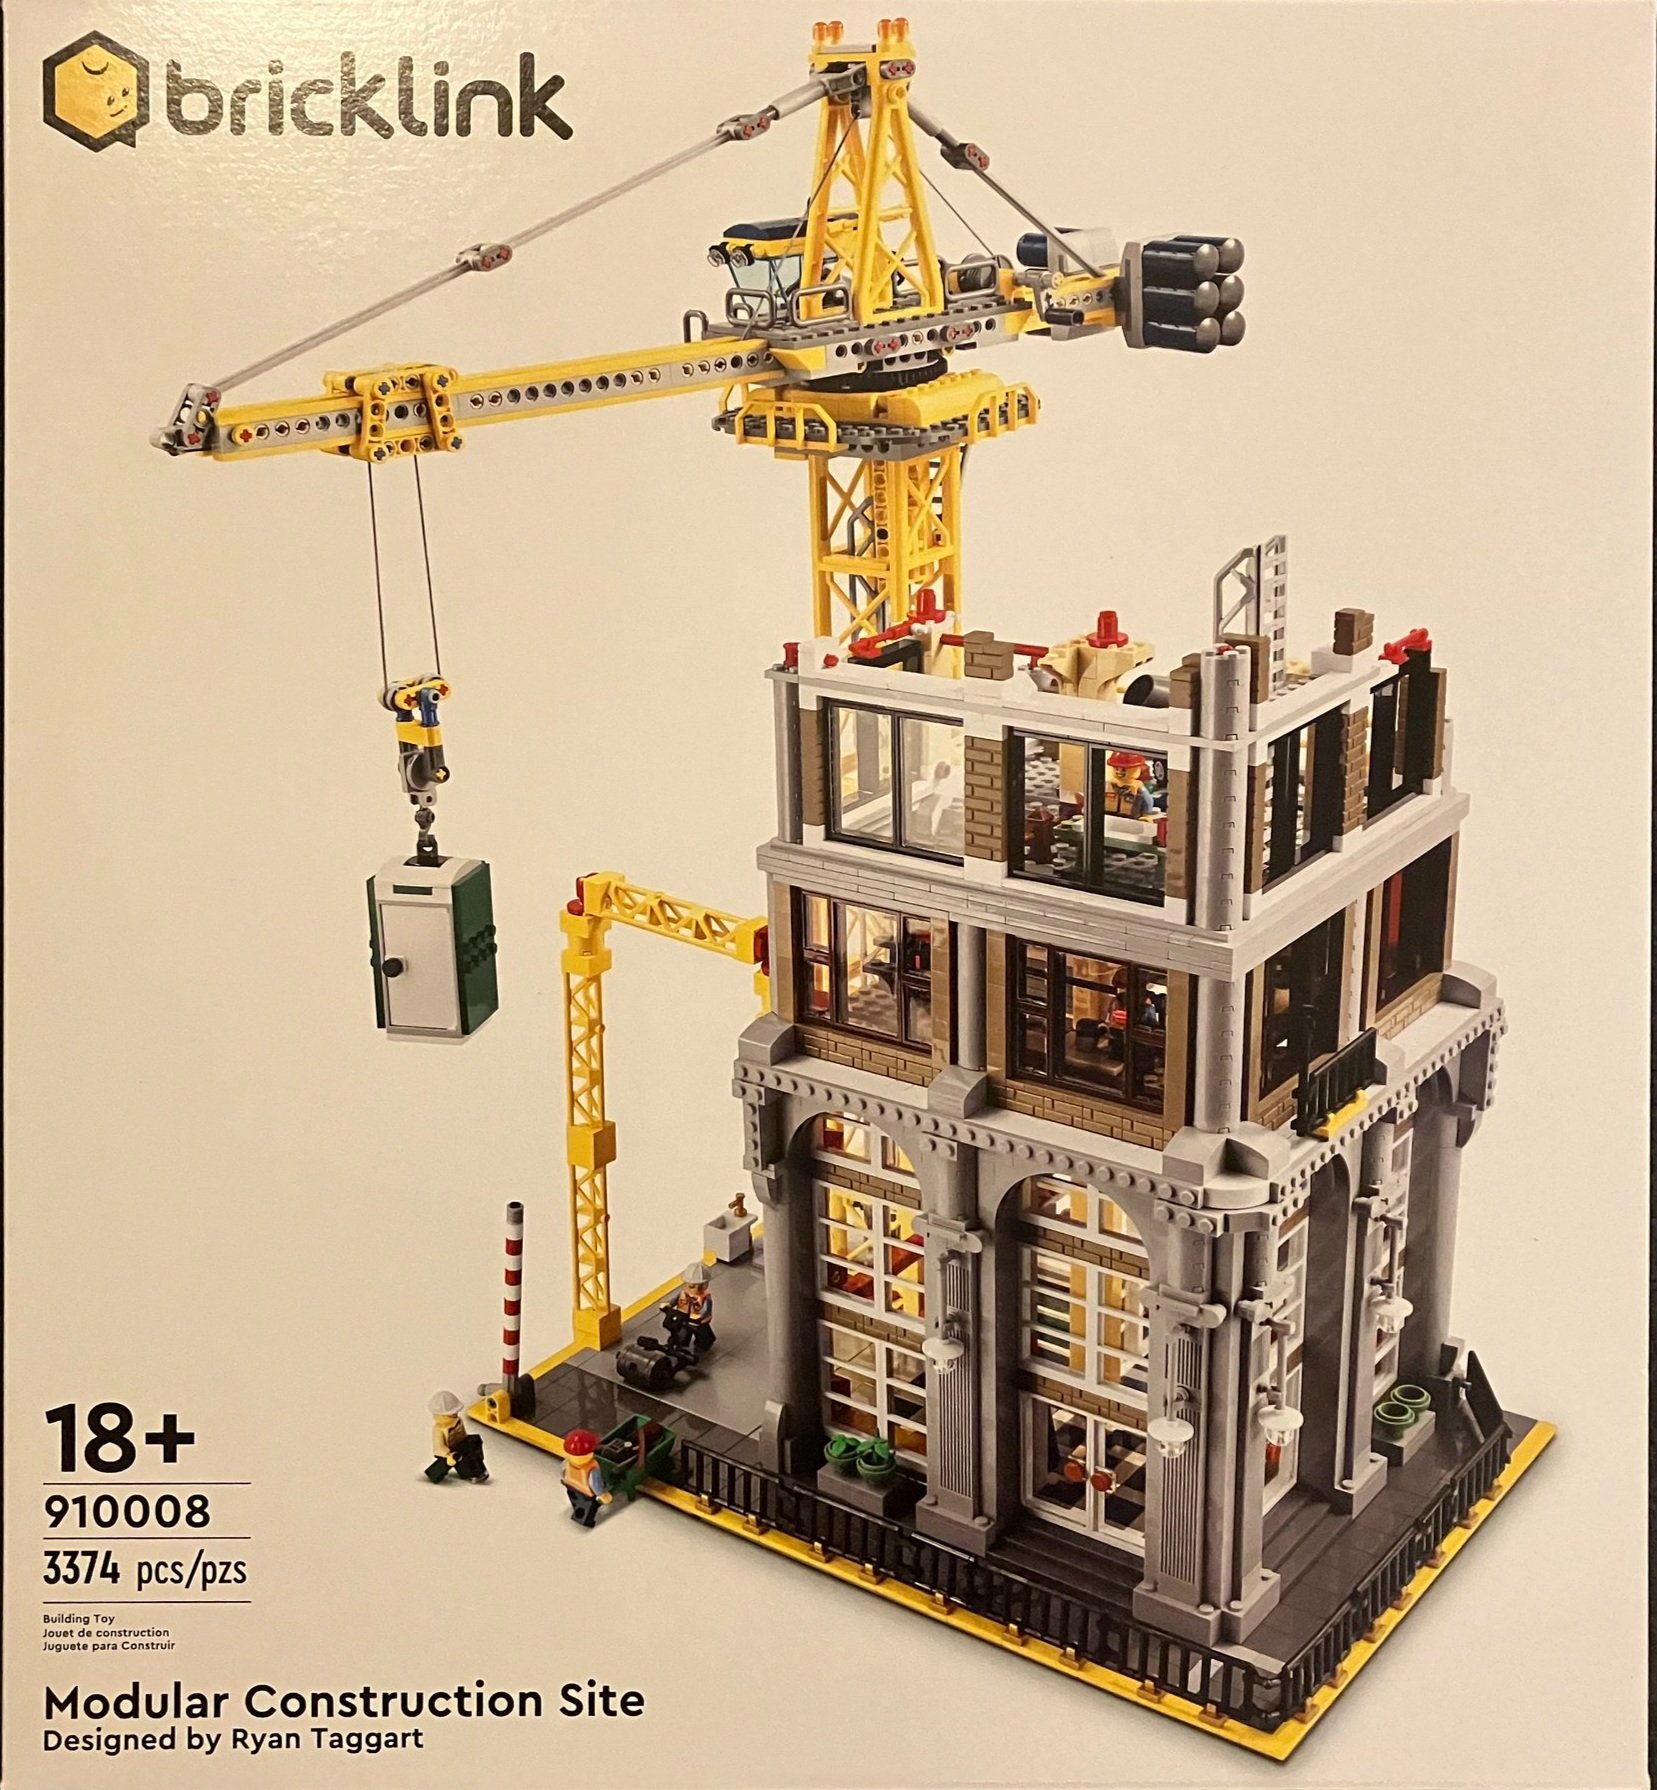
It took a while for me to get to this one, but better late than never. This one is #910008-1: Modular Construction Site. It was from the Bricklink Designer Program that ran in 2021, but the set wasn’t released until 2023. This set contains 3,371 pieces and retailed for $319.99 which puts it at $0.095 per piece. The fan designer was user name ryantaggart which also happens to be his name, Ryan Taggart.
I’m a fan of the modular buildings and I thought this one would be something different to spice up the street with a building under construction. I had a blast building #910002-1: Studgate Train Station so I figured I’d jump into this one next.
Speaking of Bricklink, a quick plug for the Bricks for Bricks Bricklink store. 15% of our profits up through the end of November will be going to Creations for Charity so thanks in advance for your purchase. Onto the review.
The box is similar to the other Bricklink sets with the white packaging and pictures of the set. The front shows the full set assembled. The back shows the modularity of the set… which isn’t a whole lot. You can remove one partial floor off the top, but the rest is still attached. I guess it’s modular in that it can connect to the other modulars only it doesn’t have the usual Technic pin attachments to link up to other buildings.

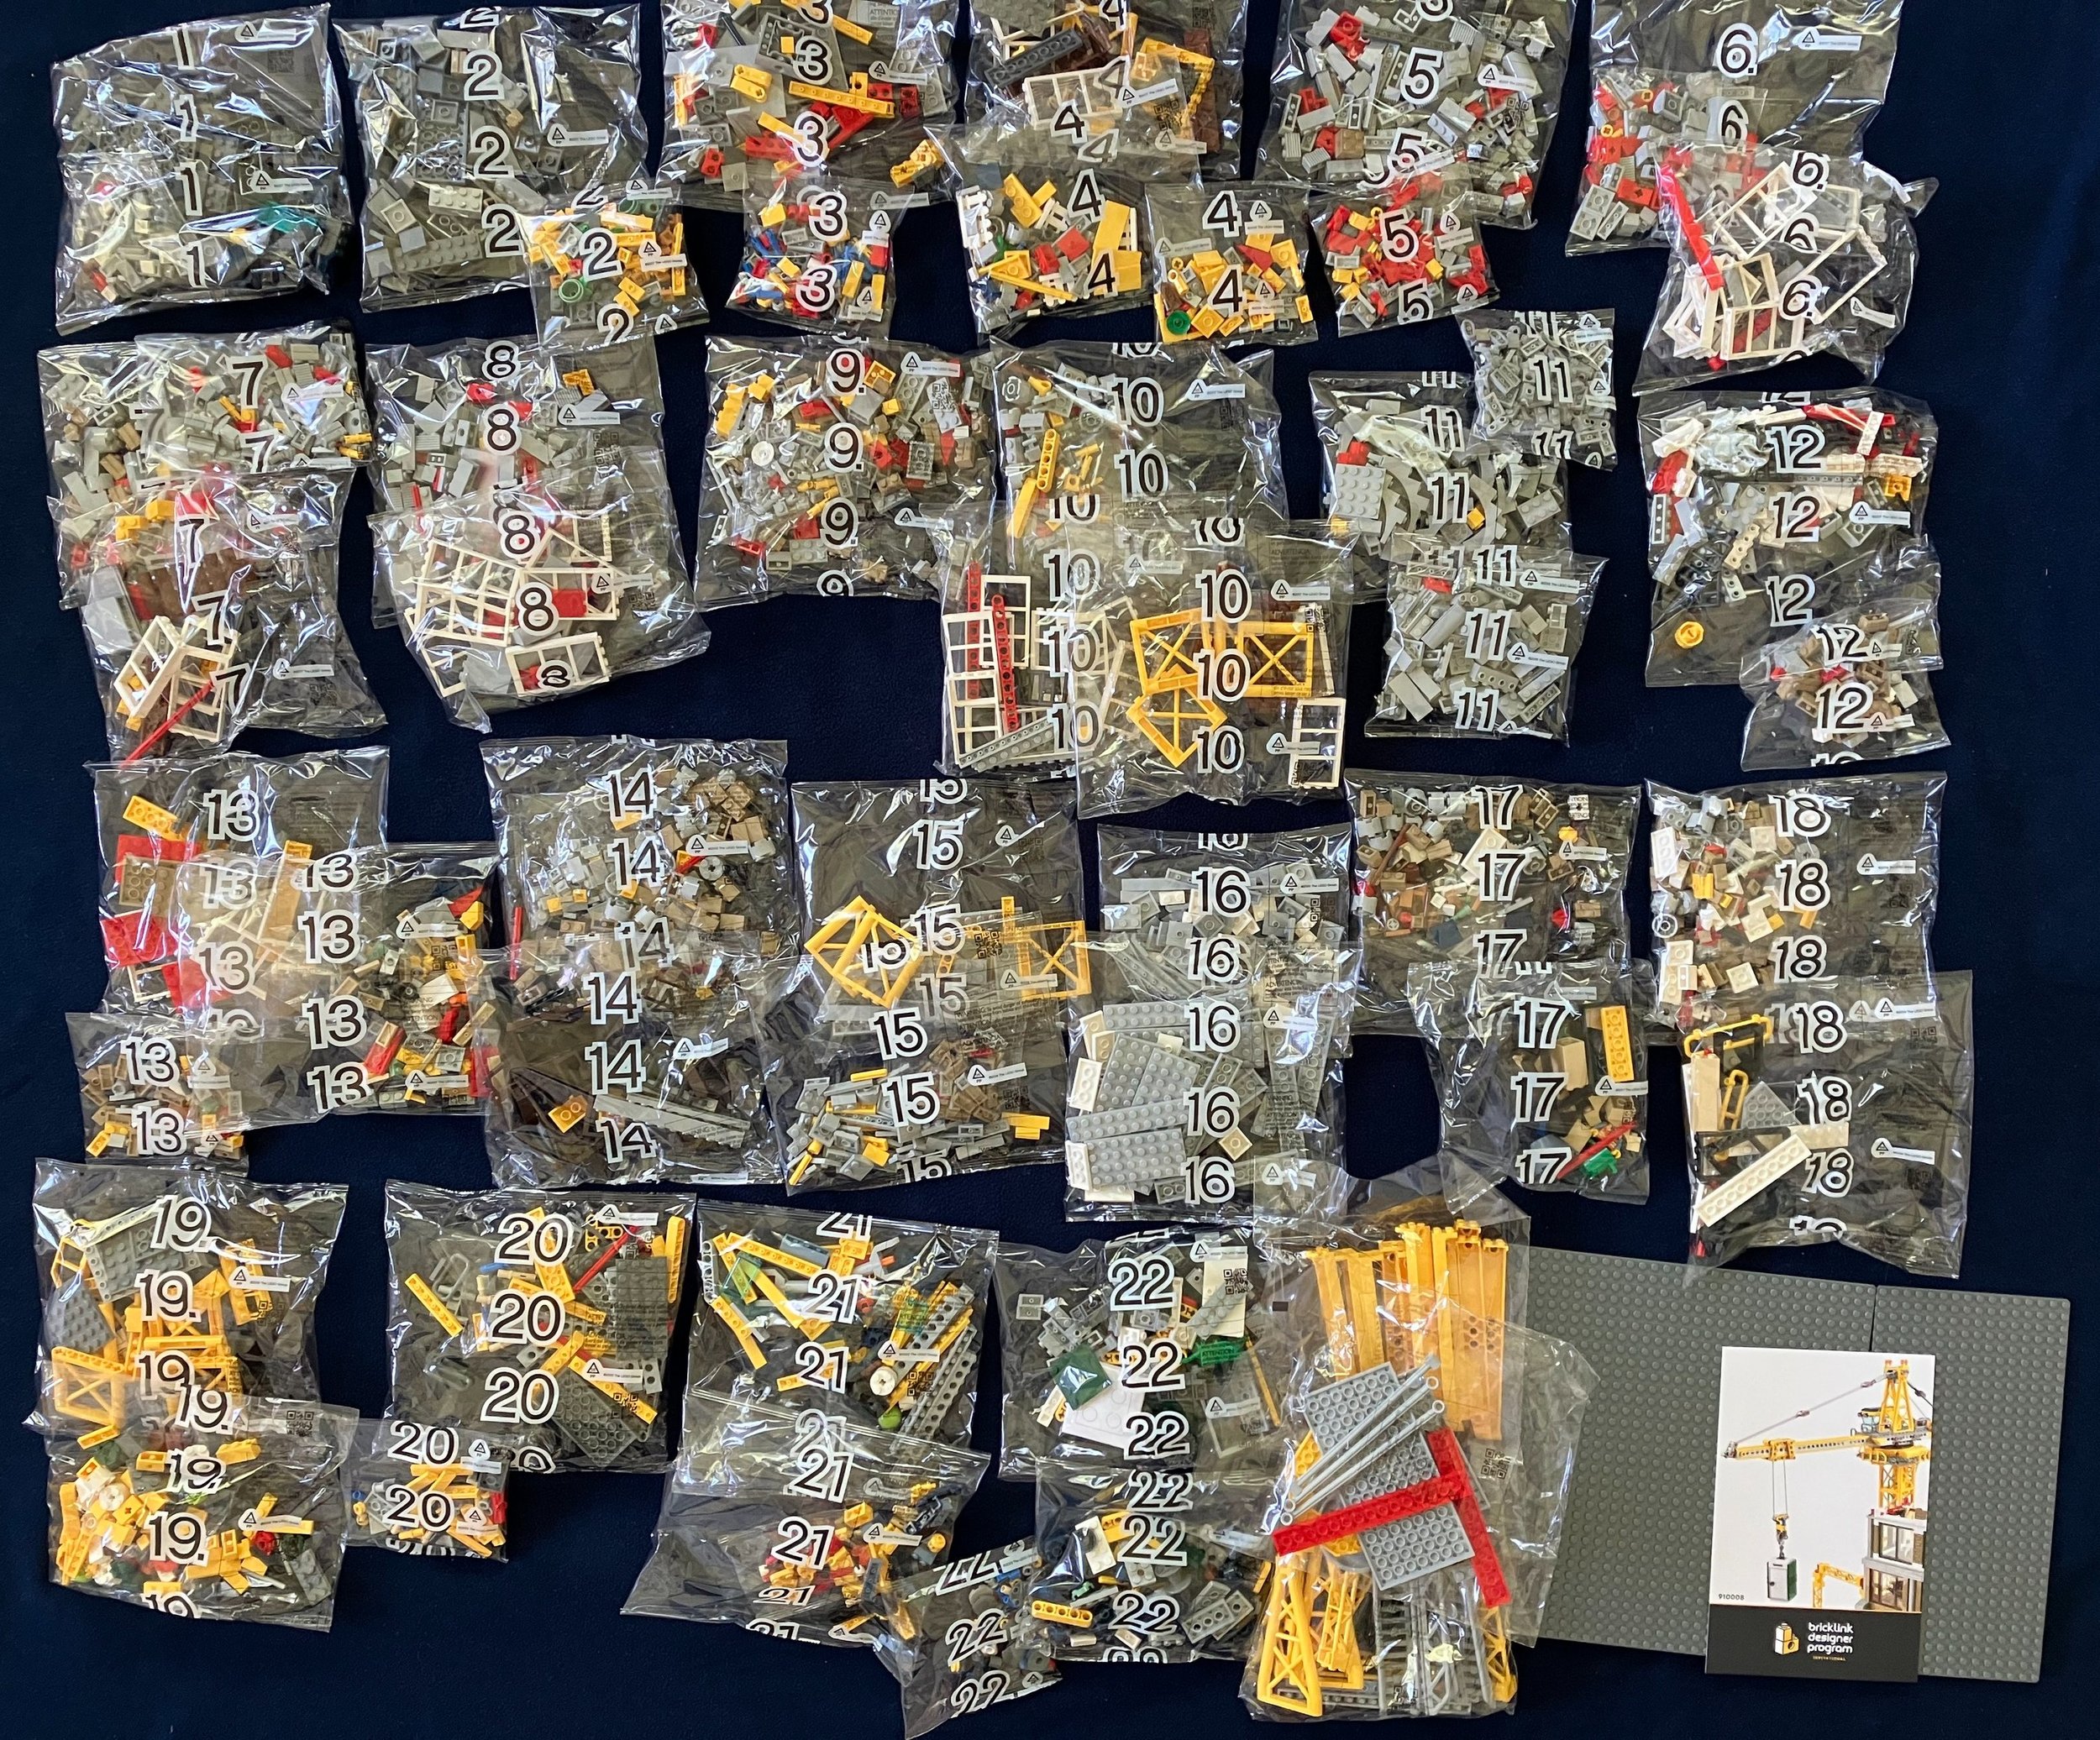
Inside the box are three smaller boxes and a 32x32 baseplate. Inside those three boxes are 22 numbered bags (most with more than one bag per number), a few un-numbered bags, a 16x32 baseplate, and a card telling you to get the instructions online or in the app. I prefer the paper instructions over the electronic version as I can get away from screens and just build. I think that’s why this build took me a while to complete. I had to get my device set up instead of just opening the instructions and building right away.

The first bag starts off with some of the inside of the building. You build some of the outer wall foundation and then some of the tiling inside. A construction worker is inside with a jackhammer. Nearby are some “extra” tiles to put down and a bucket.
The second bag finishes off the base with the sidewalk outside, more flooring, and the rest of the foundation of the building. There are a few planters outside. One has plants and the other does not.

Bag 1

Bag 2
Bag three adds the 16x32 baseplate. This one is mostly covered in tiles and it contains the base of what will become the crane. There’s also a gate to allow entry into the construction site.
Bag four starts to build up. You add the first section of the base of the crane, you start a stairwell, you add a few beams for the main structure of the building, and you add some tiling inside the building. At this point of the build, I was curious to see how strong the building would be given it’s height. Would it just be stacked bricks or do the long yellow beam pieces really add support?

Bag 3

Bag 4
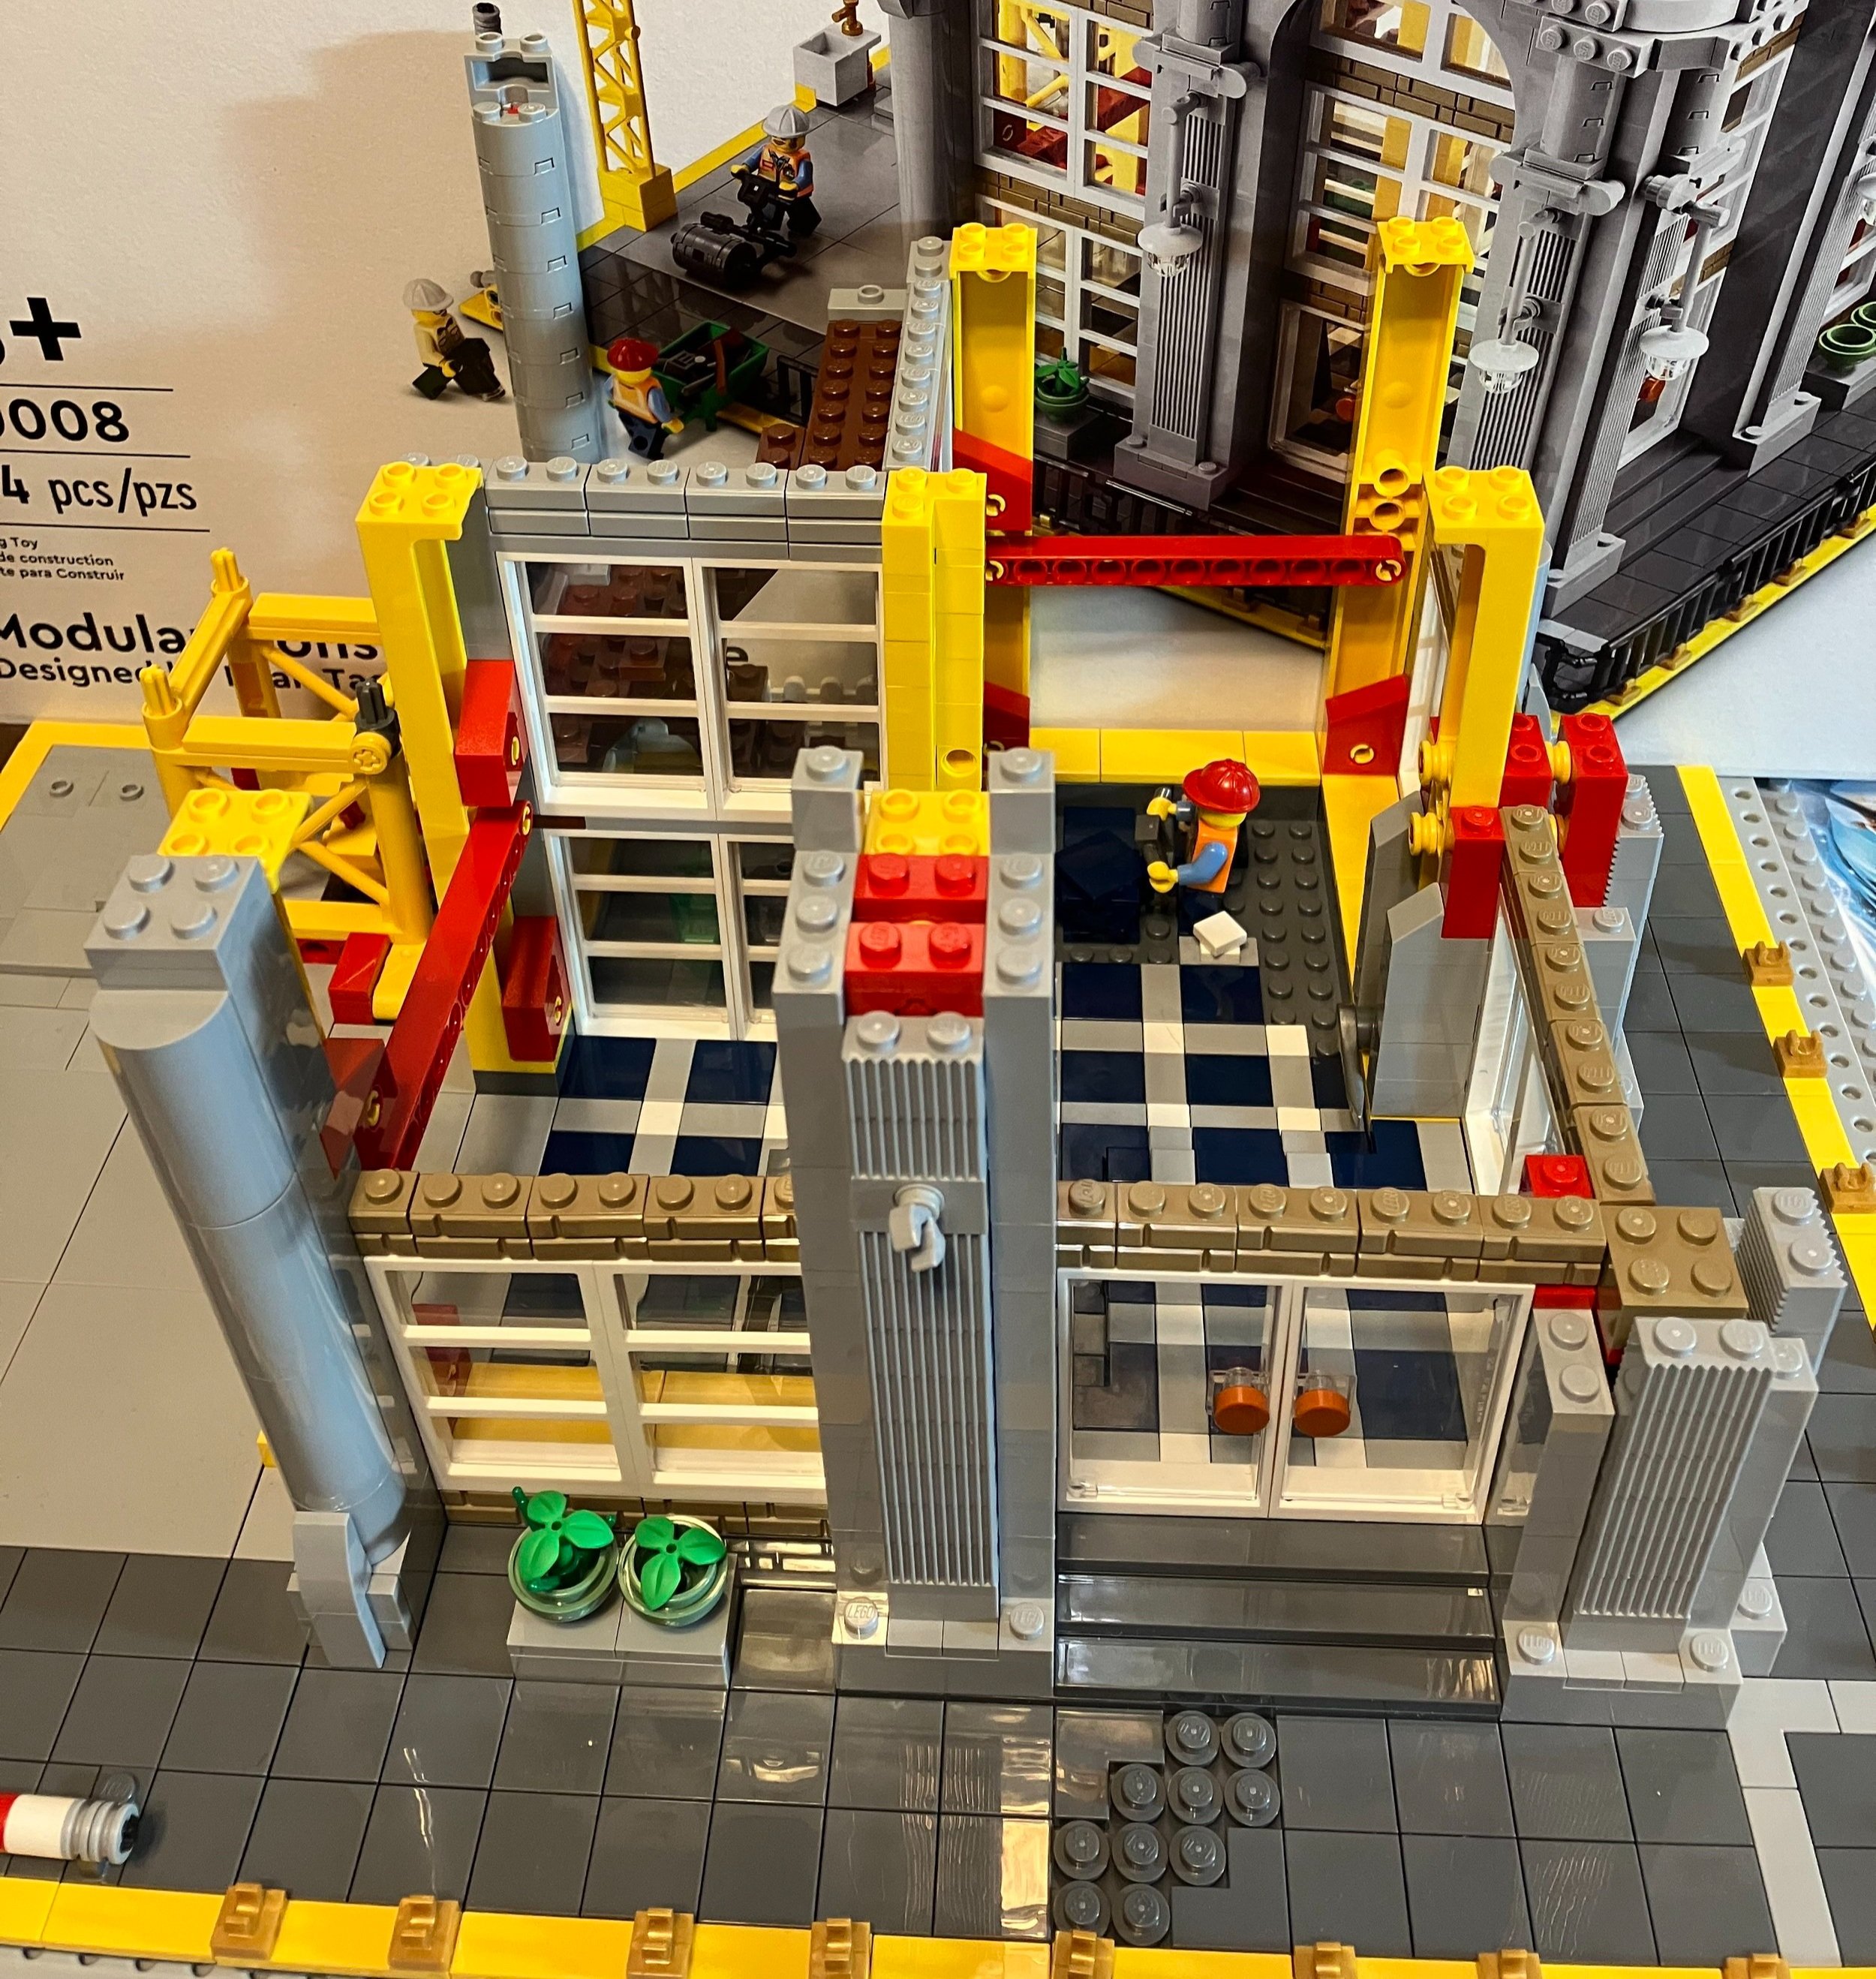
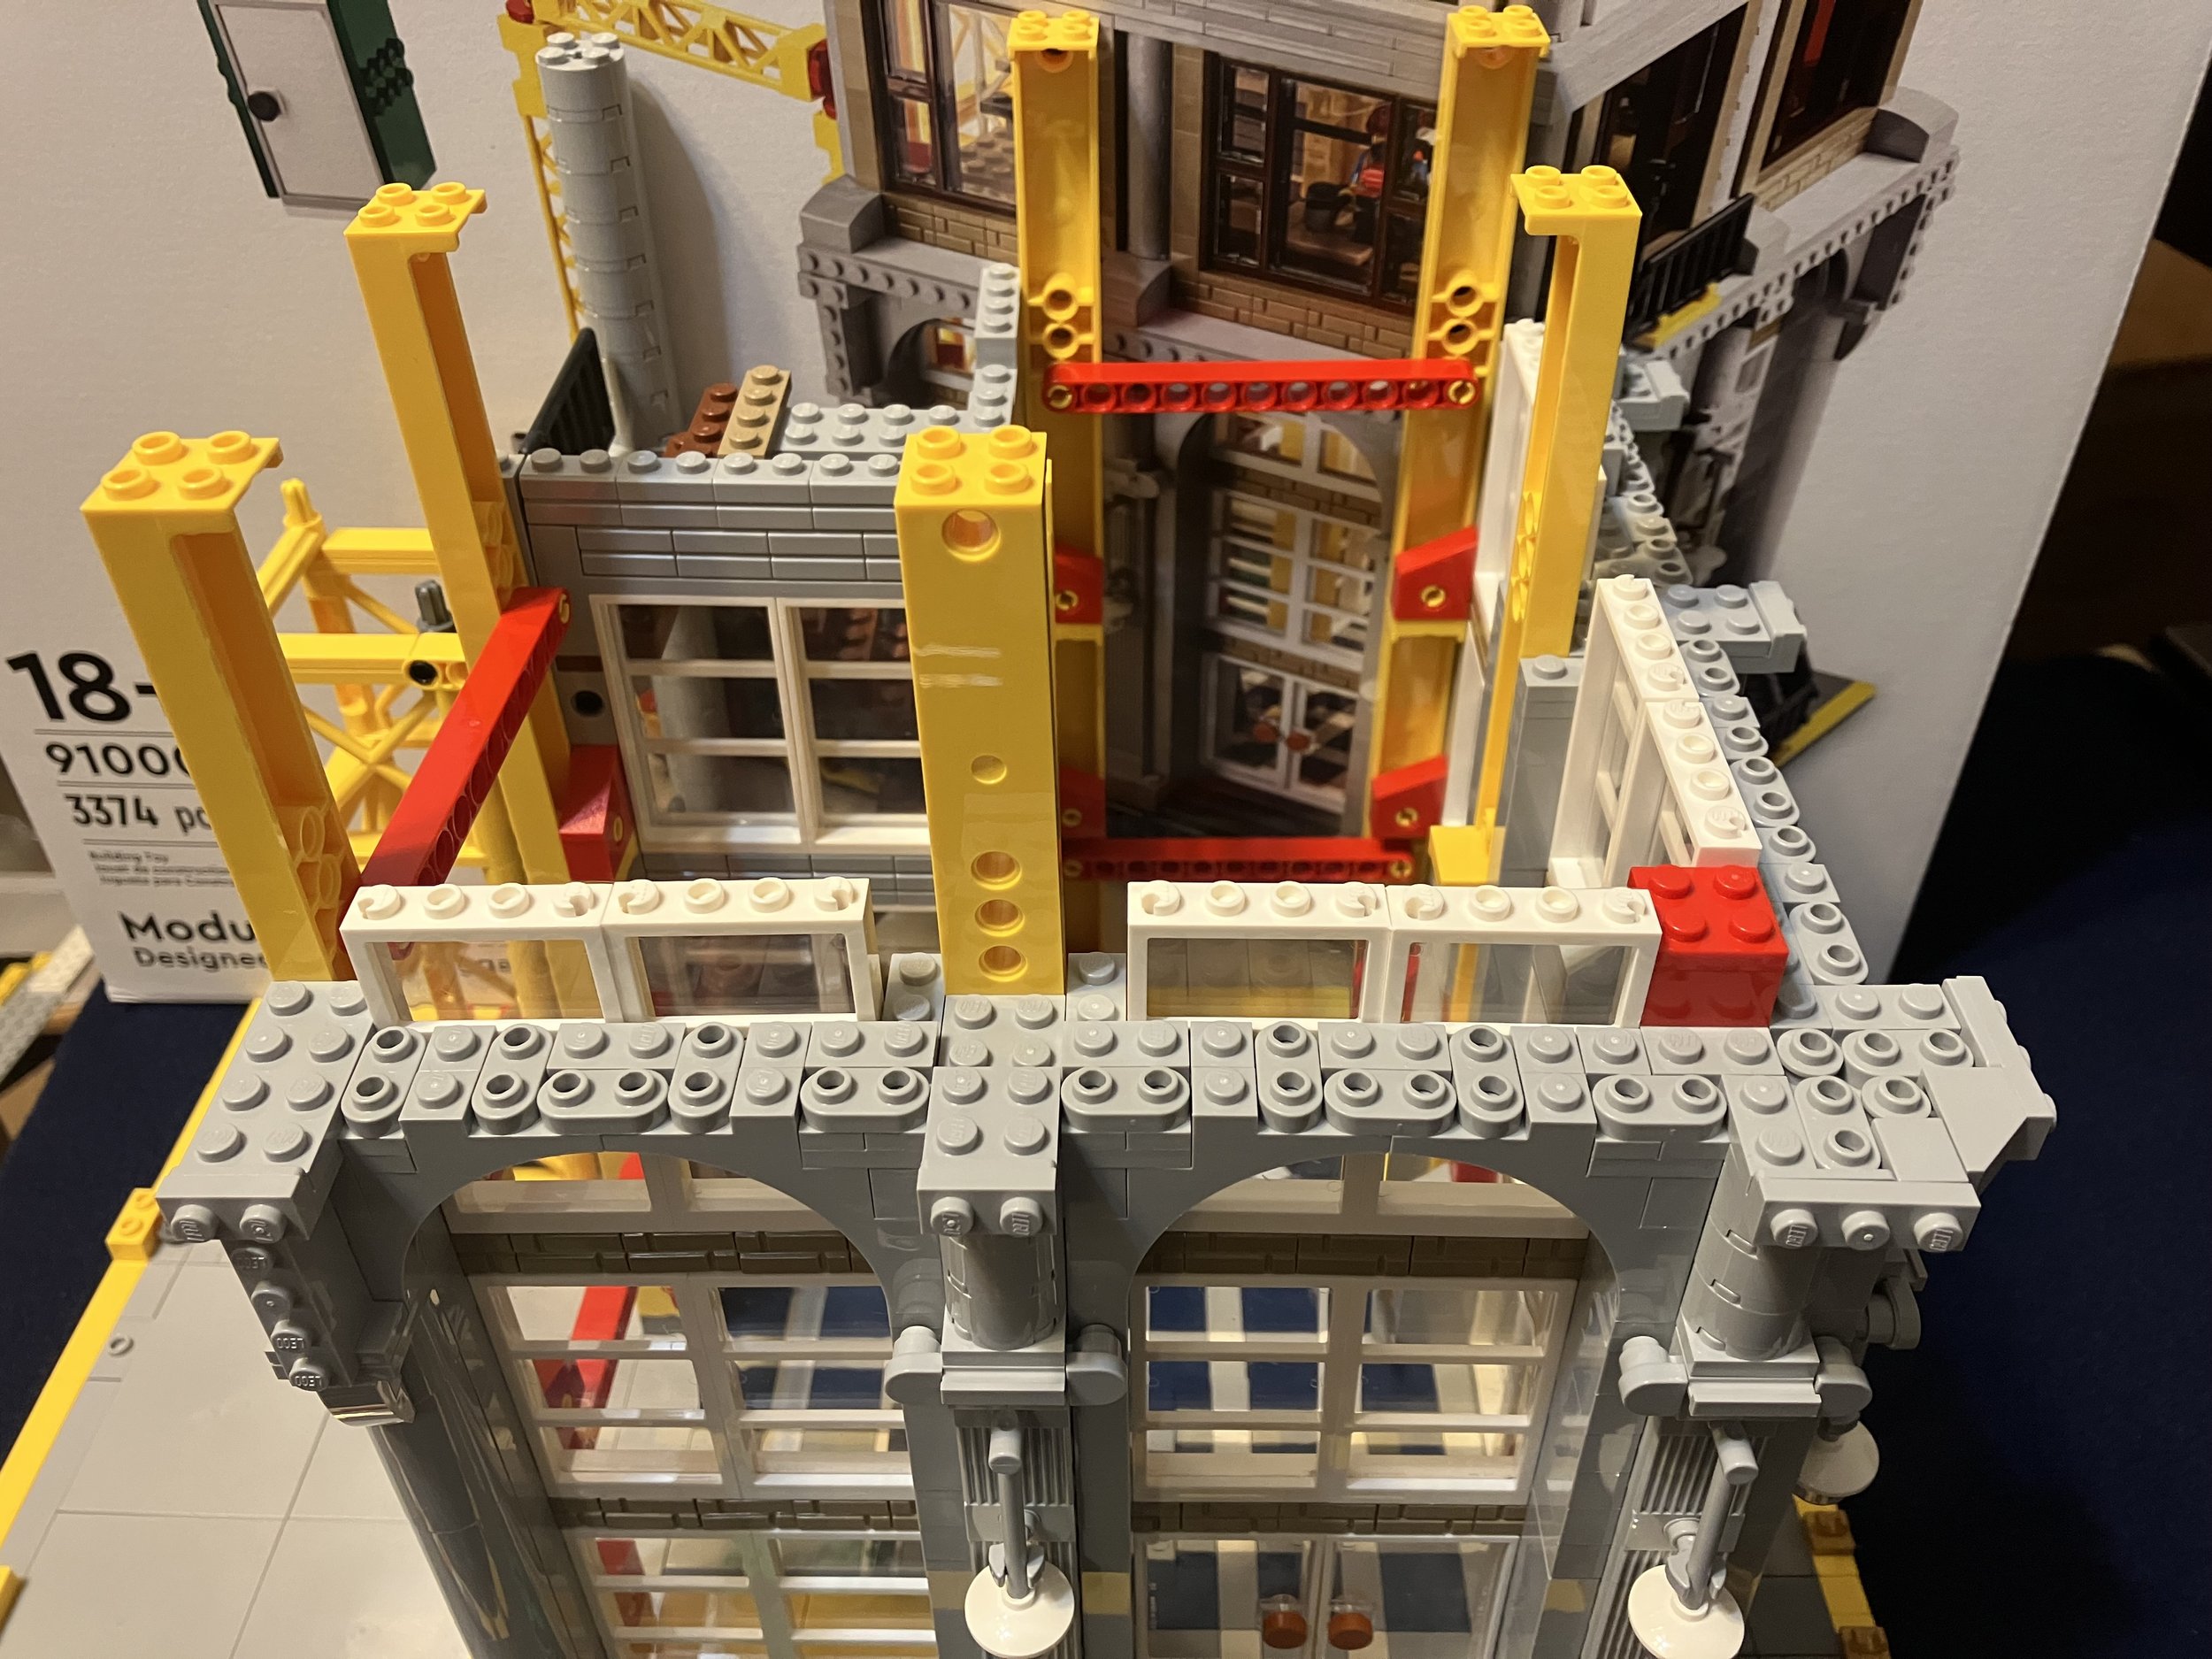
Bag five adds some windows and structure around the stairwell. You also add some bricks around the tall yellow beams and a few on their own. So far it seems structurally sound. As you build up, Technic pieces are incorporated connecting the beam to the rest of the build.
Bag six adds more beams, more windows, and more building up bricks around the beams. It’s an interesting way to build as most of LEGO’s modulars are just brick built. This one seems to follow what an actual building would have with framing followed by building up around the frame.

Bag 5

Bag 6
Bags seven and eight continue to build up the sides of the building. The main supports get some architectural detailing which is nice besides just having bricks stacked.
Bag 7

Bag 8
Bags nine and ten continue to go higher with more structural beams on top of the previous ones and then stairwell is also built higher. There were a few challenges where higher sections weren’t anchored down well, but they eventually are locked into place with bricks or plates.

Bag 9

Bag 10
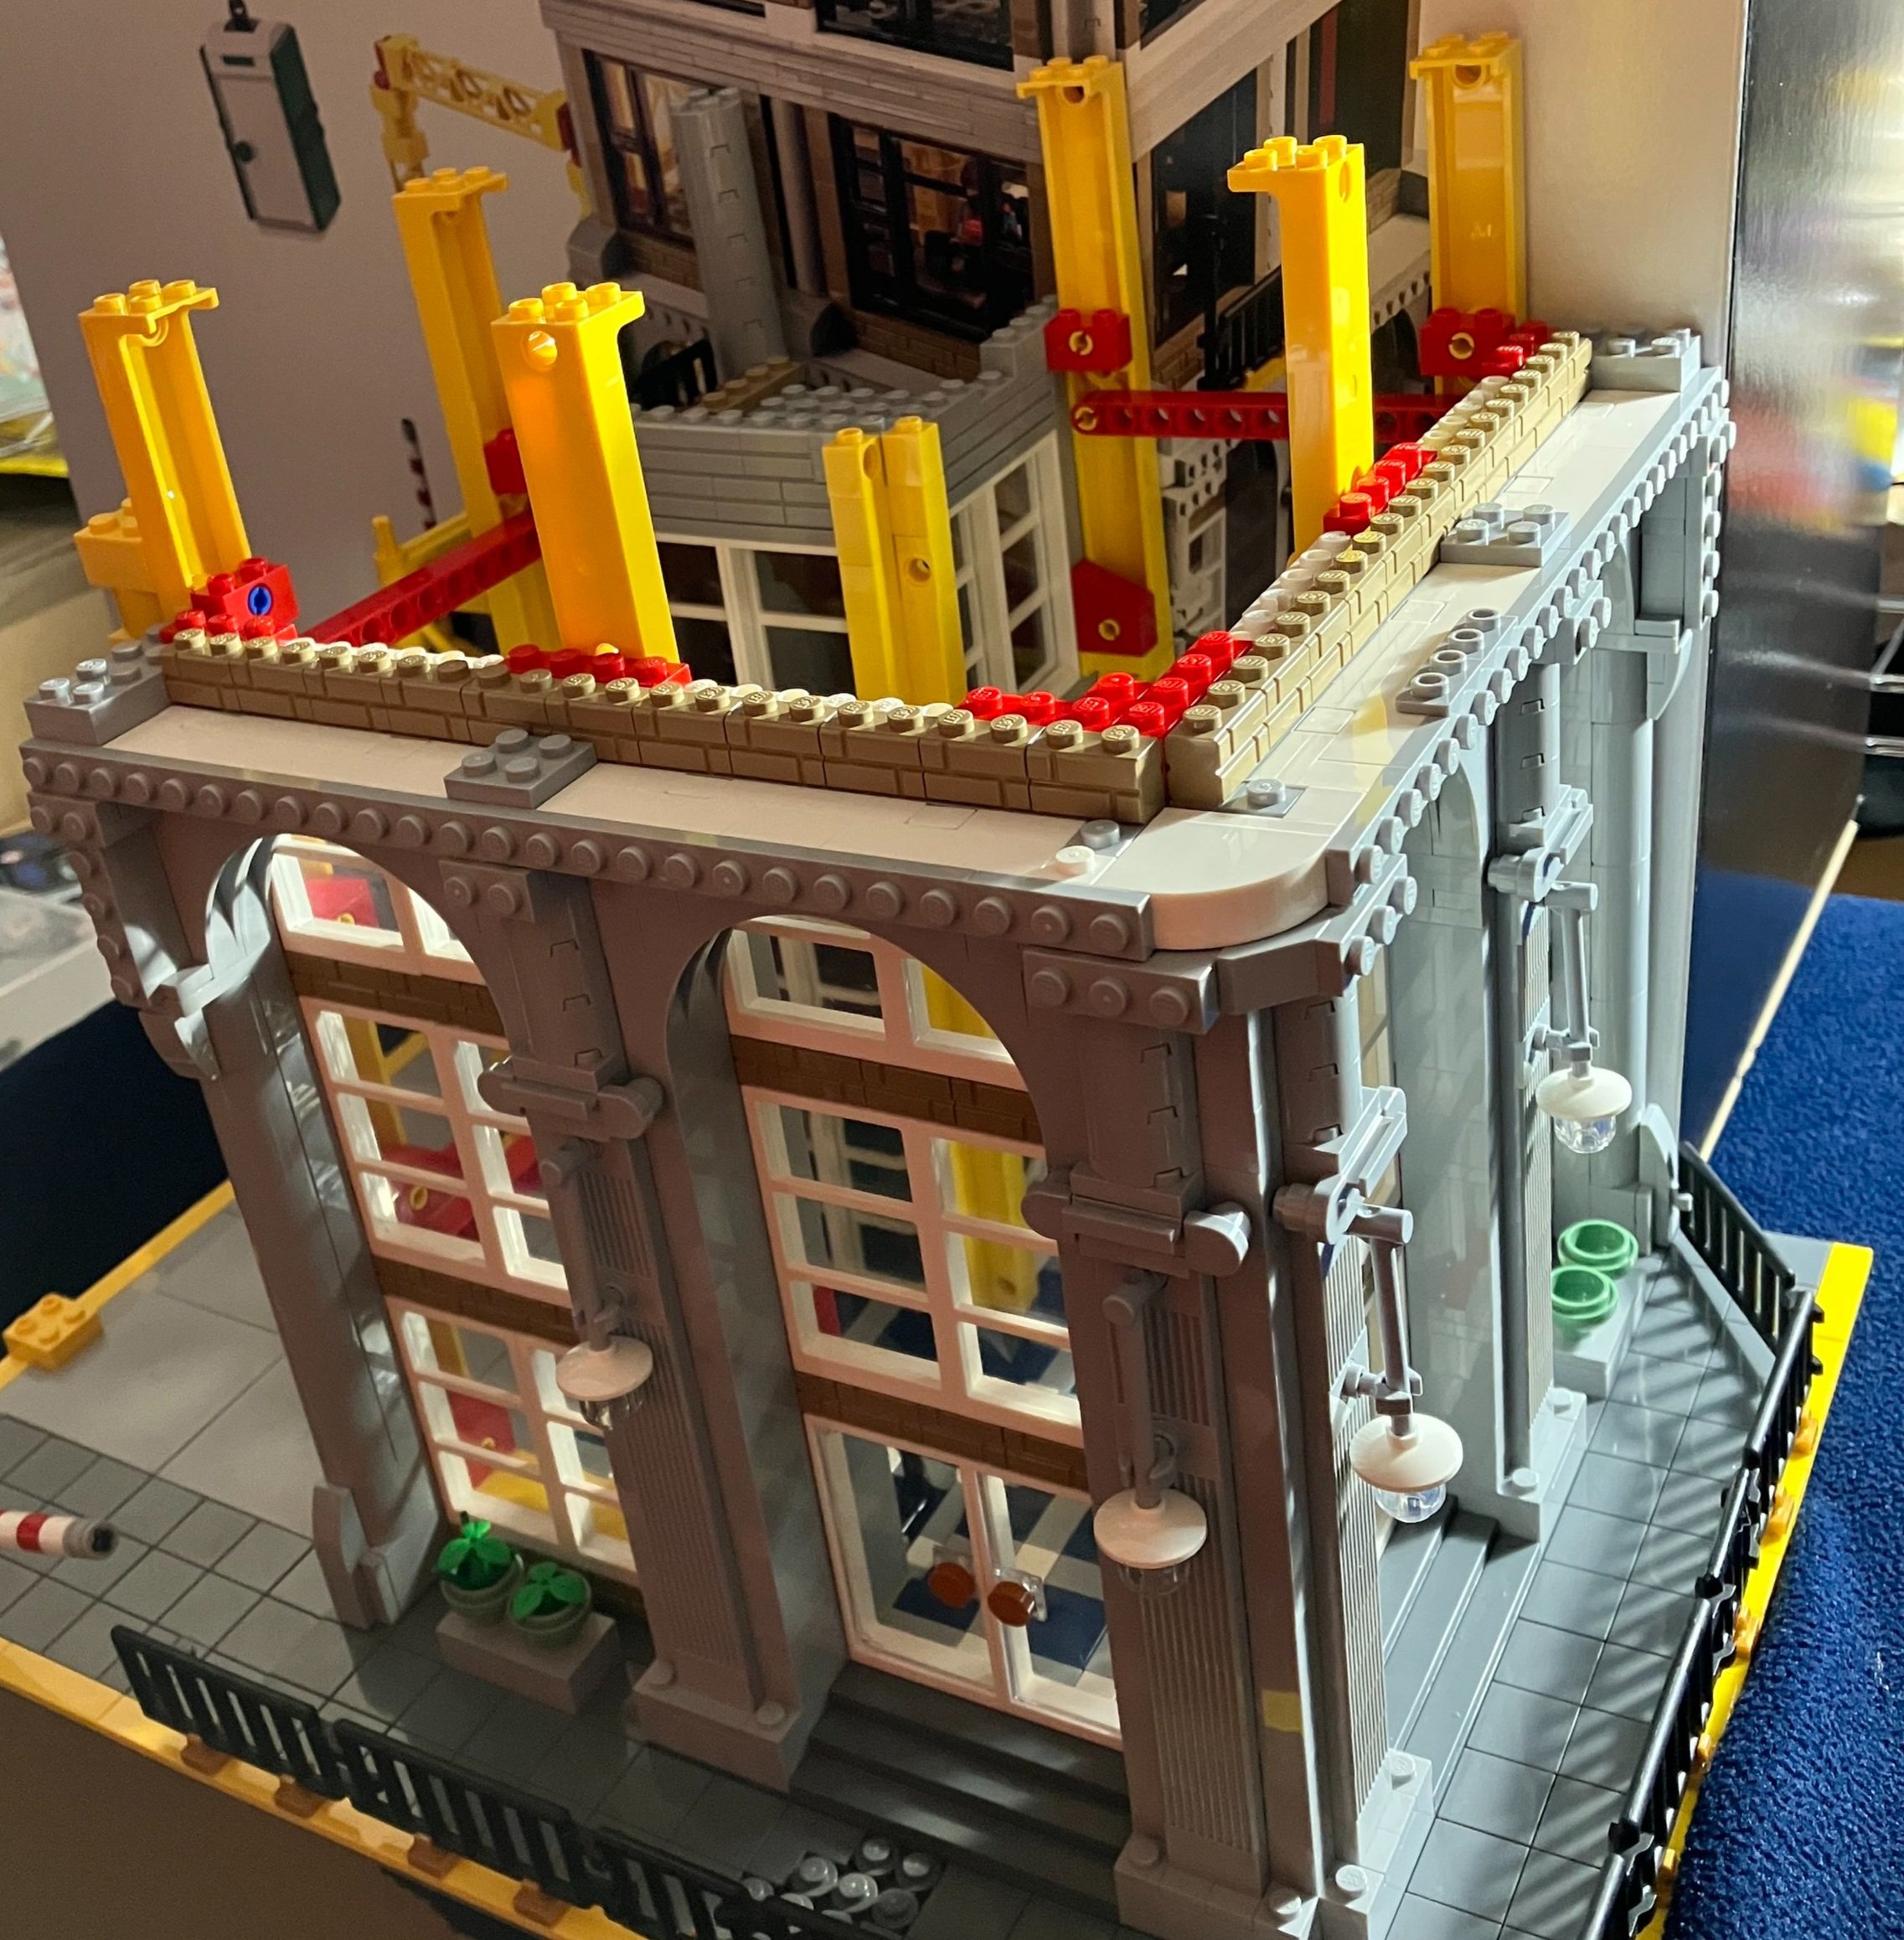
Bags 11 and 12 add in arches over the window areas and then some additional detail in bricks. There are a lot of smaller plates used to create the shapes. Then there are tiles added to the top of the walls with bag 12.
Bag 11
Bag 12
Bag 13 starts another floor. It includes another worker set up to paint. There is also a work table with a drill and table saw along with a board to help cut the floor boards. It also continues the stairwell up in a different location.
Bag 14 adds in more windows only these are black. A few of the windows do not have clear panes to help create the look of a building under construction.

Bag 13

Bag 14
Build 15 tops off this floor with tiles and some jumper plates to allow for the floor above to connect to it.
Build 16 assembles the floor of the top floor.

Bag 15

Bag 16
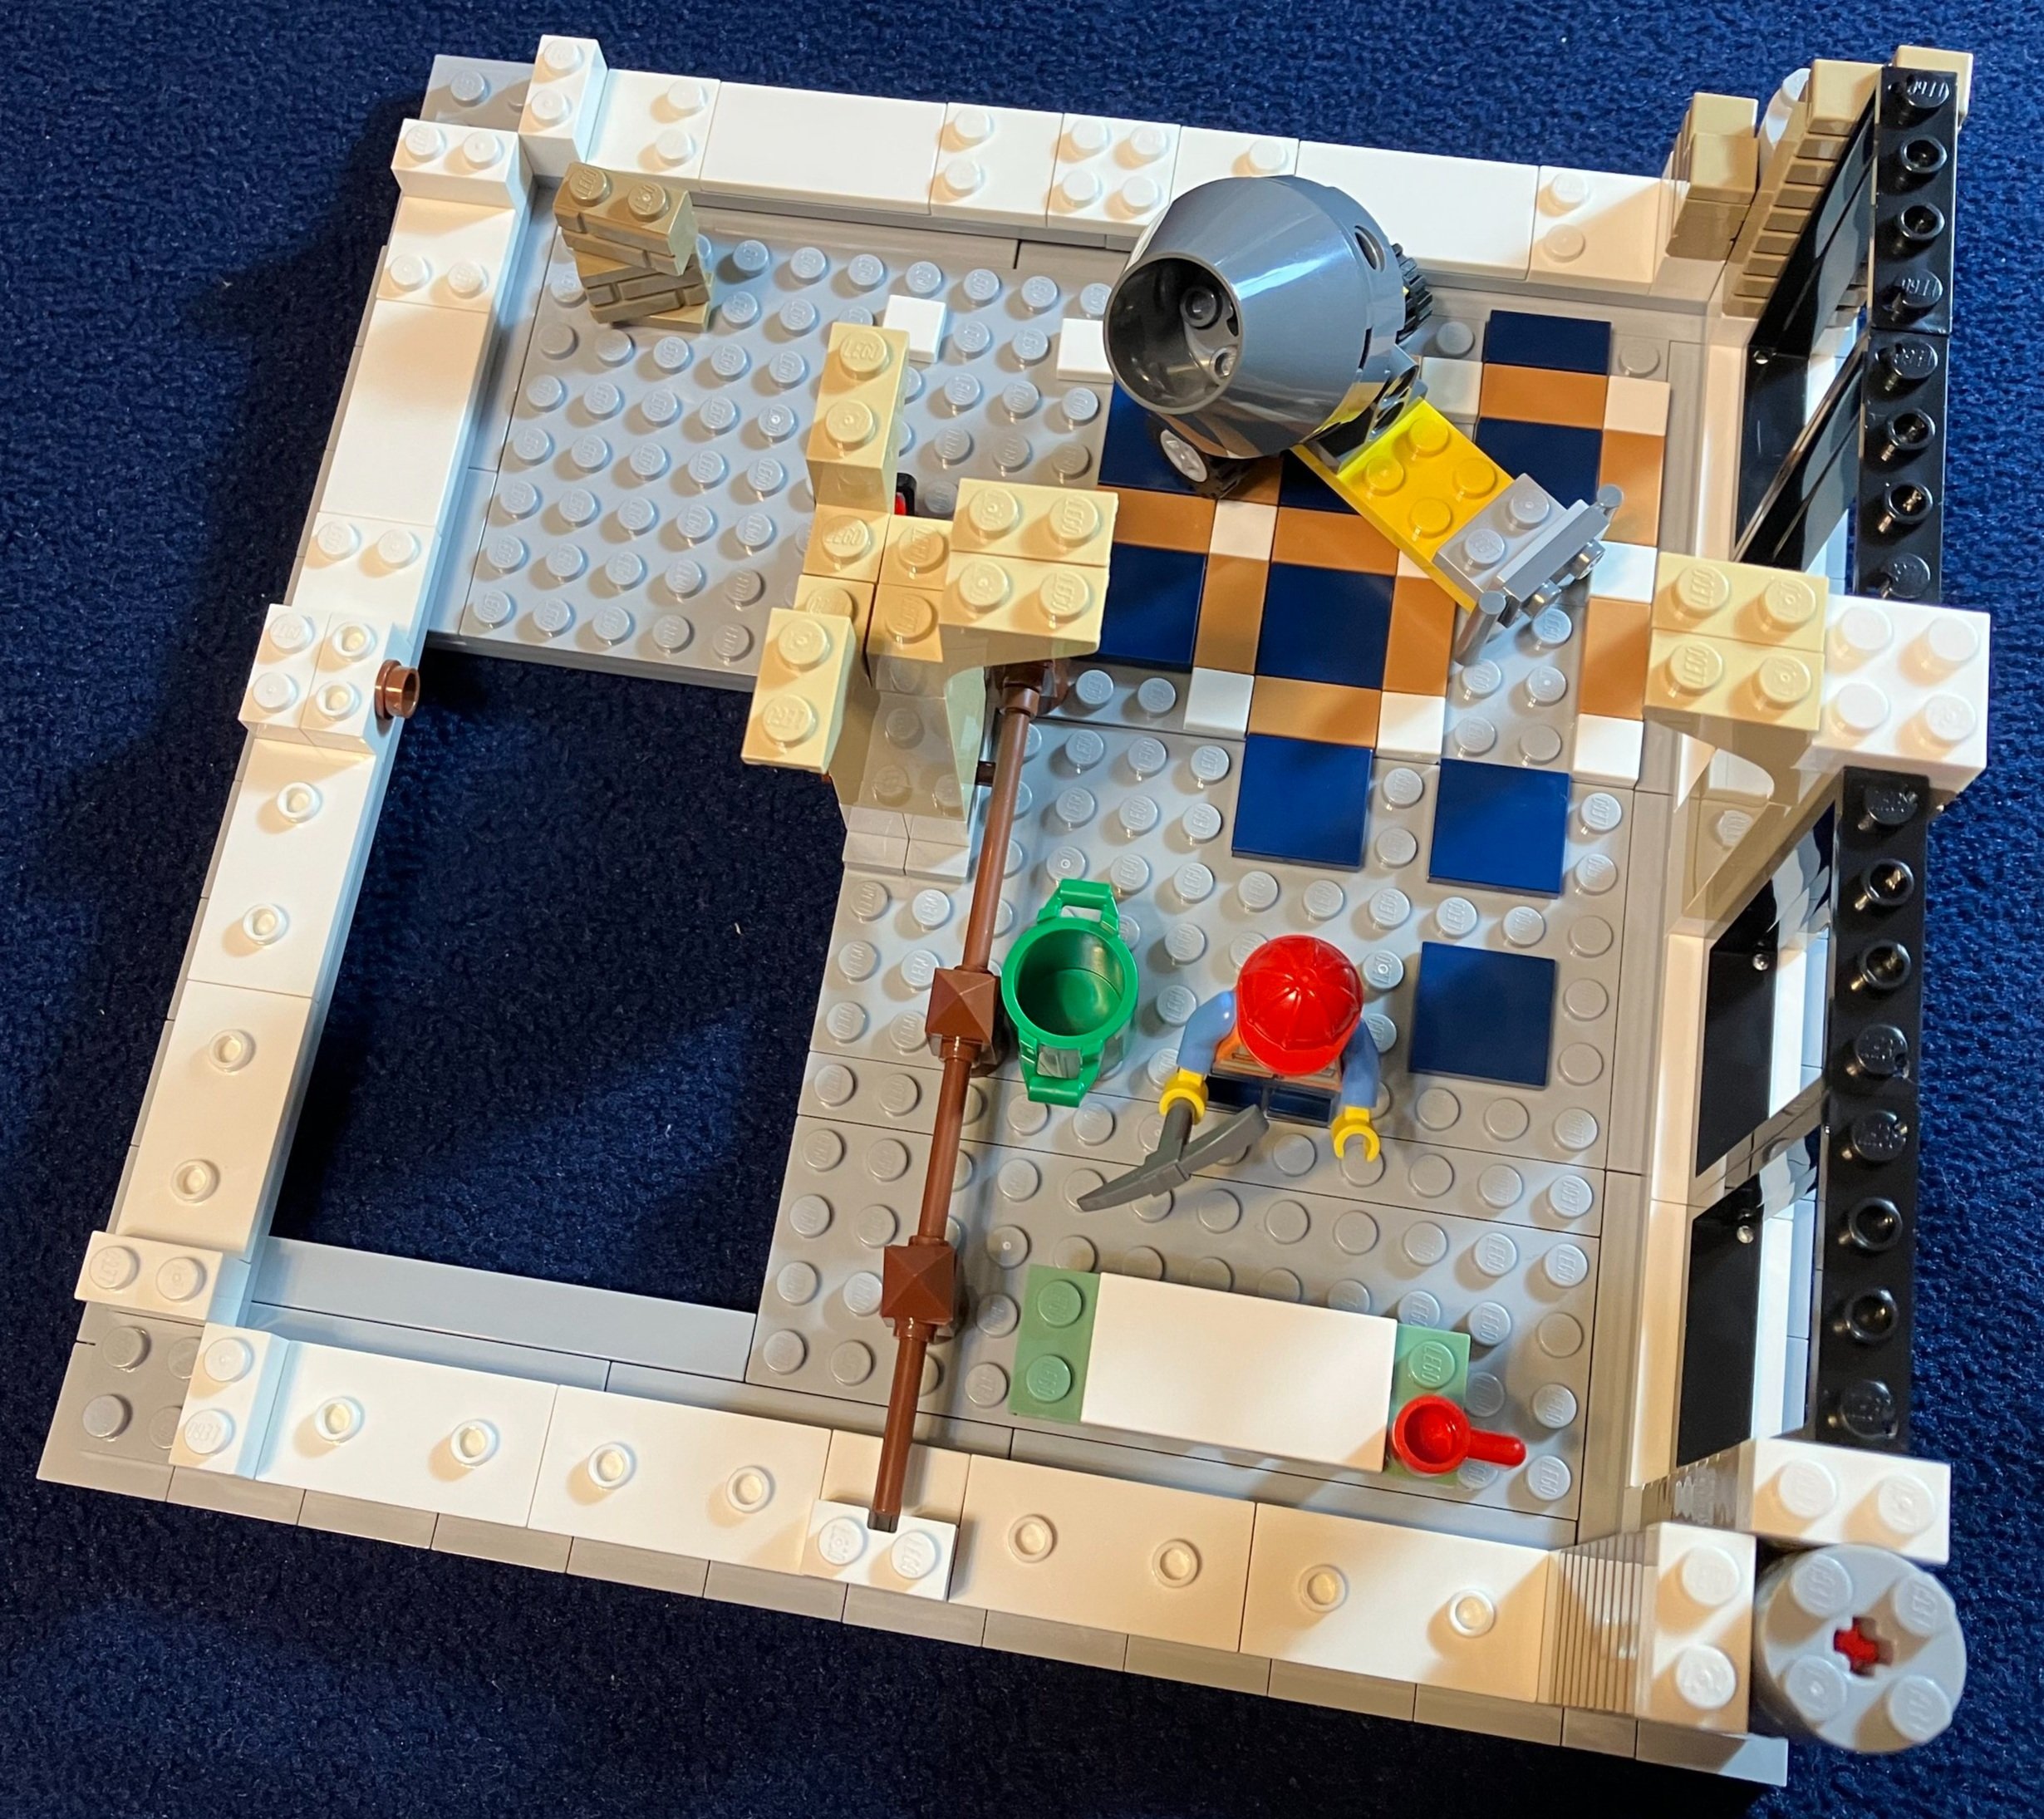
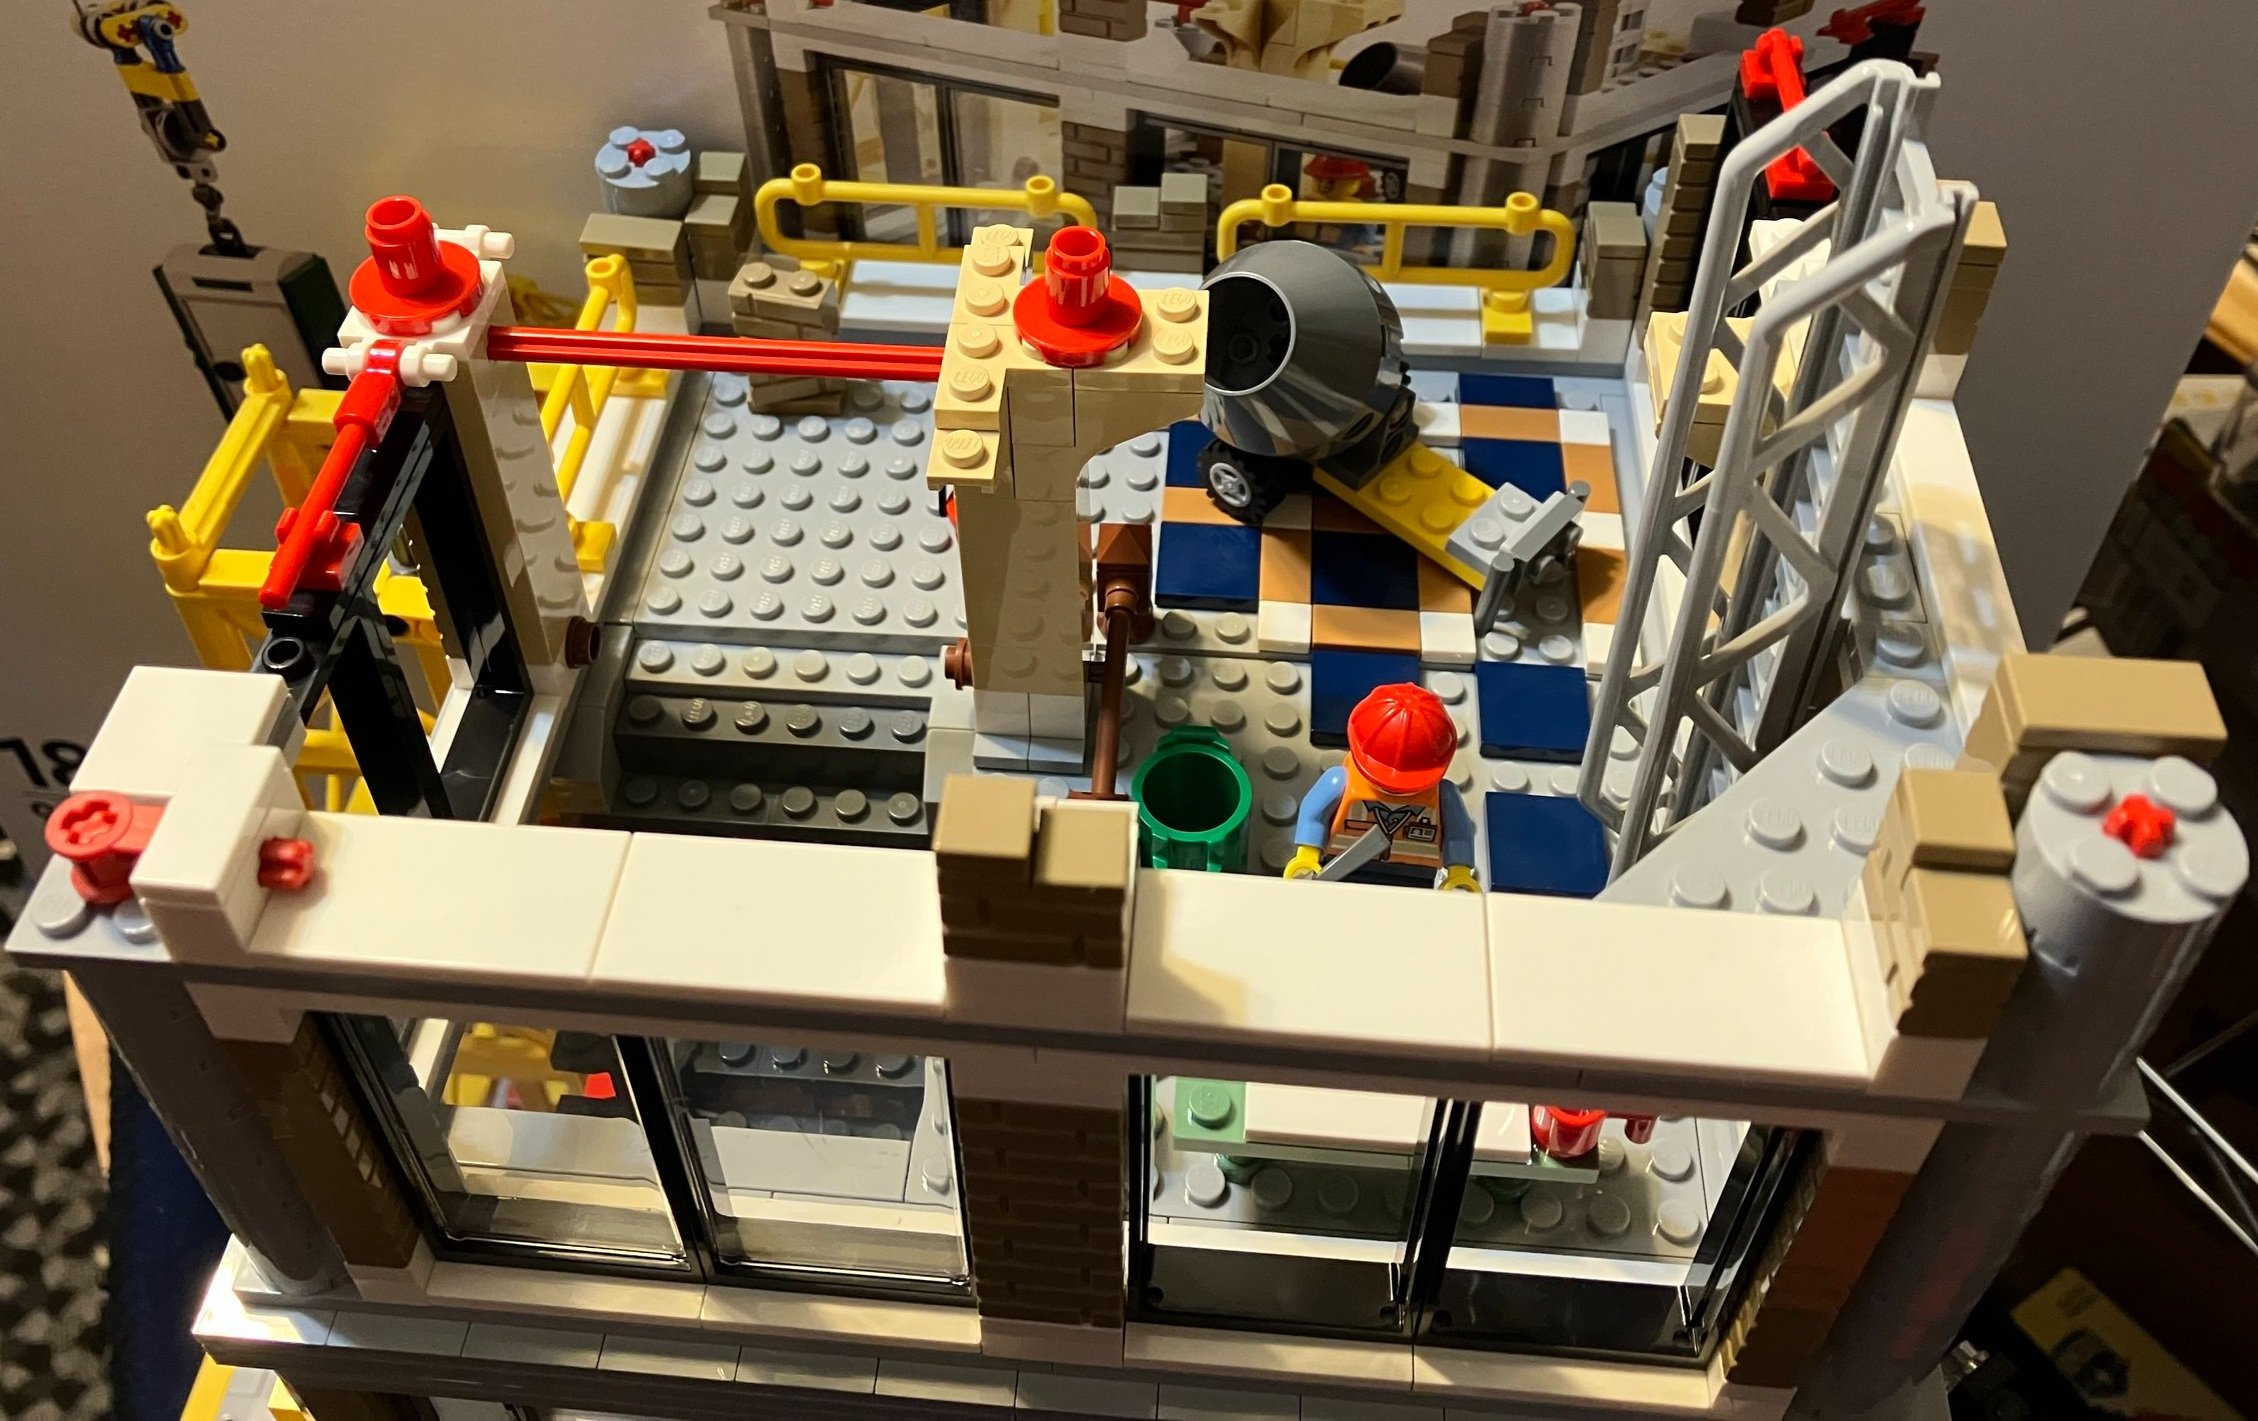
Bag 17 adds some tiles, a few windows, and wall supports. It includes a minifigure with an ax. There’s also a recycle bin, a bucket, a small, portable cement mixer, a table with a coffee cup on it, and then some additional bricks that need to be added to the build.
Build 18 continues the build with some additional framing around the windows, a ladder going up, and some fencing around the edge so workers don’t fall off.
Bag 17
Bag 18
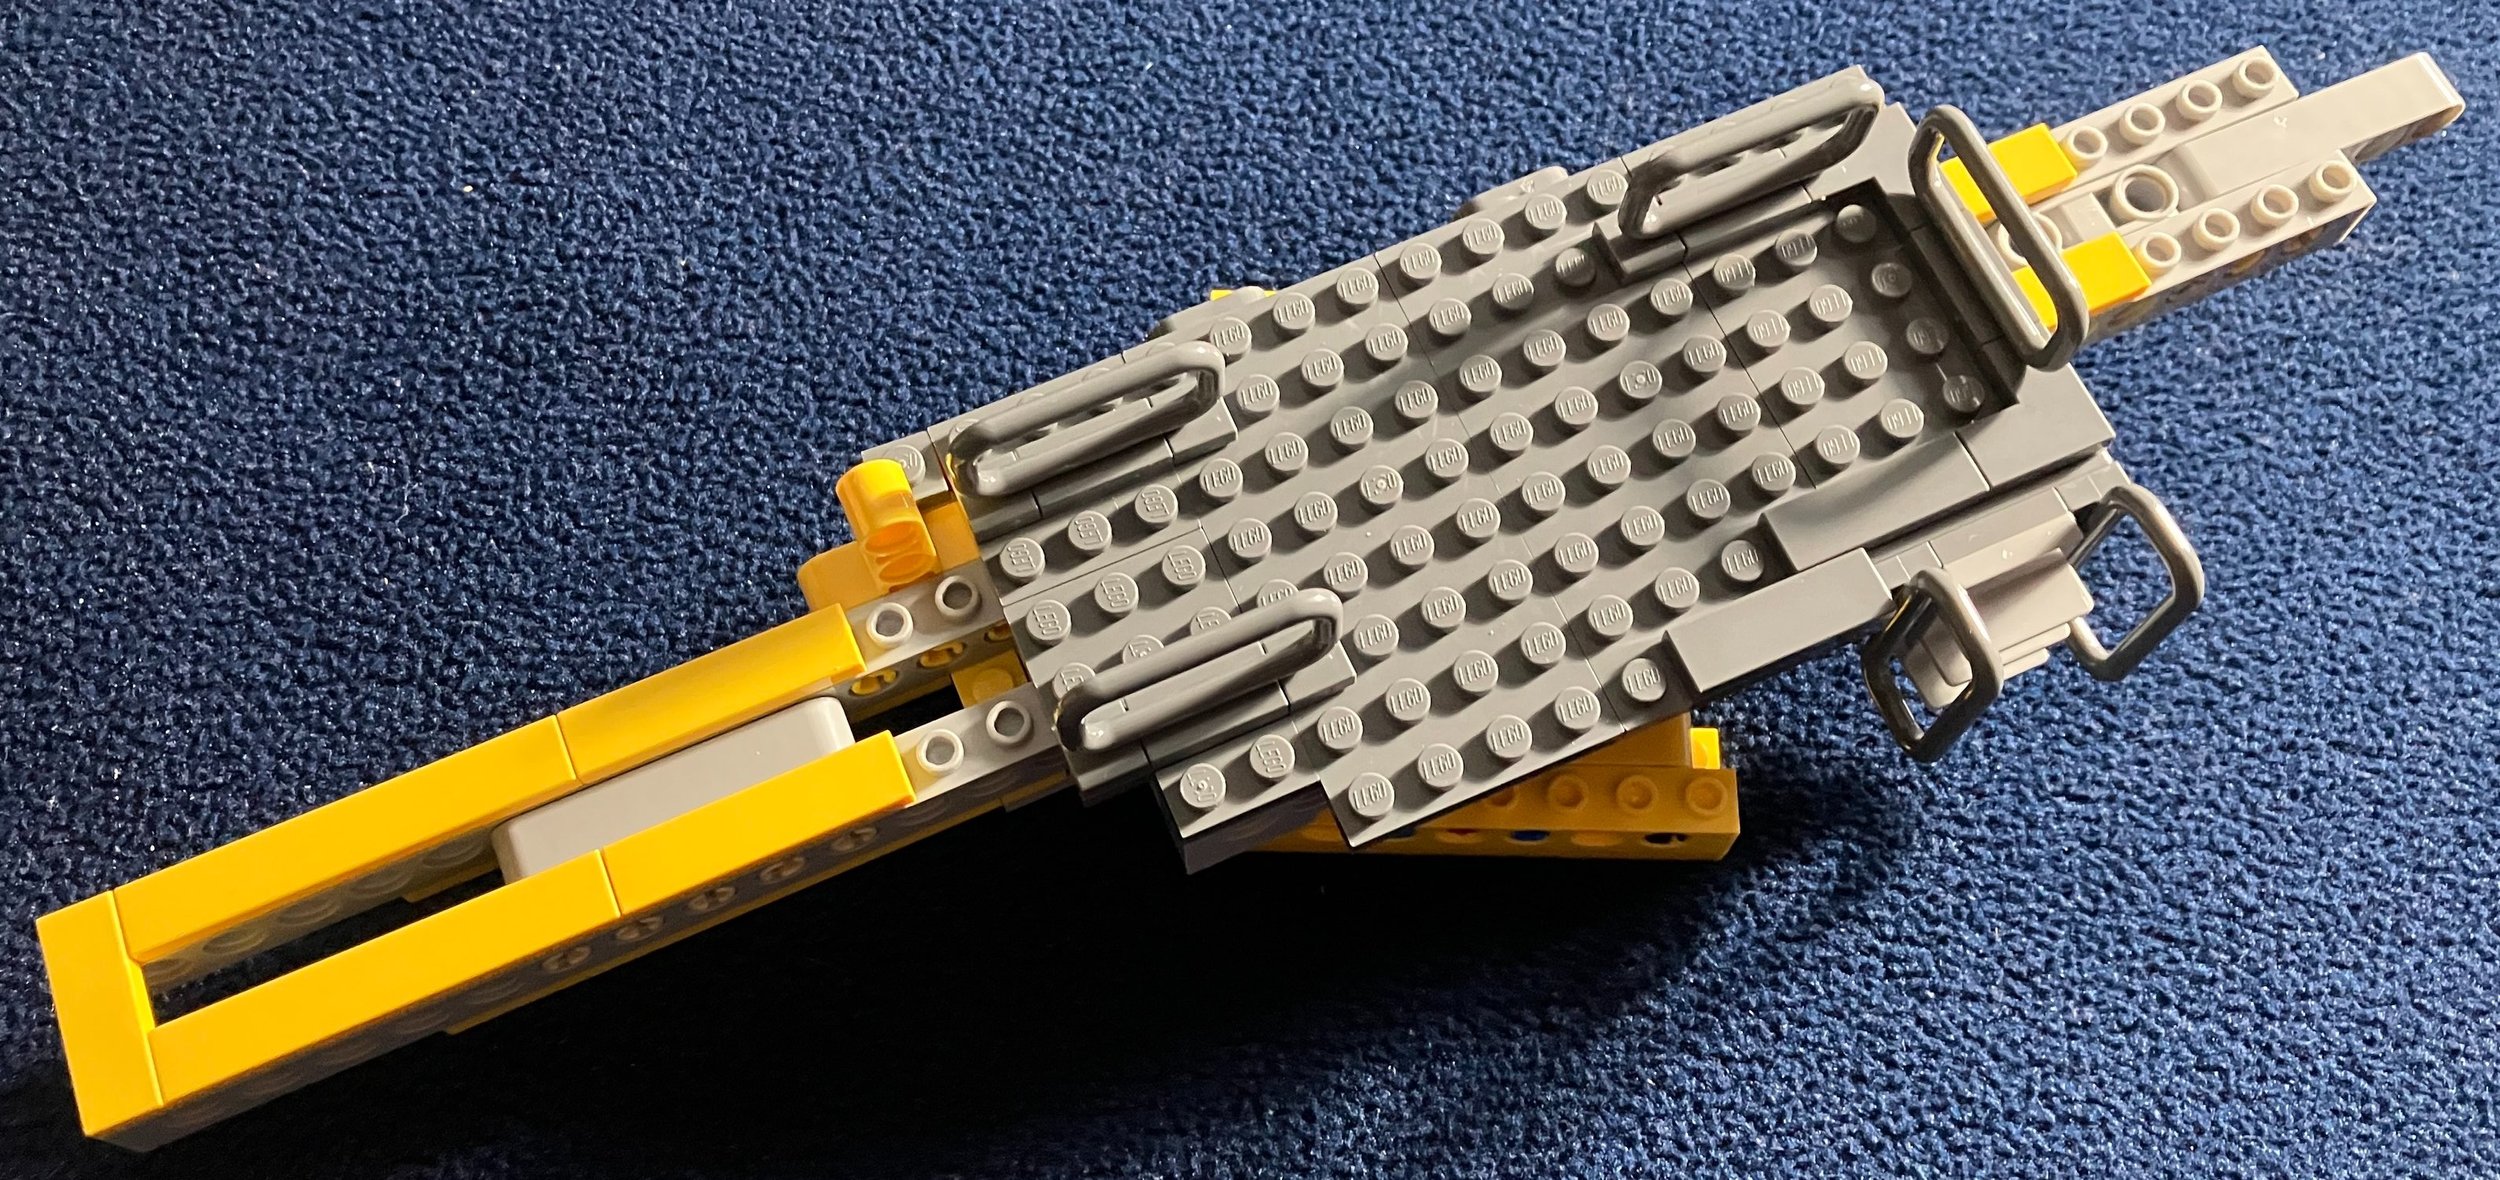
Bag 19 adds in the tower where the crane is attached. The tower works okay, but the ladder in-between the structure doesn’t attach well. It falls off pretty easily whenever you move the tower or shift the building around. You also add in a few containers of… I’m not sure what… oil? There’s a small sink as well. You also build a small structure with supports. I’m not sure what it is supposed to be for. Maybe a future addition to the building? There’s a minifigure as well. This one is a female that looks like a building inspector. She has a camera and briefcase.
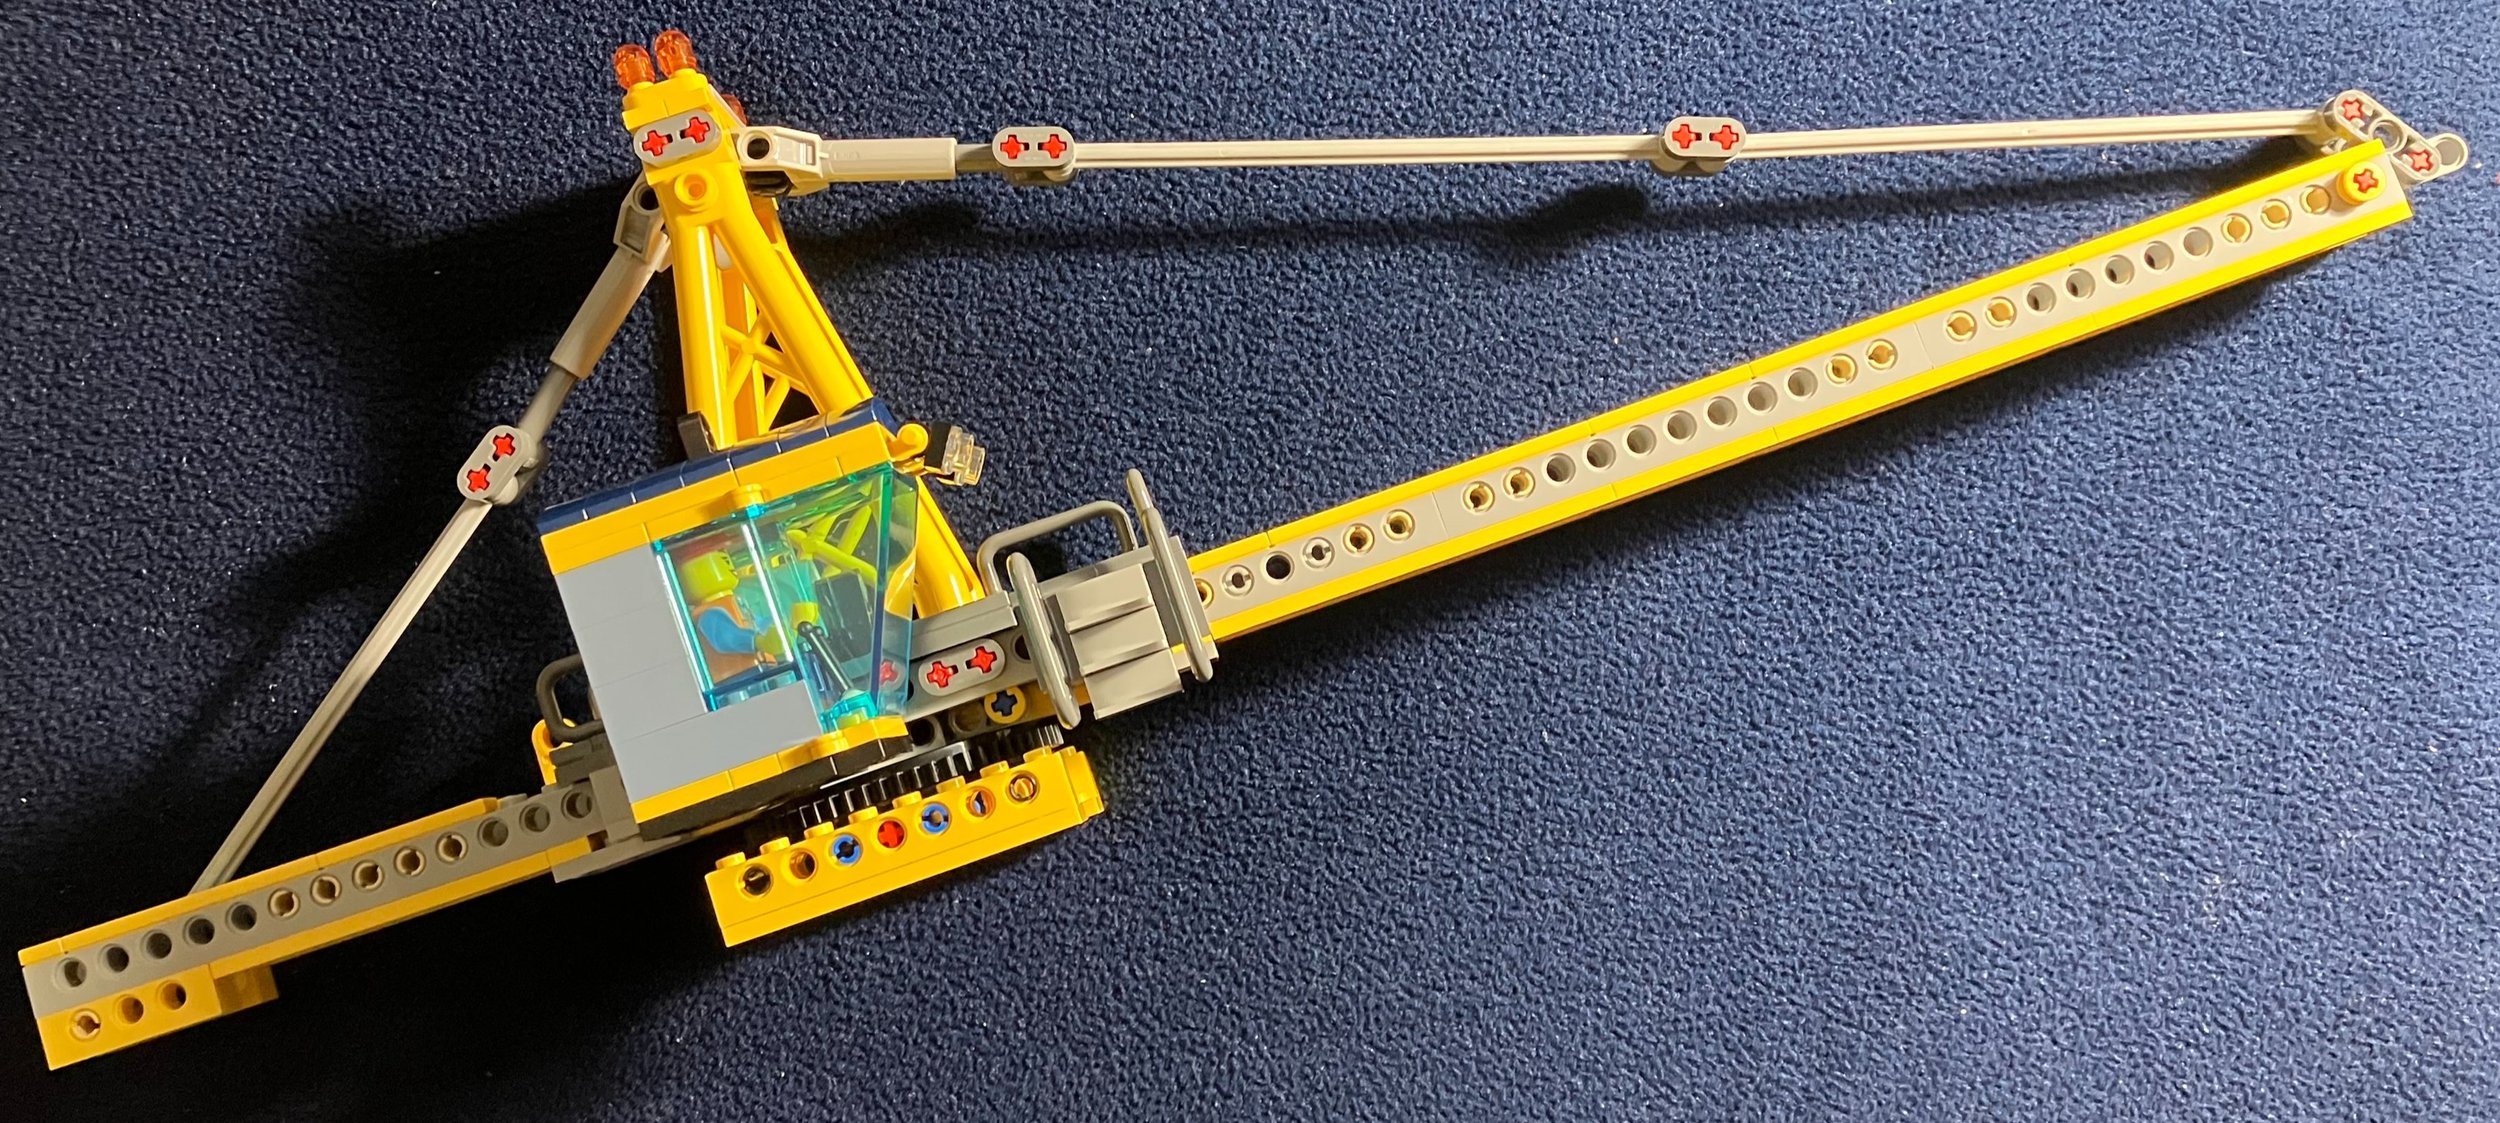
Bag 20 starts building the actual crane section. It contains a lot of Technic pieces. It is also on a larger turn table so it can pivot all the way around.

Bag 19
Bag 20
Bag 21 continues the crane build with a cab and minifigure to operate the crane. It also adds in some supports for the top of the crane and then connections to hold up the front and back of the crane.
Build 22 is the final section of the build which adds in the string and “hook” for the crane. You then build a small porta-potty that the crane can then lift up. The crane holds up okay, but it is not very sturdy. I’m not sure how to make it better, but the crane comes off pretty easily as you turn it and move it around. Maybe construction in full Technic pieces instead of using both System and Technic? I’m not sure.
Bag 21

Bag 22
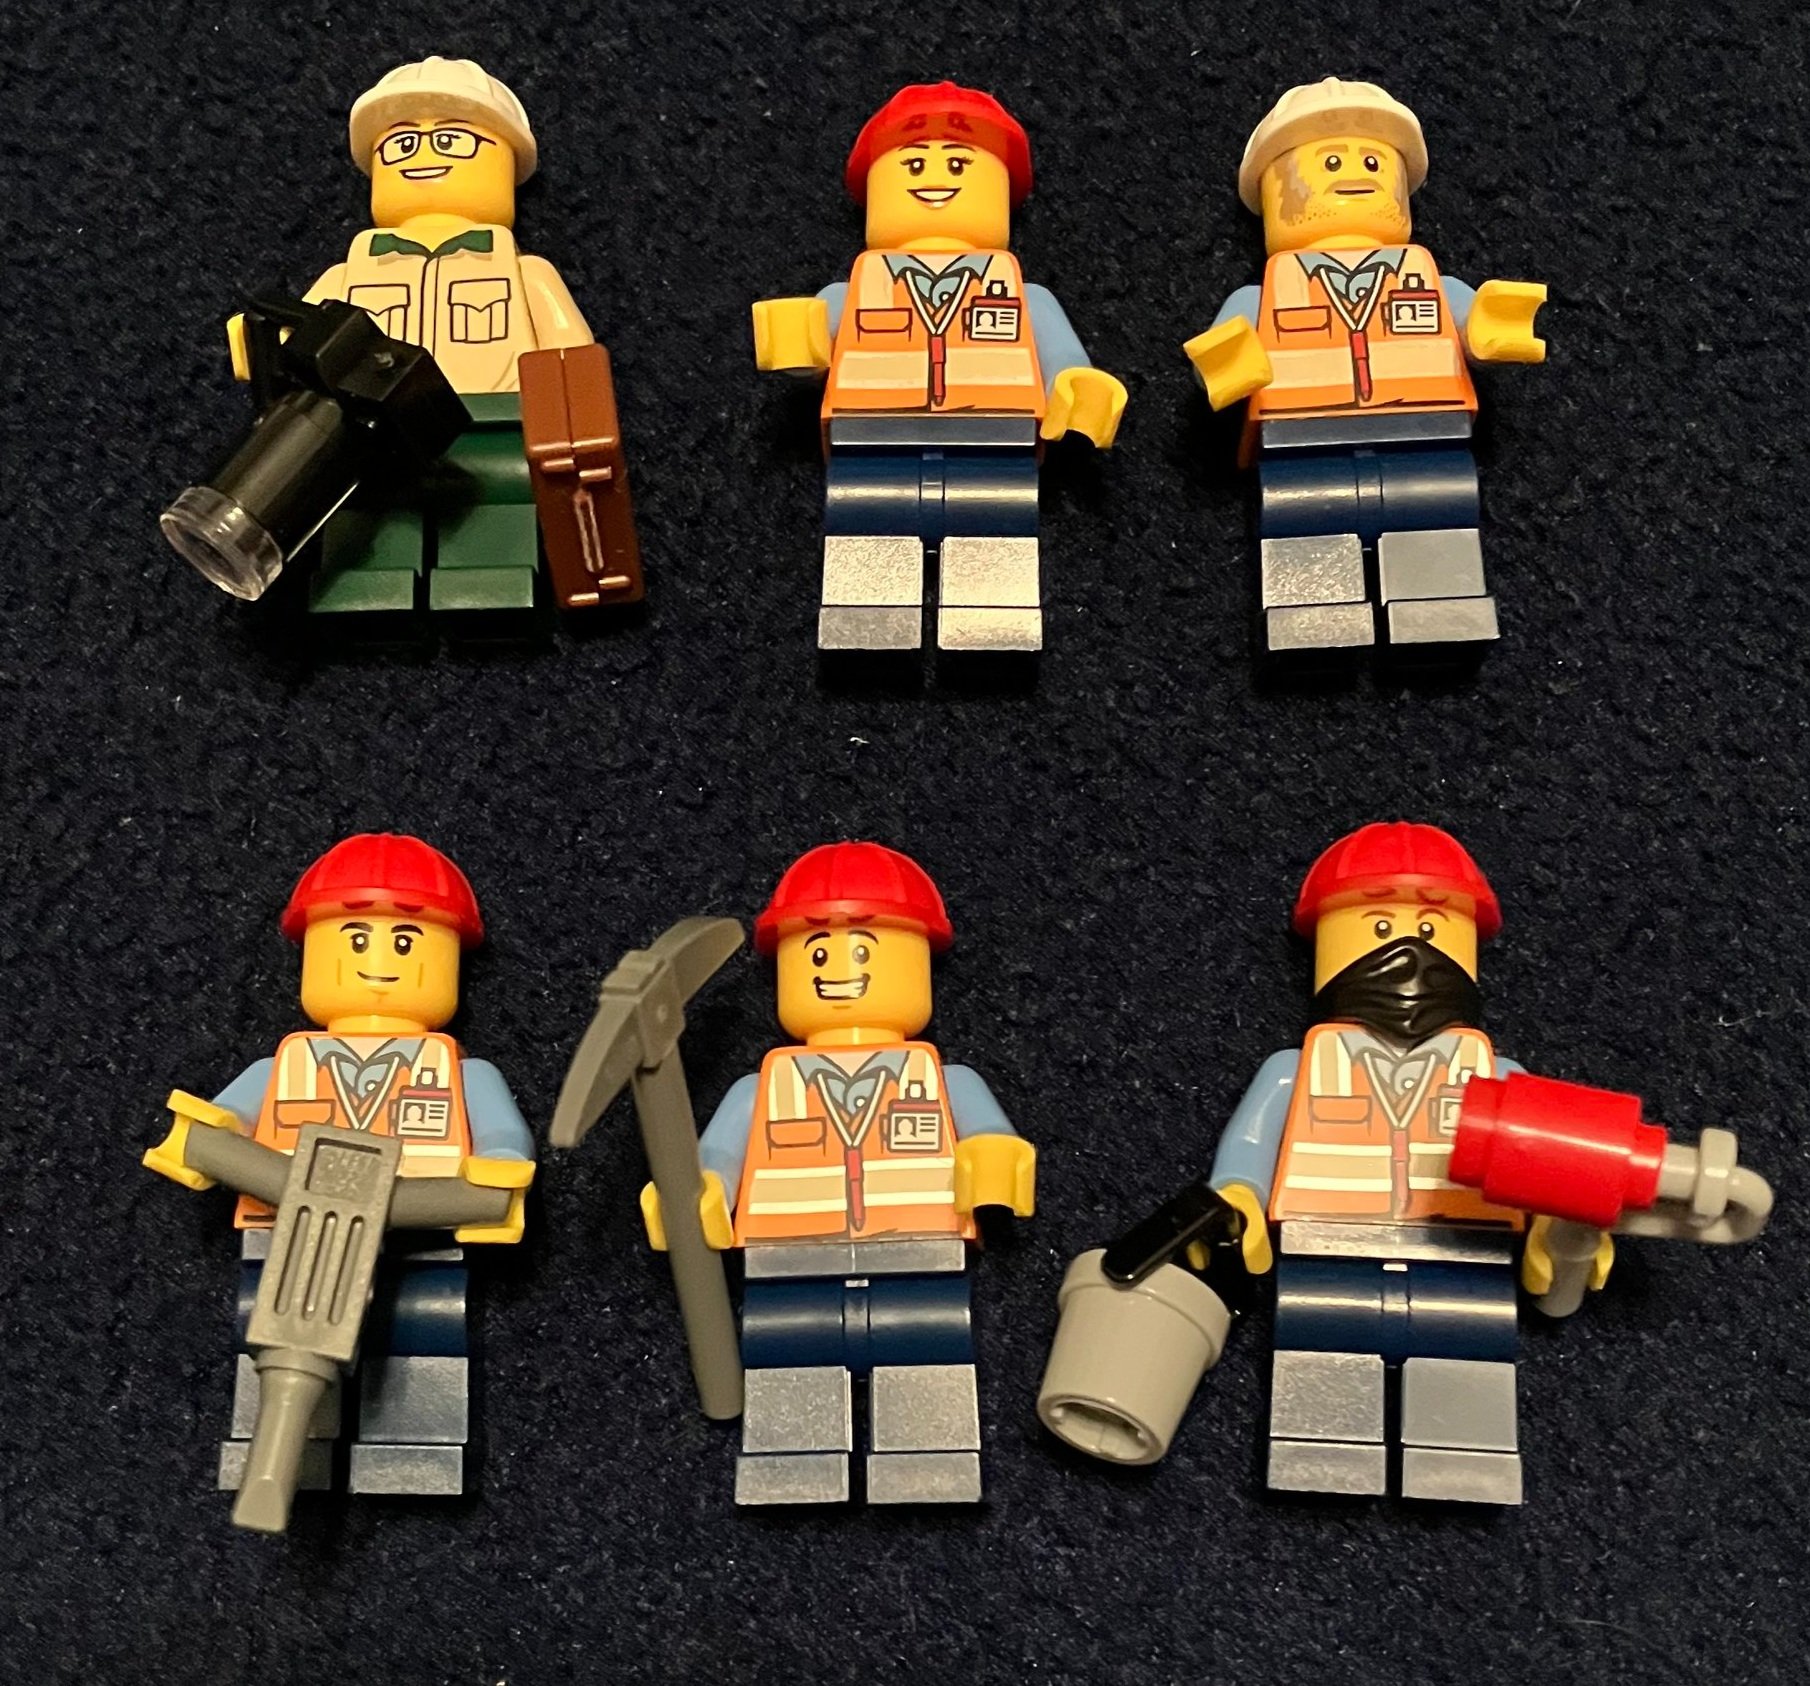
Before we wrap up, there are six minifigures. There are four males and two females. Five are construction workers and one is the inspector or an engineer. It’s a small crew considering the size of the building, but I can’t complain too much. Construction minifigures are fairly easy to get in CITY sets.
Here’s the final set. I enjoyed the build. It’s a challenging build with some great details. It’s a good display piece, but not great for playability as it comes apart pretty easily and parts aren’t really stable. The cost was rather high, but thankfully there are a decent number of pieces. It’s a great option too if you’re looking for parts. The back and one side of the building aren’t finished off with anything. They look like more work needs to be done. It’s hard to say if an additional wall should be added or if the building should be larger. It’s okay to display from the front for a front facing MOC.
Overall, it’s a great build. A little pricy, but it works. There are some areas that could use a re-design. I’ll add it to my long list of sets I’d like to redesign.
This one is off the market now so your chance to get it is on the secondary market at a higher price. The good part is the instructions and bill of materials are online so you can use your own pieces or buy some to re-create this set.
Happy building!