
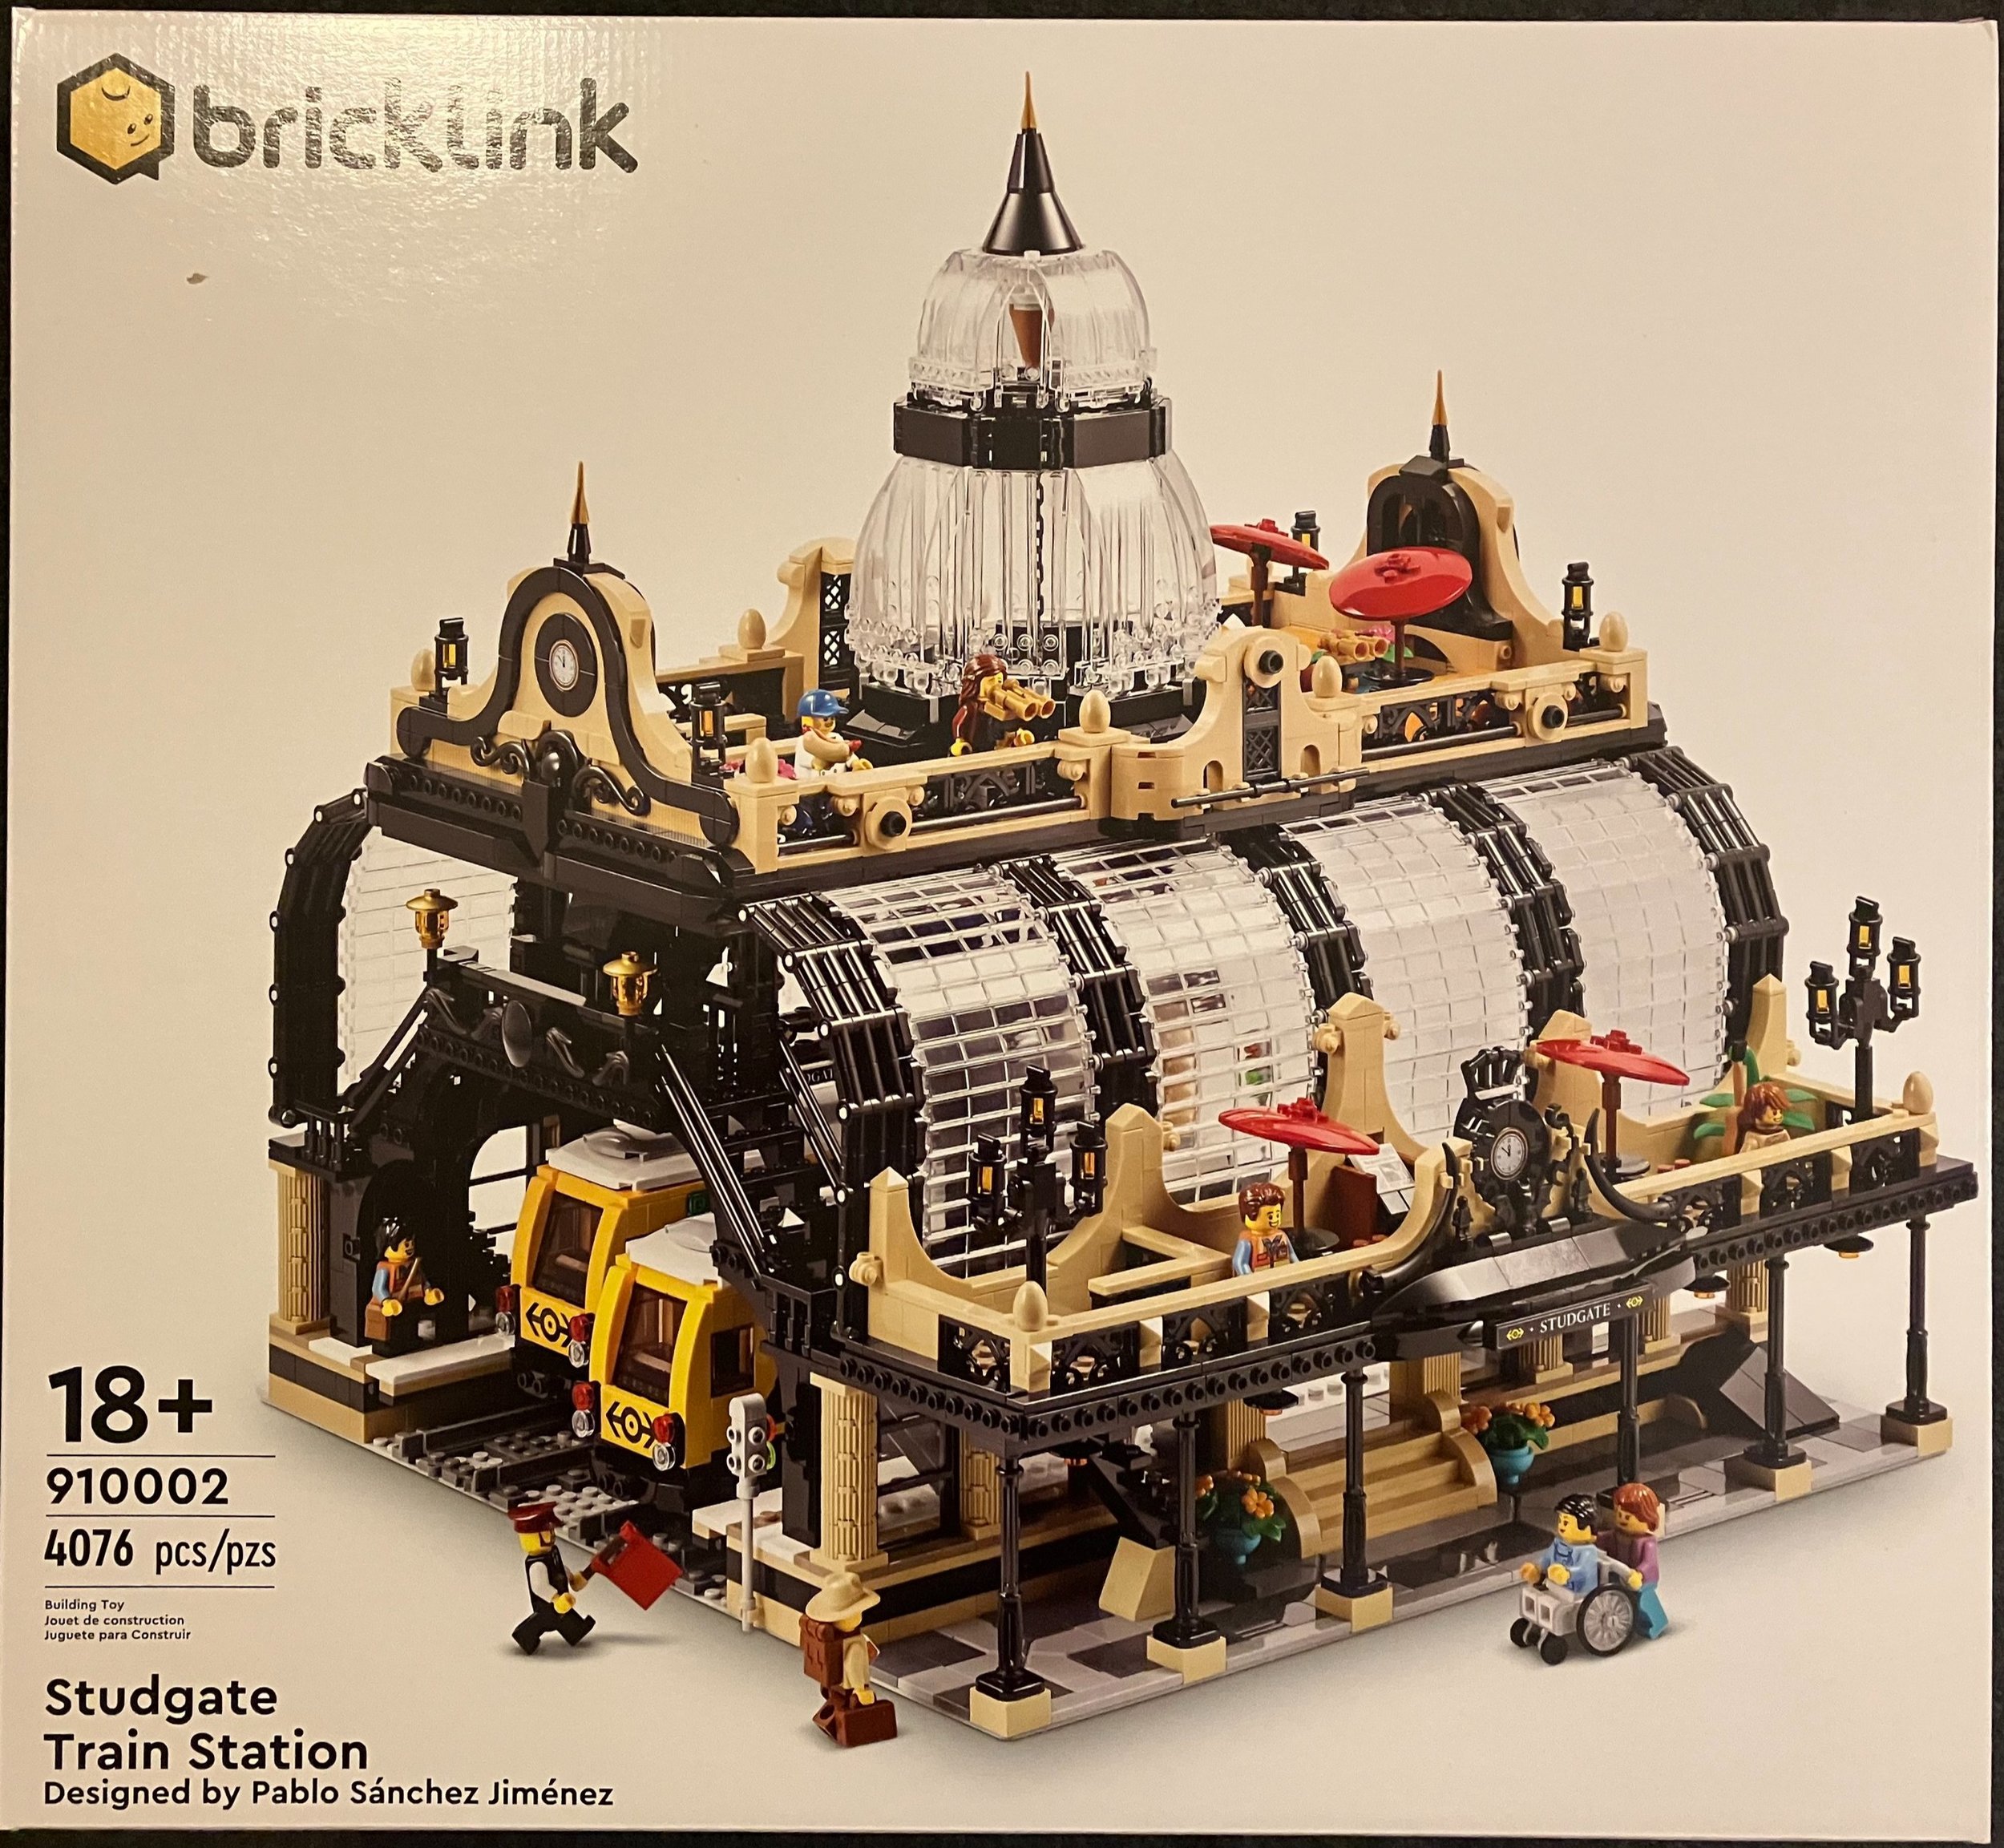
Round Three sets of the 2021 Bricklink Designer Program arrived in 2023. The sets have been delivered for a while, but I had a backlog of builds and then it took a while to put this one together. #910002-1: Studgate Train station contains 4,062 pieces and retailed for $399.99. That worked out to $0.098 per piece so very close to the average of 10 cents per piece that everyone quotes. I’m sure I could have sold it for a significant mark up, but I really wanted to build this one as a train fan and my overall excitement for how the structure looked when the design was released. The fan designer is Pablo Sánchez Jiménez. You might remember him as the fan designer behind #21322-1: Pirates of Barracuda Bay.
I watched a video from Tiago Catarino a few weeks back and someone asked him for his impression of the Bricklink Designer Program sets. He responded that he didn’t like them as they didn’t get the full treatment that LEGO goes through for it’s design process. My response is that he should build this set. Wow! It was an incredible build and was very challenging. I enjoyed the process and I think the end product looks great. There are a few things that wouldn’t pass the LEGO designer test, but nothing major. Let’s dig into the review.
The box matches all of he previous Bricklink Designer Program designs with the white box, Bricklink logo, and LEGO set identification in the bottom left corner on the front. The front also lists the fan designer’s name which is cool My set came well packaged and the seals were all fully attached.

The parts are mixed between three separate boxes on the inside and then there is a large 48x48 stud light gray baseplate. Opening the boxes reveals 23 numbered bags with some numbers having more than one bag per number. There were also a few bags of larger pieces that weren’t numbered.


Like previous Bricklink Designer Program sets, there are no printed instructions. You can either download a .pdf from Bricklink or use the LEGO® Builder app. I used the .pdf. I still prefer printed instructions, but I managed. After working with a computer all day, it’s nice to turn off the electronics and use paper instructions and bricks.
This set comes with a small sticker sheet. While I would have liked printed parts, I can’t complain about 9 stickers total.

The first bag assembles the base of both train cars. You use two of the large train plates and the standard buffers and wheels. Everything else is custom built.
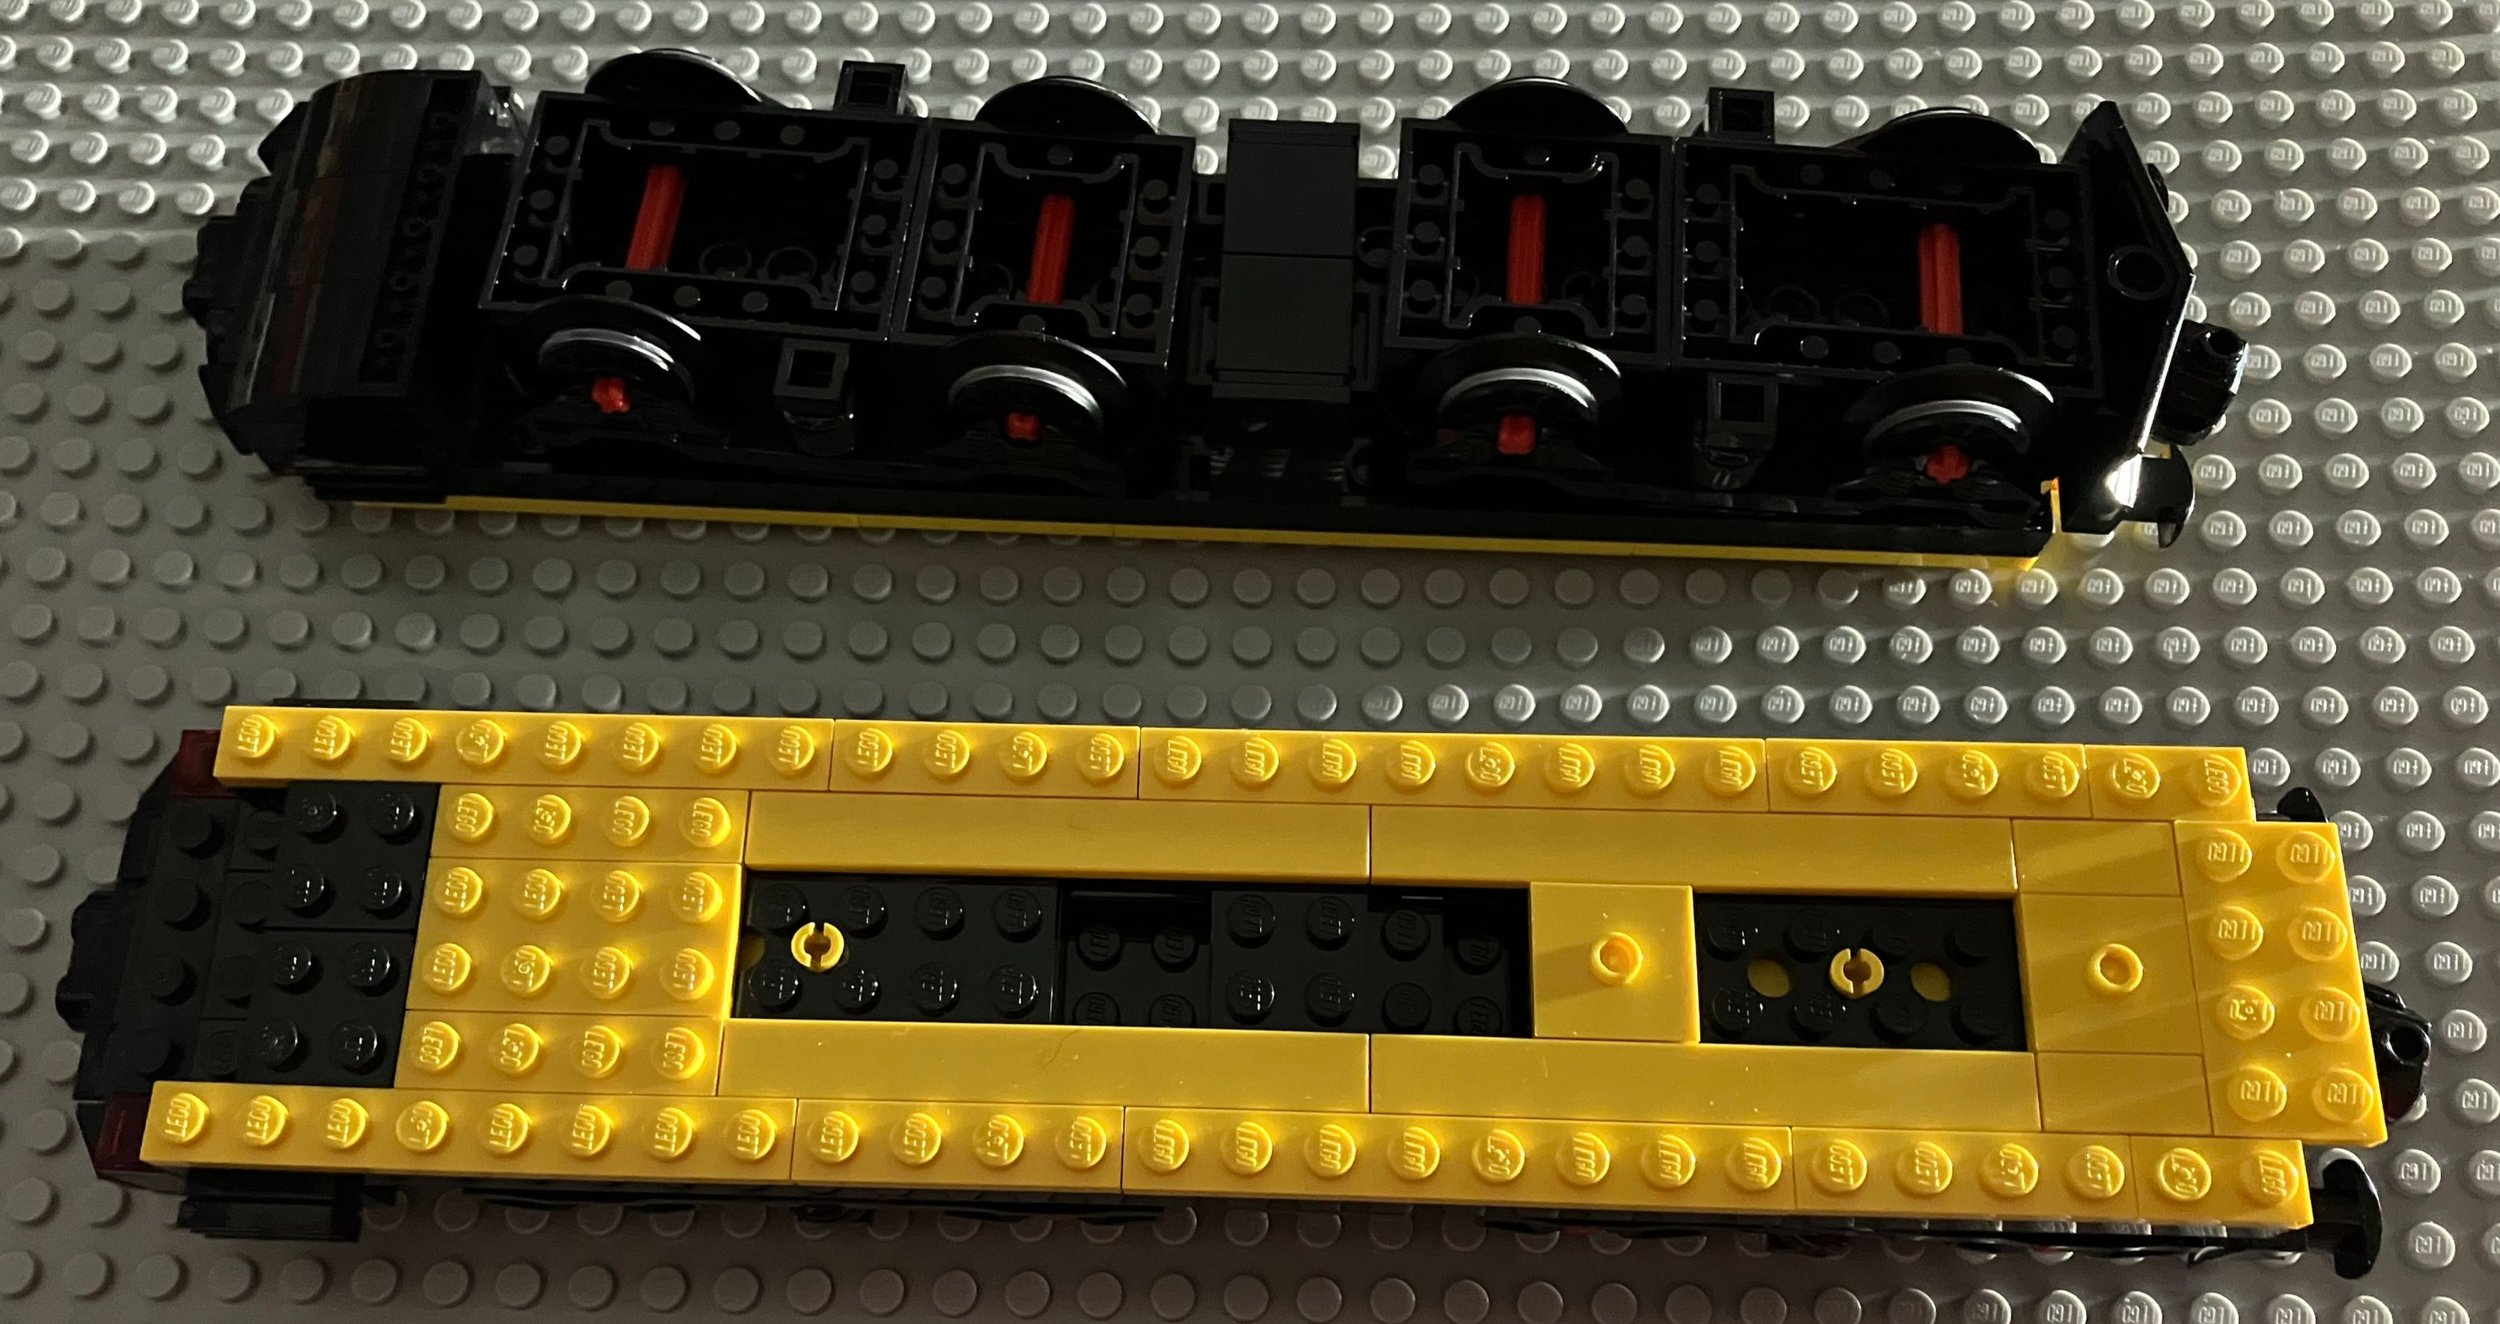
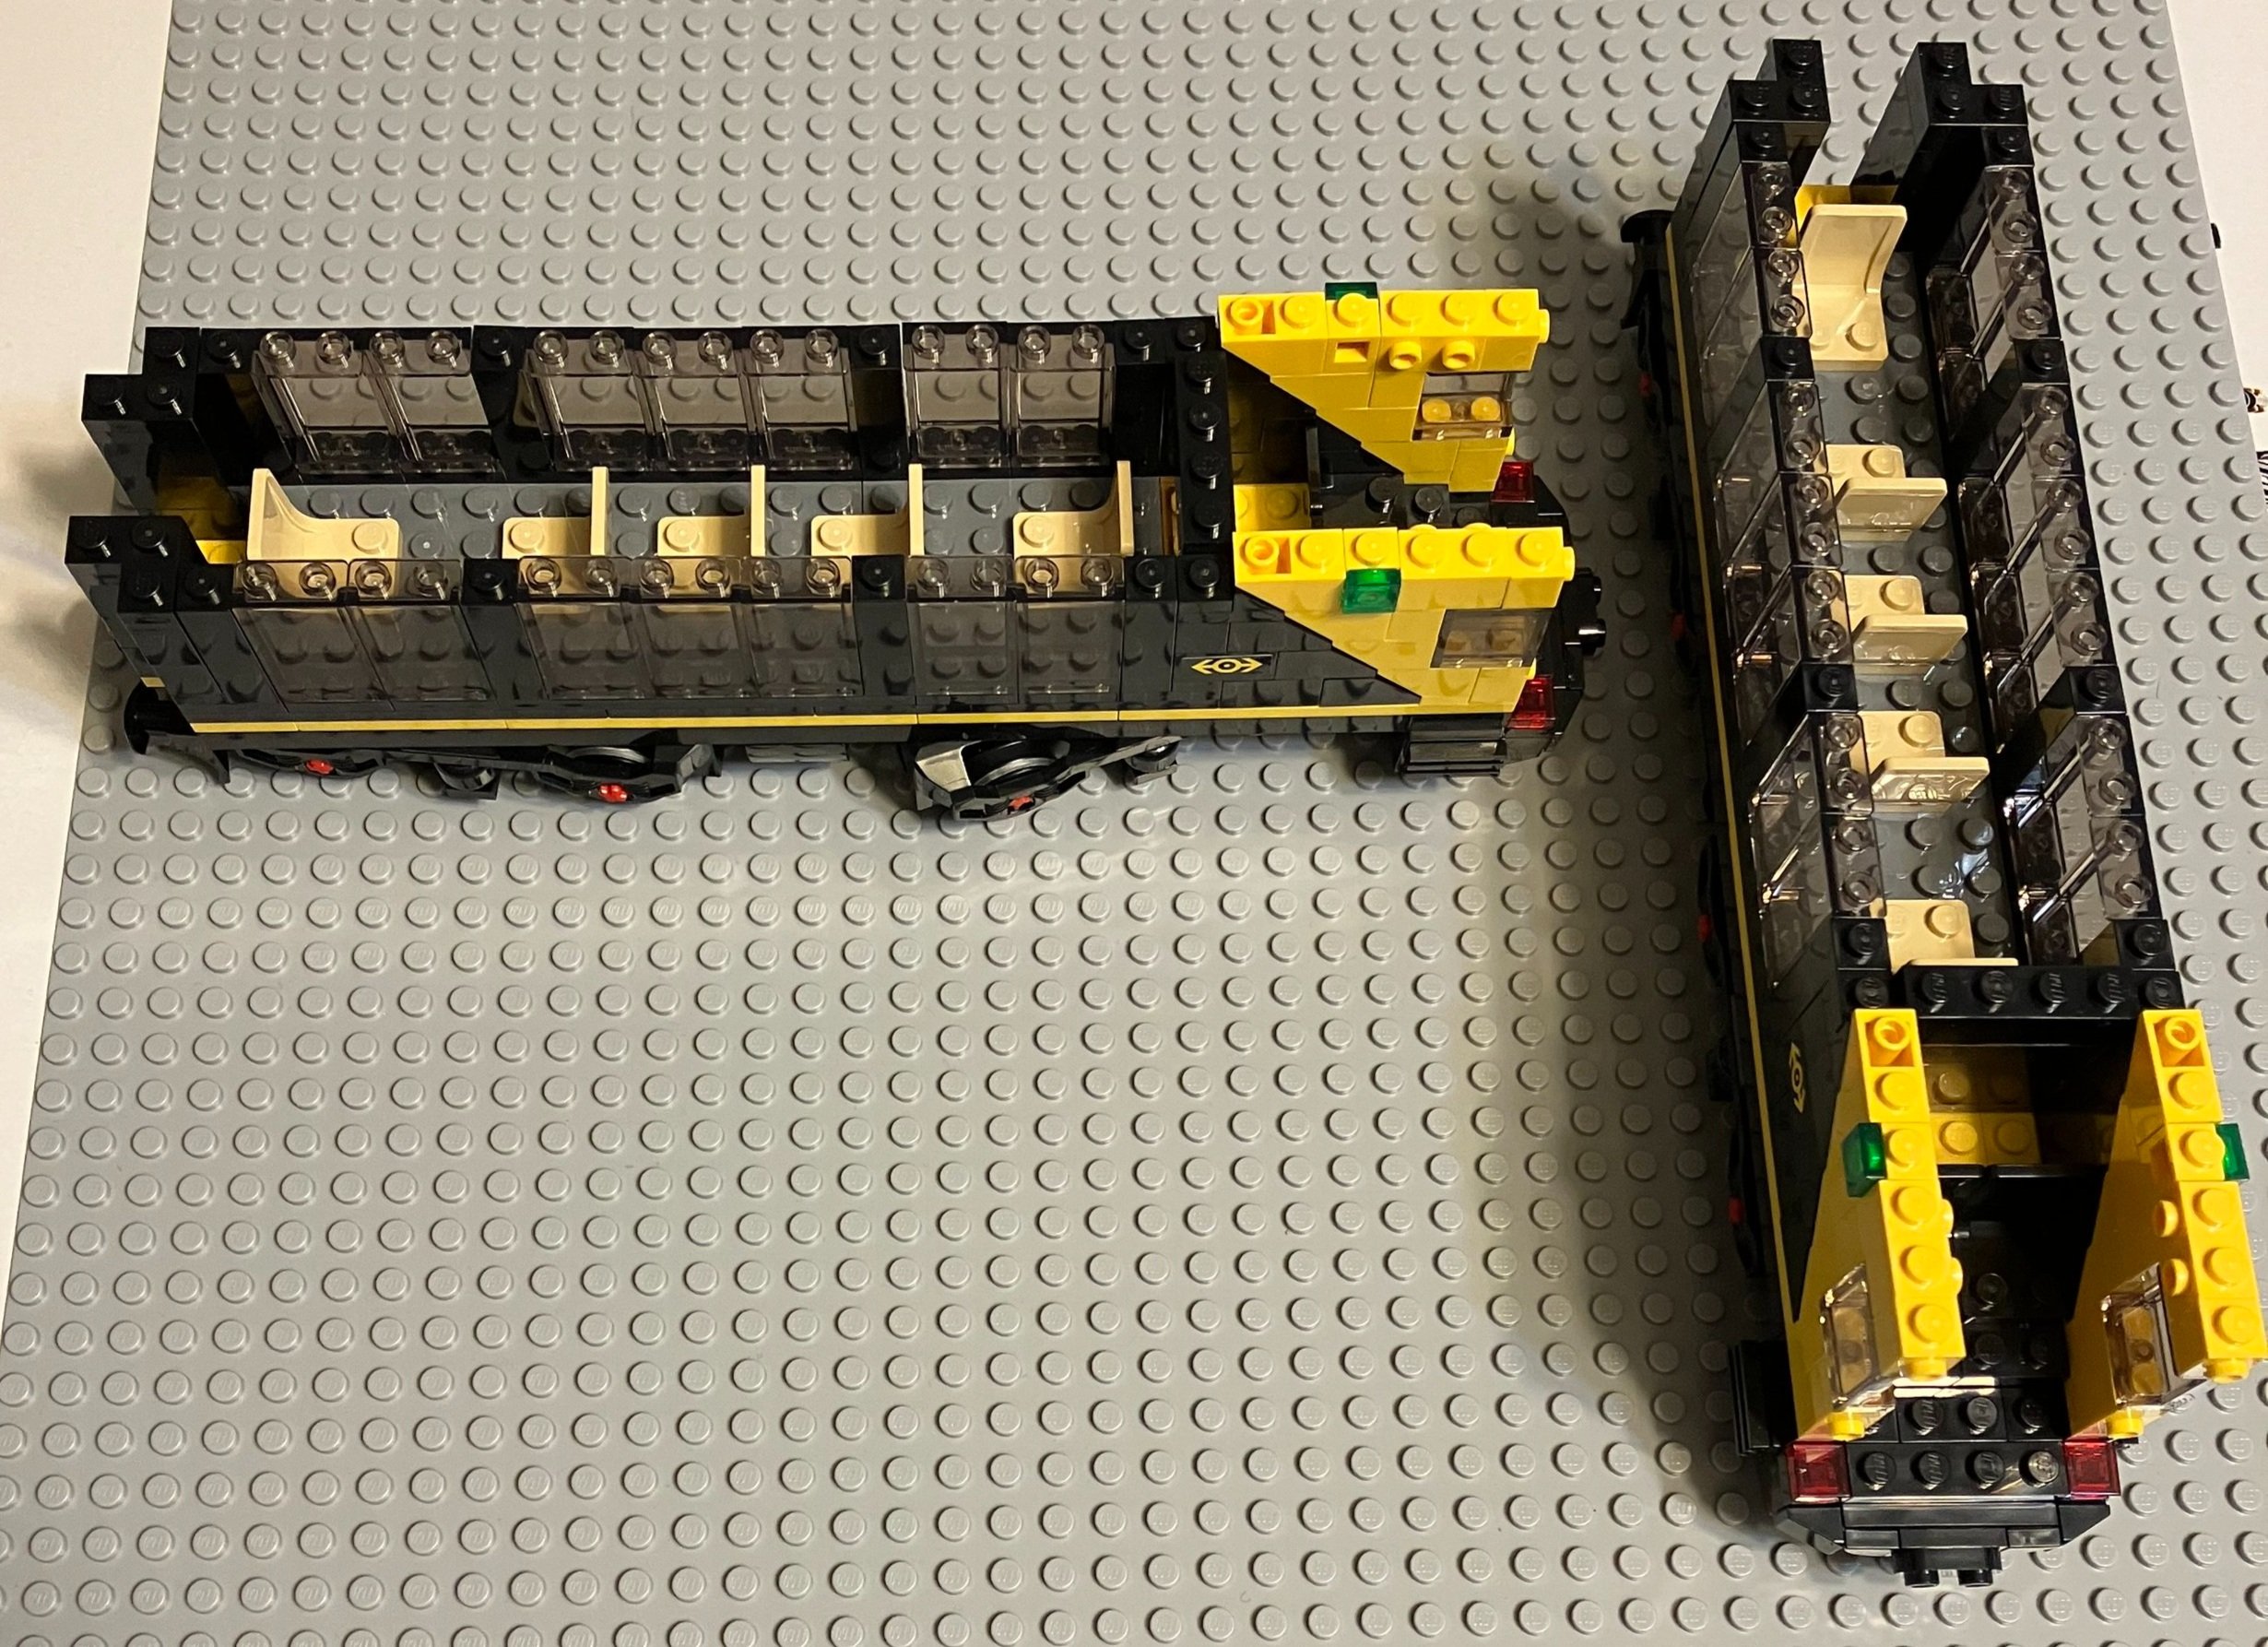
Bag two builds up the train to include seats and windows. Bag three completes the trains with a roof and front wind shield. Overall, it’s a fairly simple train and you can use them as individual cars or combine the two for a longer train. There are no doors on the cars so you either have to modify them on your own or just live without doors. If you want to motorize the train, you’ll have to do some modifications to add a battery box, but it’s possible. Or just use a 9V motor and track if you have it. I would have liked a more detailed train and more cars, but I understand the limitation of the program and realize that the focus of this build was on the station. The train is just an added bonus.

Build four begins the station build with the sidewalk in front of the station and part of the first platform. The sidewalk is pretty simple, but the use of the light and dark gray along with the Nexo Knight shields helps to improve upon the design.
Build five adds the front wall of the station with some windows, stairs leading up to an arched doorway, and a wheel chair ramp.


Build six is already to the second story of the platform. You add in some decorative wall designs and a few seats and a newspaper stand. The front of the station by the sidewalk uses black lamp post poles to hold up the upper level. The pieces are a little awkward as the back section is well attached and it can stay up without all of these pieces attached. I found they came out of place often.


Build seven adds in some details on the upper level to include some tables with umbrellas, lamps, and a clock on the front. The first two minifigures are included which are a younger male passenger with a guitar and a male worker.
Bag eight adds in some decoration on the front of the station to include a sticker with the name of the station.


Build nine adds in some details on the platform to include a bench and ticket machine. You also start the build of the stairs that will allow the minifigures to go to the other side of the platform. This bag comes with two minifigures. One is a janitor cleaning off the station platform. The other is a traveler with a bag and ticket. You then add in the rails. The set comes with eight straight rails, but you only install six so you have a few extras. Then you start to build up the other side of the platform.
One note of the design is the ramp across the tracks for minifigures in wheel chairs. some of the pieces used have studs sticking up. This is good if you want minifigures to pose on the tracks, but it doesn’t allow the engine with the buffer that has a plow-like piece on it to easily clear the tracks there. If you intend to add this set to you train setup, you’ll need to add in some different pieces to allow train clearance.
Bag ten adds in the other side of the platform with a wall with windows, a station sign, a bench, a trash can, and some lights. There are two more minifigures. One is a male with a winter cap, sun glasses, a poofy jacket collar, and 2 bags. The other is a female worker with a purse/bag.


Bag 11 builds the bridge that connects the platforms. It’s not a super sturdy bridge, but it holds up okay. The design is all black pieces, but it works. Bag 12 finishes the bridge, adds the stairs to the upper level, and a support arch to hold up the upper level and dome.


Bag 13 builds the base of the top level. It is put together with plates connected to bricks connected with Technic pins. It’s pretty solid. Bag 14 finishes up the upper level base and starts to add in some detailing.


Bag 15 continues to add in detailing of the upper level with a fence around the outside, two center sections that are a little taller for aesthetics, and then some lounge areas for your minifigures to sit while waiting for their train.

Bag 16 adds in some parts around where the stairs connect and then an embellished section where a clock is placed. This section is cool as there are a bunch of brick arches and you build an assembly for the clock that connects via clips to parts behind the clock. Definitely a cool design choice I wouldn’t have thought of. Also along the outside are some open studs which are used as design throughout the build. Maybe it’s part of the reason why it’s called “Stud” gate.


Bag 17 wraps up the upper section. You add in some umbrellas for shade by the couches, some flowers for decorations, two lookout stands to get a view, a hot dog stand, and a few more decorations along the edges. This section gives you two minifigures. One is the hot dog vendor who comes with a blue baseball cap or a chef’s hat. The other is a female traveler with a camera.

Bags 18 through 21 build the dome like covering of the station. This part got a little repetitive, but I understood why. You start by using Technic pieces to build a piece of the outer frame, then you connect the clear garage door pieces together and connect them to the outer frame, then you build more frame pieces to connect to the clear garage door pieces, and so on. Eventually you get two larger sections of four sections of this type of build.
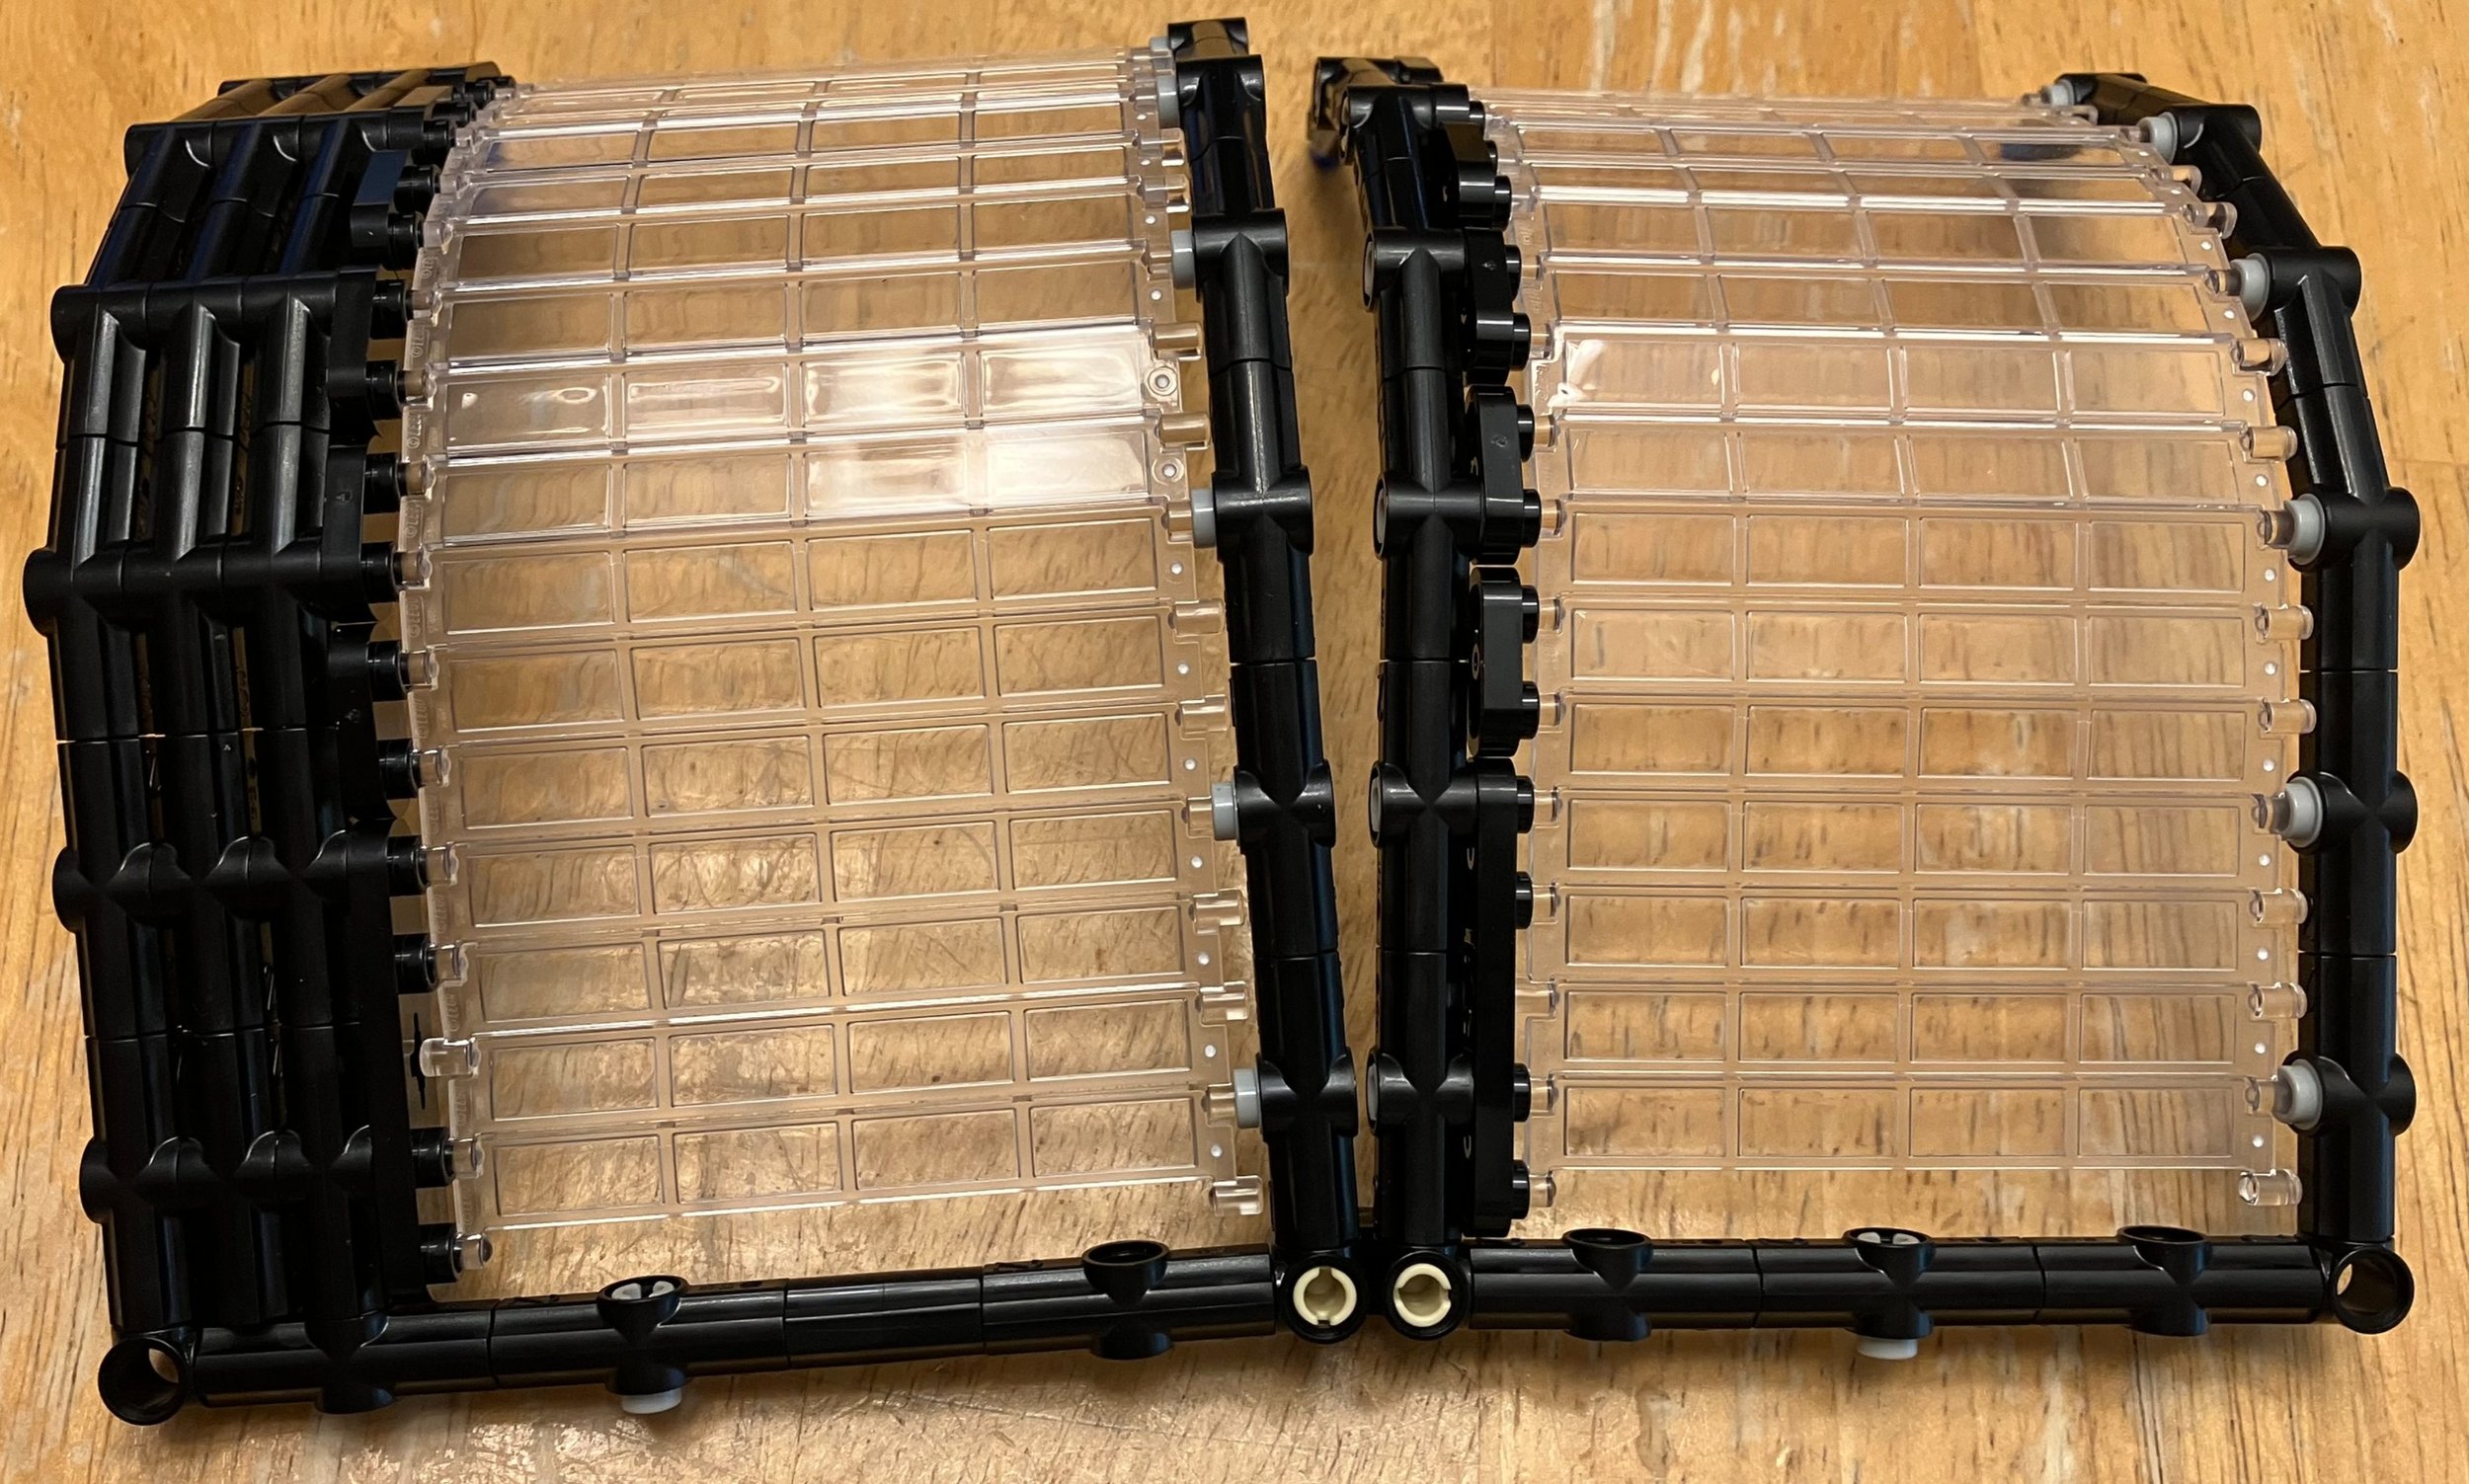
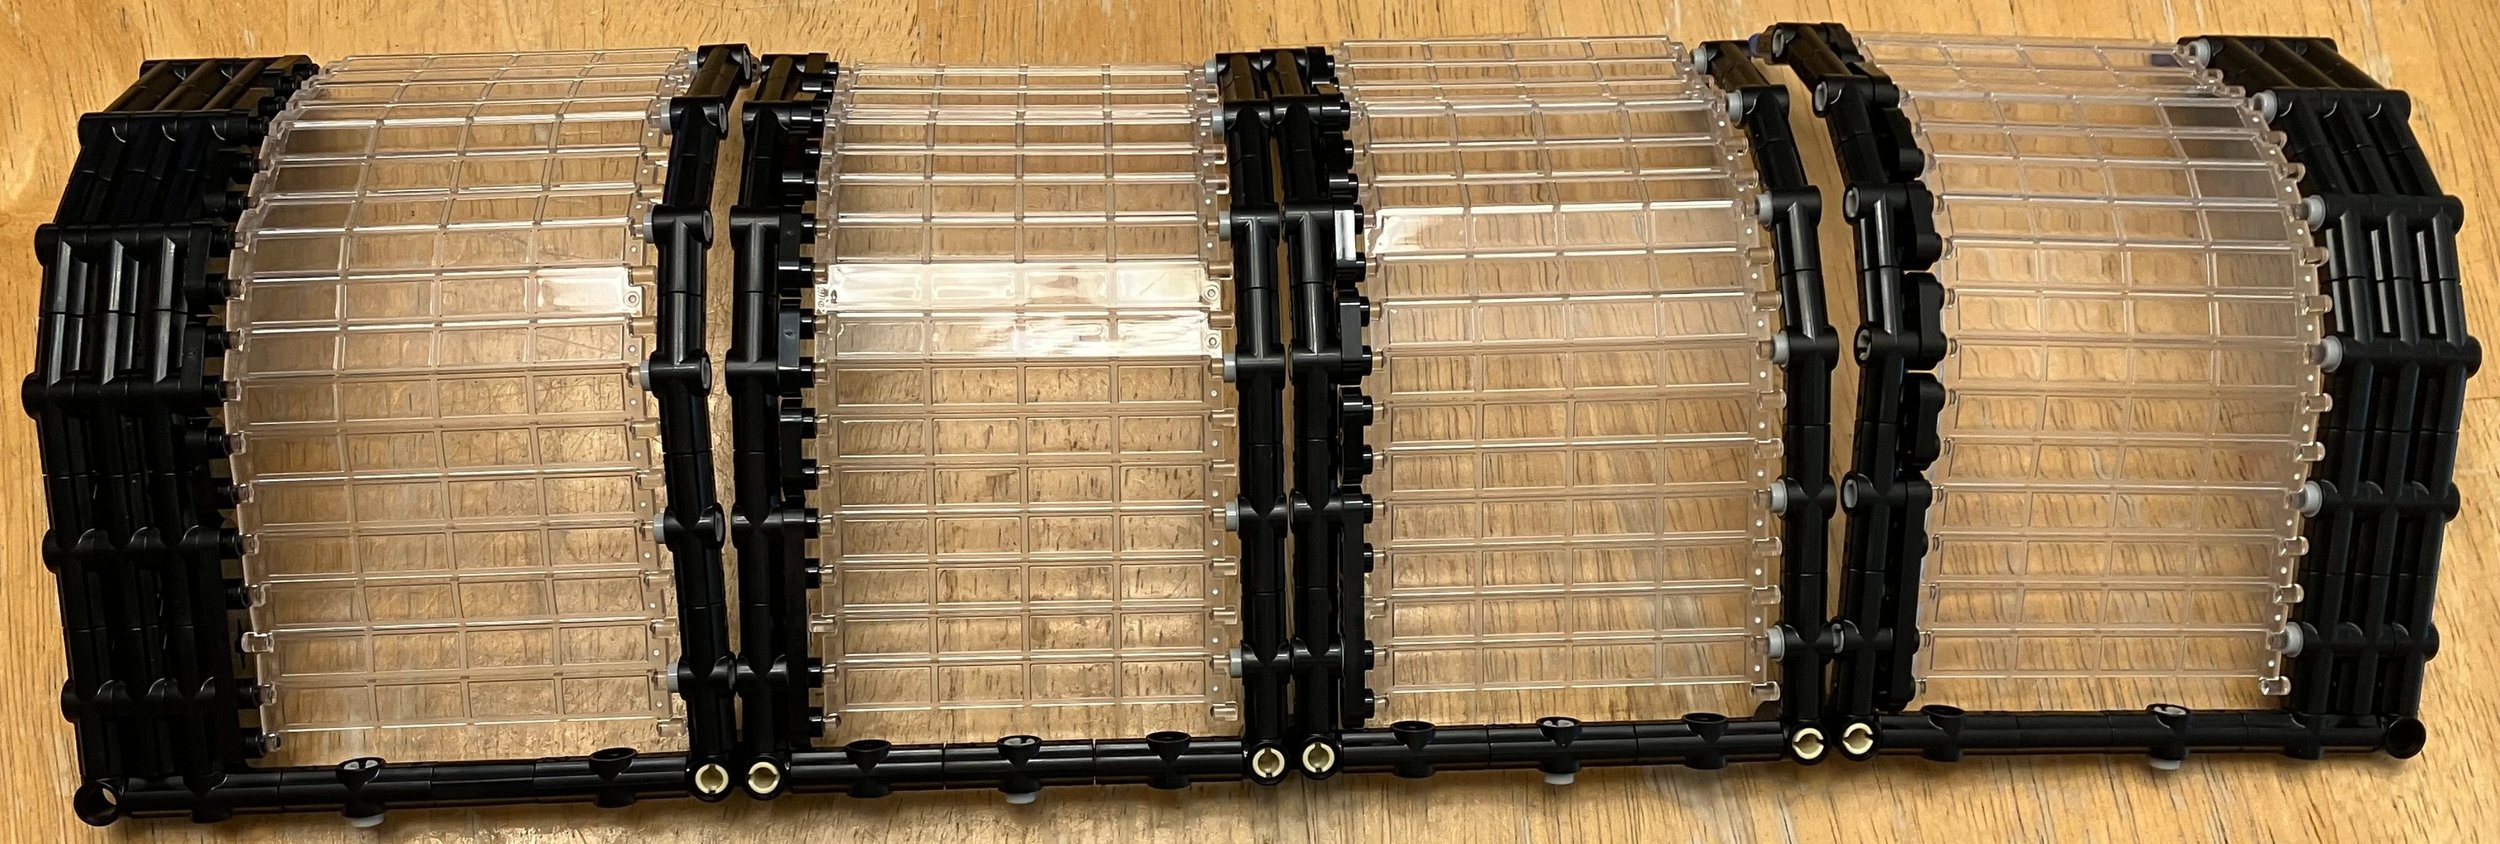
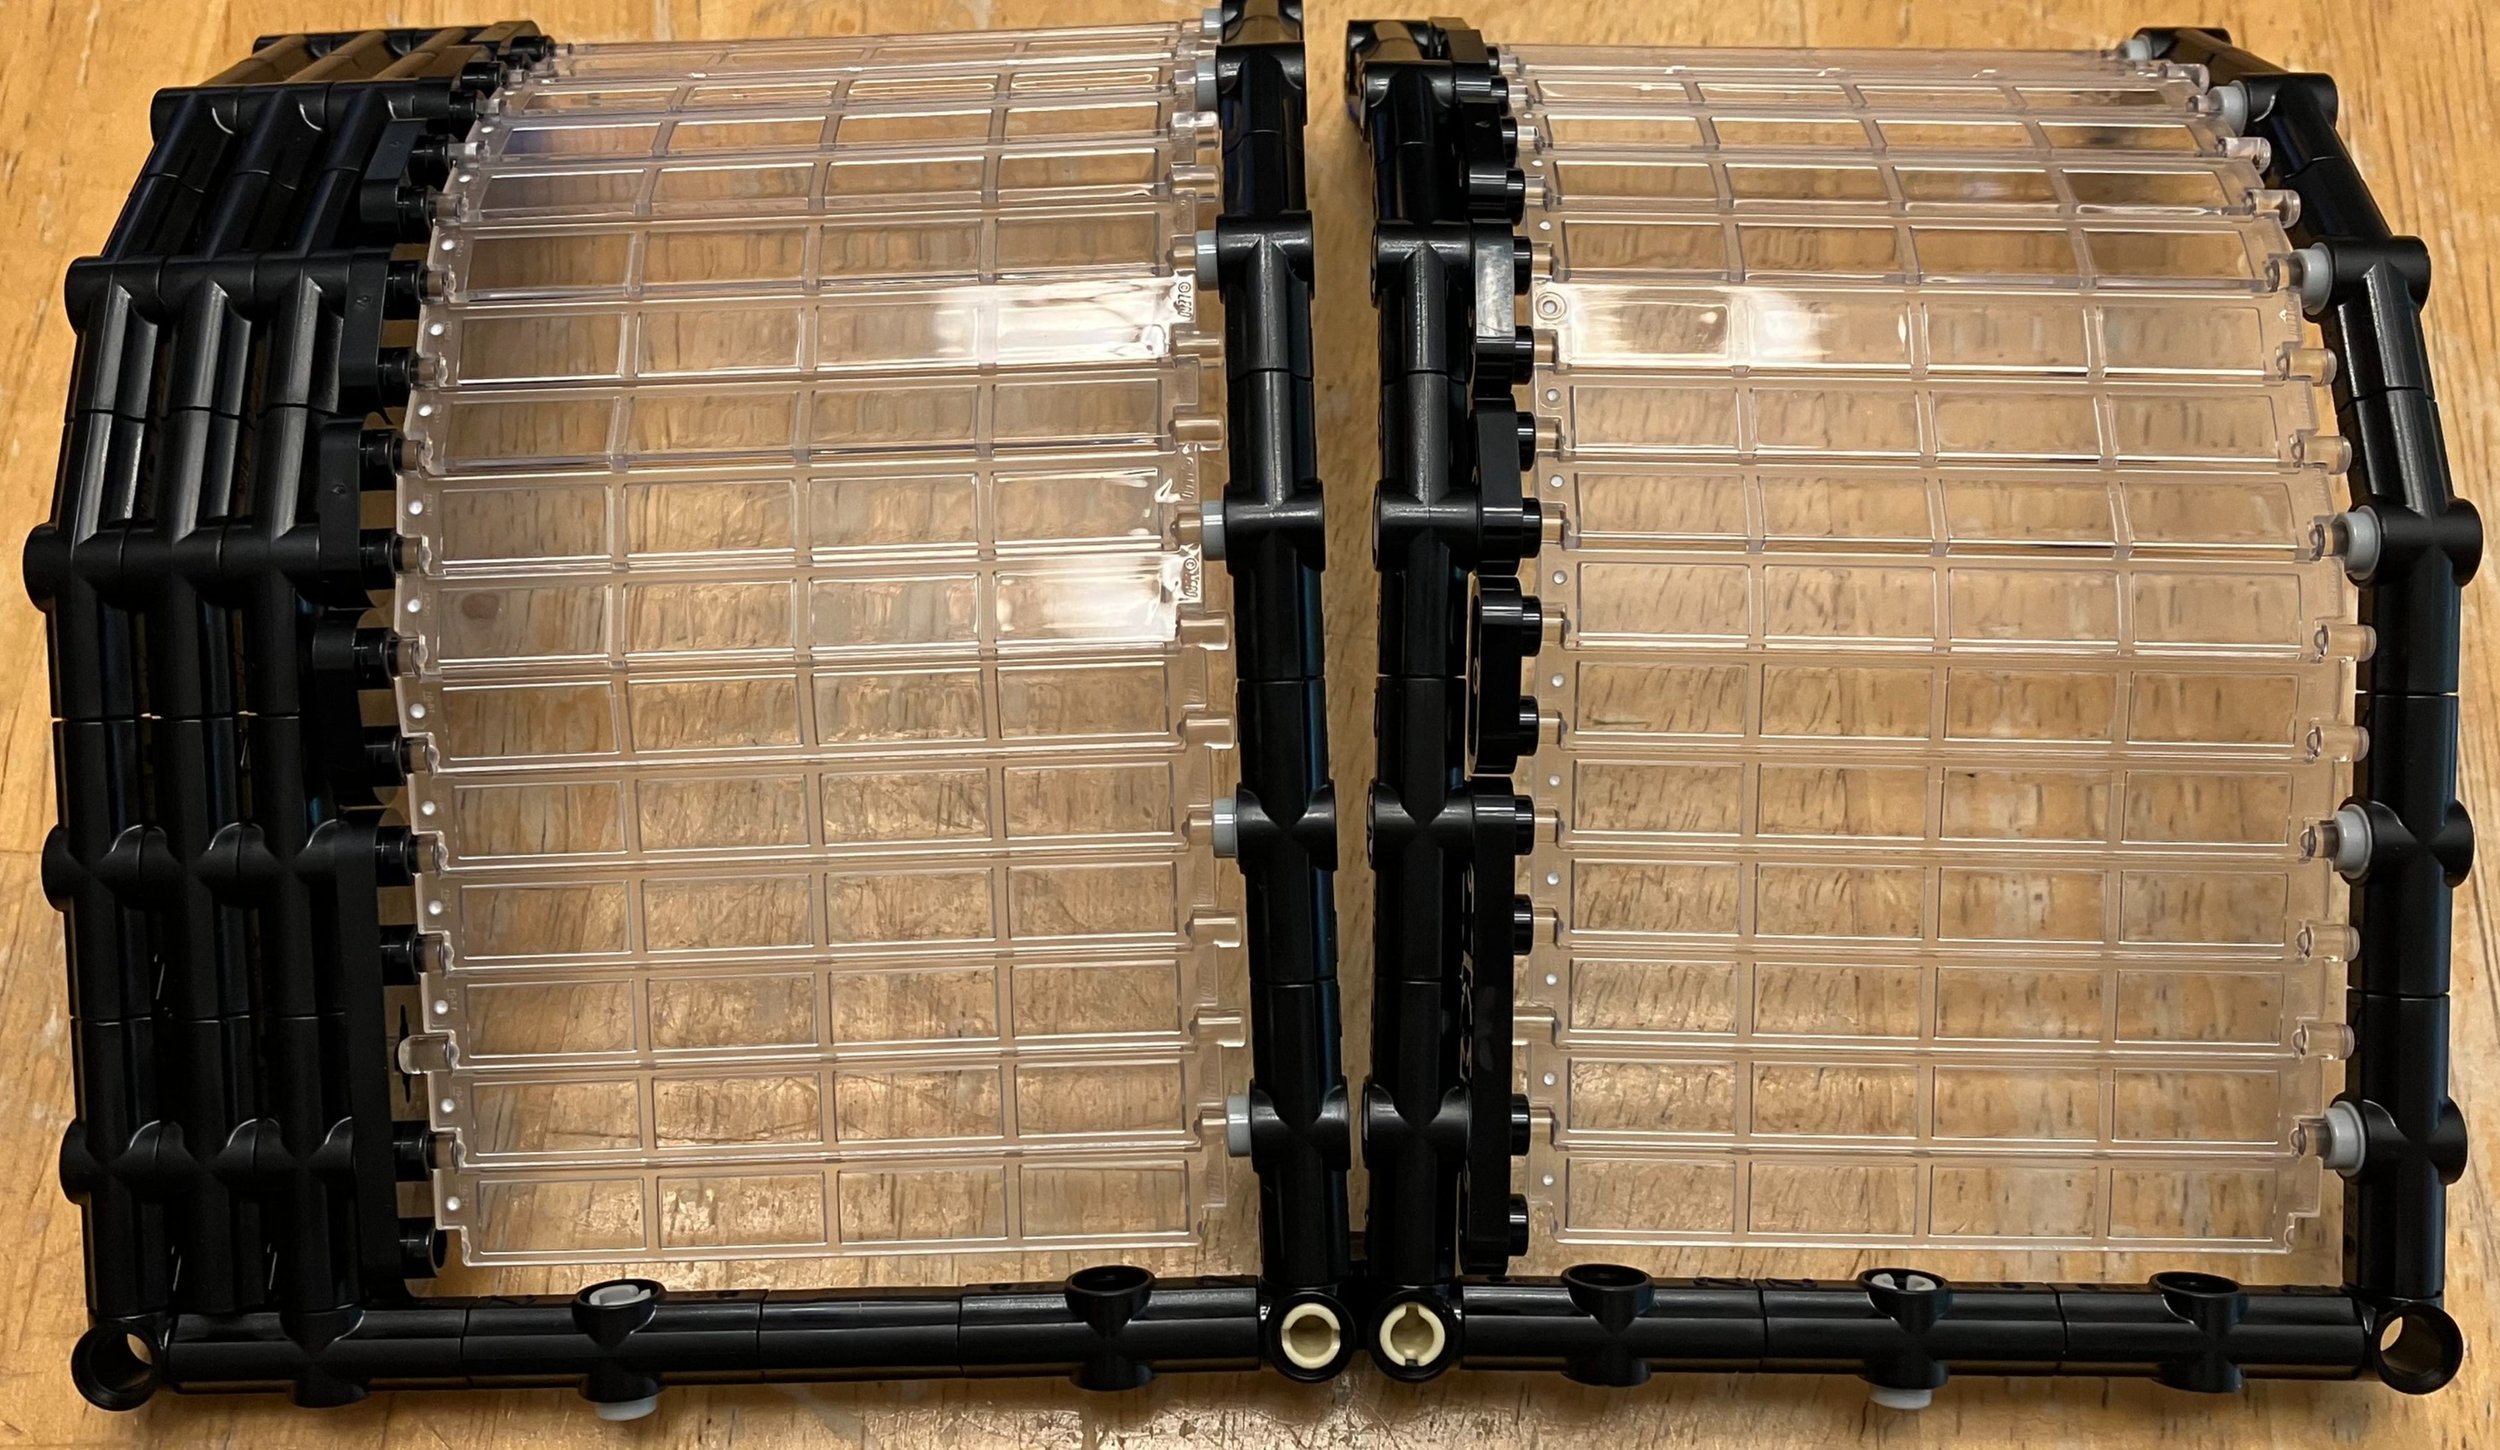
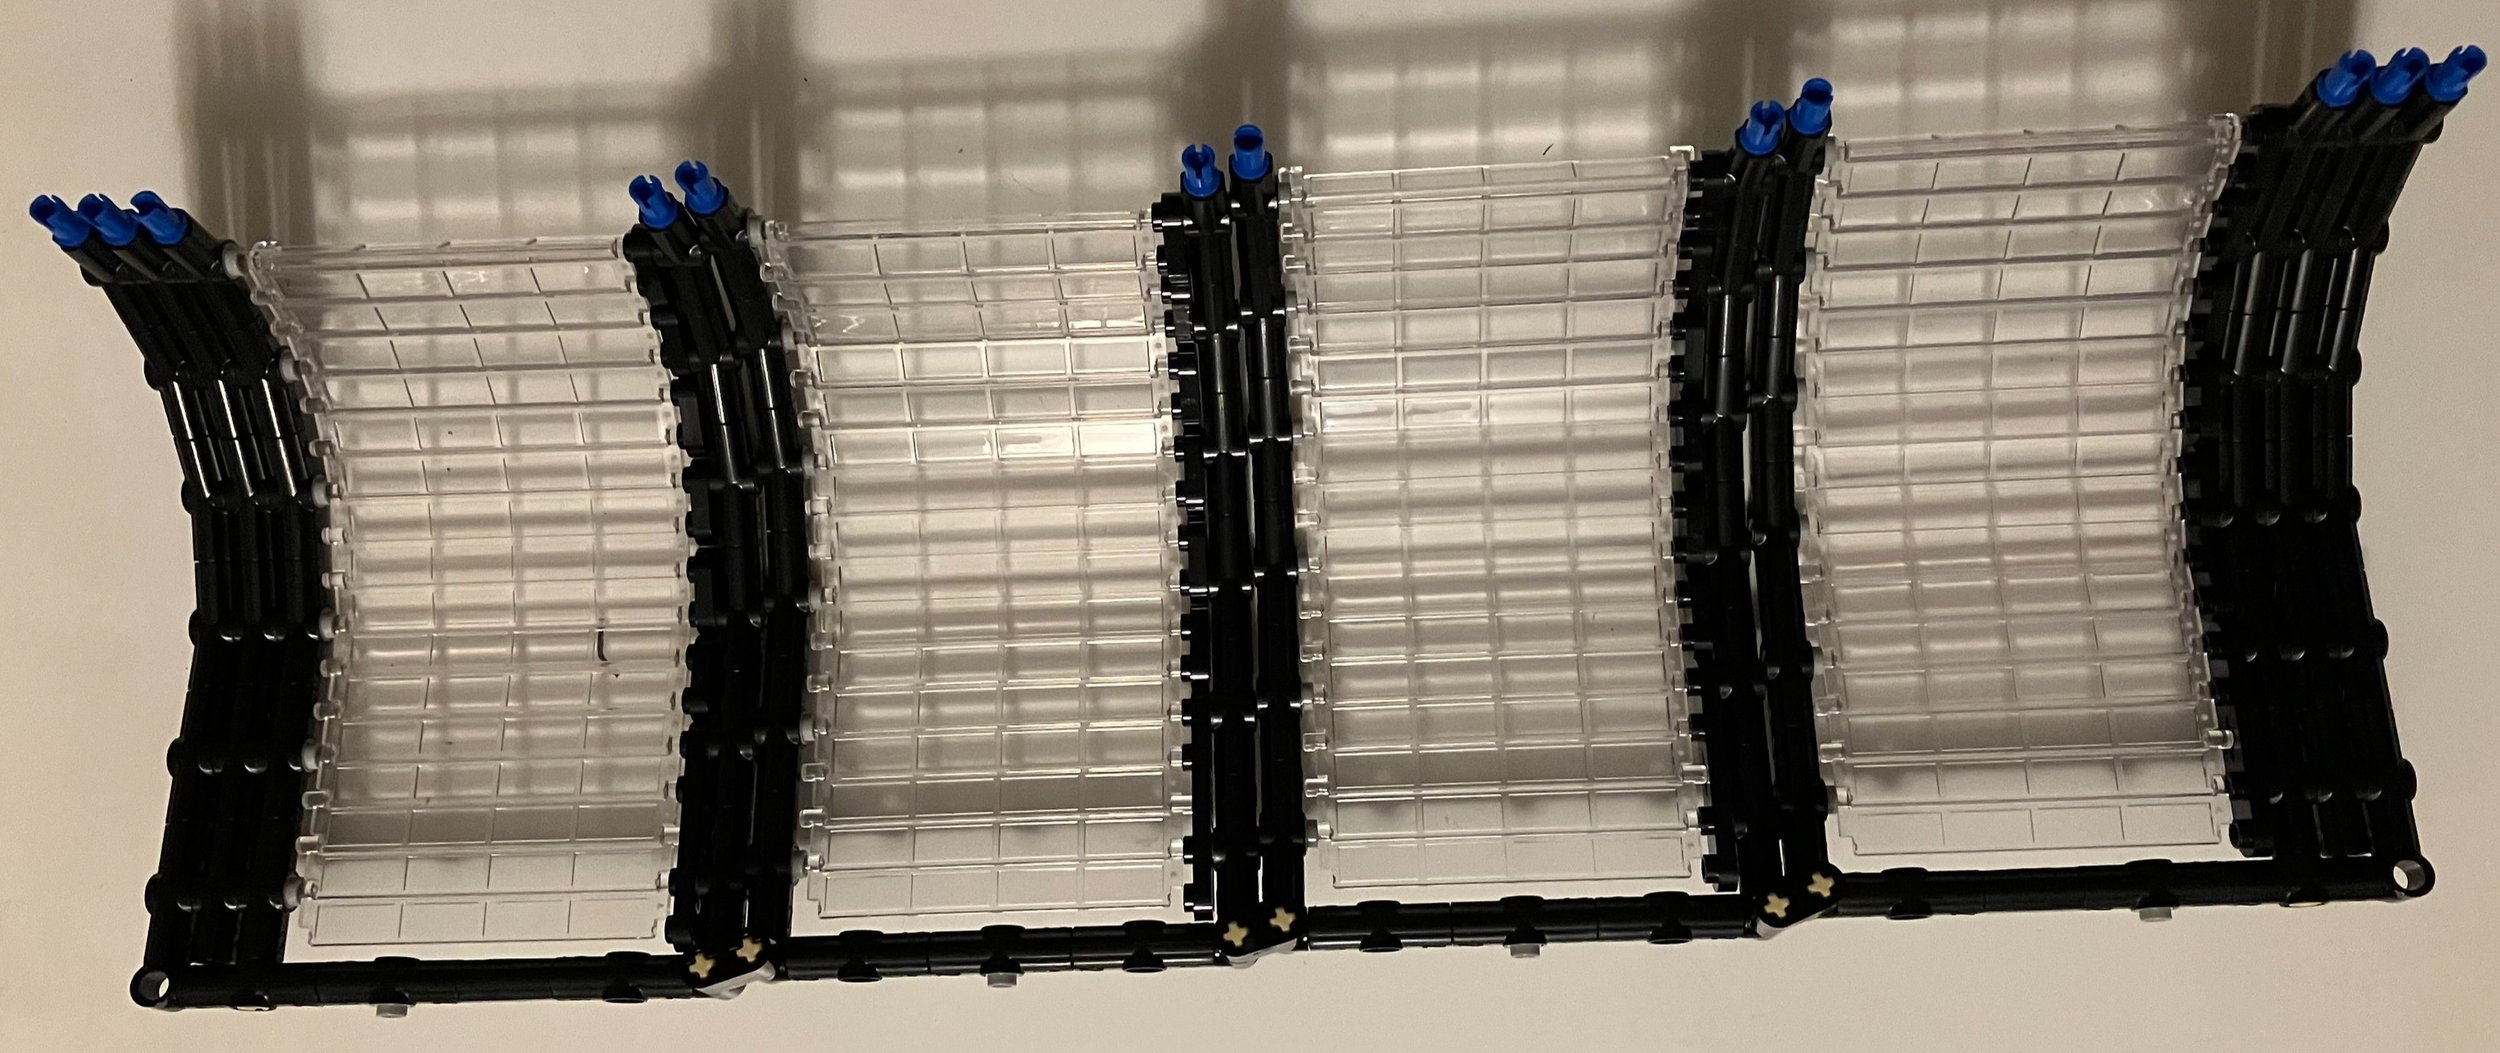
After each section is assembled, those sections are attached to the top level completed at step 17. This part was very challenging for me. You have to connect the Technic pins into the base of the top level and there are clips to attach the clear garage door pieces. This was not easy to do as the top level has a lot of details already installed. I ended up removing a lot of pieces and then fighting to get everything attached. I’m not sure if there would have been a better order to do this all in, but I eventually managed to get it all together and re-assembled. Whew!
The whole section is then attached to the rest of the station. I use the term attached loosely as it really rests on it. The only true connection is with the stairs. One side of the platform has two small pins that stick up into the Technic holes, but this is more to keep it from sliding as opposed to being a structural support. It works though as I’m able to pick the entire build up and move it around and it stays in place.

The original submitted design used a large single clear piece for the very top dome. Apparently LEGO didn’t agree with the piece choice so it was re-designed with multiple clear pieces. This section starts off with an octagon type shape connected by hinge pieces. Then you clip on some larger windscreen pieces to go around the outside while some clear rod pieces are in the inside to support what will be the top of the dome in the next section of the build.

The final bag, #23, is some smaller wind screens attached to the clear rods from the previous bag. You then use these pieces to hold up the very top spire. There are no actual connections, it just rests there with gravity. From there, you build a chandelier which connects to the top spire by a chain piece. My picture of the chandelier isn’t the greatest, but it was hard to get a picture of it alone as it needs to hang freely to see what it looks like.
This whole dome section was an impressive engineering feat and while it has some gaps and weird angles, I think it looks okay.


This set comes with ten minifigures. There are a good range of travelers and workers and they come with a bunch of different accessories. Overall, it’s a good mix.

Okay, I lied… There are 11 minifigures. The minifigure in a wheelchair rolled off the set in my building area when I took the original picture. Whoops! This is a female minifigure with short hair and a hoodie. She gives you the opportunity to test out the ramps for those that need them.

Here are some pictures of the final set assembled. I think this one looks awesome! Despite some minor design issues and assembly challenges with the upper level, it’s a great set that would look great in any city set. I think it would be a bit small for a larger passenger train to stop at, but one with one or two cars works. I’m glad I picked this one up when I did as I’m sure it’s going to a hefty price on Bricklink or Ebay. Not sure how much it would be to assemble all the pieces and build it on your own, but the instructions are available for free online so you can assemble it if you’d like. Overall, it was a great build and I look forward to adding this to a train layout someday.
Happy building!


