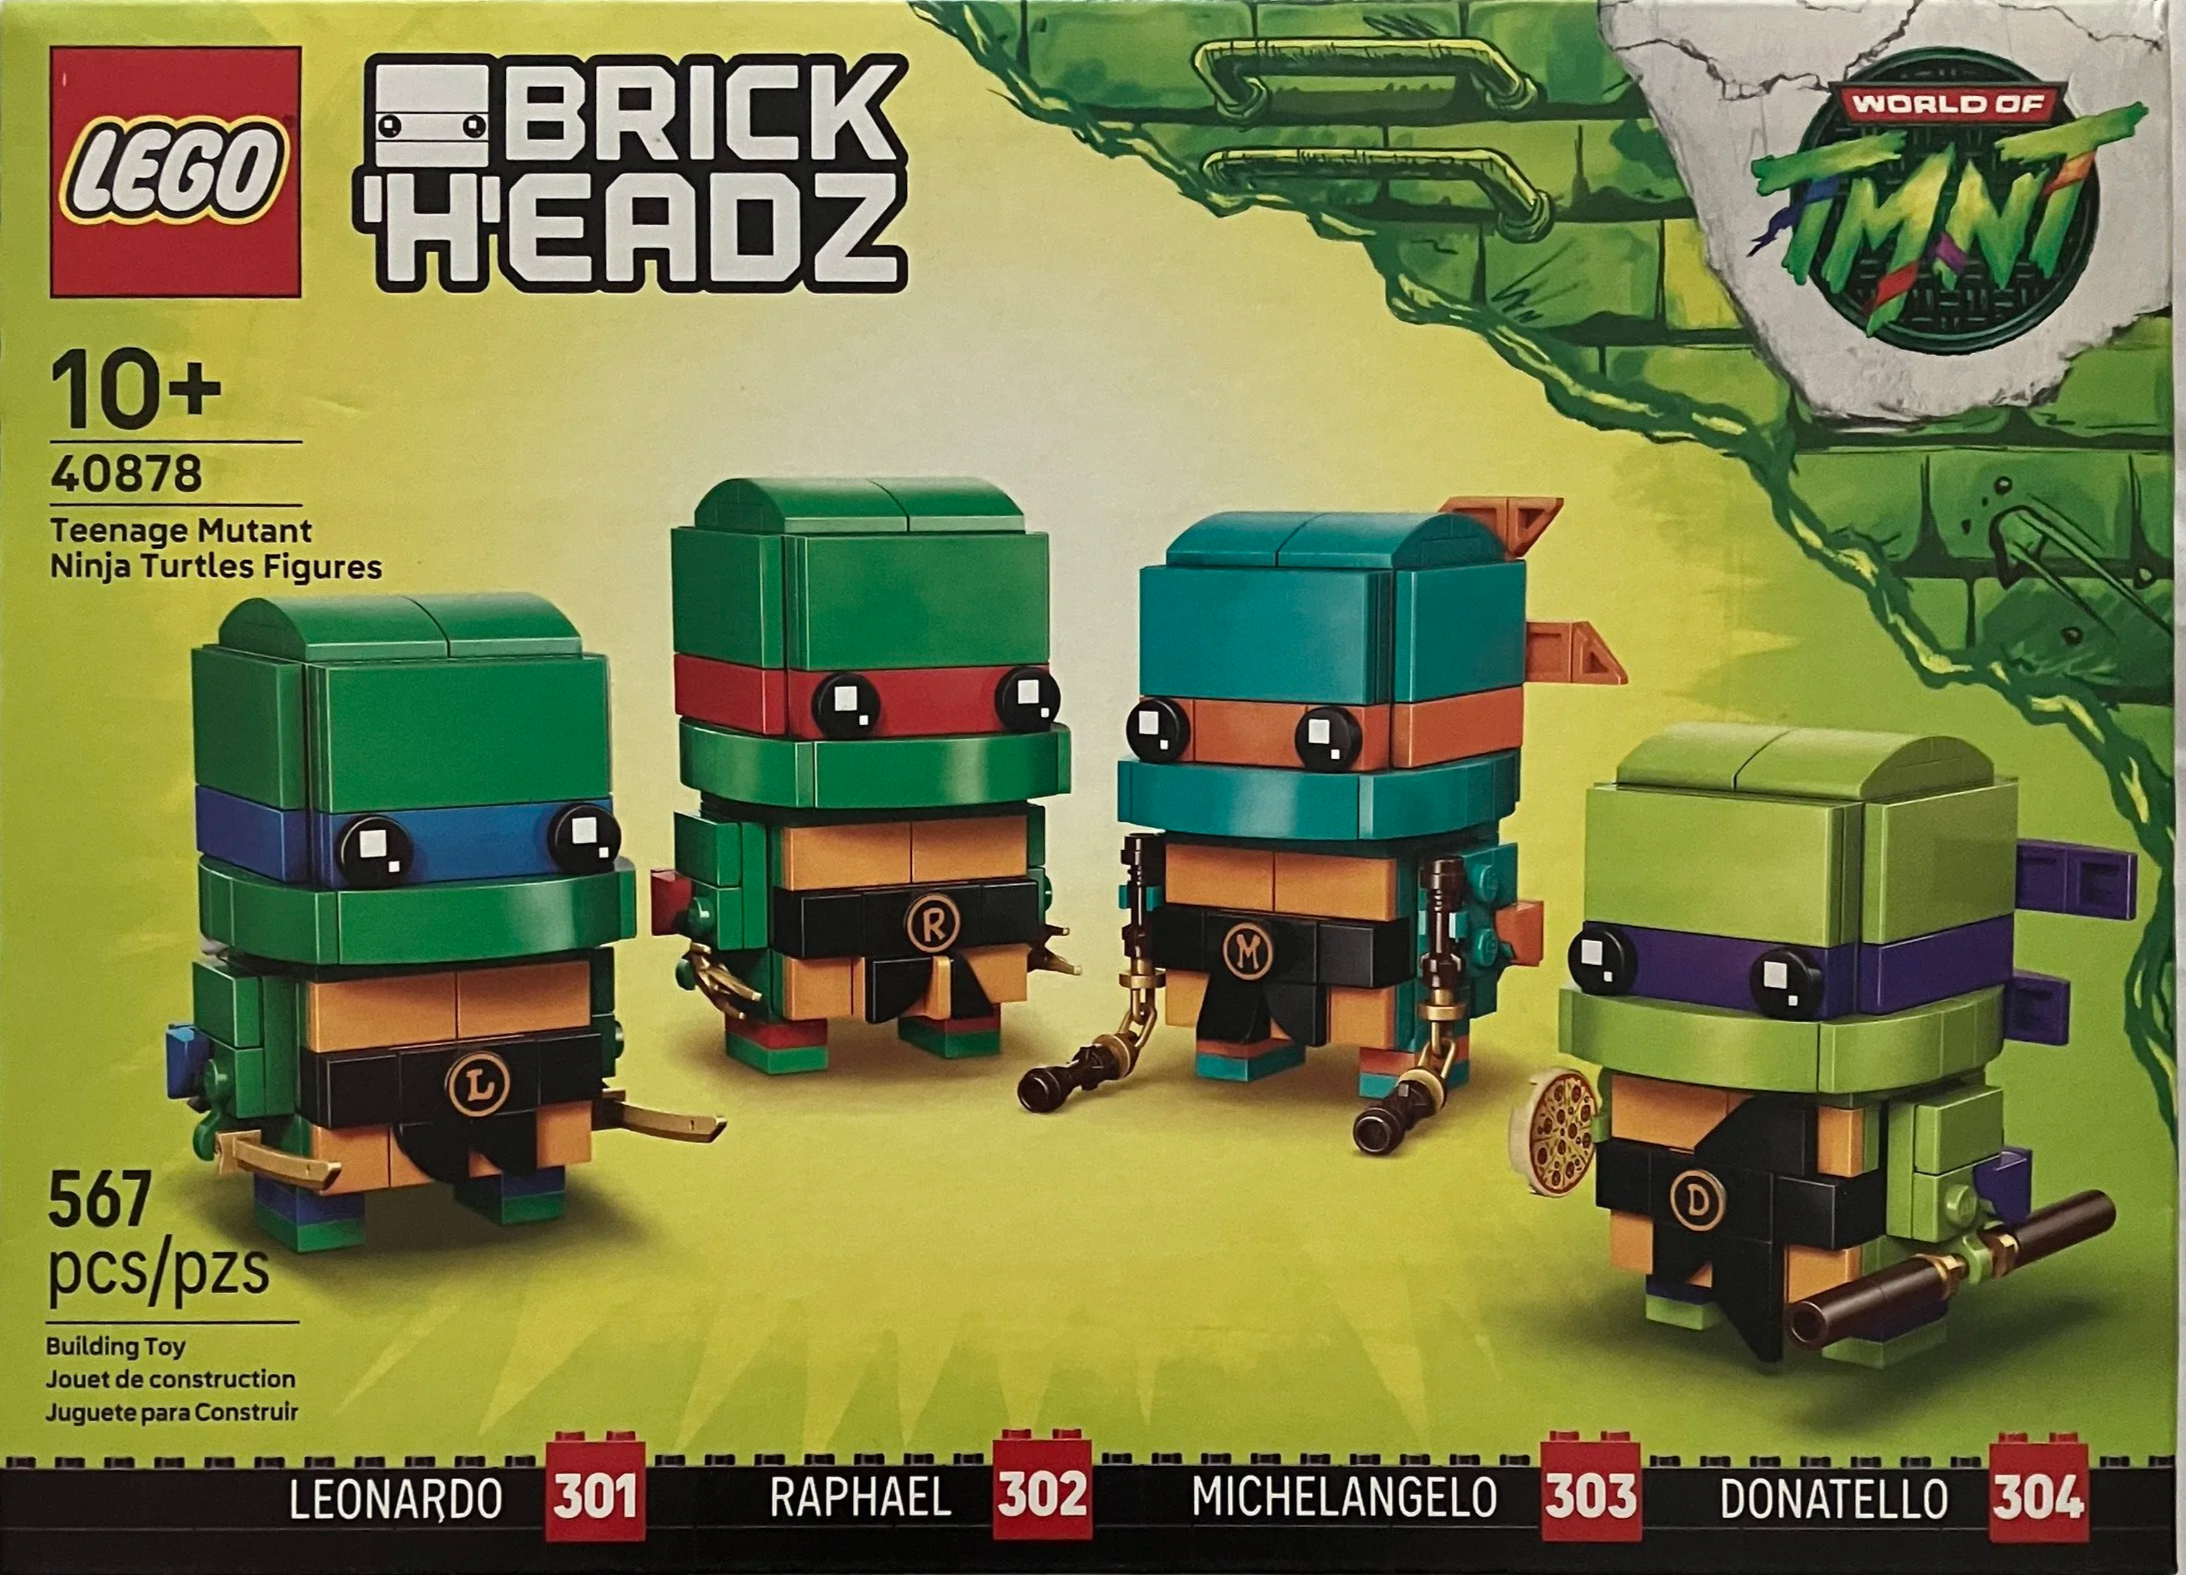
The Teenage Mutant Ninja Turtles are back in LEGO form. This time however they are in Brickheadz form. Set #40878-1: Teenage Mutant Ninja Turtles Figures includes all four of the pizza eating characters. This set was released on 1 April 2026 and contains 567 pieces. At $39.99 it works out to $0.071 per piece. This isn’t bad, but considering there are lots of small pieces and only a few small printed pieces, it could be better.
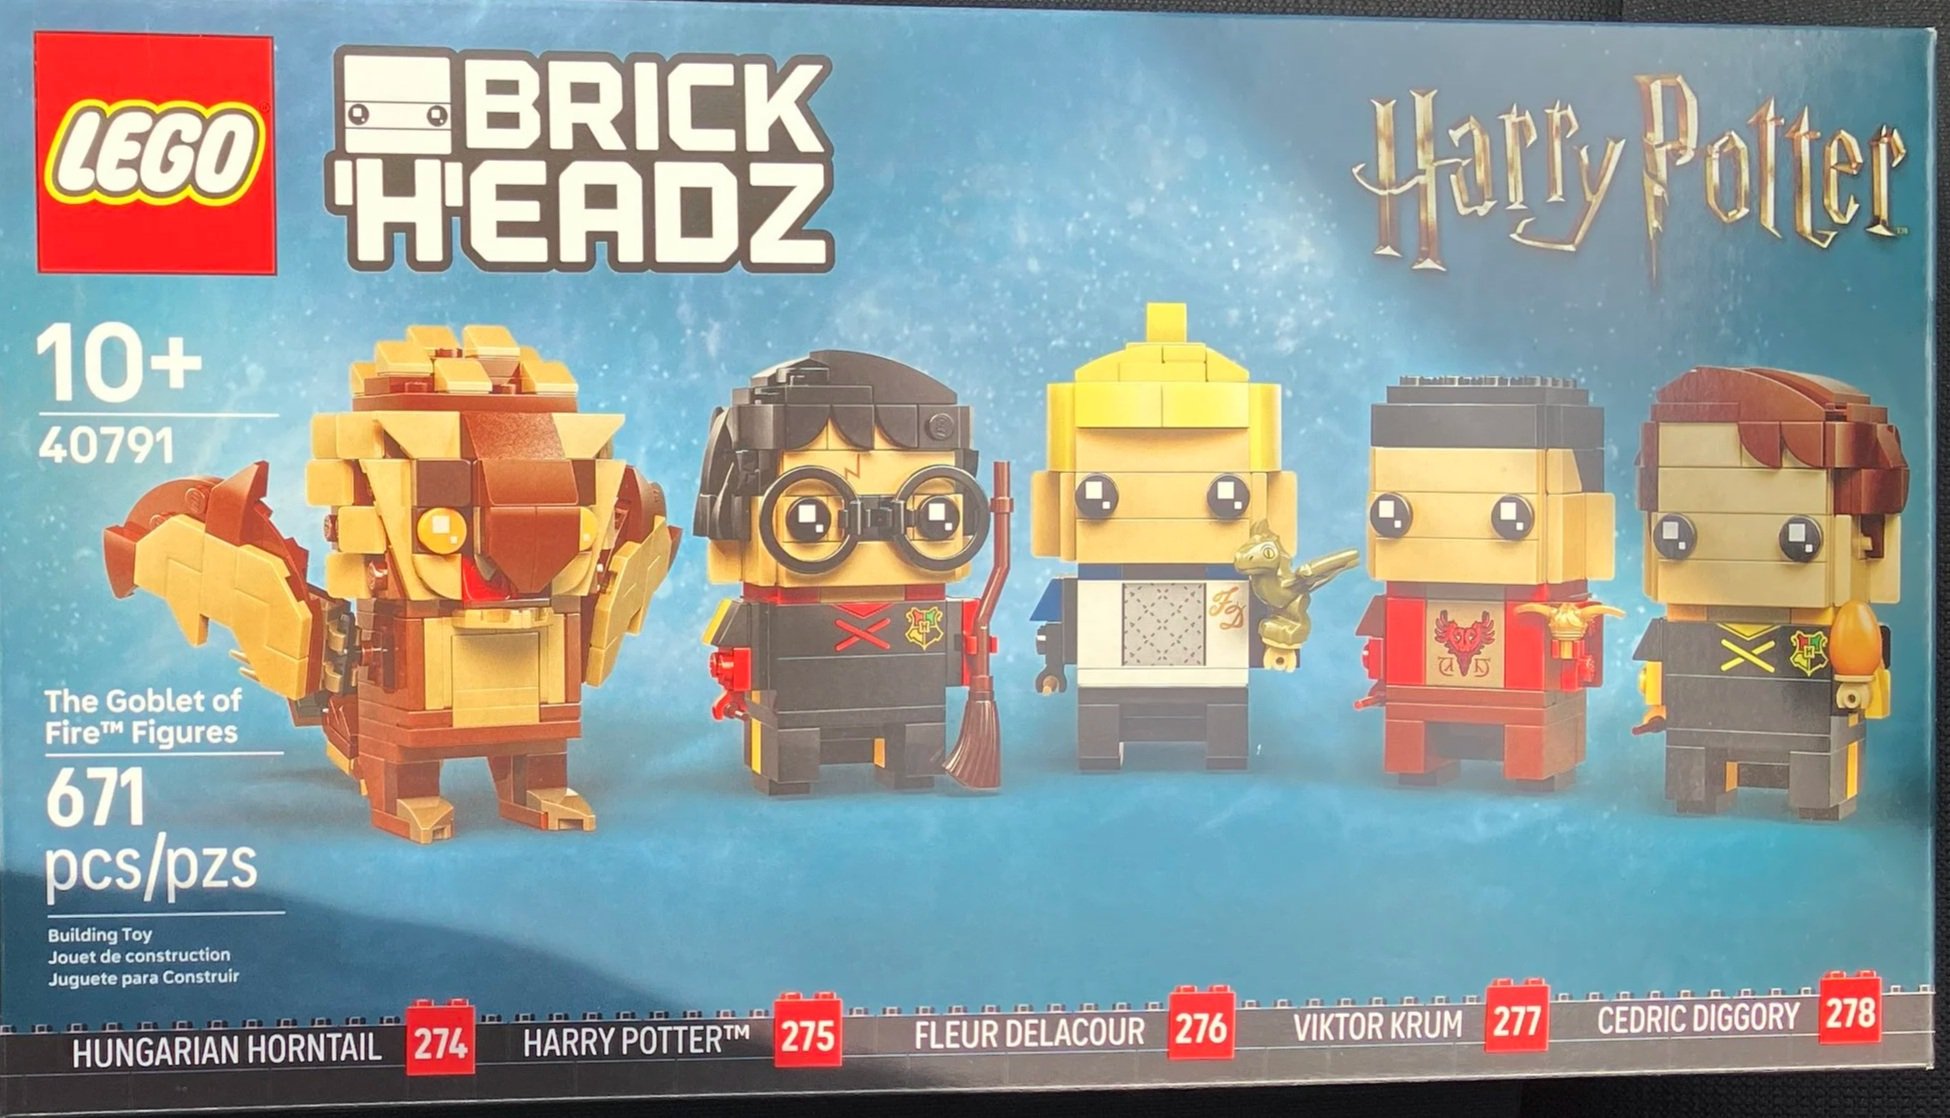
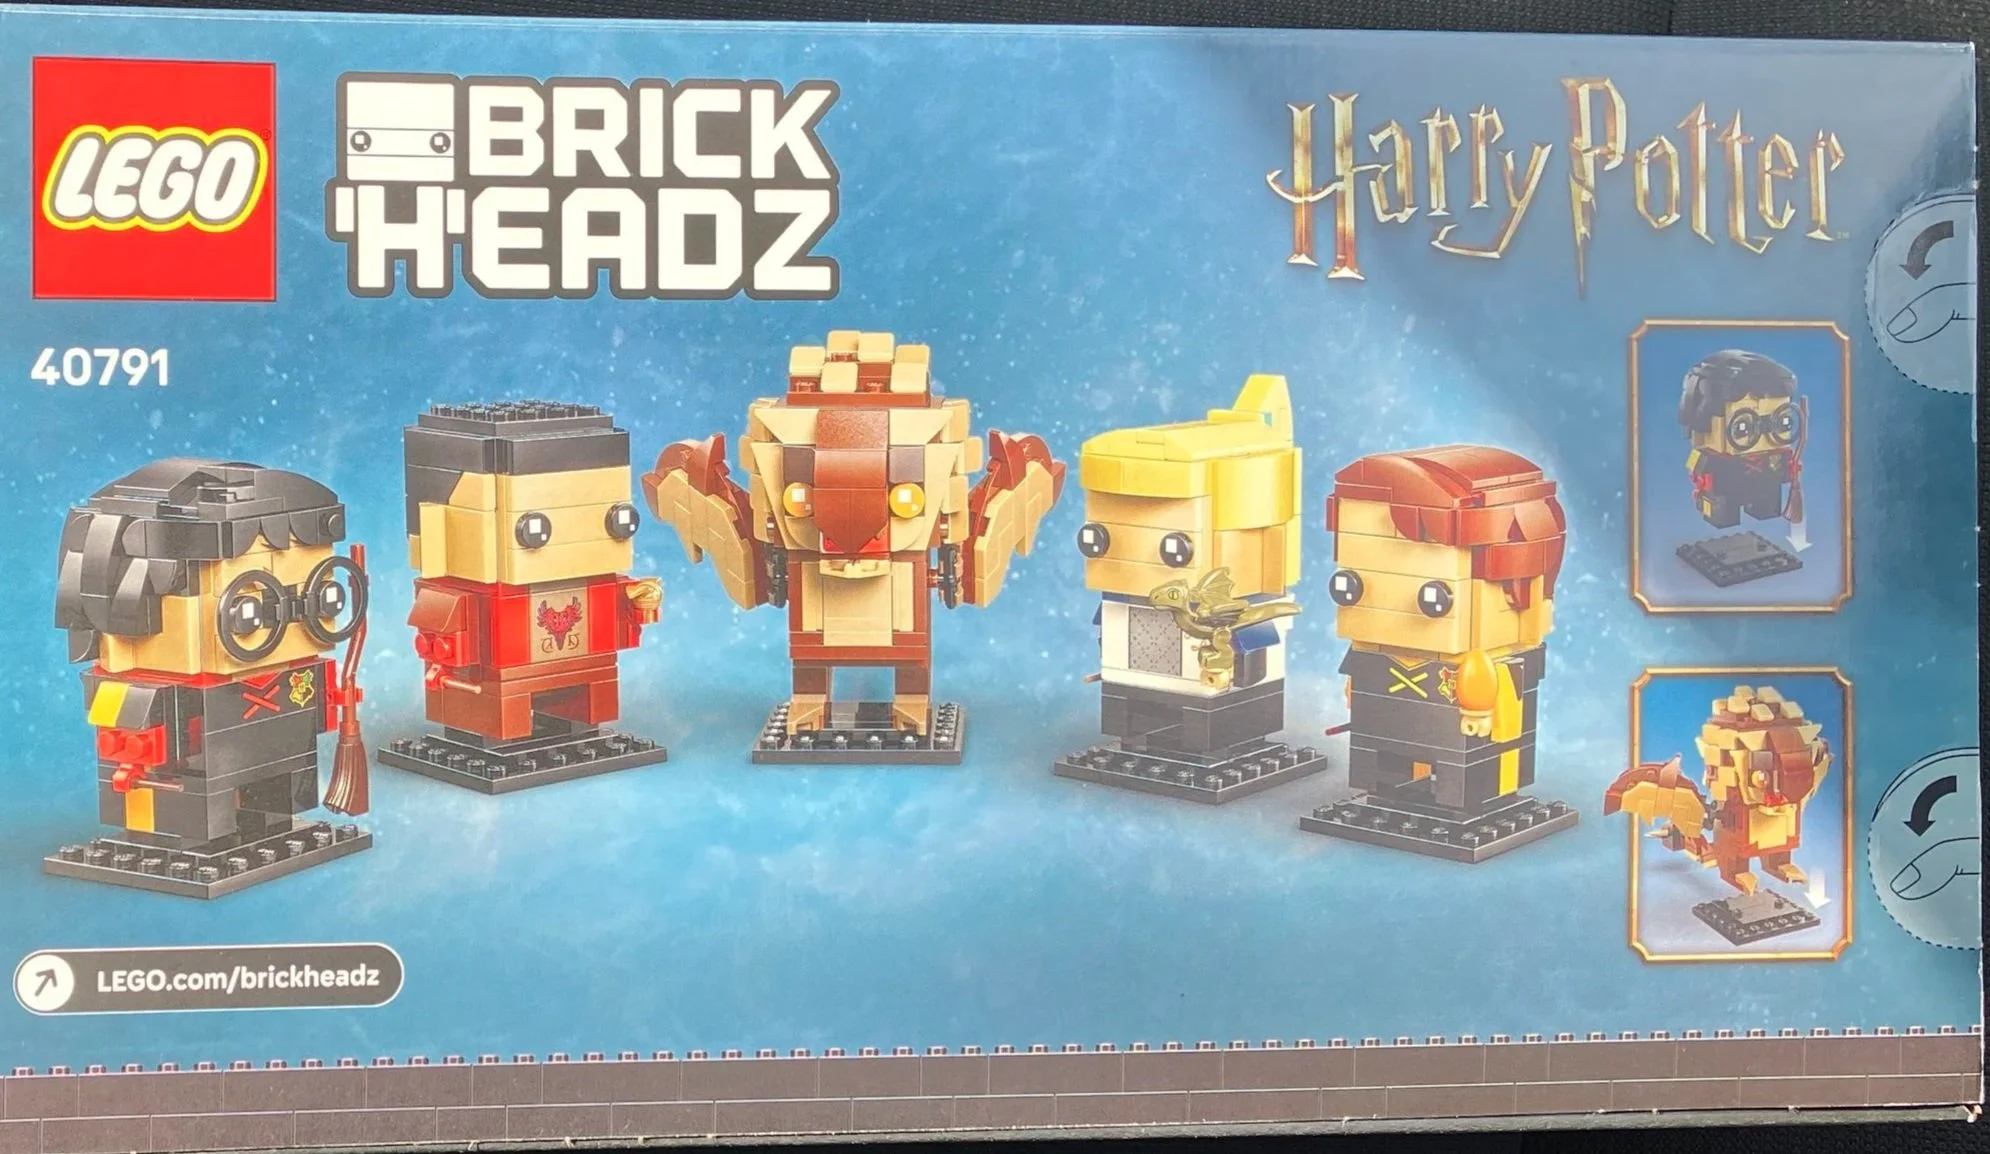
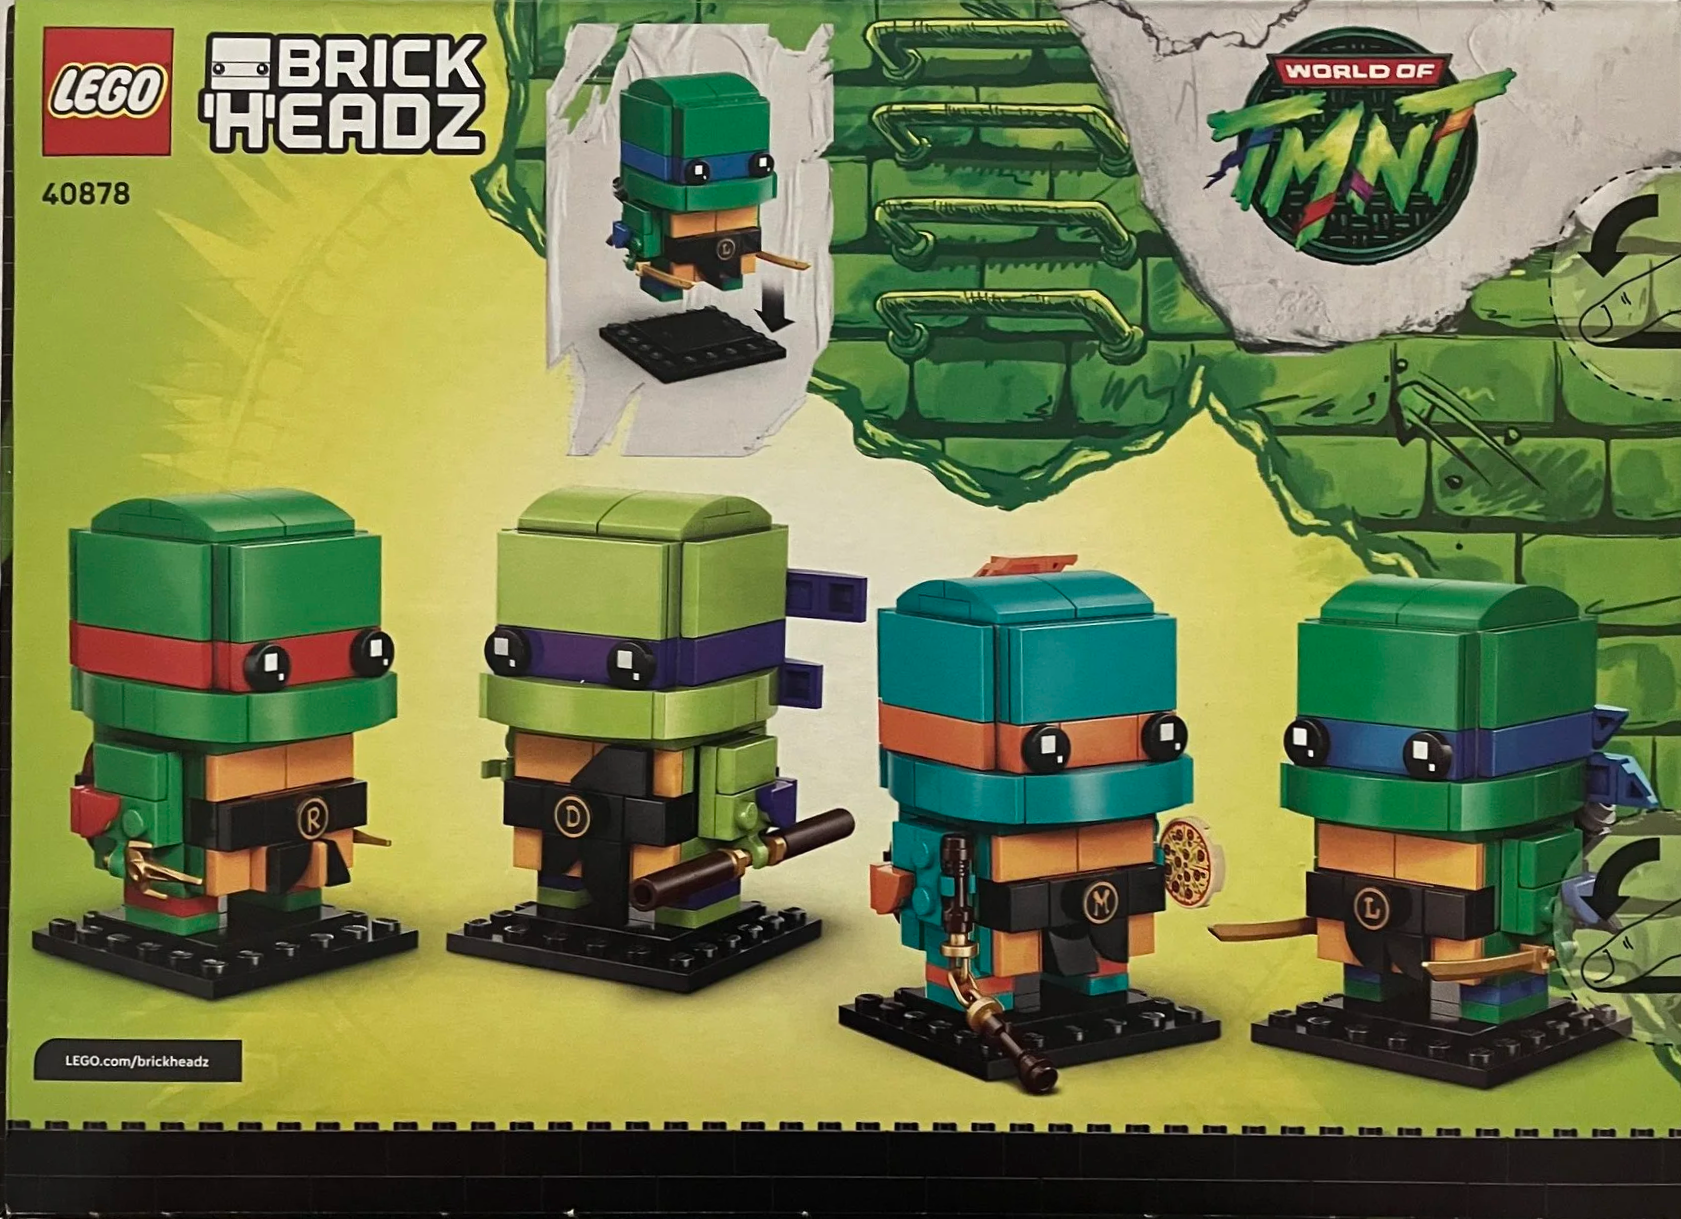
The box shows the four characters on the front and the back. Both show the Brickheadz logo and the TMNT logo. The front identifies these figures as numbers 301 to 304.
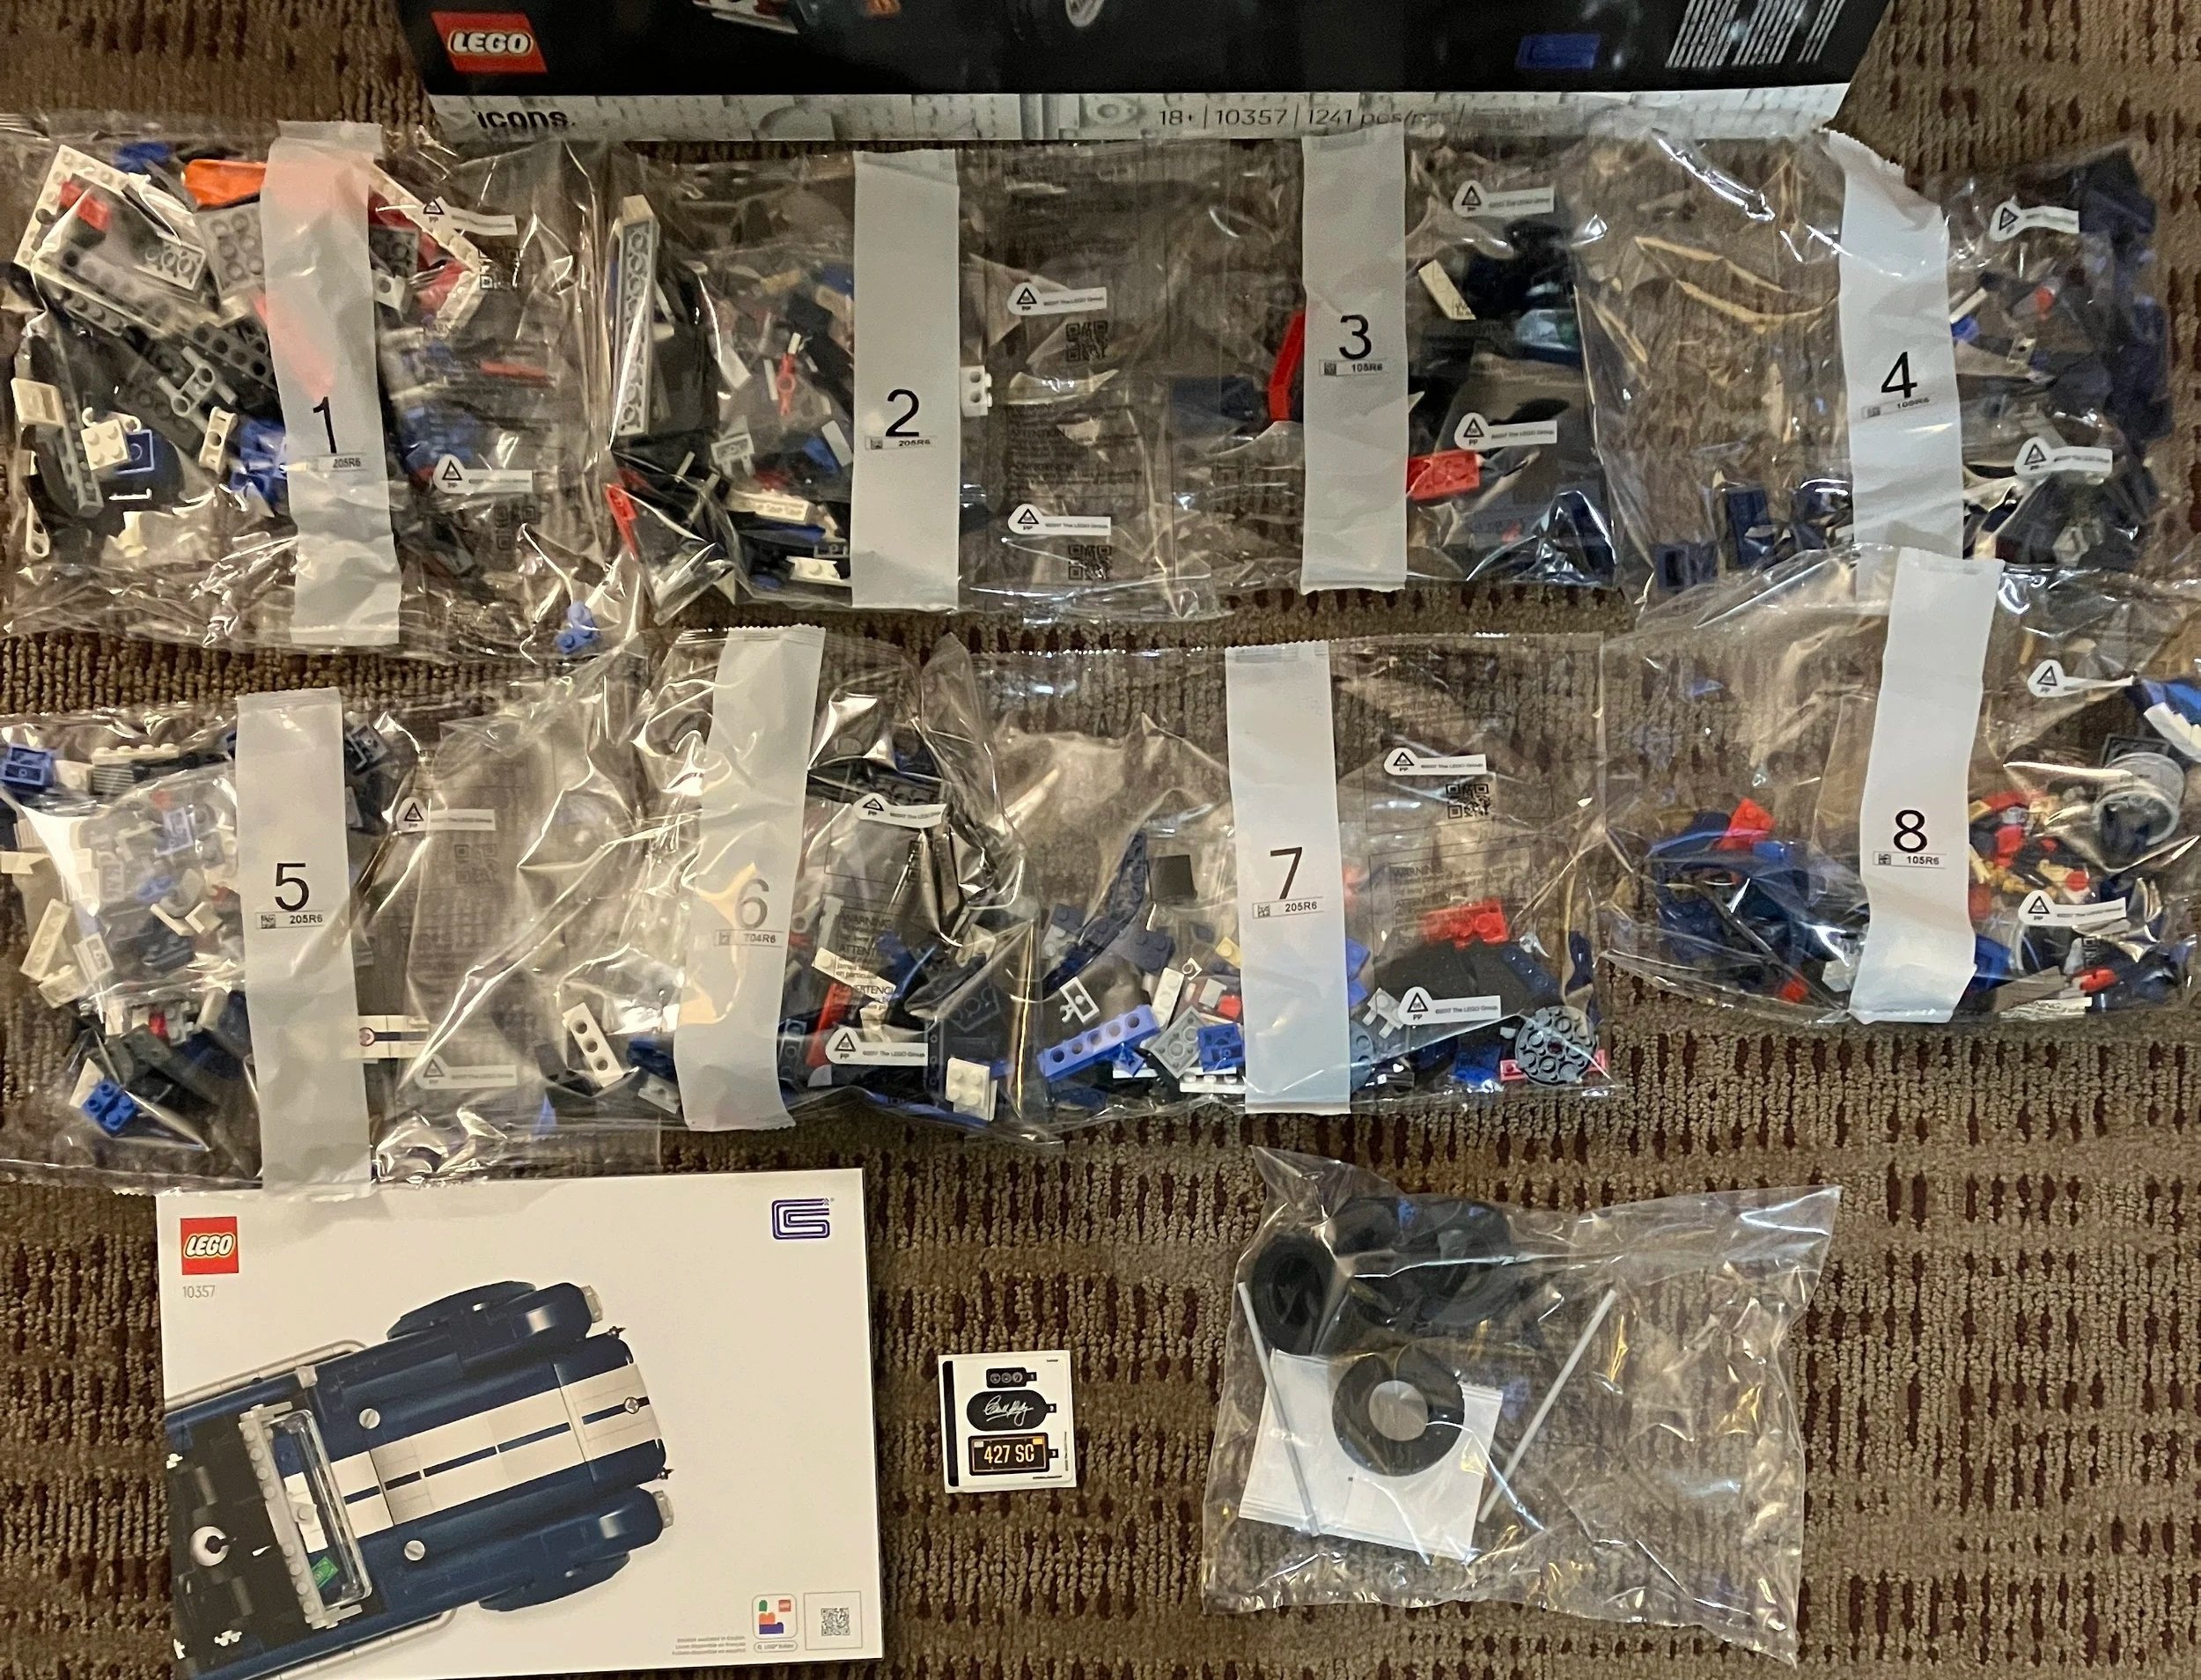
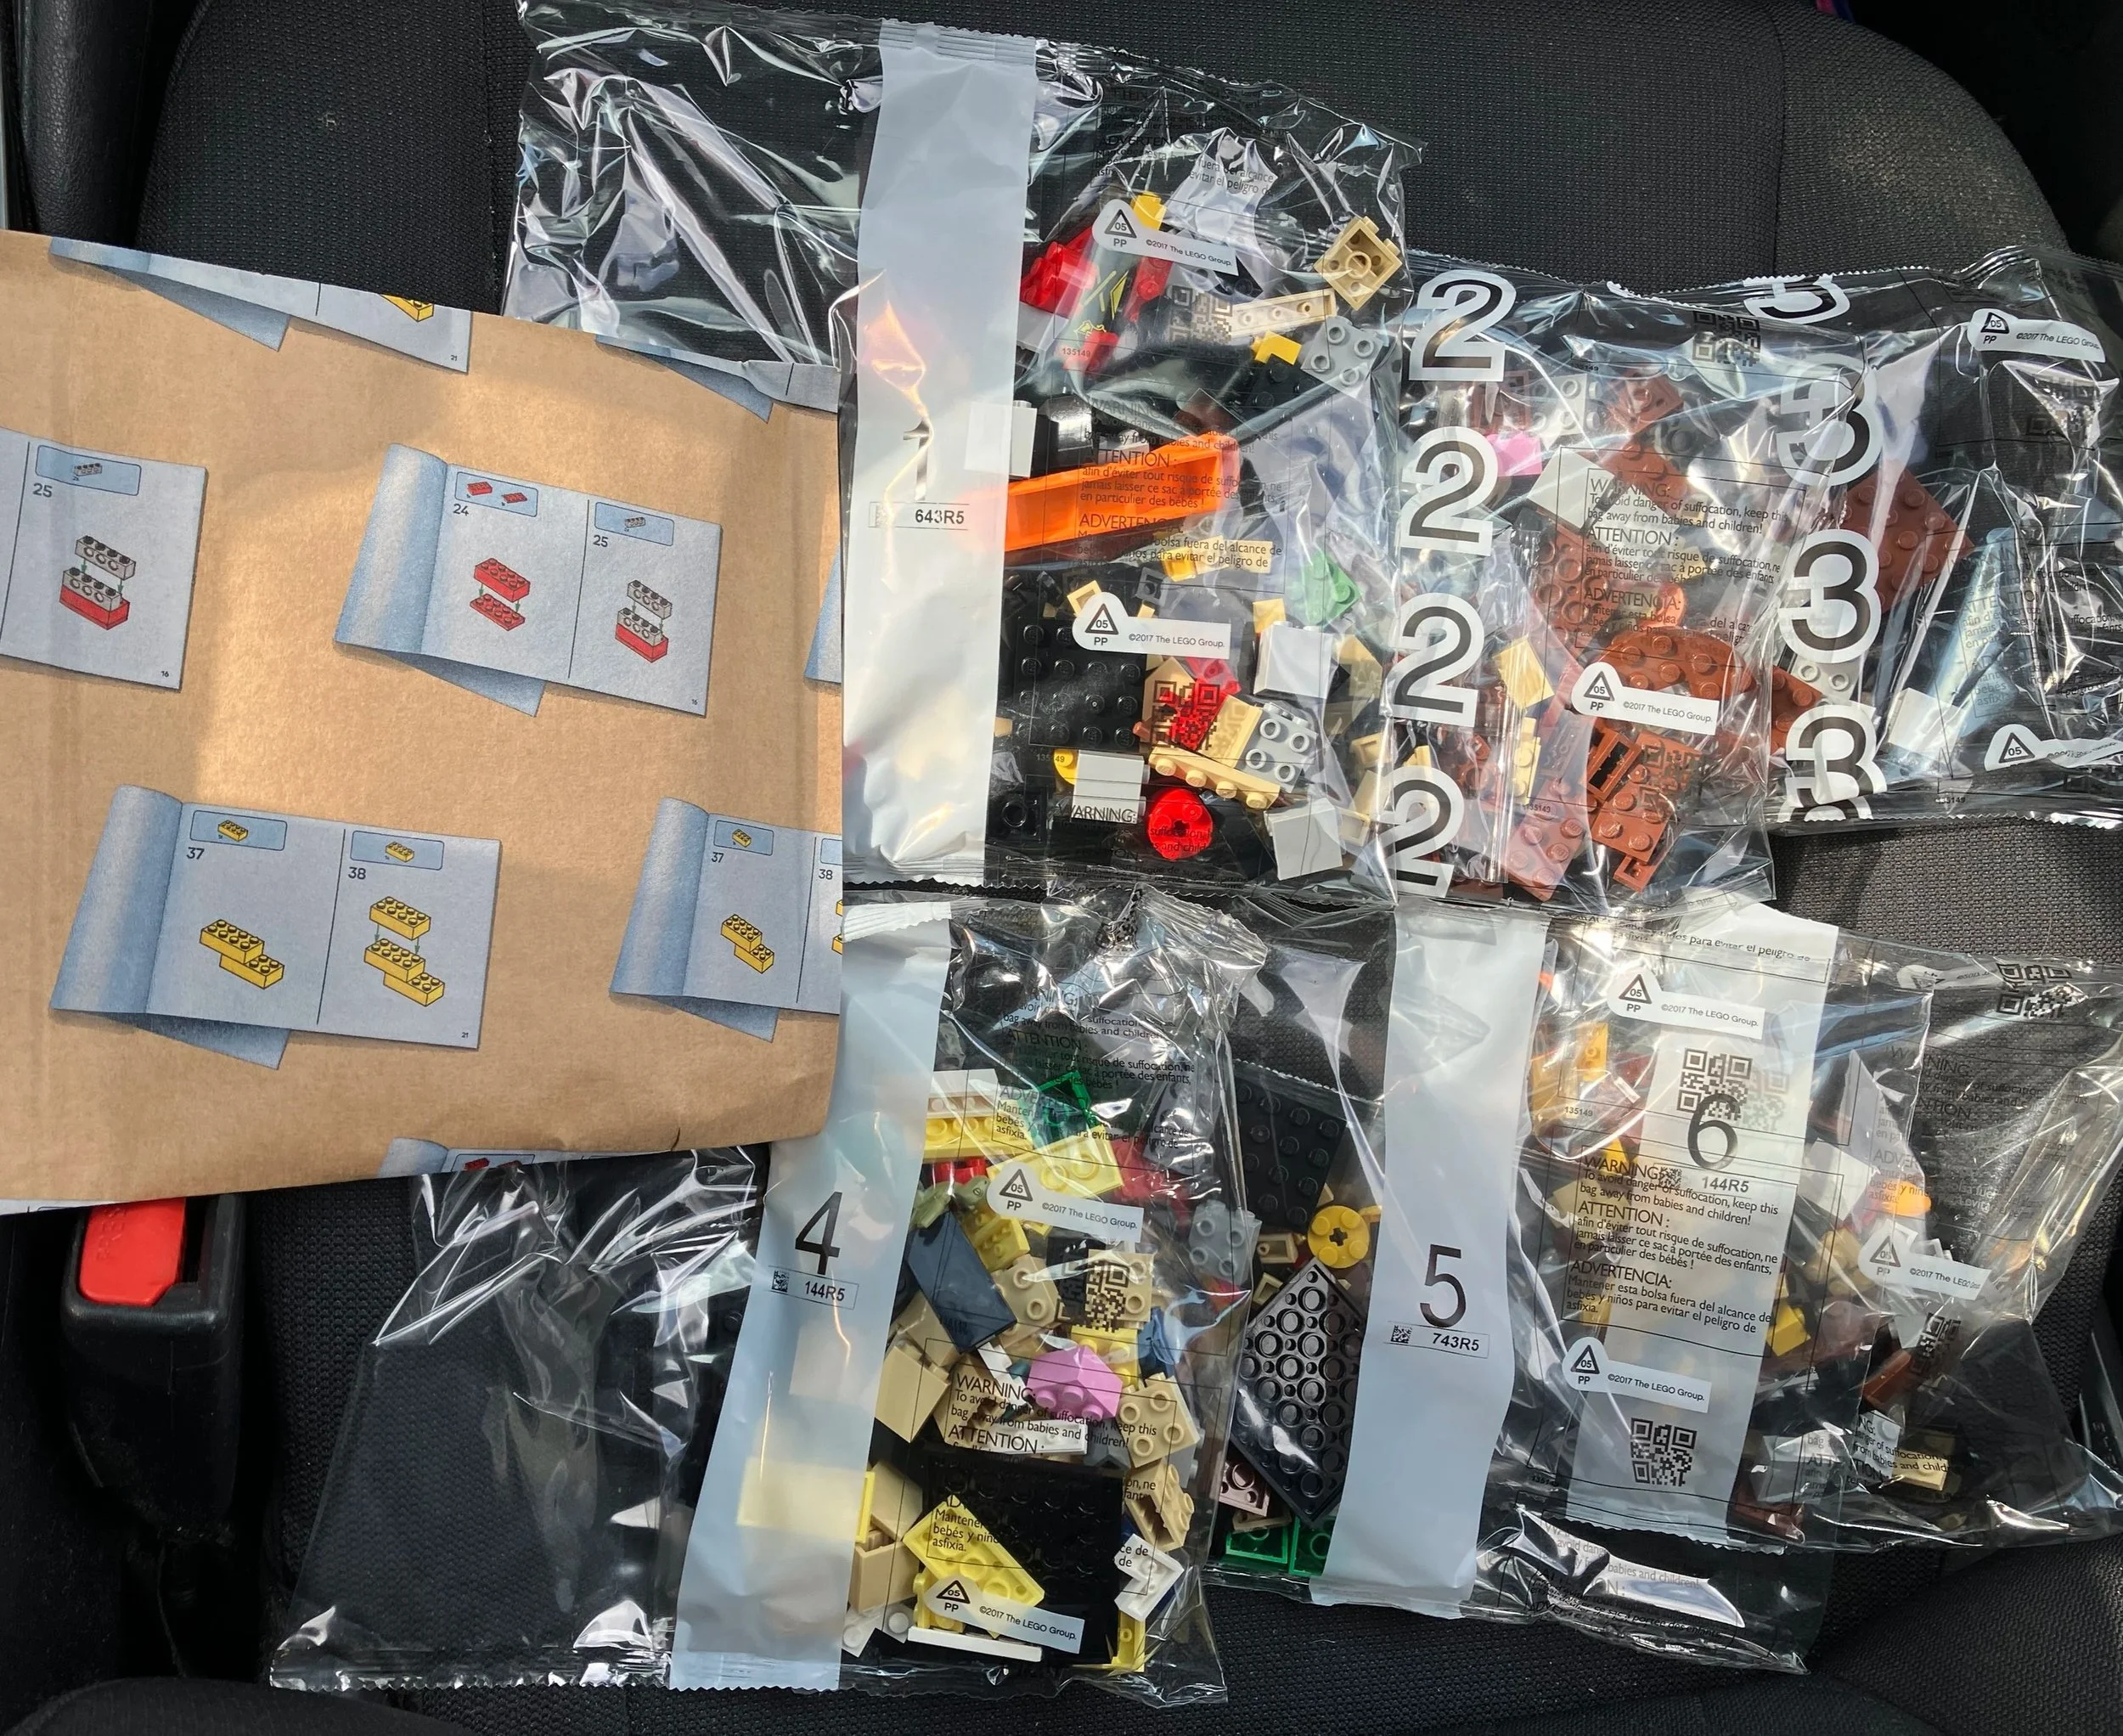
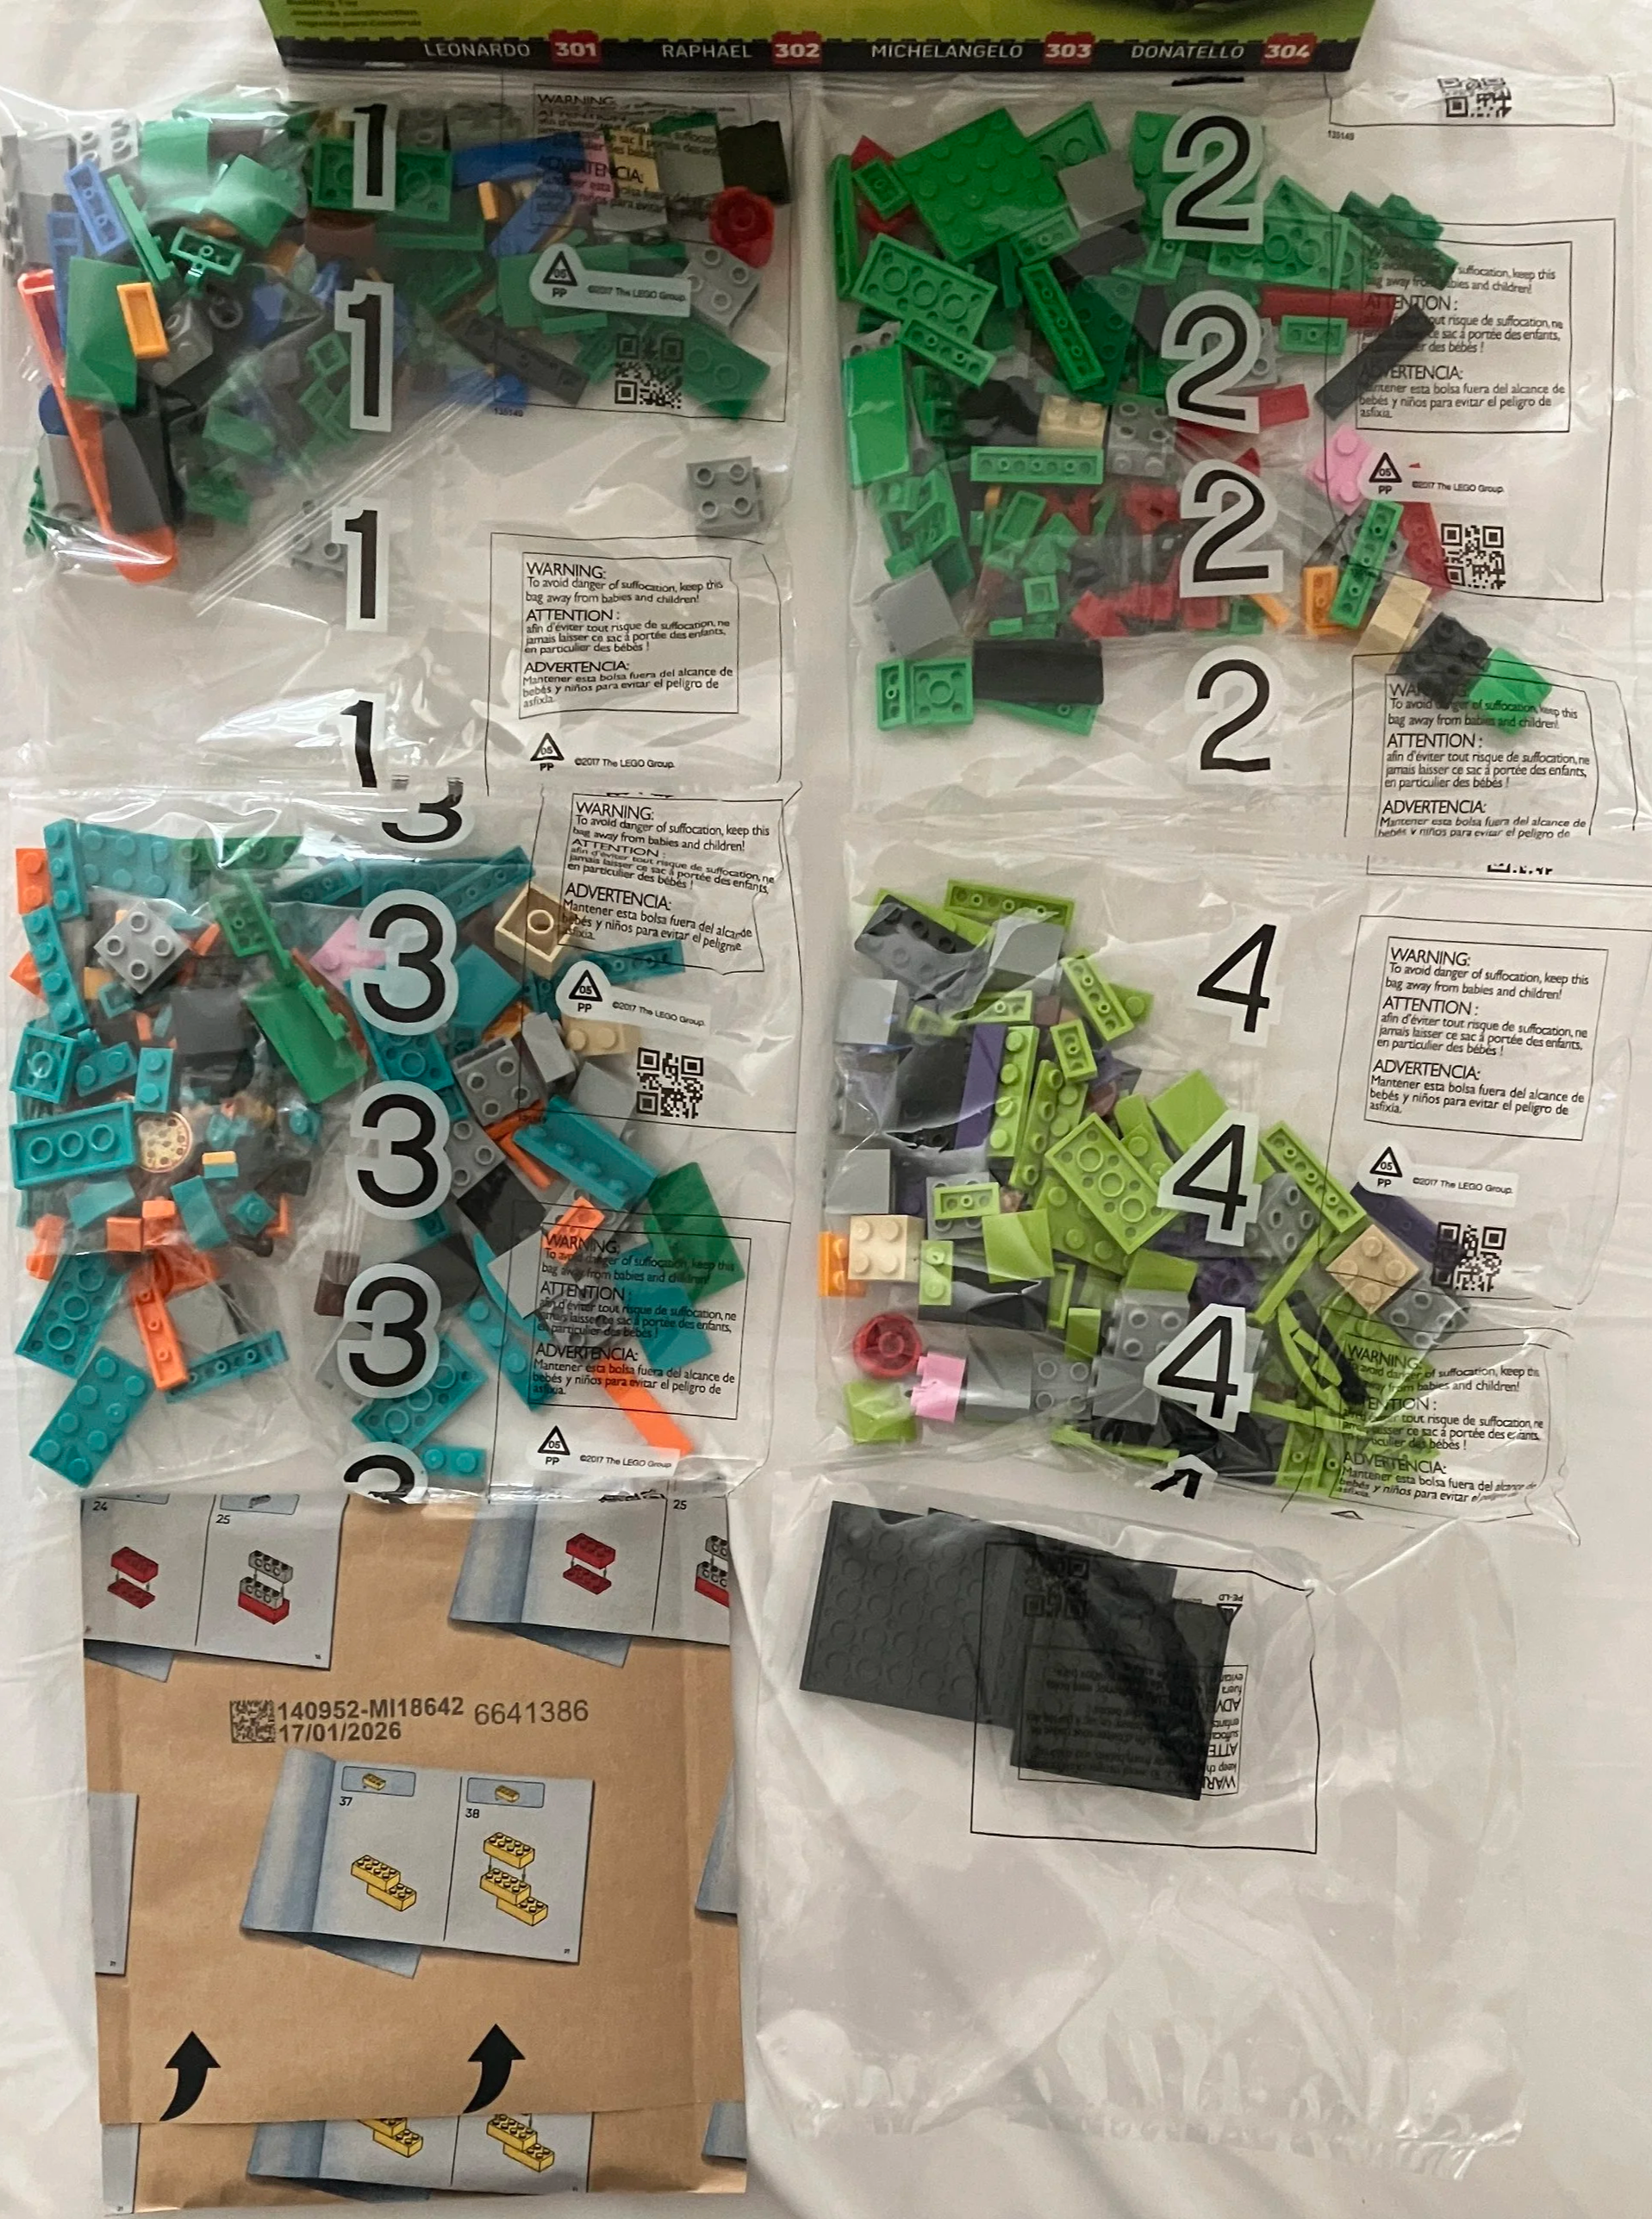
The set contains four parts bags numbered one through four and then an unnumbered bag with the plates for the base of each character. The instructions are included in a paper bag.
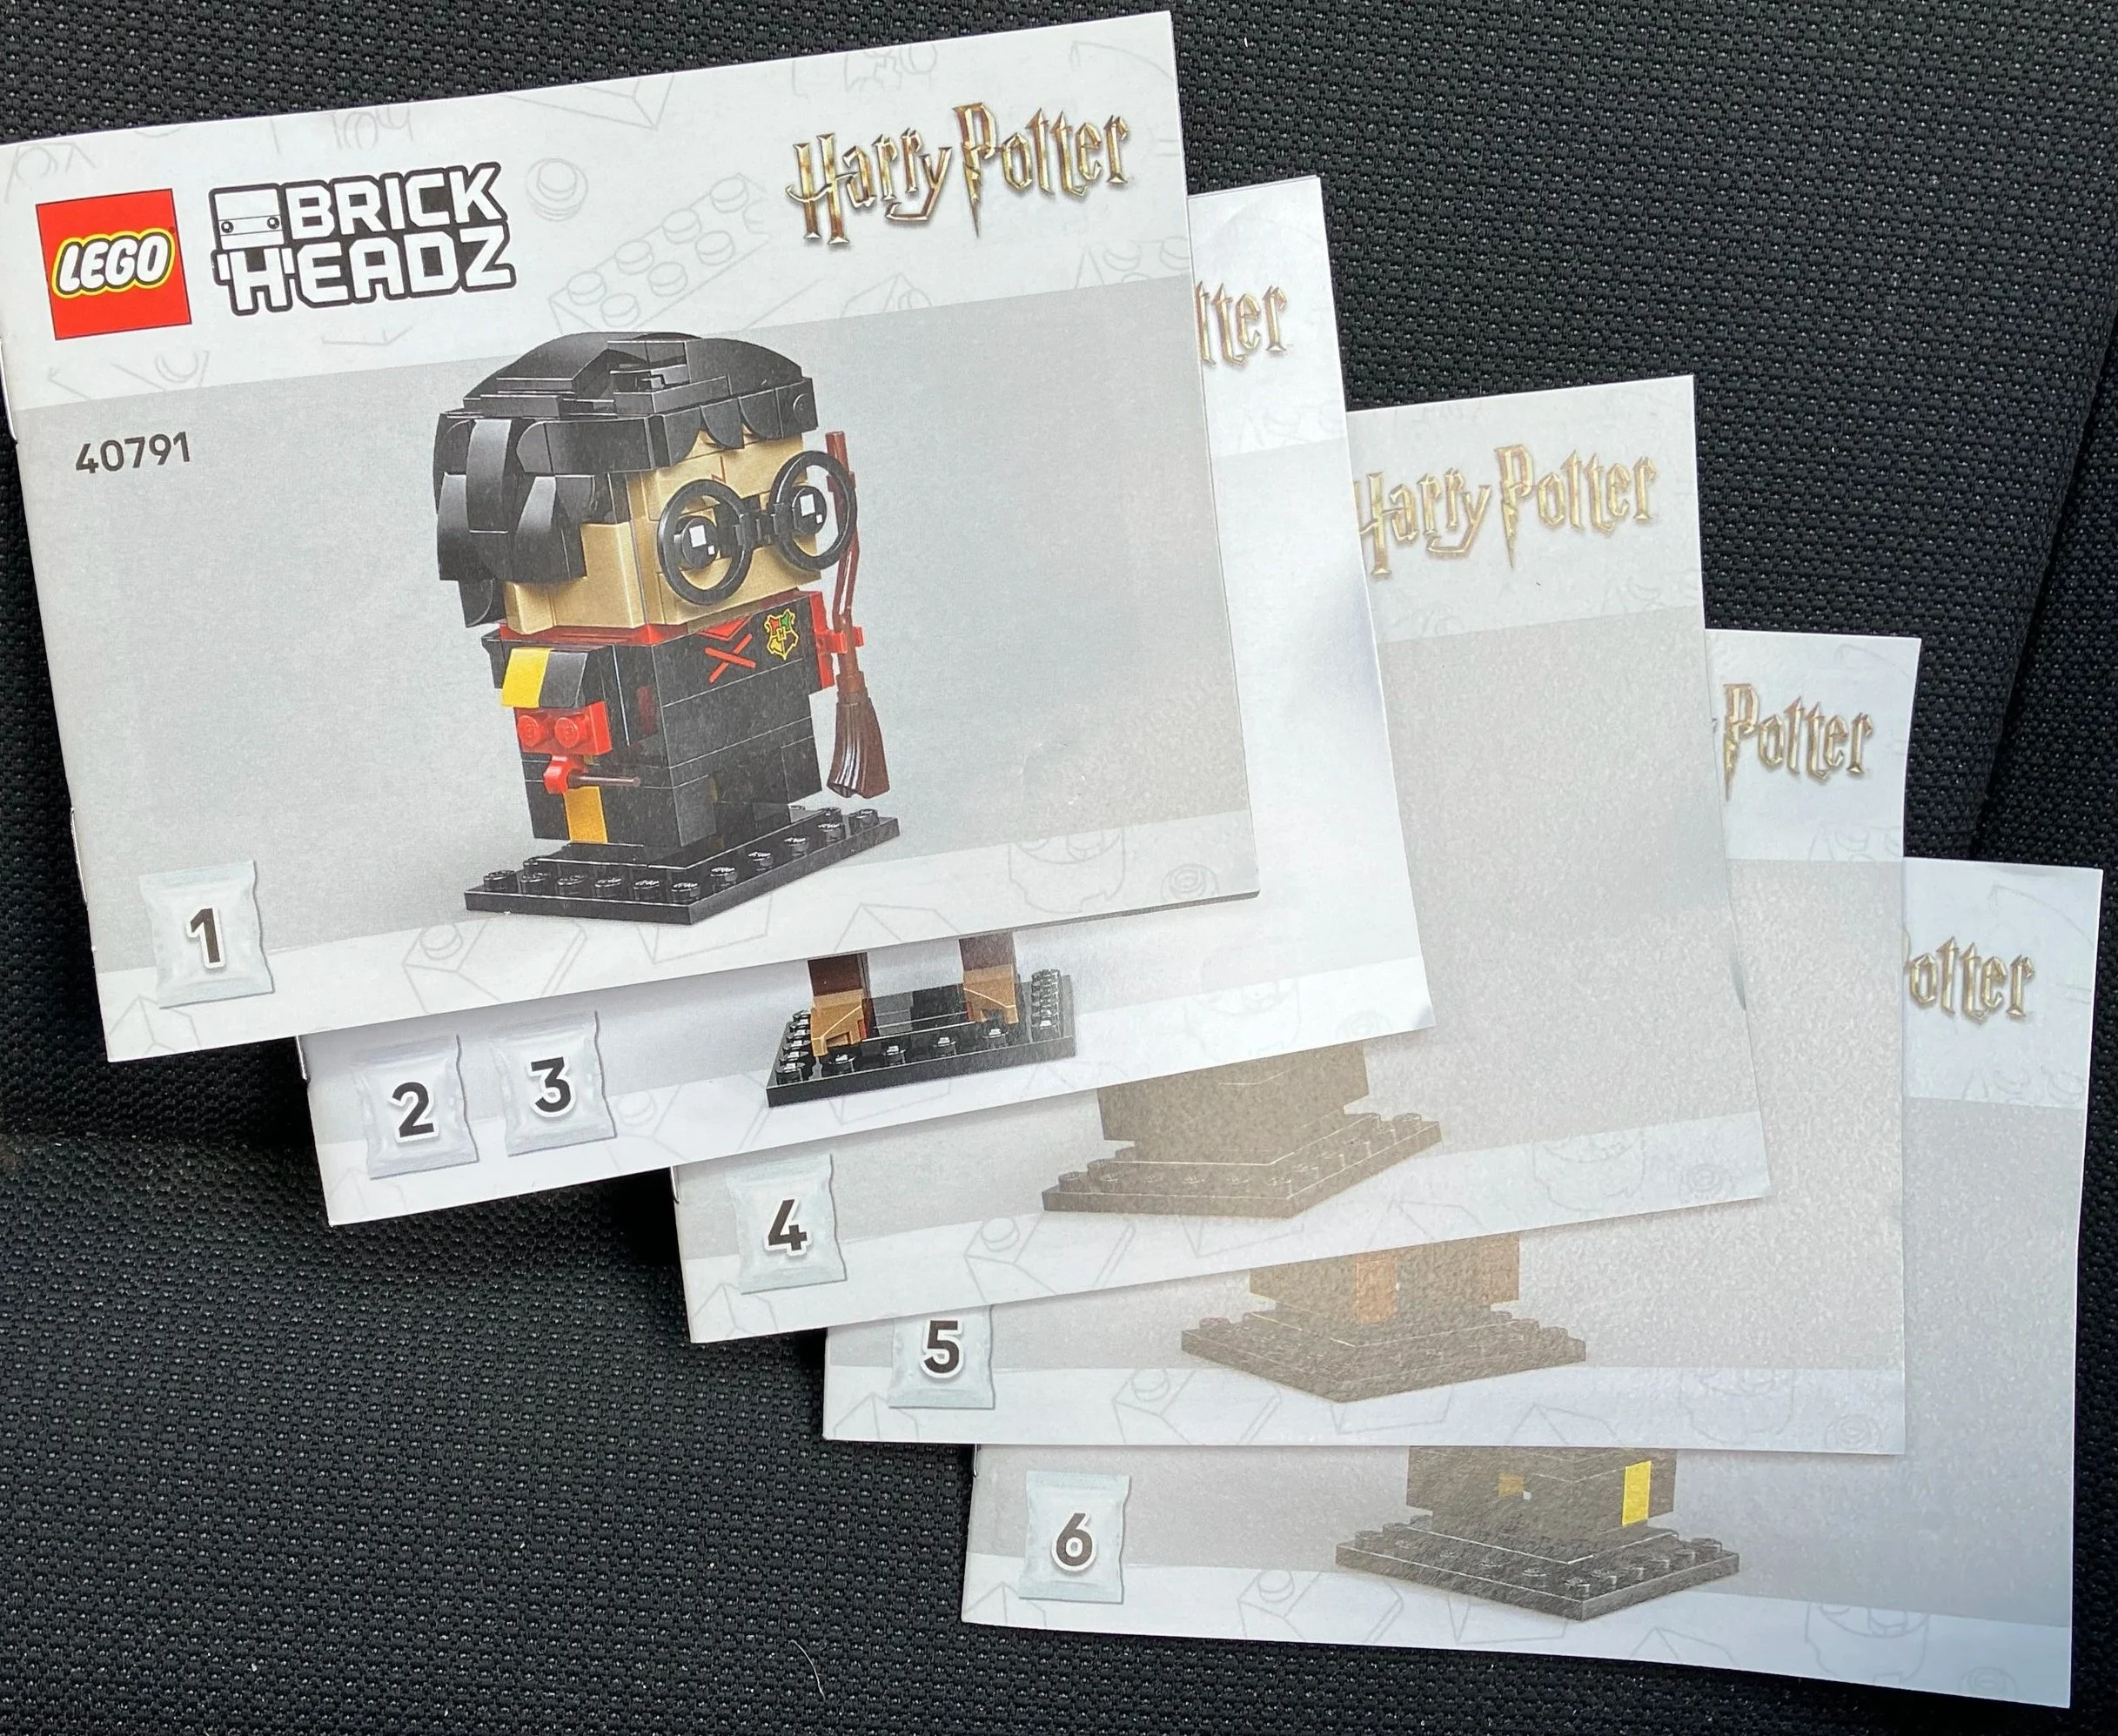
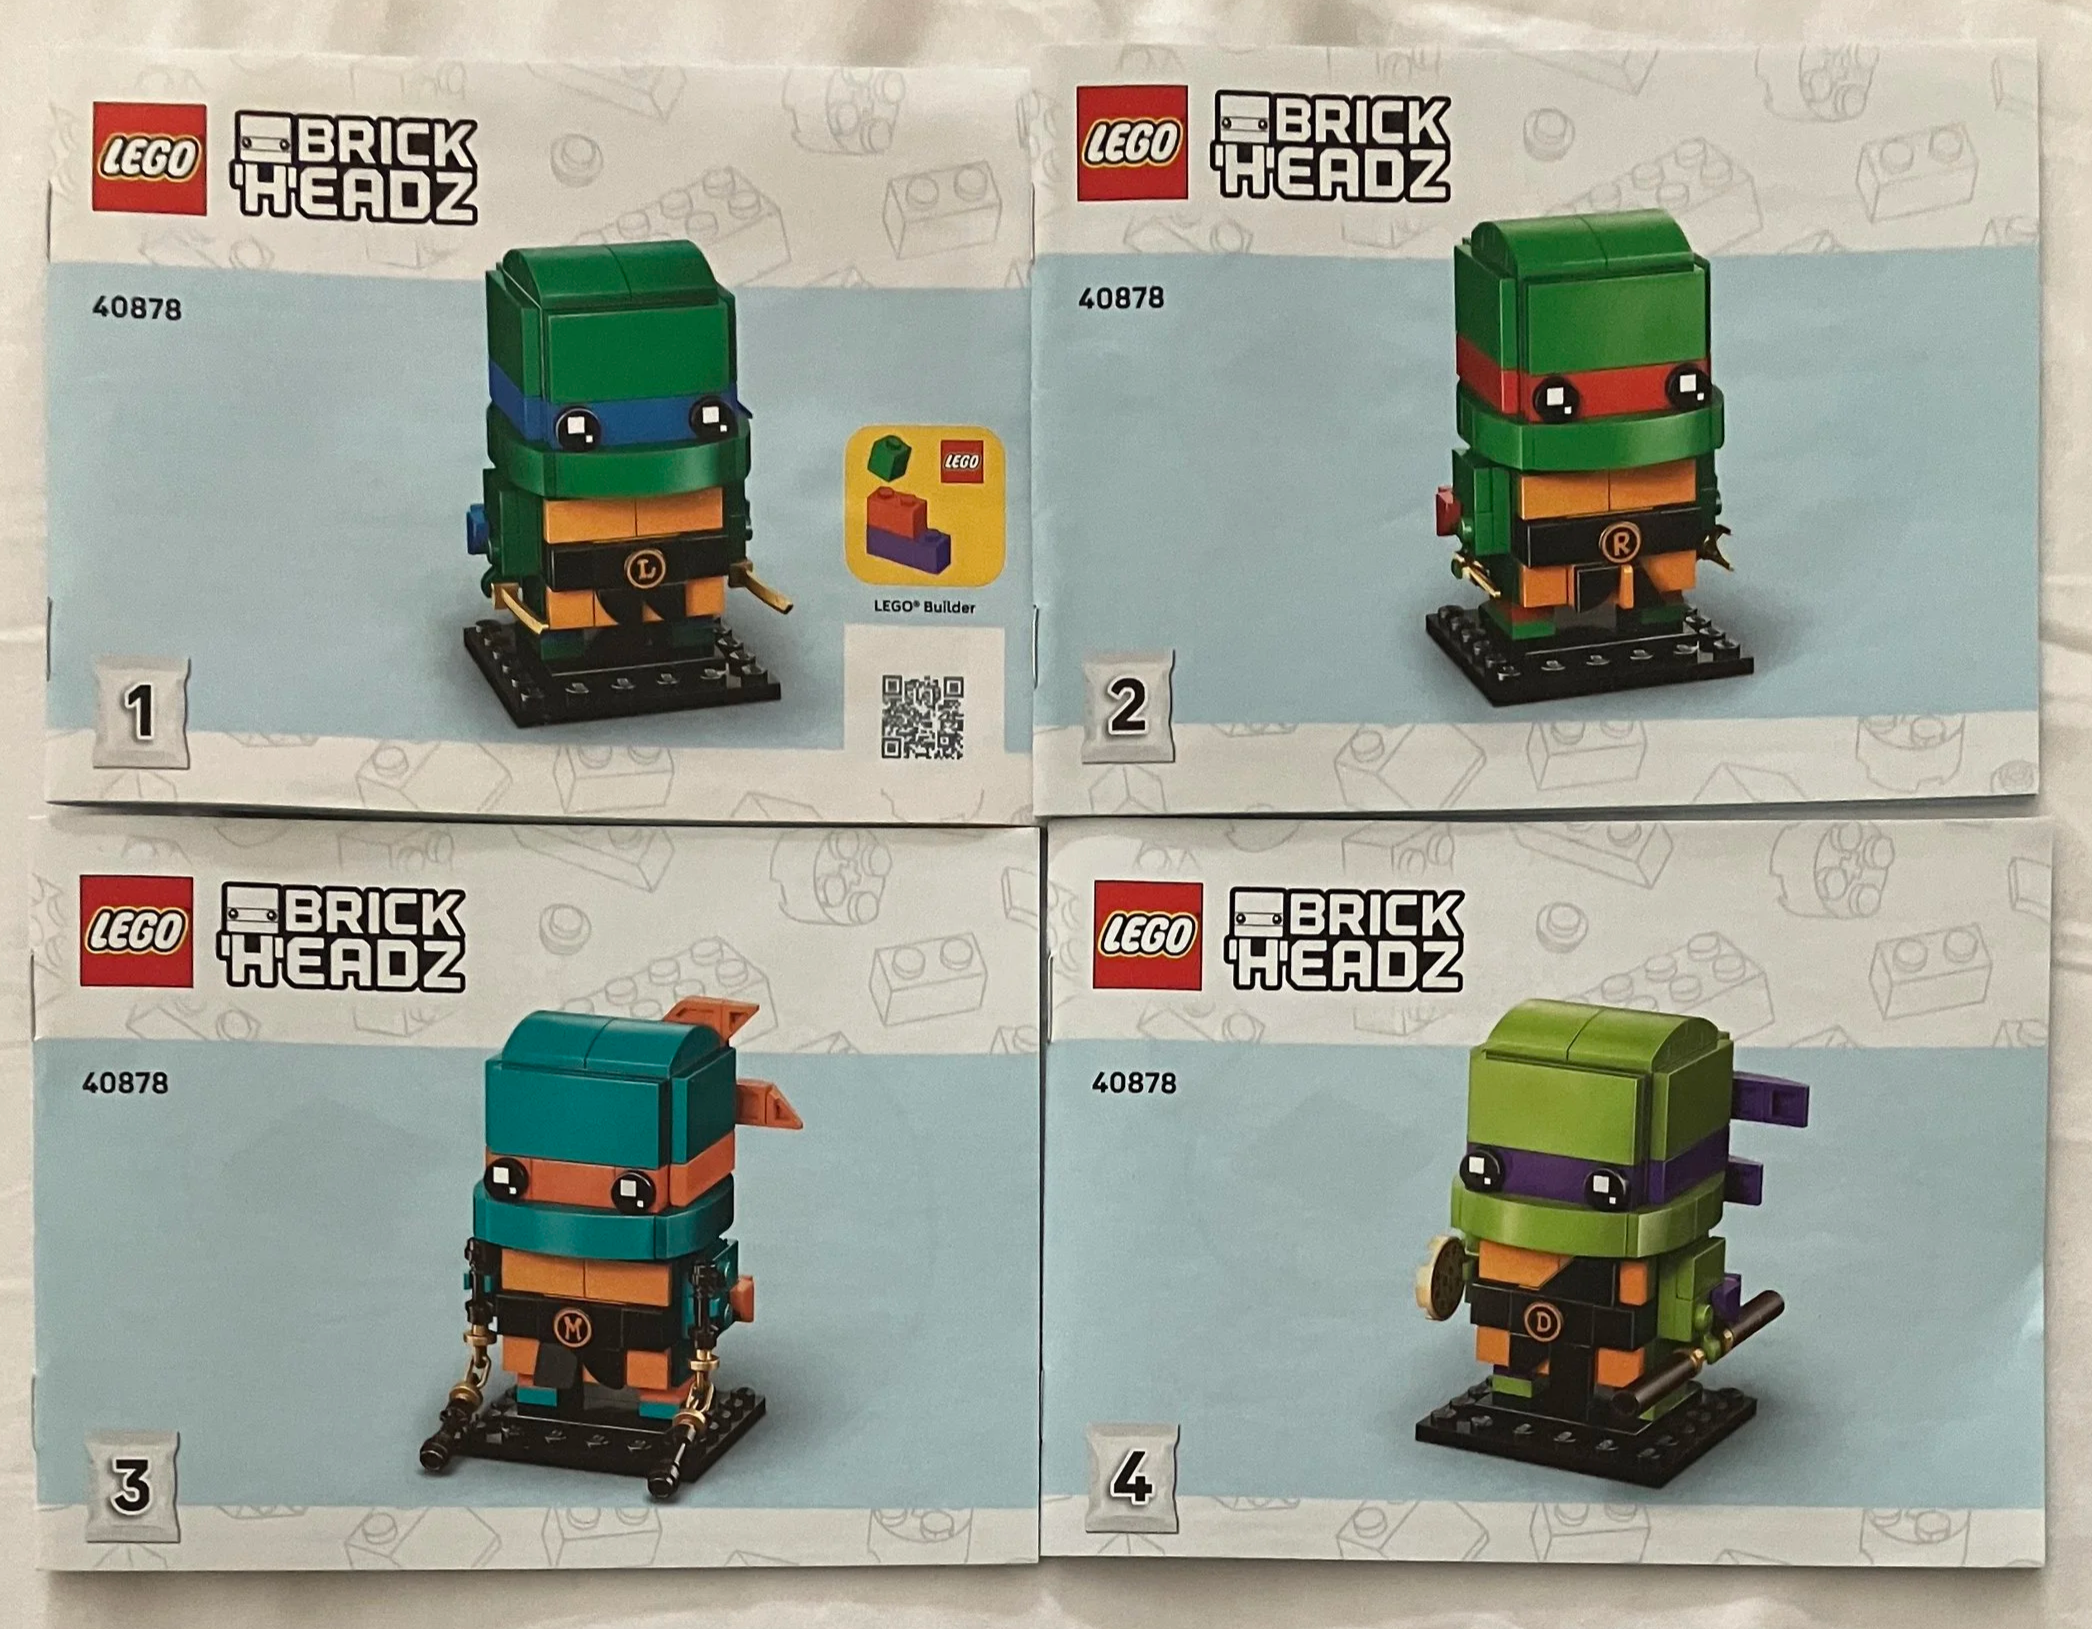
There are four instruction booklets with one for each character.
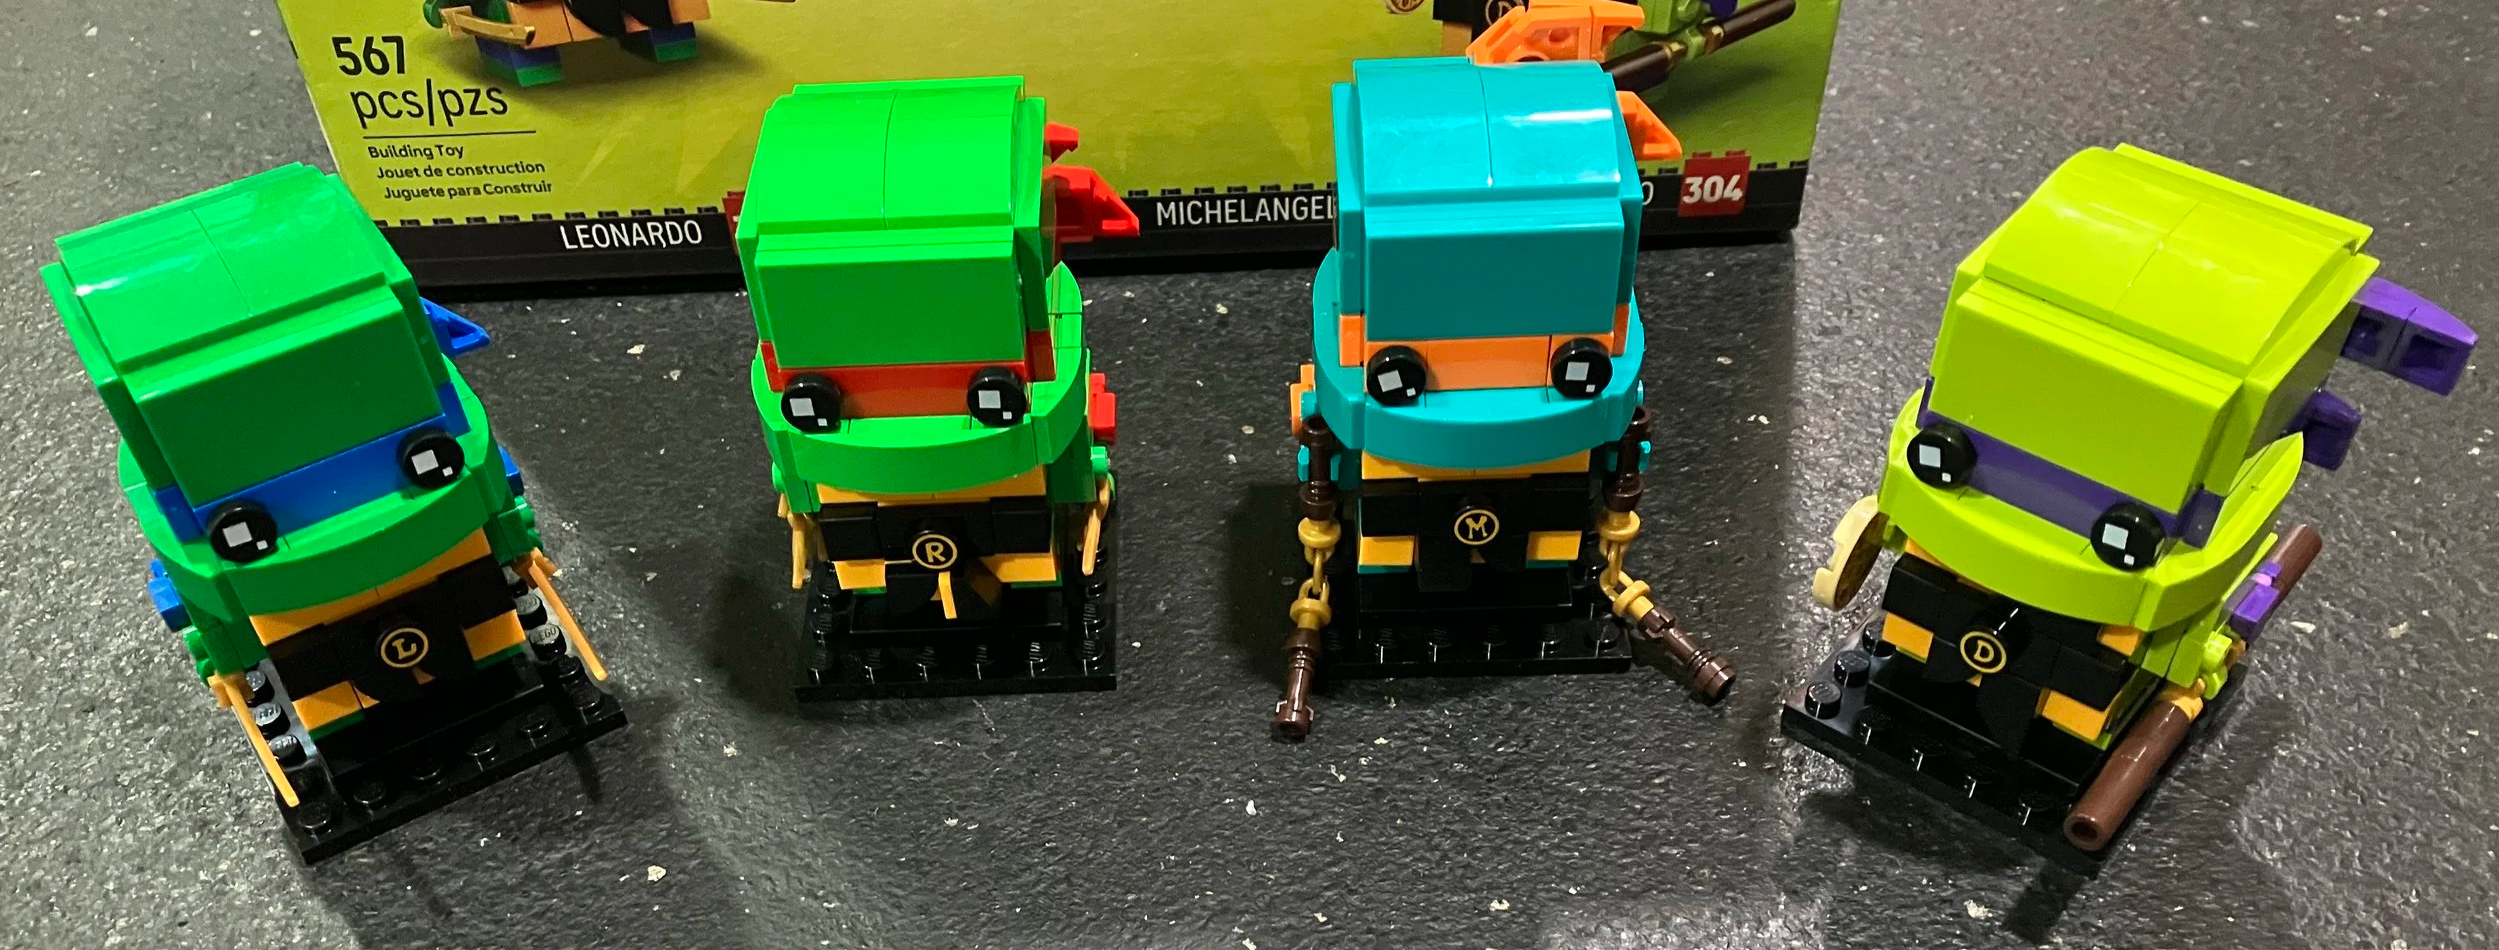
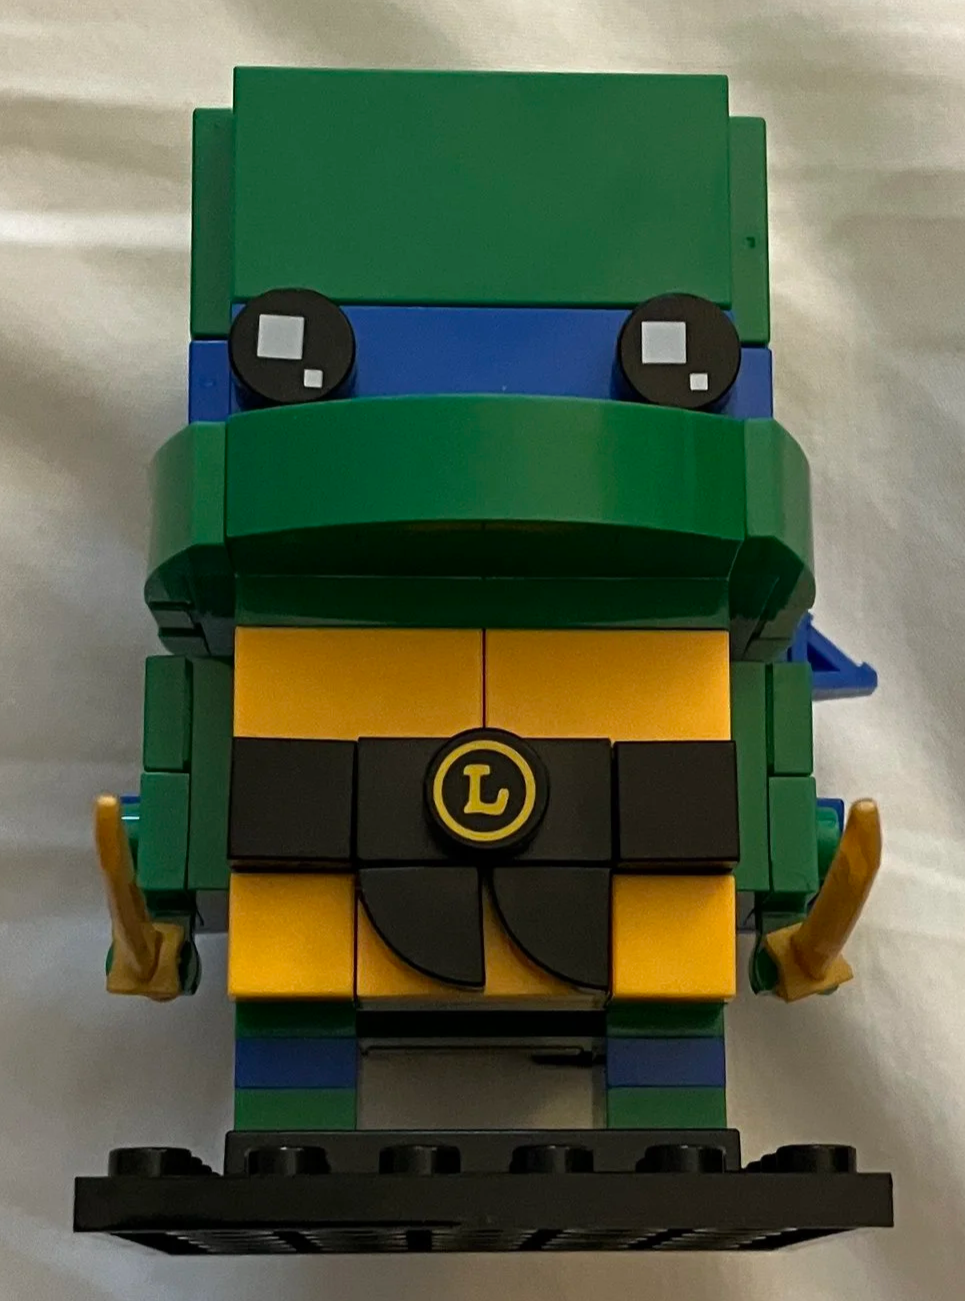
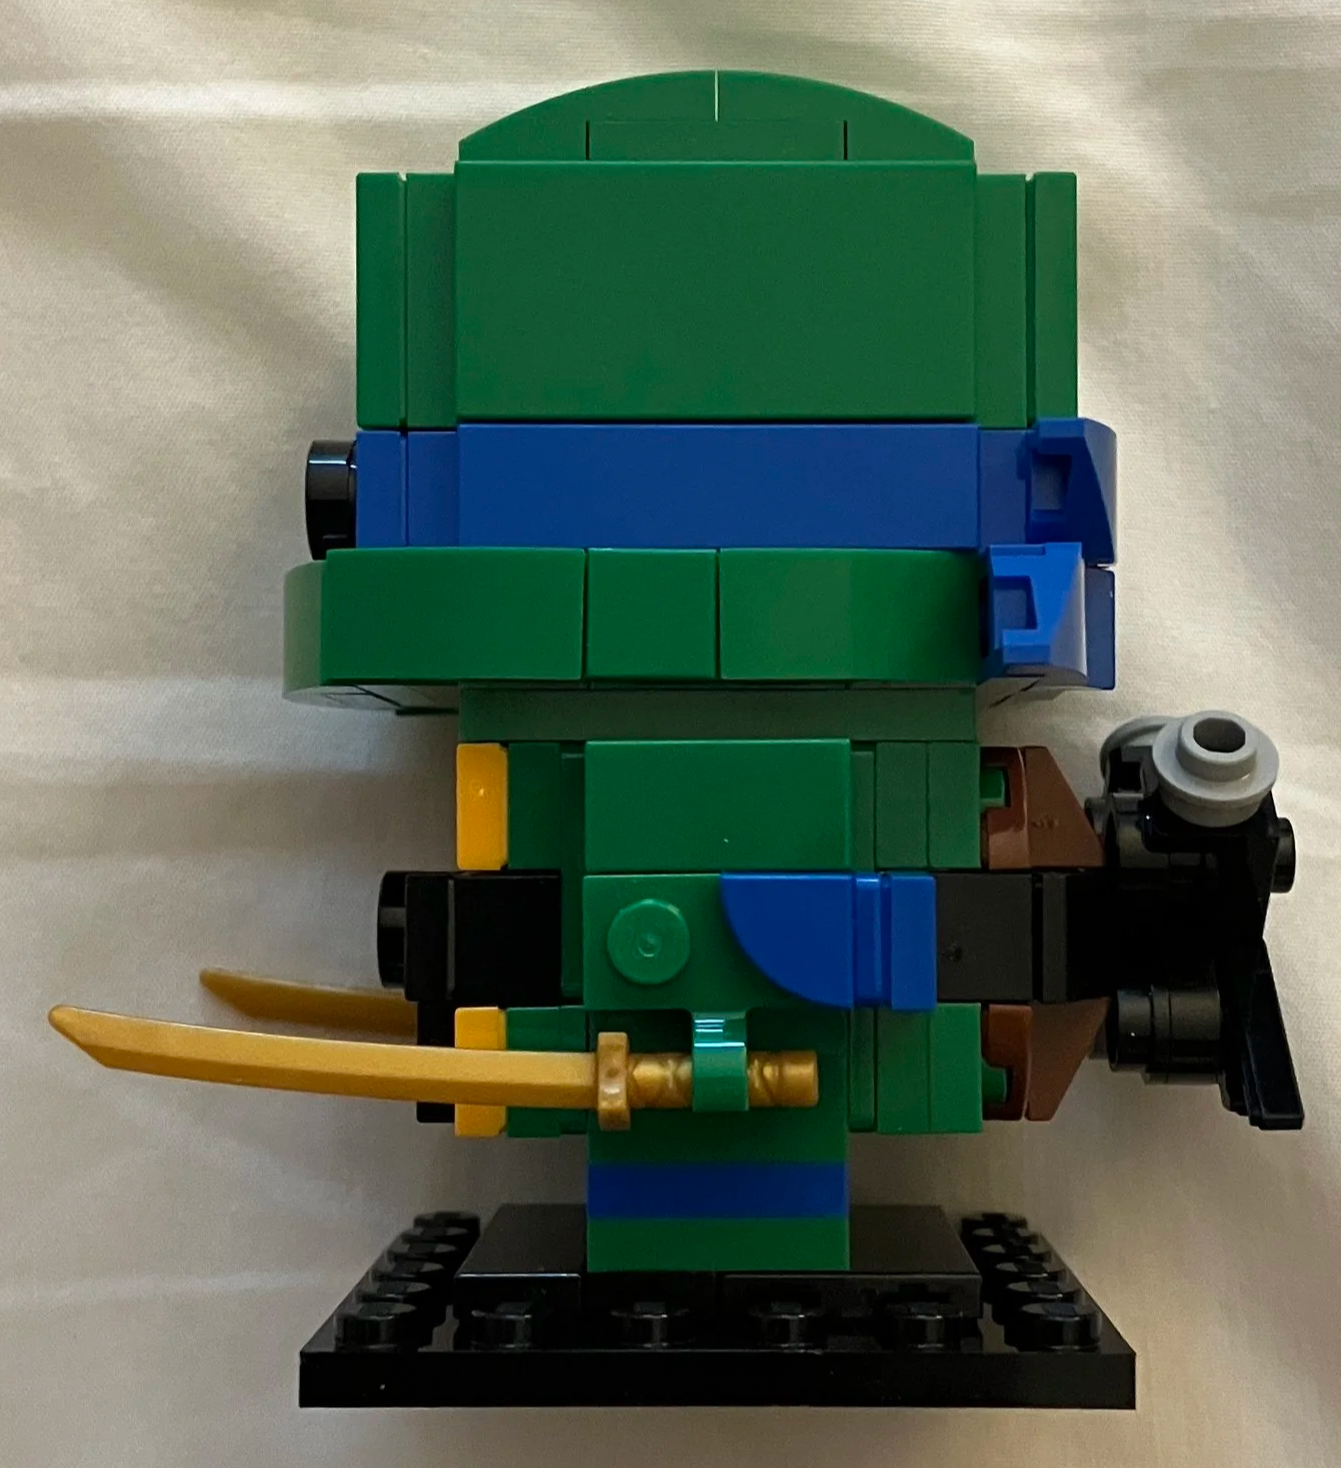
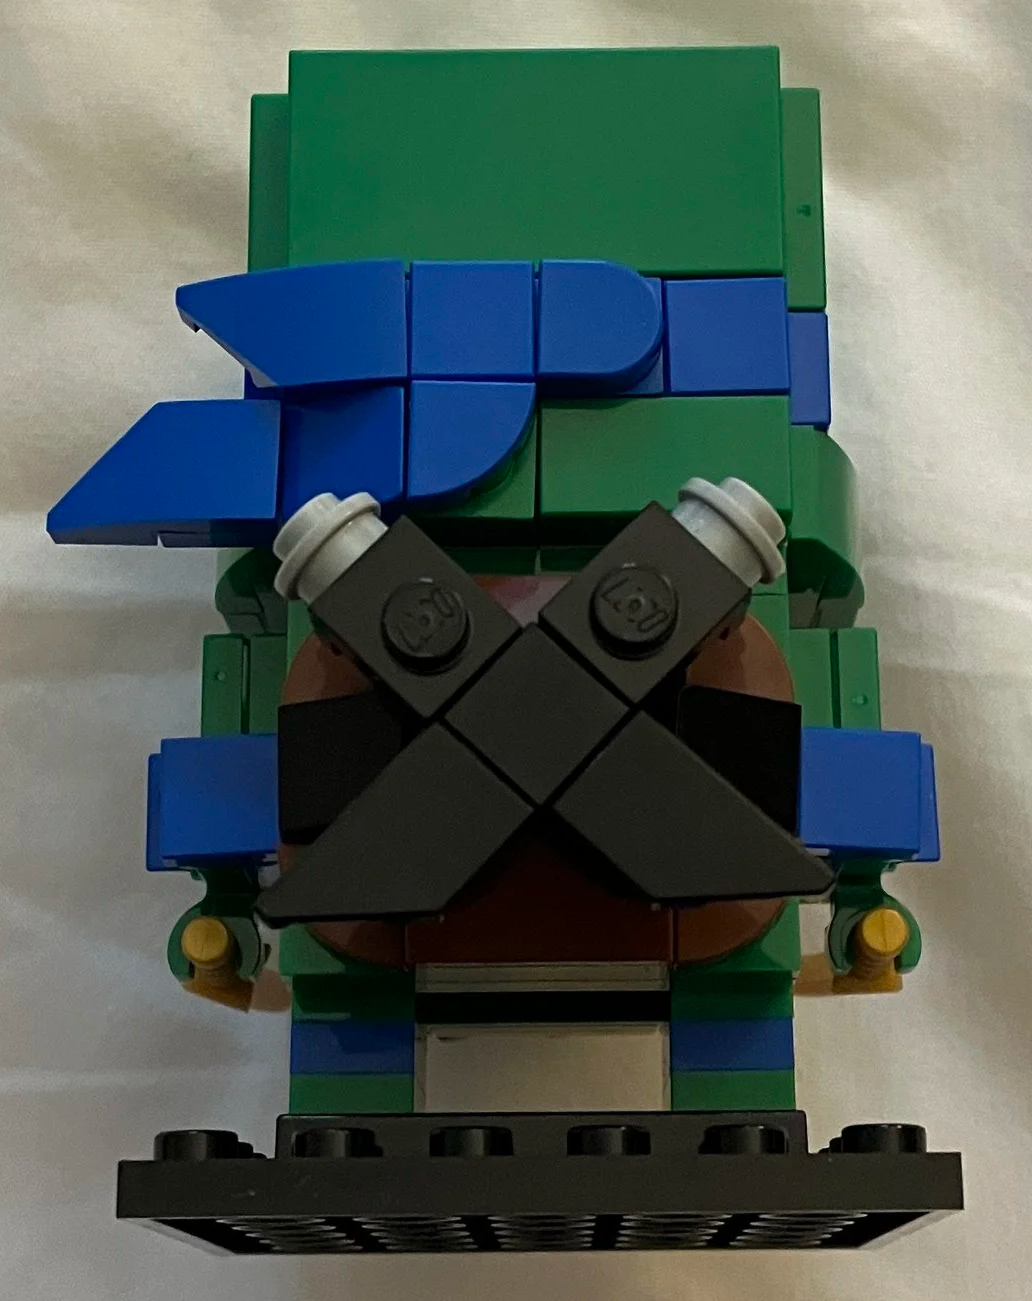
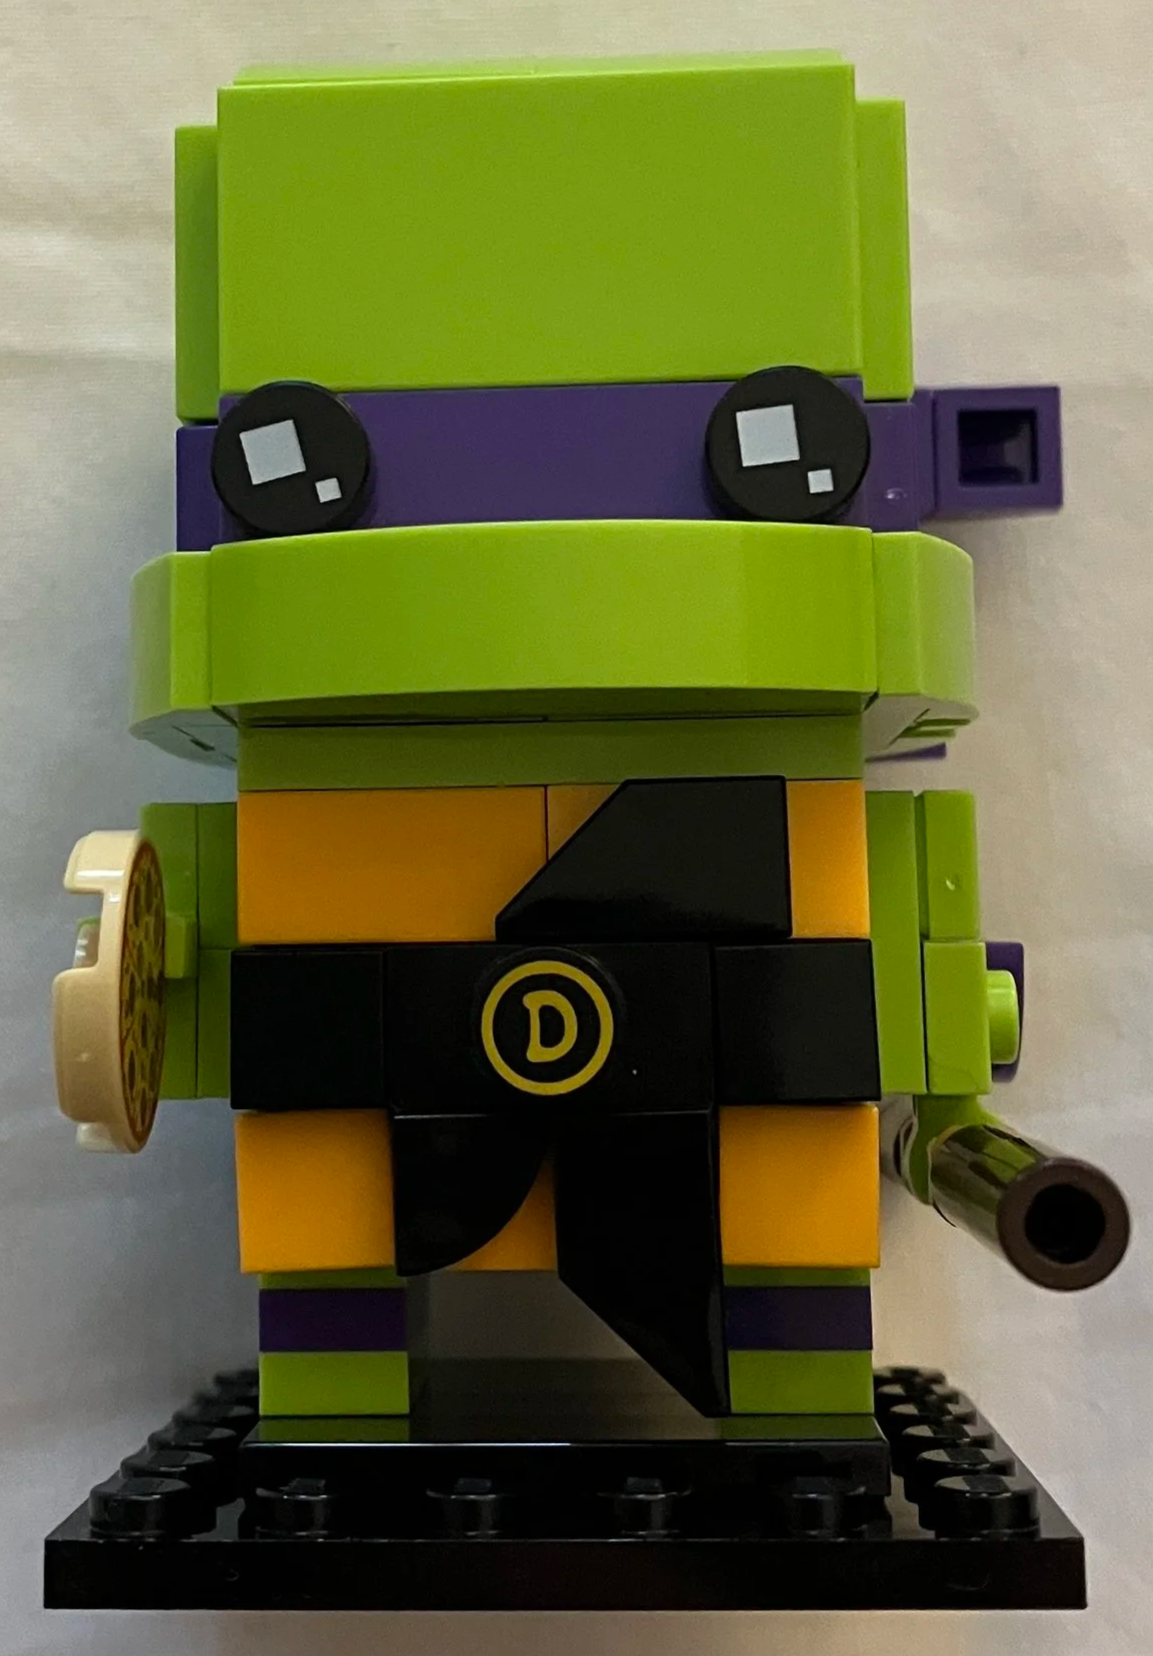
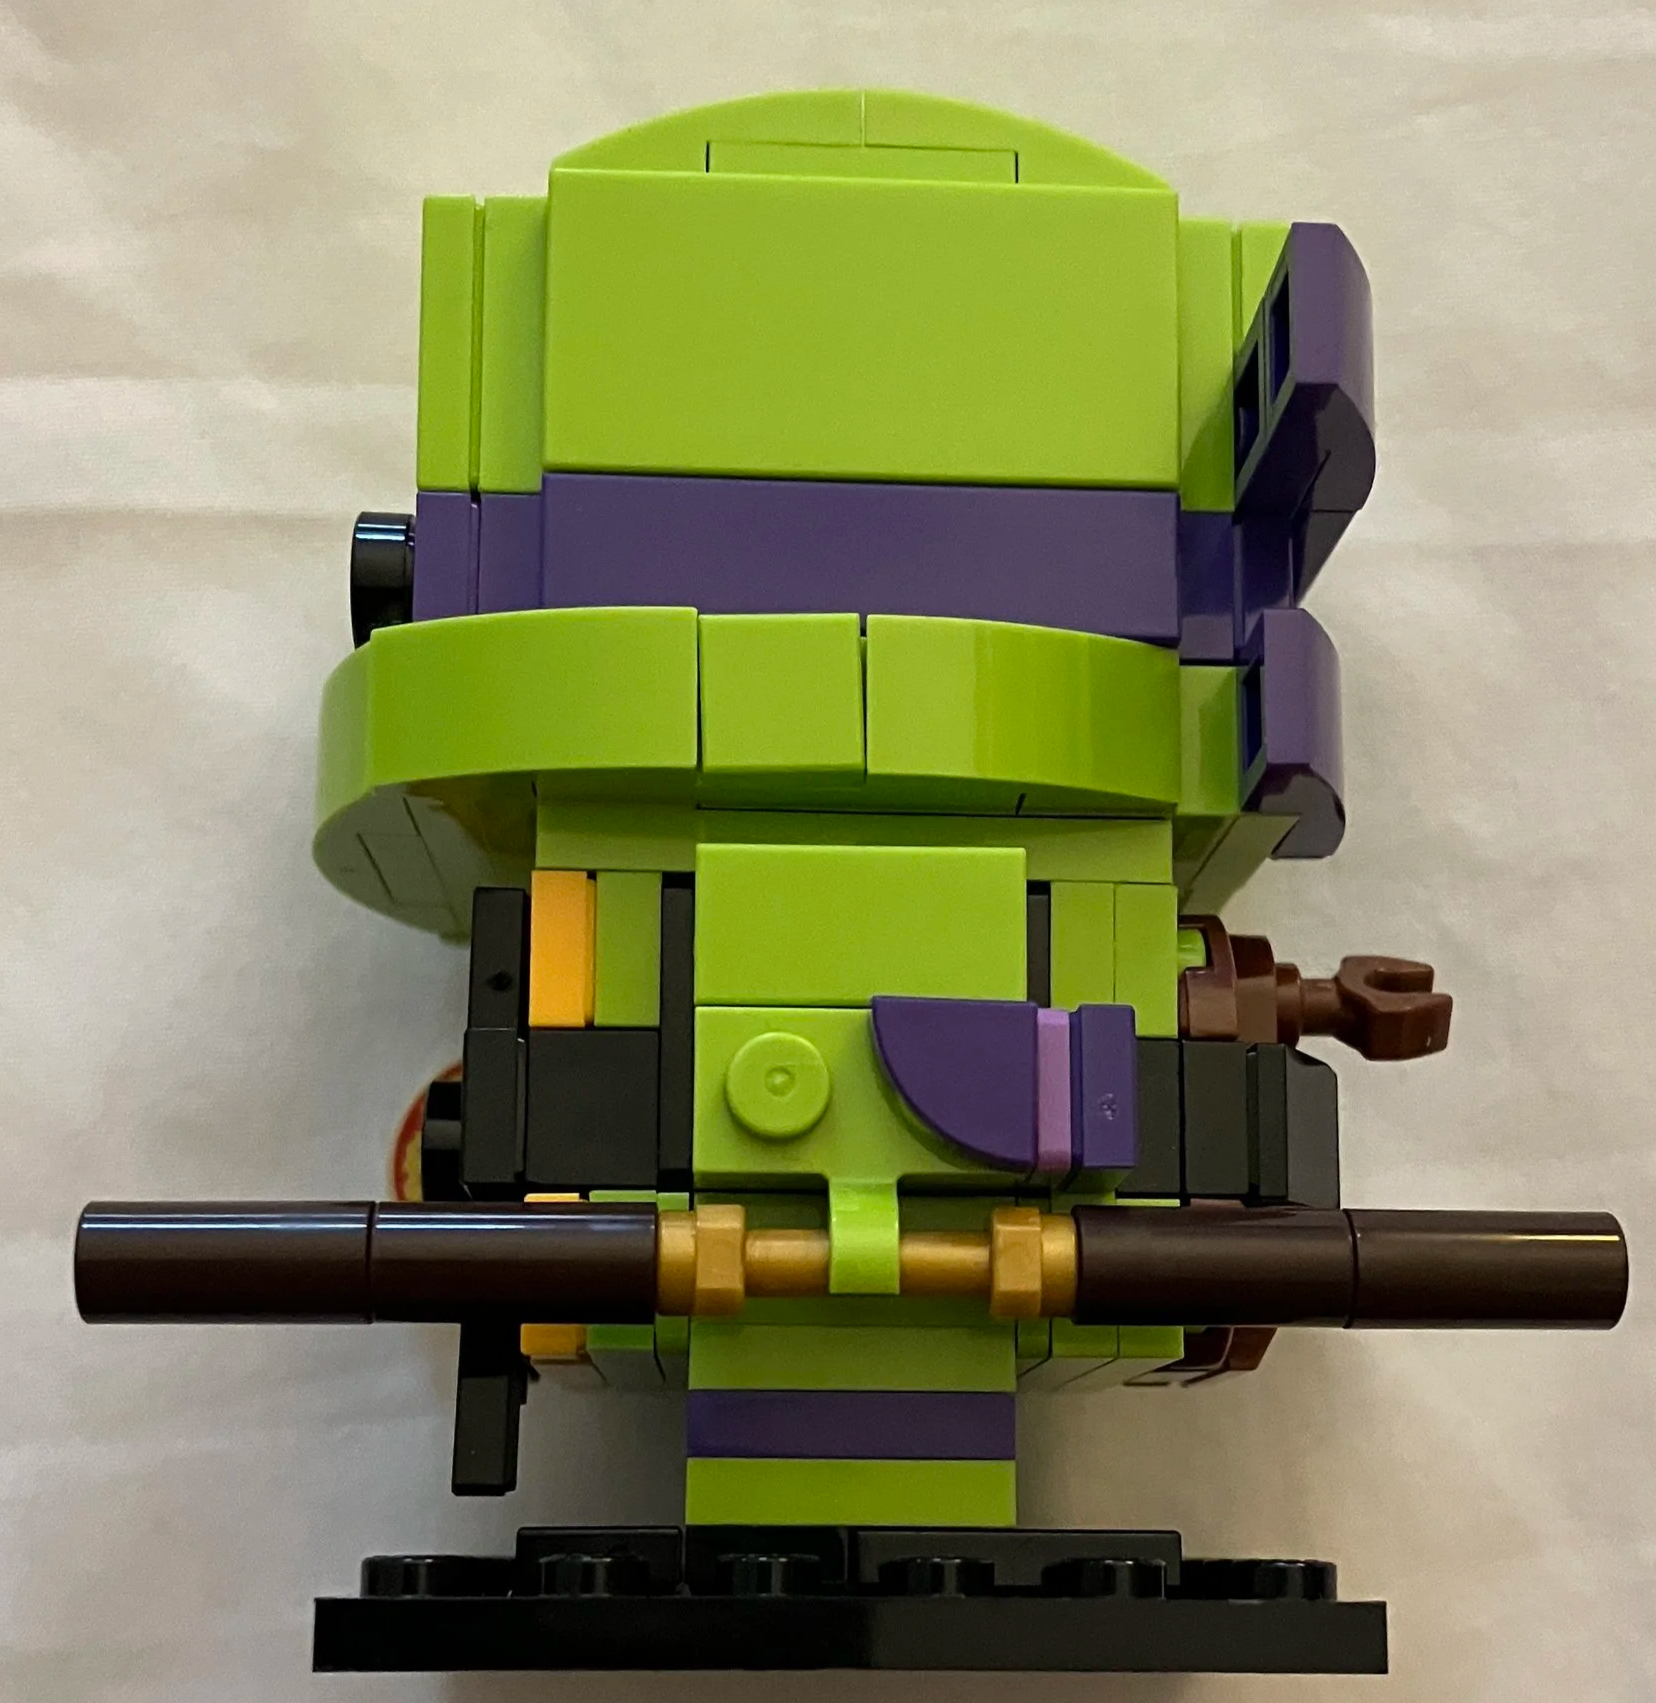
The first bag includes a brick separator and builds Leonardo. I only included the final build of each character, but each one has a 2x2 round tile in the stomach area because it is a pizza print. This was a fun Easter Egg for the set. All four figures are mostly the same, but with some slight variation on the mask around the head, weapons holders, the shade of the color green used, and a 1x1 round printed tile with their first initial on the belt. Leonardo is built in the first bag. He has the two katana swords and his belt holds a sword holder (that doesn’t actually hold swords).
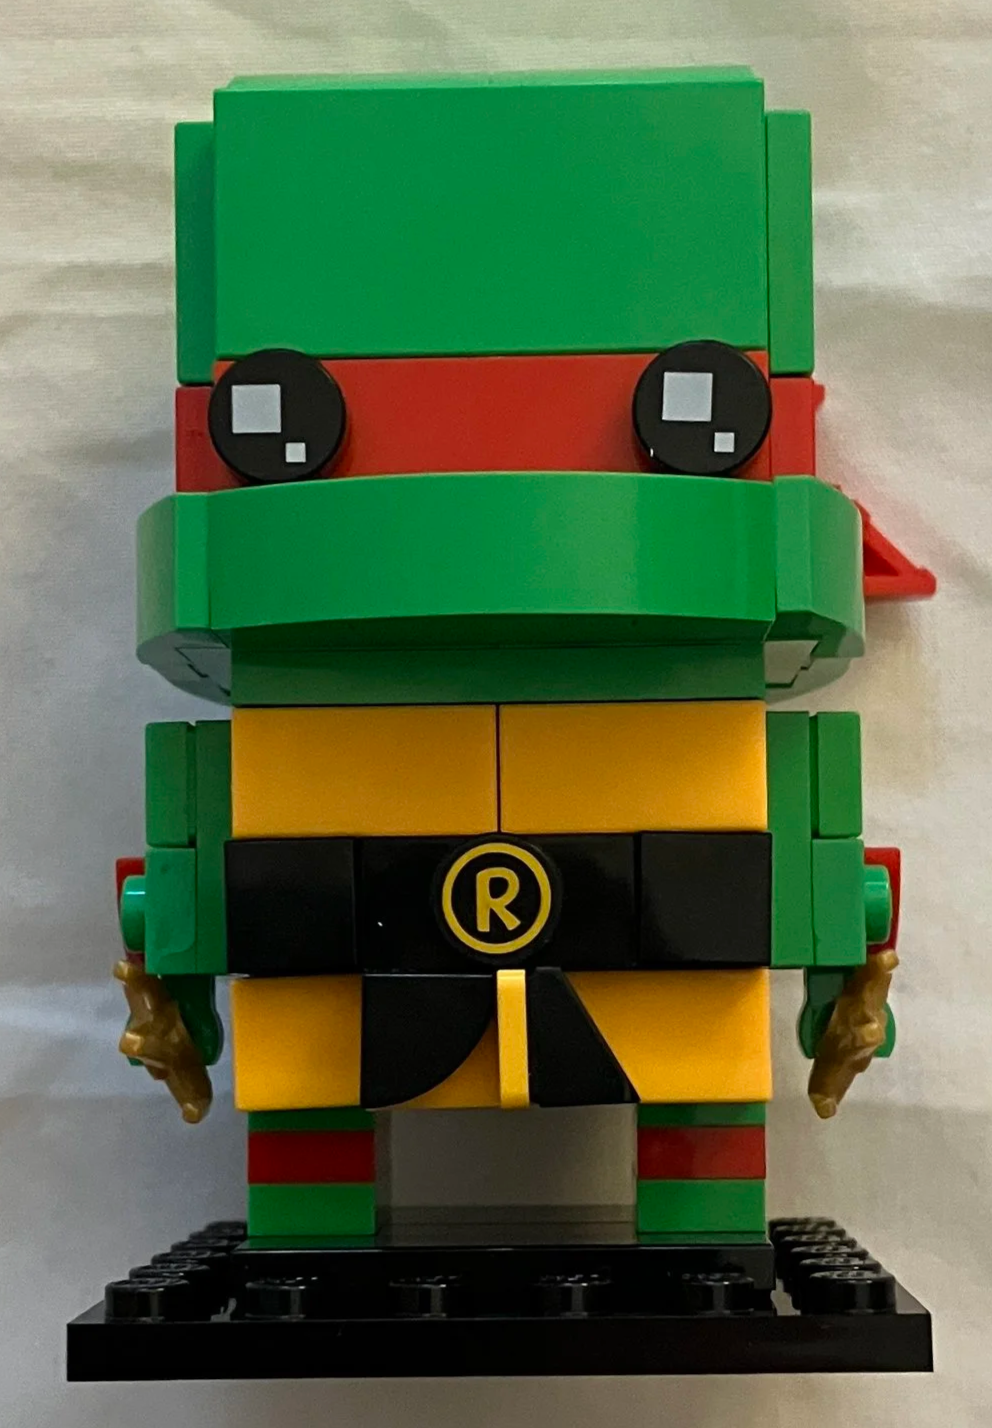
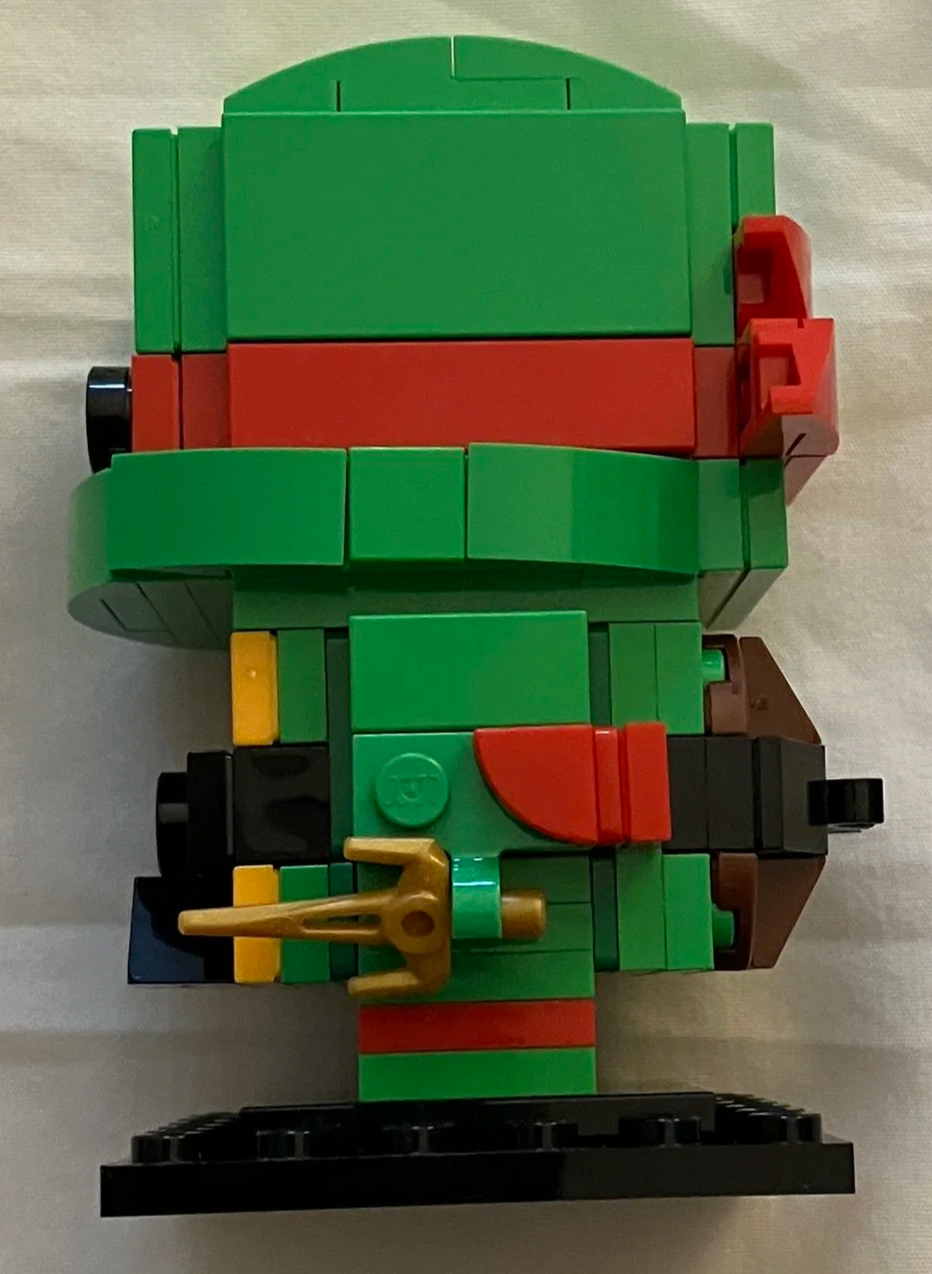
The second bag builds Raphael. He is a lighter shade of green and is holding his sai weapons. You’ll notice a few slight differences in his belt and mask, but otherwise, the build is similar.

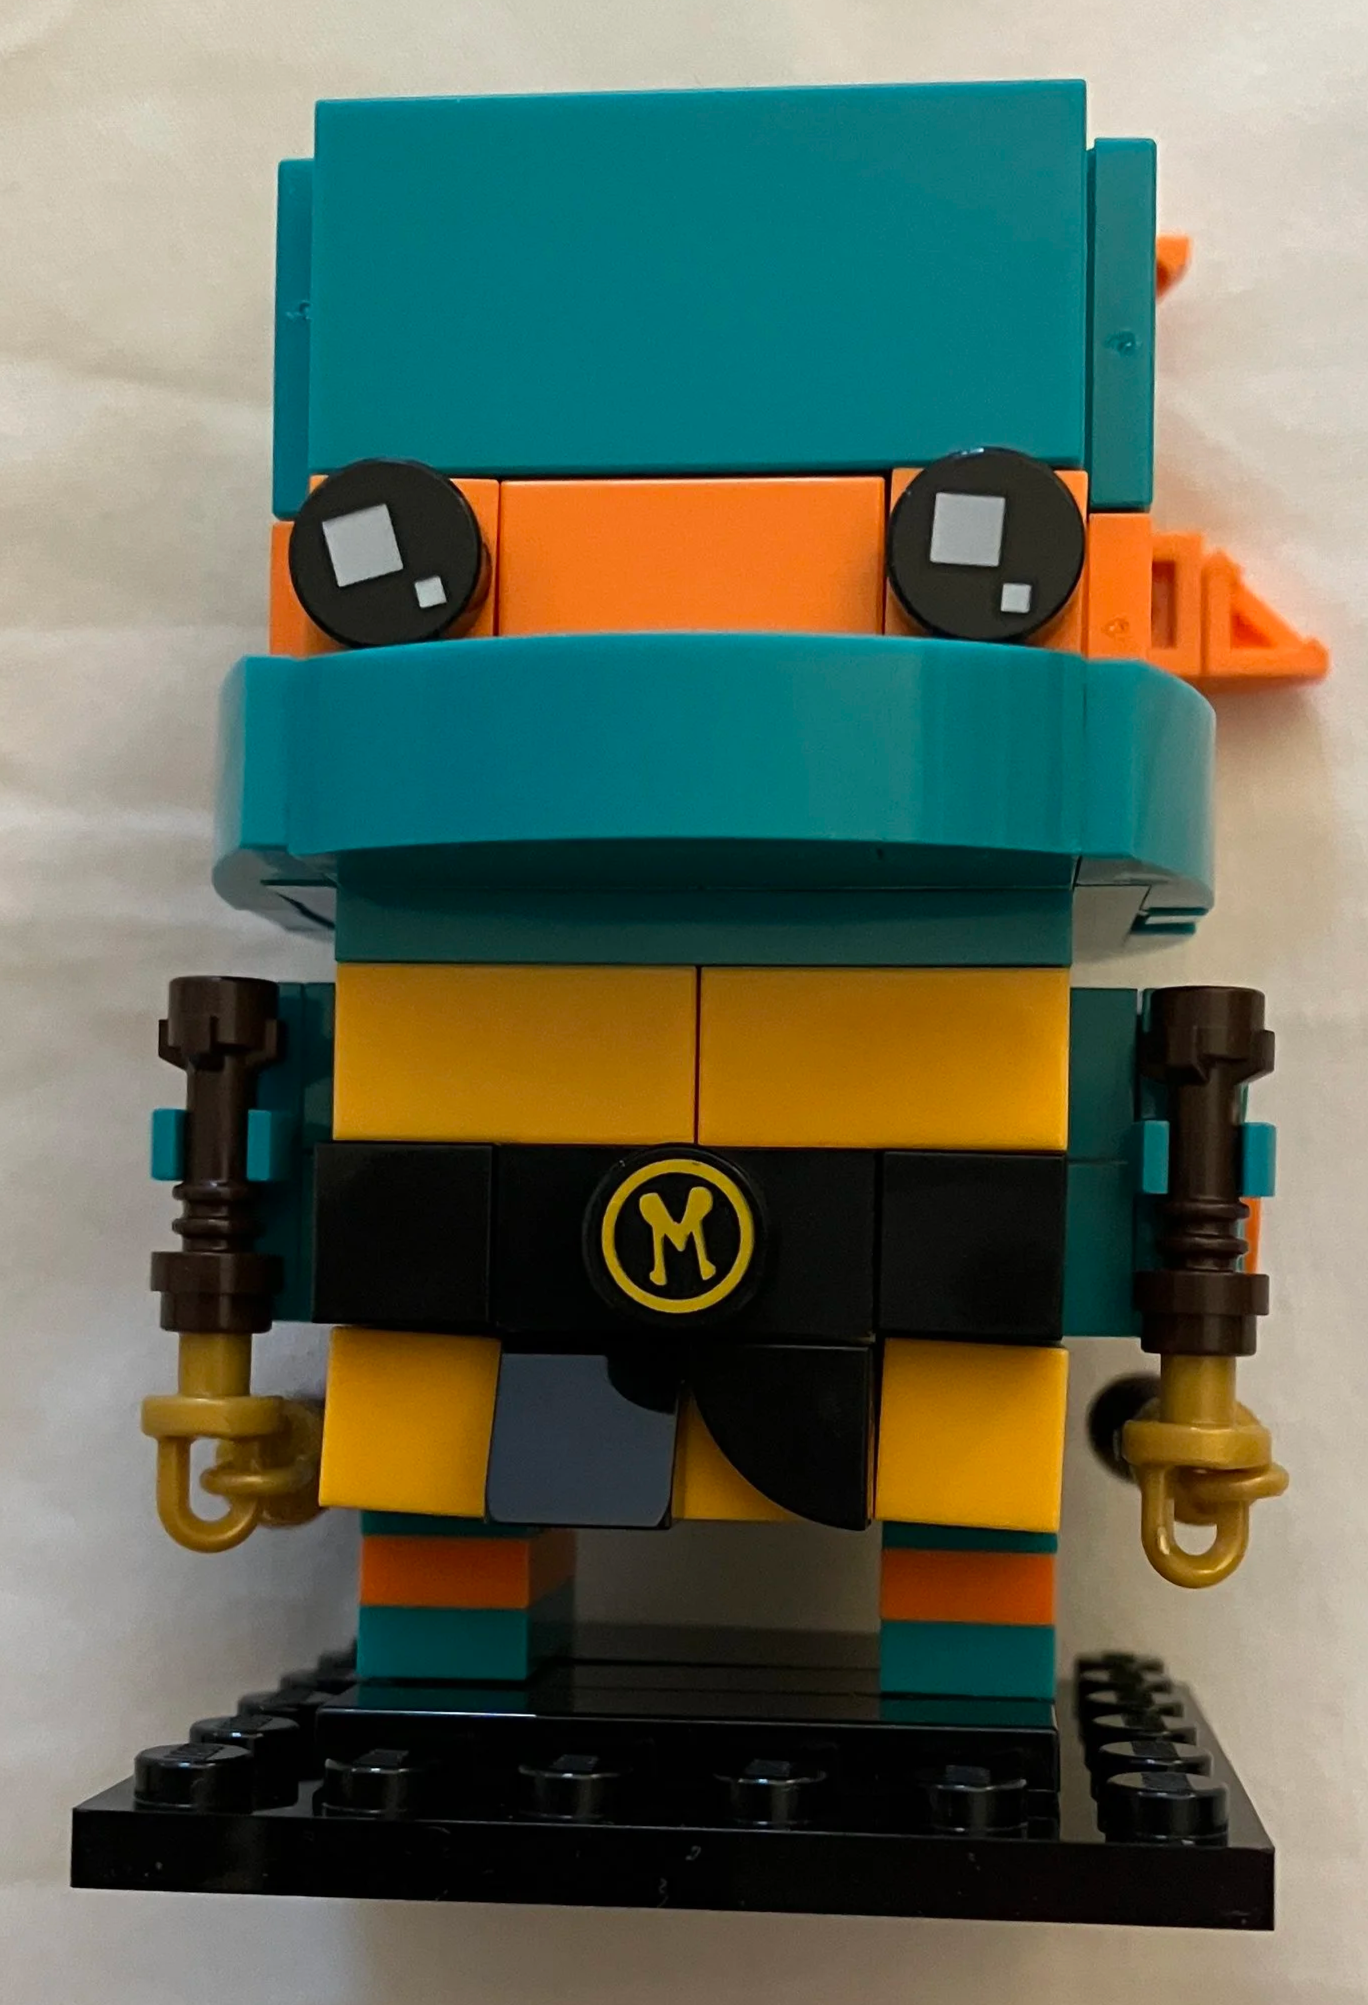
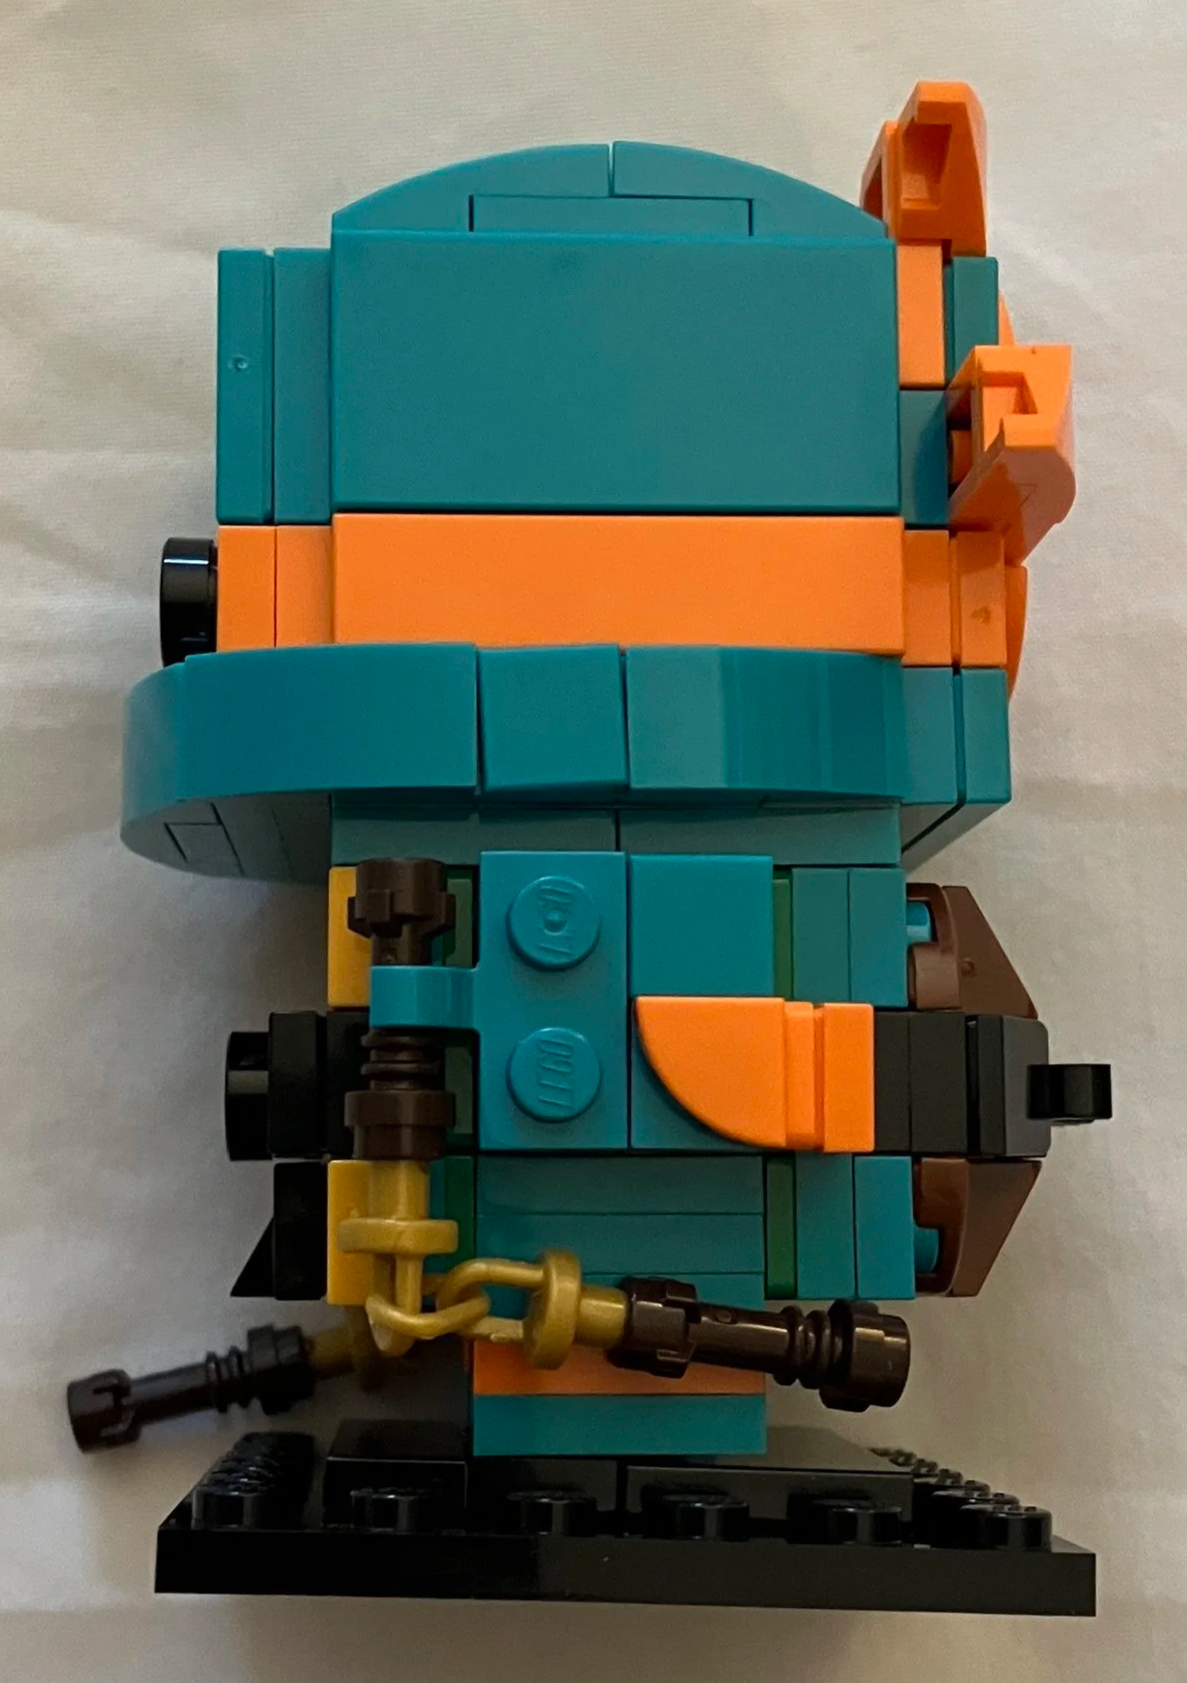
The third bag builds Michelangelo in a teal green color. I don’t recall there being that much variation in color of the four, but I guess it helps to mix things up for the set. He has his two nunchucks and they have a small chain so they swing like one would expect.
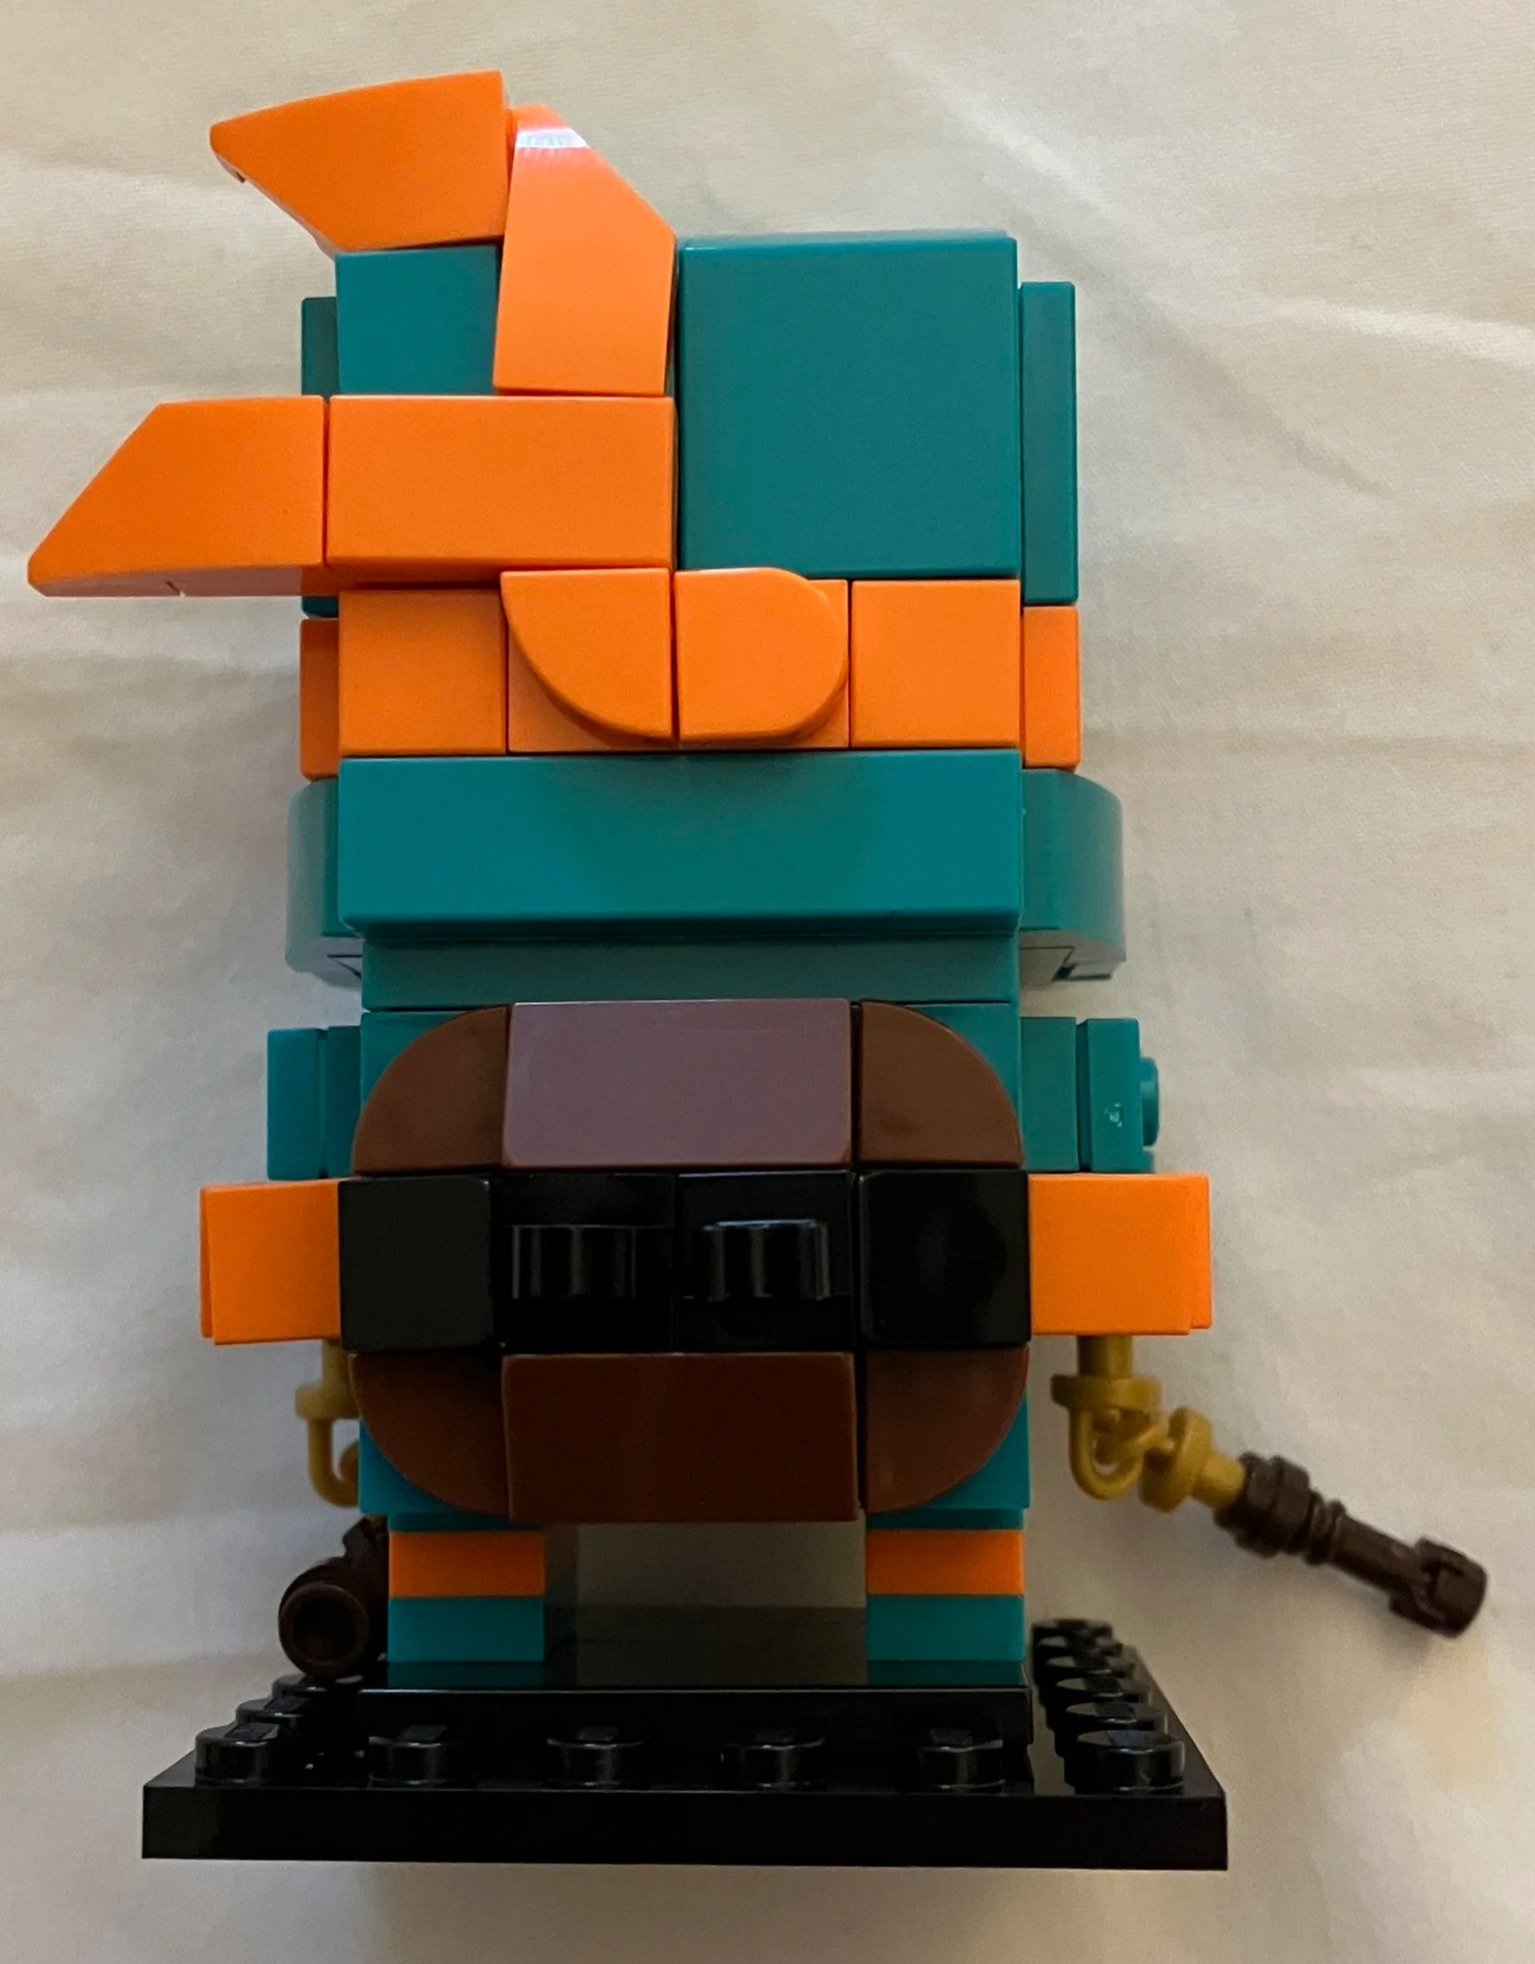
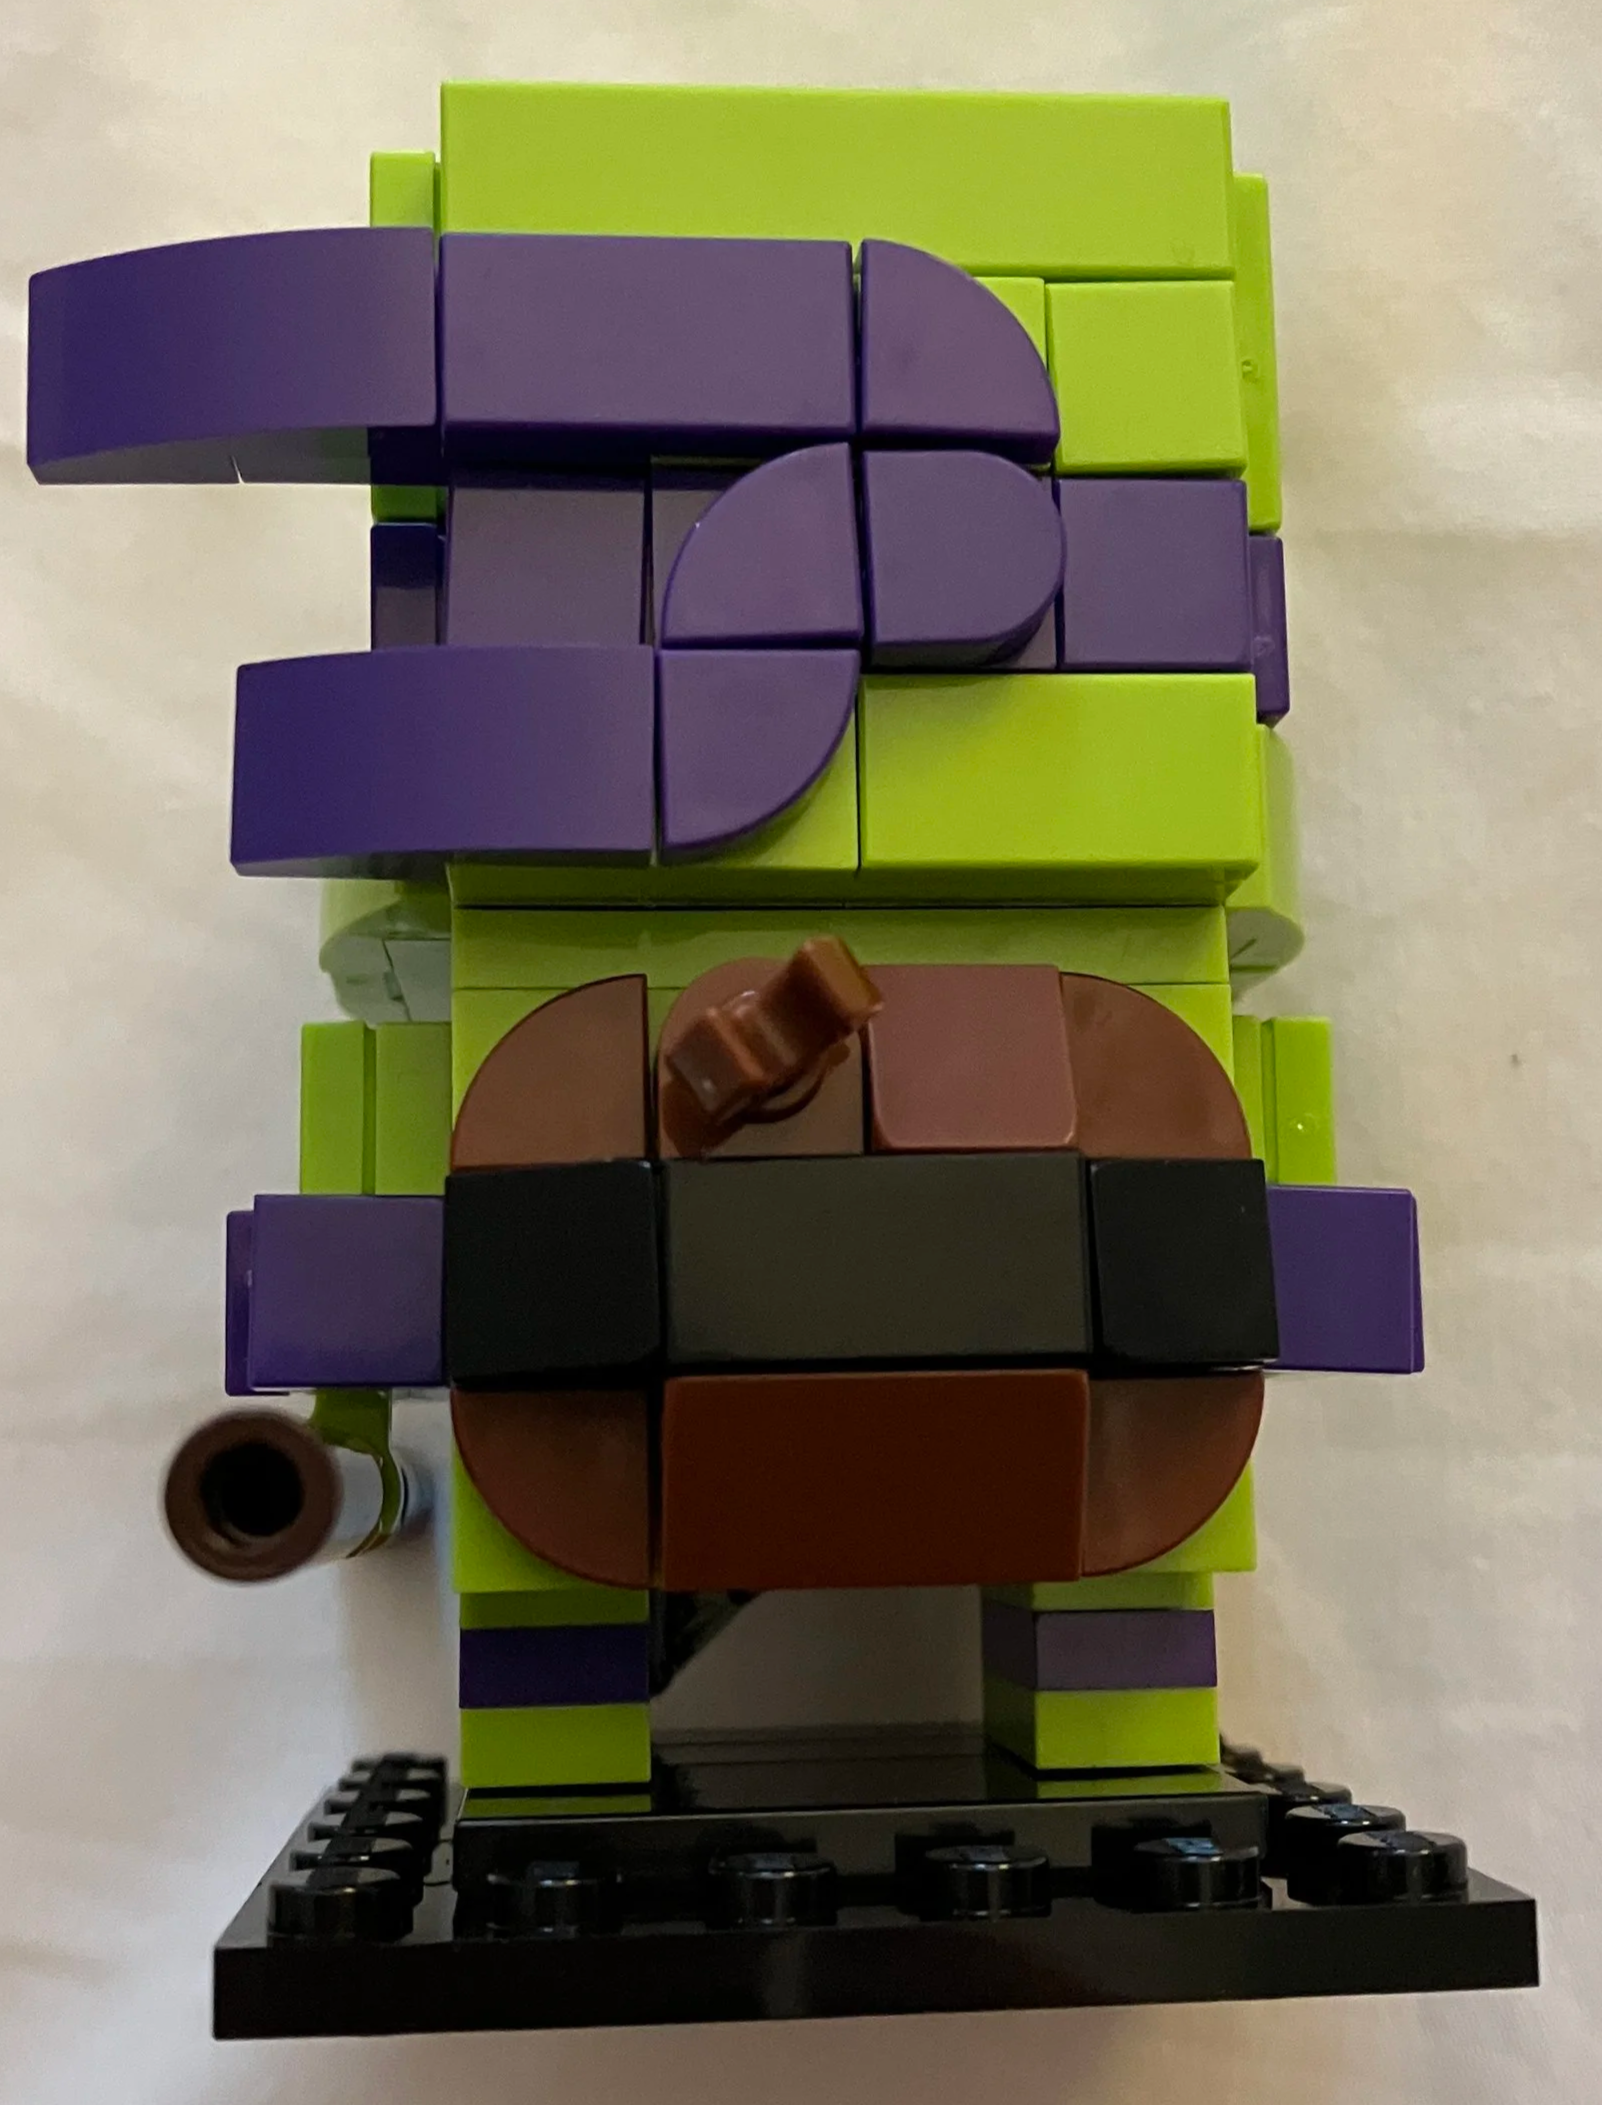
Last is Donatello with his bo staff and a pizza tile in his other hand. Donatello is built with a much lighter green color, but is still mostly the same as the others.
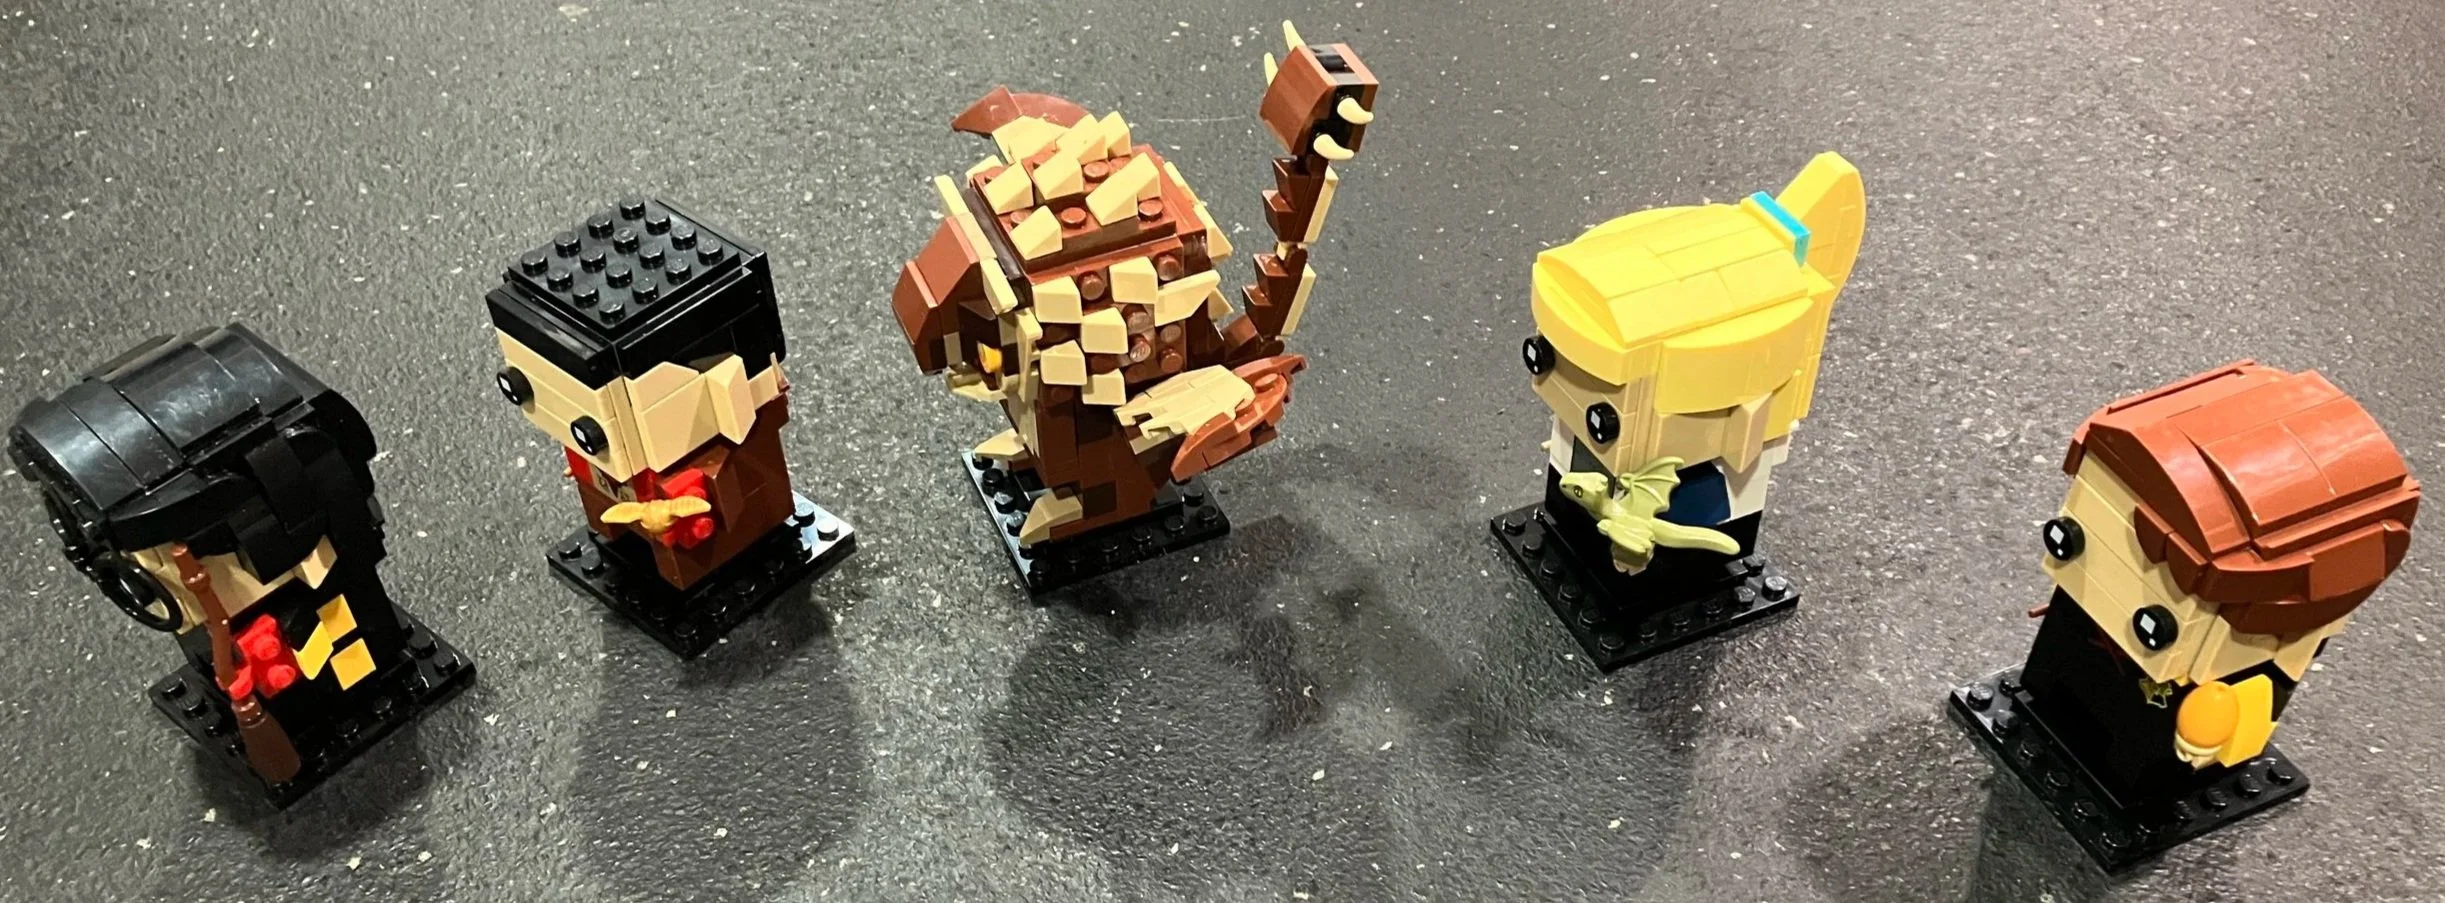
Here are the four. I think the proportions of their faces are off. I would have put a stud of space between the eyes and the mouth area. It looks like they have very large foreheads.
Other than that, if you are a Brickheadz collector, a Teenage Mutant Ninja Turtles fan, or you like pizza tiles, then grab this set. For those not into any of those things, I’d pass.
Happy building!