How are we on the 26th LEGO Ideas set already? Crazy!
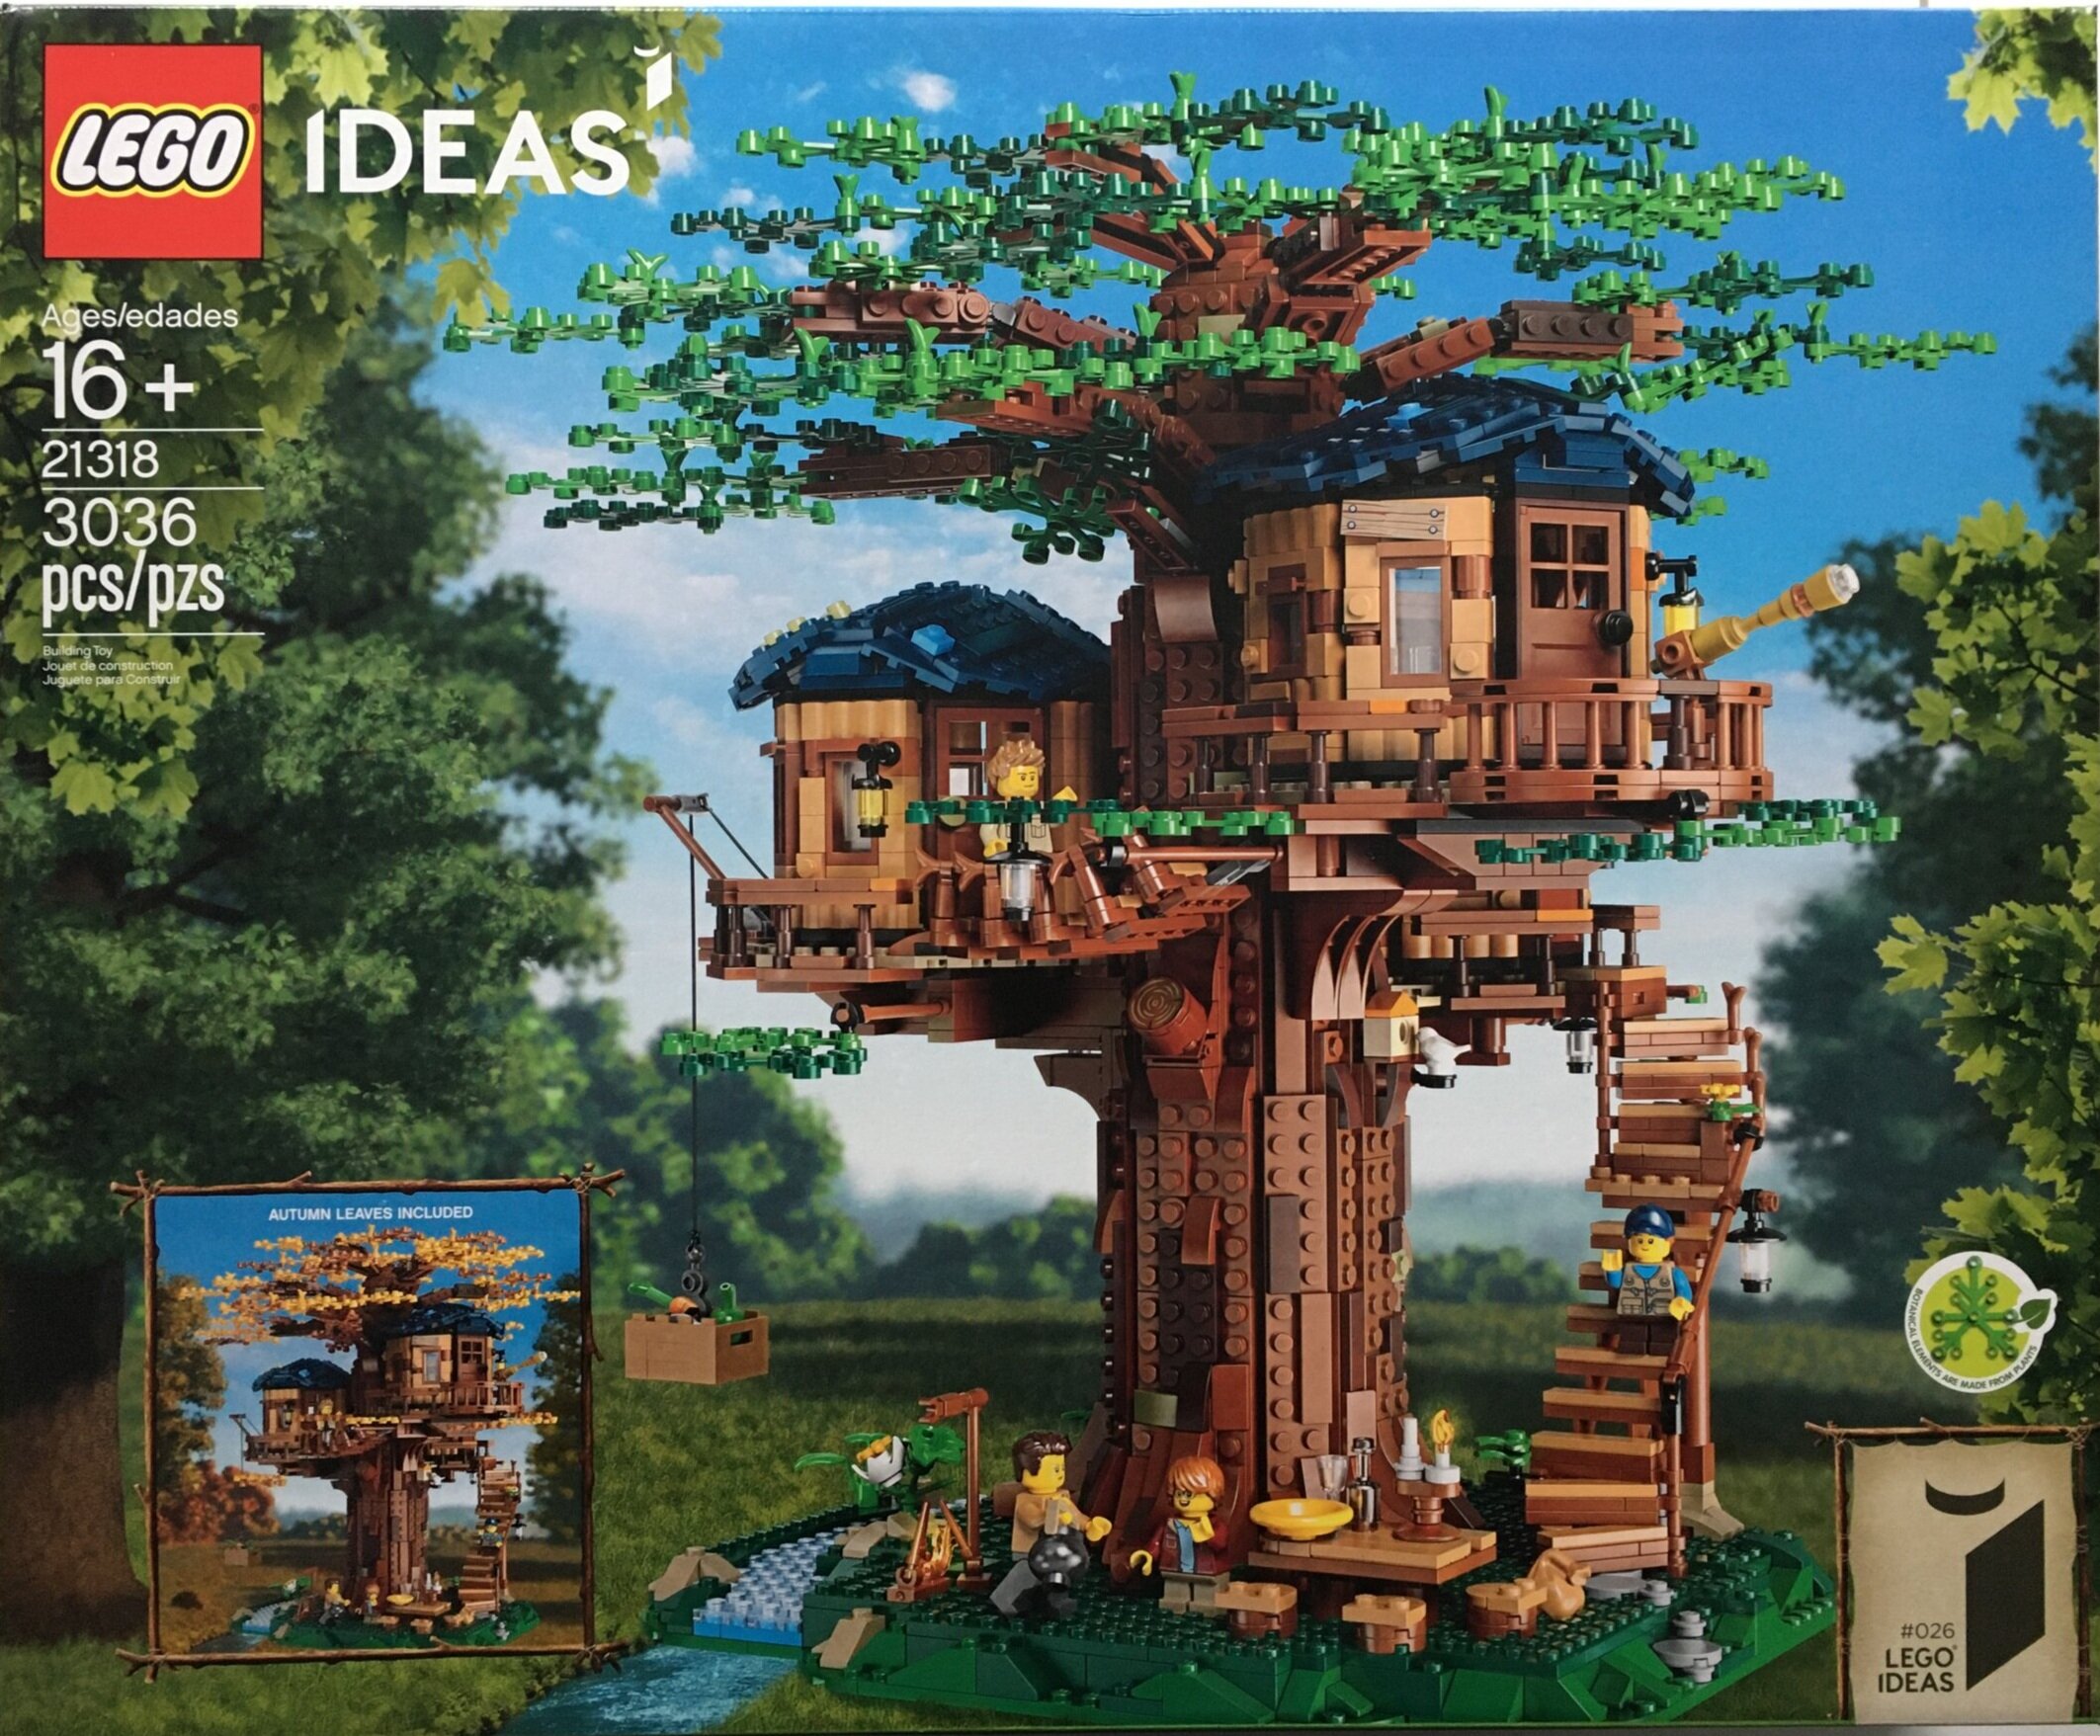
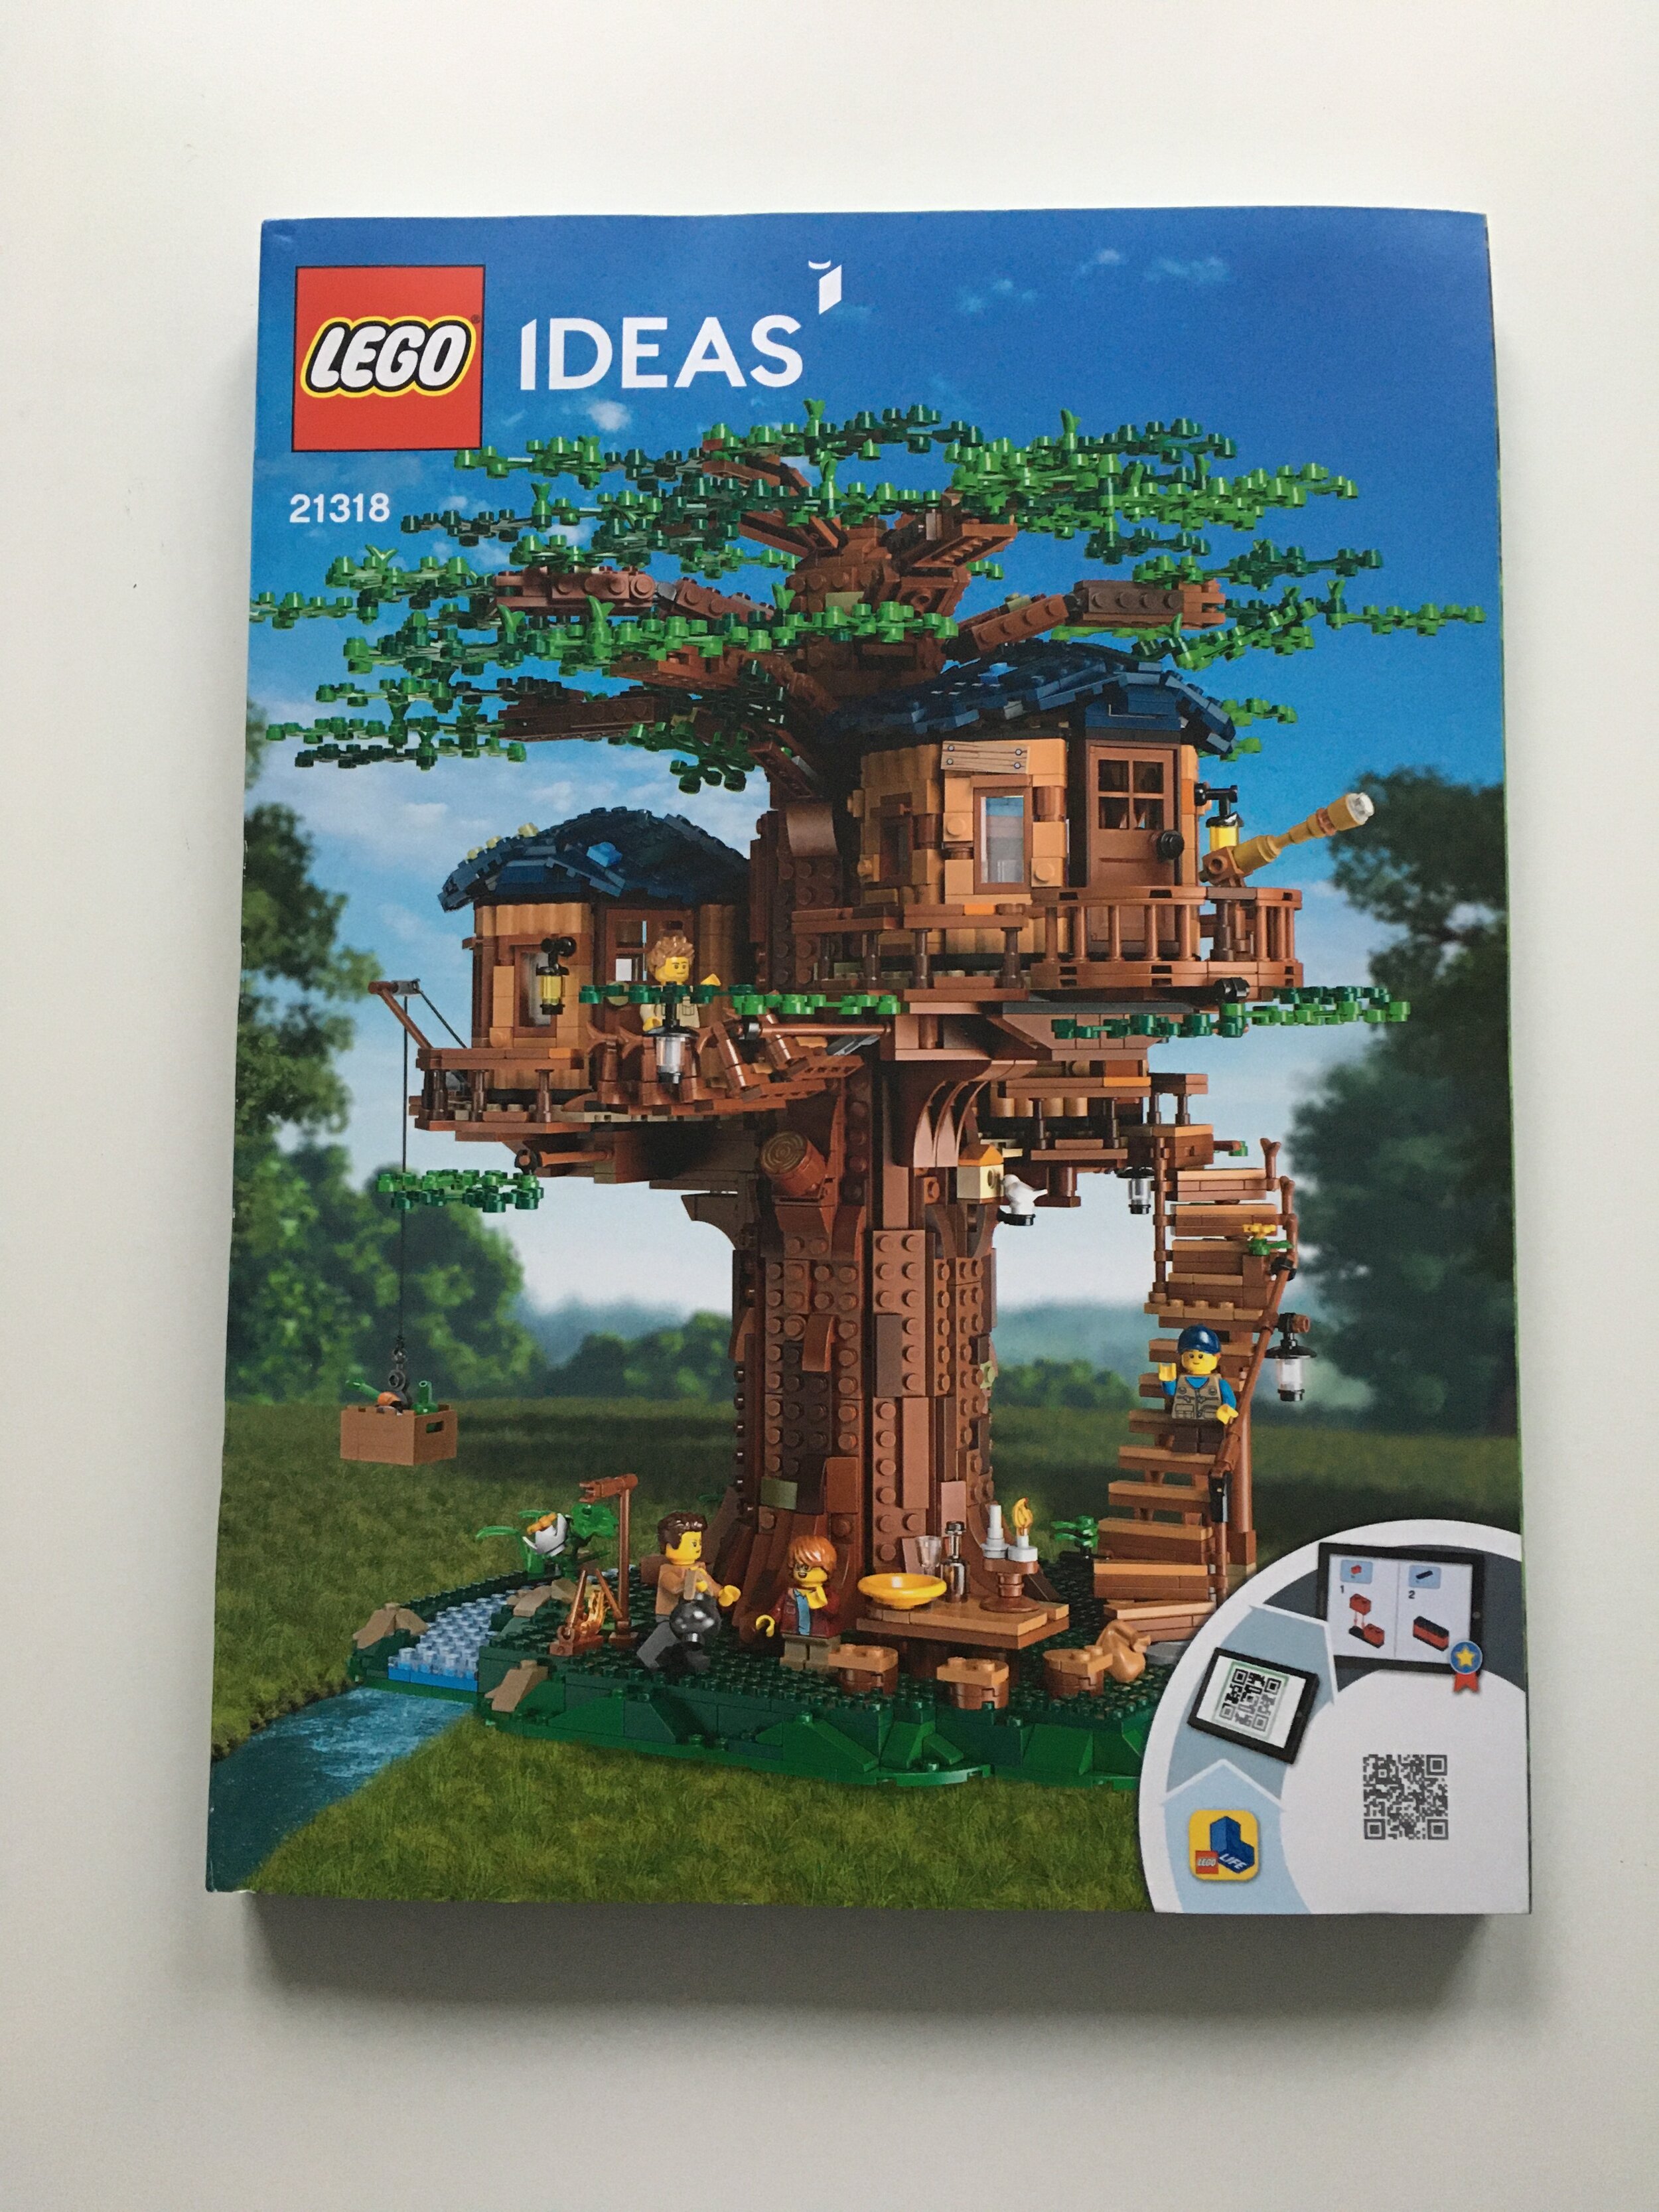
#21318-1: Tree House was released in the US on 2 August 2019. It retails for $199.99 in the US and contains 3,036 pieces along with 4 minifigures. The price per piece works out to be $0.066/piece, which is decent. I had a gift card to use so it helped along with the double VIP points I earned. I read a few reviews on this one ahead of time with some mixed opinions, but I was excited to give it my own review.
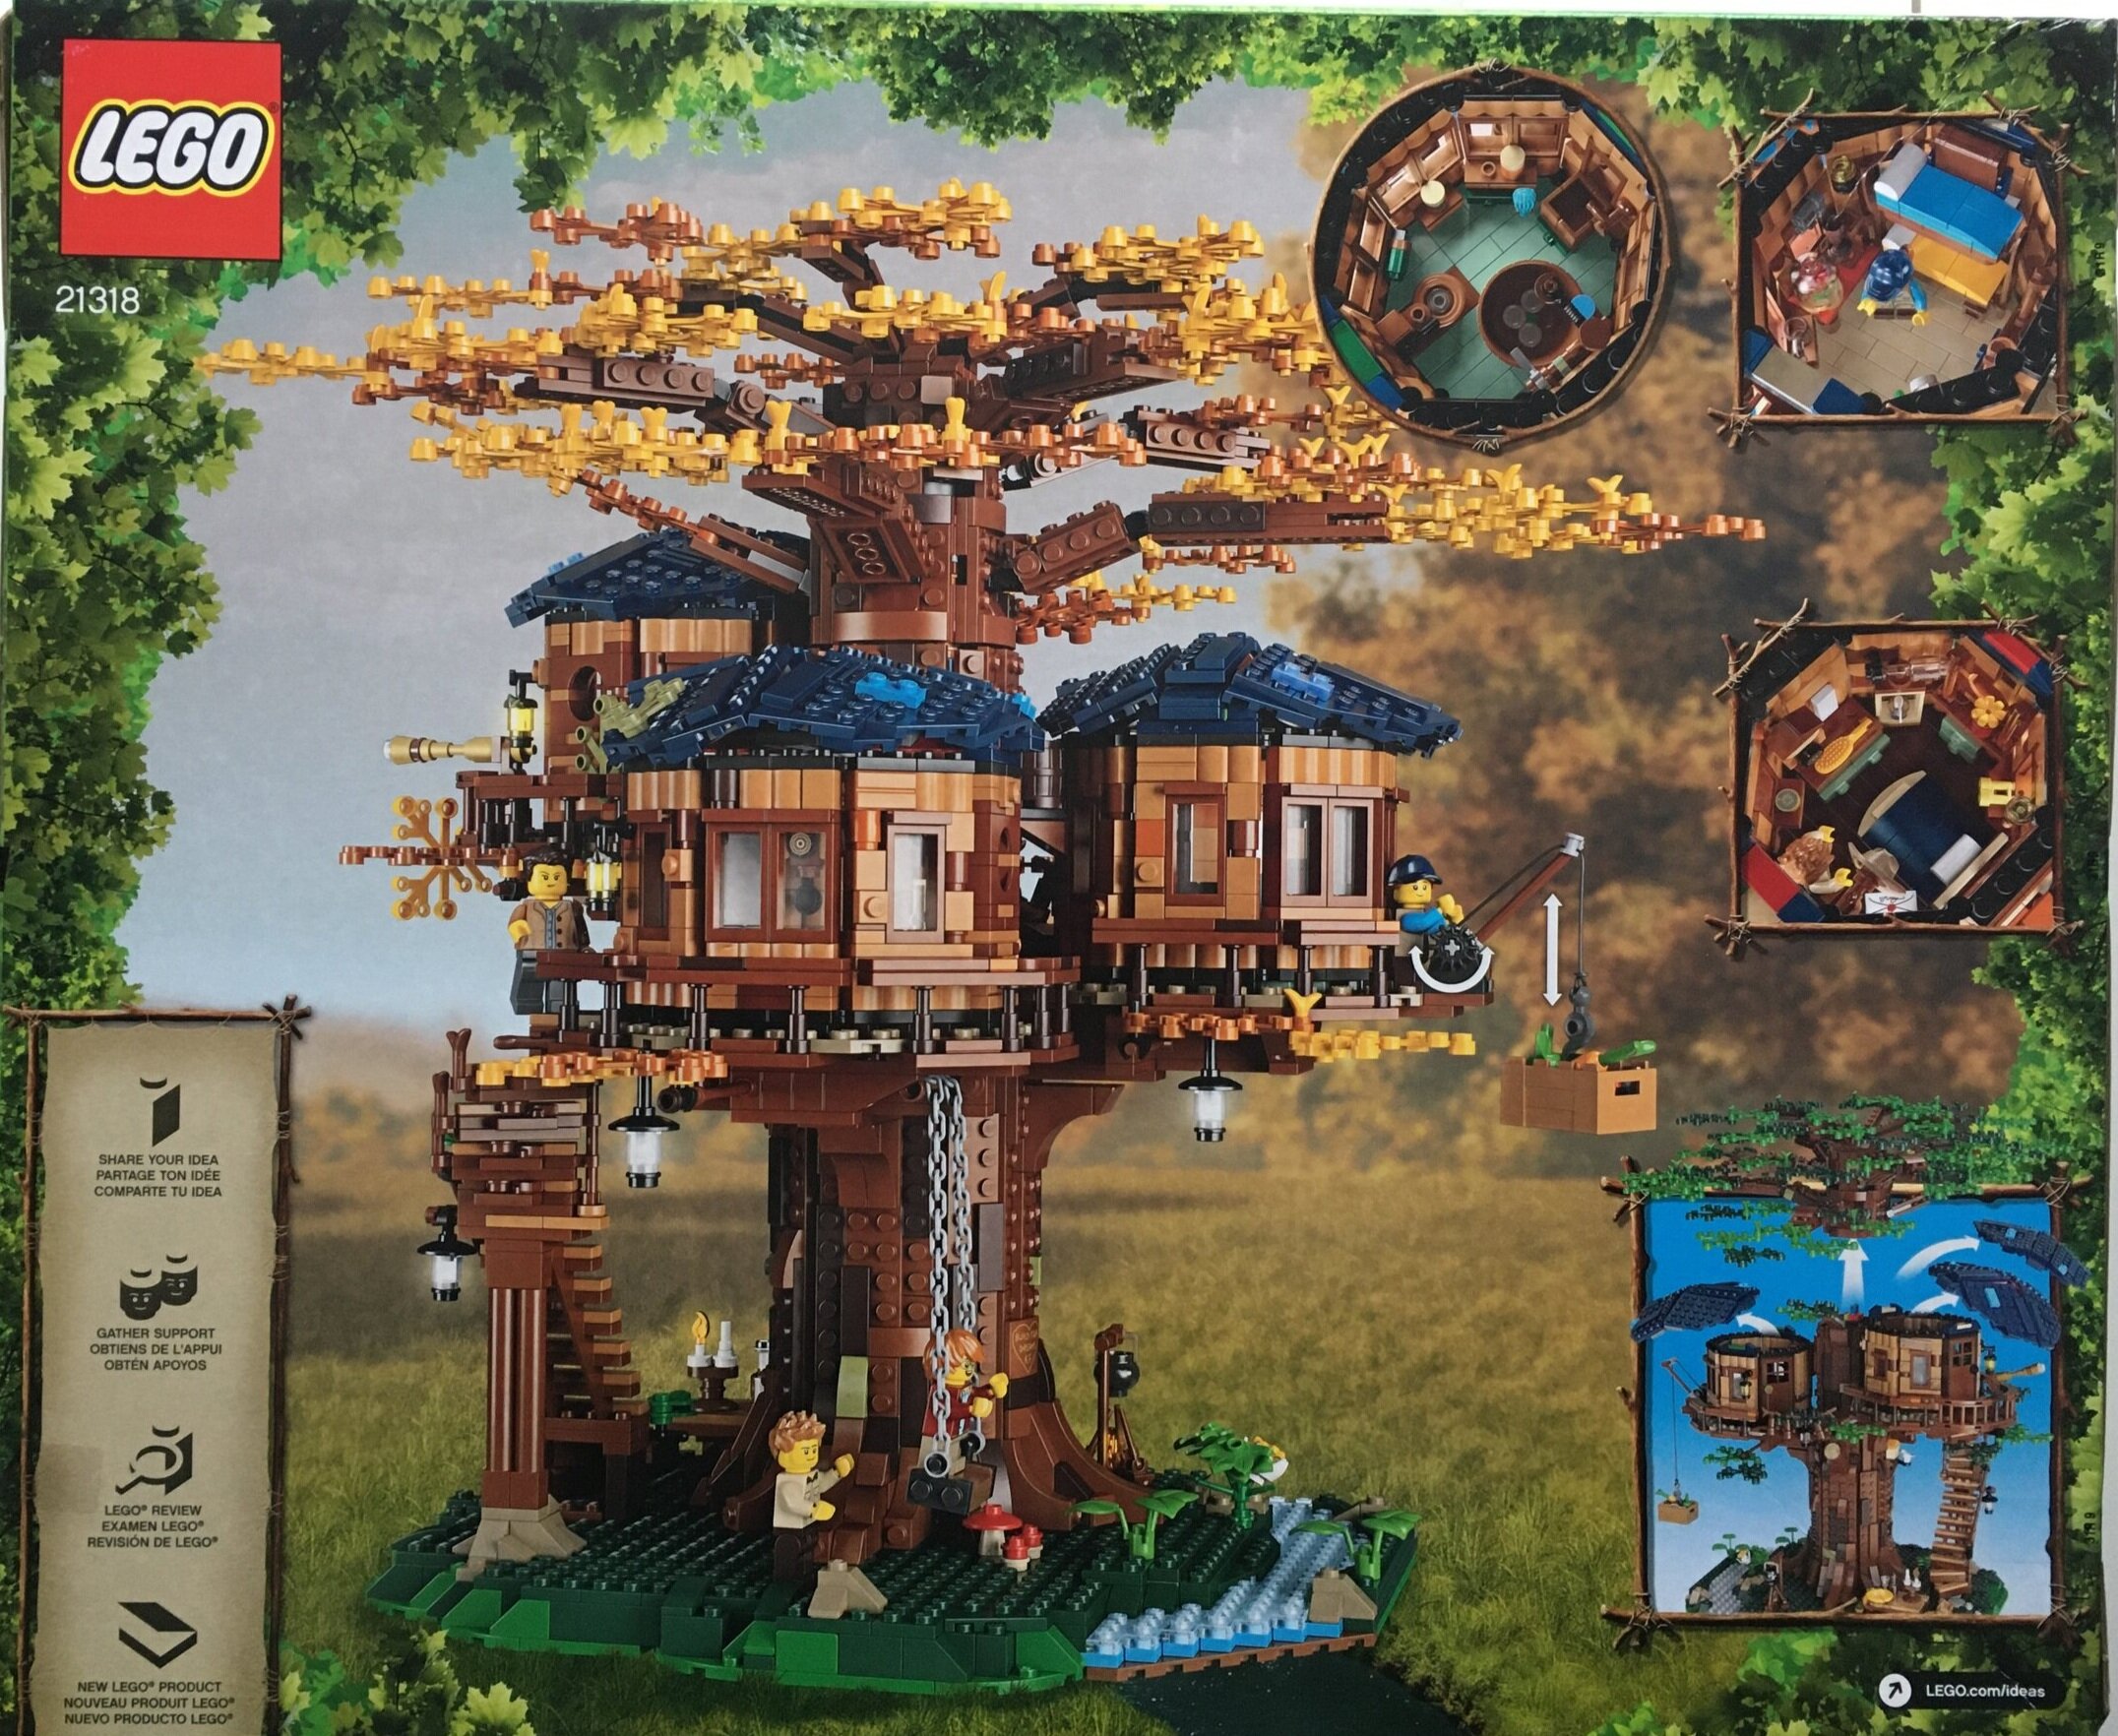
The box is quite large with the front showing the full set in the summer mode along with a small picture of the autumn mode. It also highlights the sustainable plastics used on the plant pieces. The back highlights some of the details, shows how you can remove the roofs of each of the rooms, and shows the tree house in the autumn.
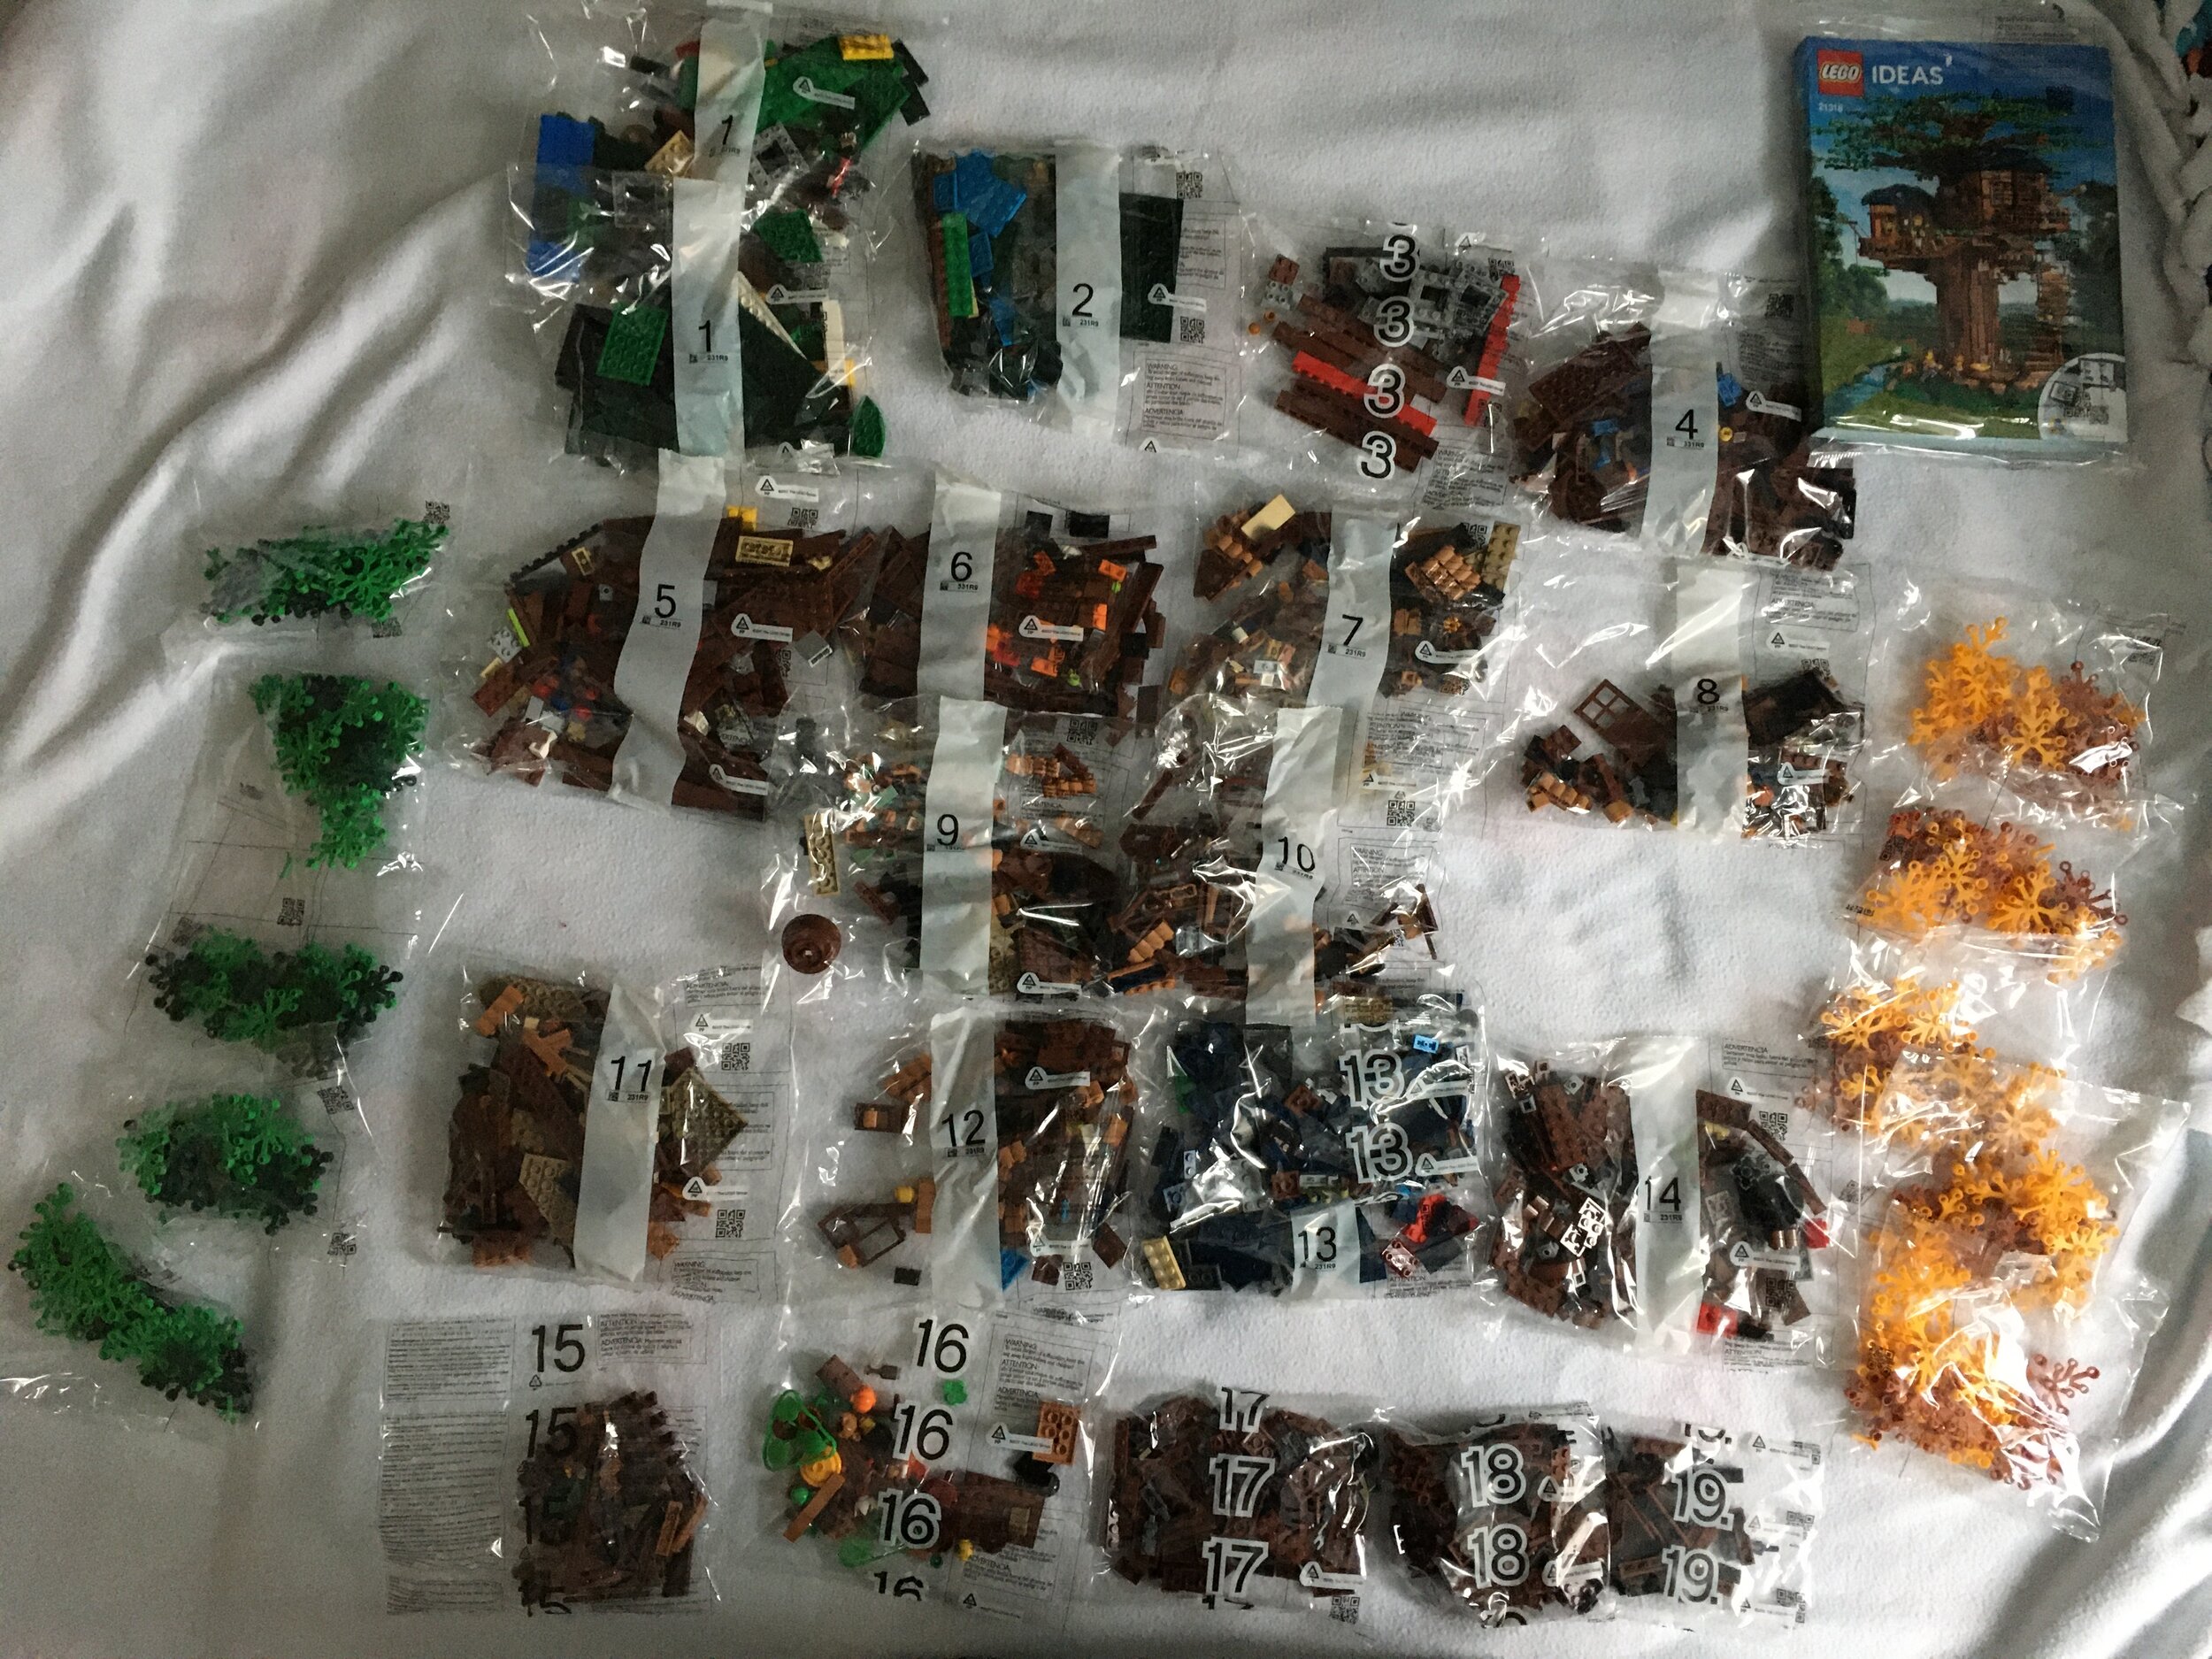
The box contains 16 part bags and then another box with part bags in it. The full set contains 19 numbered bags. There are two bags numbered 1 and then one bag each through number 19. There are 5 bags each for the summer leaves and autumn leaves. The instruction book is wrapped in plastic to prevent damage.

The instruction book has 431 pages total. Like other Ideas sets, this one has some information about the fan designer and the LEGO designer.

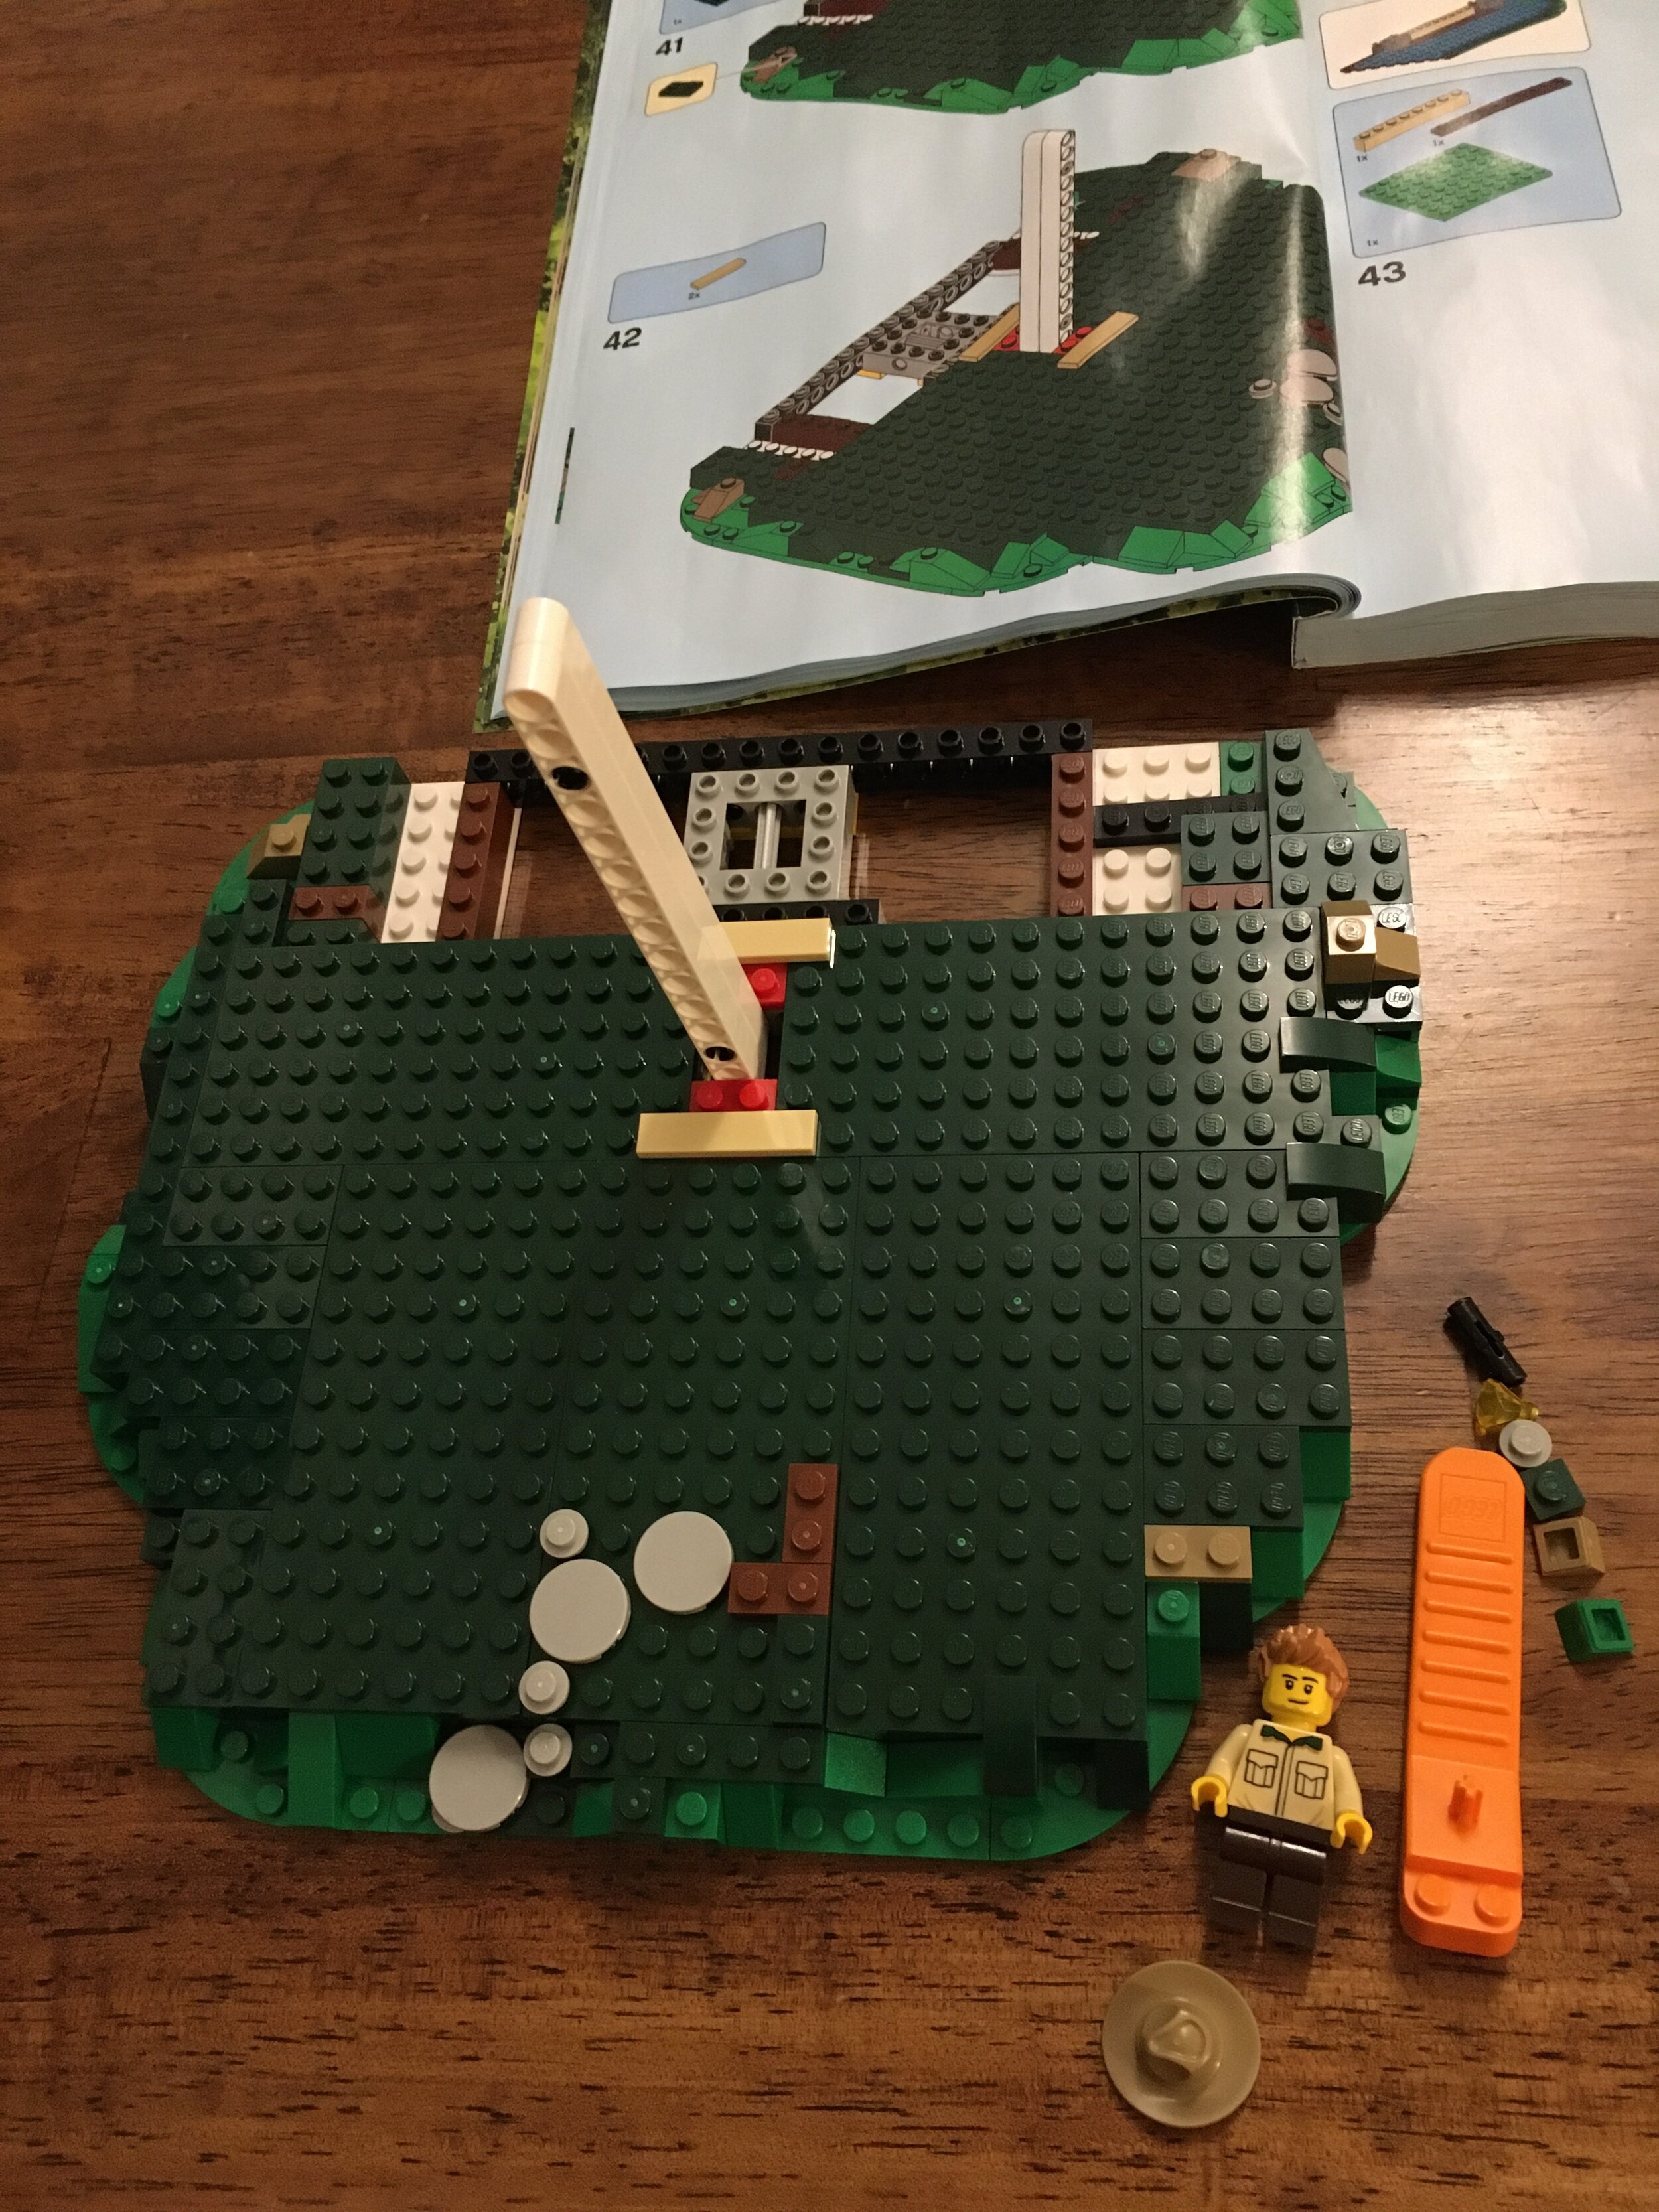
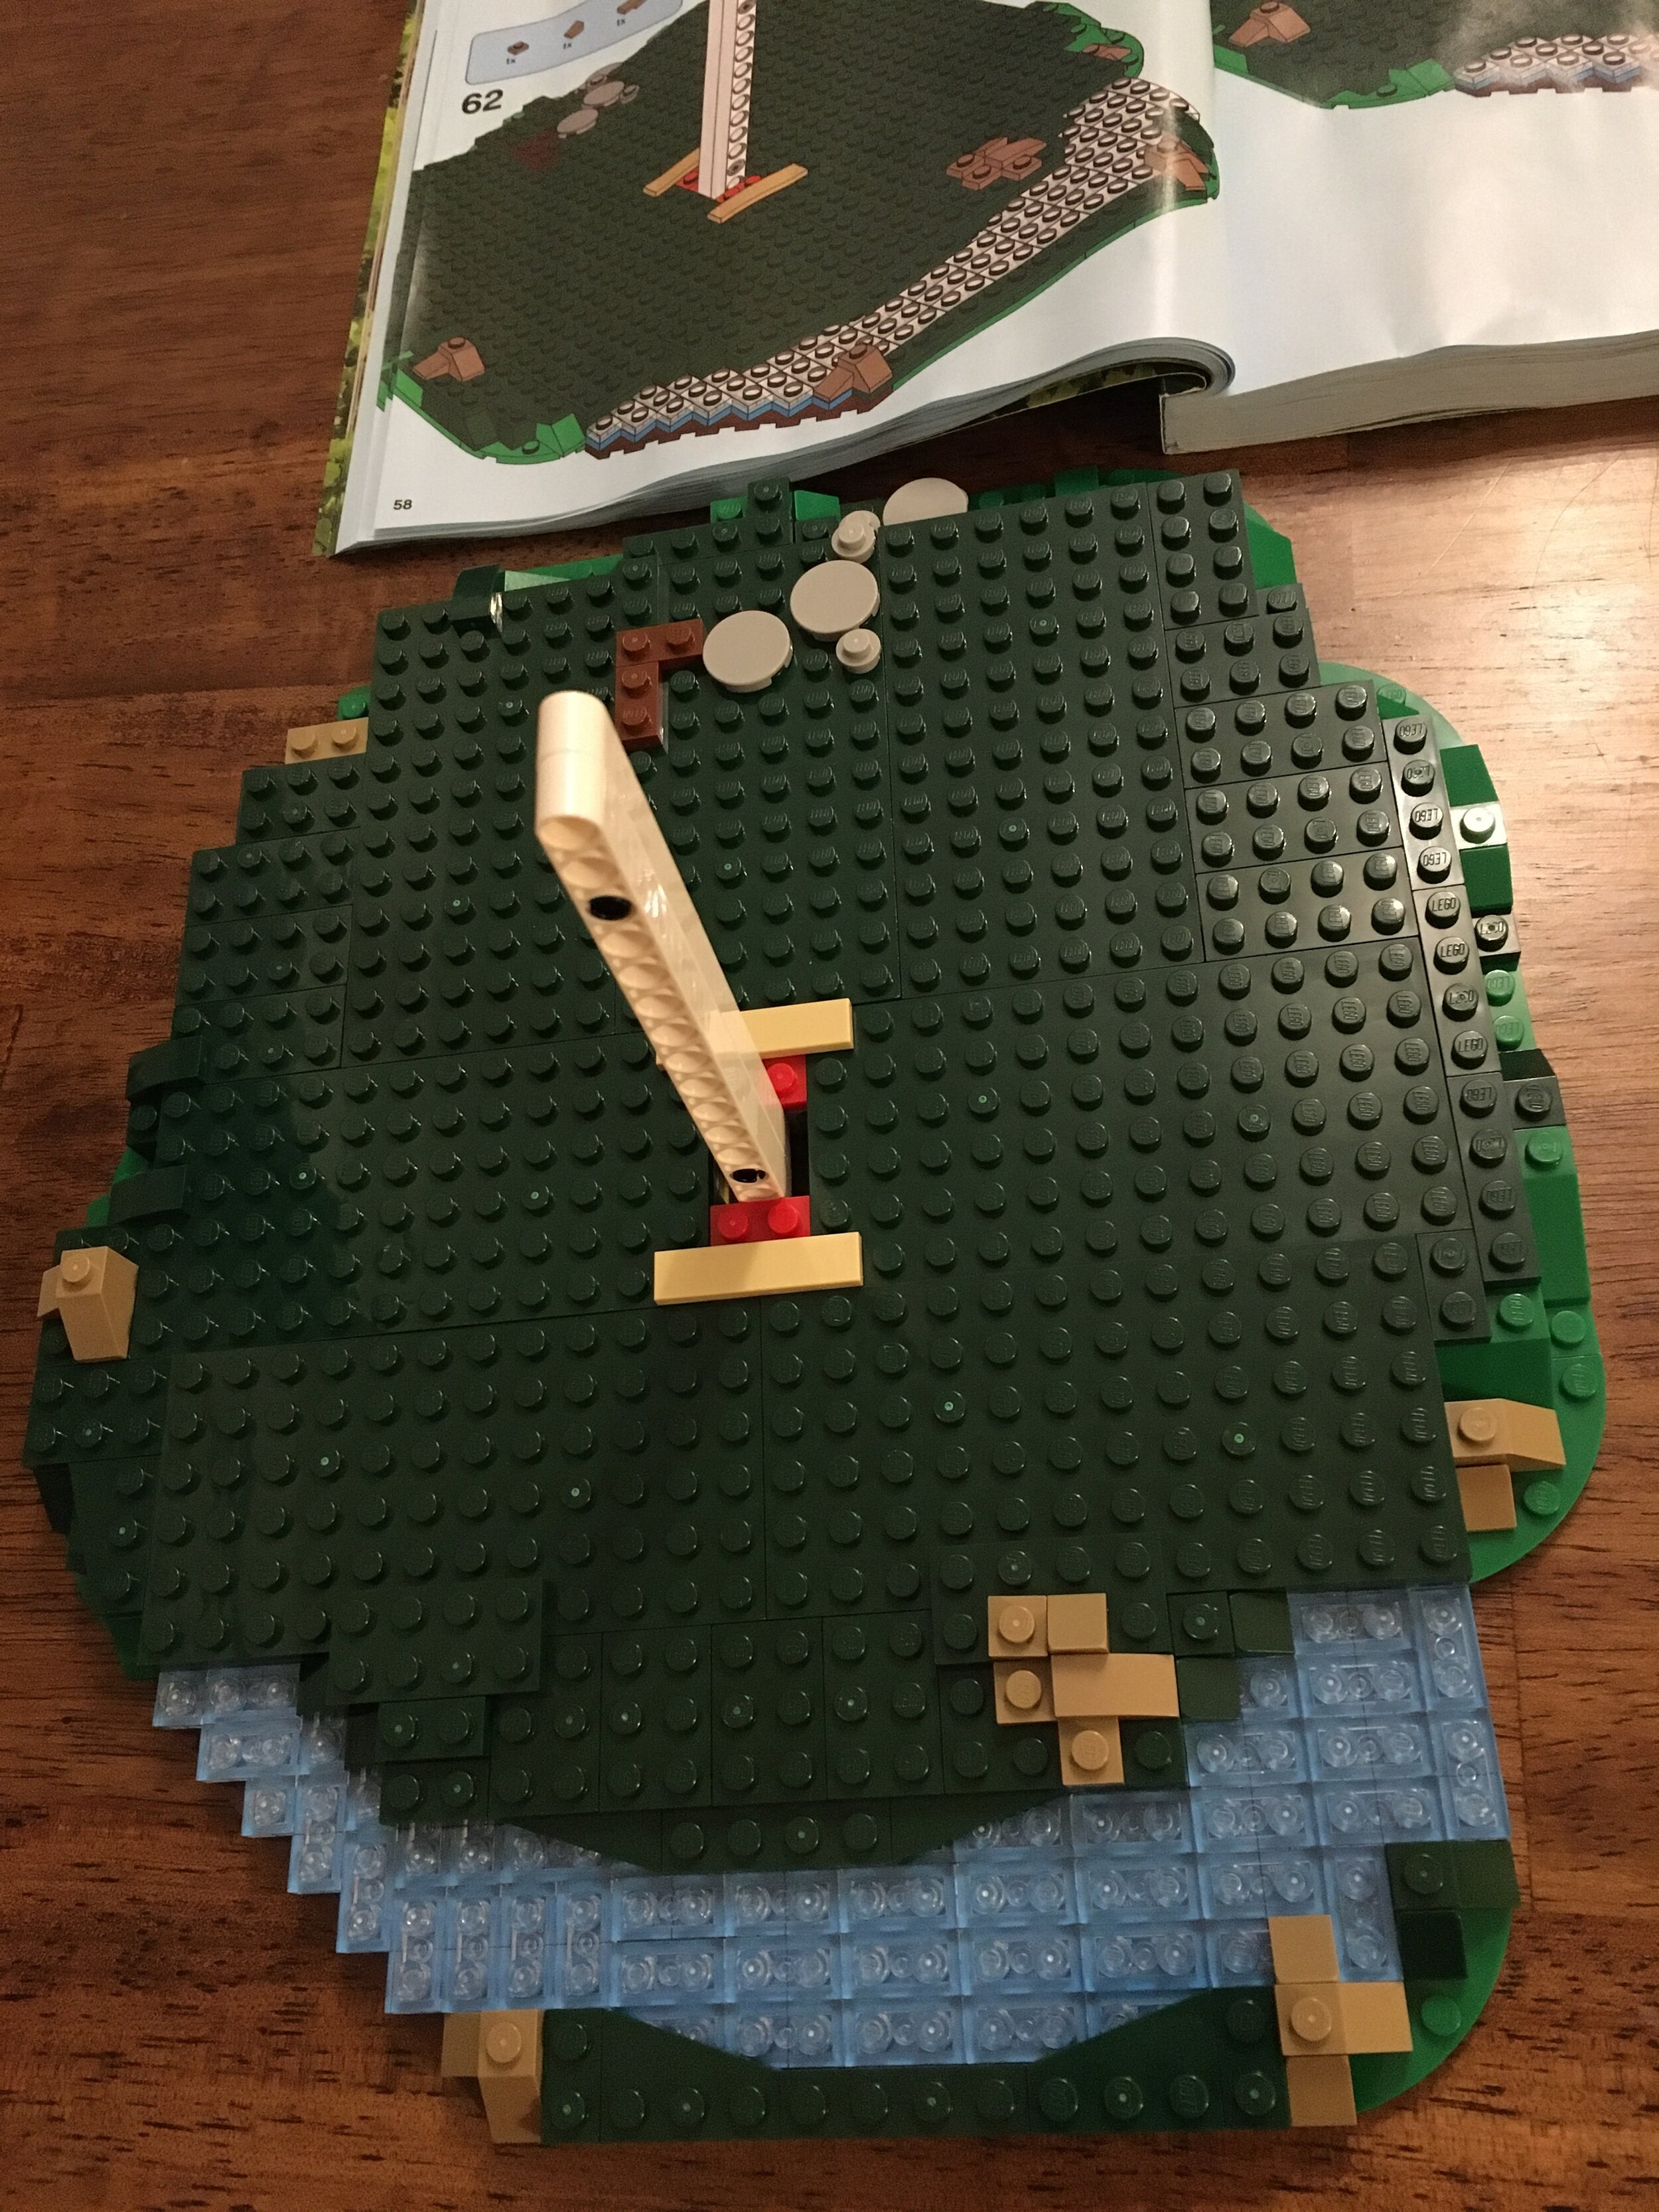
I won’t show pictures of all the steps, but the build kicks off with the base and the Technic pieces that support the main structure of the tree. I like how the base is not just a large base plate, but is instead built up using various pieces. For building purposes, there is a stream and a few other pieces that help you differentiate which side is which. This helps later on as you are trying to determine which parts of the tree go where.
As you can see, the first bag includes a brick separator as well as the first of 4 minifigures.
I included shots of the instructions along with the build so you can see where its at and how the set is assembled. The set starts with an inner structure that connects to the initial Technic structure. Then the outer “bark” of the tree is installed on the outside. I can’t tell if I’d prefer the “bark” to be tiles or plates. I think the plates work… tiles might look too smooth. Although you could get the contours of bark using various tiles and slope pieces. Just a thought… I’m okay with how it was designed so far.


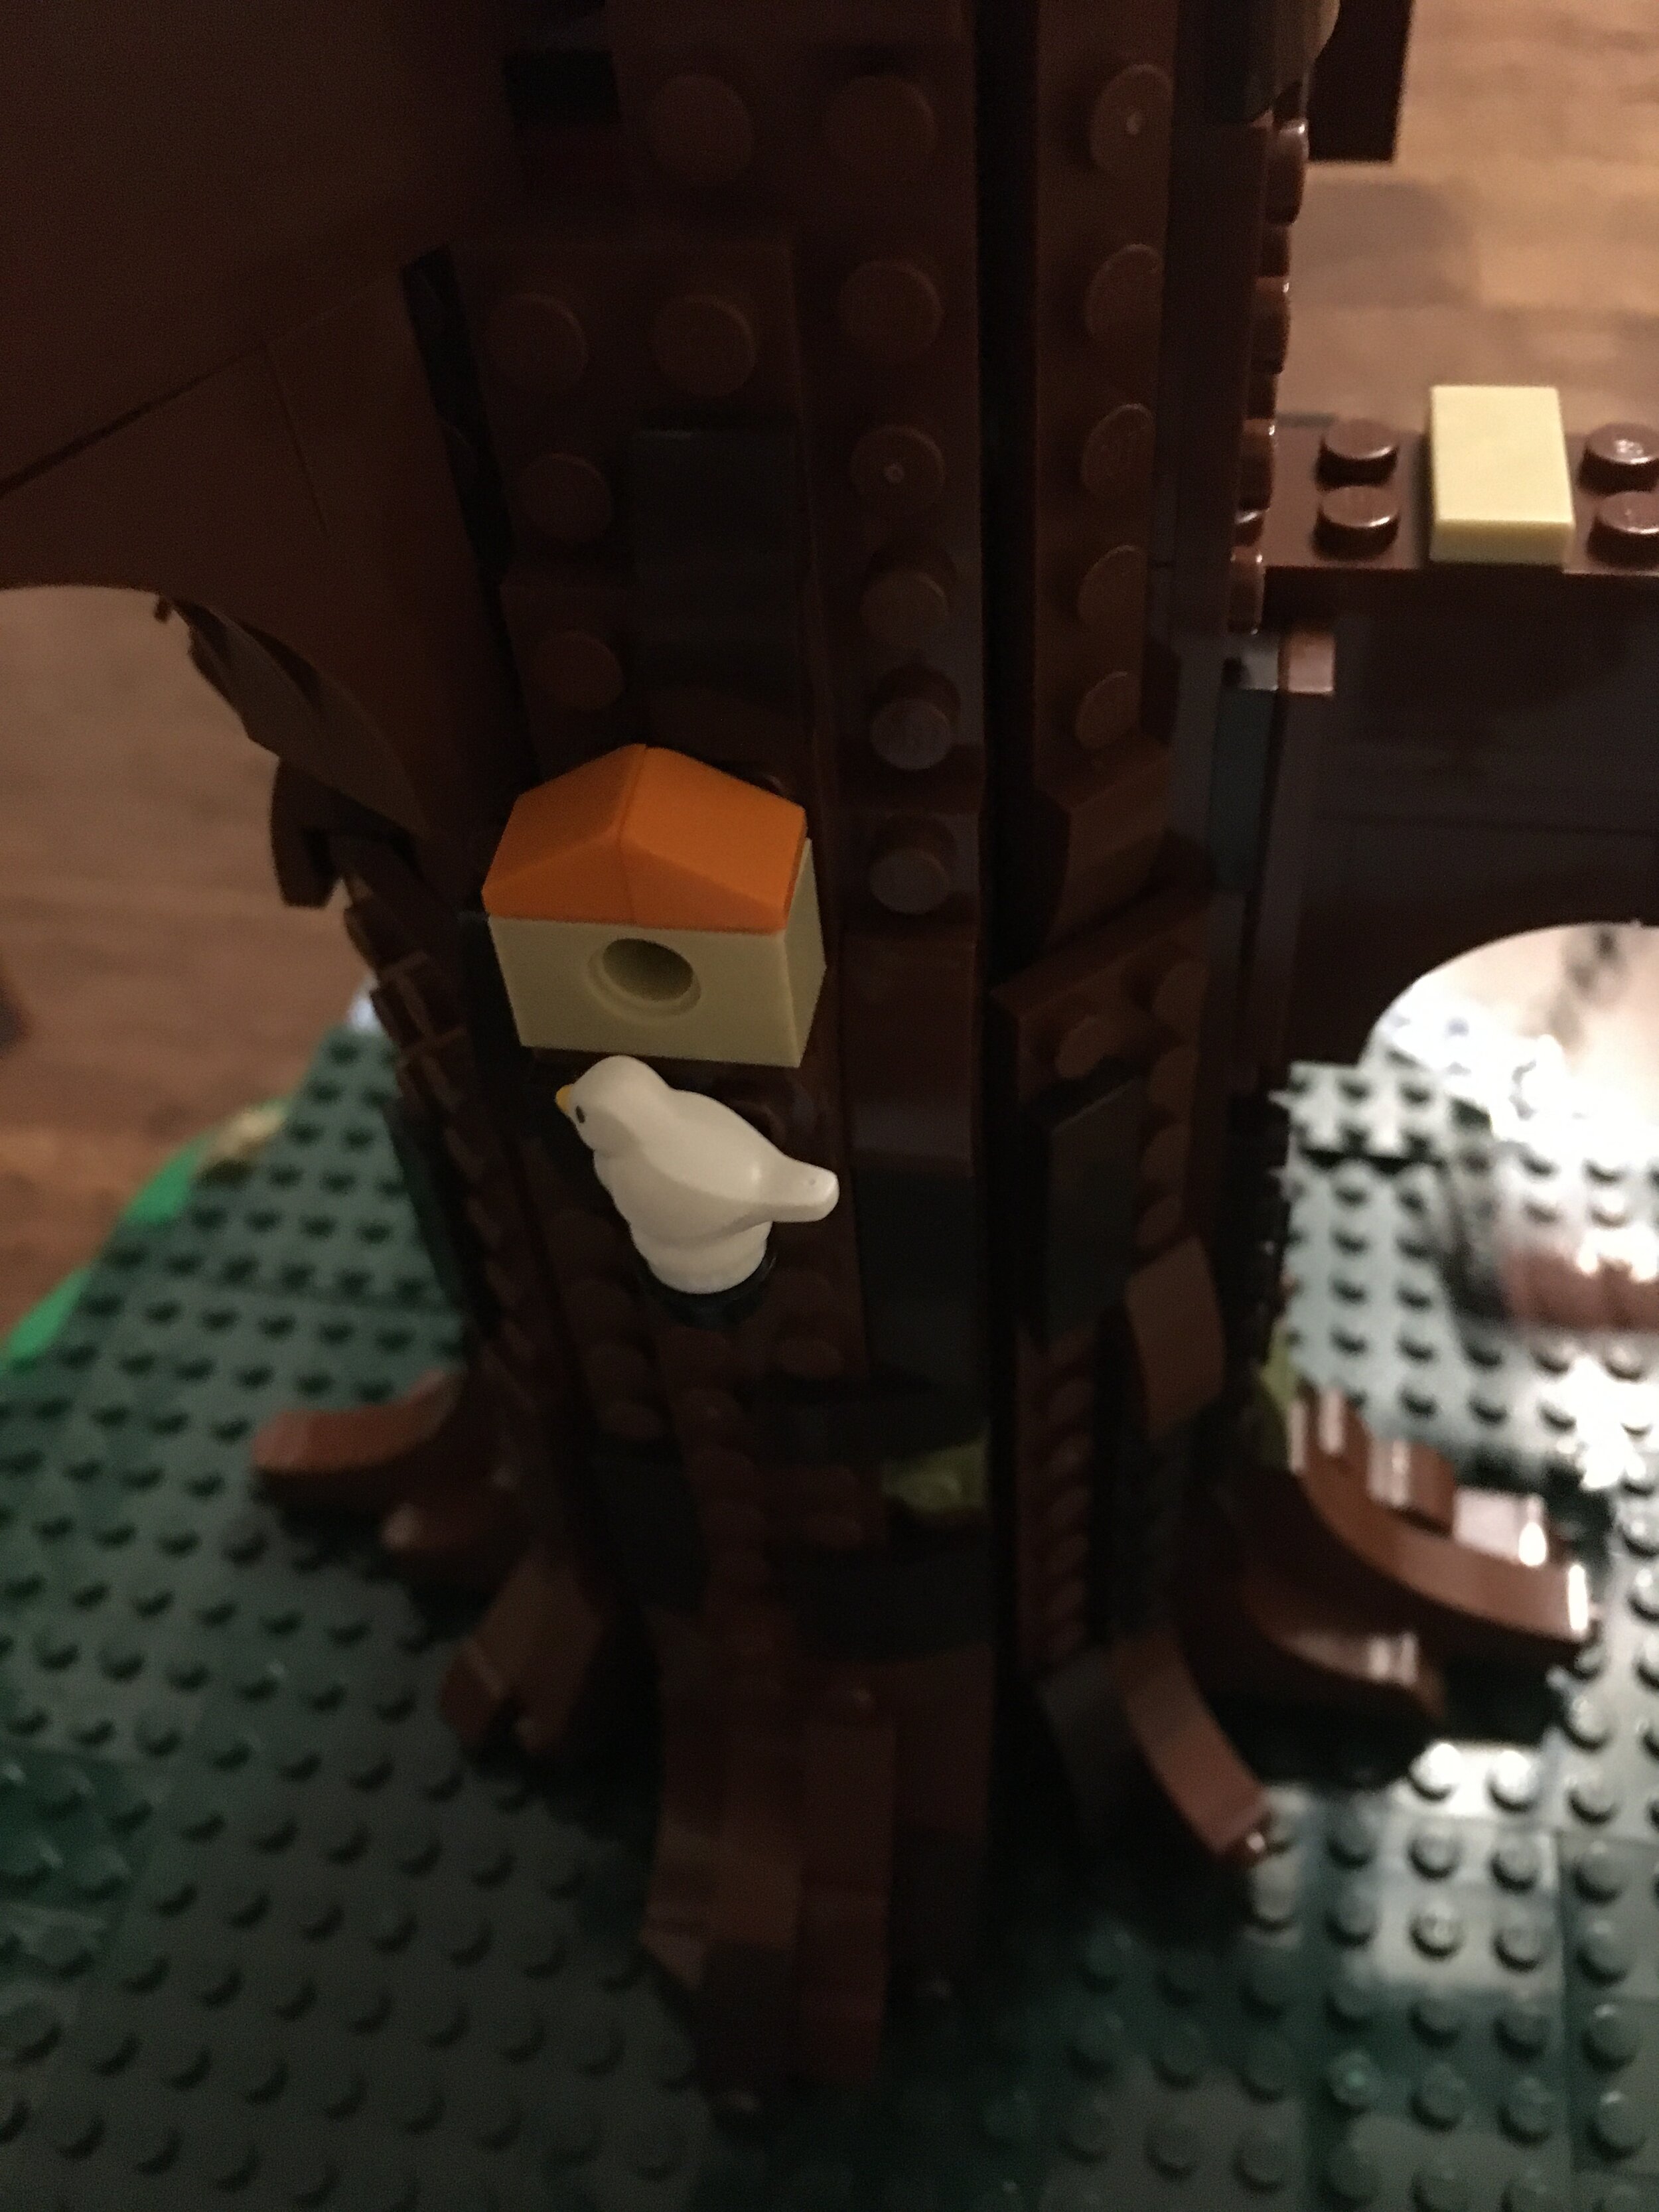
As the build continues, the tree trunk gets taller. The “branches” where the parts of the tree house get installed. They aren’t very realistic looking, but once the structures go on top, it doesn’t really matter. I like how the tree has a few details such as the sawed off branch shown by the 2x2 round printed tile and the bird house with the bird outside.

Each of the tree house structures takes two parts bags to build. Considering the length of the build, I cut those pictures out and just included the finished product. The first one you build is a “master bedroom” with a bed, dresser, and some decorations. The second one is a bathroom with a toilet, sink, and tub. Each room is set up so it fits on the “branch” and then has an attachment on the top for the roof. Both builds are pretty similar, but have some differences to help them stand out. I like the color scheme and how the build makes it still look natural like in color to fit on the tree.
The bathroom has a pulley system attached so you can haul stuff up to the tree house. Not sure how you get to the stuff, but it’s a cool idea. I also like how the bathroom has a water storage tank. Maybe the pulley is used to bring water up for the bathroom?


The last structure is a kid’s room with bunk beds. It is connected to the other structure with a rope like bridge.
Next up are the roofs. They are all pretty similar, but have slight differences to make sure they fit onto the main structure. The dark blue color is a great choice in my opinion.


Next up, you finish off the tree trunk. It’s not exactly a smooth transition to smaller branches, but we’ll take it. Instead there are a number of attachment pieces for connecting branches to be built later.
After that, you build a stairway up to the tree house. I’m glad they didn’t just use one of those large stair pieces, but instead constructed stairs in the color scheme and included twists in the stairs. A few of the tiles have printing on them to add to the detail that they are made of wood.


The build includes an outdoor kitchen at the bottom of the tree with a fire pit and cooking pot, a table with chairs, and some food and drink options. Additionally there are 4 minifigures I displayed here. There is a male and female adult and then two kids. They all look like they have their woodland gear with my favorite being the girl’s vest. Additionally, the girl sports one of the hat pieces with hair attached which I am a fan of. It is a little more realistic than just the hat and lipstick to show it is a girl/woman.

The last 3 bags of the set are all parts for the branches. The build instructions give you the option of building with the green and dark green or yellow and lighter brownish type pieces. I chose to build with the green, but the build is the same with the other colors. Or you could be really crazy and mix the green and yellow to have an early autumn type tree. The branch pieces are not exactly the best designed in my opinion, but I think the greenery hides them well enough so they don’t stand out. Note that it will take a bit of time to switch out the colors. The green pieces are attached well so they don’t just fall off which is a good thing.
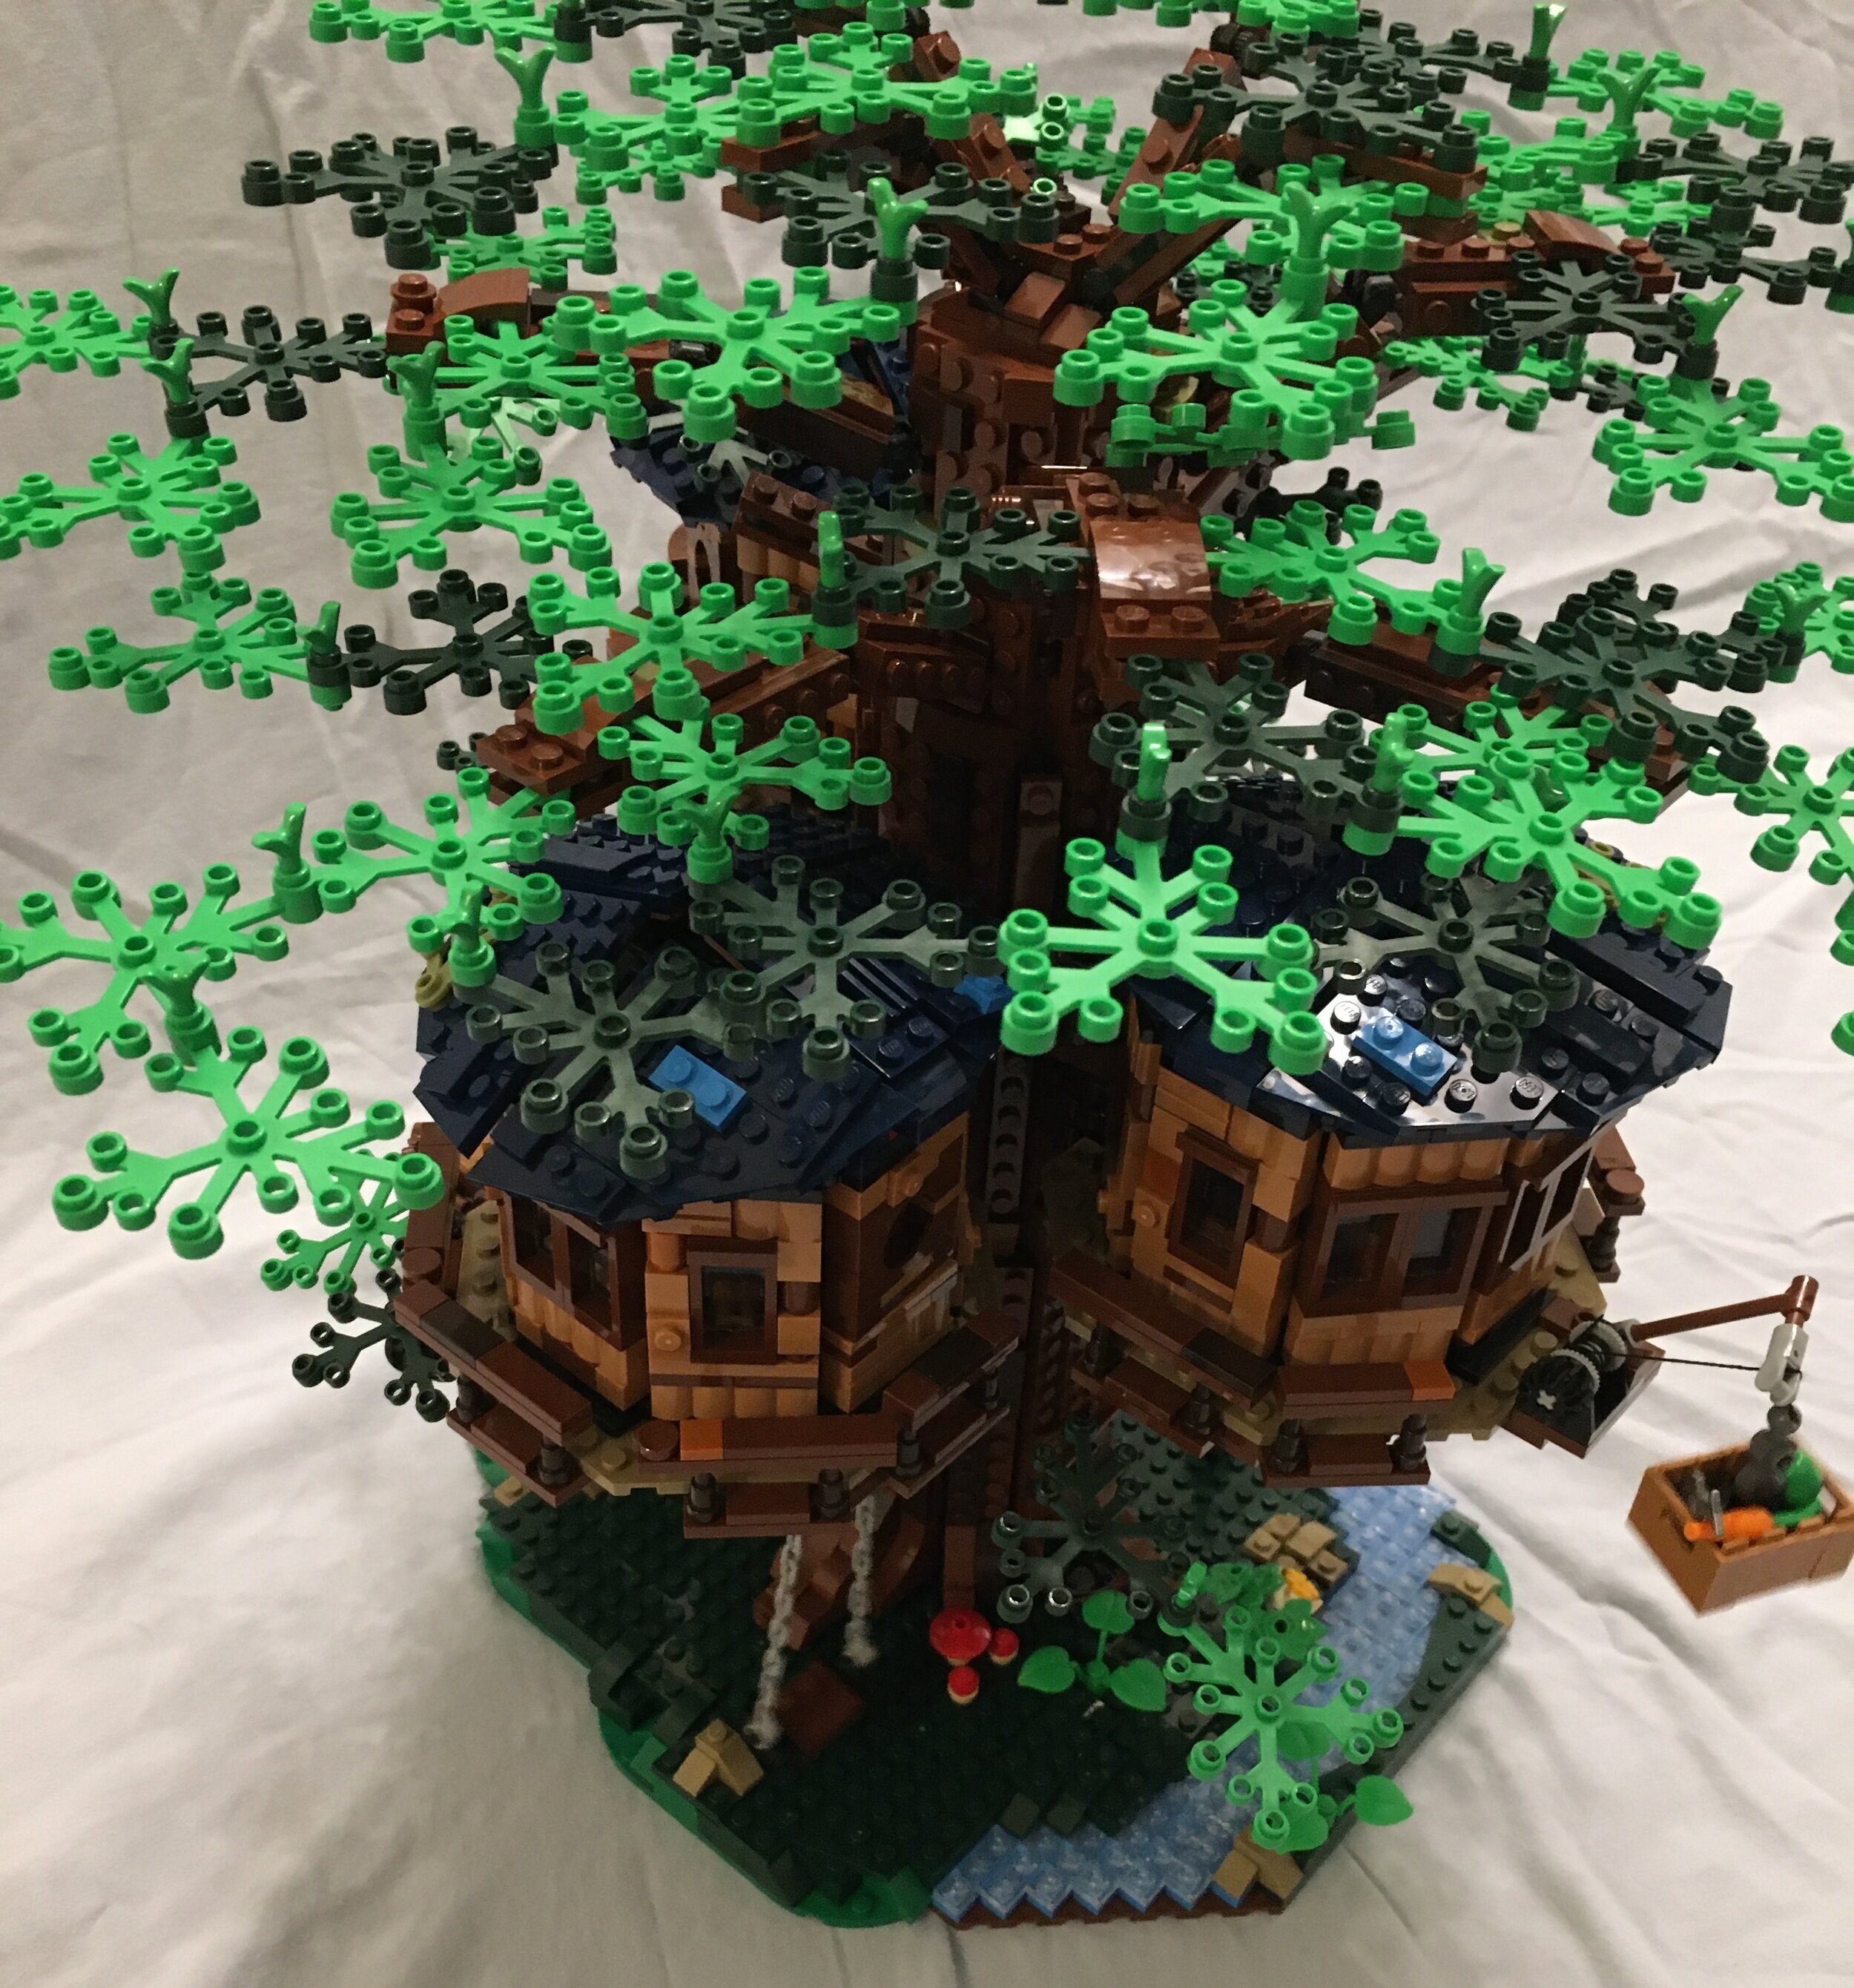
Overall, I was really impressed by this set. For one it is something completely different that has never been done before. You could fit this into a woodland/forest scene really well. I’m hoping to see some good modifications from the fan community of this set.
This set is at the $200 point, but I found it to be worth it. There are a lot of pieces and the colors and piece options are great for other MOCs if you want to take this one apart. More importantly, if my NLS gets a vote, I was told we’d make space in the house to display this one as she really liked this one. Bonus! That didn’t happen after the Millennium Falcon was built so I’ll take this one as a win as otherwise my bricks are confined to a specific space in the house that is out of the way and that’s it.
What are your thoughts on this one?
Some overall pictures are below.