Don't worry, there are no spoiler alerts in this review. I'm writing this on 18-19 January 2017 and the movie is not out yet. I haven't seen any sneak previews or been given any special looks either. So don't worry if you're reading this before the movie is out. These minifigures were released on 1 January 2017 and unlike previous sets, there are 20 total. The LEGO company has upped the number you can buy from Shop @ Home to 40. The price is still $3.99 each and I don't see this being lowered anytime soon.
I placed 3 orders of 40 each so 120 total (yikes!). This also included a polybag (#30524 The Mini Bat Wing) in each order. In the first 2 orders I got 13 of the 20 and then got the remaining 7 in order #3. Thankfully, I have a store for the items that I got duplicates of. You can get them at my BrickLink store here. Here are the minifigs:
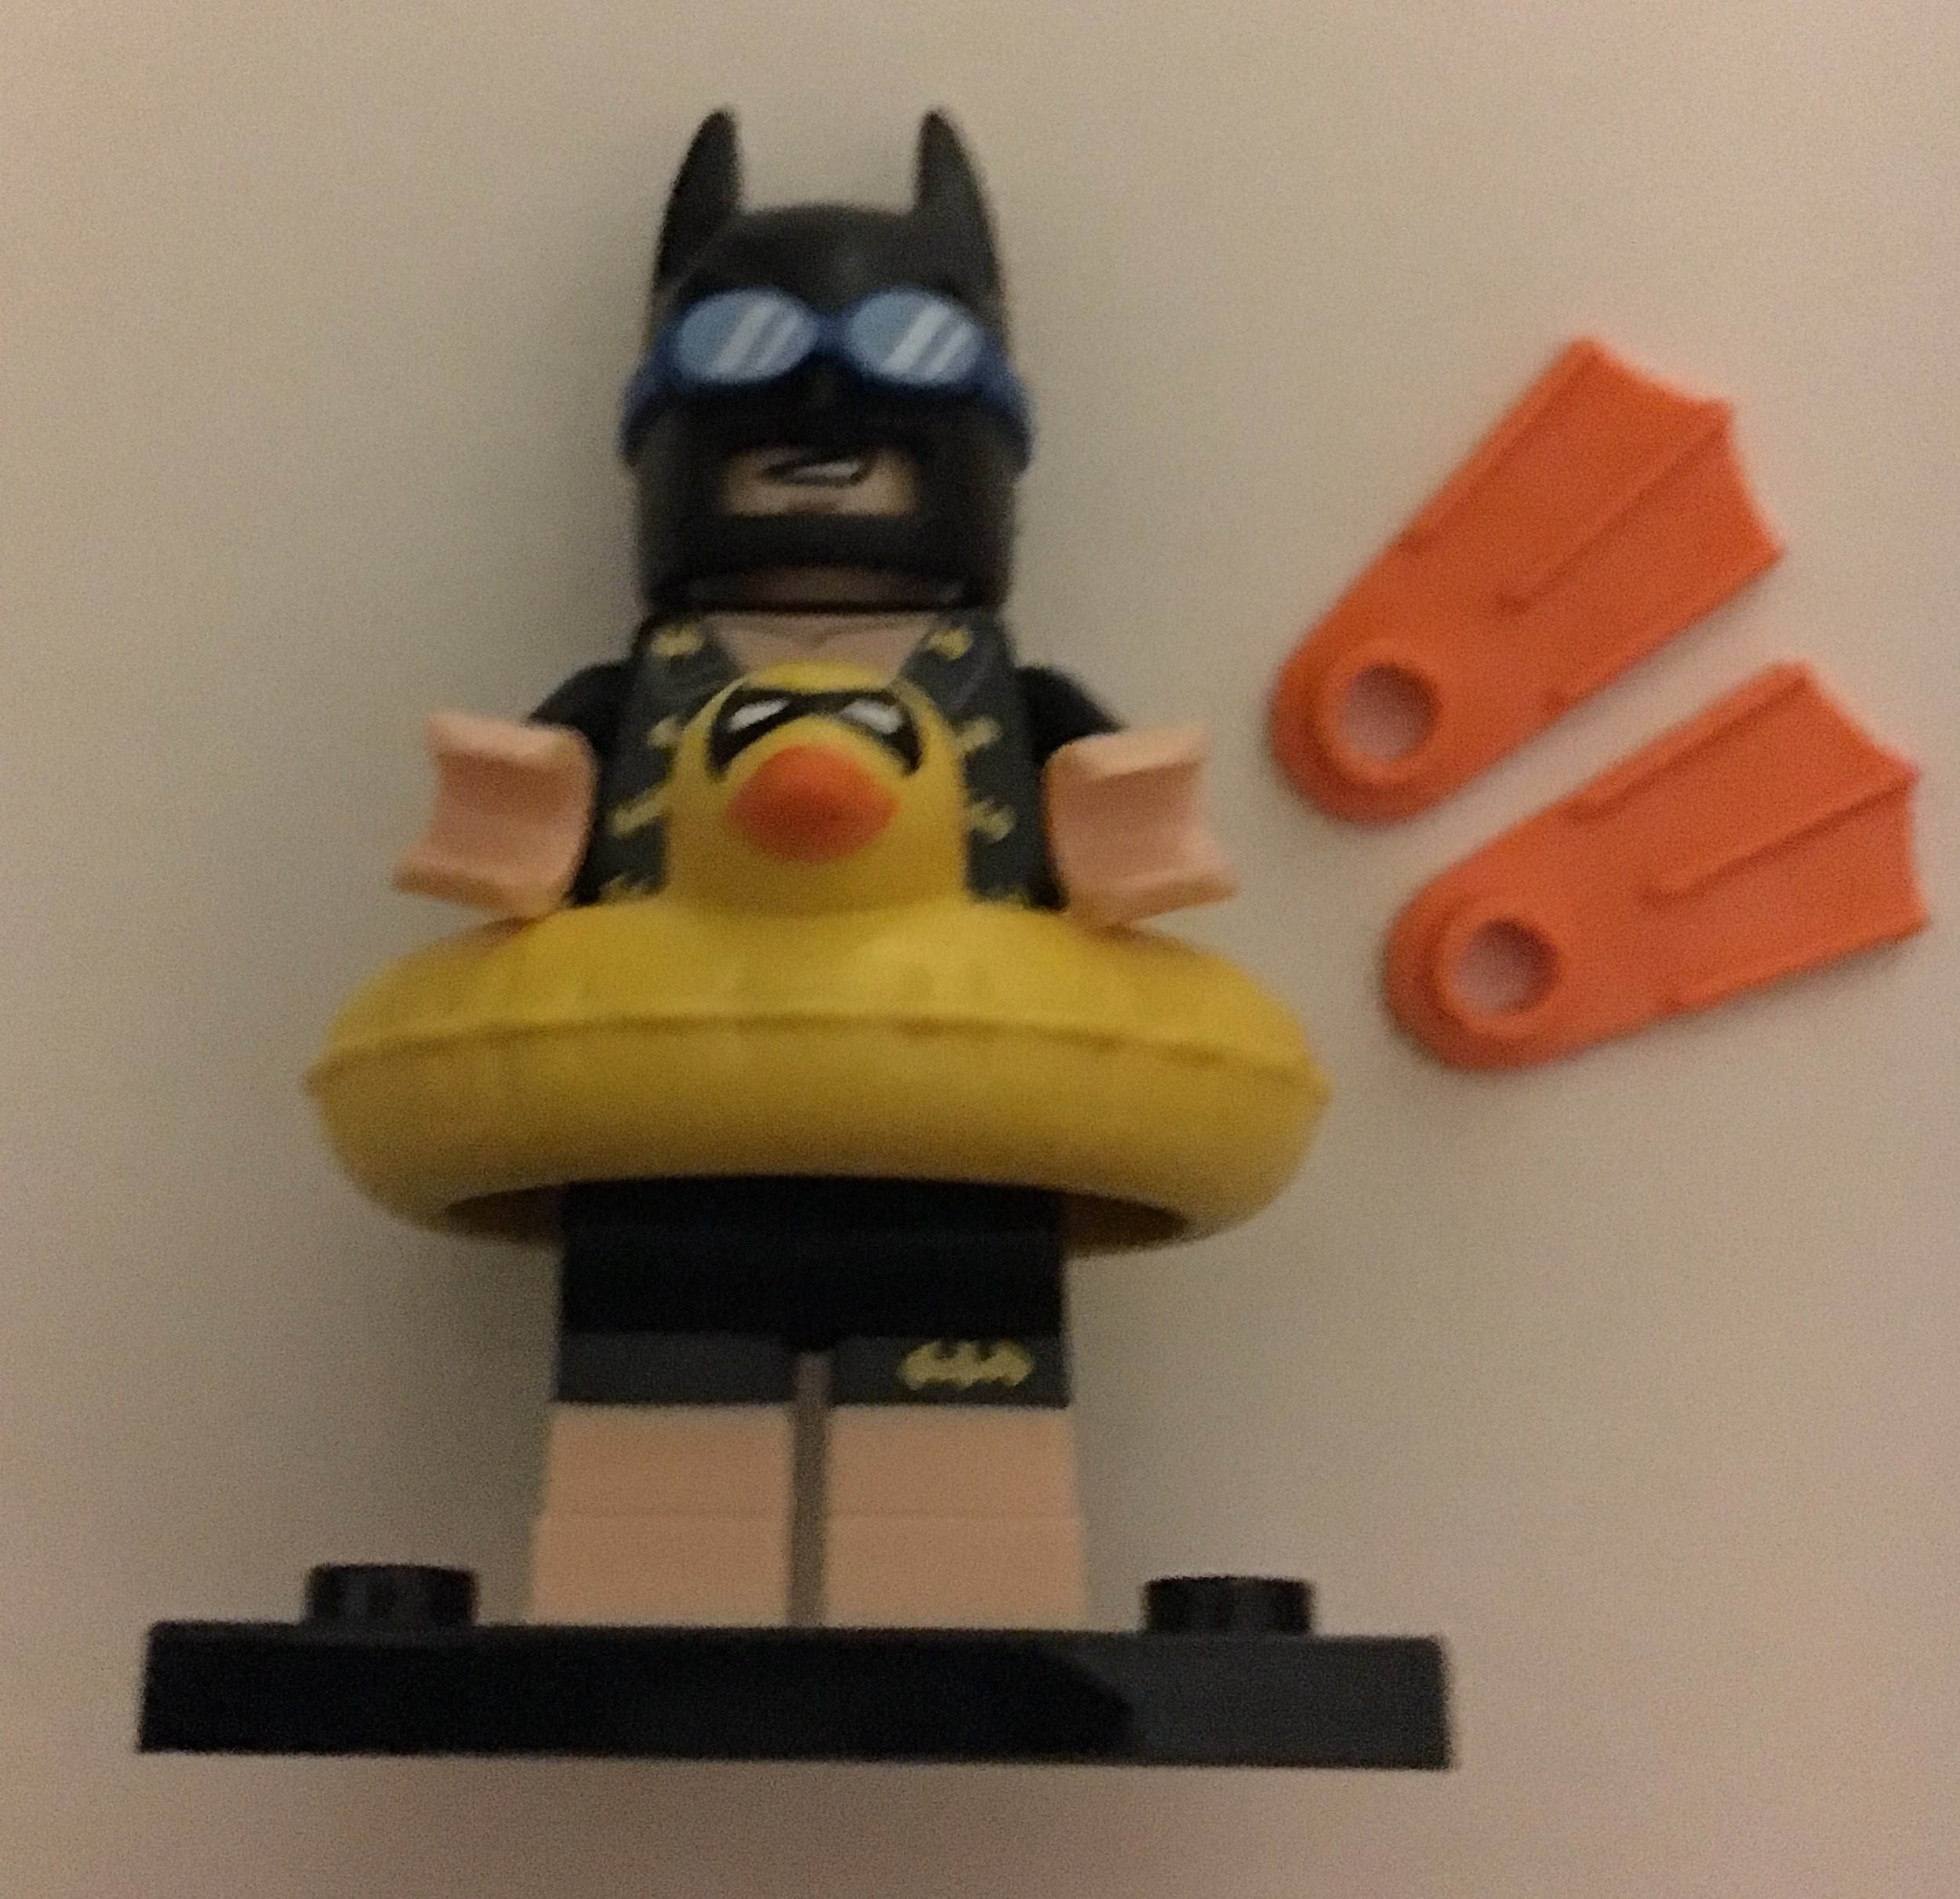
Vacation Batman
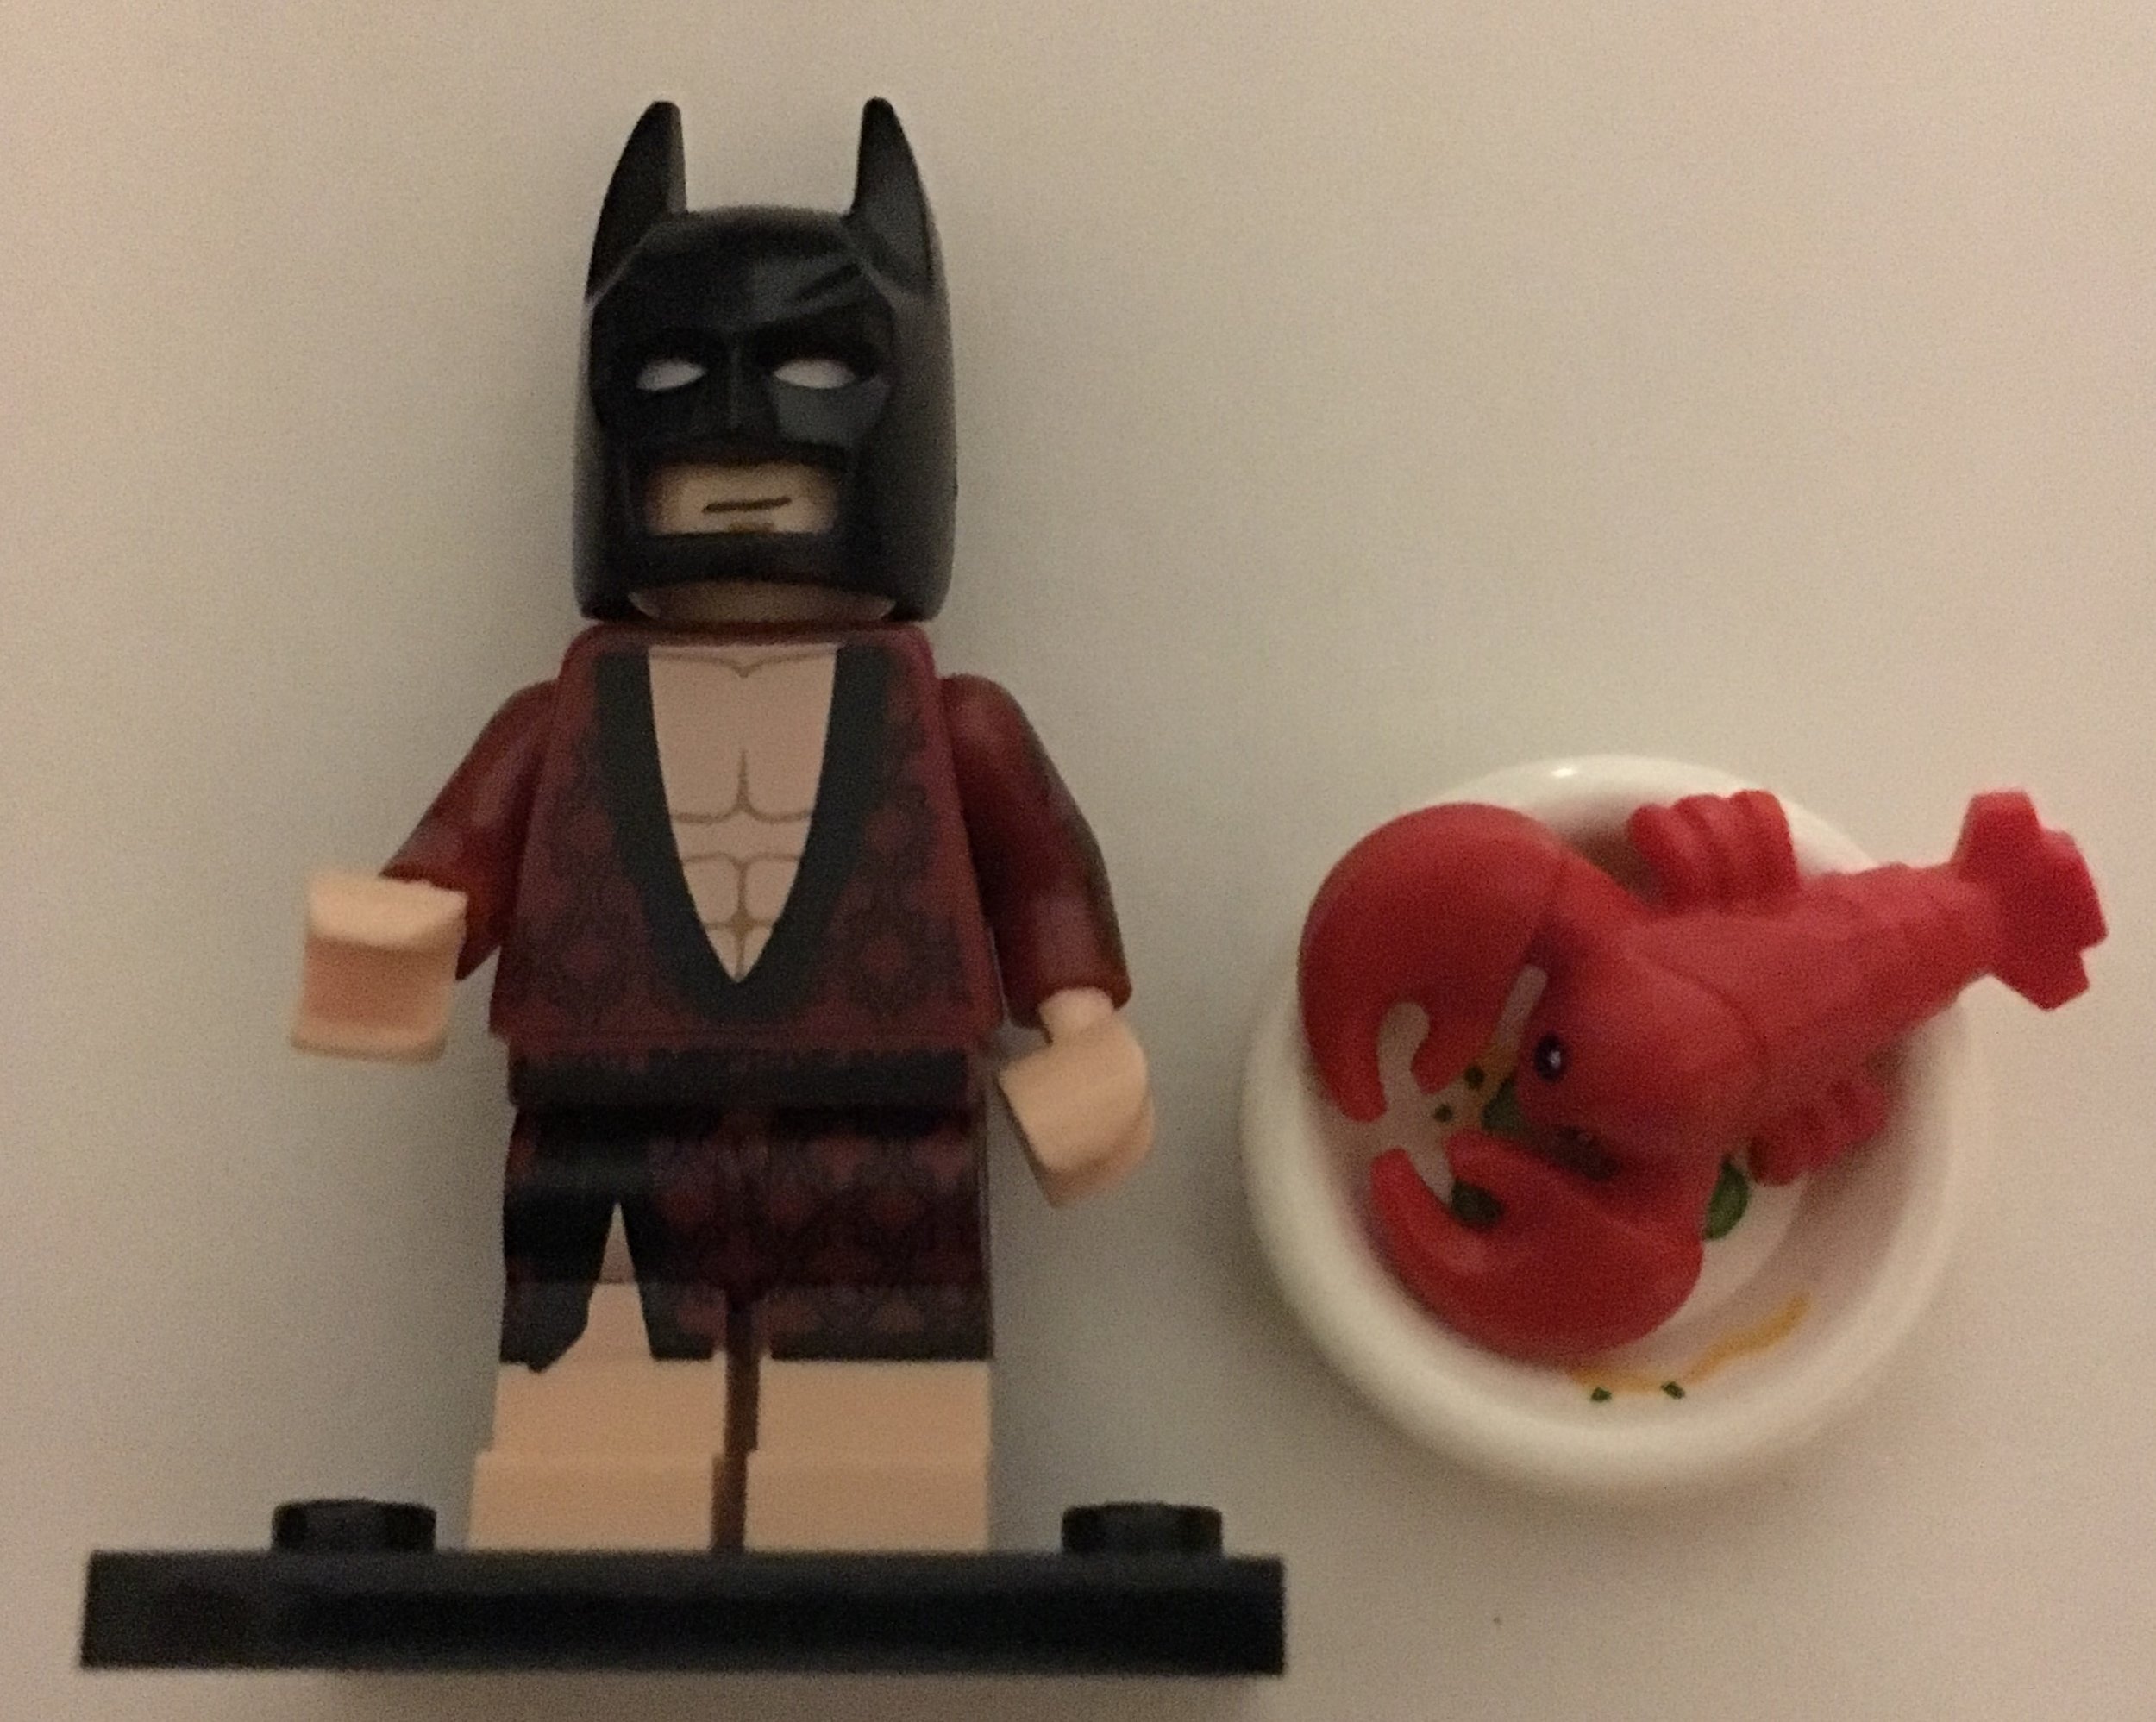
Lobster-Lovin' Batman

Arkham Asylum Joker
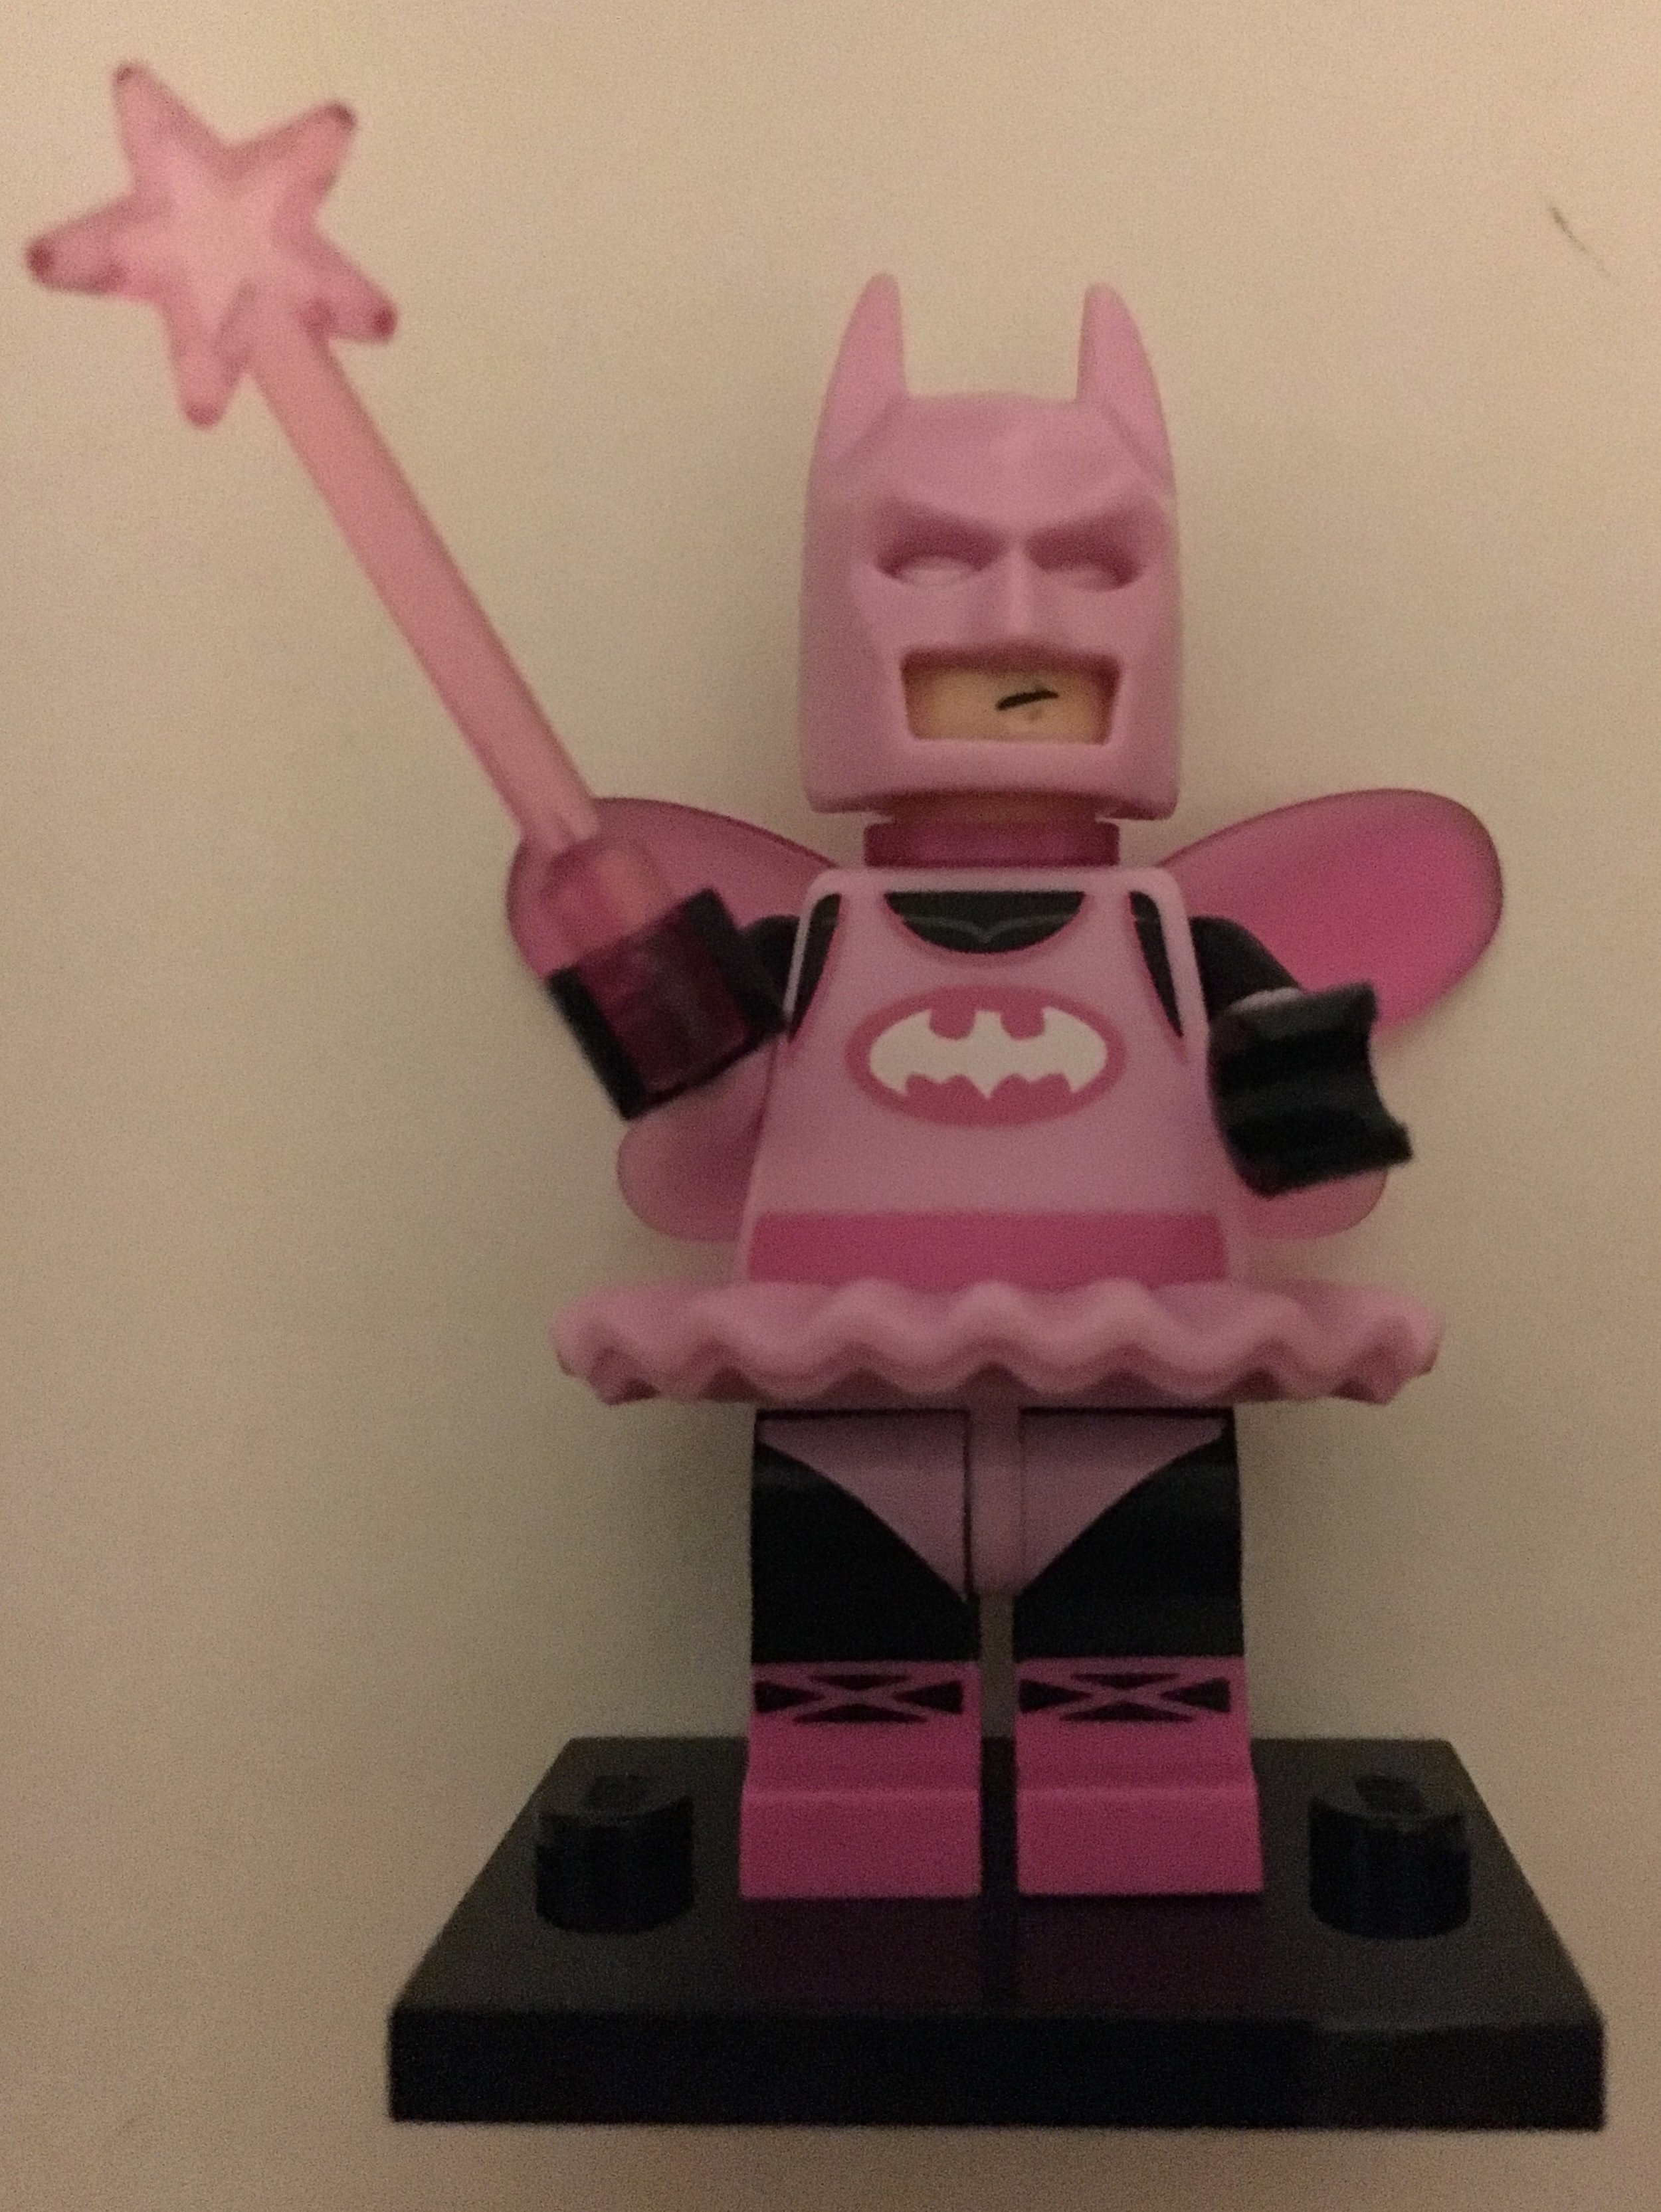
Fairy Batman
I have only seen the previews, but these minifigures are hilarious. The inner tube with a duck? Who comes up with that? Batman in a tutu? Now that is funny.
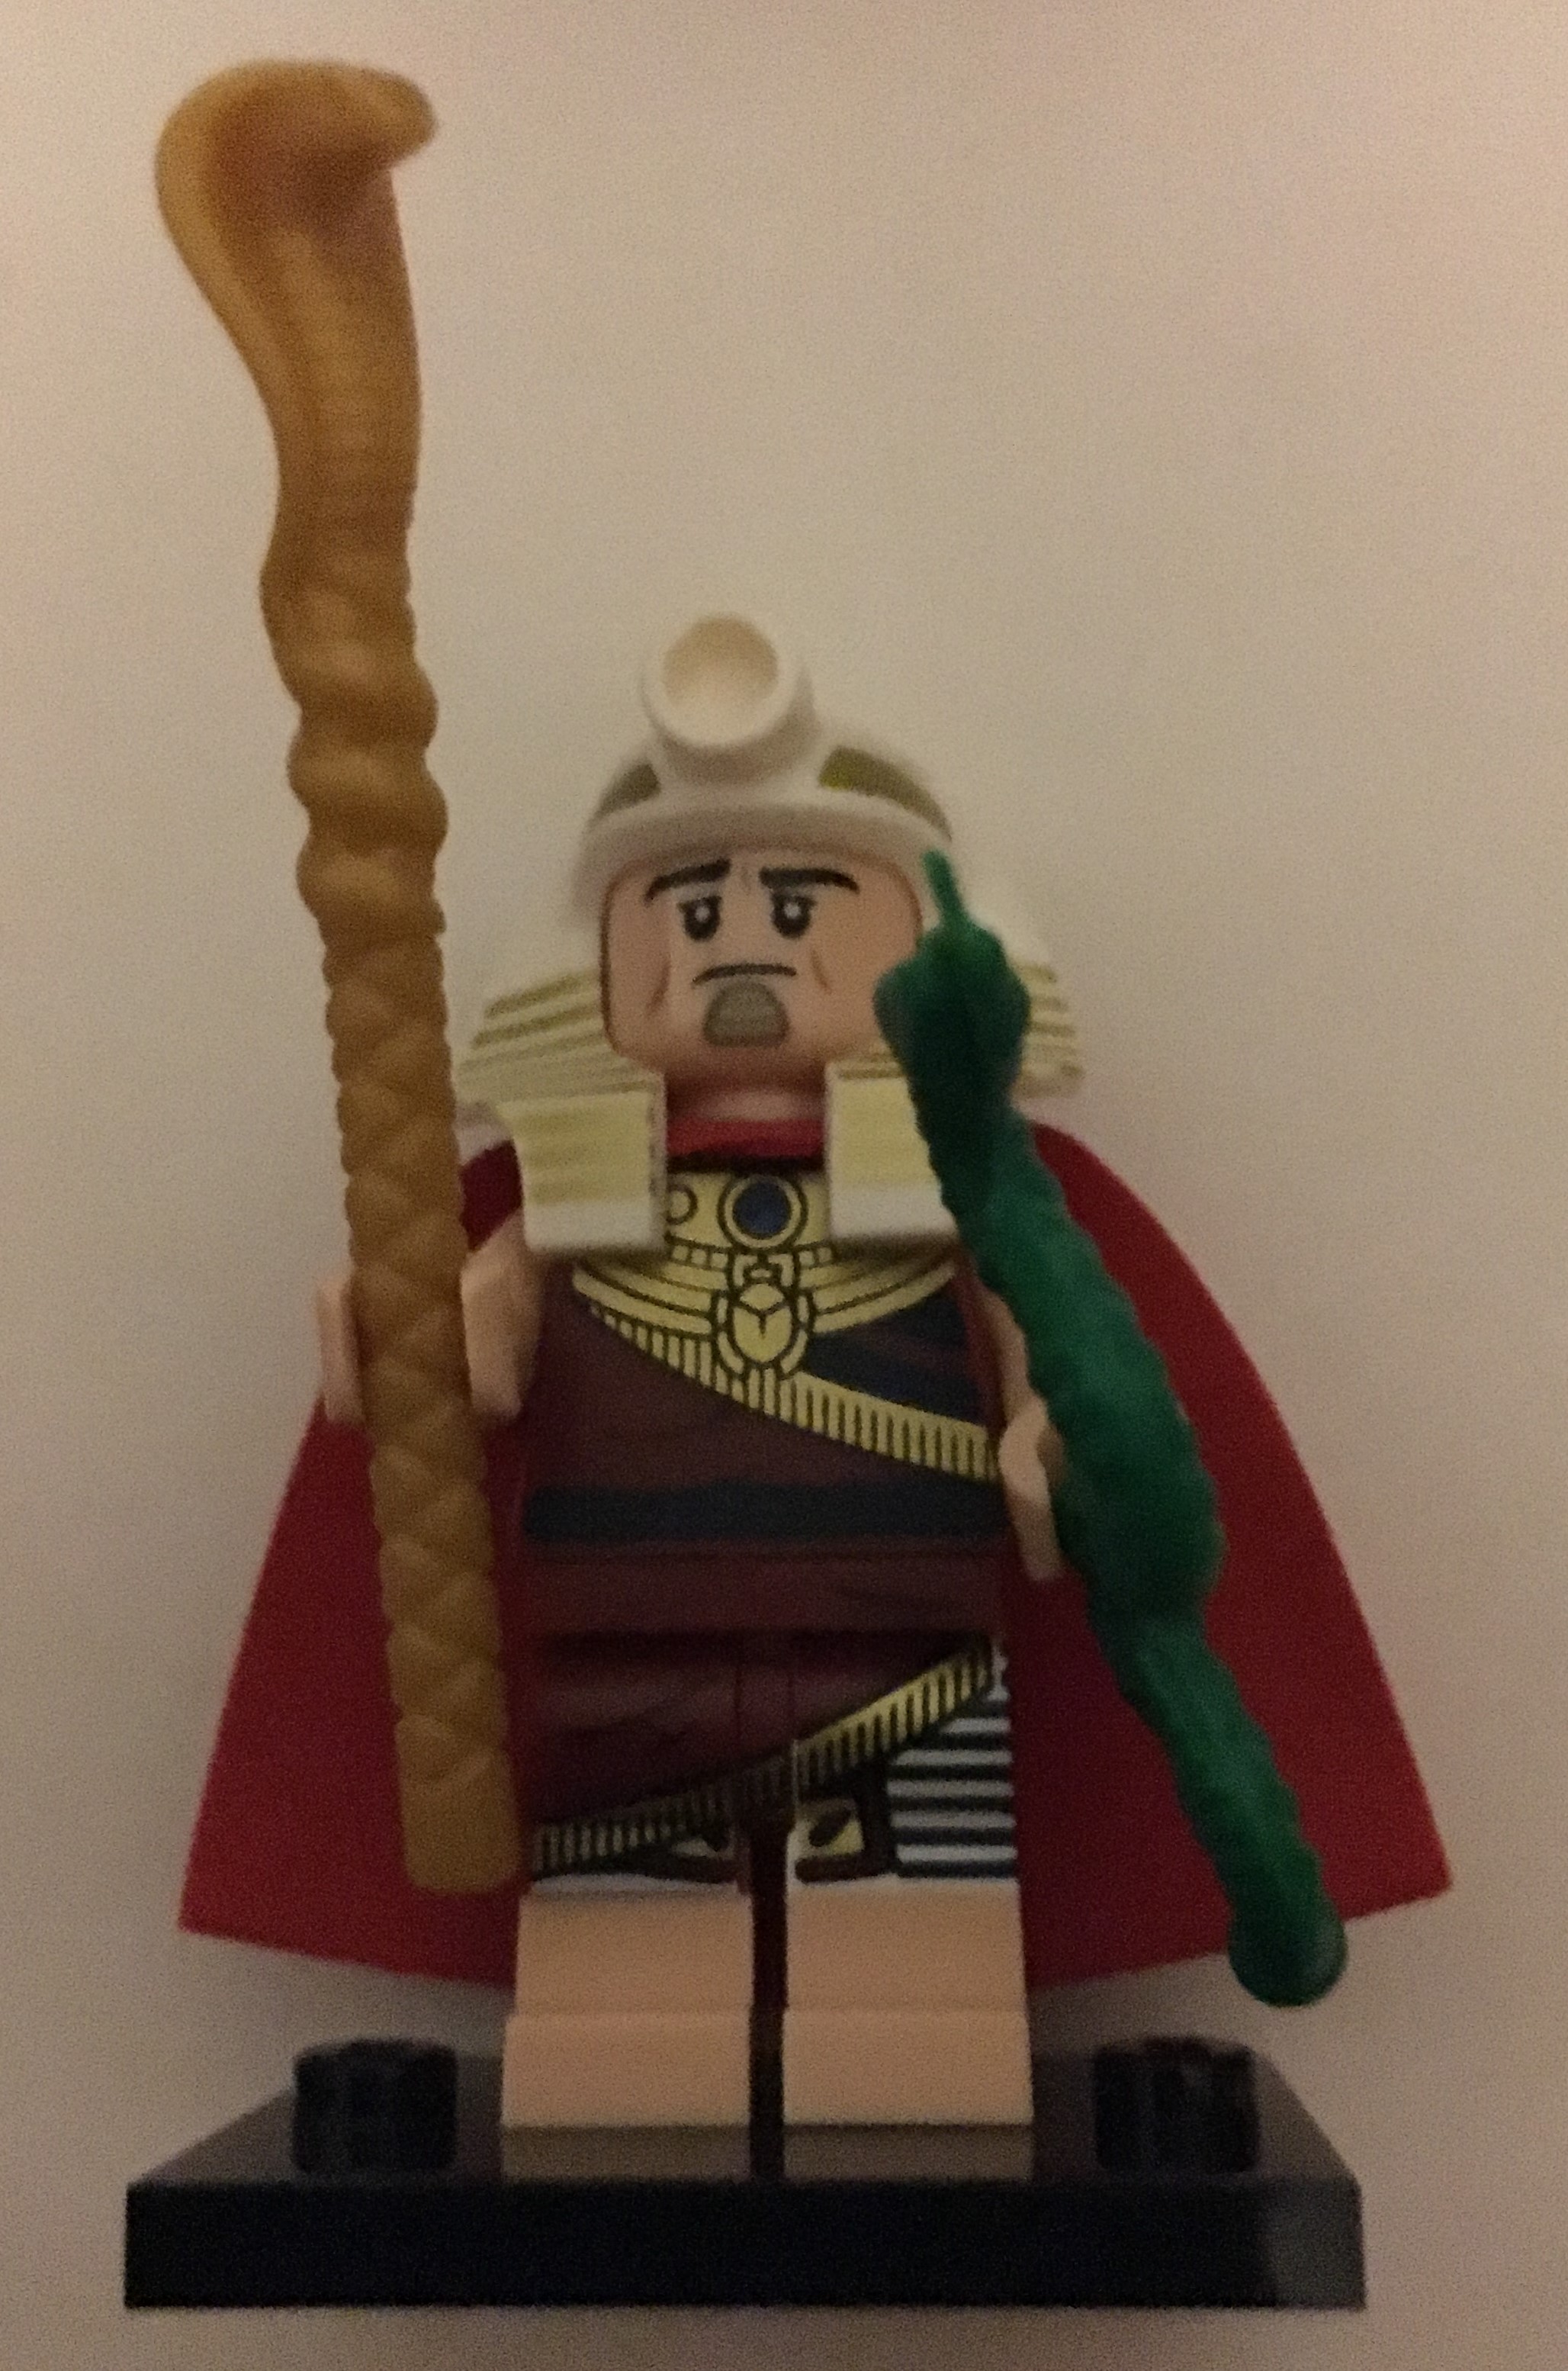
King Tut

Red Hood

Glam Metal Batman

March Harriet
Glam Metal Batman... another humorous version of Batman. The other figures in this row are interesting, but not having seen the movie, I'm not sure how they fit in. Red Hood has the standard minifigure head underneath his "hood." March Harriet has the same helmet piece as bunny suit man, but in brown. Has there been that weapon before in another set yet?

Mime

Catman

Calculator

Eraser
Originally I thought Catman was a take on the Wolverine as the claws are similar to Wolverine's claws. The others are some interesting characters. Calculator has "07734" on his helmet shield which is "hELLO" on a calculator. Nice. Eraser has an interesting head which is very different from the standard minifigure head.

Dick Grayson
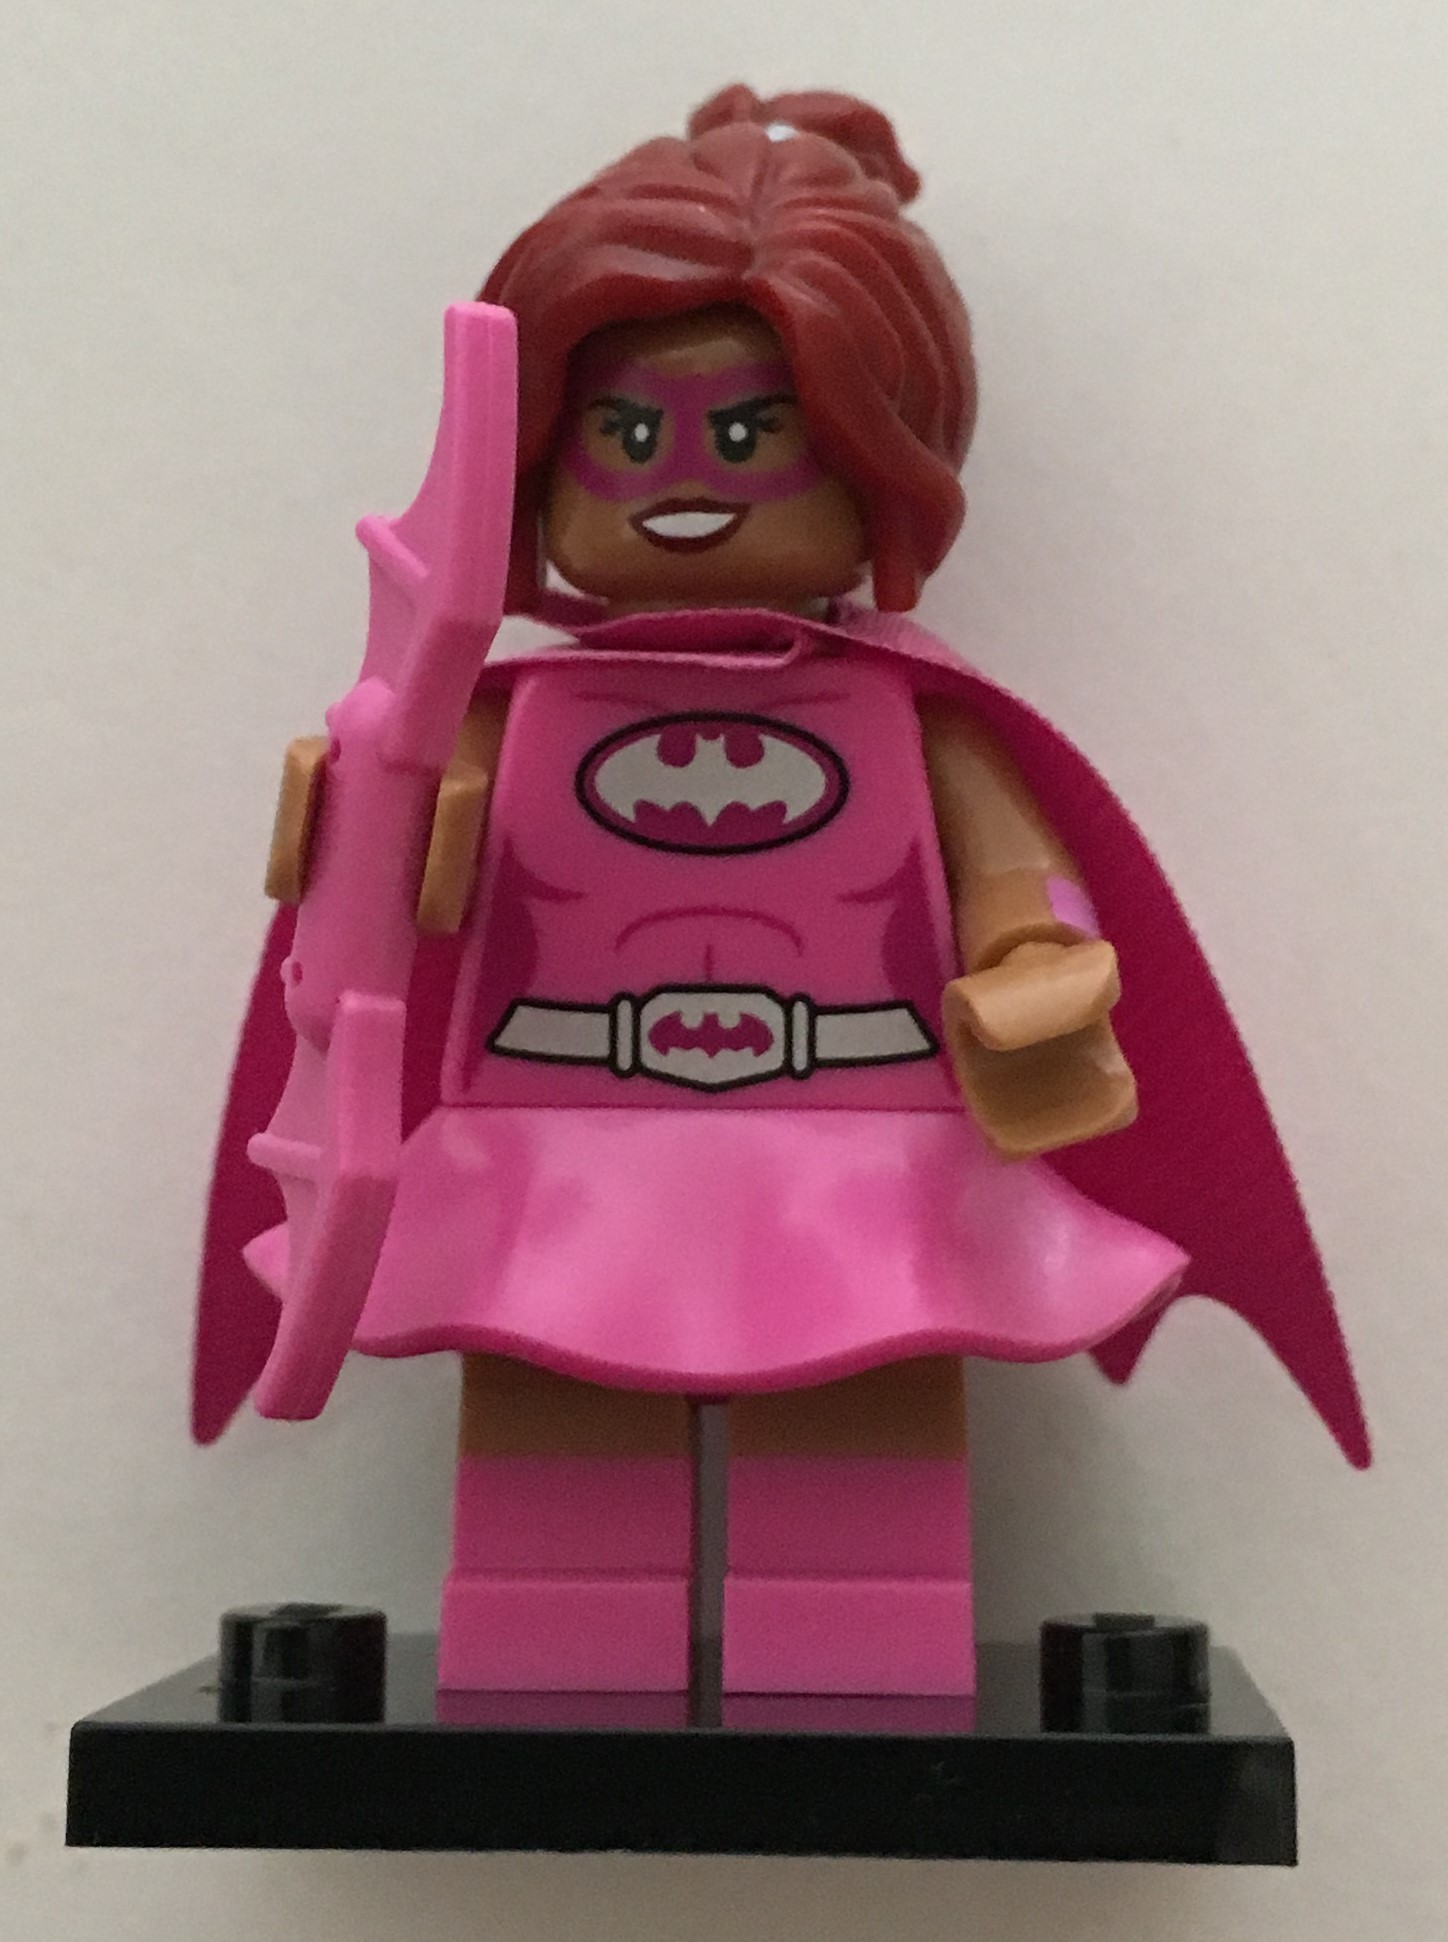
Pink Power Batgirl
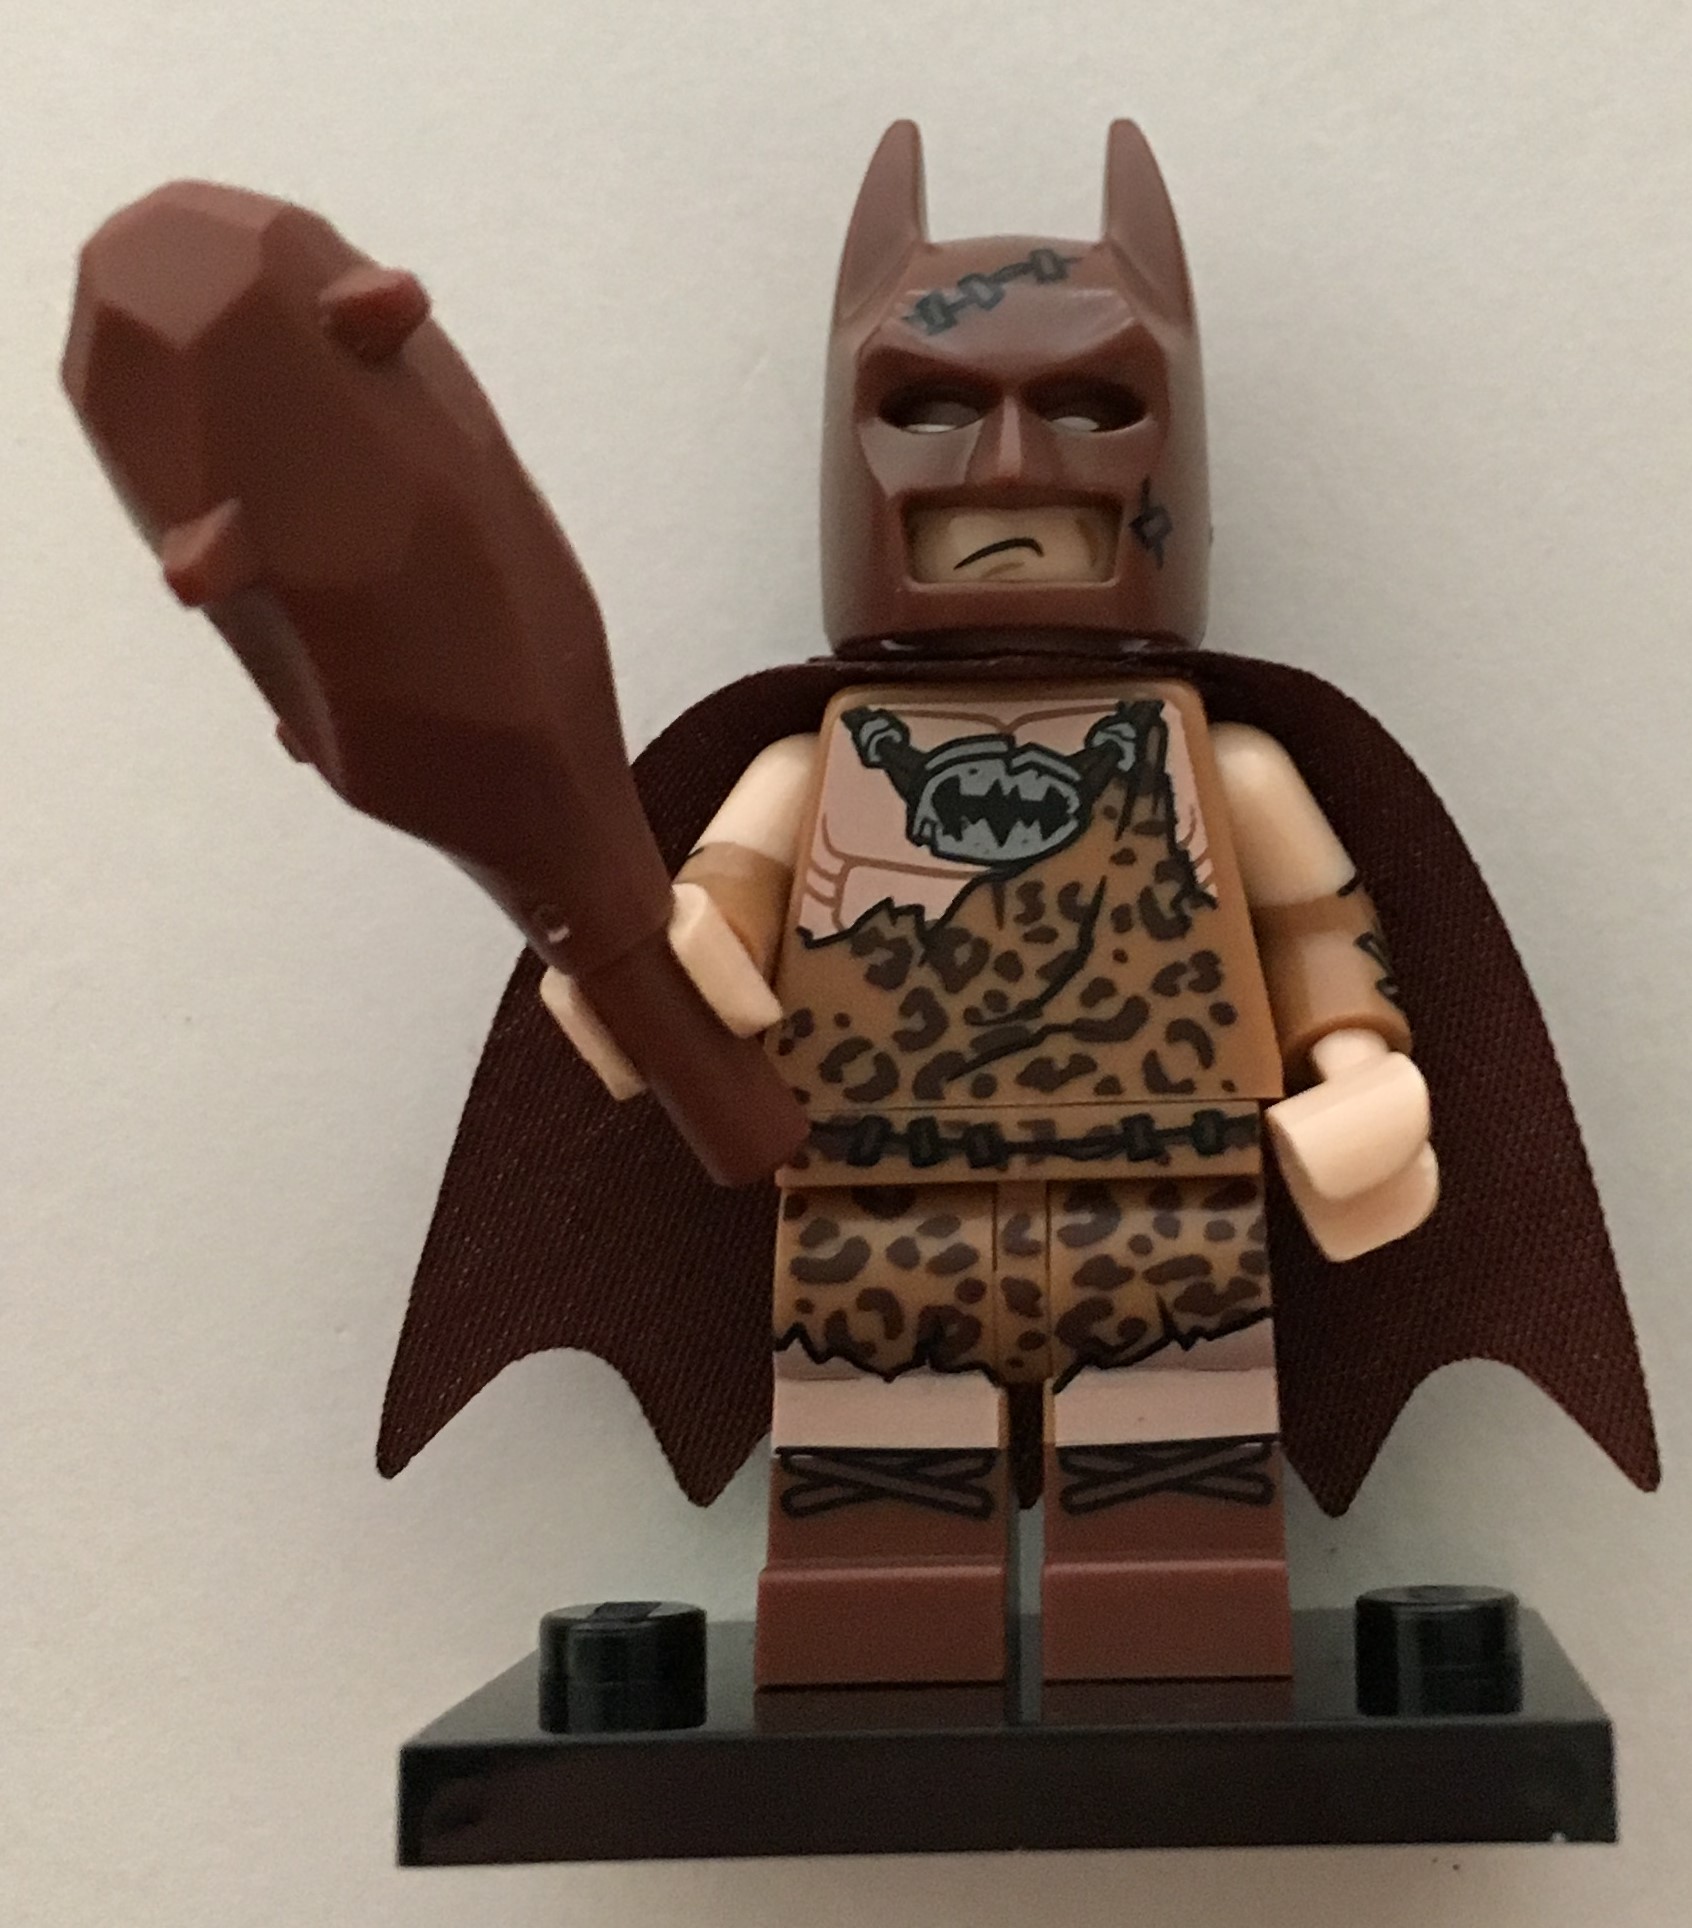
Clan of the Cave Batman

Barbara Gordon
From the trailers, it looks like Dick is an orphan that Batman adopted. I'm not sure what else he does or why he needs shark repellent.
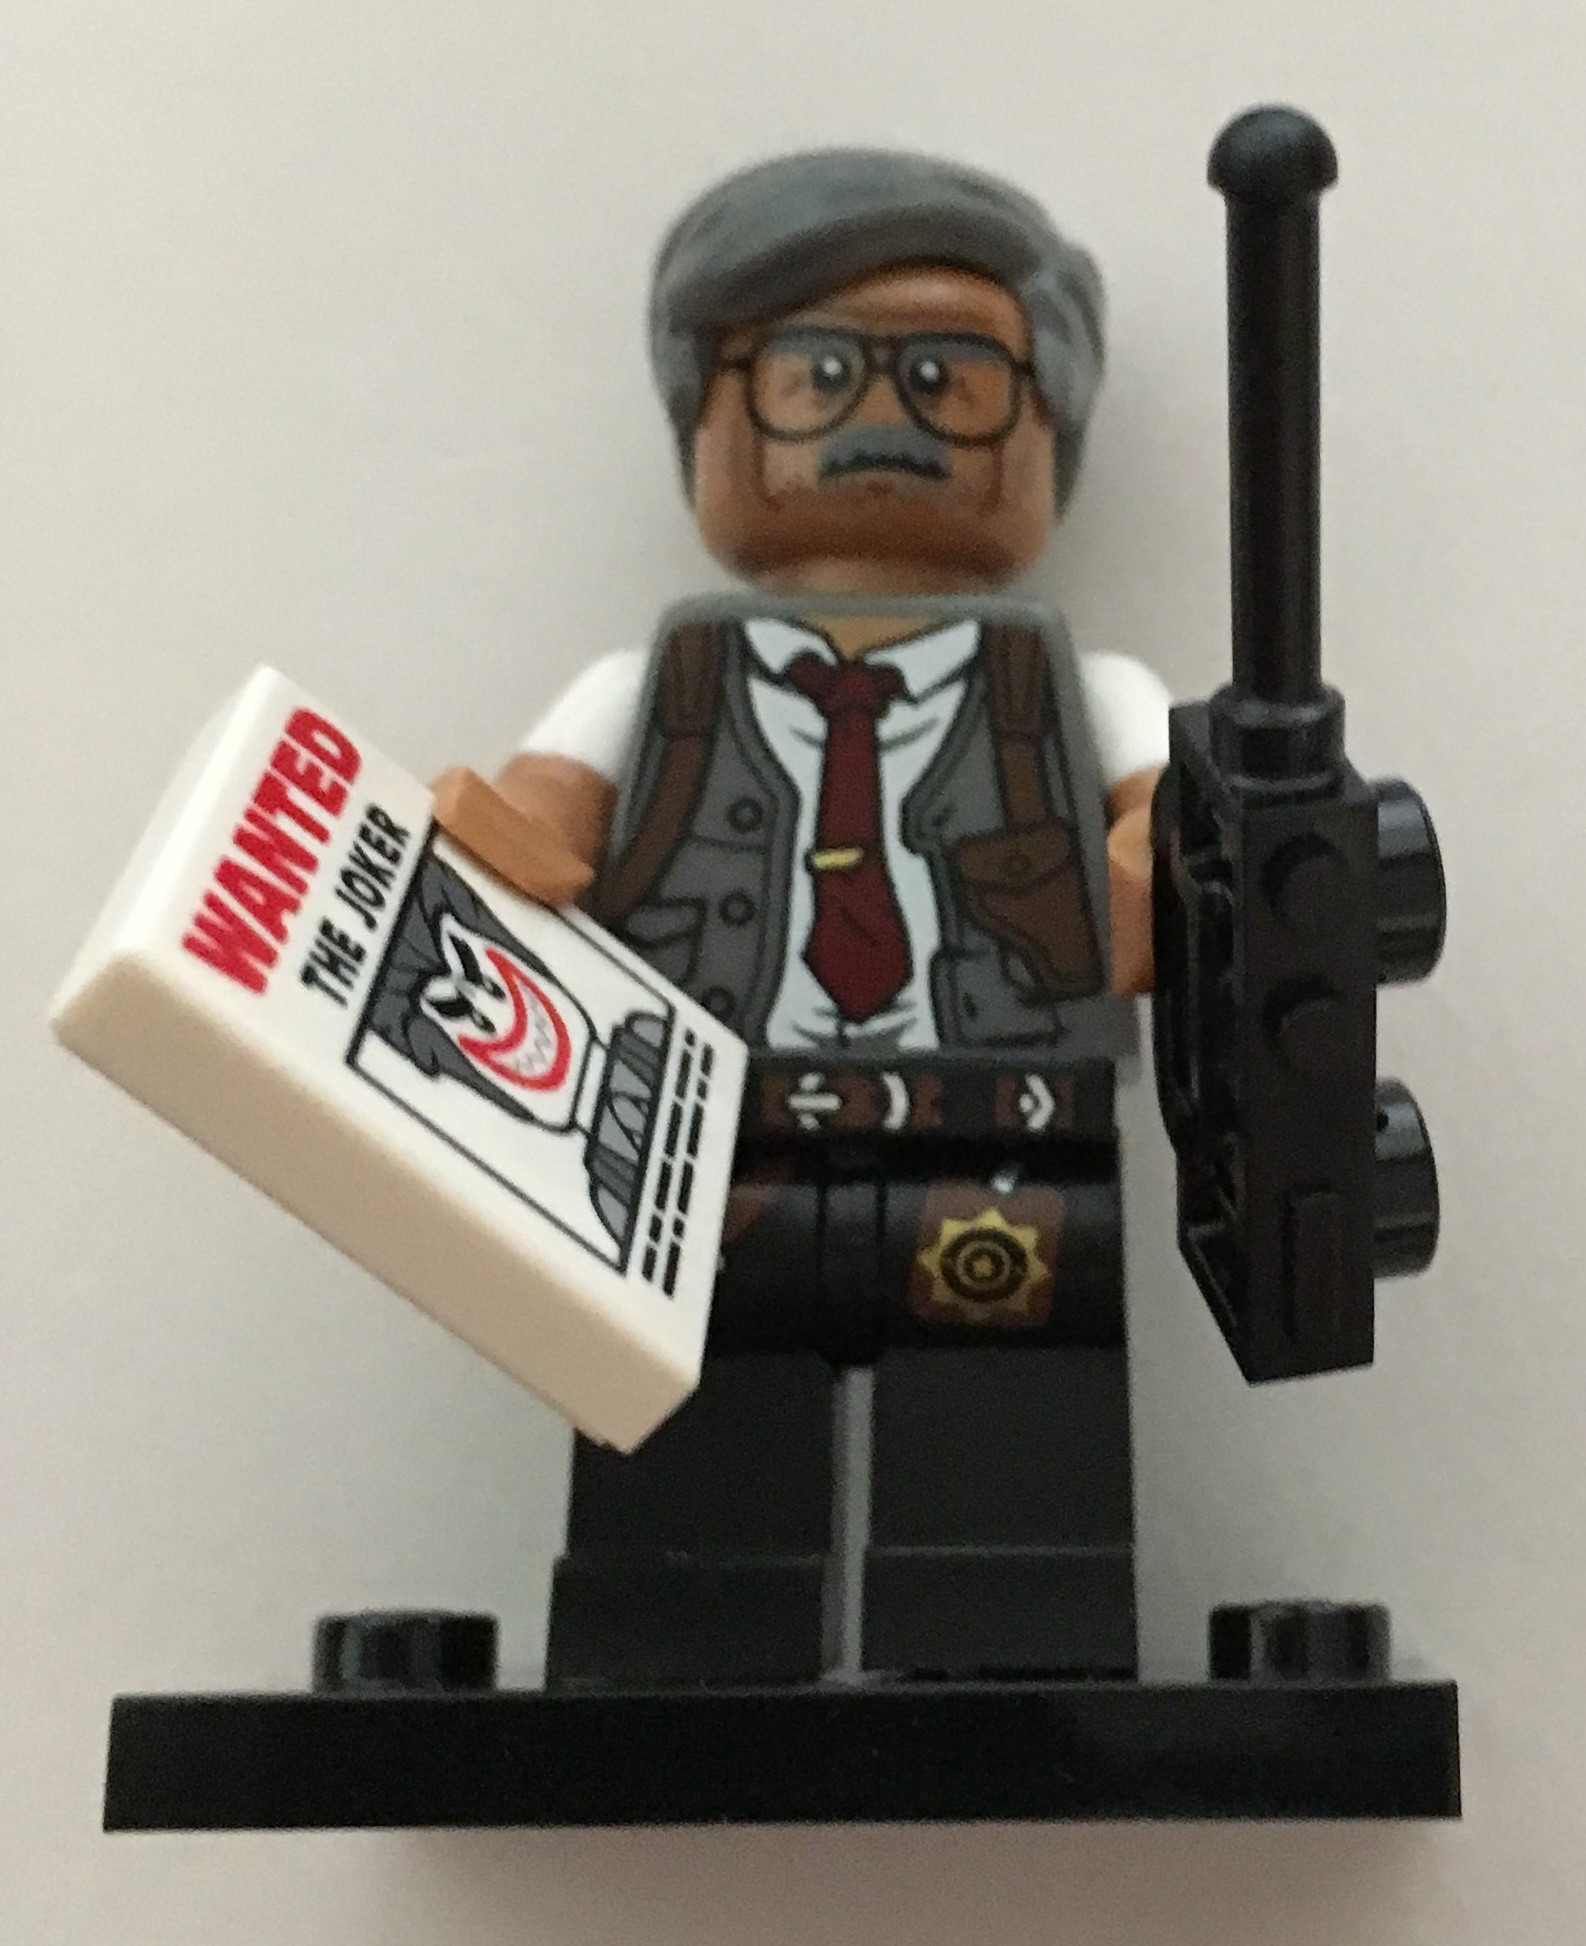
Commissioner Gordon

Nurse Harley Quinn

Orca

Zodiac Master
And the last 4... Nurse Harley Quinn and Commissioner Gordon only showed up single in the 120 that I ordered. I wonder if they will be the hardest to find of if it was just my experience. Orca looks a lot like Shark Suit Guy from series 15 only it's an orca. Also the minifigure head is just the mouth of the orca versus a face of the figure wearing the suit.
I'm not going to lie, without seeing the movie it is hard for me to get excited on some of these minfigures. The Batman versions are the better ones in my opinion. What do you think of these figures? Let me know in the comments below.
Happy building!