I am not a car buff by any means, but or some reason some of the recent LEGO car sets have called to me. You can see my reviews of #10248 Ferrari F40 and #42056 Porsche 911 GT3 RS for some of the other car sets.
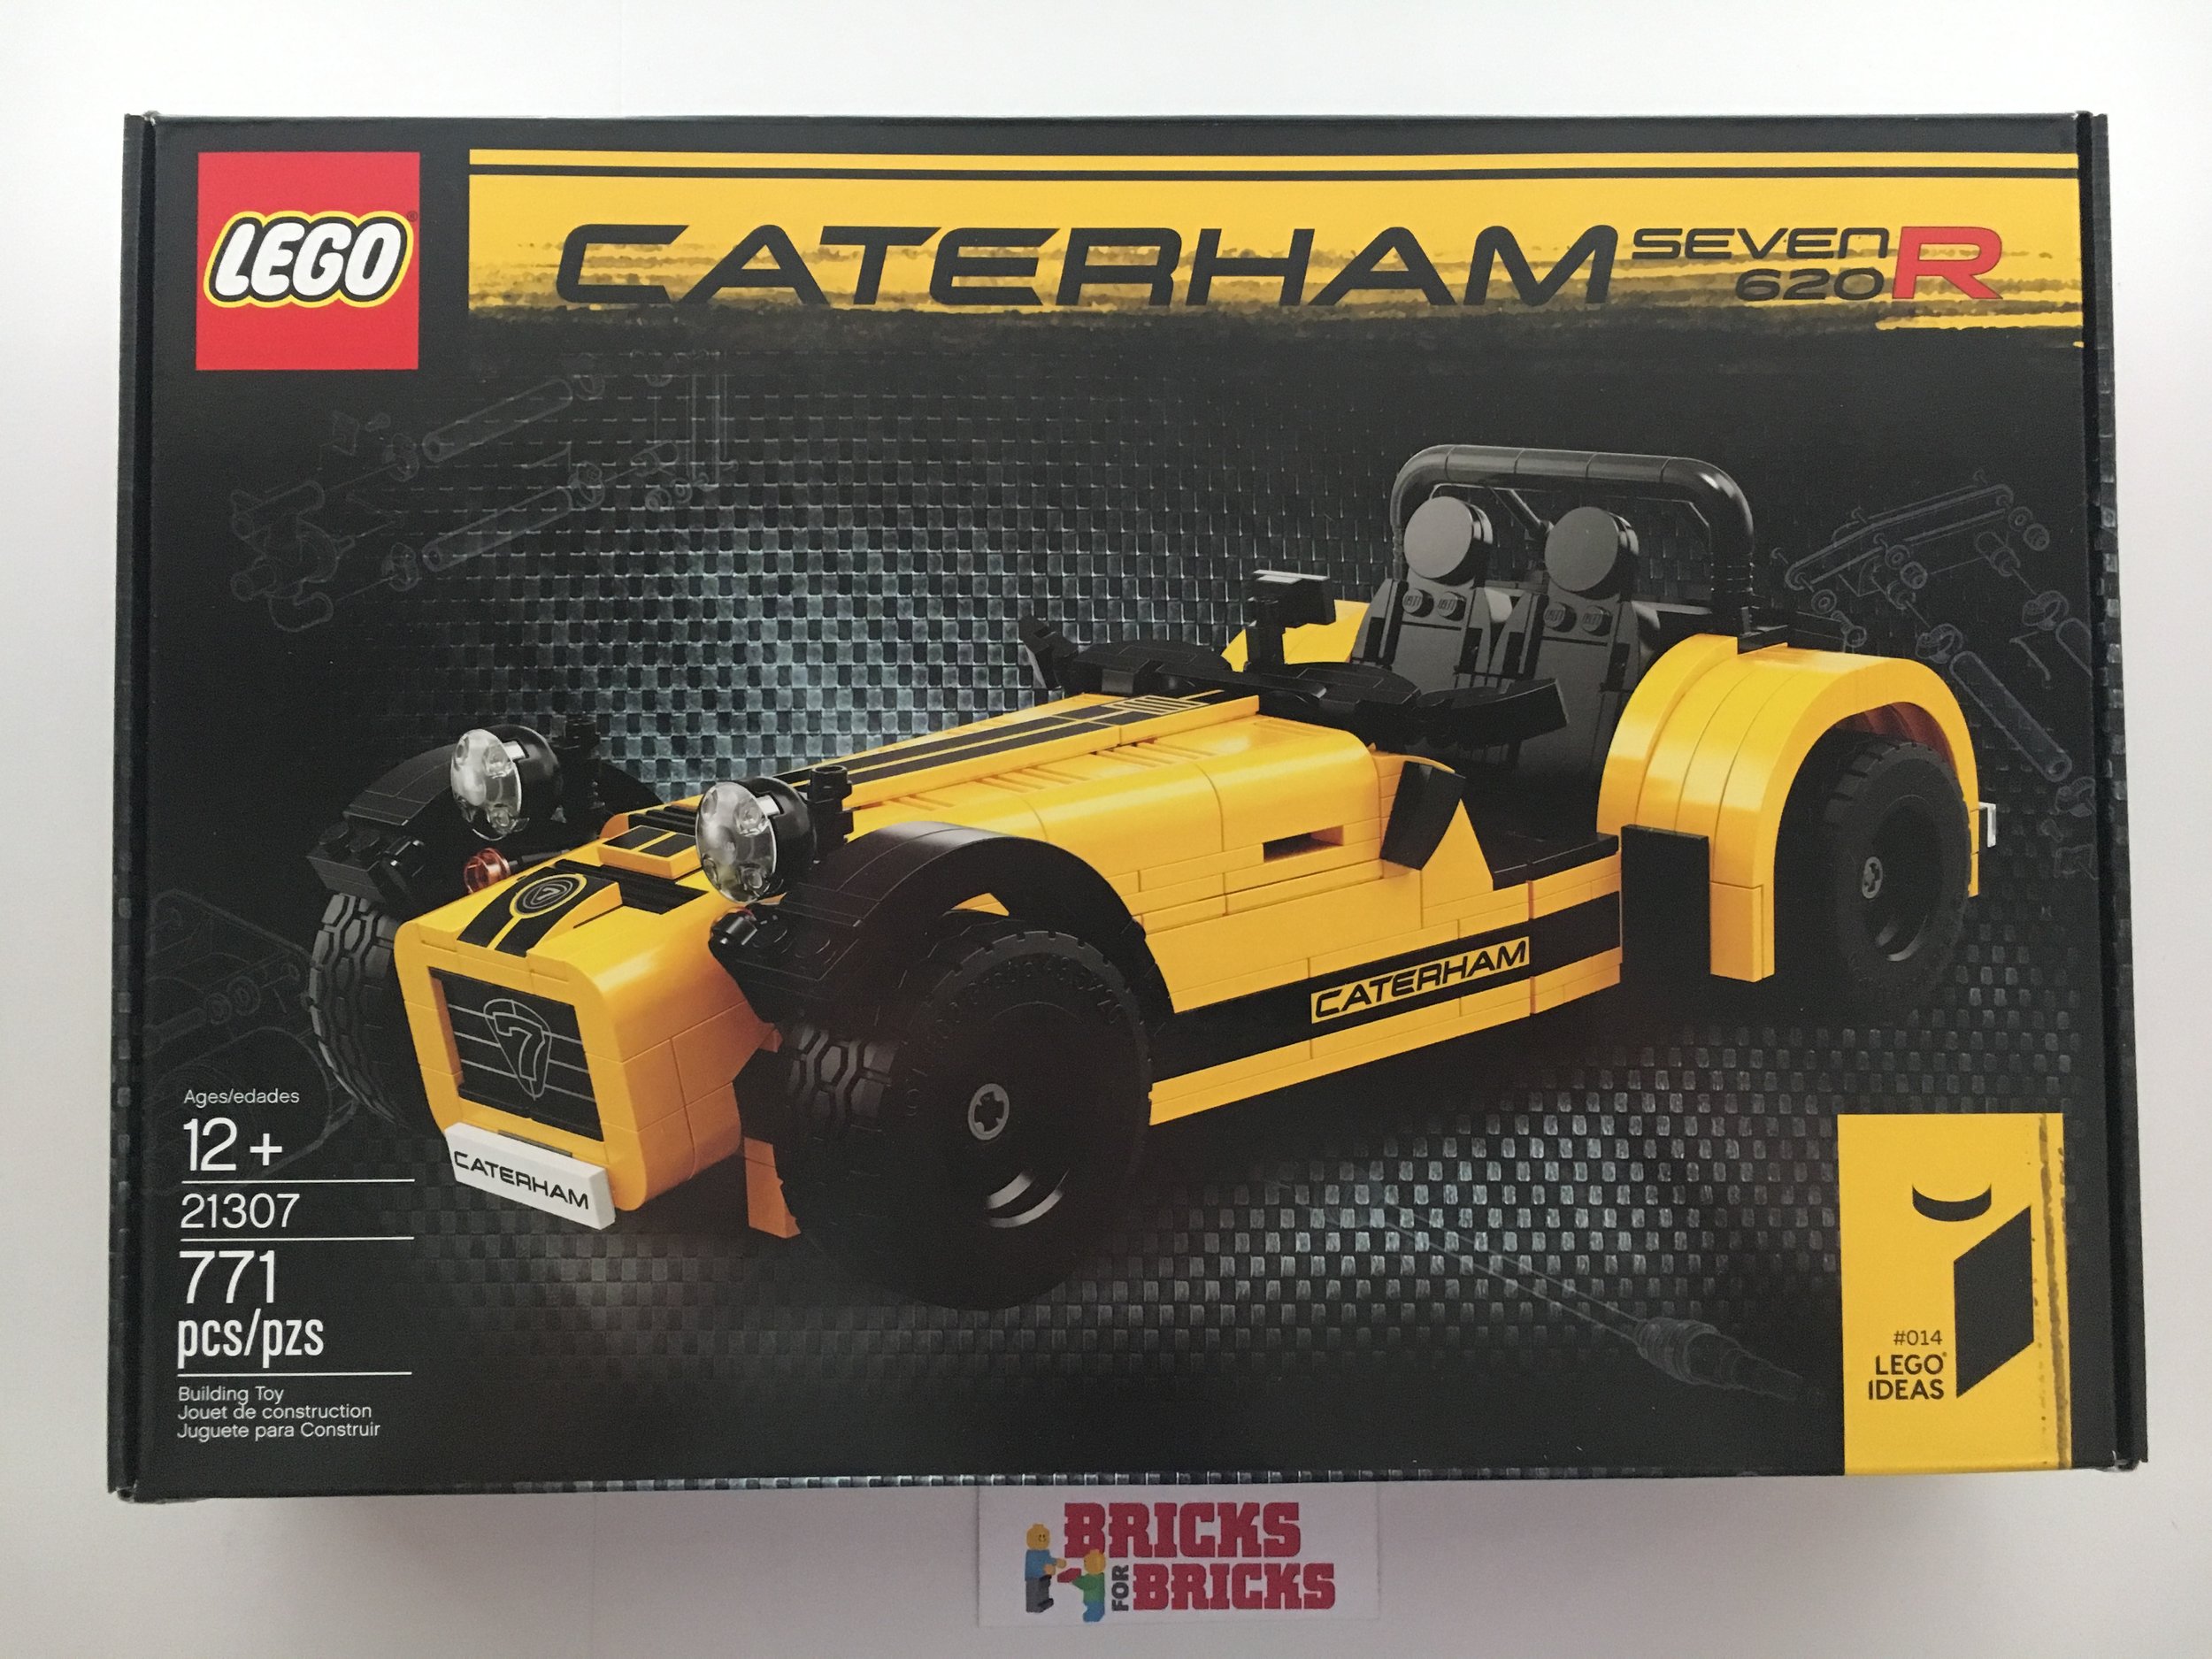
Onto this set. To be honest, I've never heard of Caterham until the LEGO set came out and I had to look it up. There are some cool videos on You Tube about them if you are like me and want to check them out. This set is Ideas set number 14 and was released on 1 October 2016. It retails for $79.99 and has 771 pieces or $0.104/piece which is right around average.
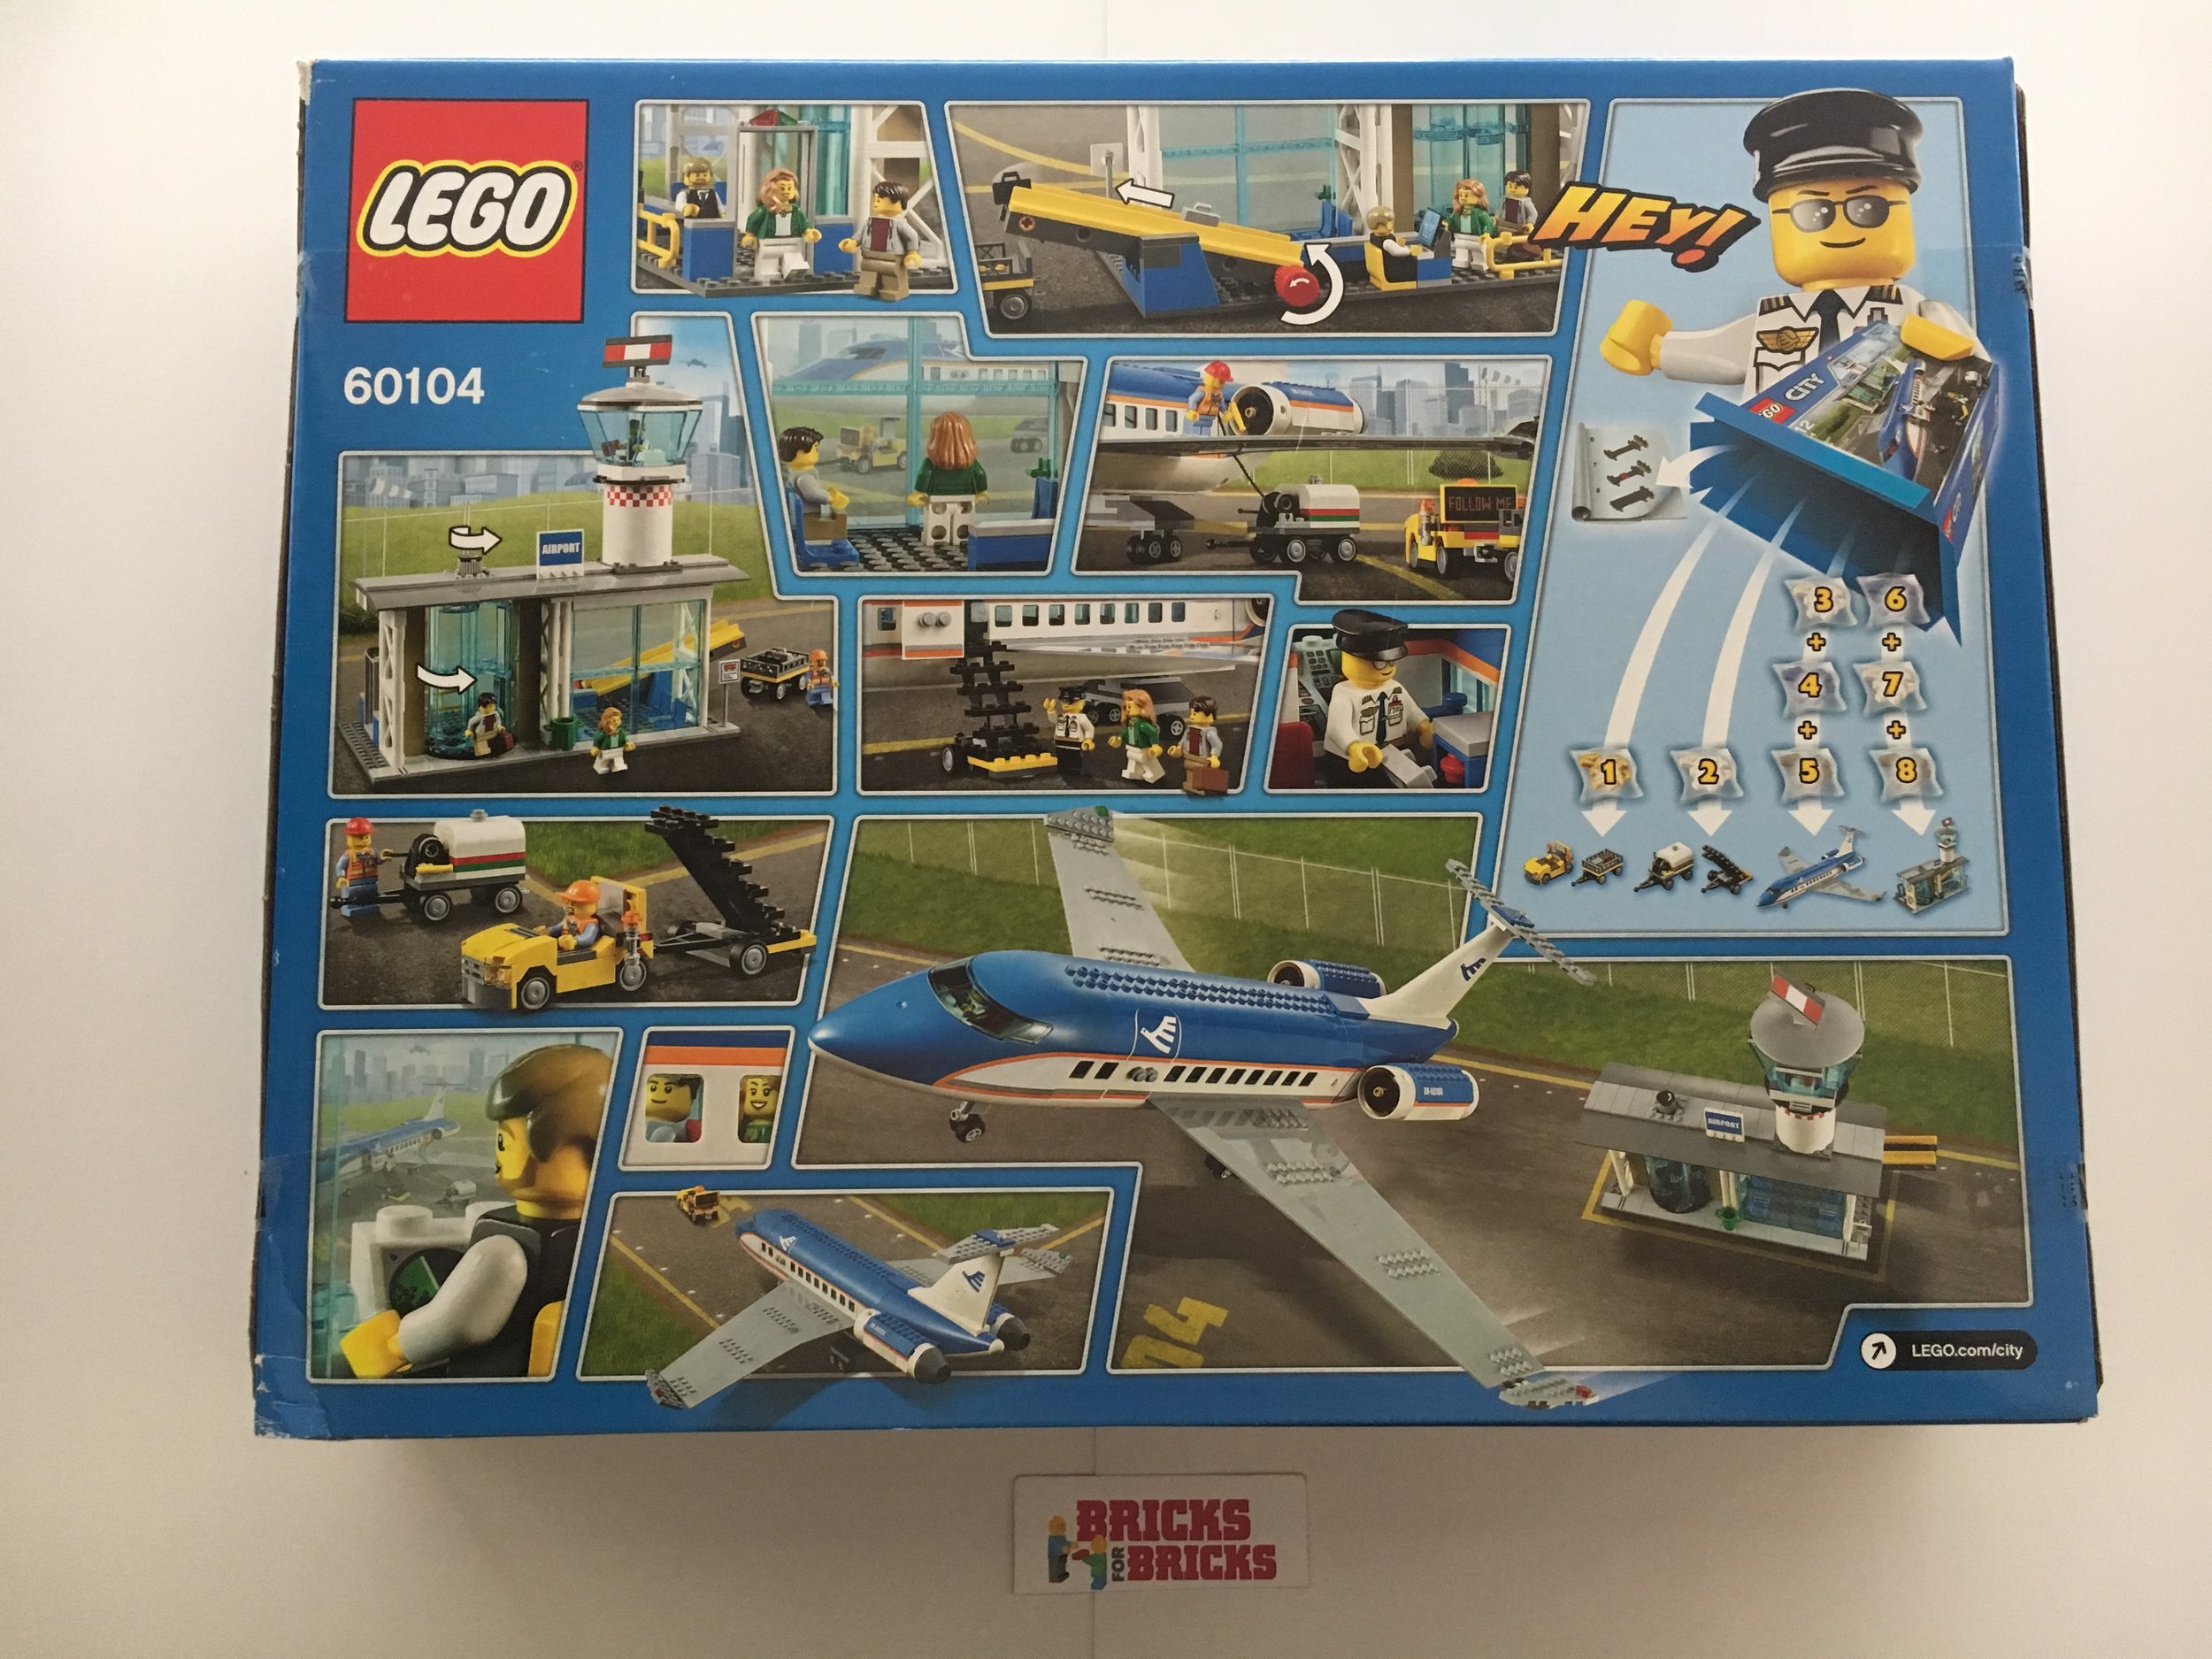
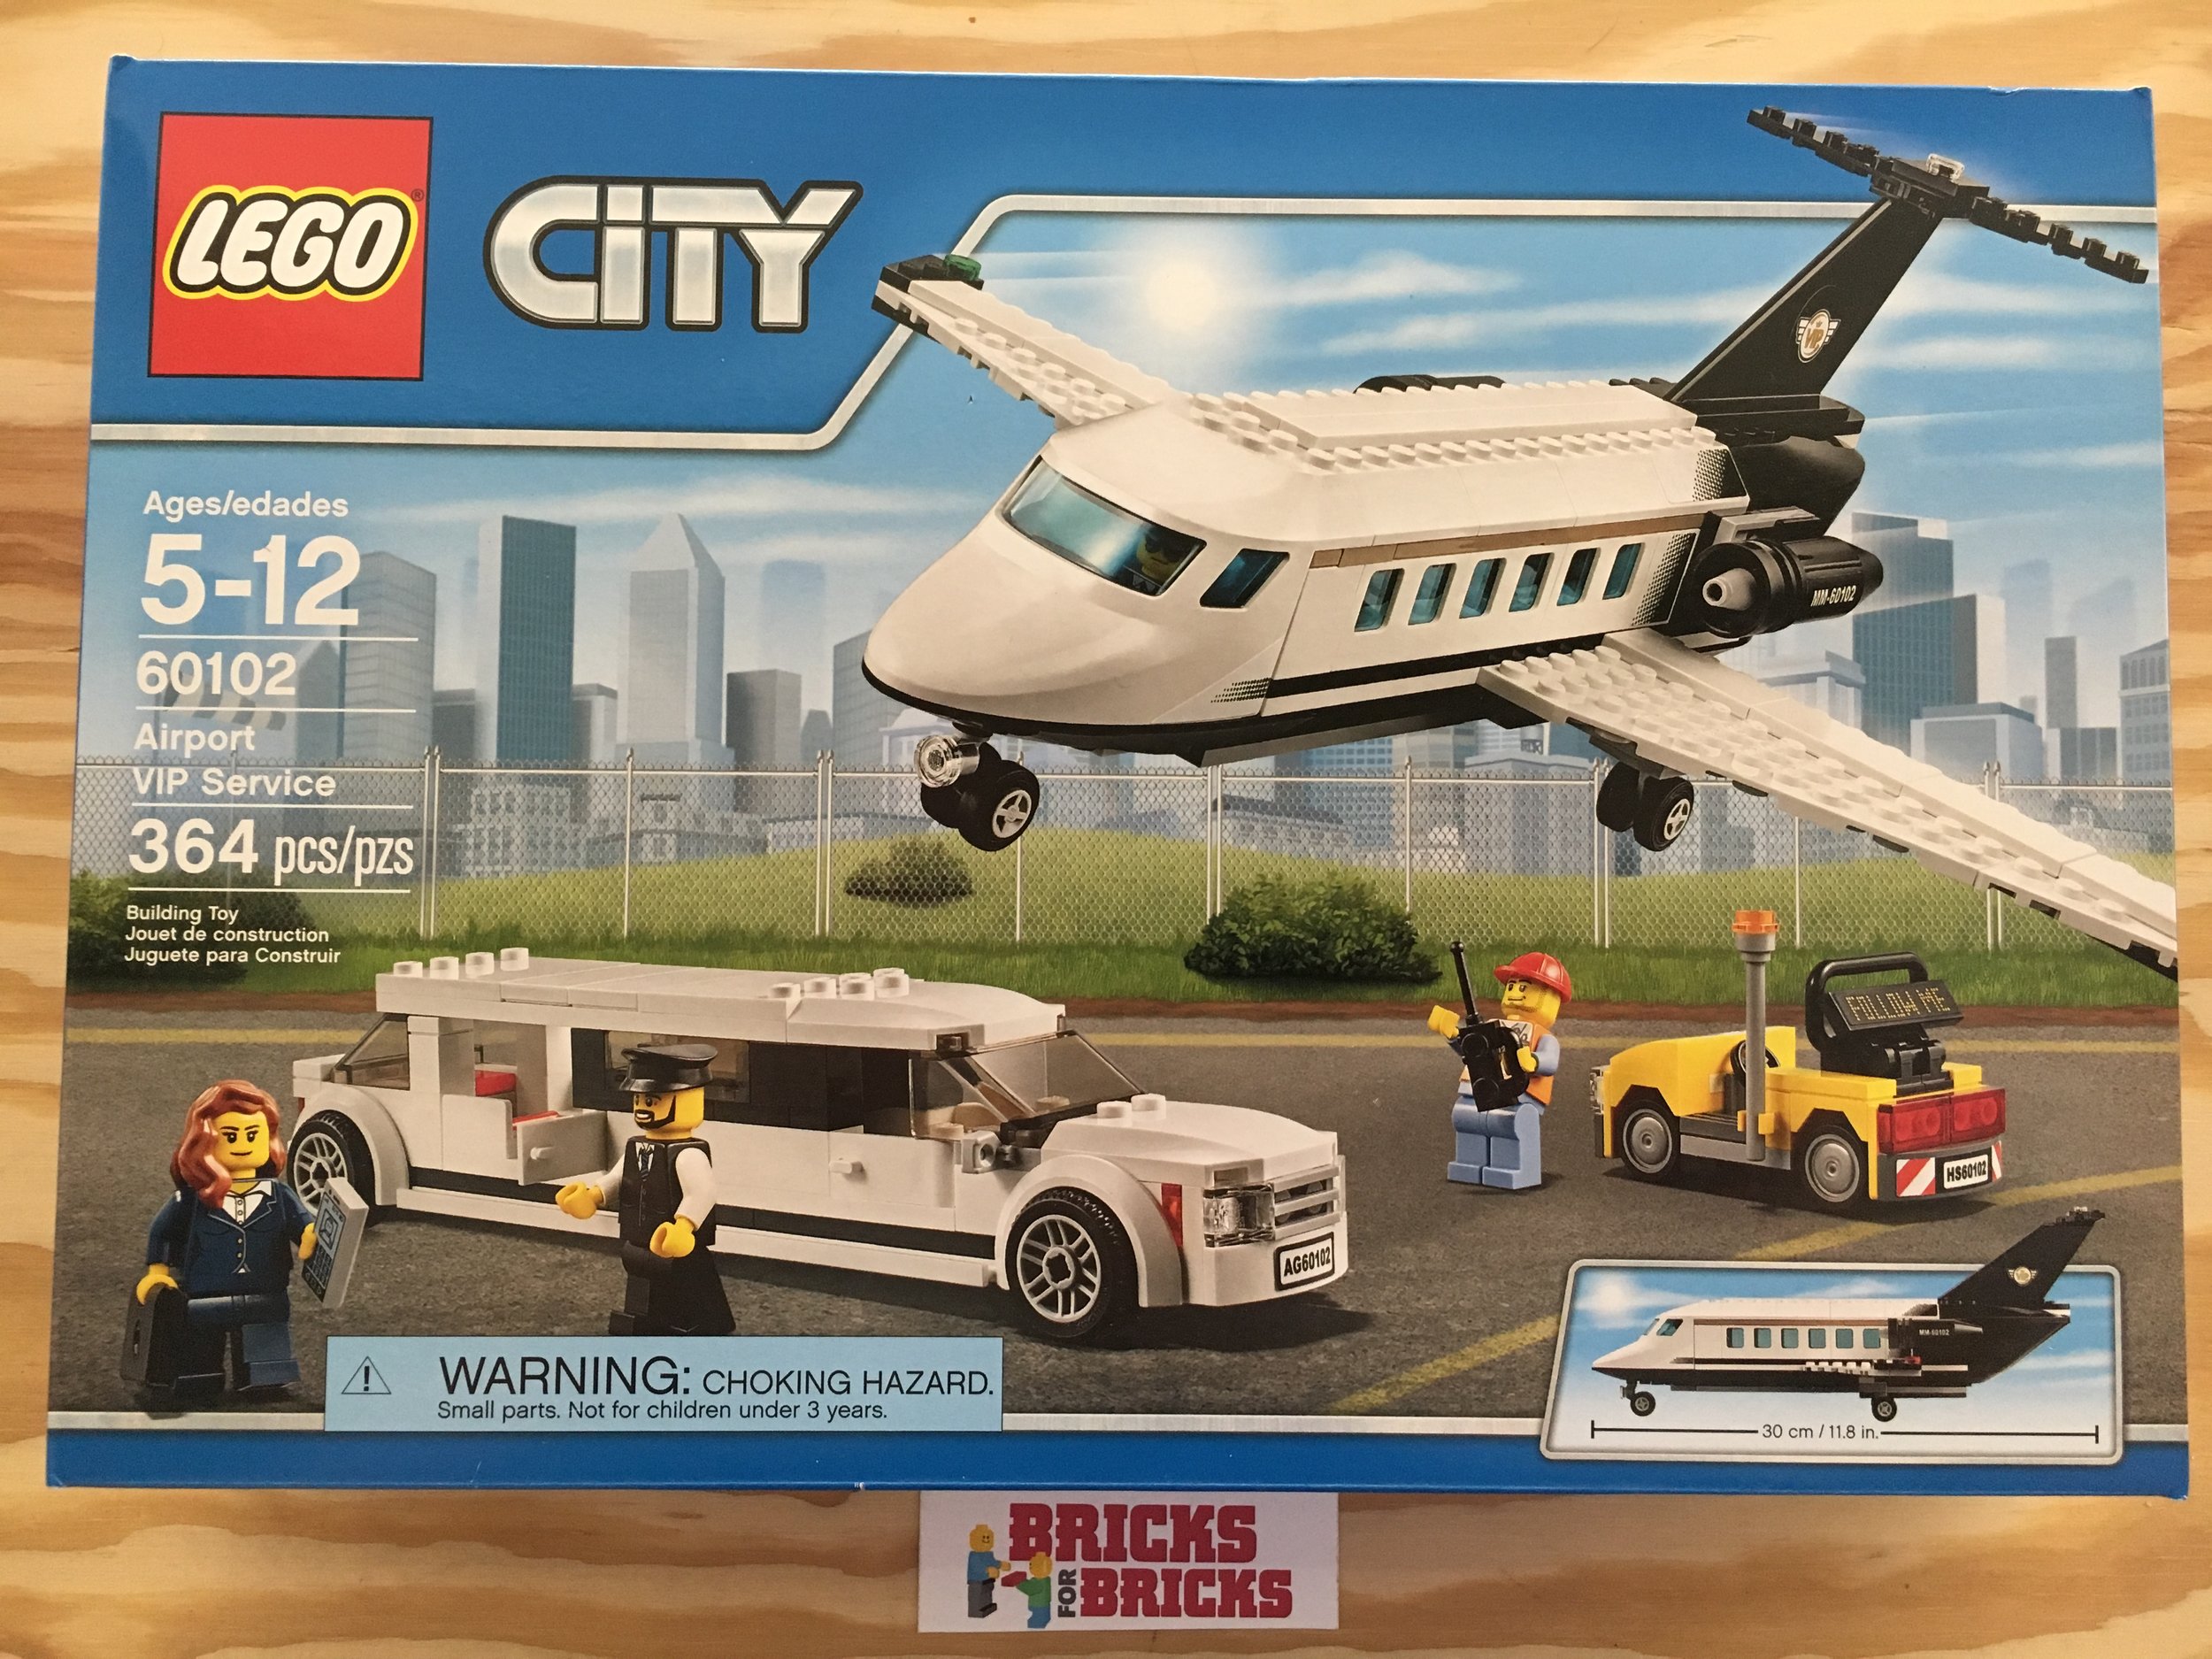
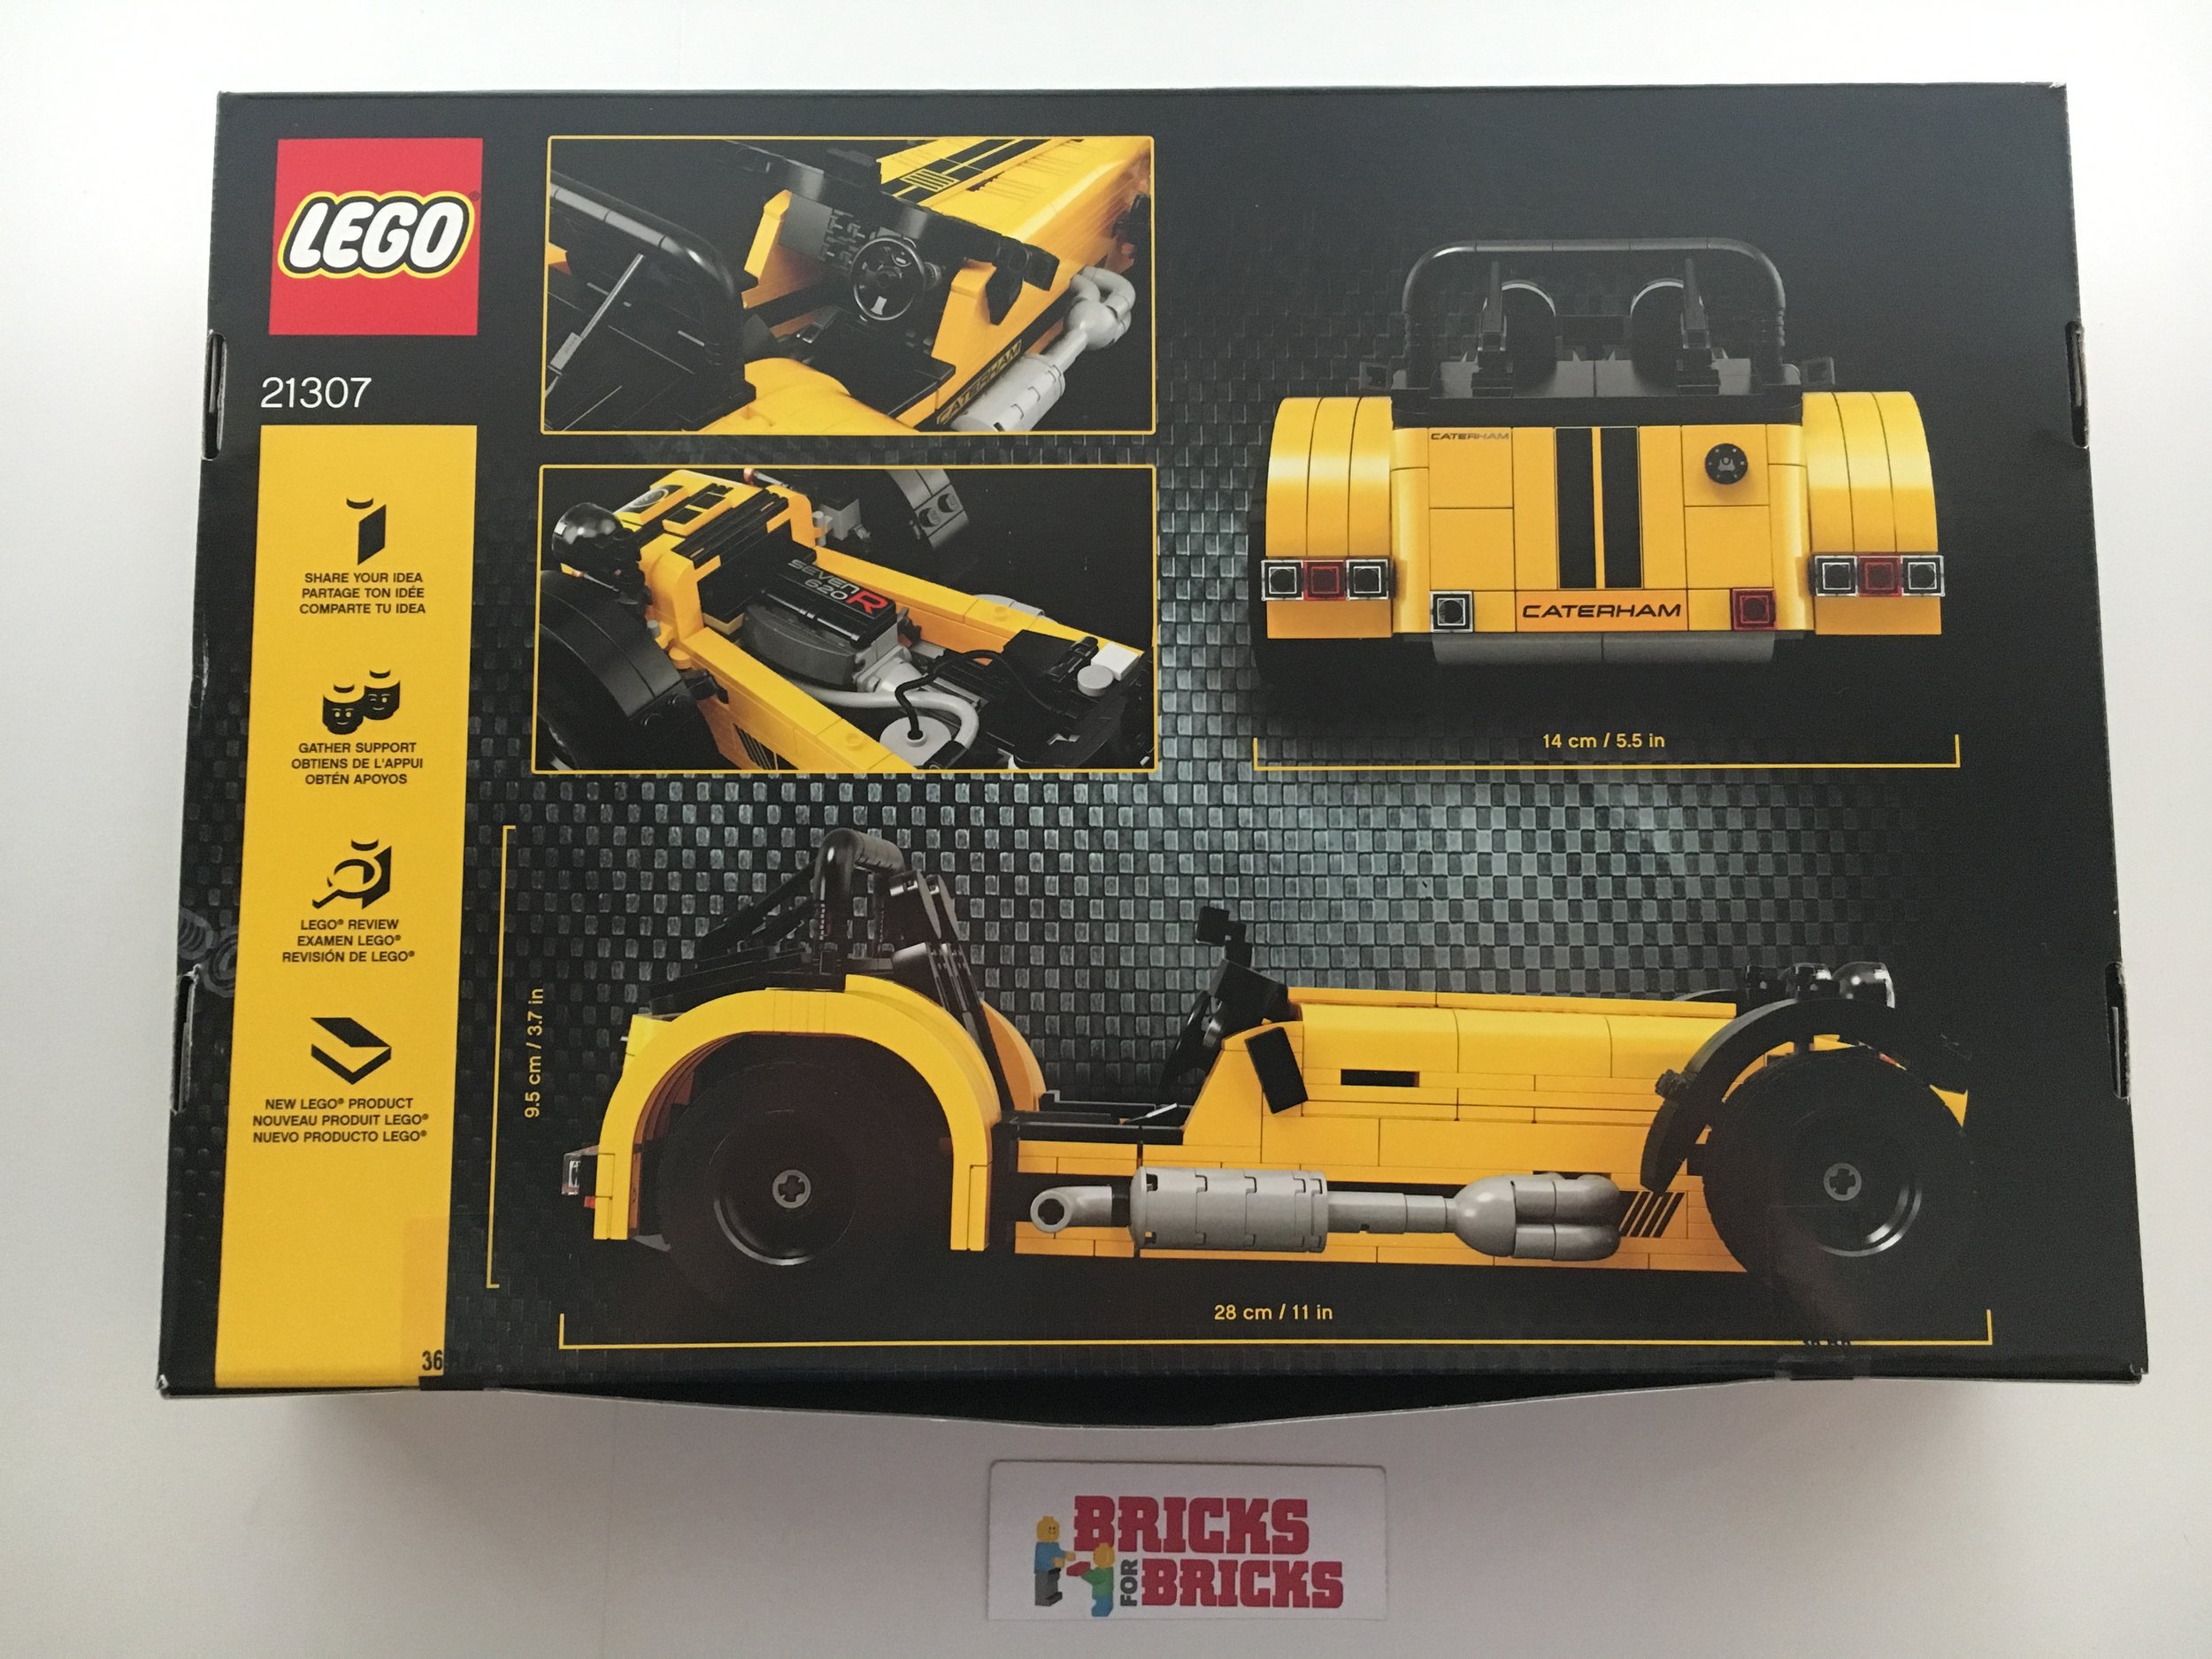
Here is the box. The box is similar to other LEGO Ideas sets in terms of how it opens and it shows a bunch of views of the model.
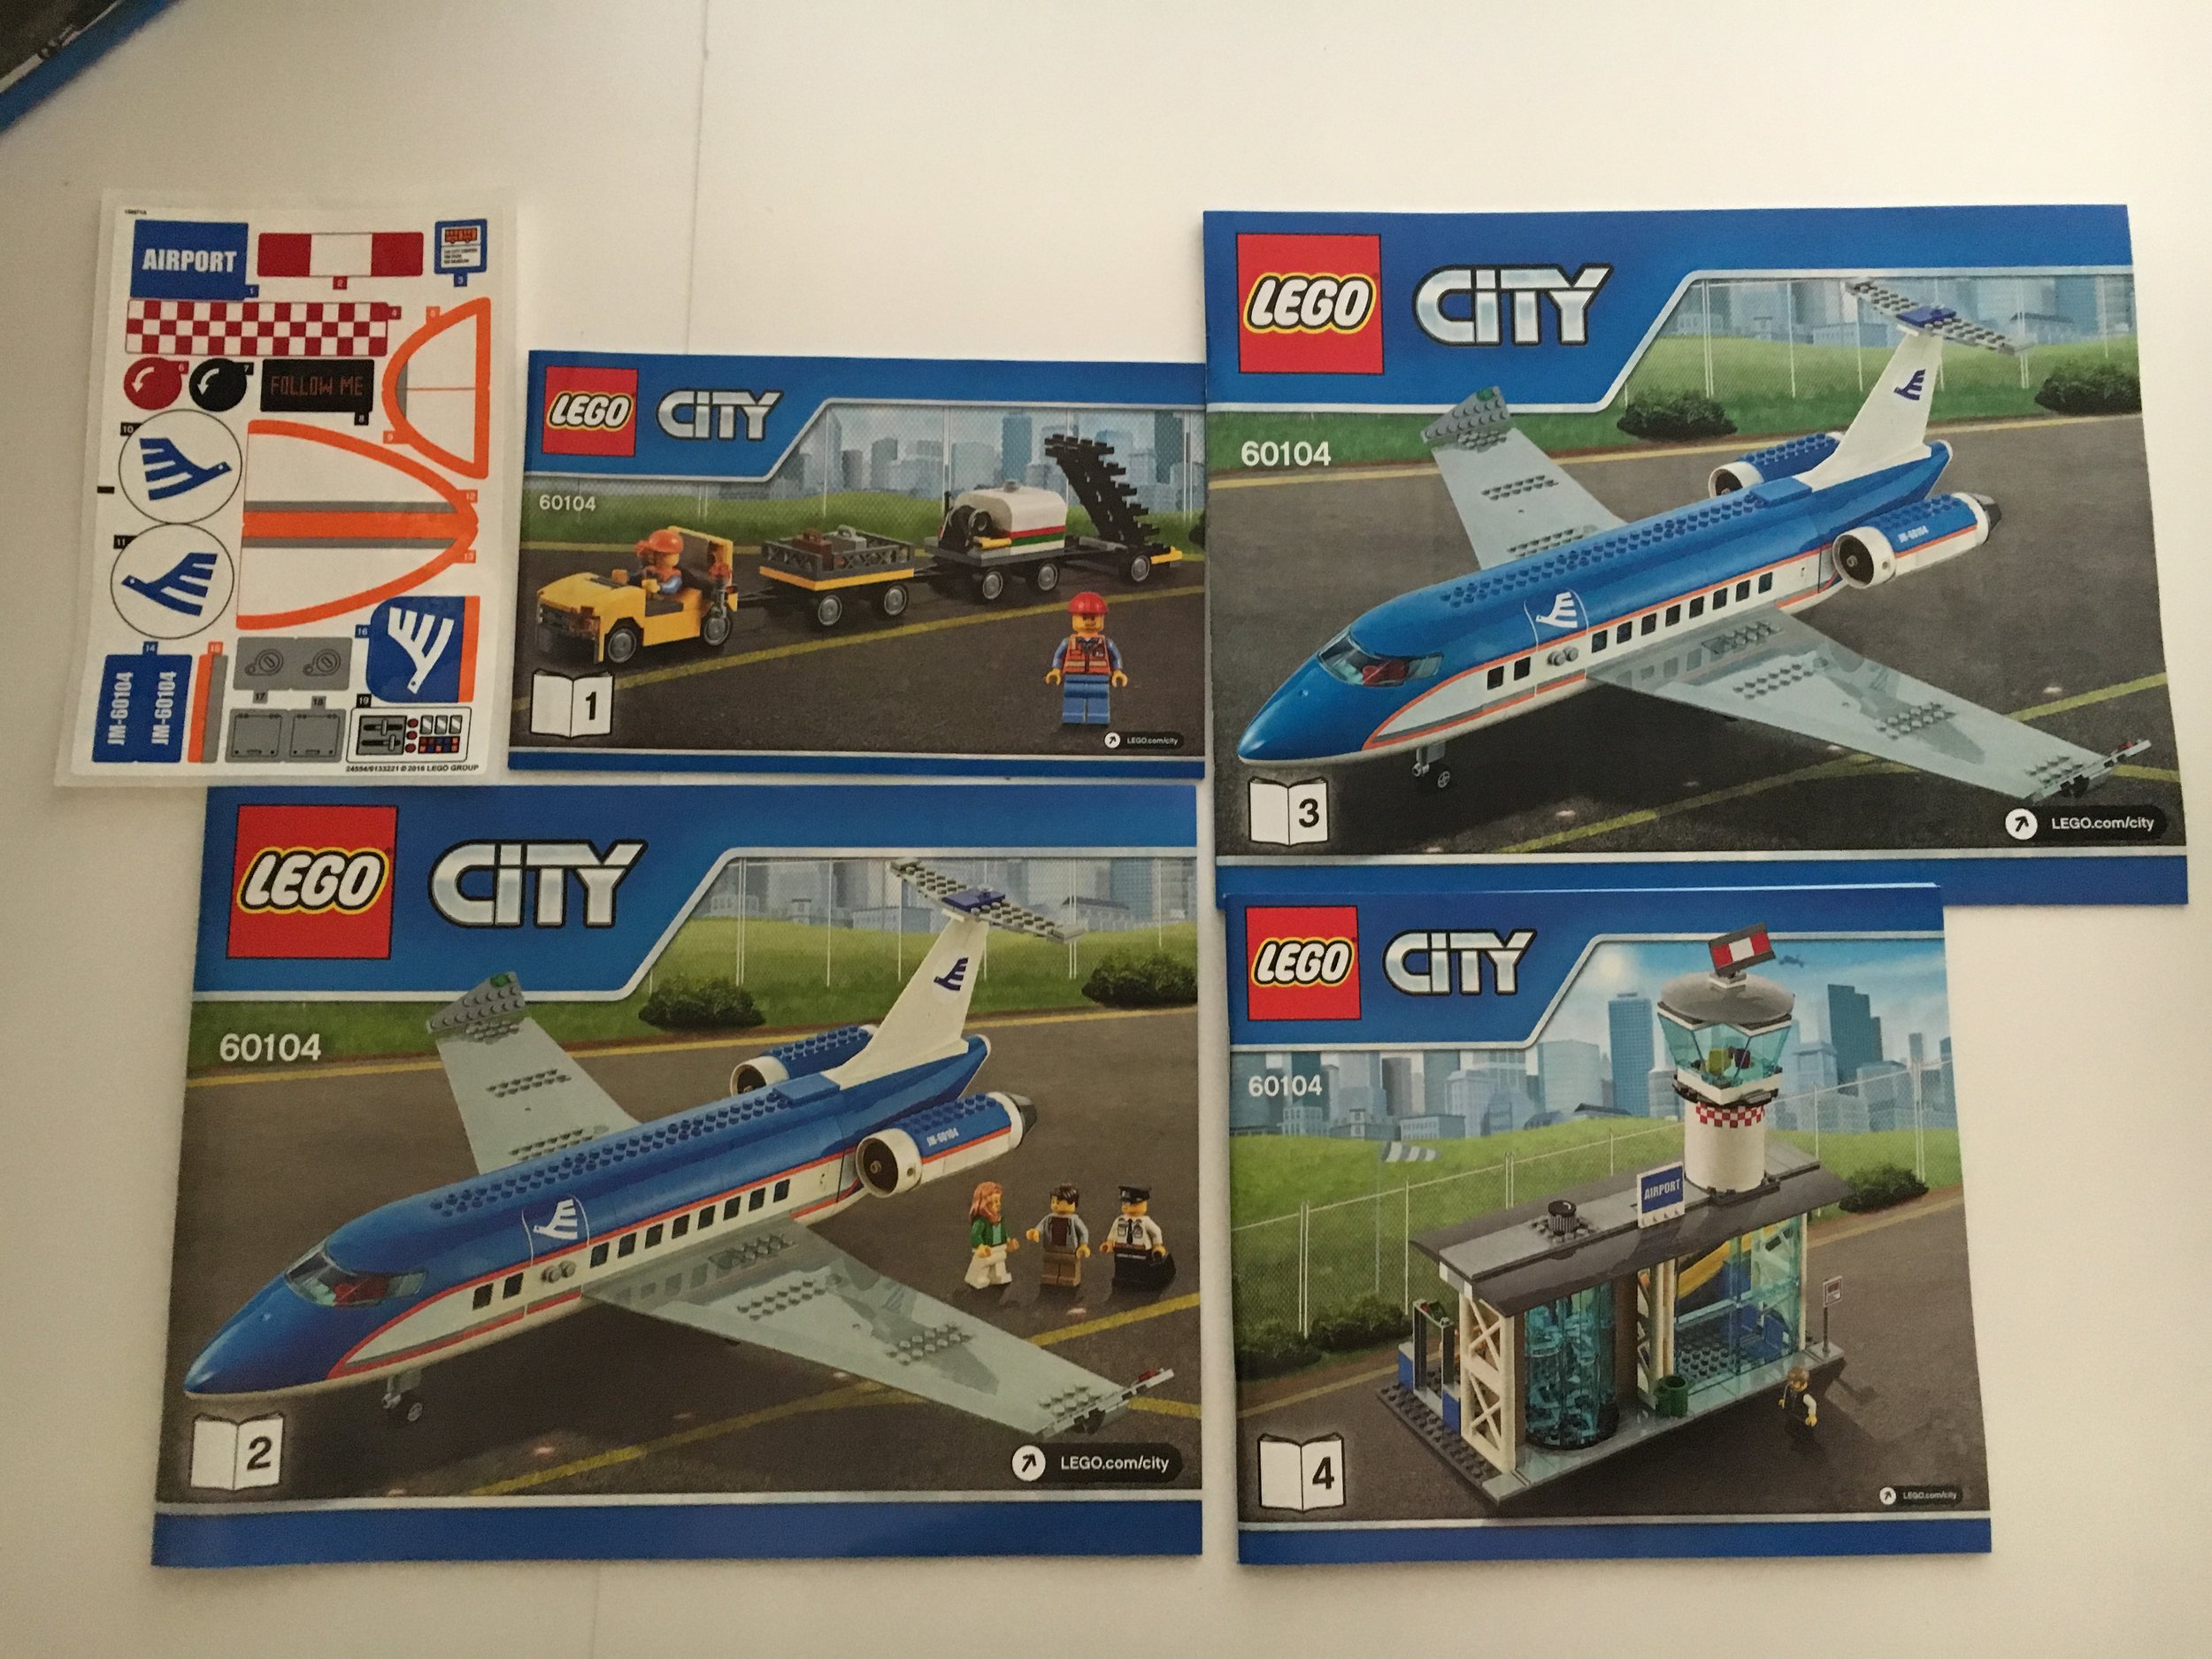
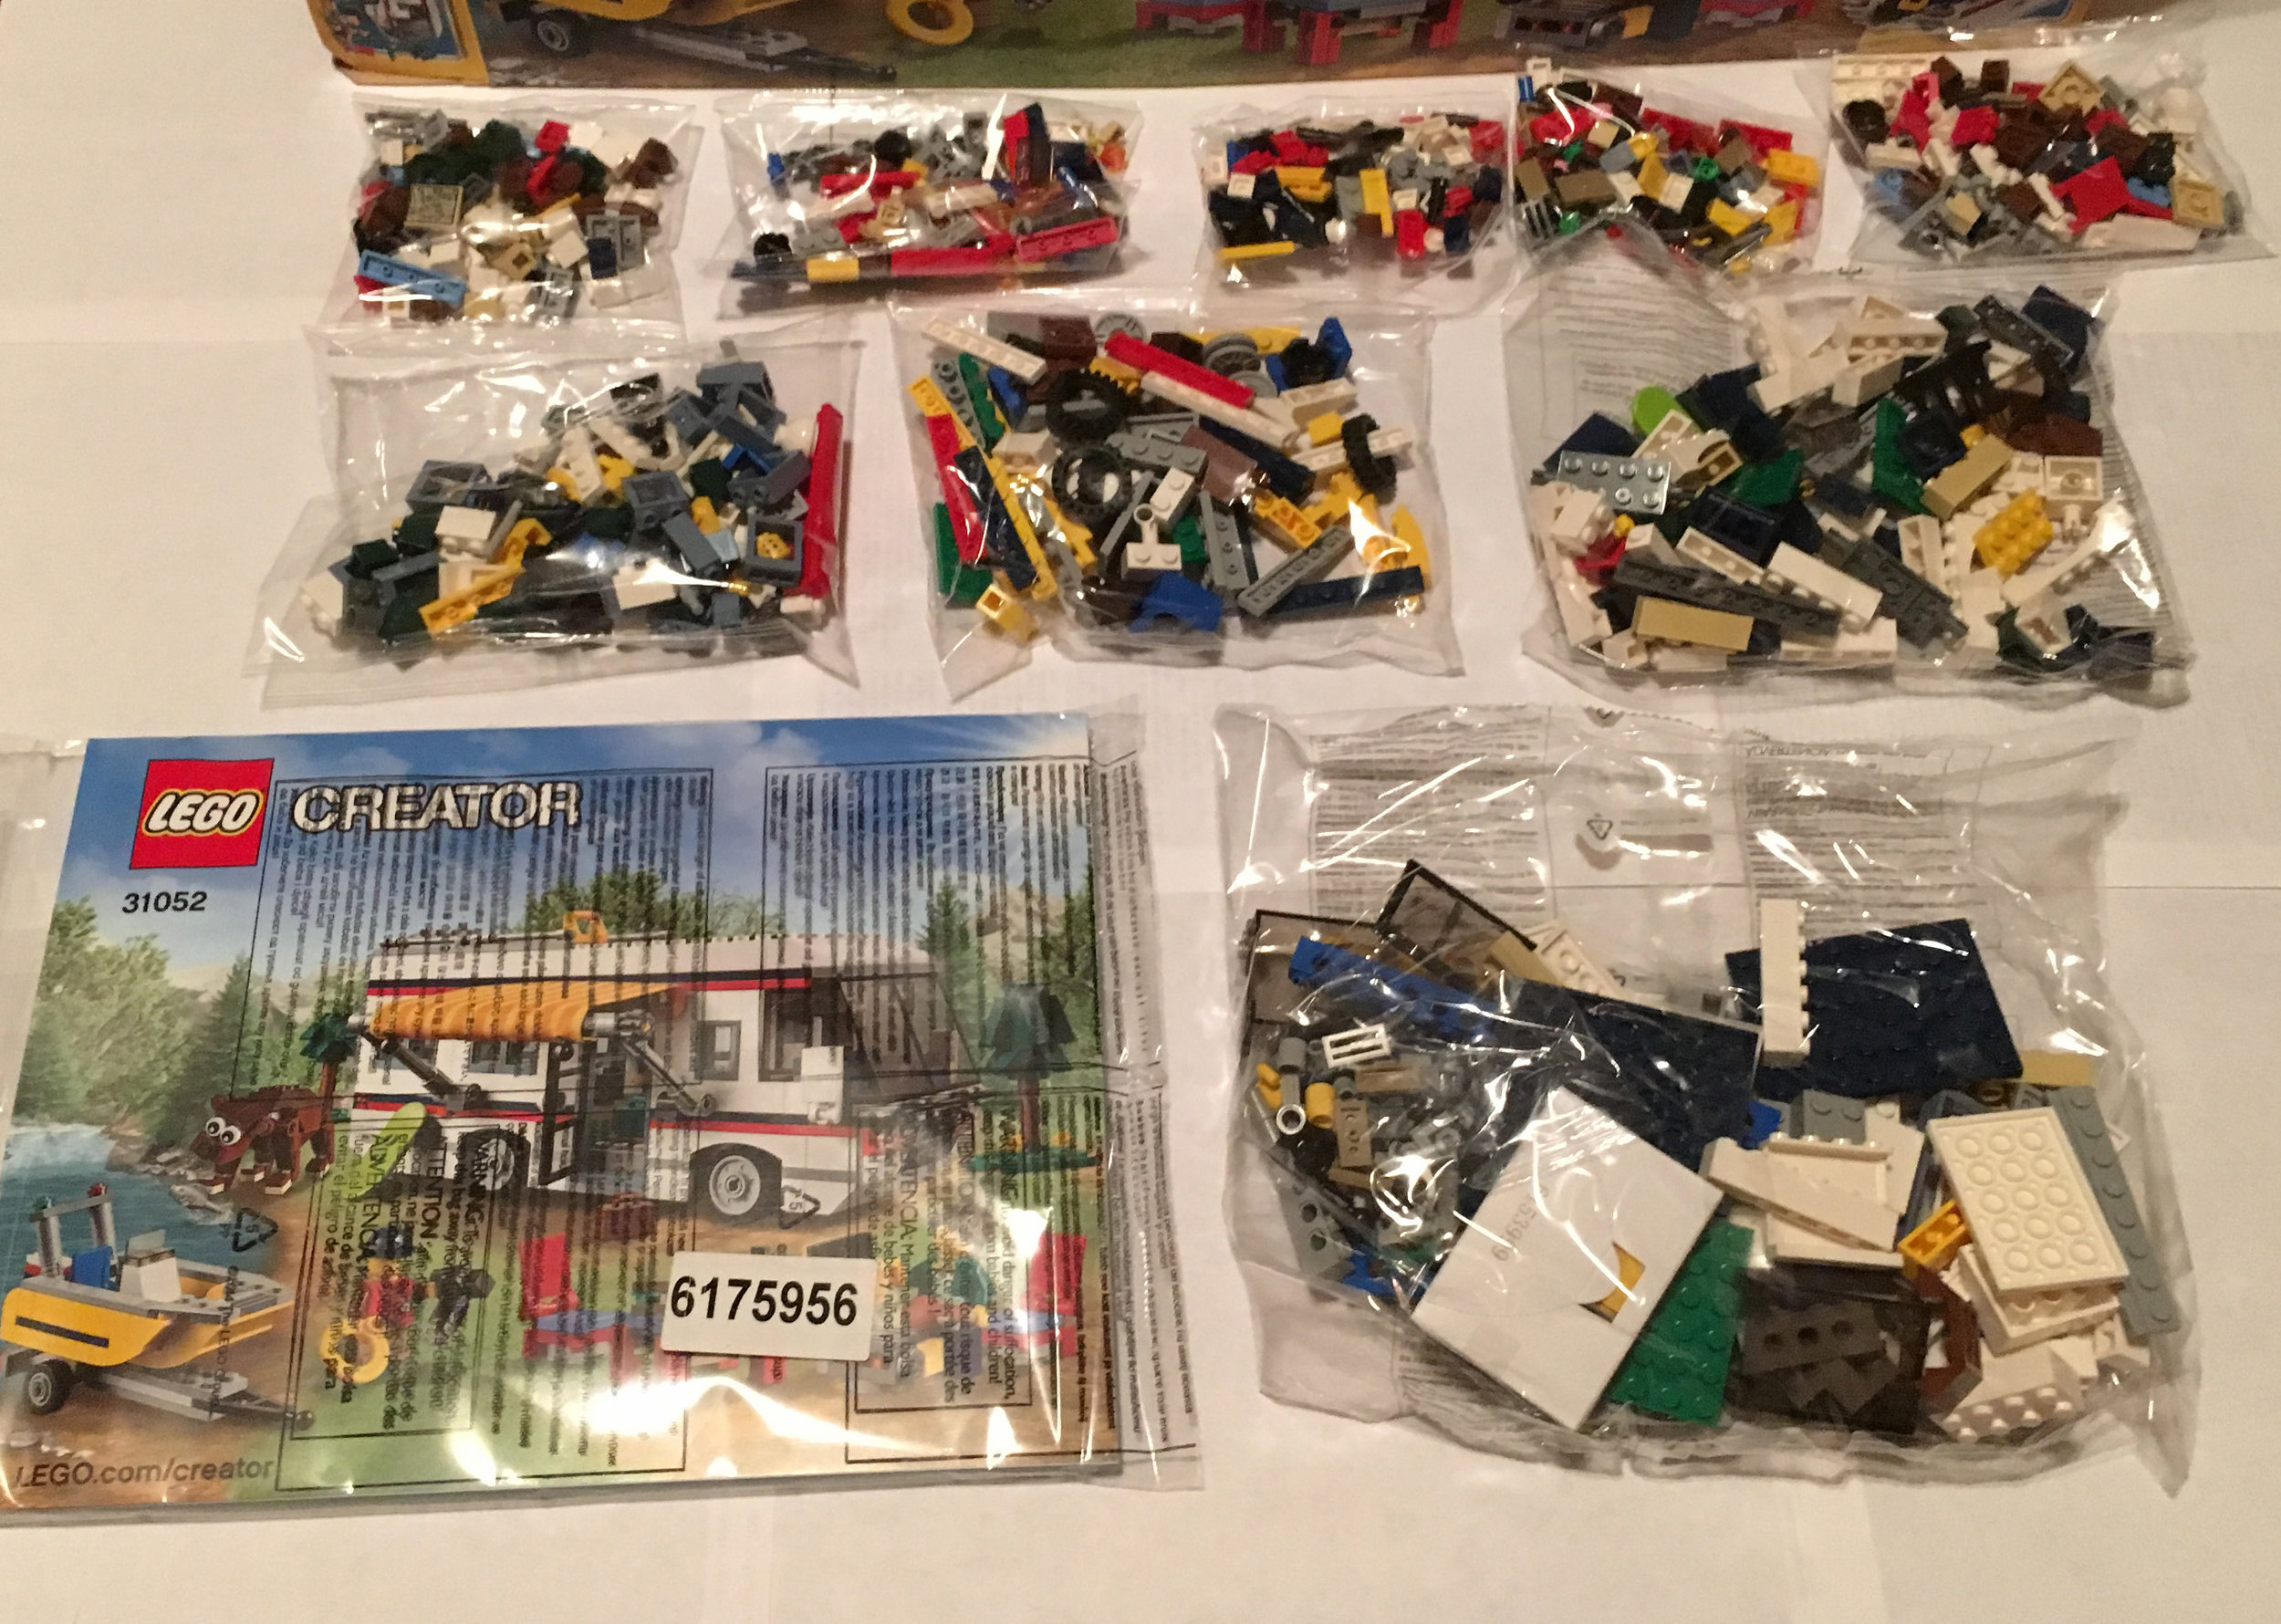
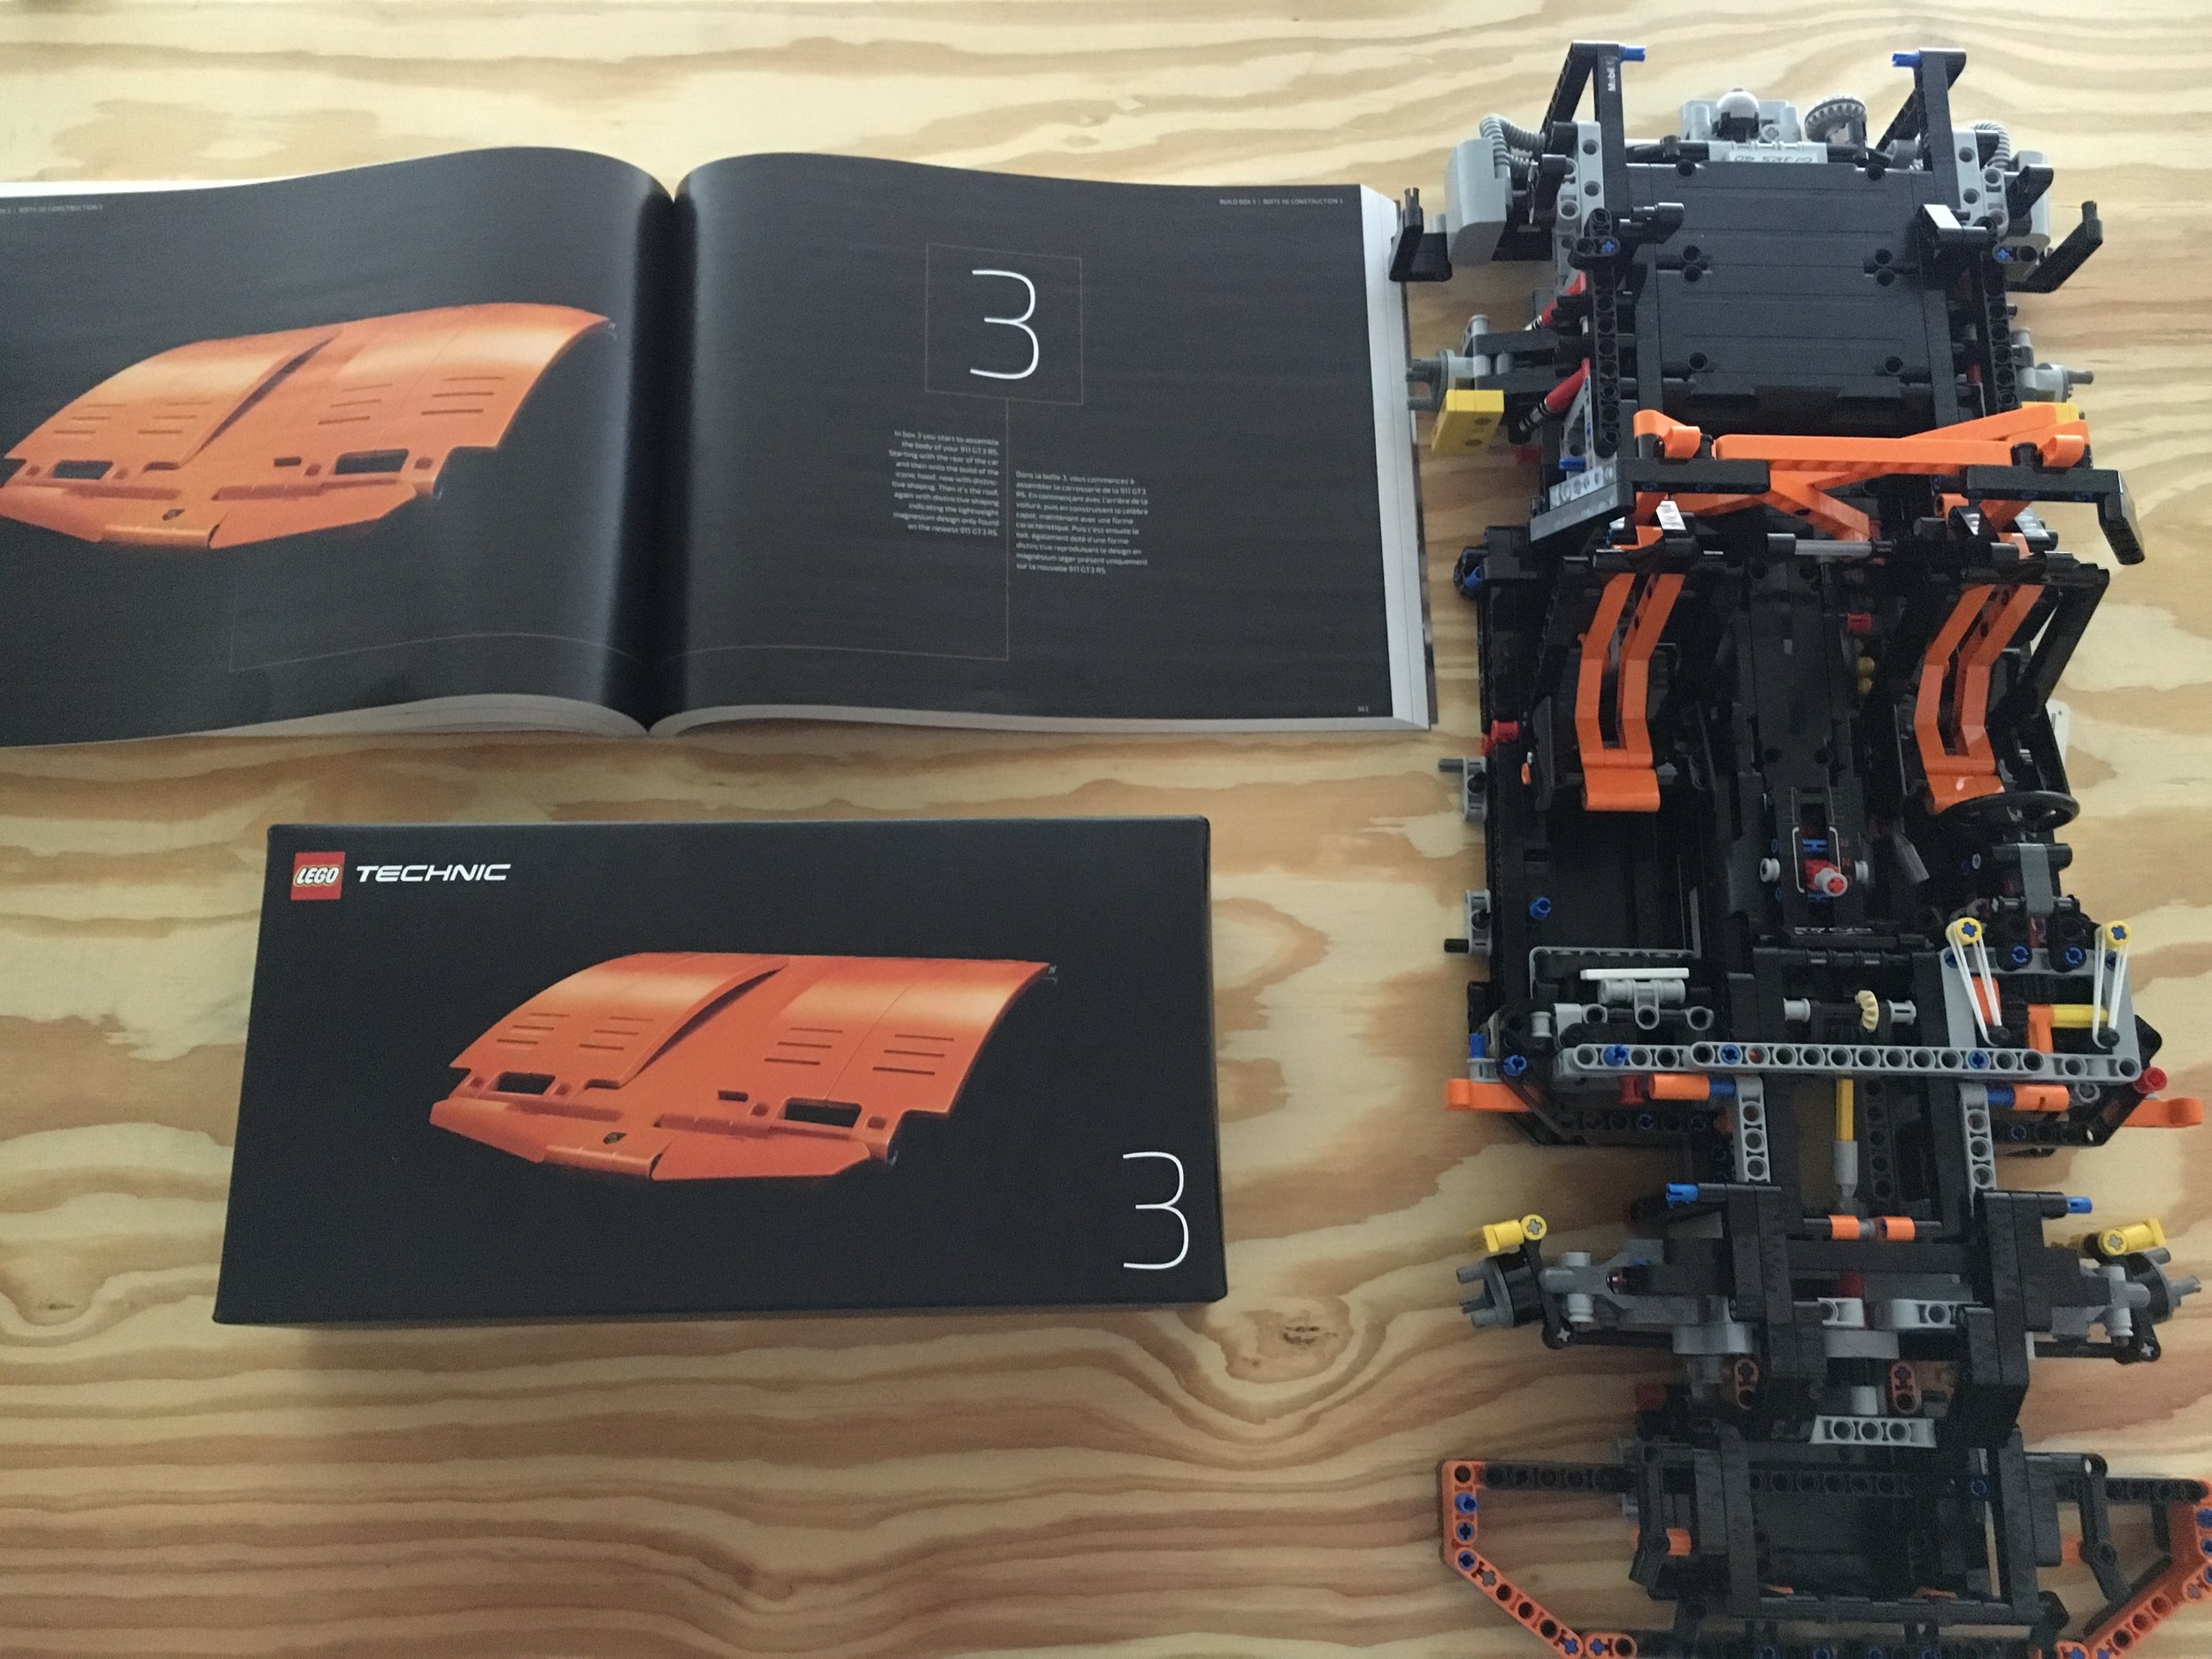
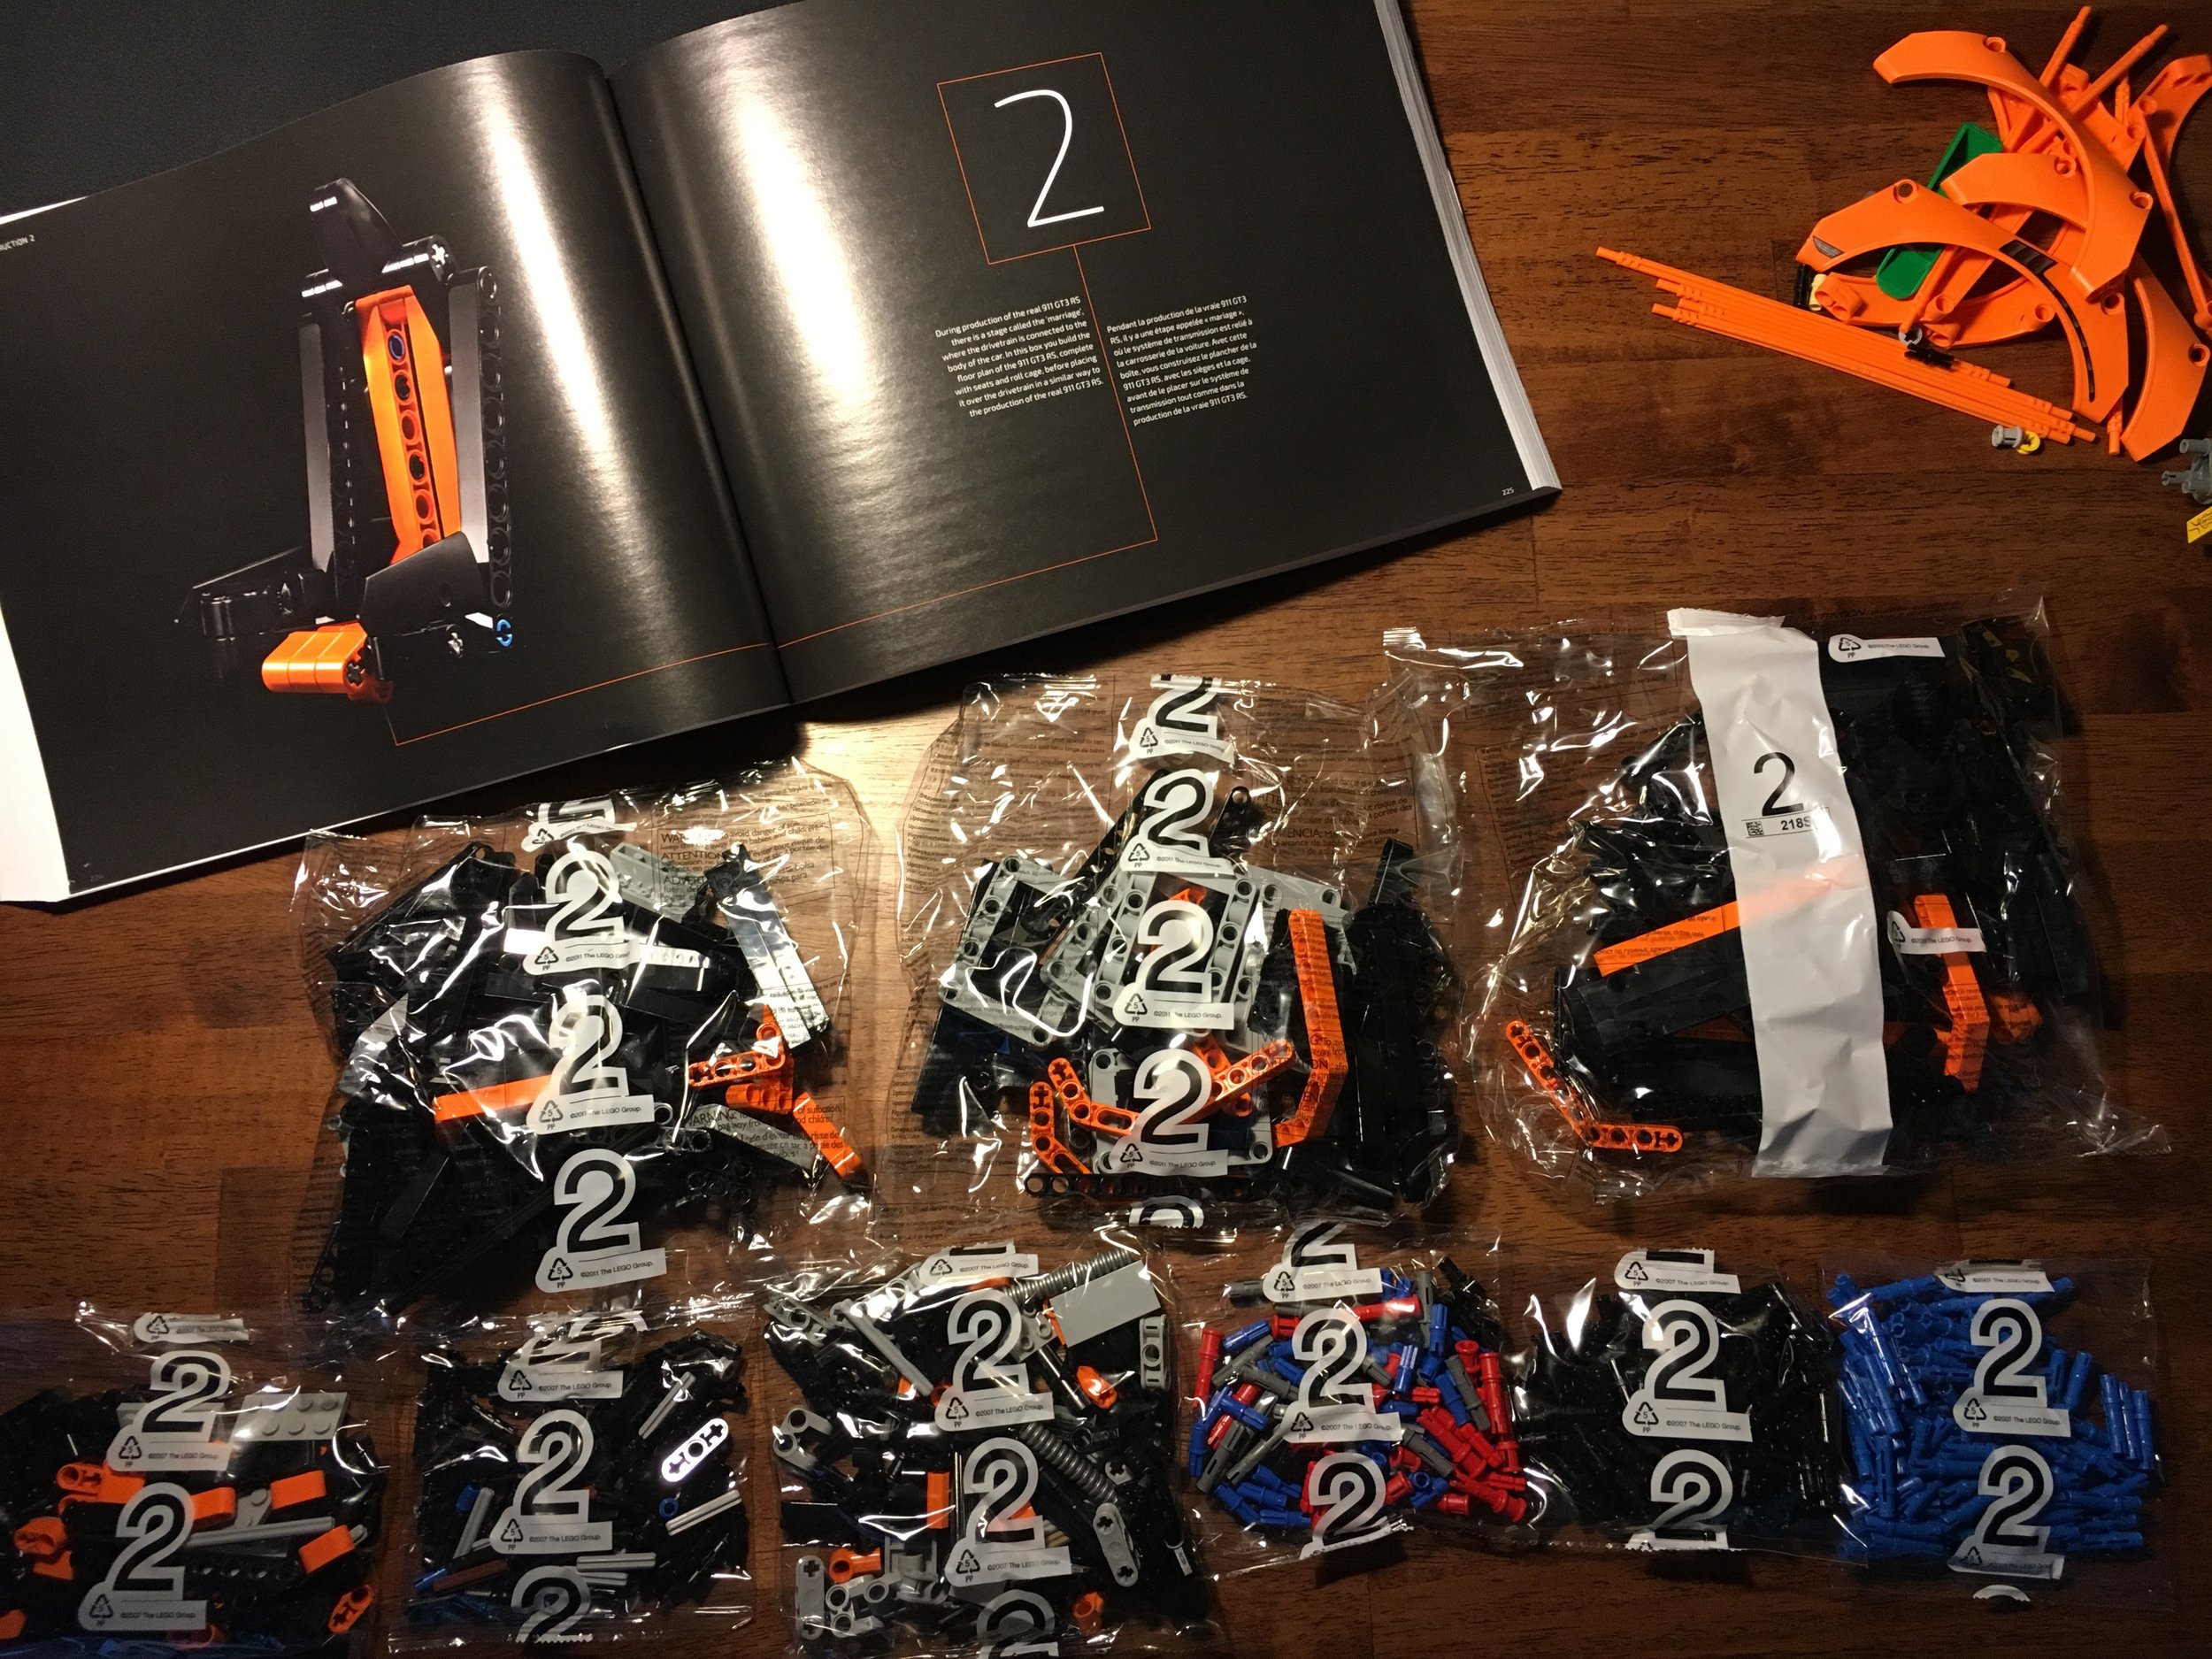
The set contents are 6 bags which are numbers 1 through 3 with 2 bags for each number. There is also an instruction booklet with the instructions and info on the builders. Wait, what was that? Did you catch that? No stickers!!! Woo-hoo!!! How awesome is that? There are a number of pieces with printed on logos and designs, but no stickers to fight with. YES!!!

The first 2 bags are the main part of the body and then the start of the rear suspension. Not a ton of detail yet.

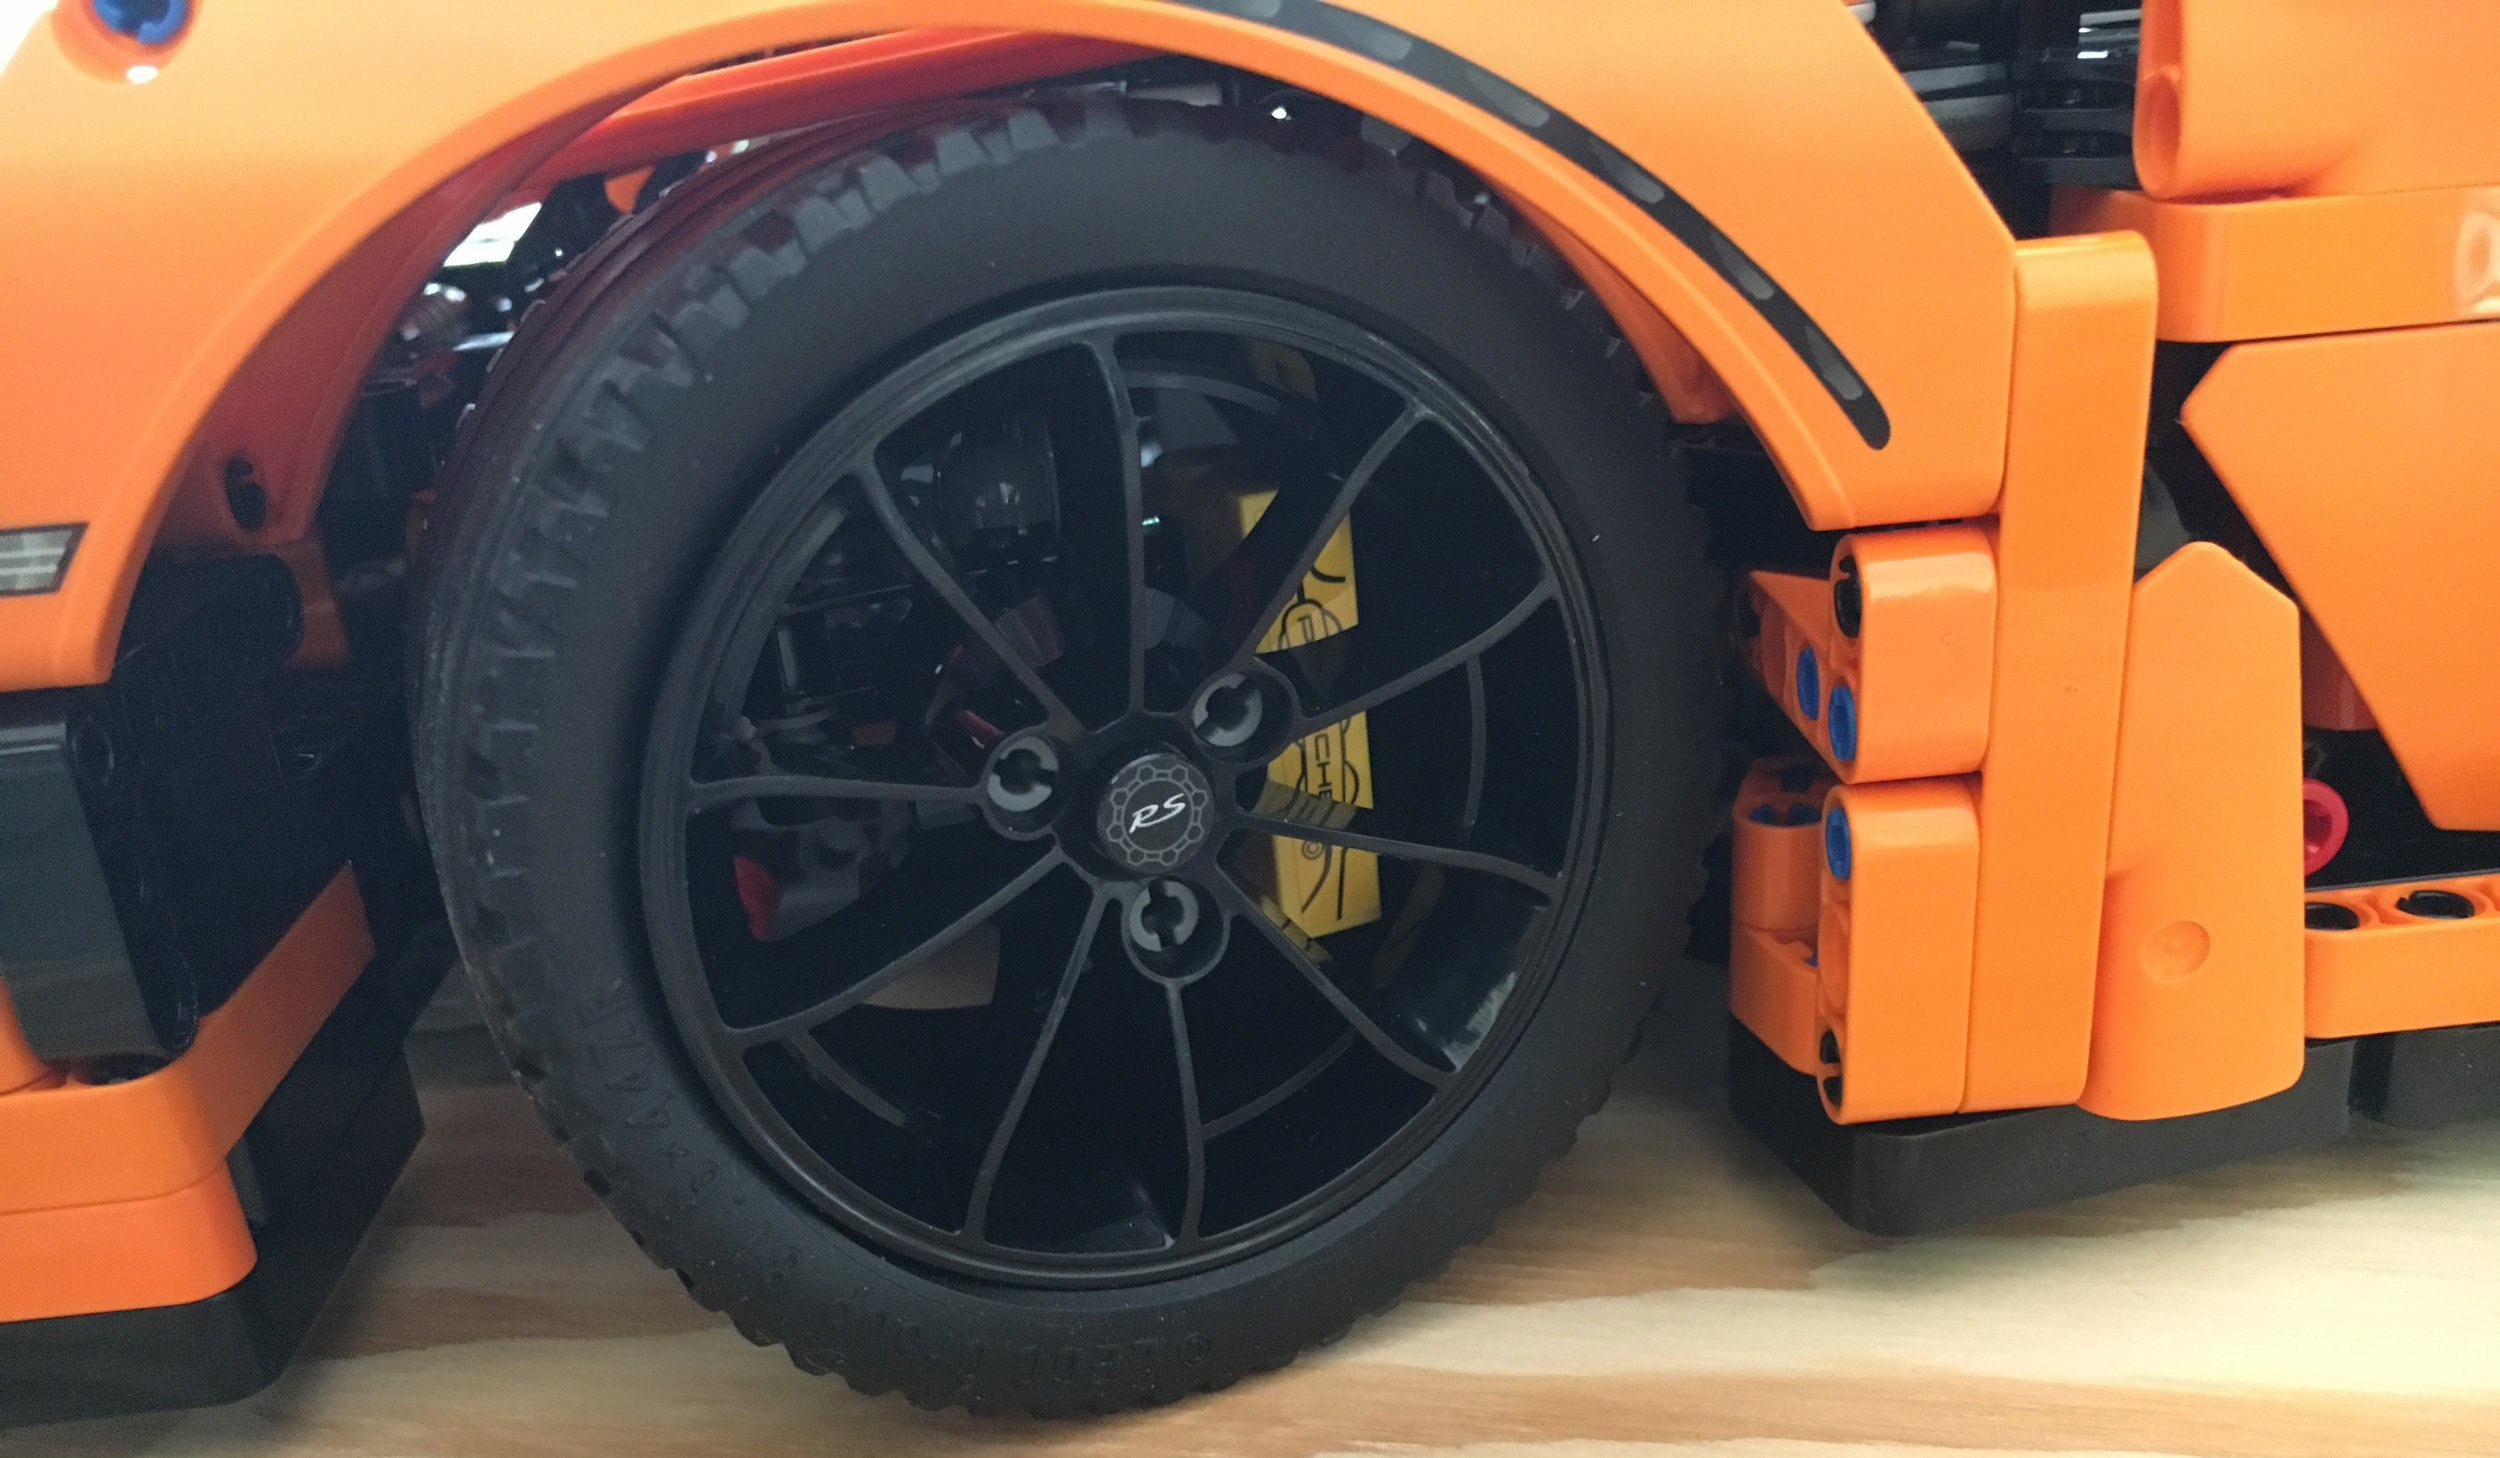
The next 2 bags have both of the axles in the car and a good portion of the body. You can see the disc rotors for the wheels that are printed on and some pieces that have printed logos.

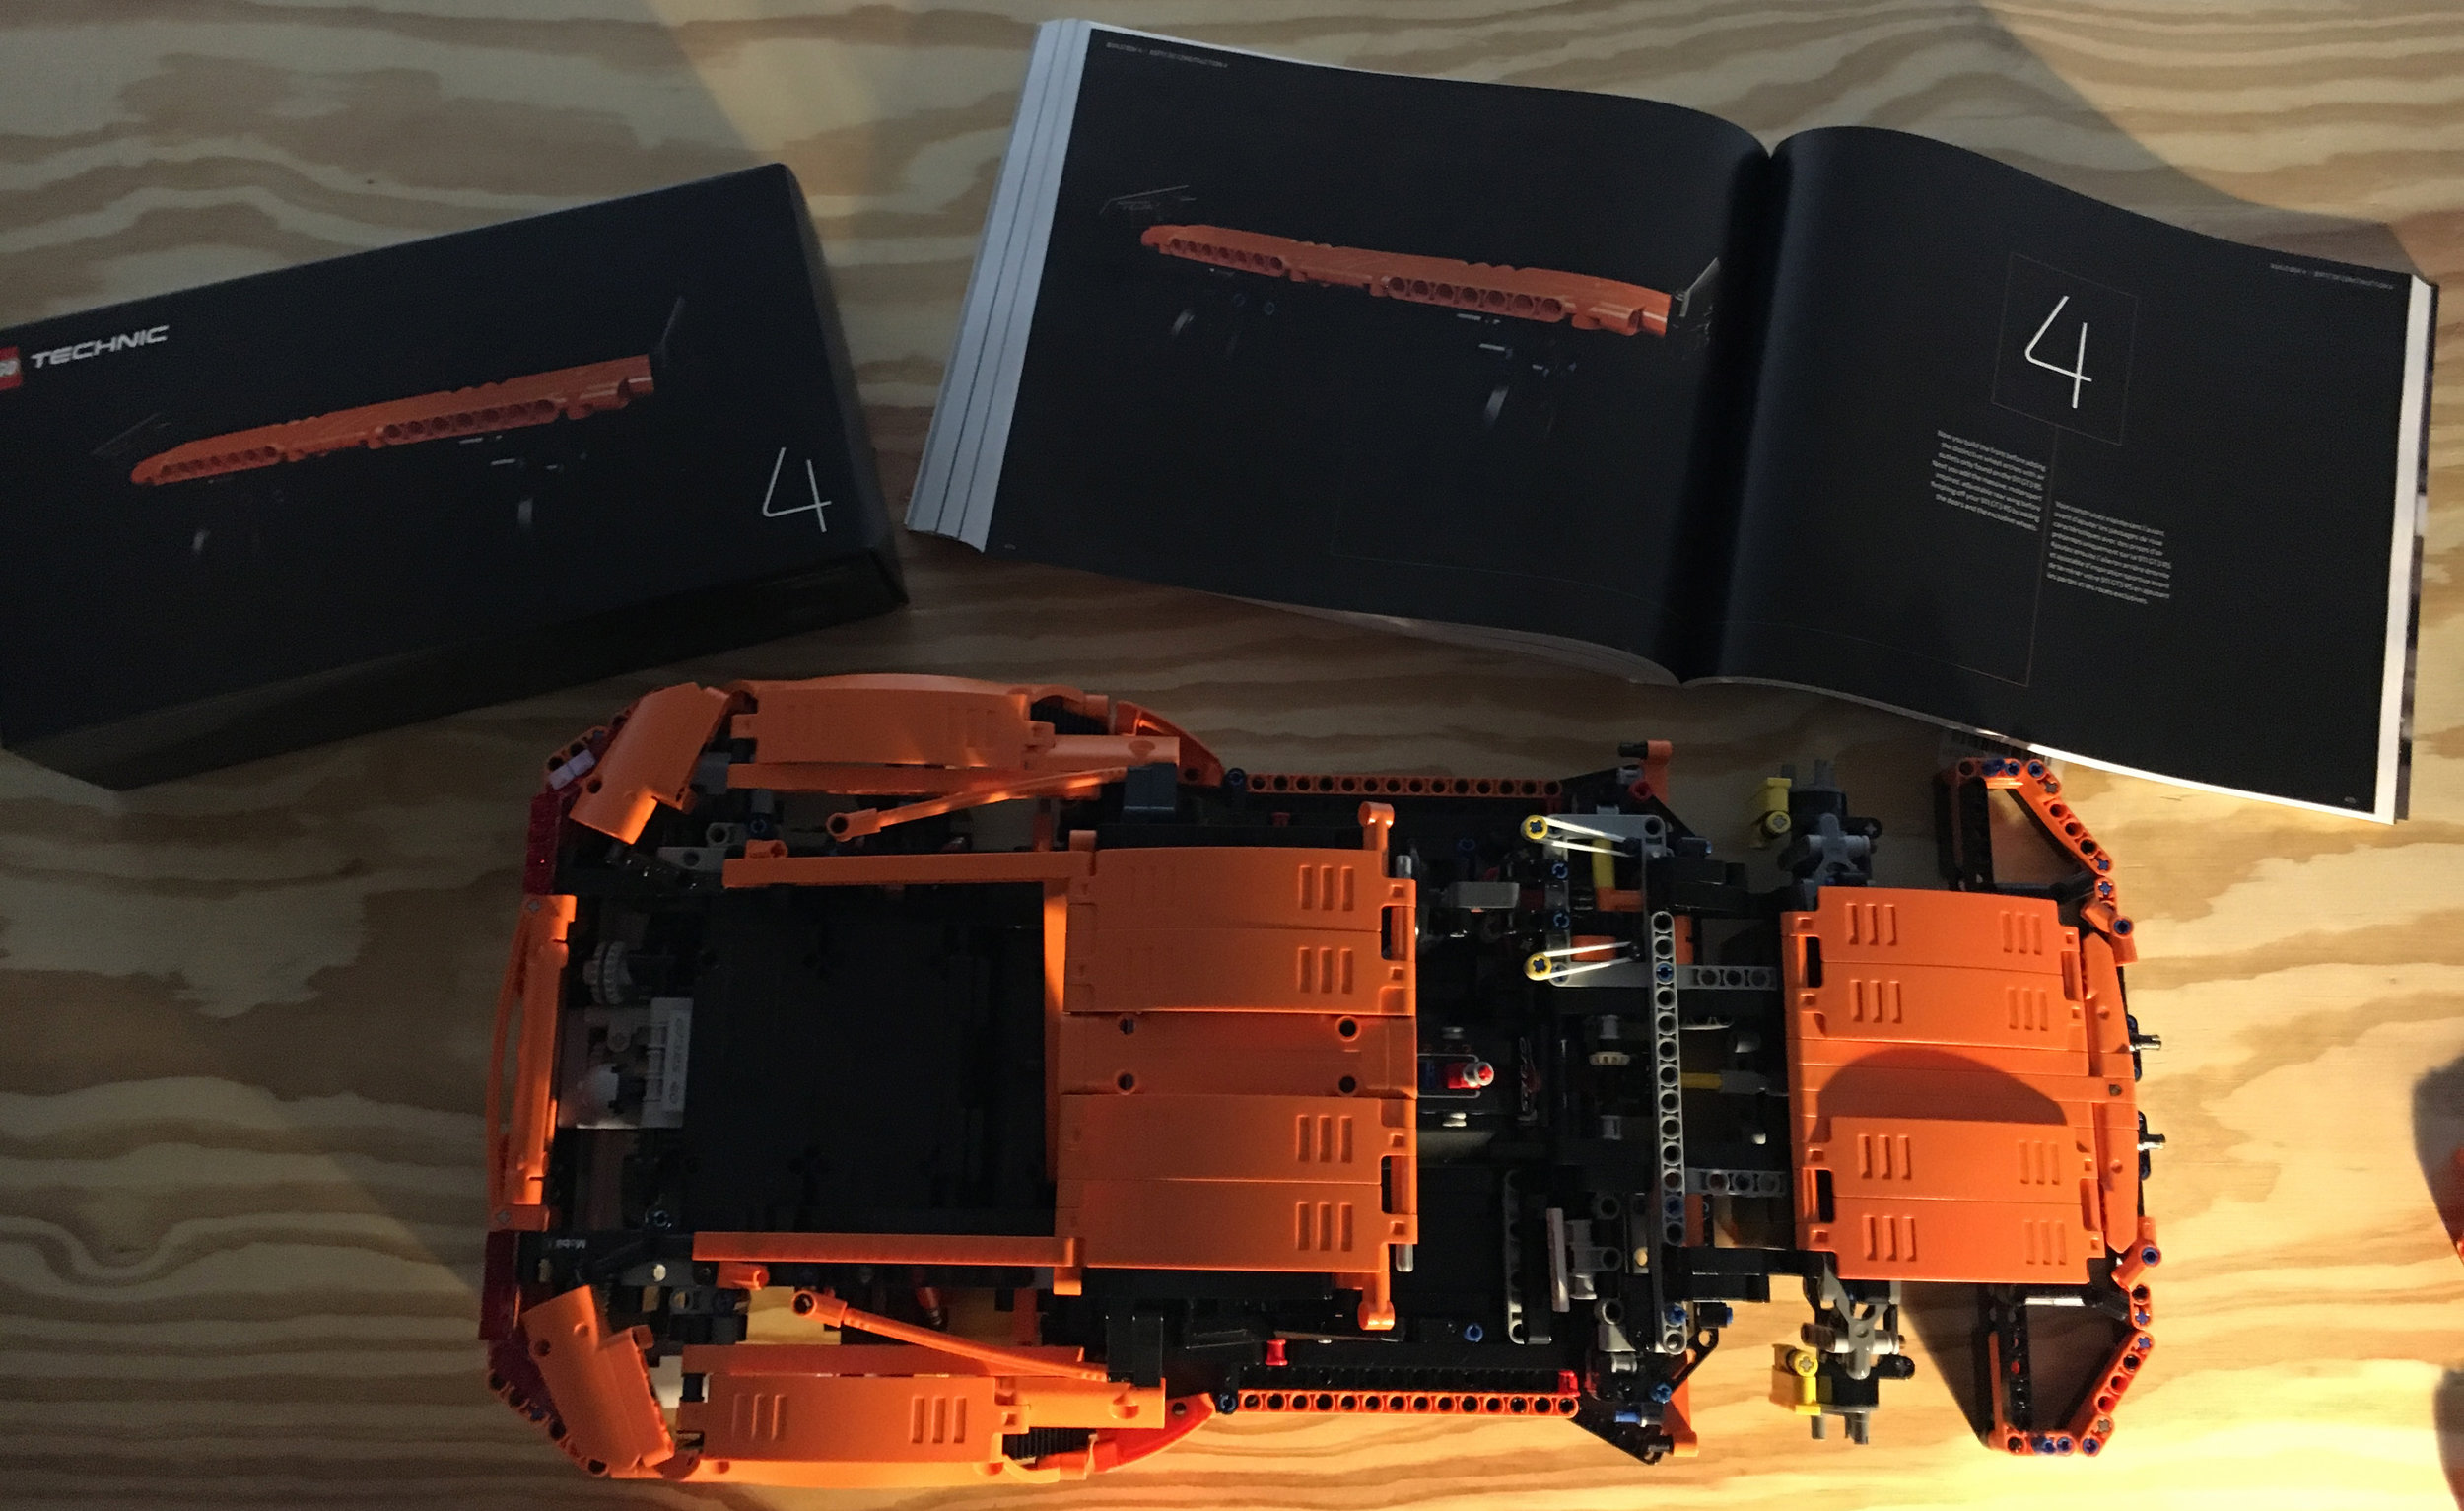
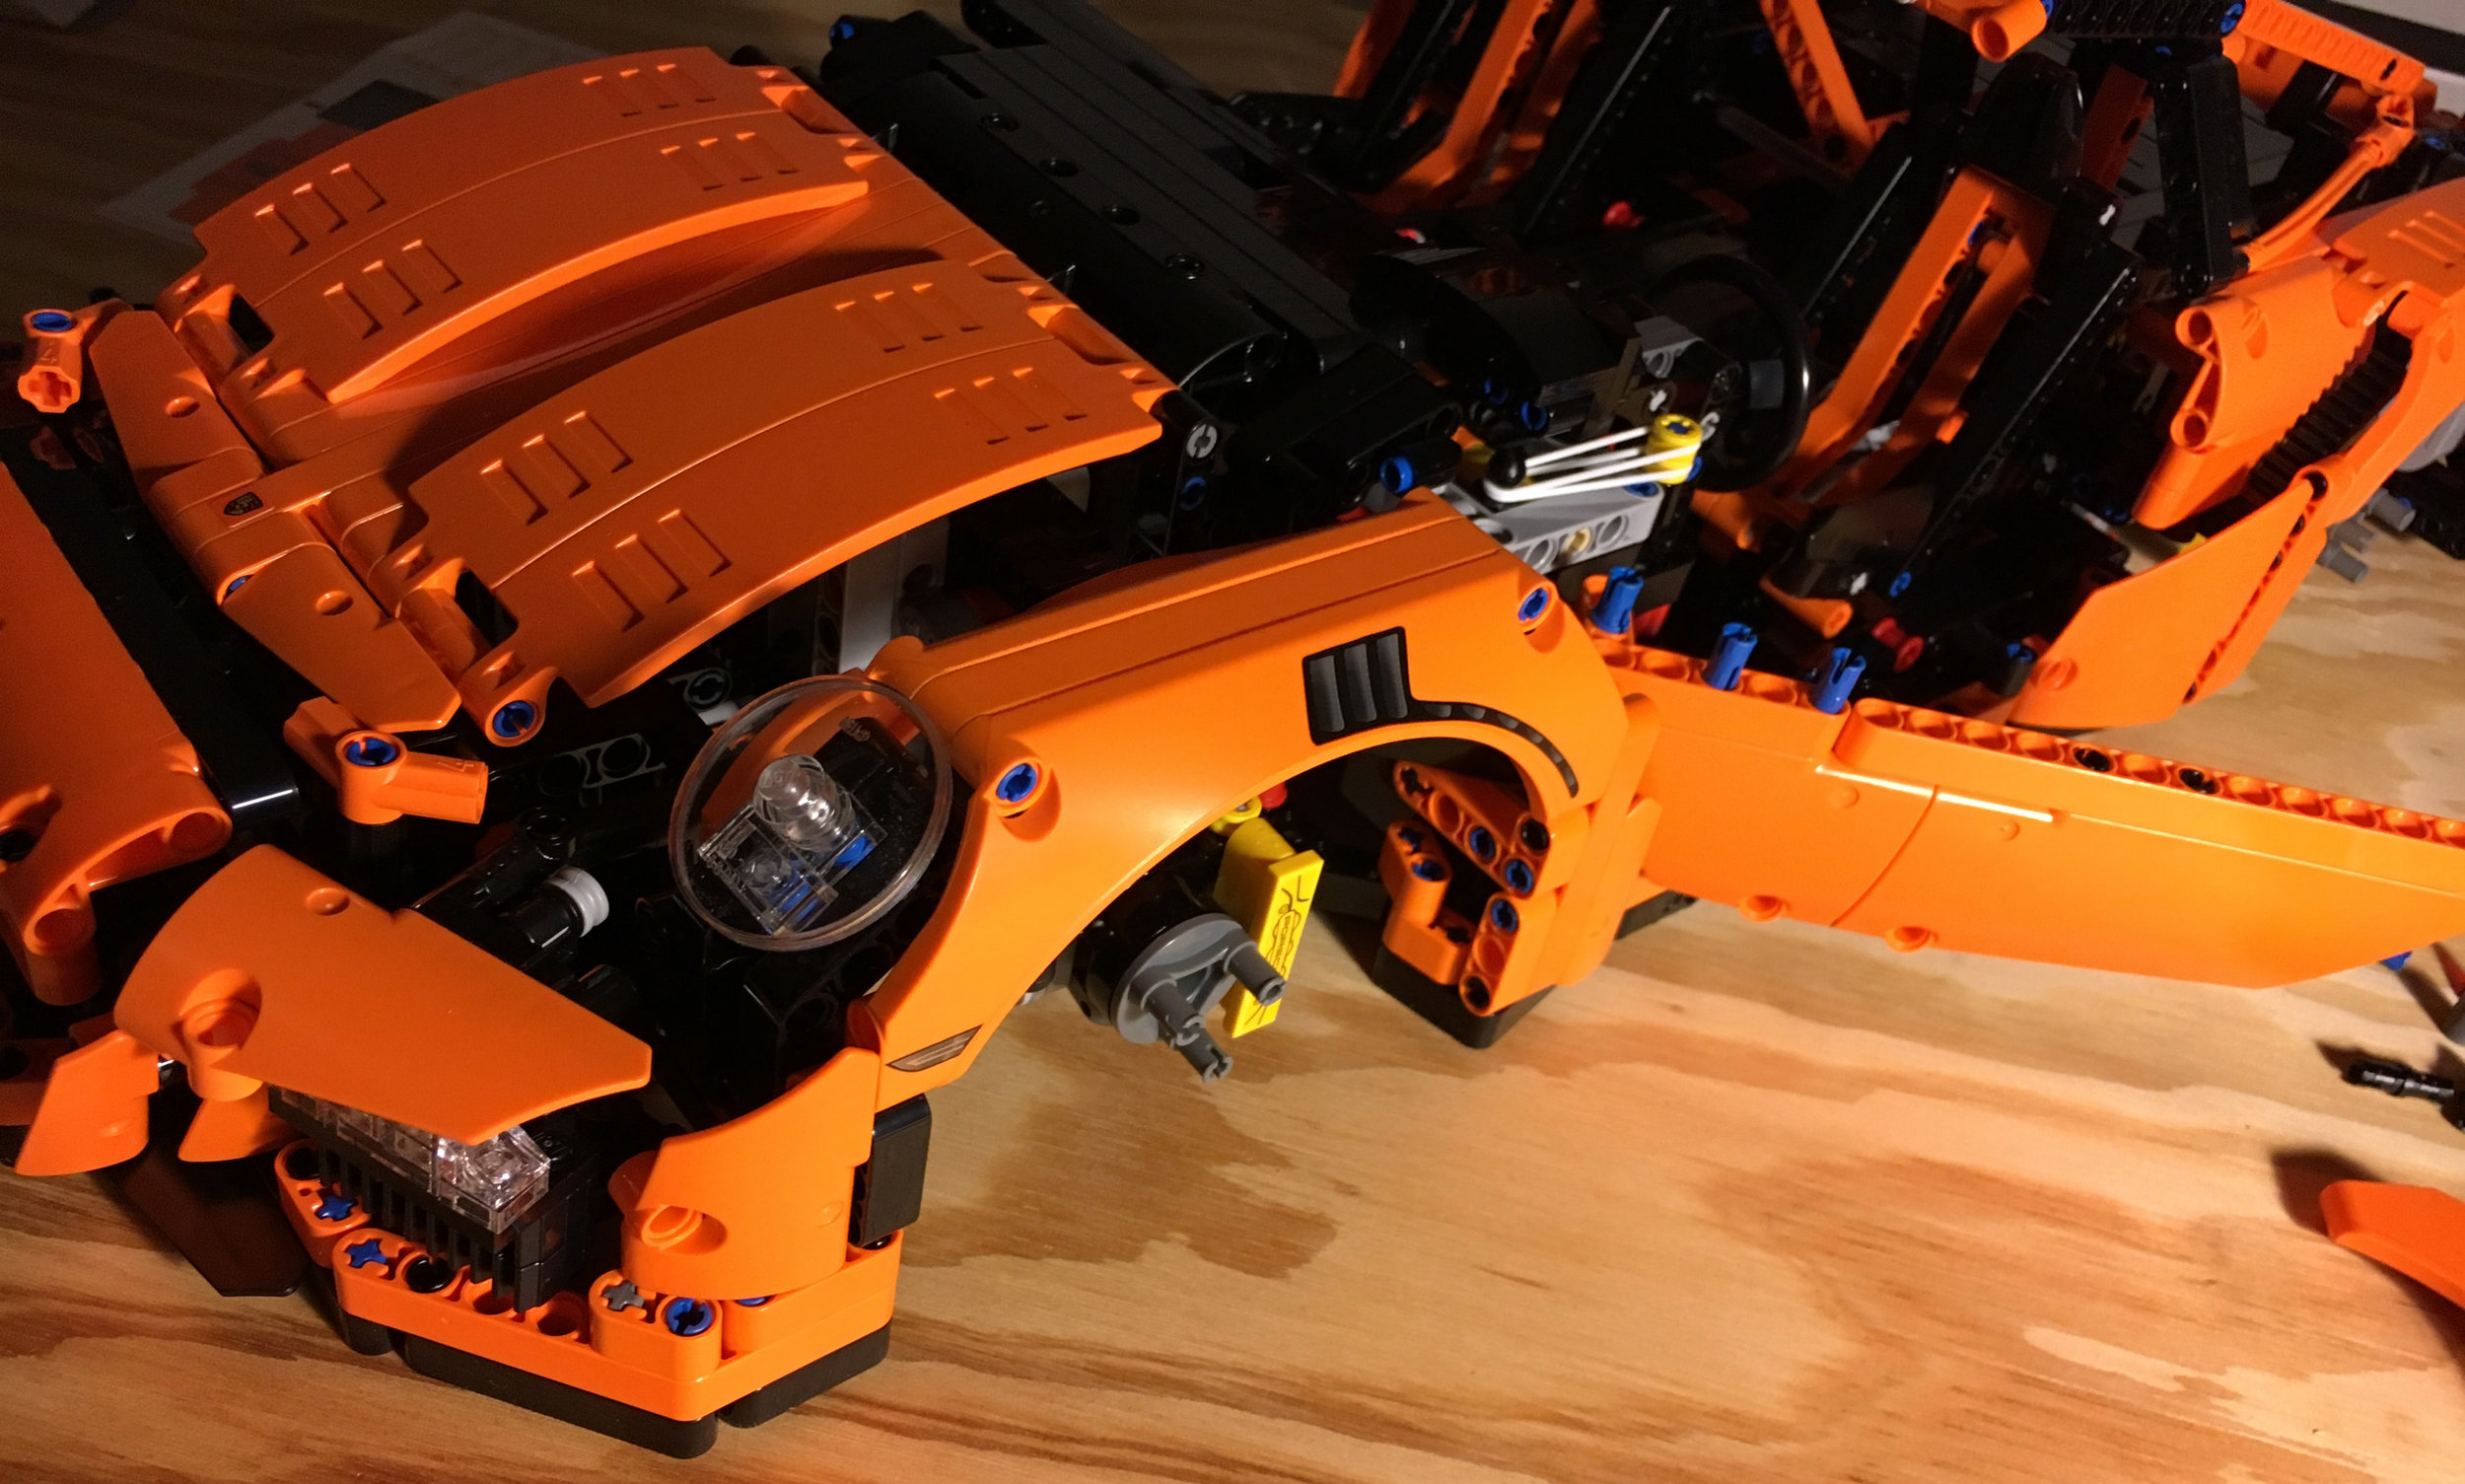
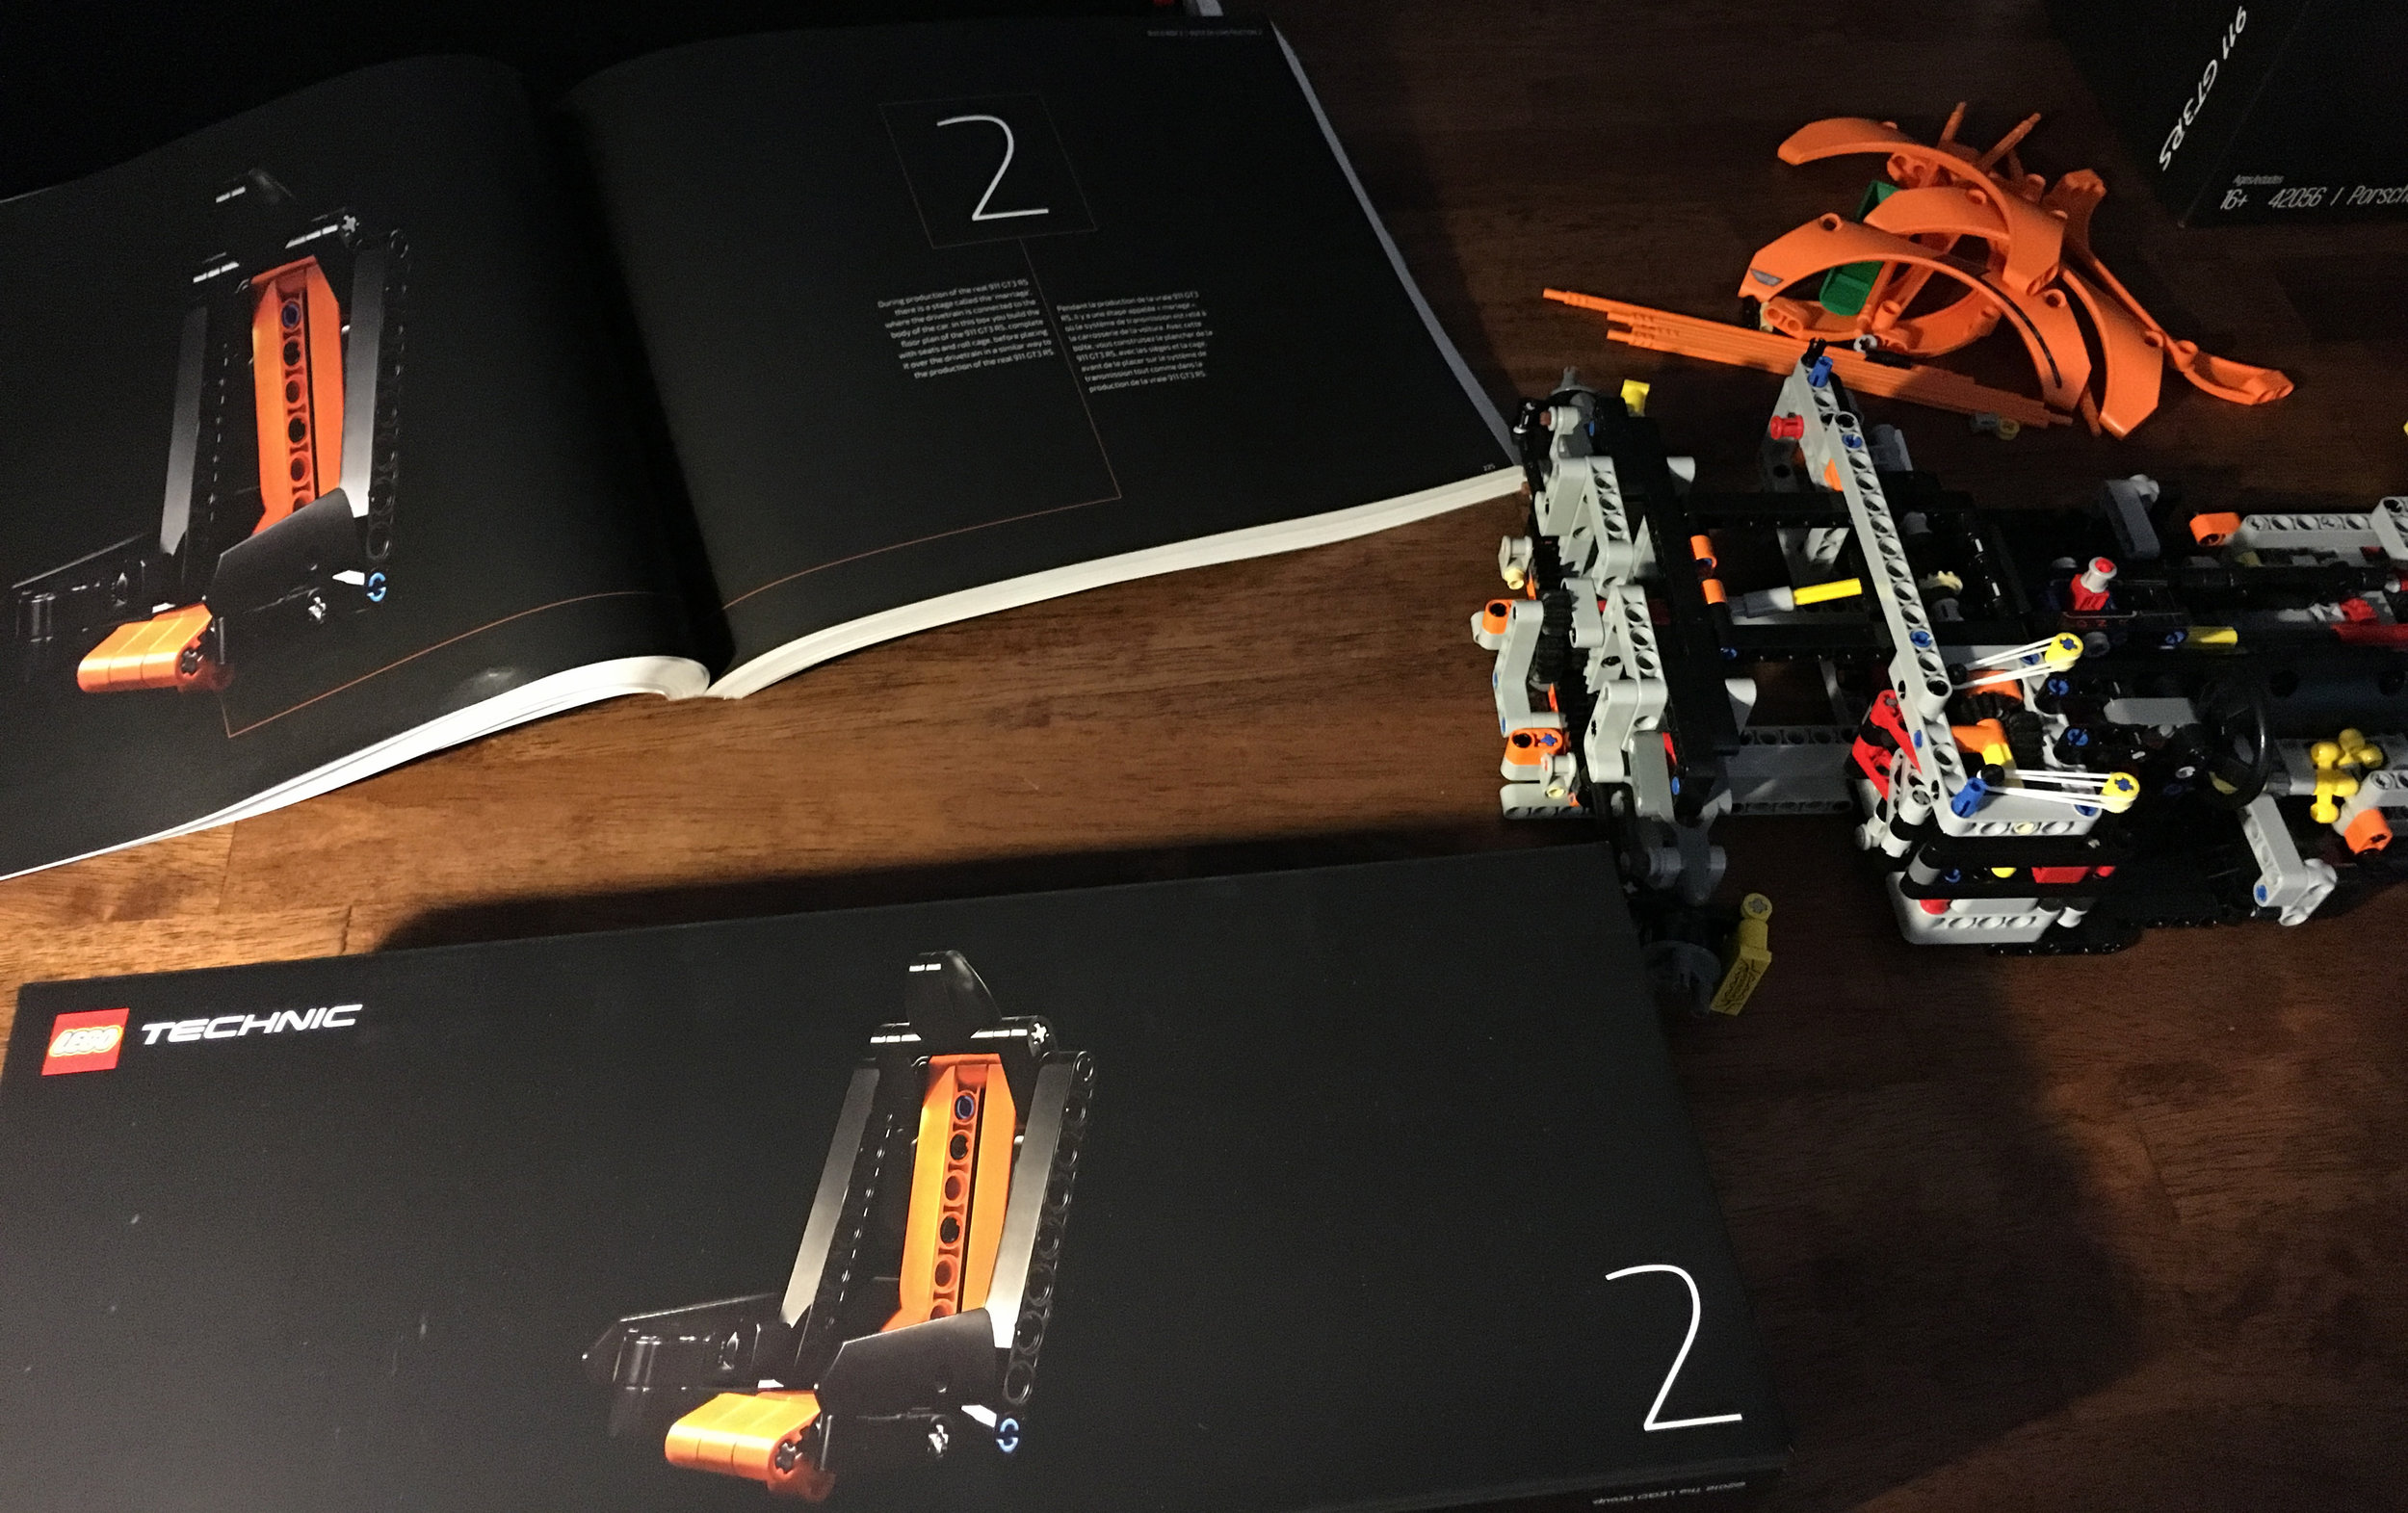
The final 2 bags finish up the model. You can see the pieces that can be used to put the vehicle up to display it or to show it off a bit. The details on the hood include some pieces that have printed on colors. The black with the yellow has a sharp contrast that helps to make it stand out. Some have complained about the color choices, but I think the black and yellow are a good choice.

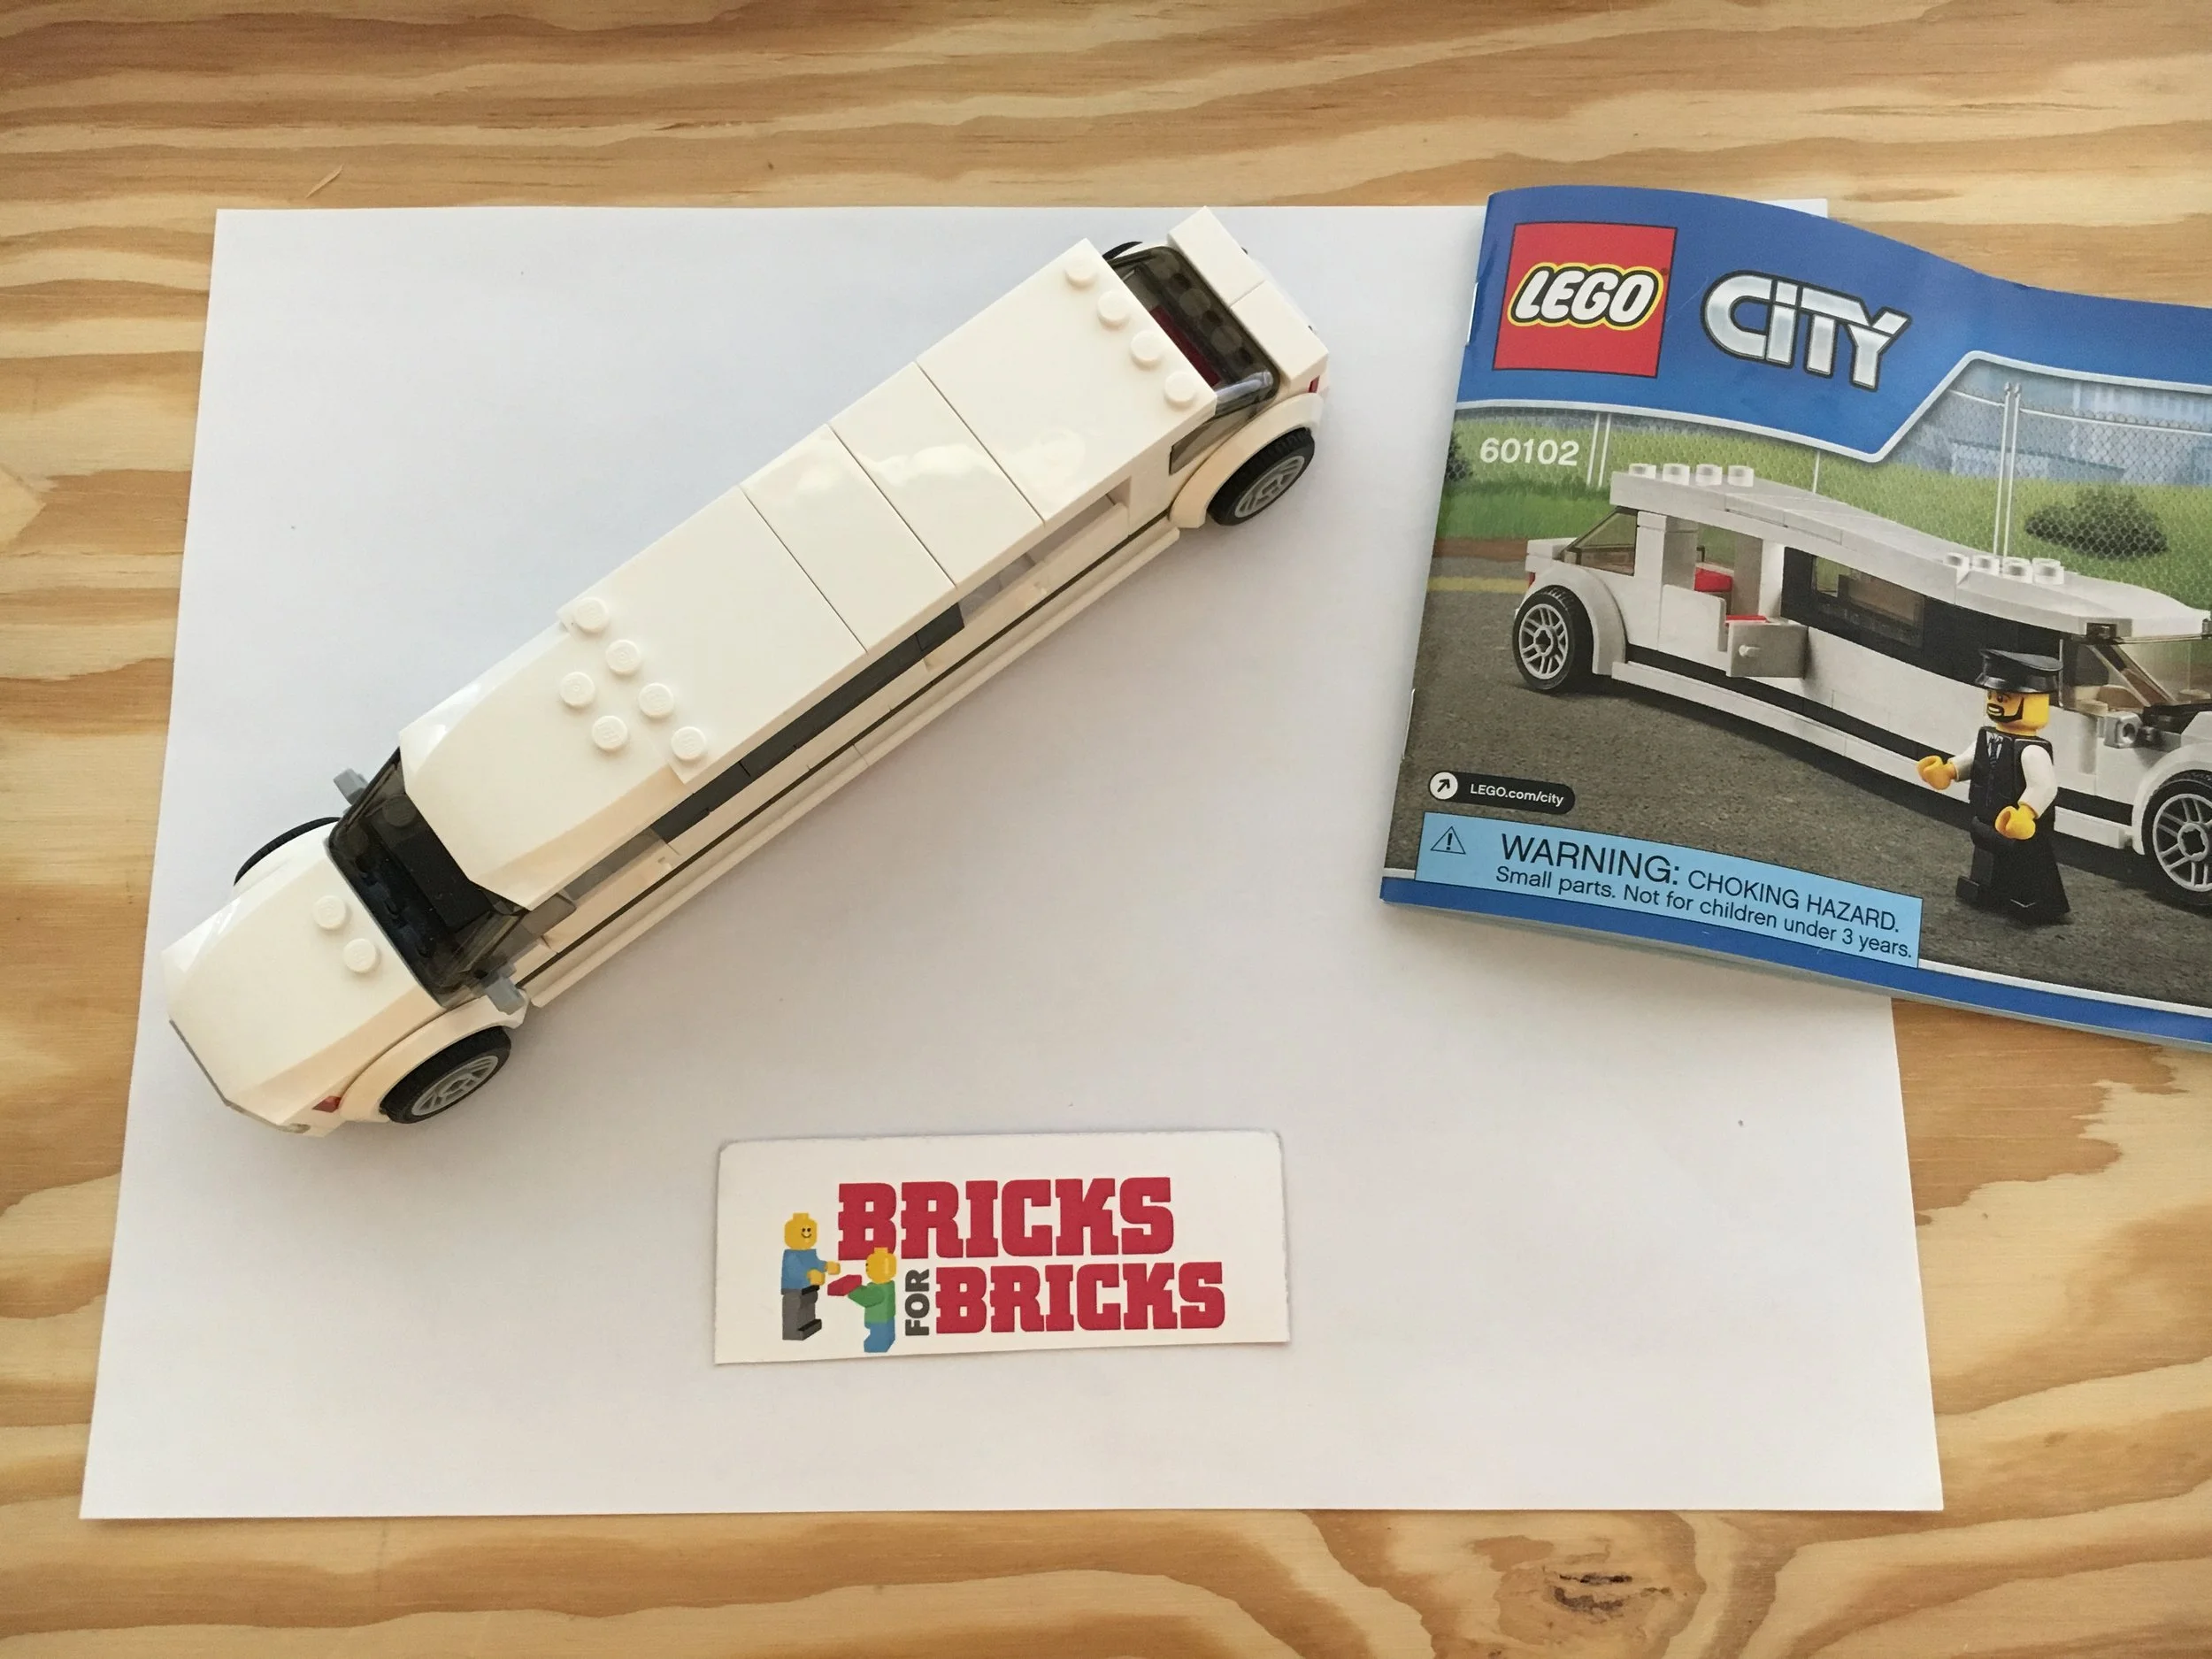
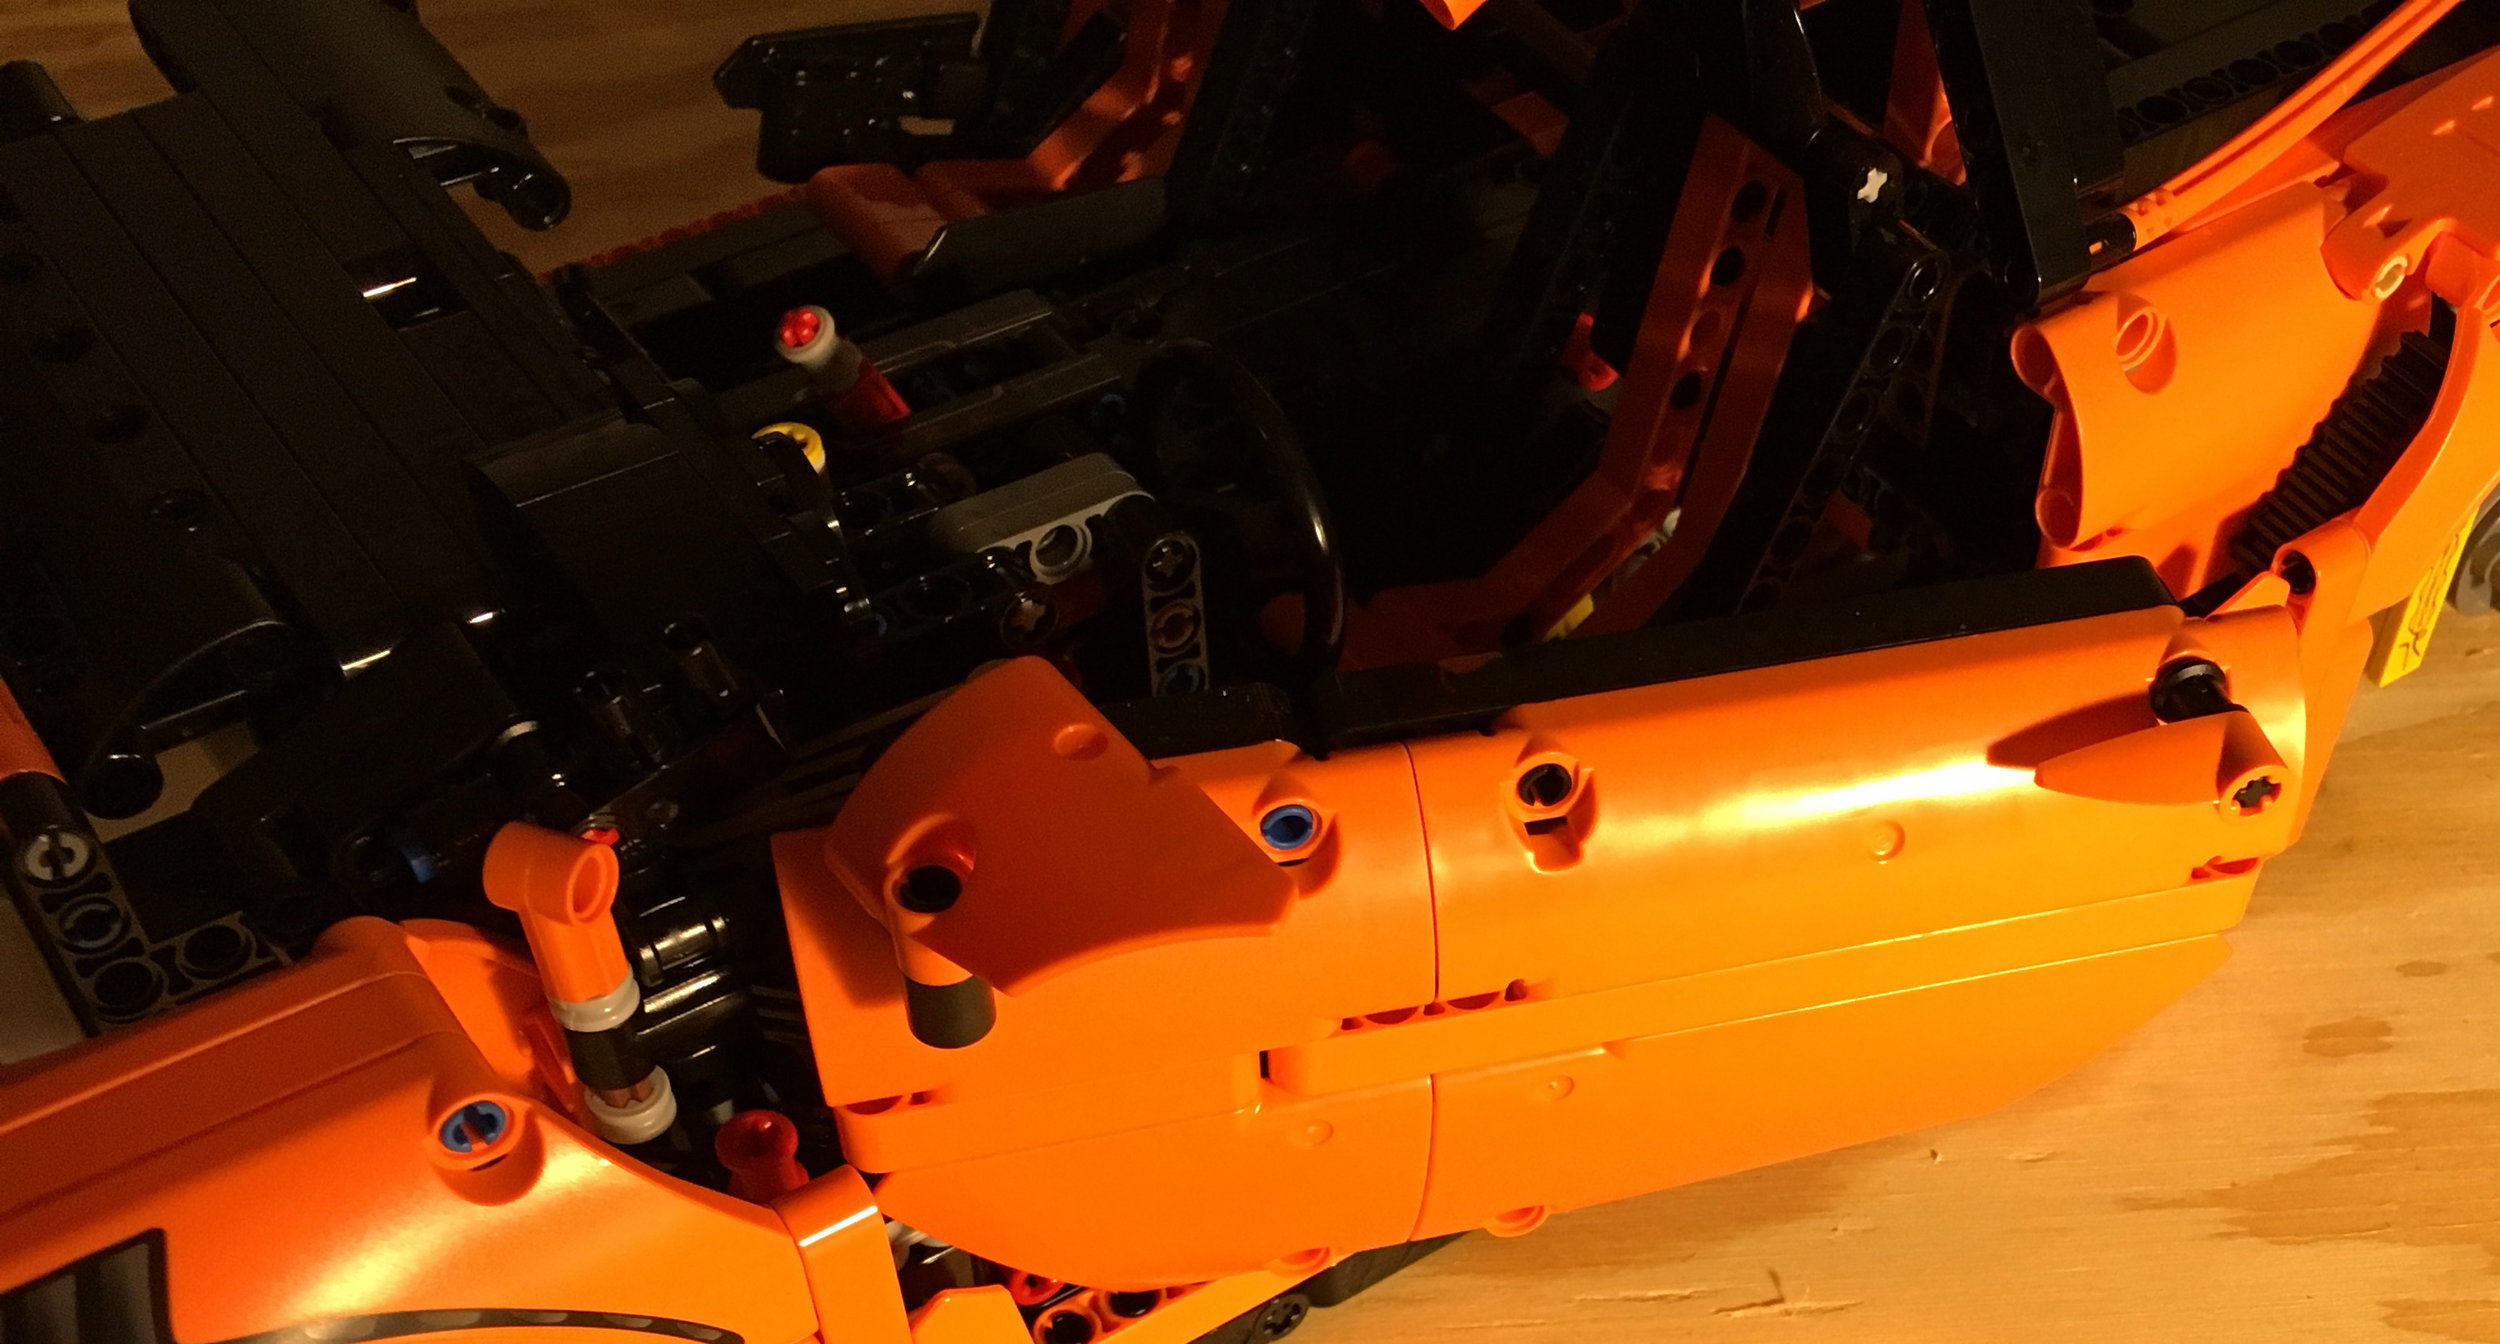
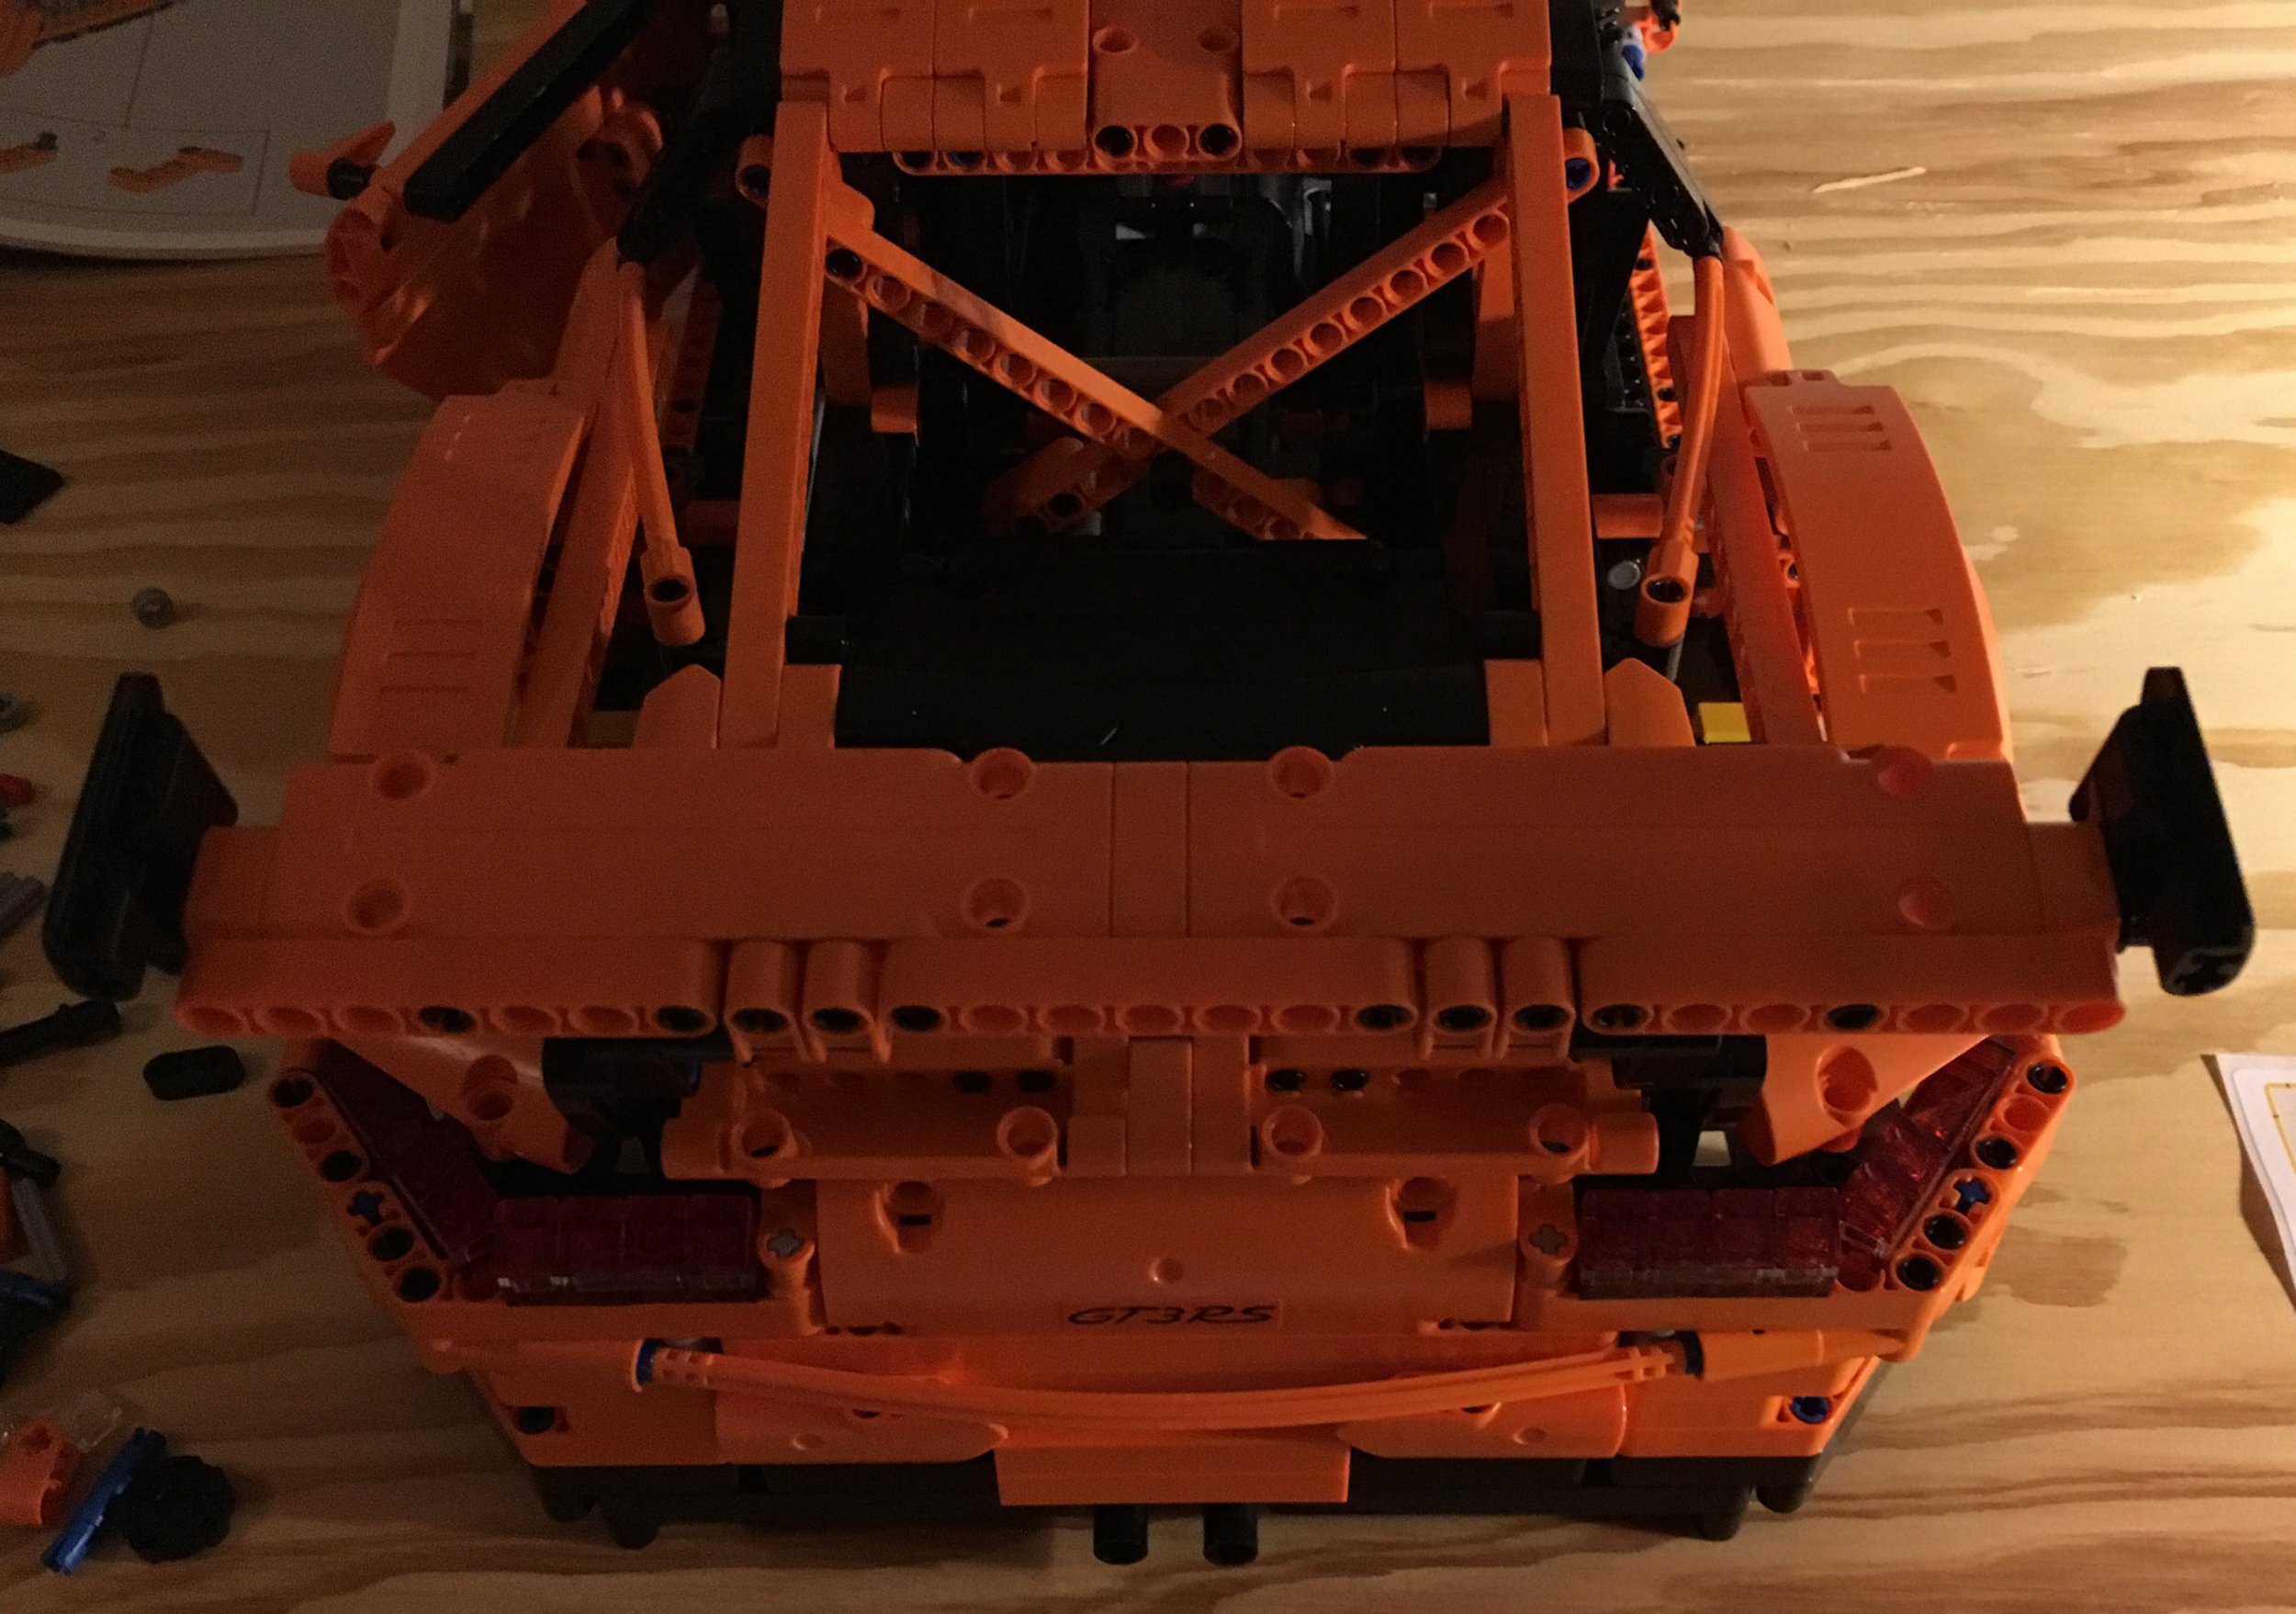
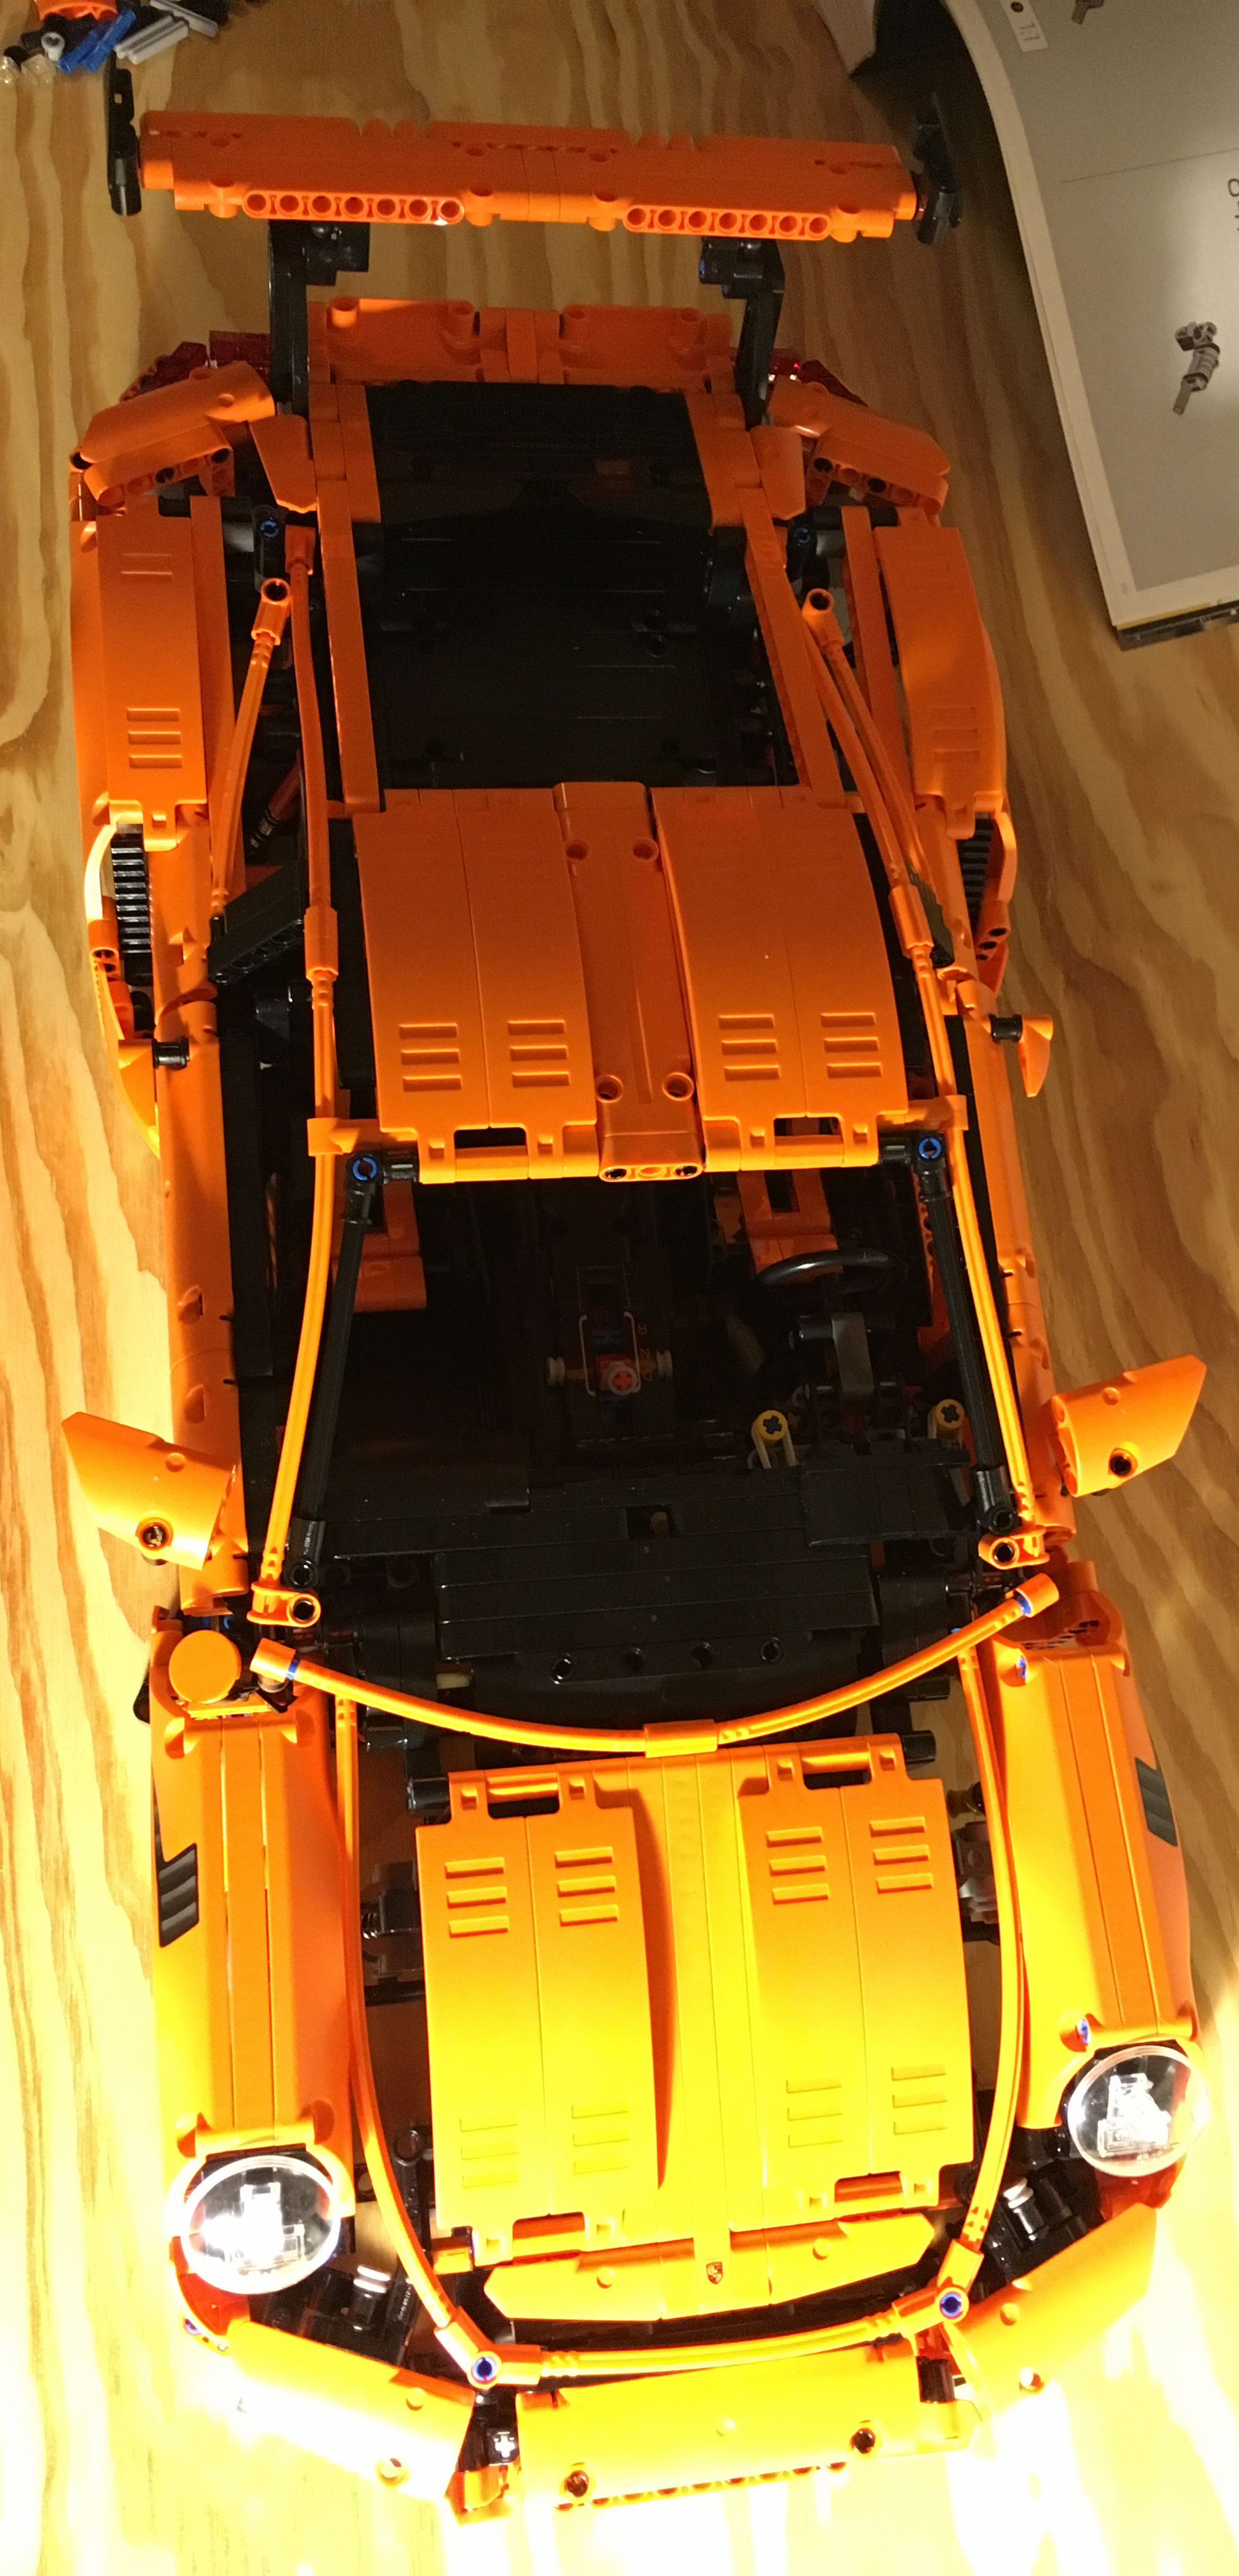
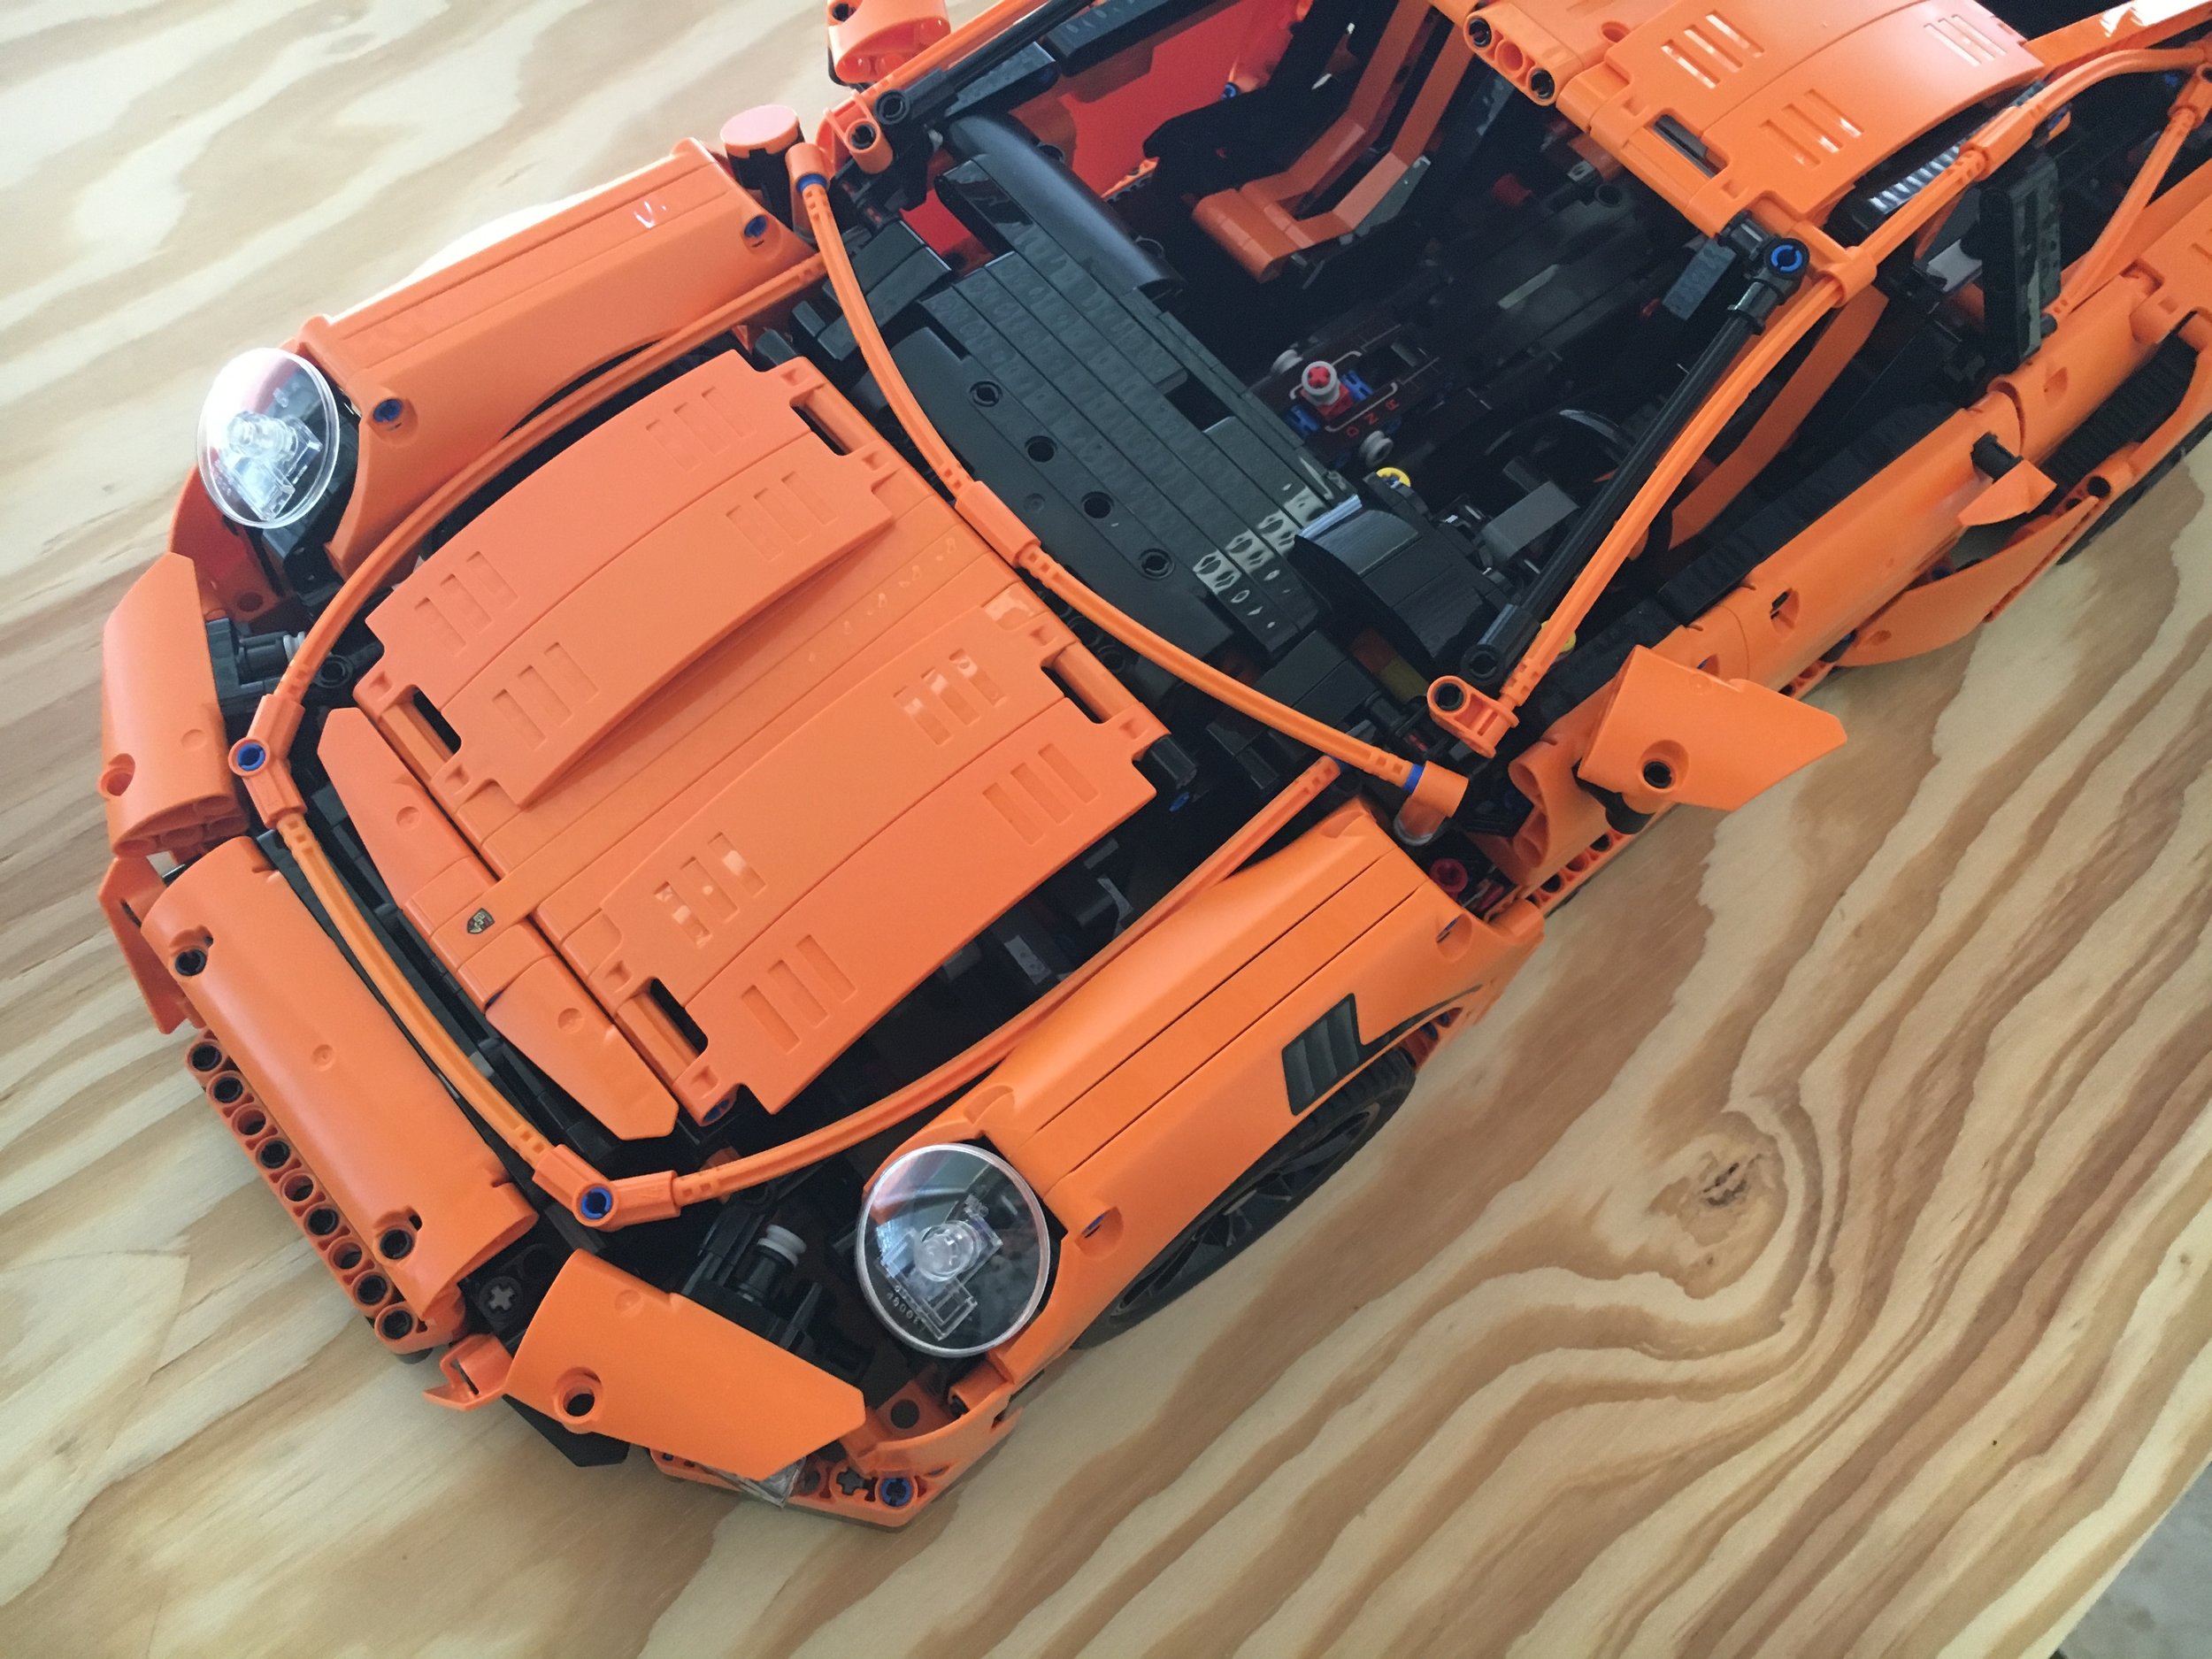
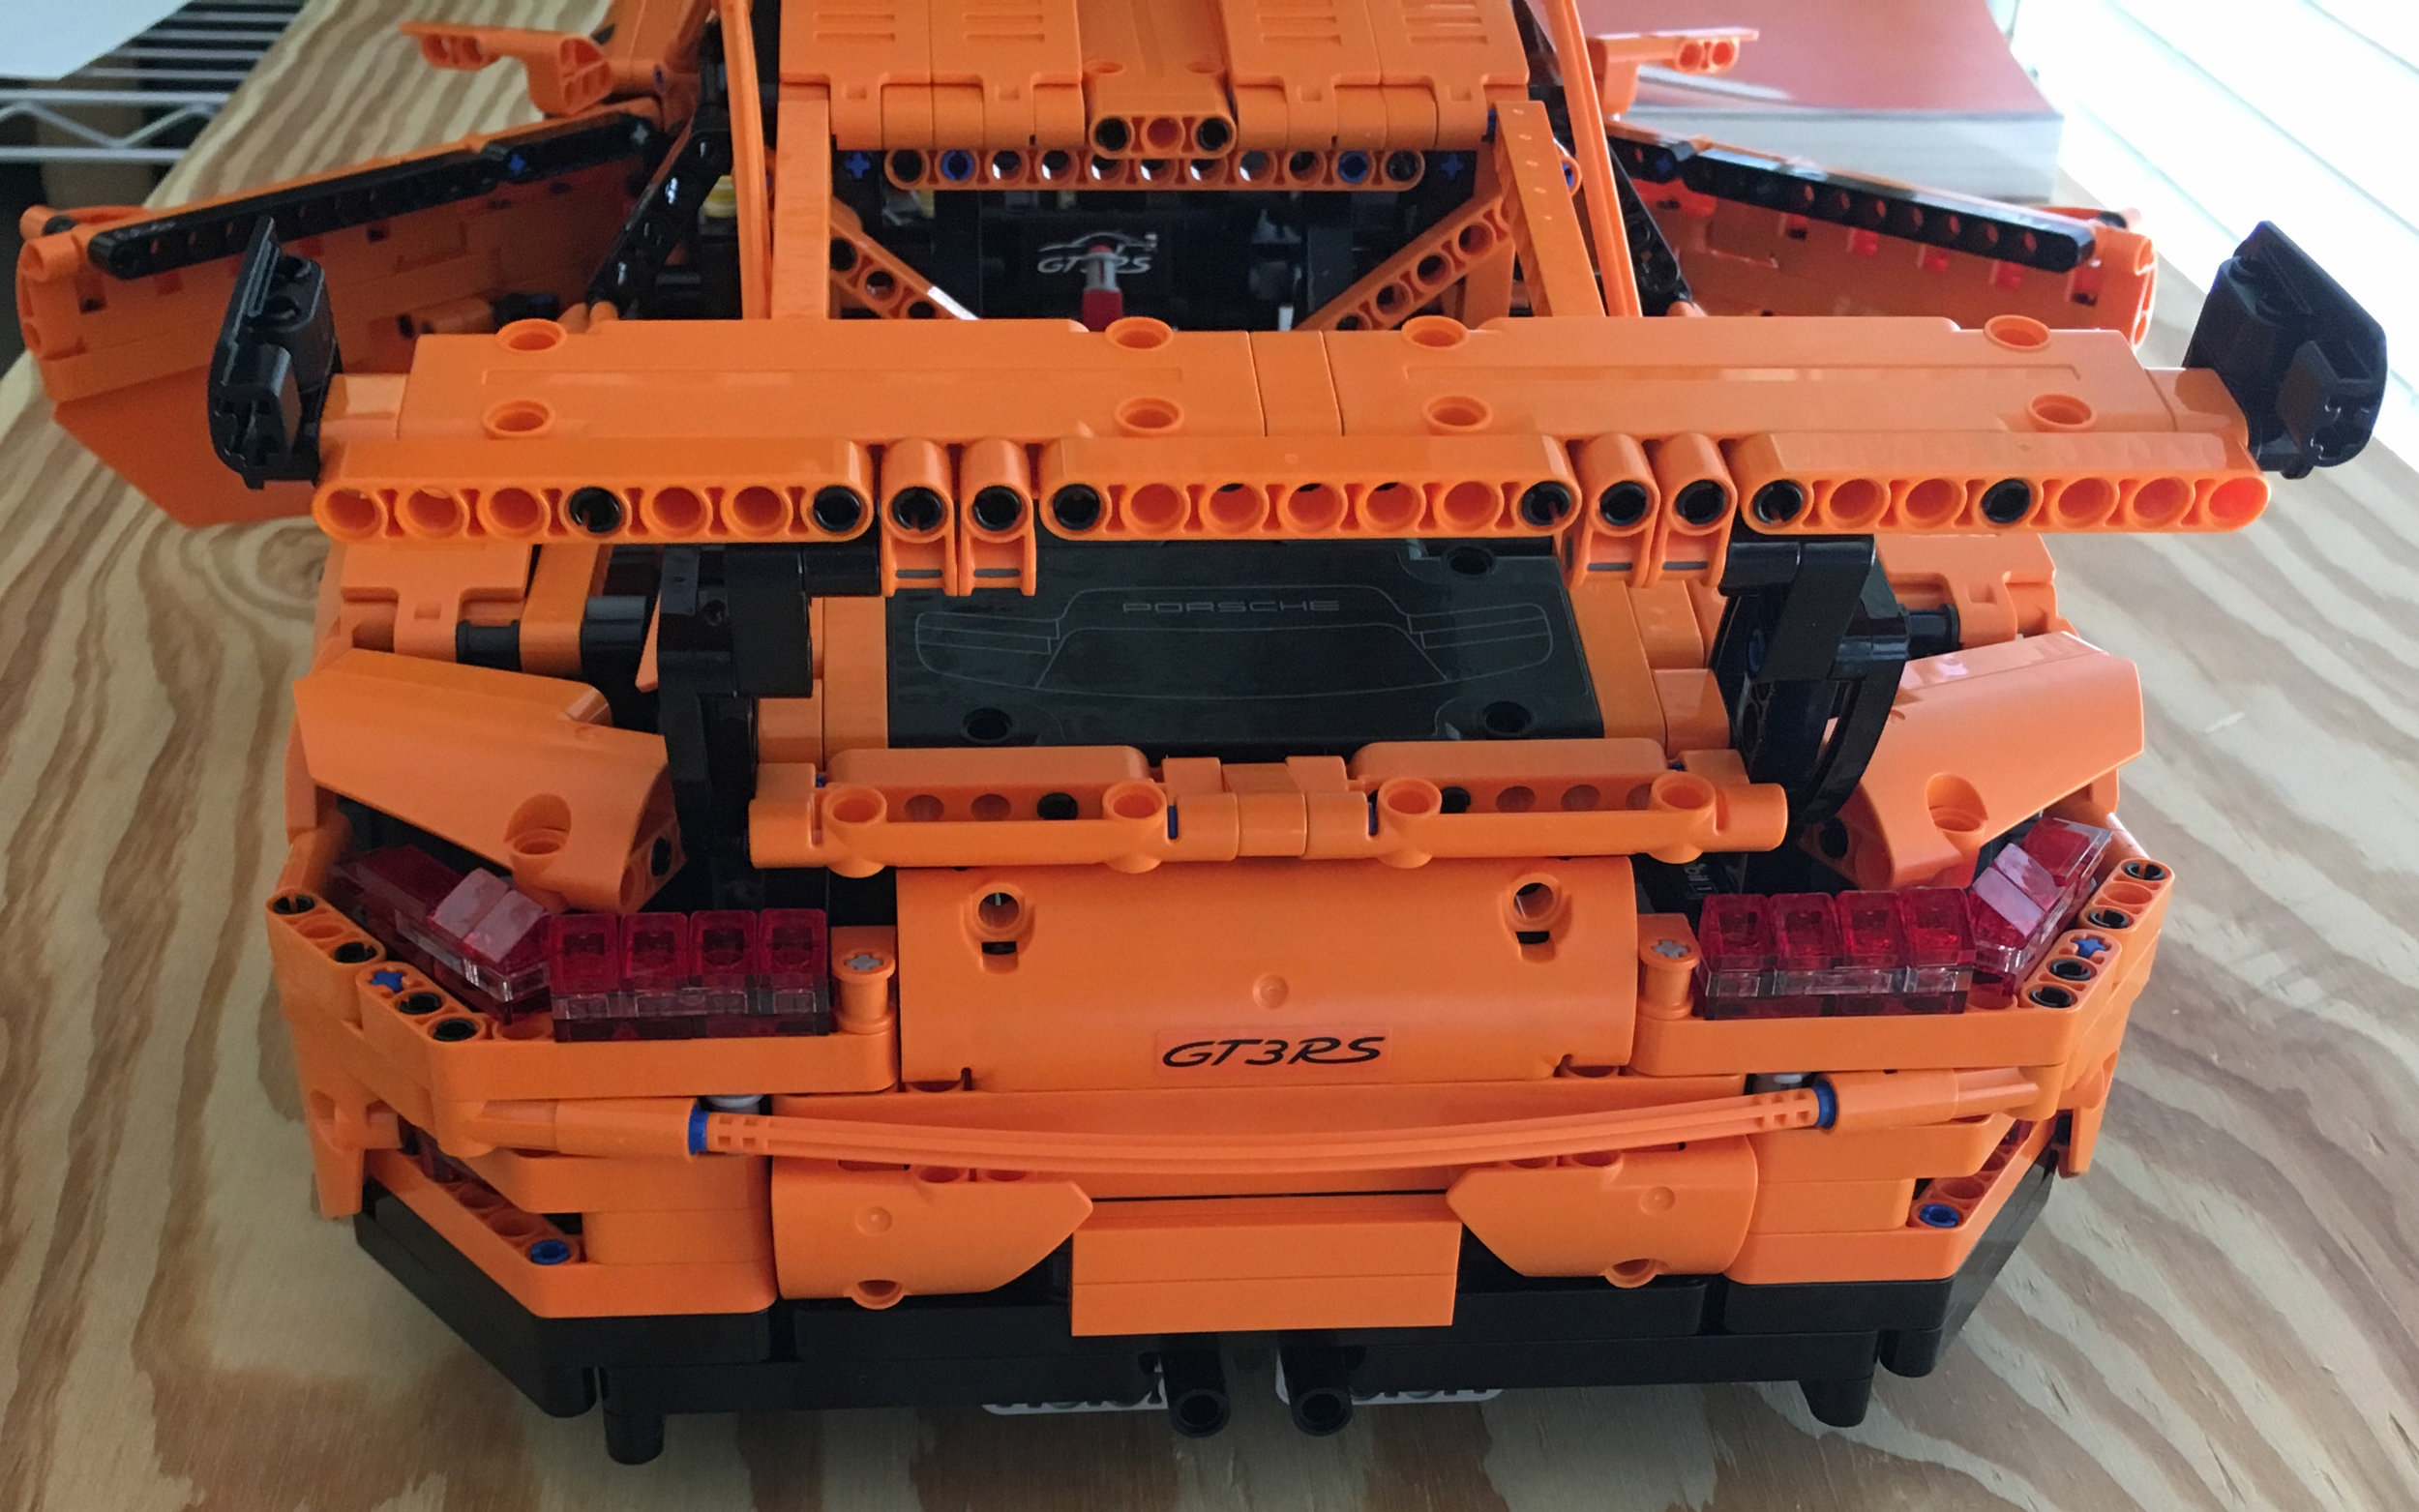
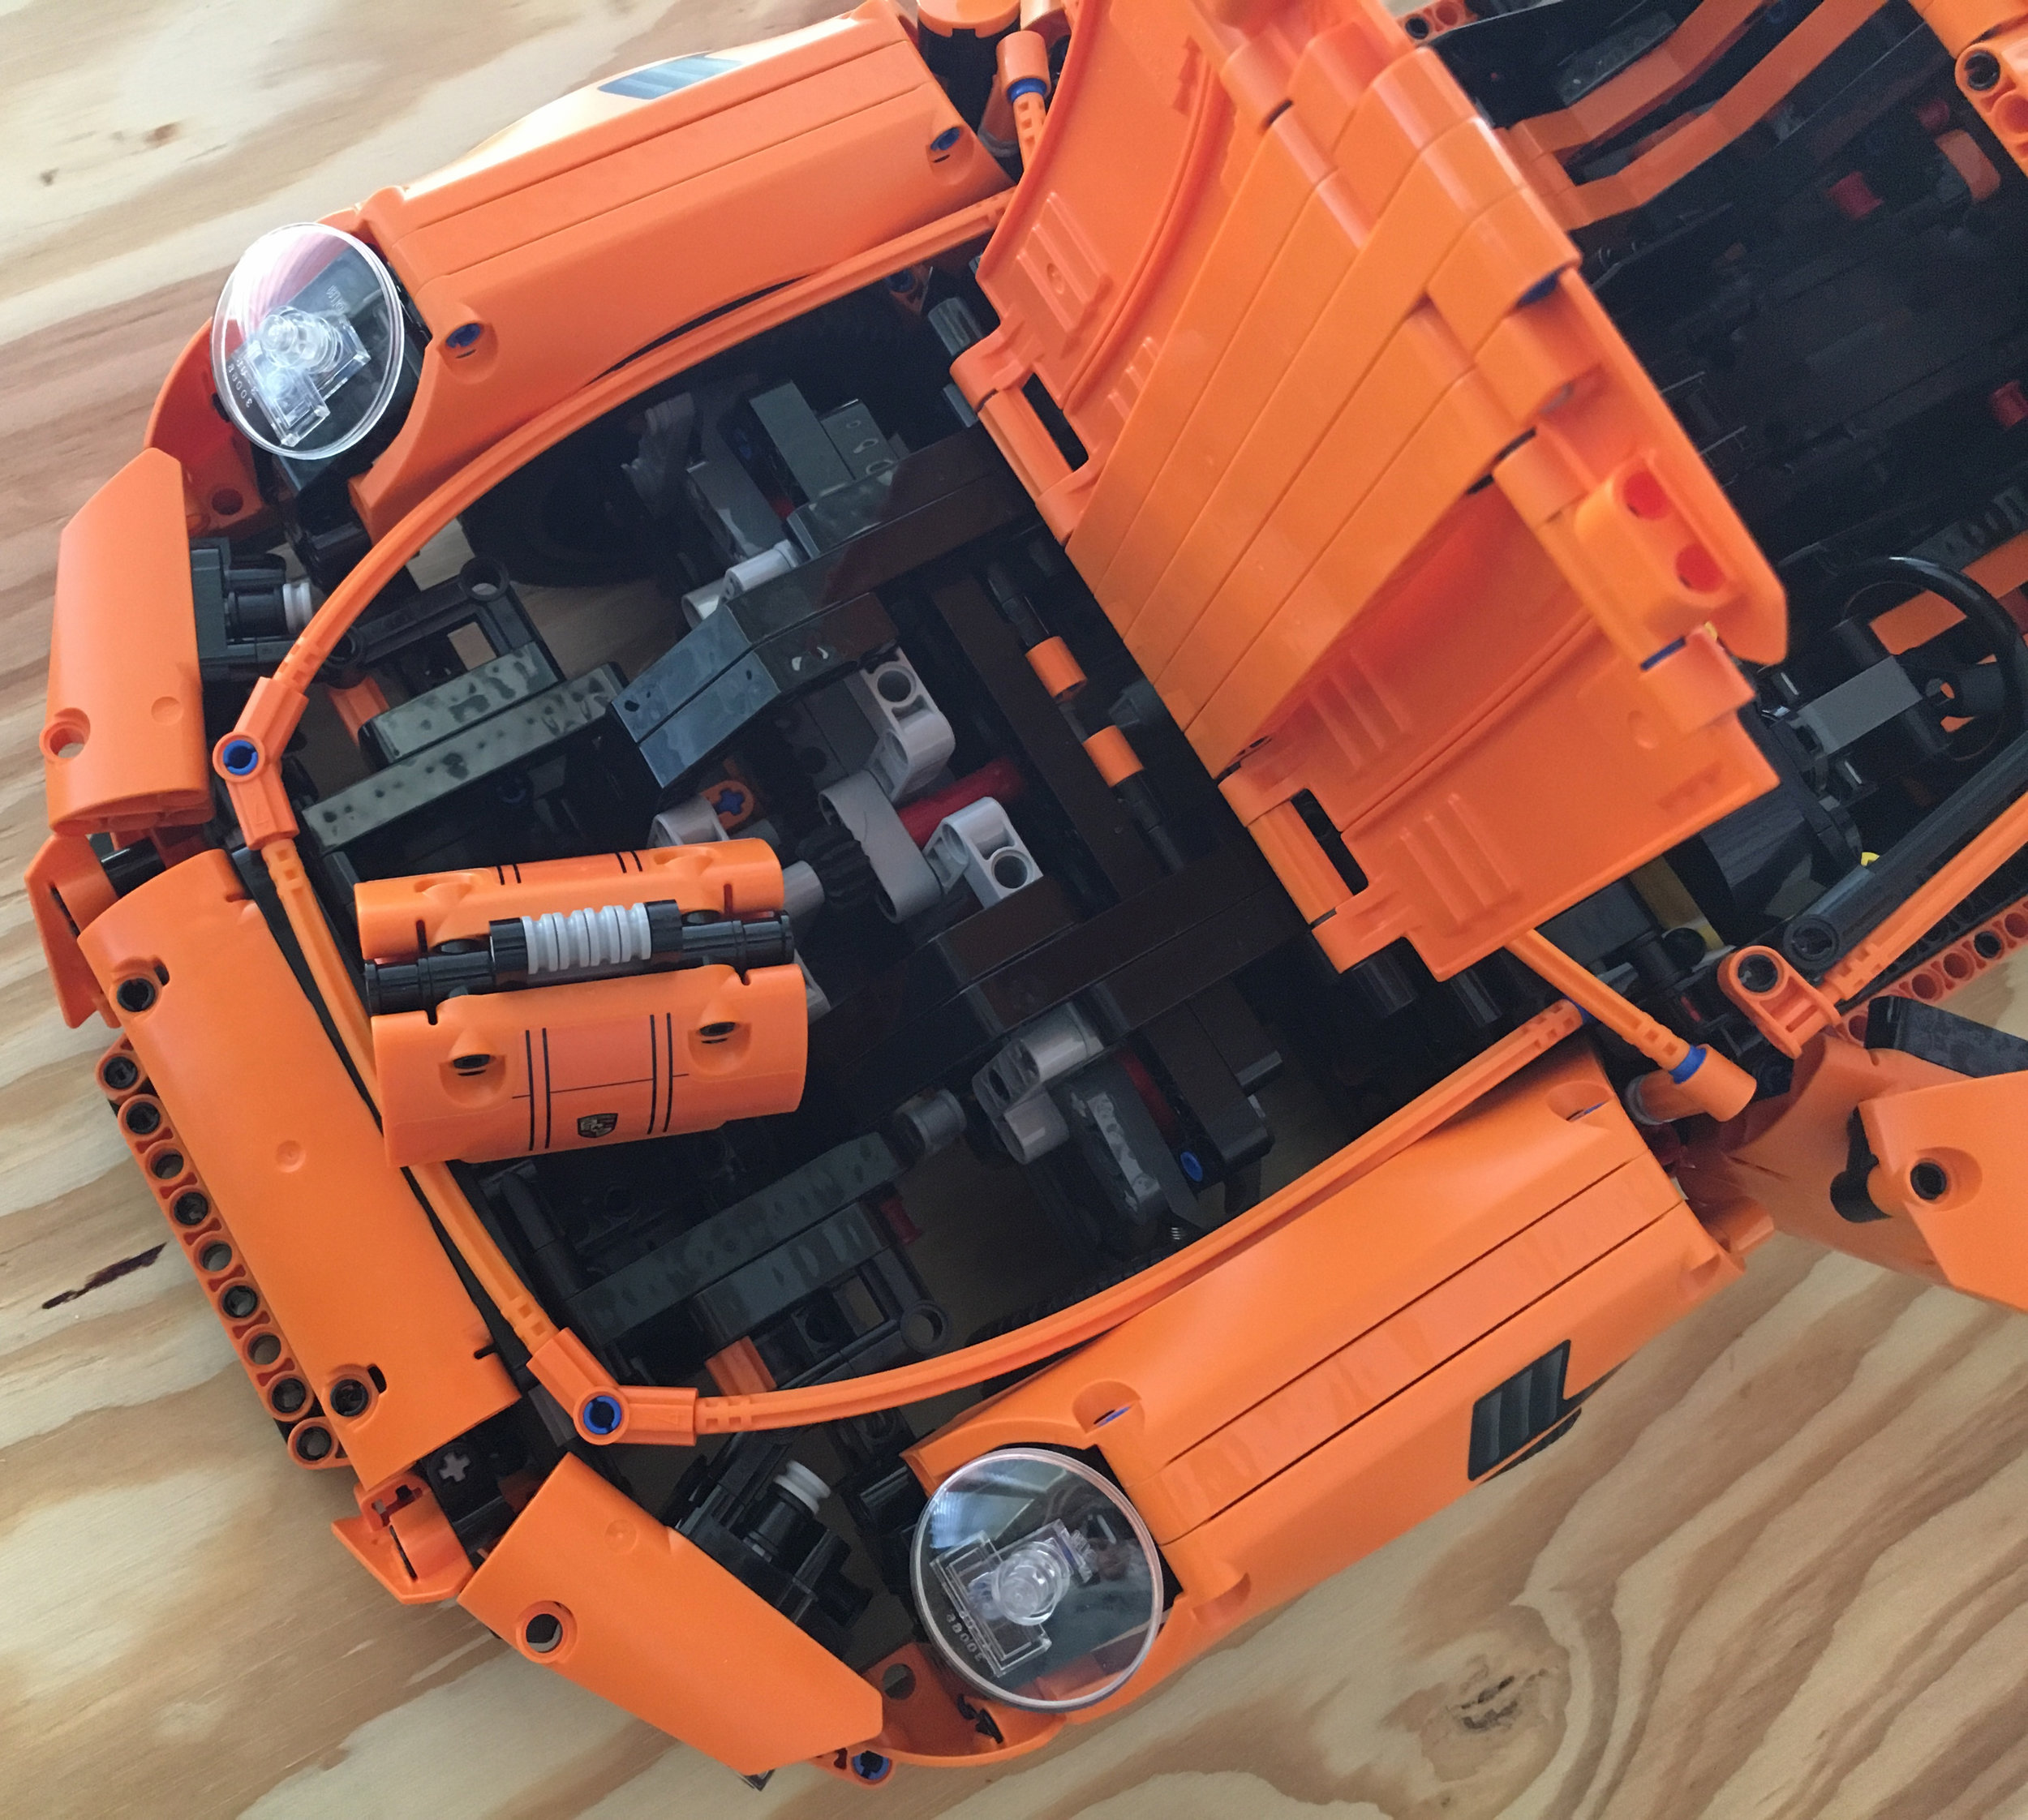
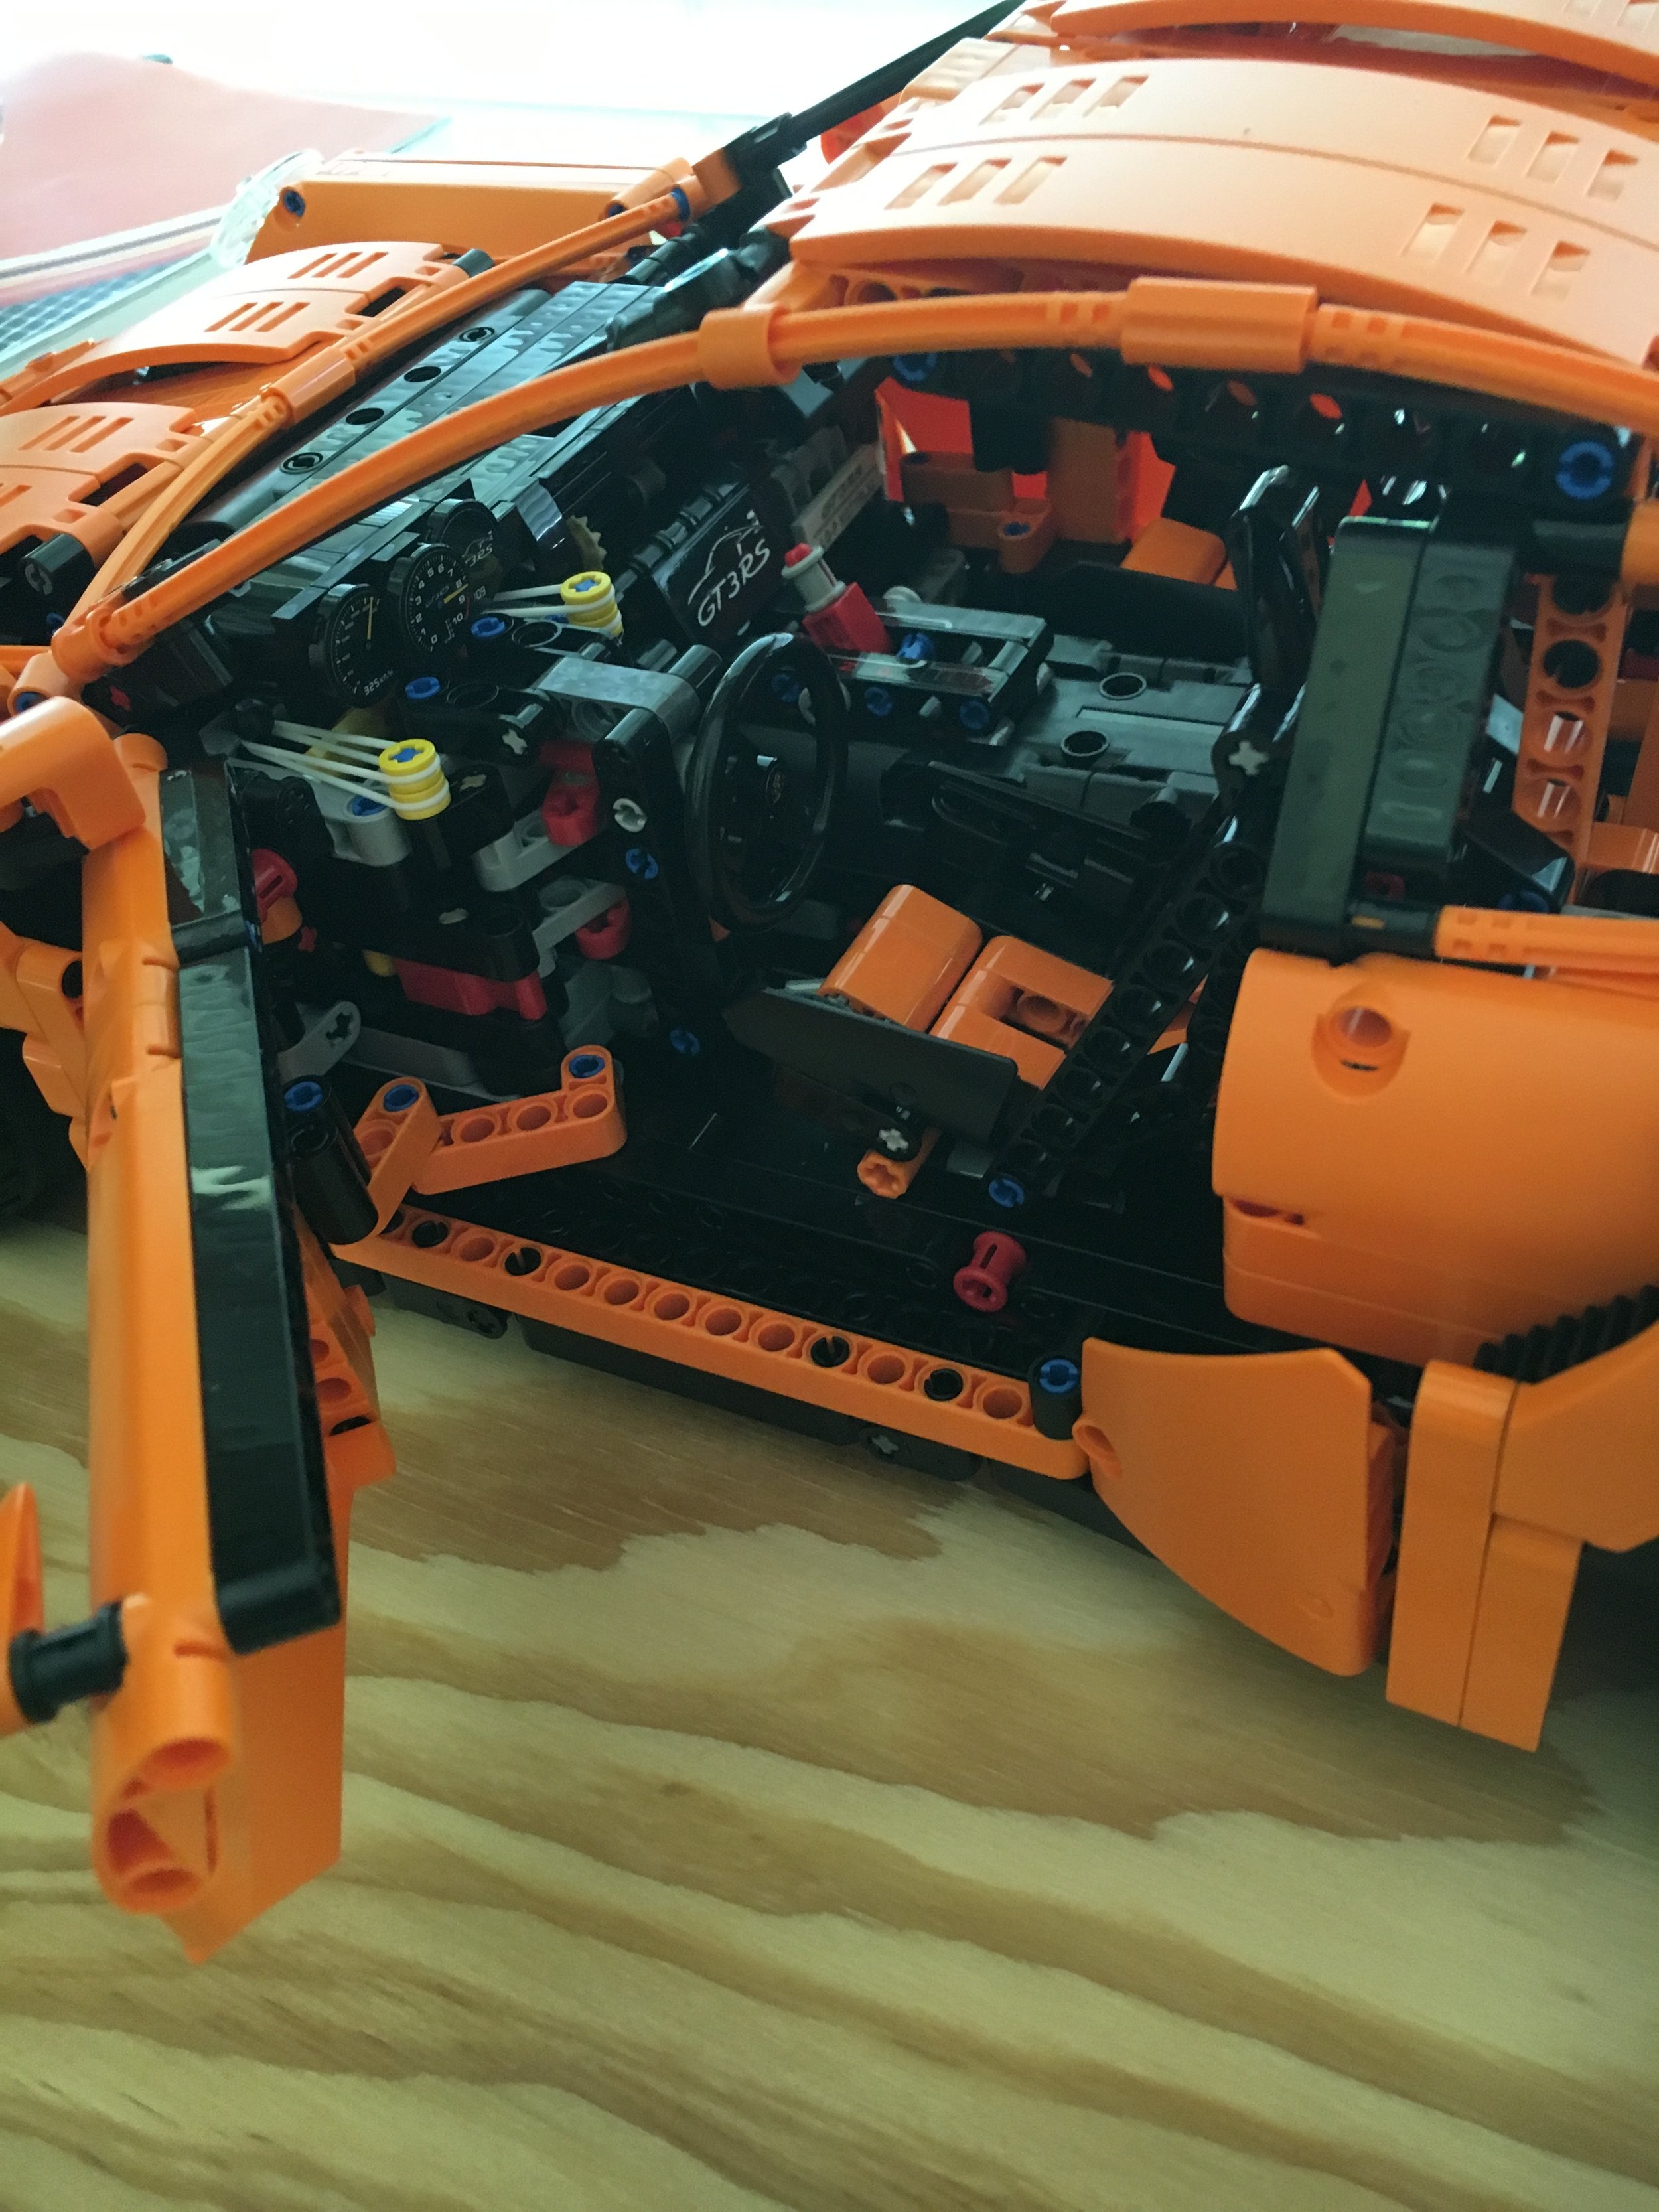
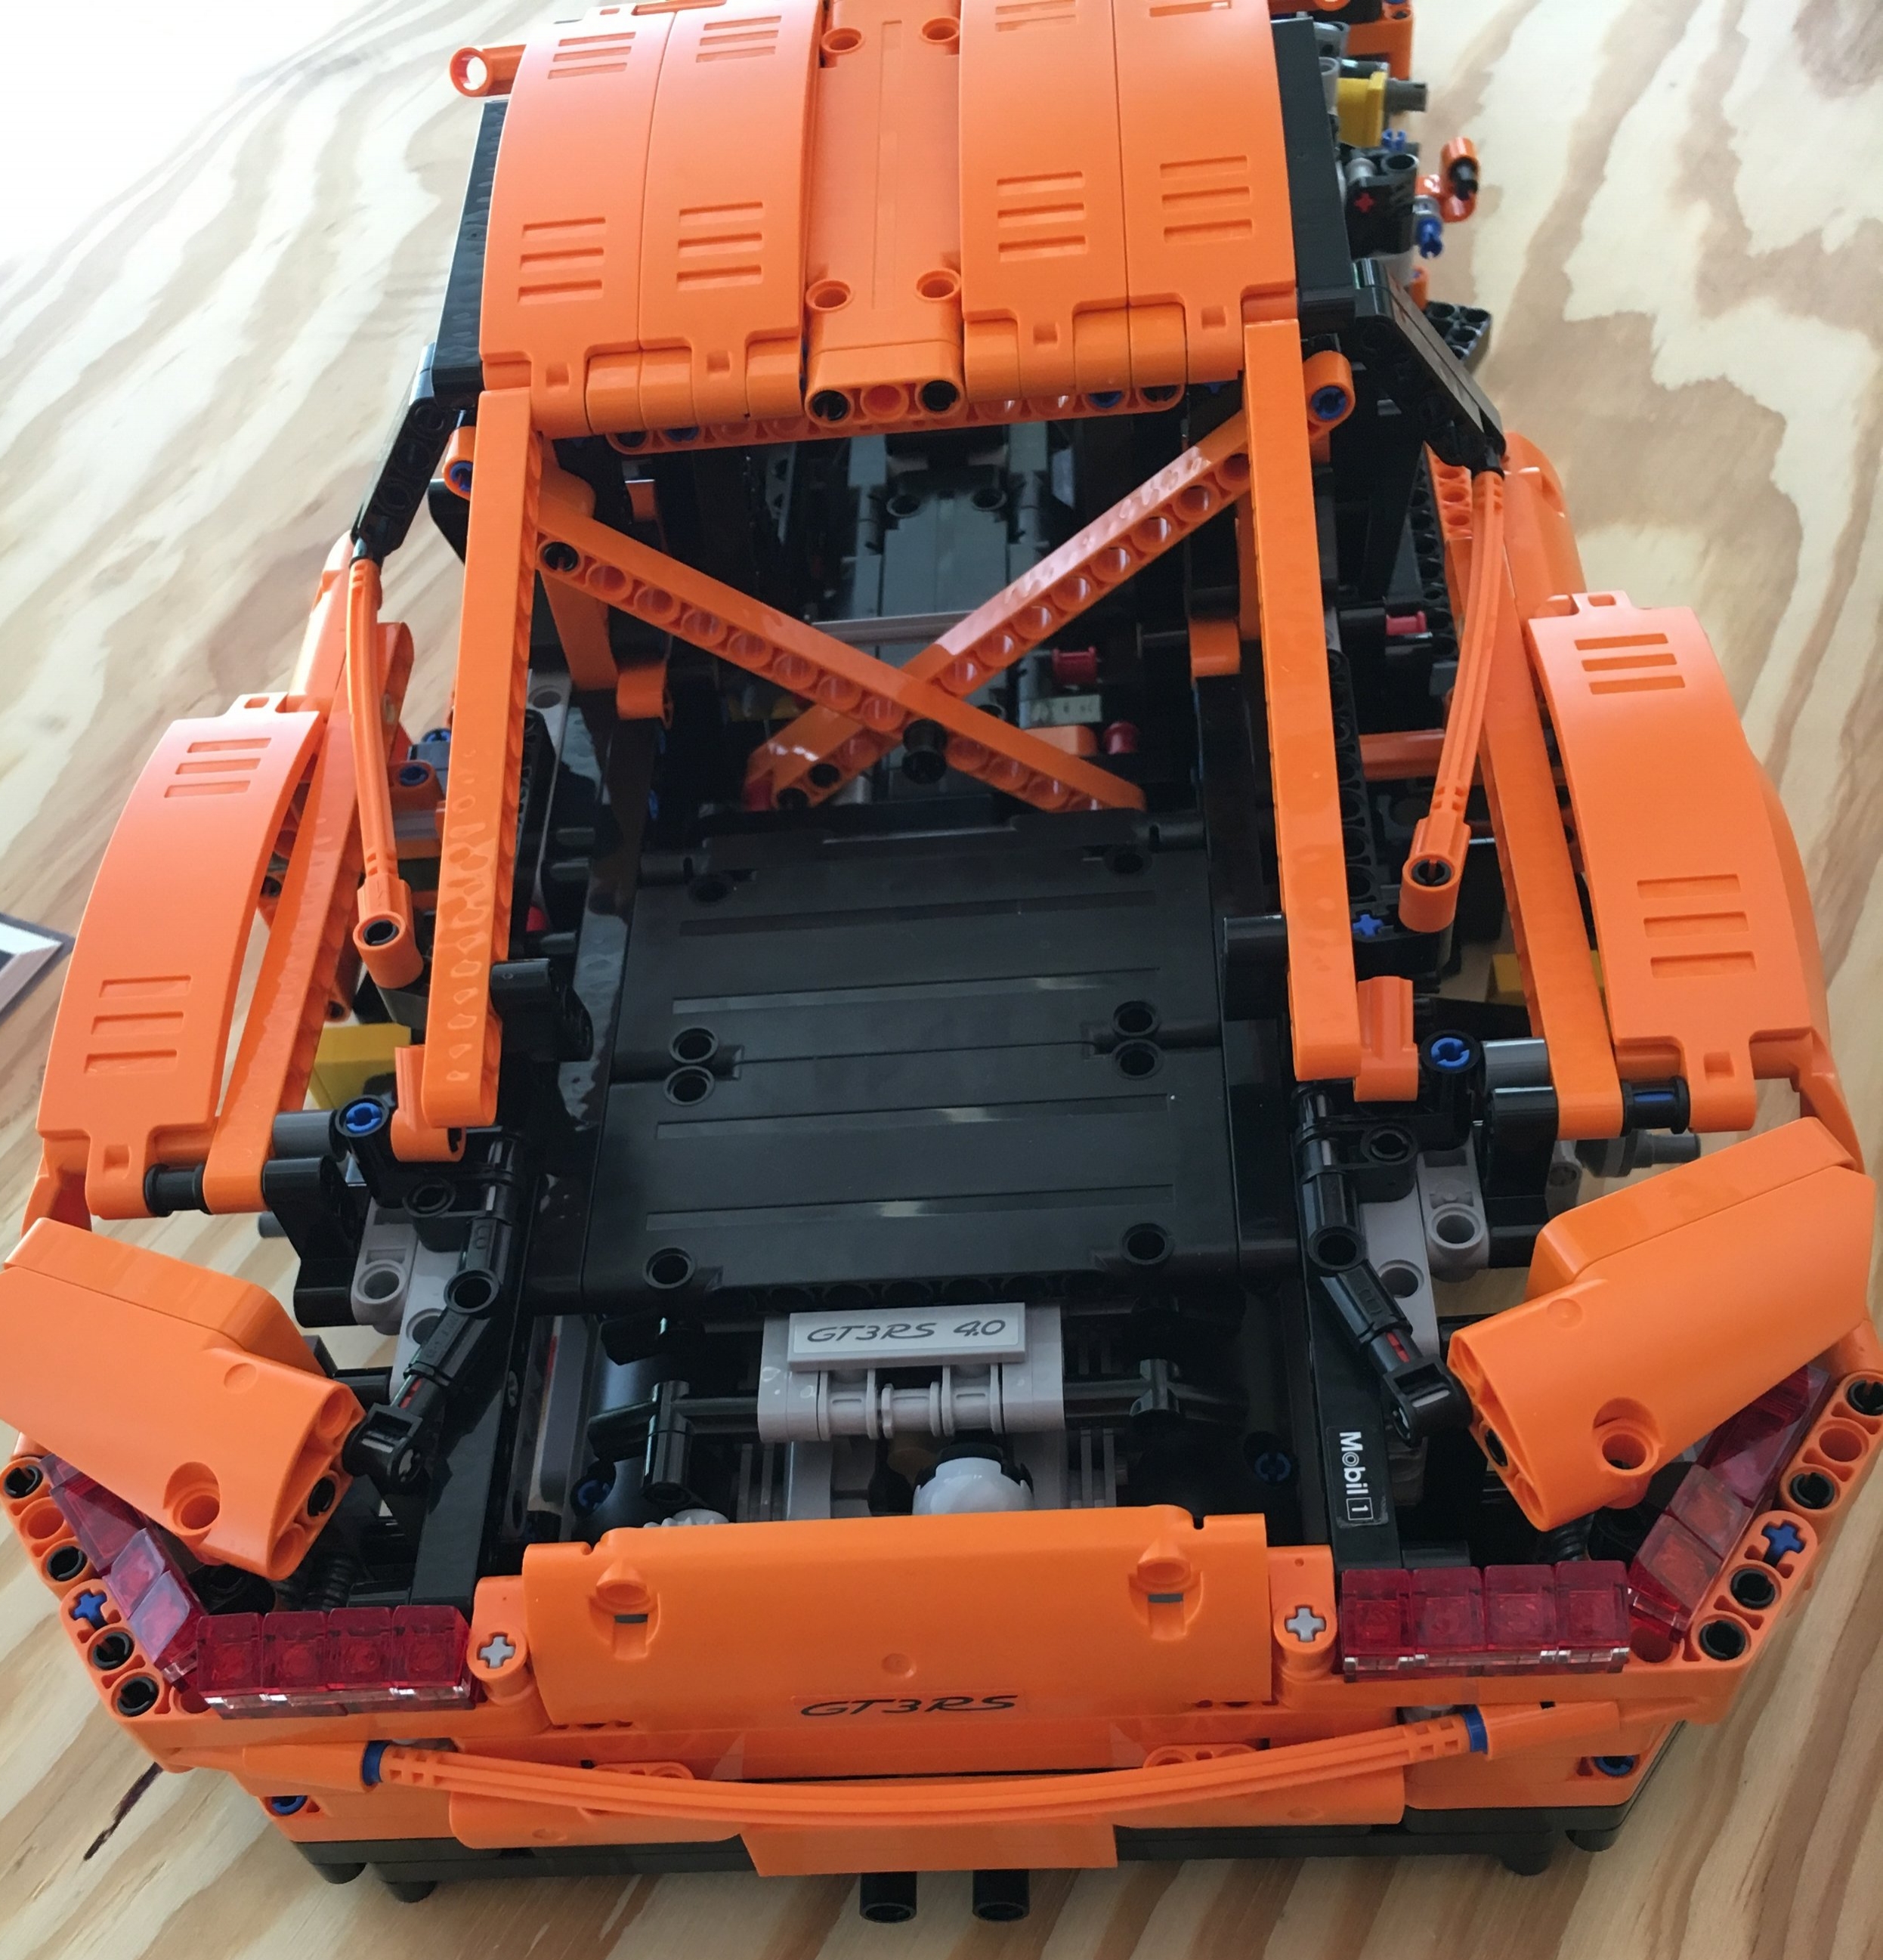
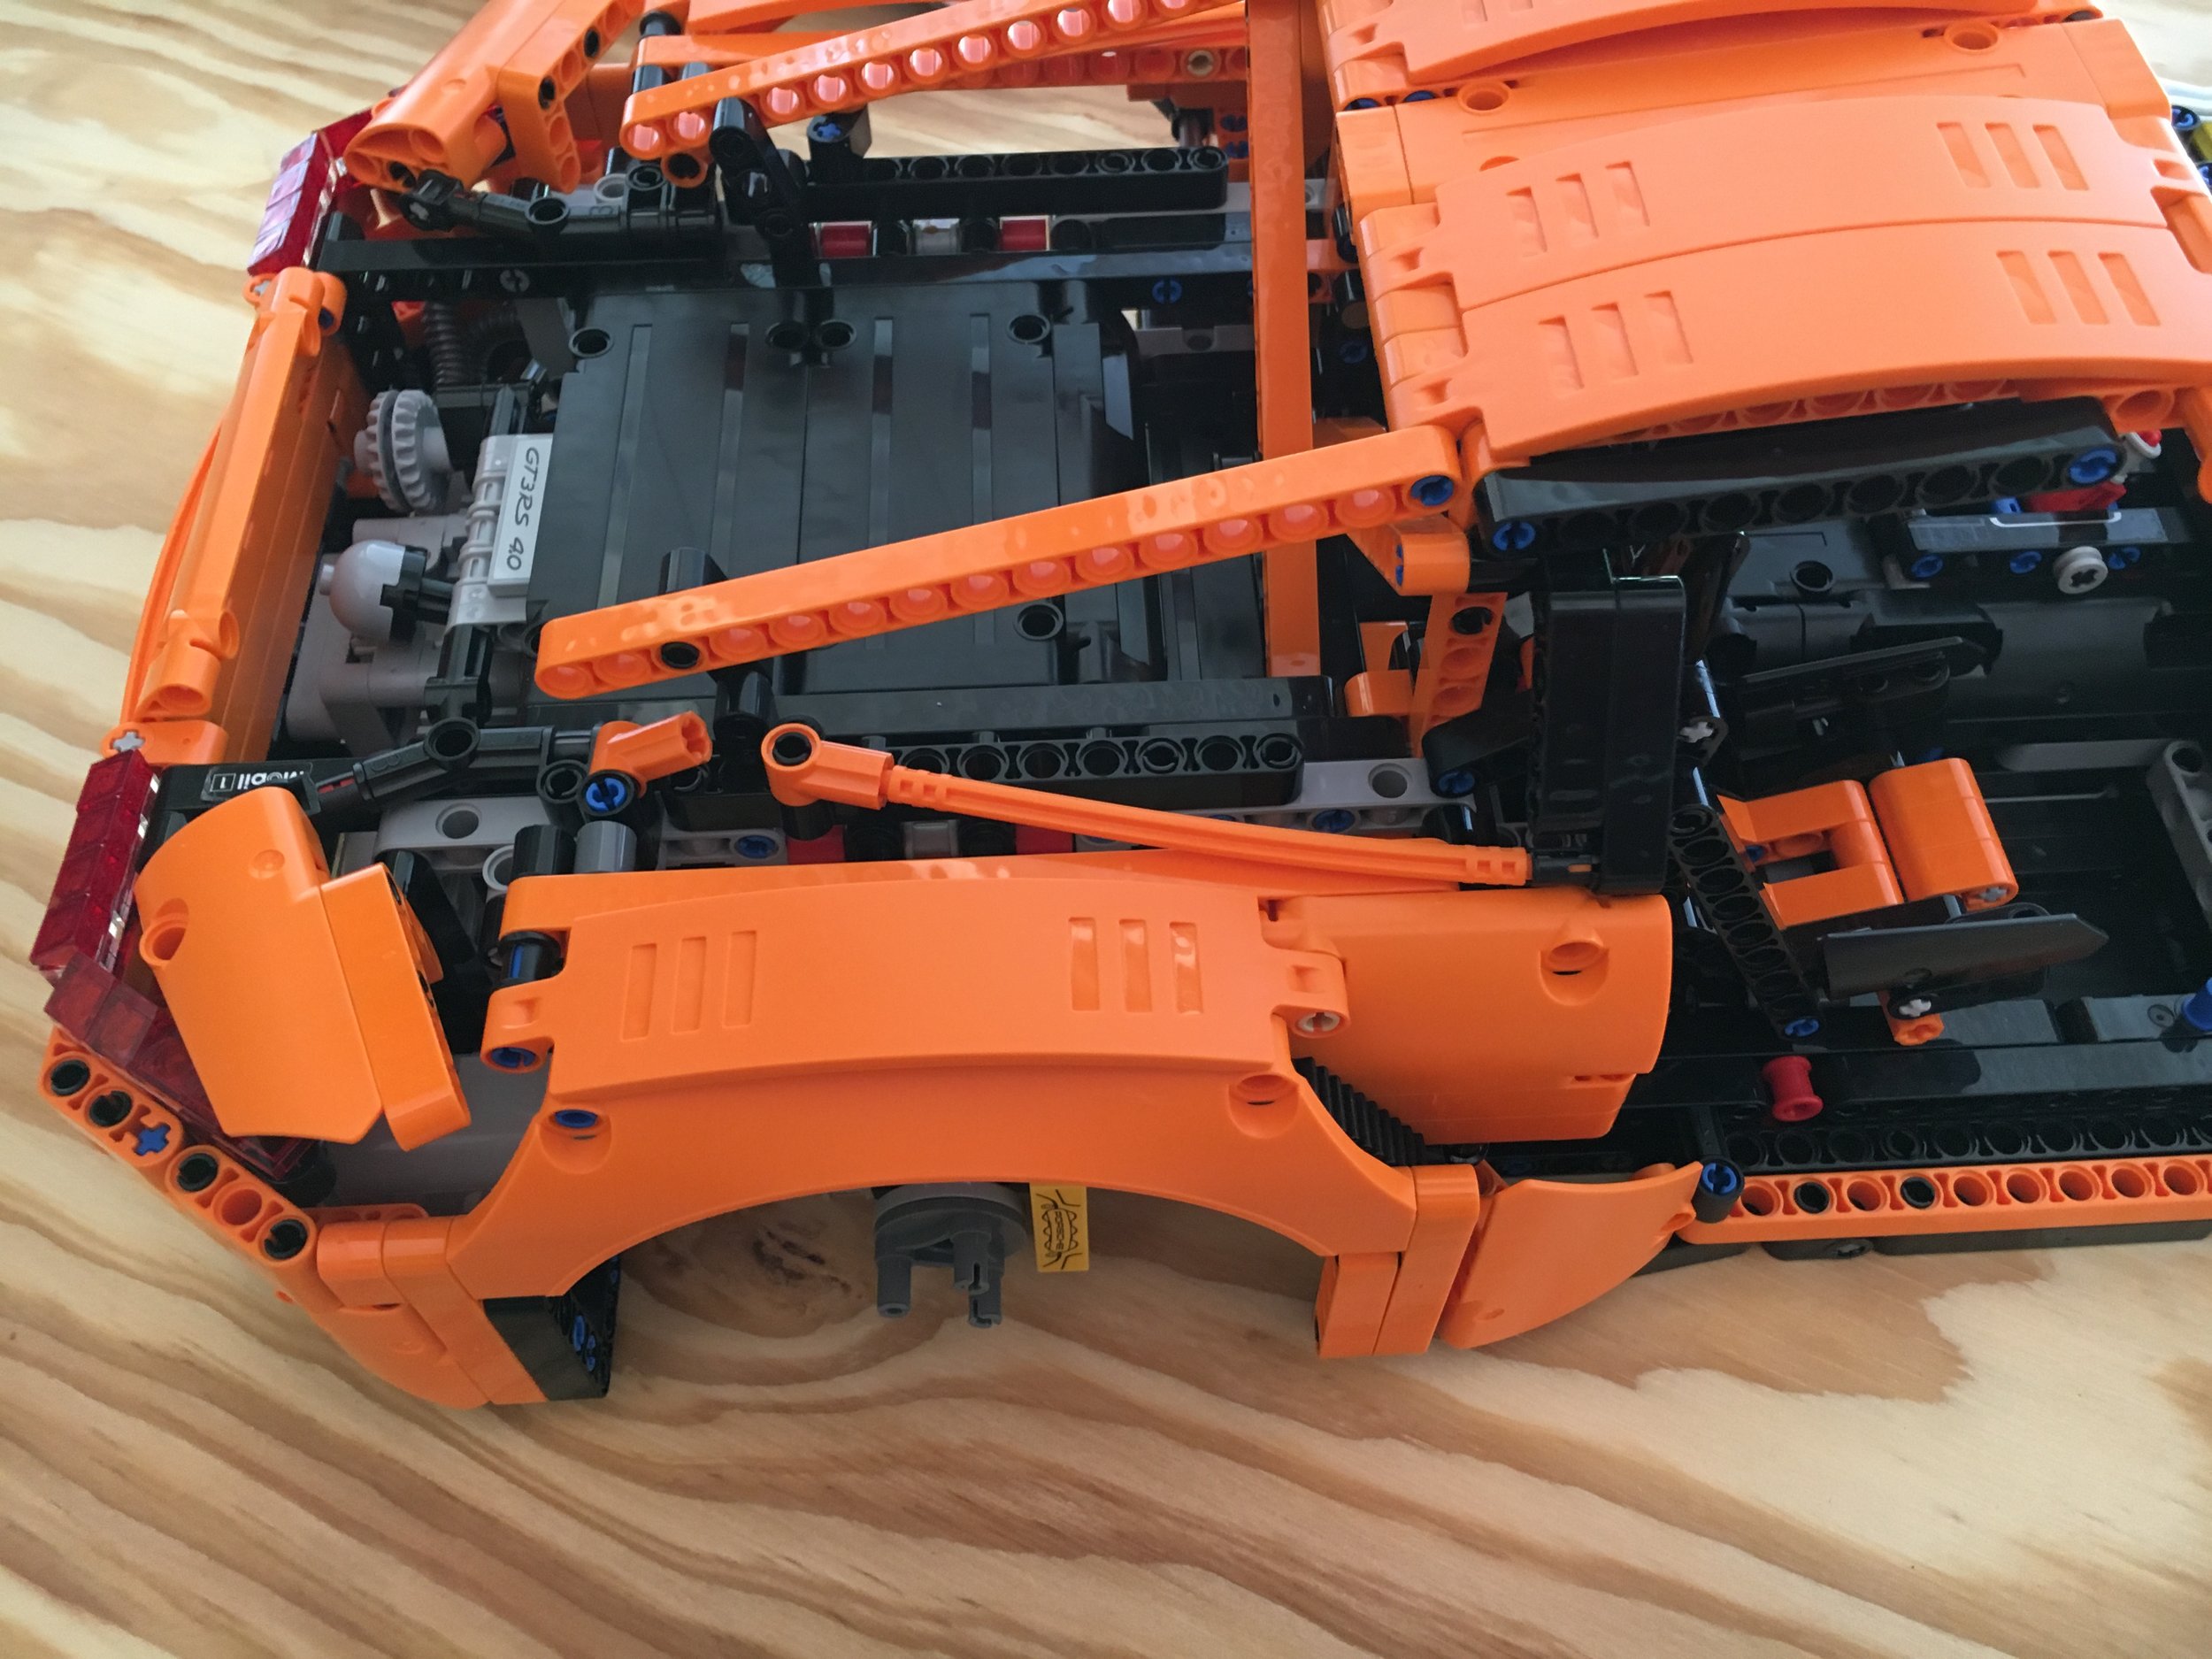
Here are 2 looks of the vehicle... one of the front and one of the back. I didn't take pictures of the removable parts, but the hood comes off and you can take the trunk off to put the vehicle jacks into the trunk. There are some good uses of different building techniques to make the curves so it's not just a model where you stack bricks one on top of the other. The only complaint with the build I have is of the driver and passenger side mirrors and the rear view mirror. Either I put it on wrong or it just doesn't stay well.


Overall what do I think? It's a good model, fairly quick build, but quite detailed. There are some newer piece types and the lack of stickers is awesome. Price is slightly high, but on average with the price per piece. I think it will be a good addition to my other cars in the collection and I'd love to get a ride in one some day. If you have the chance to get the model, go for it. If you can get it during double VIP points or some other promotion, then even better!
See my reviews of other LEGO Ideas sets:
-The Big Bang Theory - #21302
-Wall-E - #21303
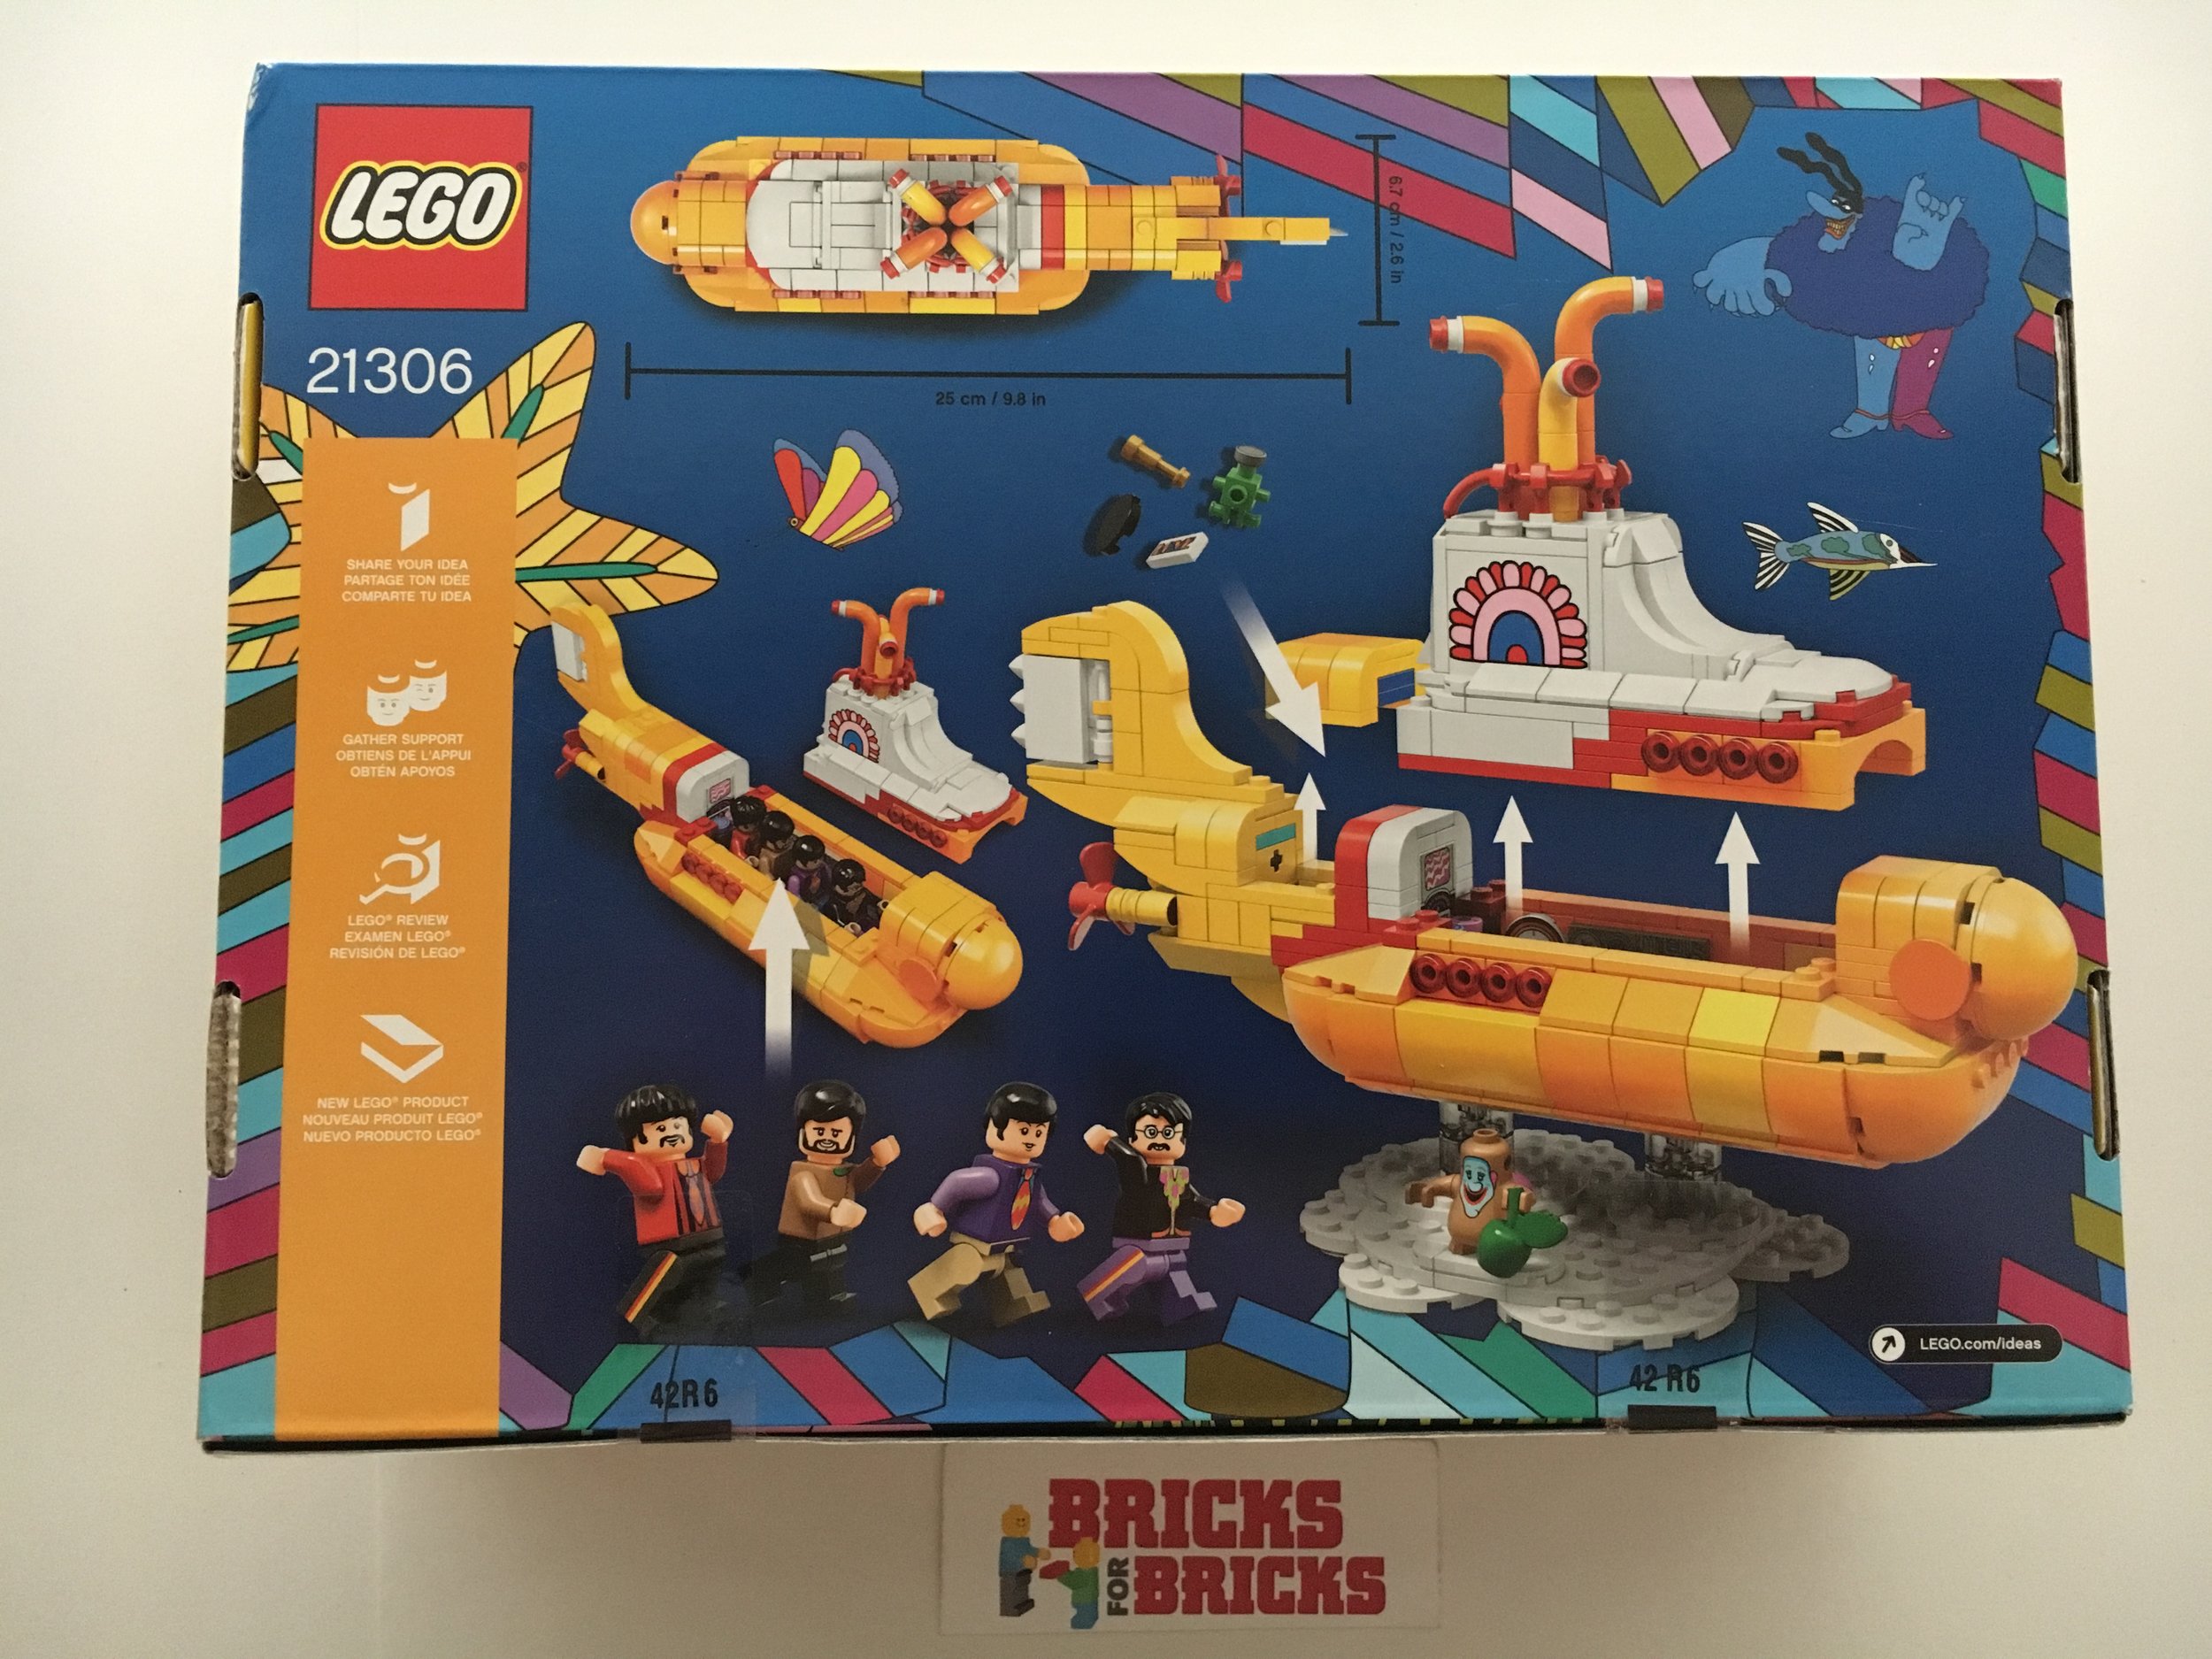
-The Beatles Yellow Submarine - #21306

For Sale:
Back to the Future - Delorean Time Machine - #21103
$90 (w/ free shipping

For Sale:
Research Institute - #21110 - Brick Classifieds
$45 (w/ free shipping)