
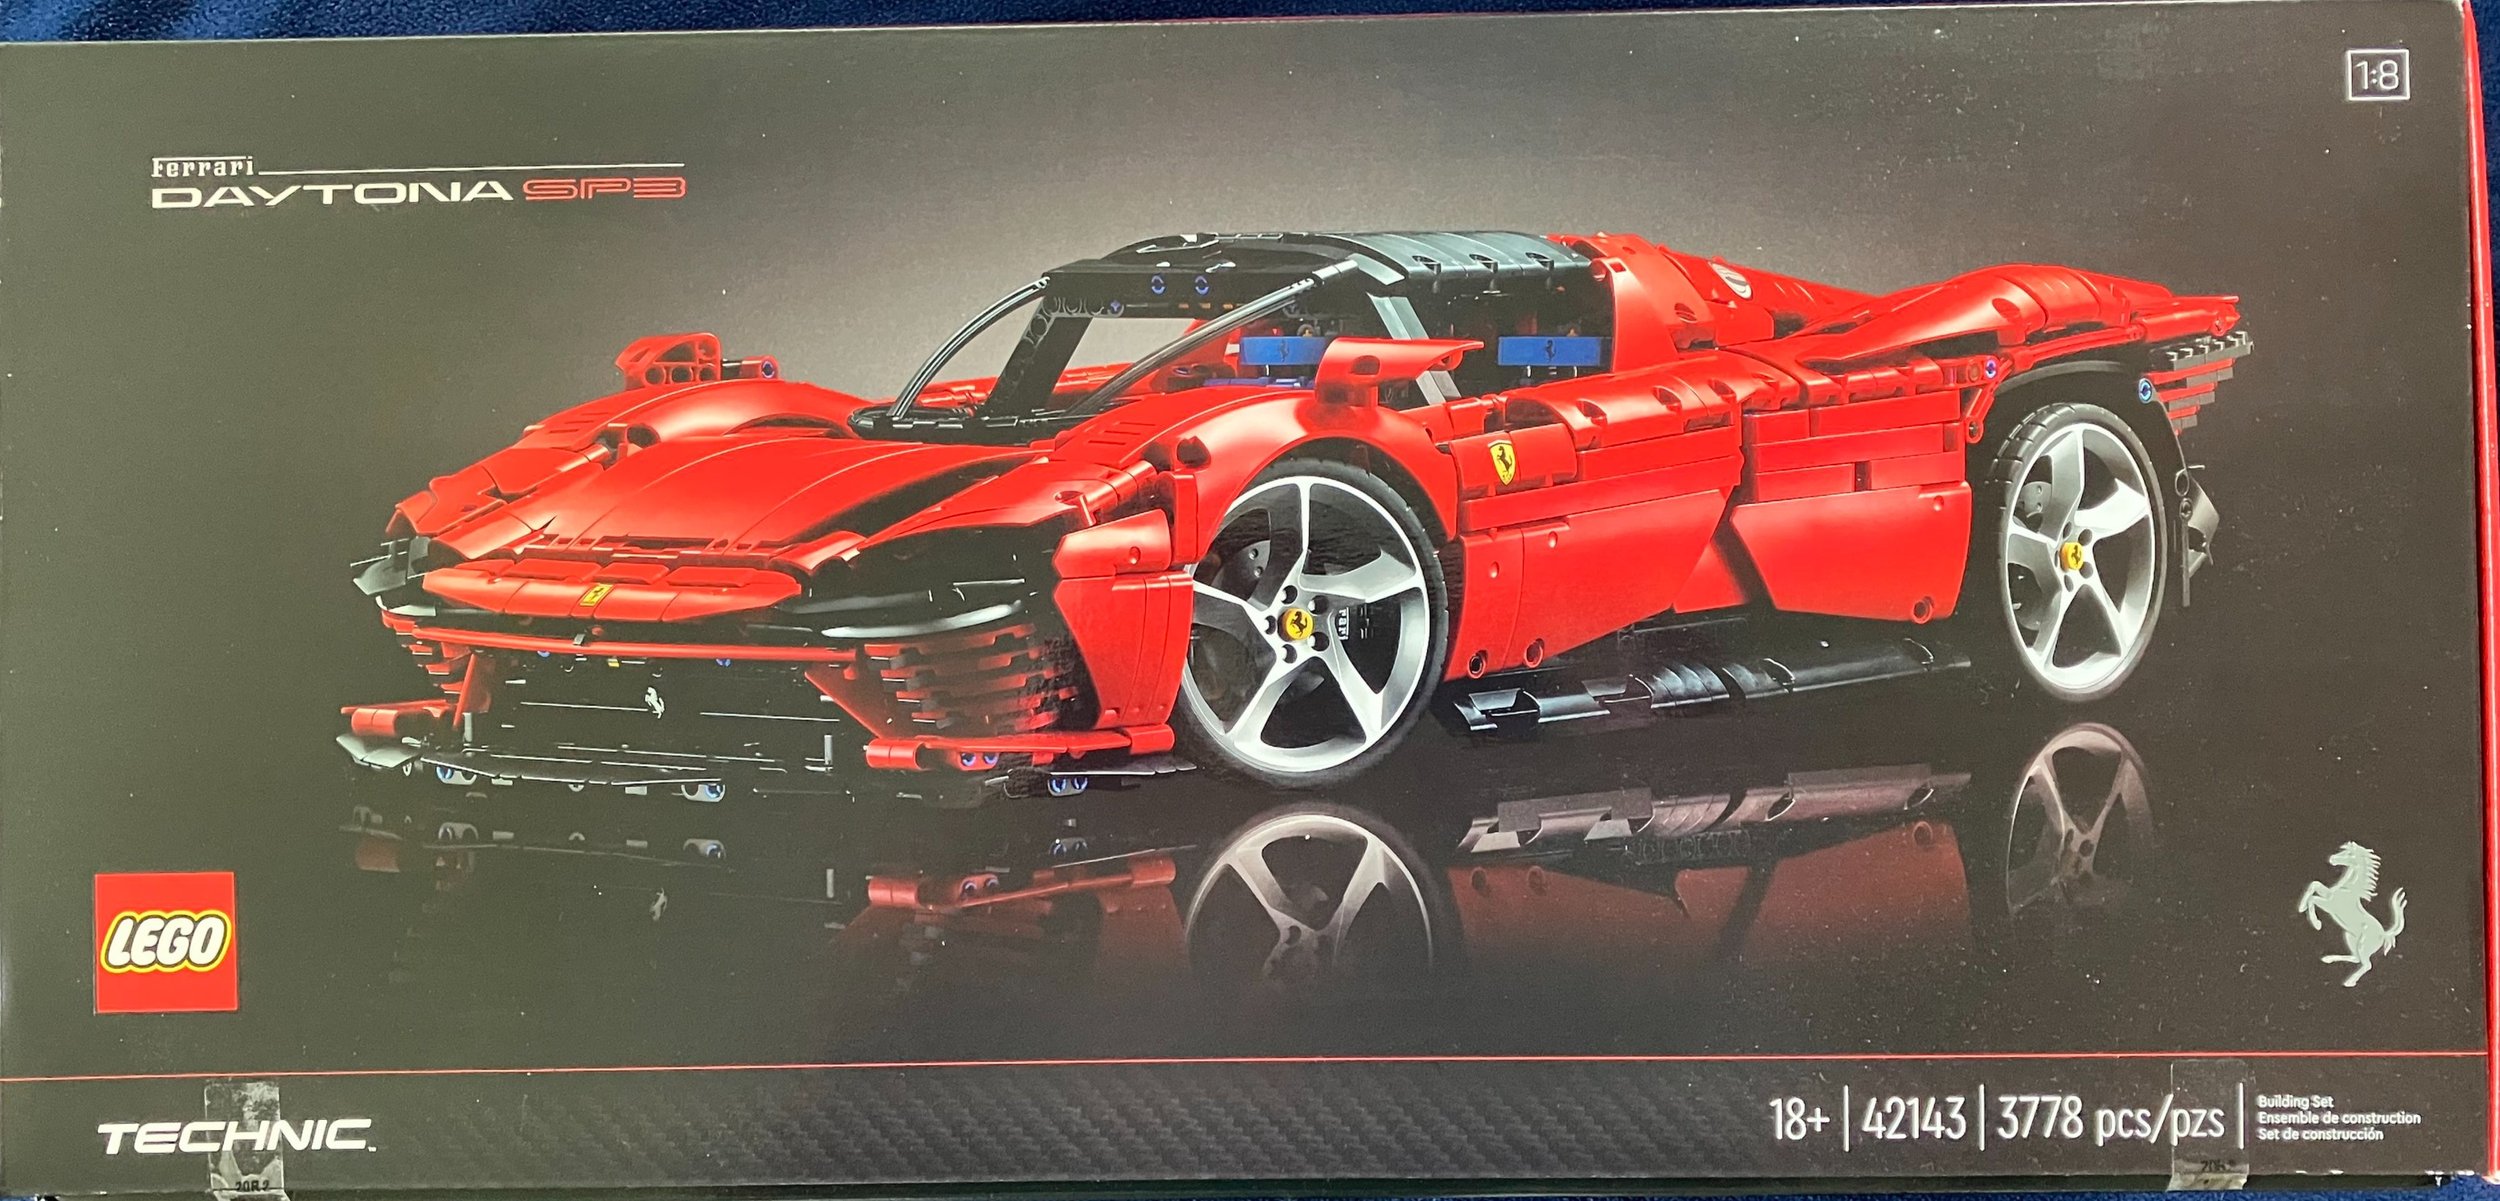
The LEGO Group has me hooked on a few of their product lines and one of them is the Technic Supercar series or now referred to as the LEGO Technic Ultimate Car Concept series. You can see my reviews of the previous cars here. This one is #42143-1: Ferrari Daytona SP3. It was released in the US on 2 June 2022 and contains 3,778 pieces. The initial retail price was $399.99 which worked out to $0.106 per piece. Then the LEGO Group raised prices on a bunch of sets to adjust for their input costs and it now retails for $449.99 which works out to $0.119 per piece. Yikes! I thankfully picked it up prior to the price increase and I cashed in a bunch of VIP points to make the purchase not as bad. However, it hurt and these suckers keep getting more expensive. I can’t wait to see what the 2024 car is going to retail for… or not.
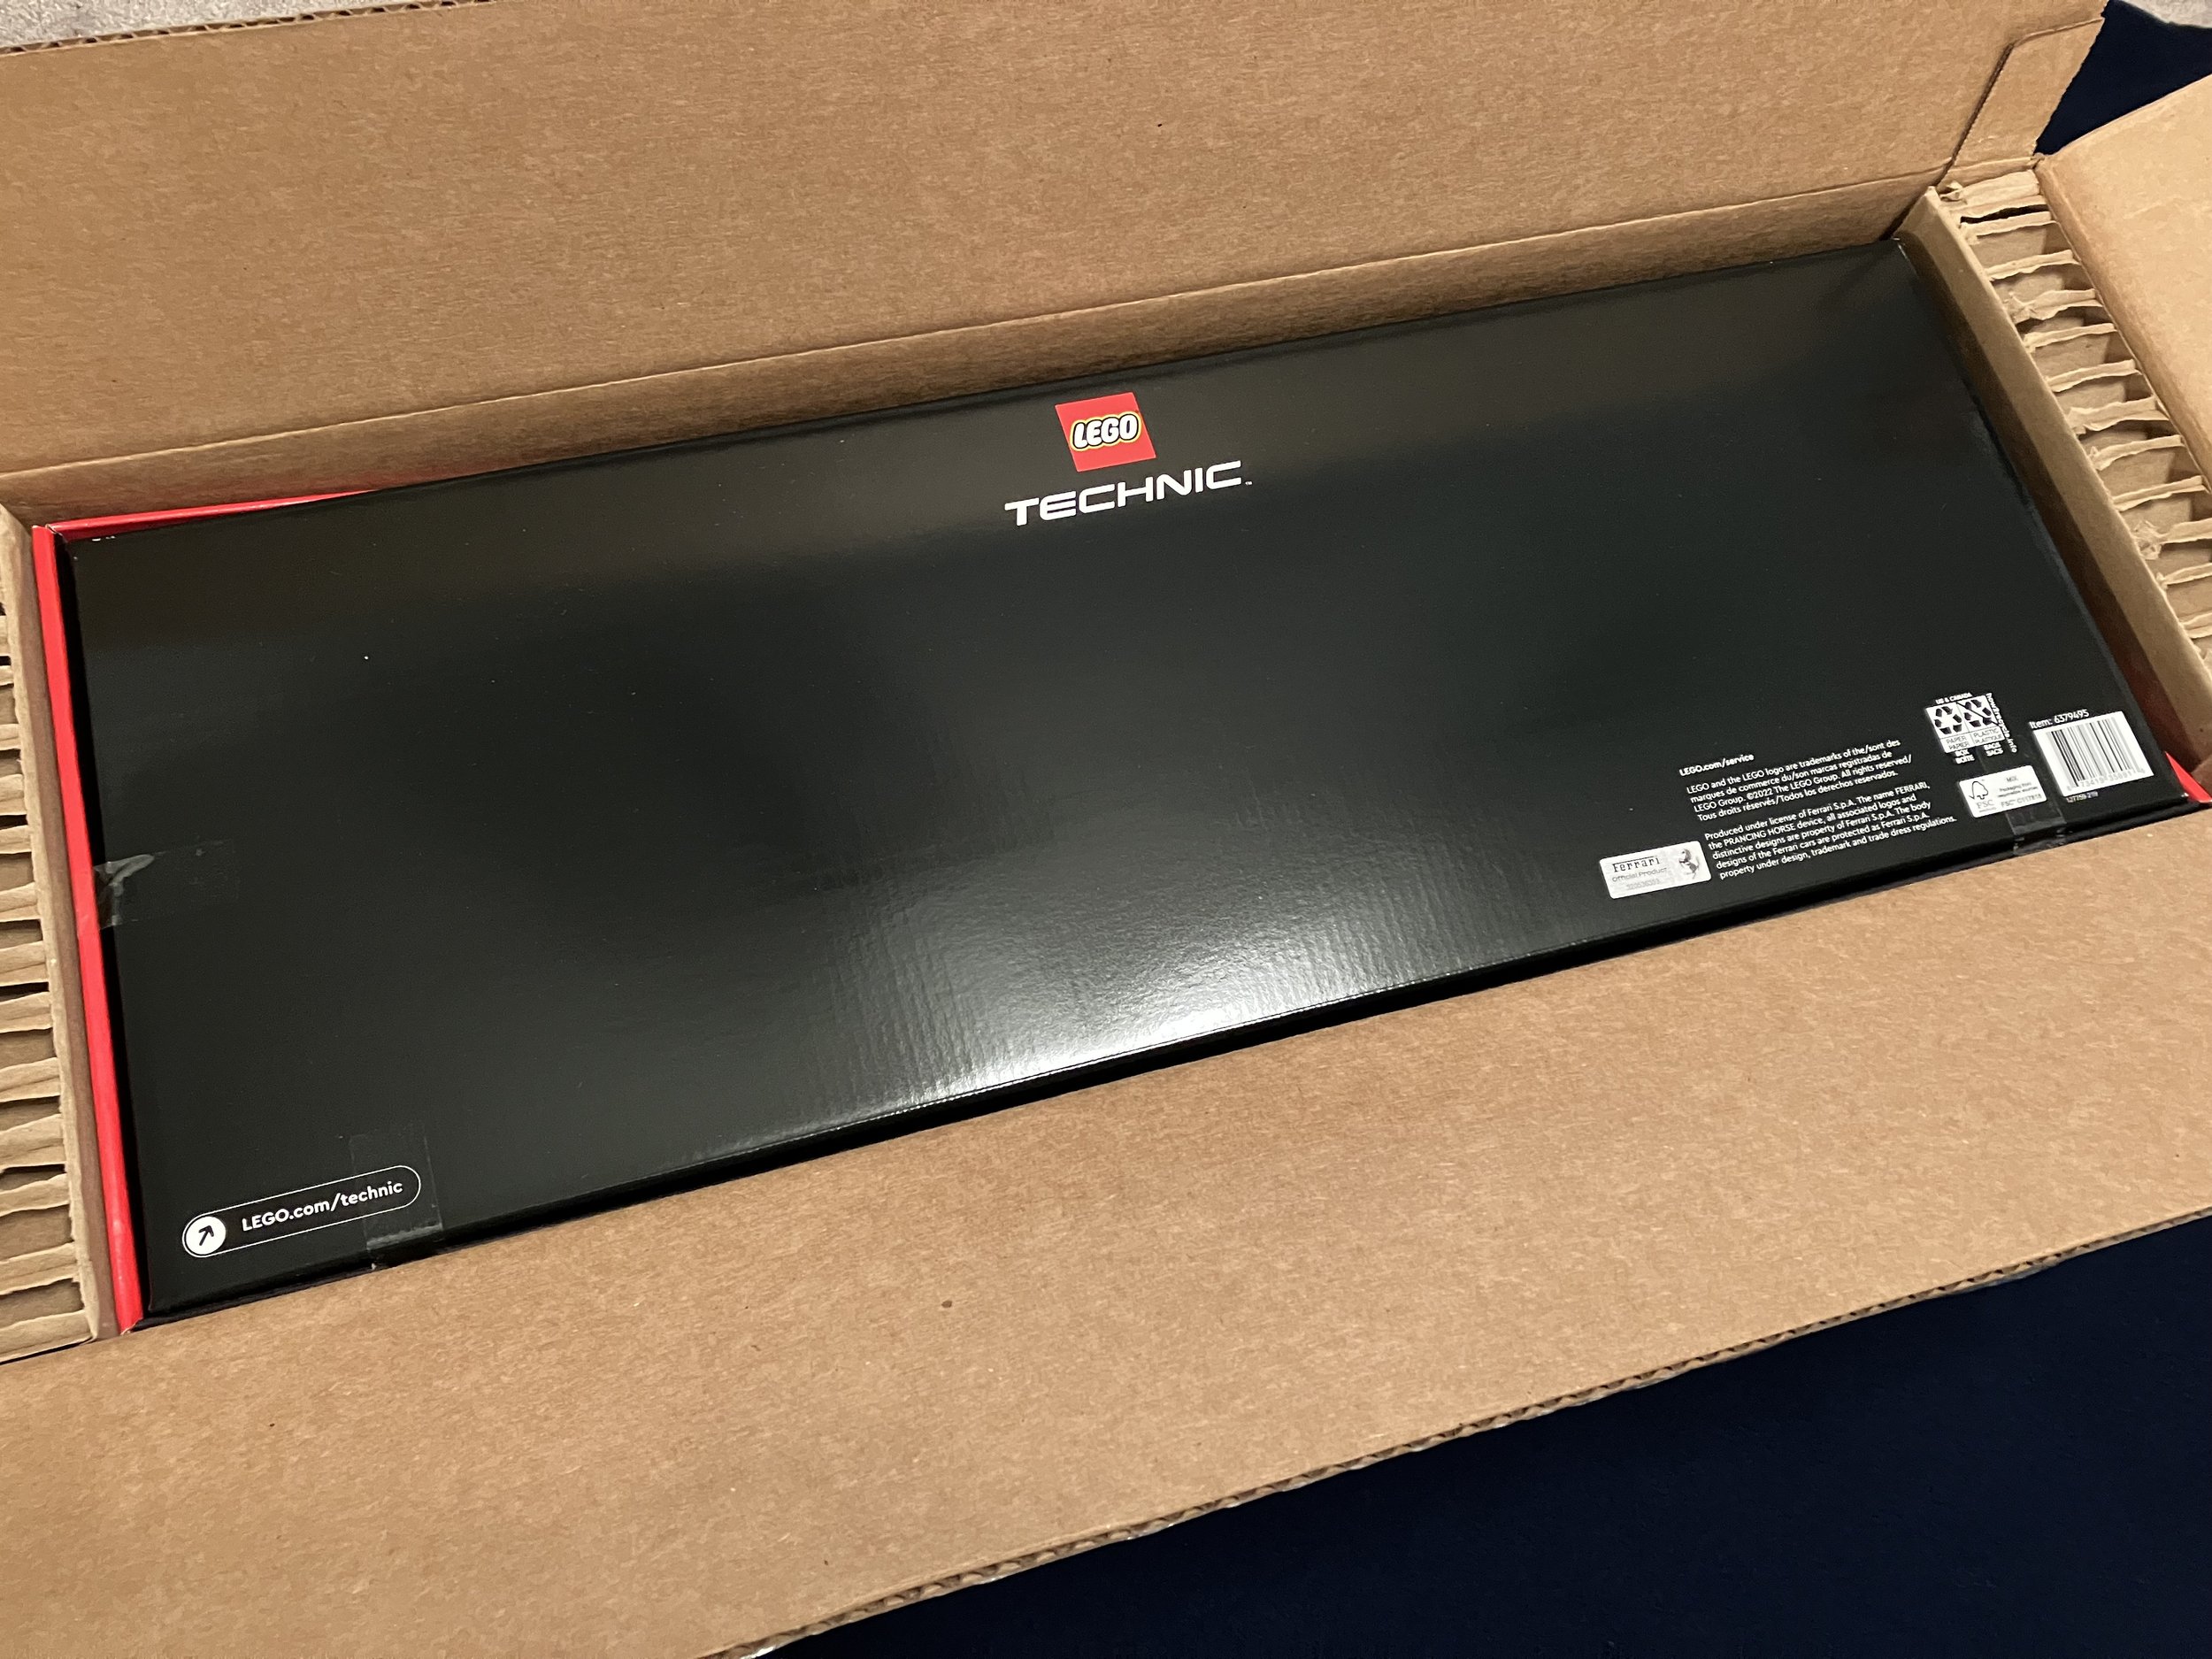
The shipping box for this one is much different from the previous three. It is a smaller box and it showed up with the set in a box only in one box versus the set box being inside a box which is inside another box. My set came with a May 2022 production date on it so not bad considering the June release.


Here’s the set box with the build on multiple sides, the Ferrari logo on top, and the bottom has tire tracks that you can’t see in my photo.

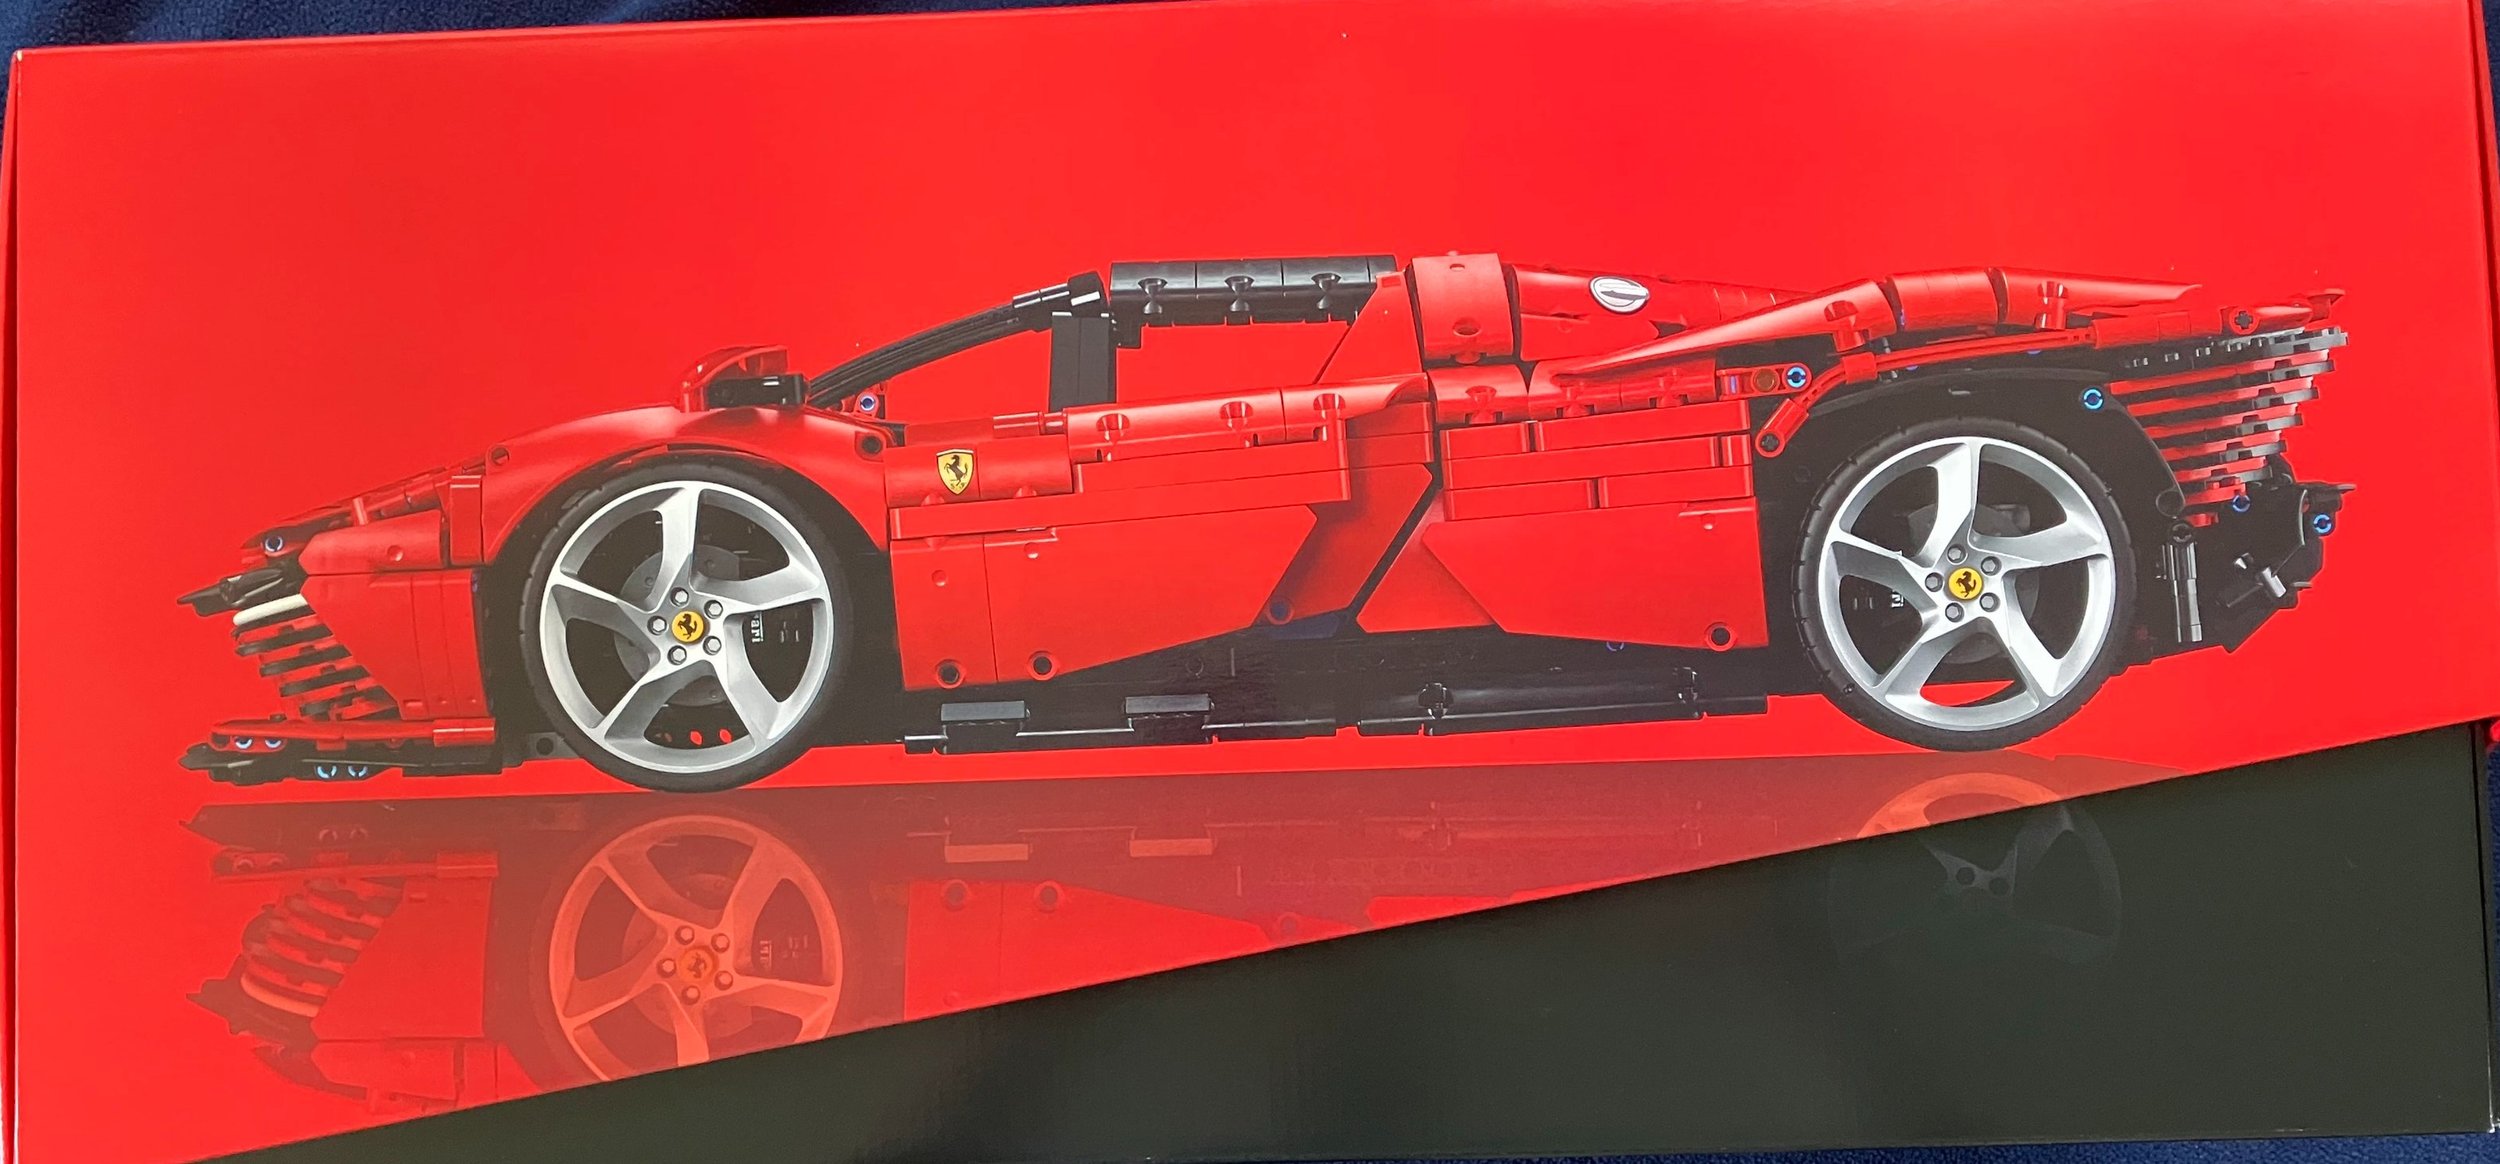

Opening the box reveals three boxes that contain the parts and look like the rear of the vehicle which is some pretty cool packaging.

The first box contains the two instruction books on the top and some parts bags on the bottom. I’m not going to dive into the instruction books, but they have some information about Ferrari, the model, the design process, and then some pictures of cars and designs.


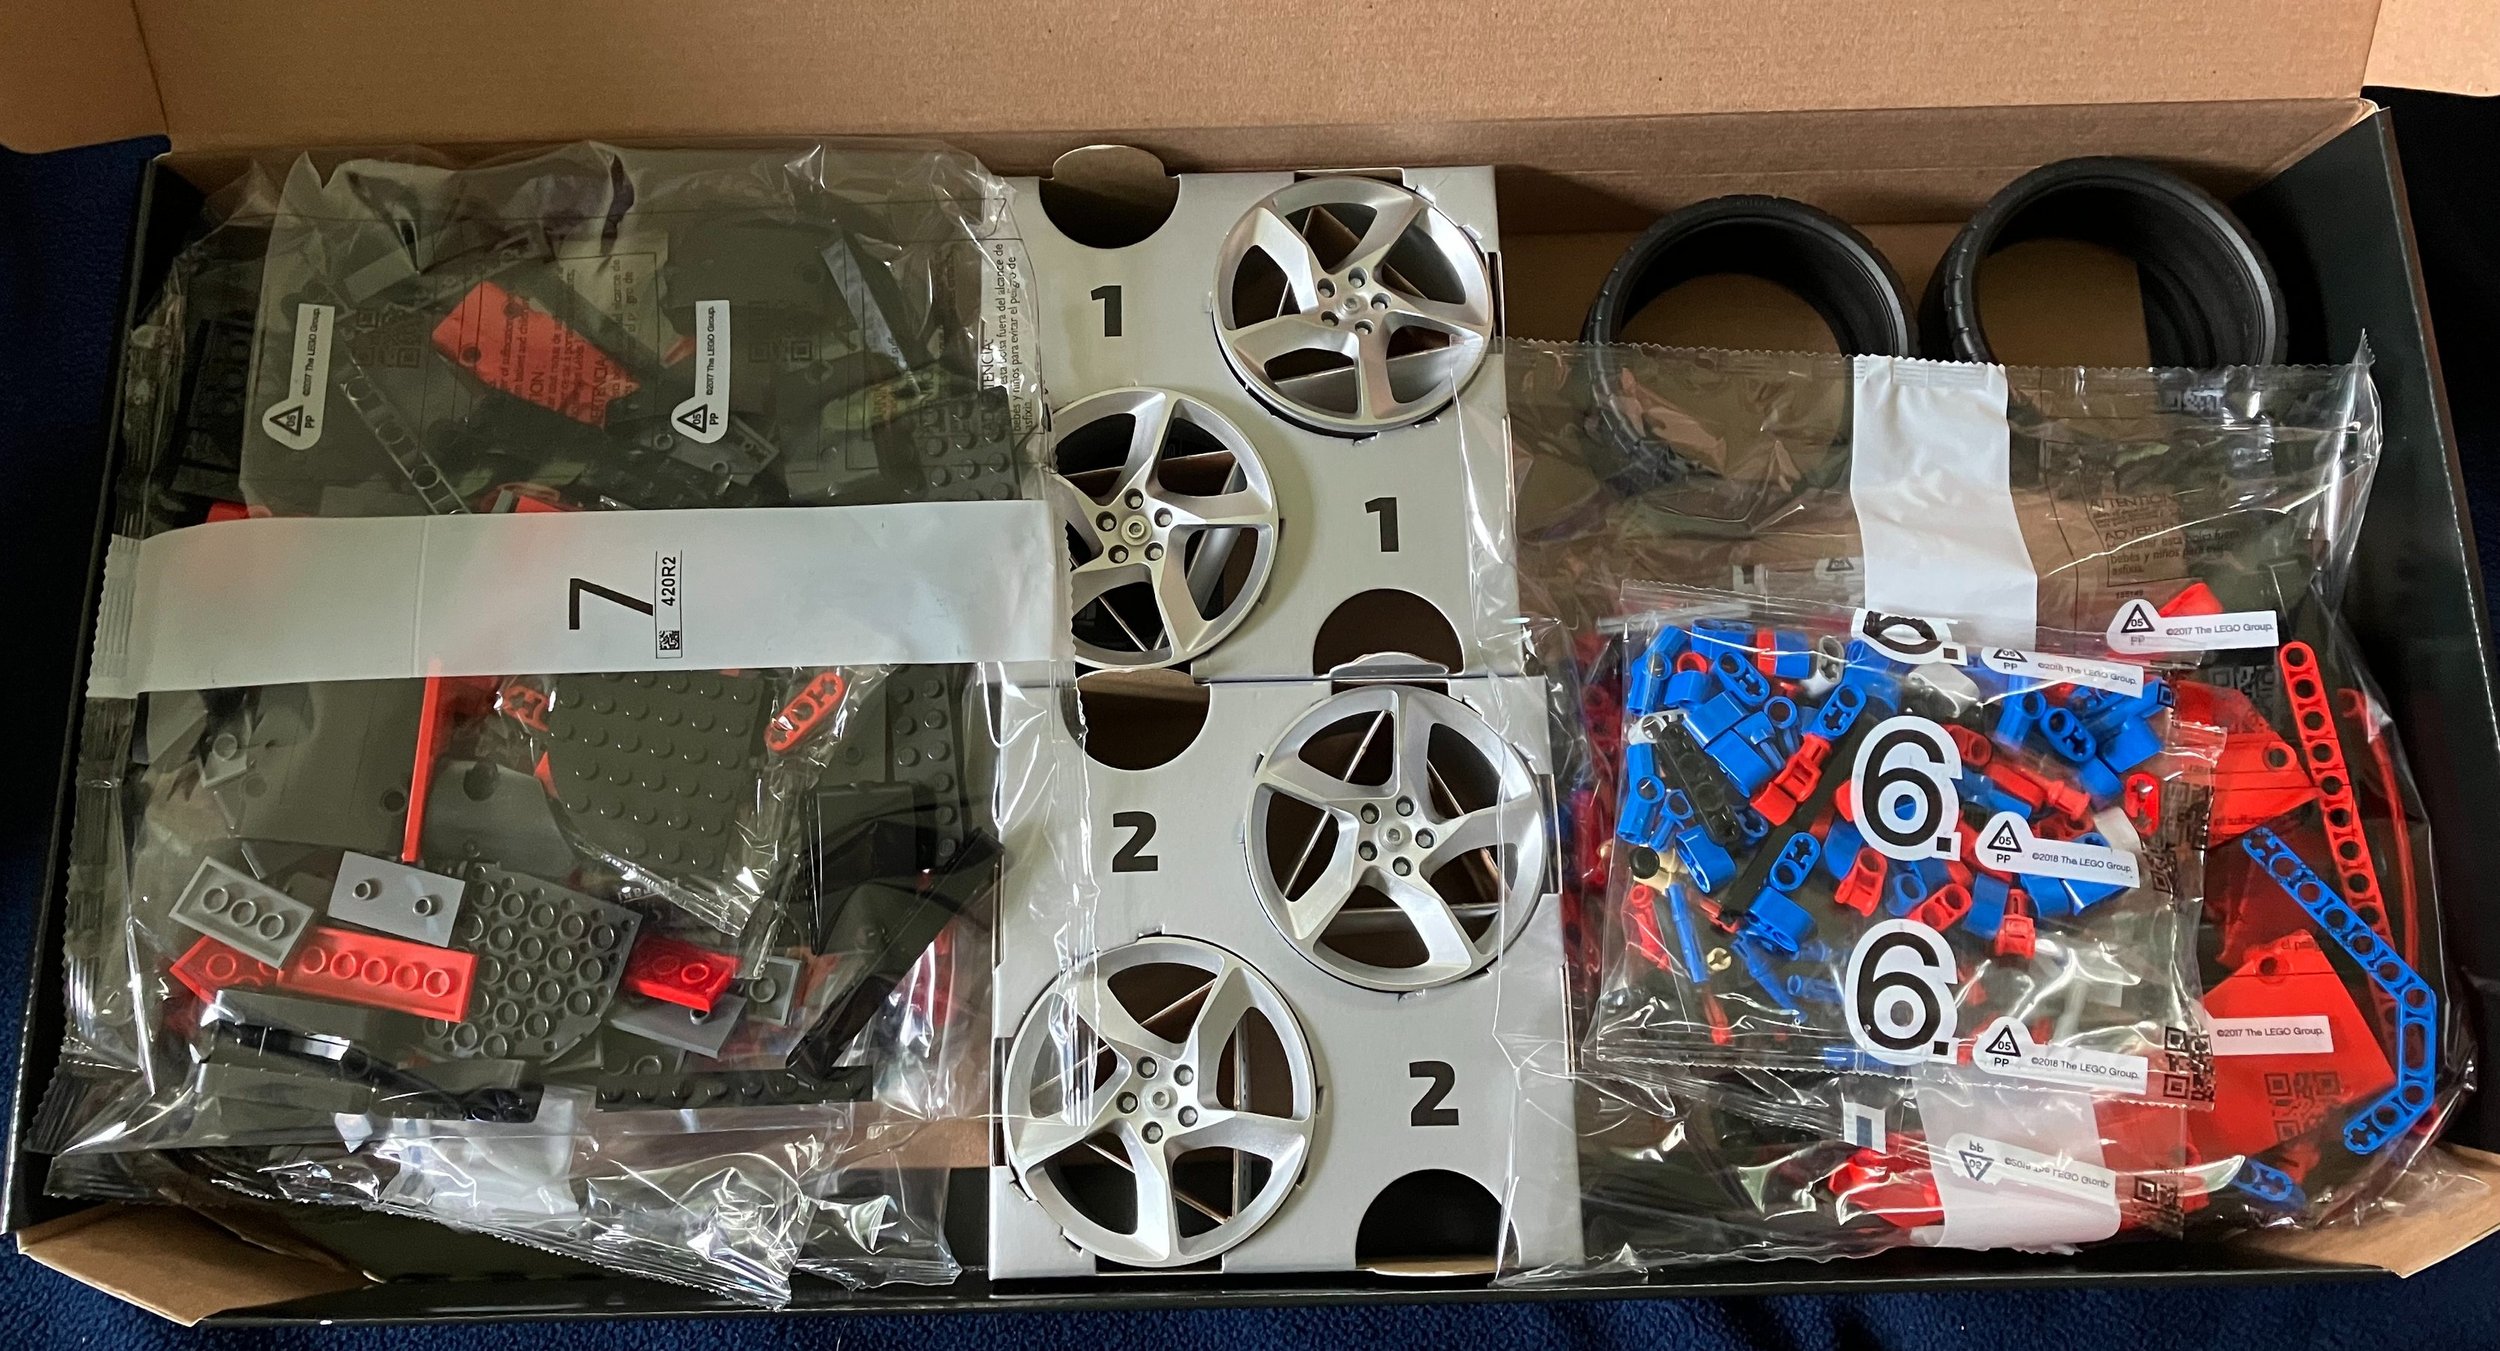
Box two is all parts and box three is parts, the wheels, and the hub caps.

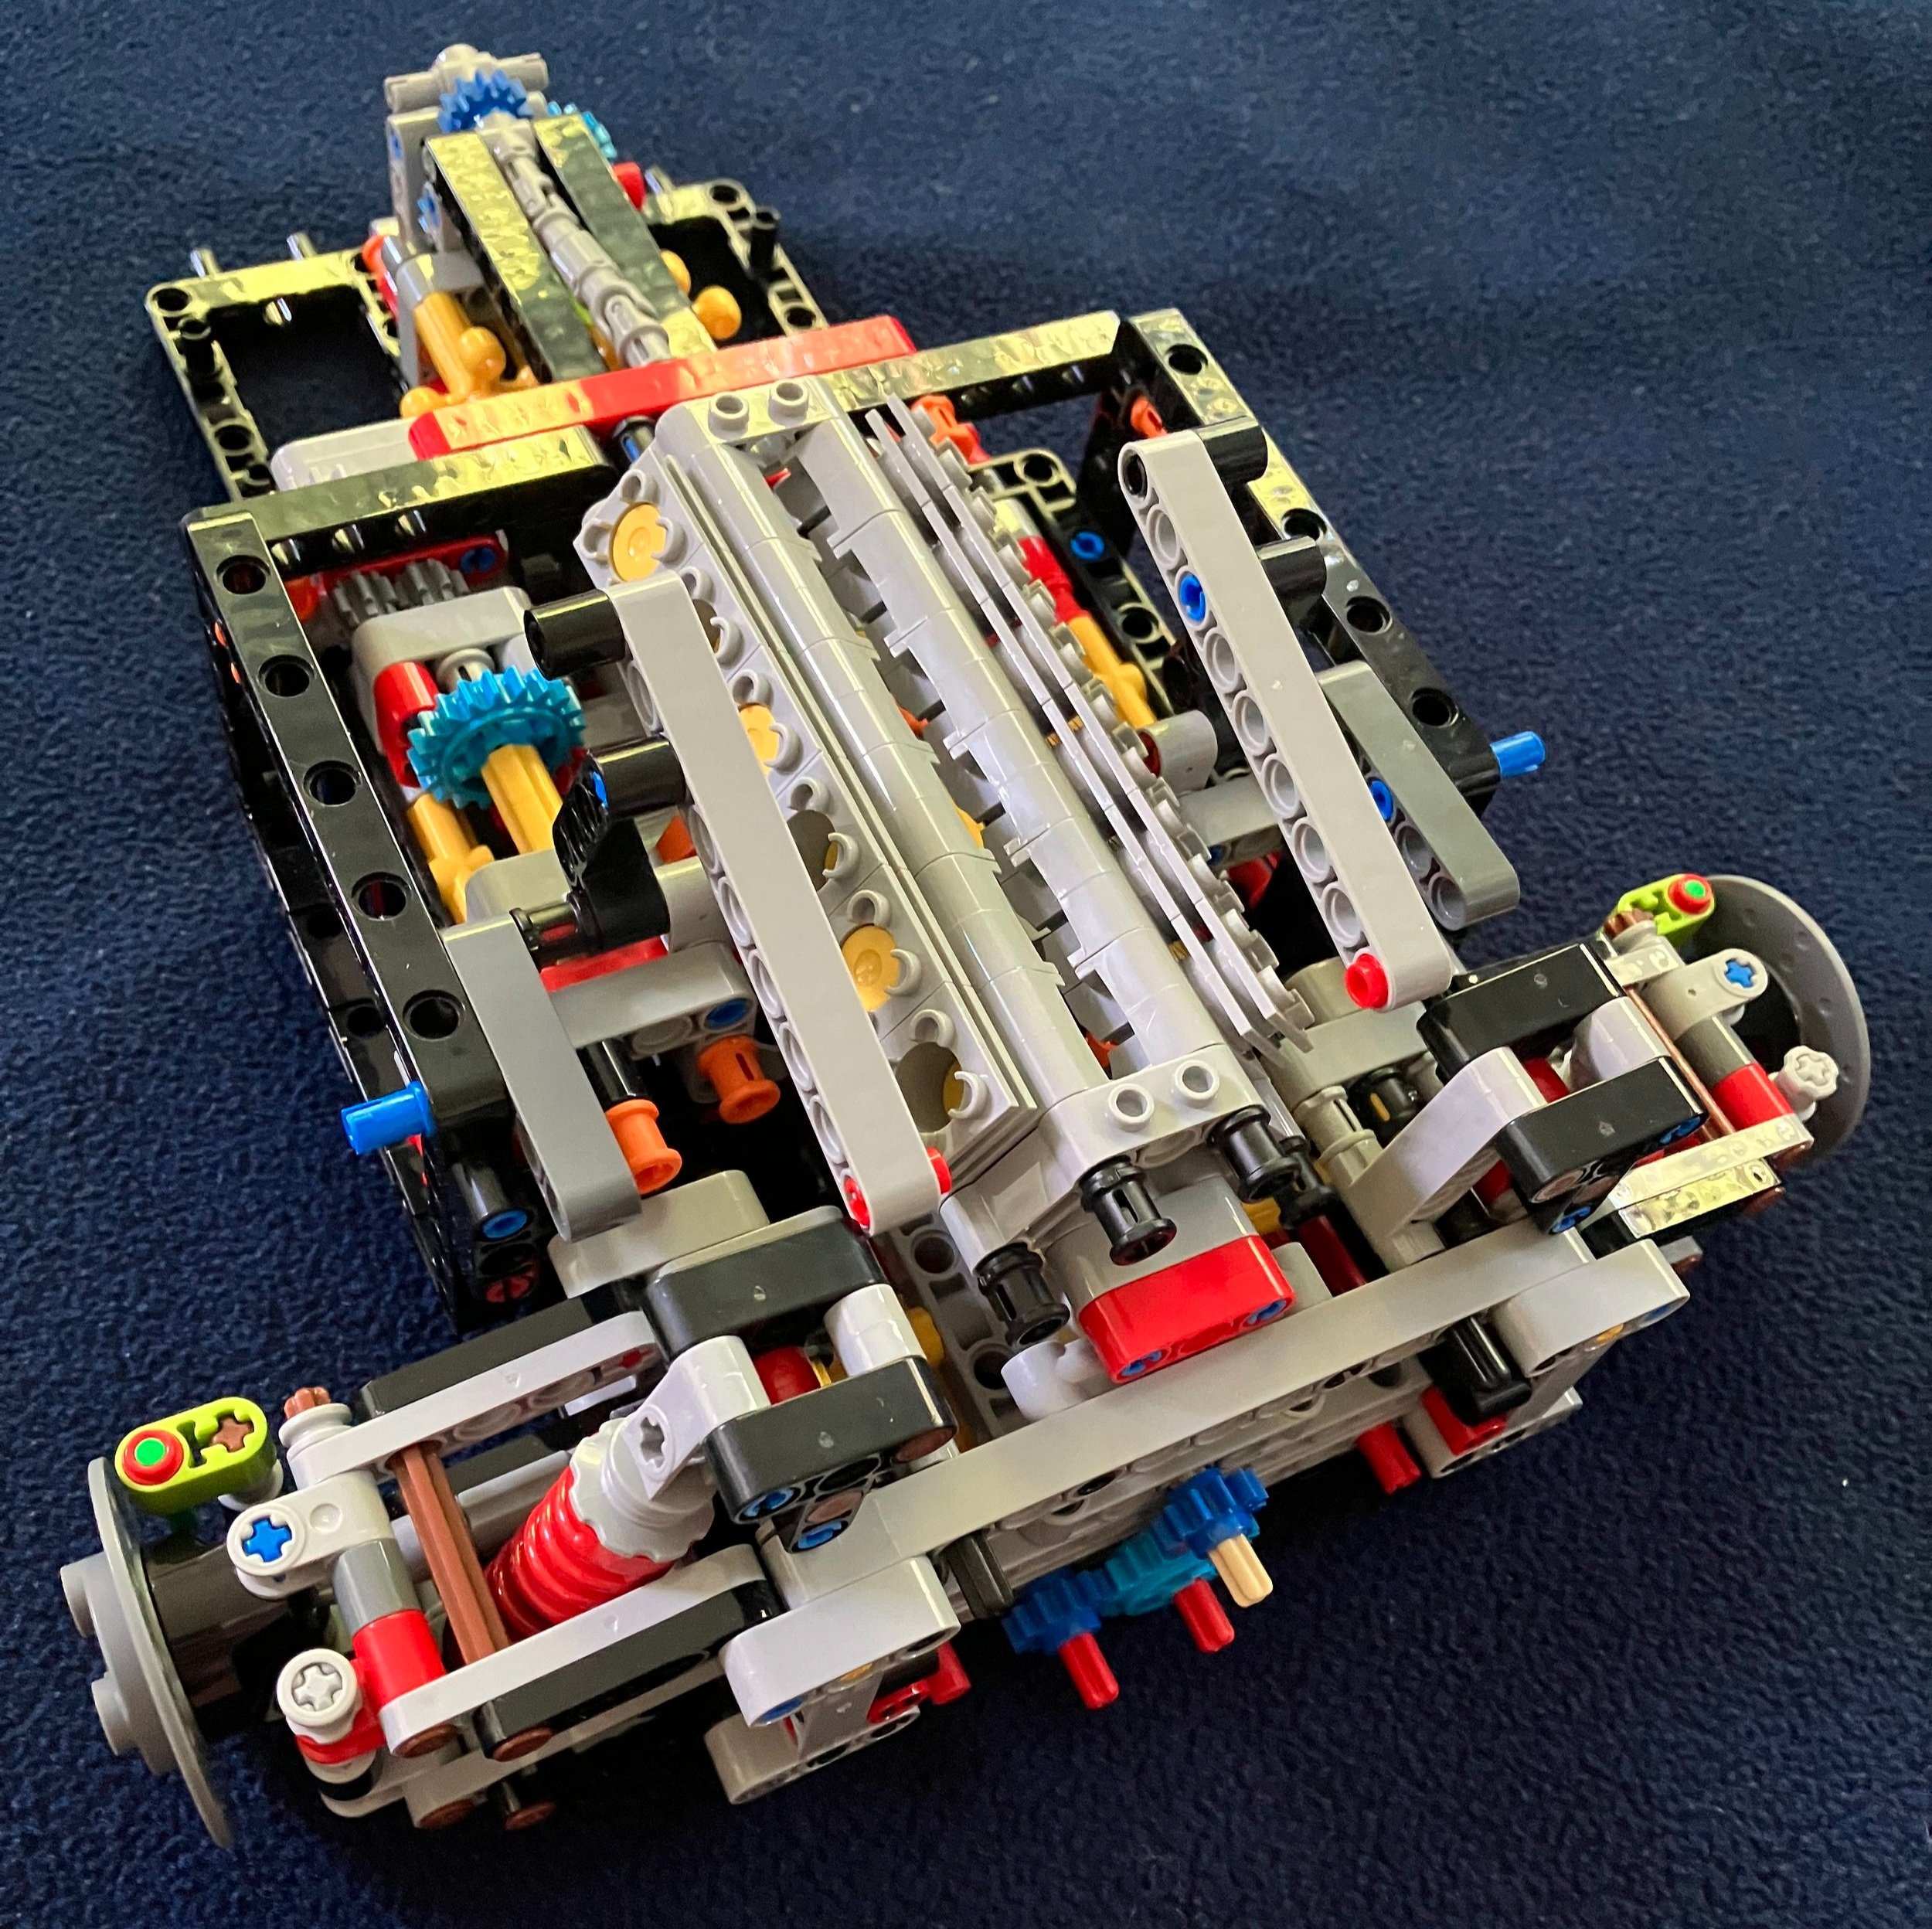
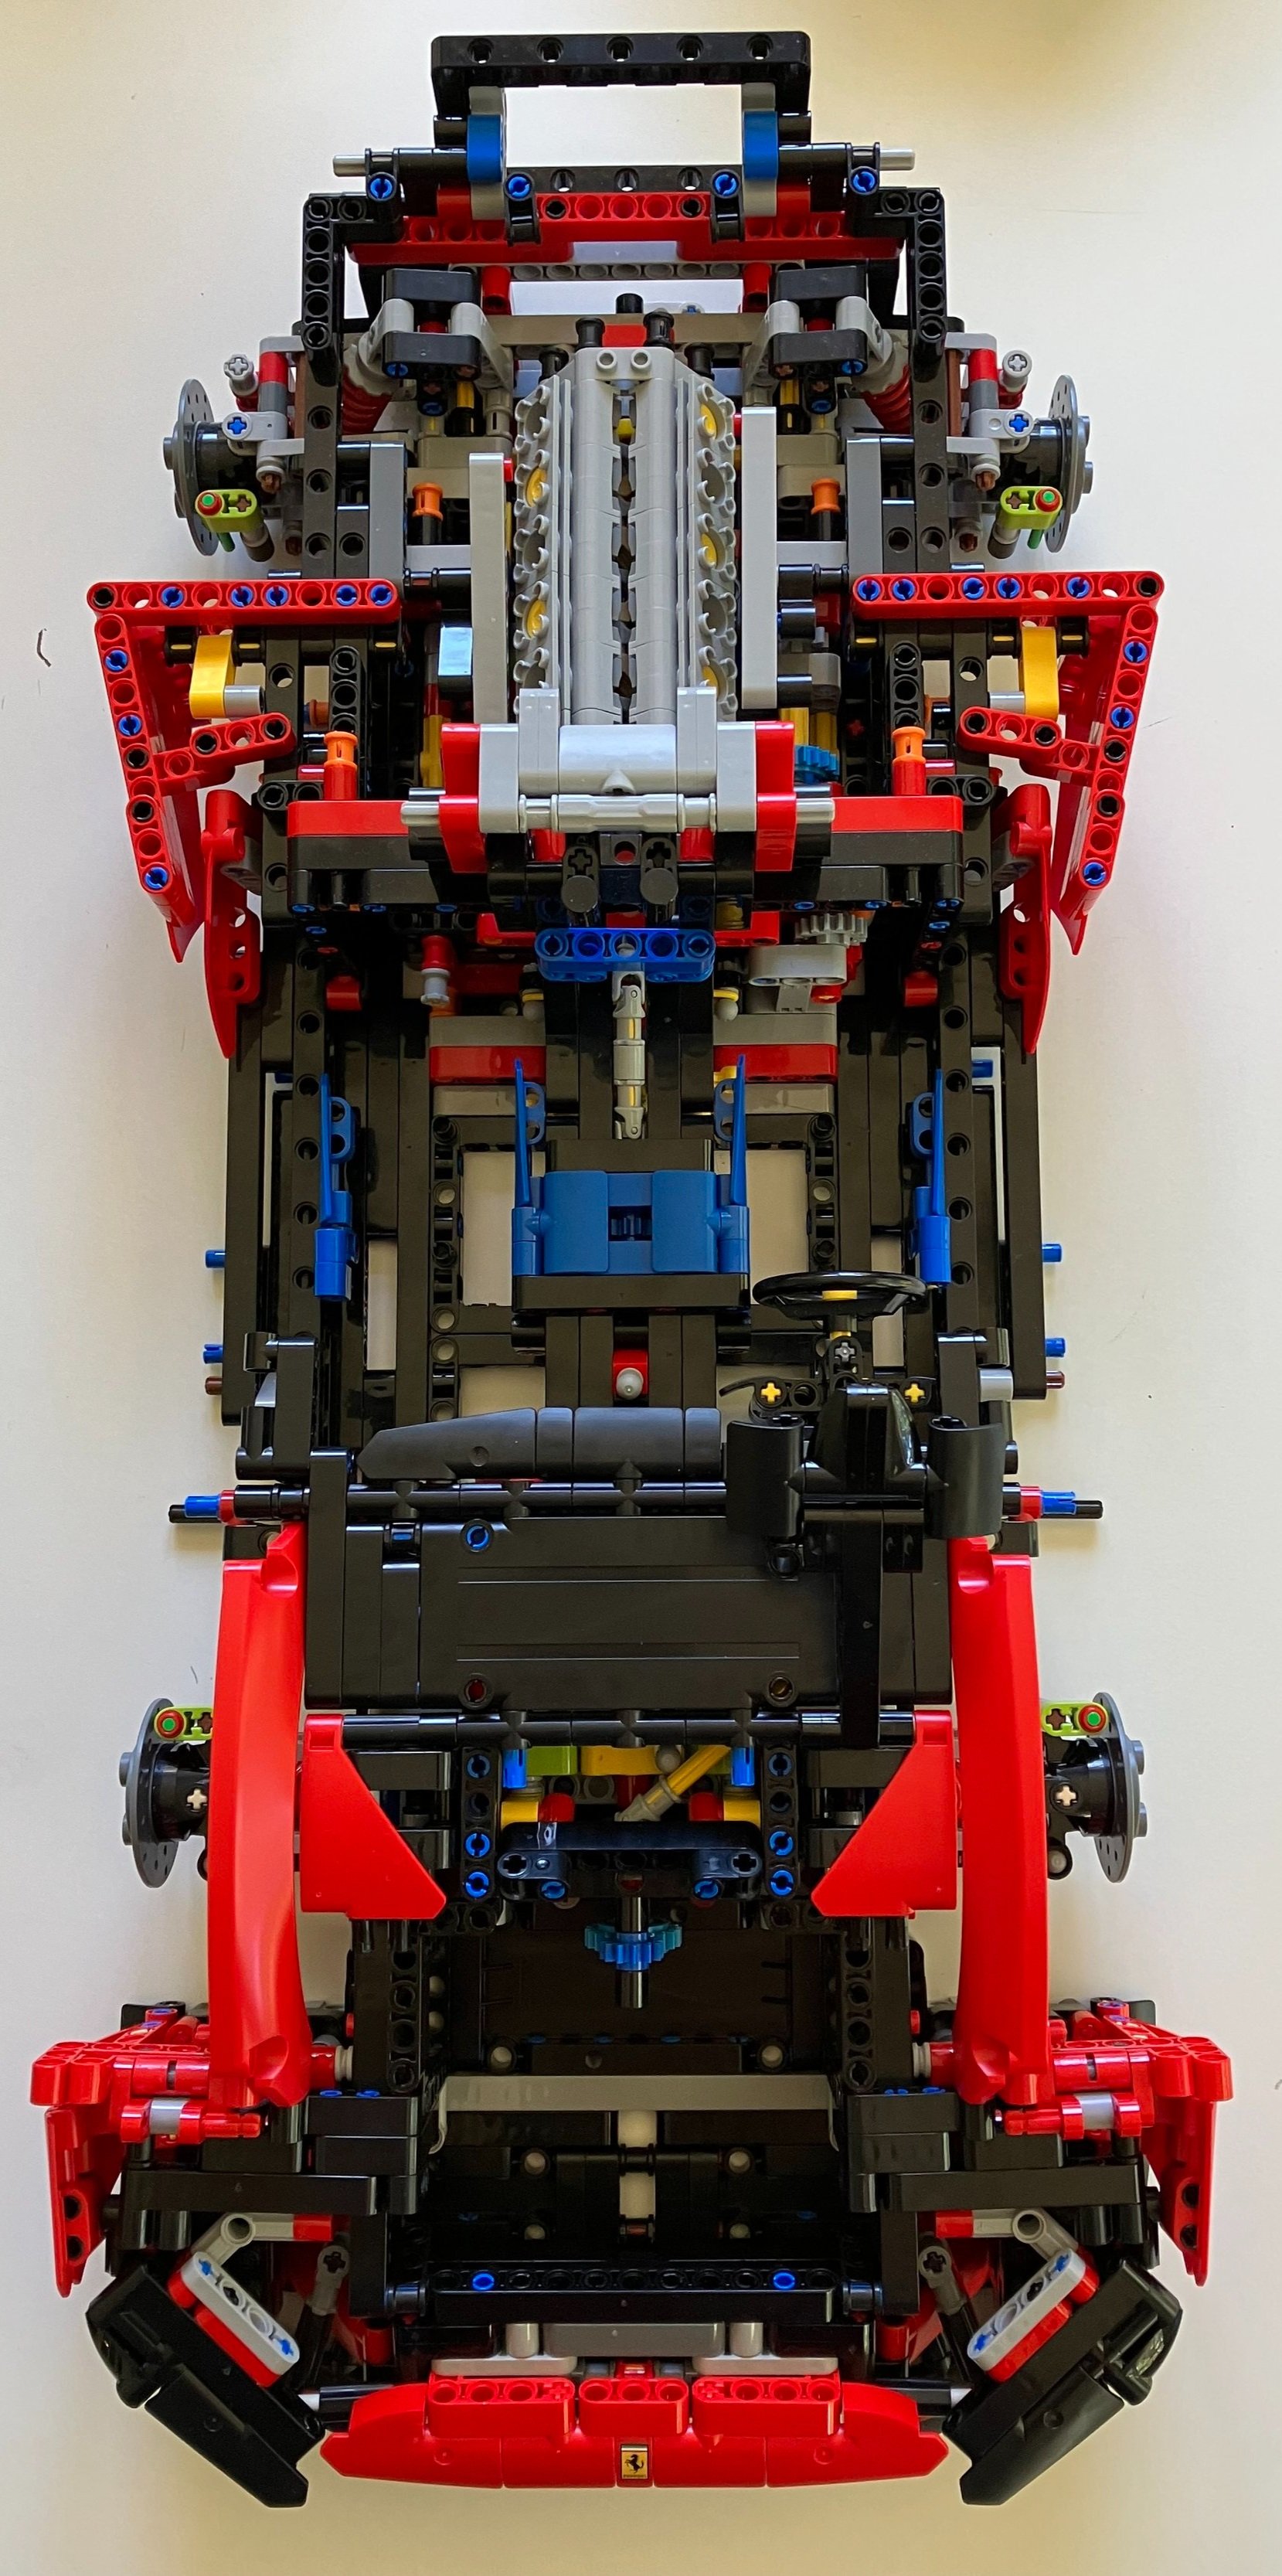
The first build is labeled as the gearbox and engine in the instruction manual. This is one of the more challenging sections of the build. There’s a lot to pay attention to in order to make sure all of the gears, pins, and axles are in the right spot. It’s a lot of work for a transmission that is buried within the car. You can see the transmission from the bottom though so it’s not for nothing. Also, you will be able to lift the rear up so you can see the engine.
I don’t remember the previous cars well enough to know how similar this build is to the others, but I didn’t feel like I was building the previous cars all over again.


The second set of bags builds the suspension. You add in the front of the car frame, the front axle, and the steering system. To me, it’s amazing how all of this comes together to see how it looks now and how it looks at the end.

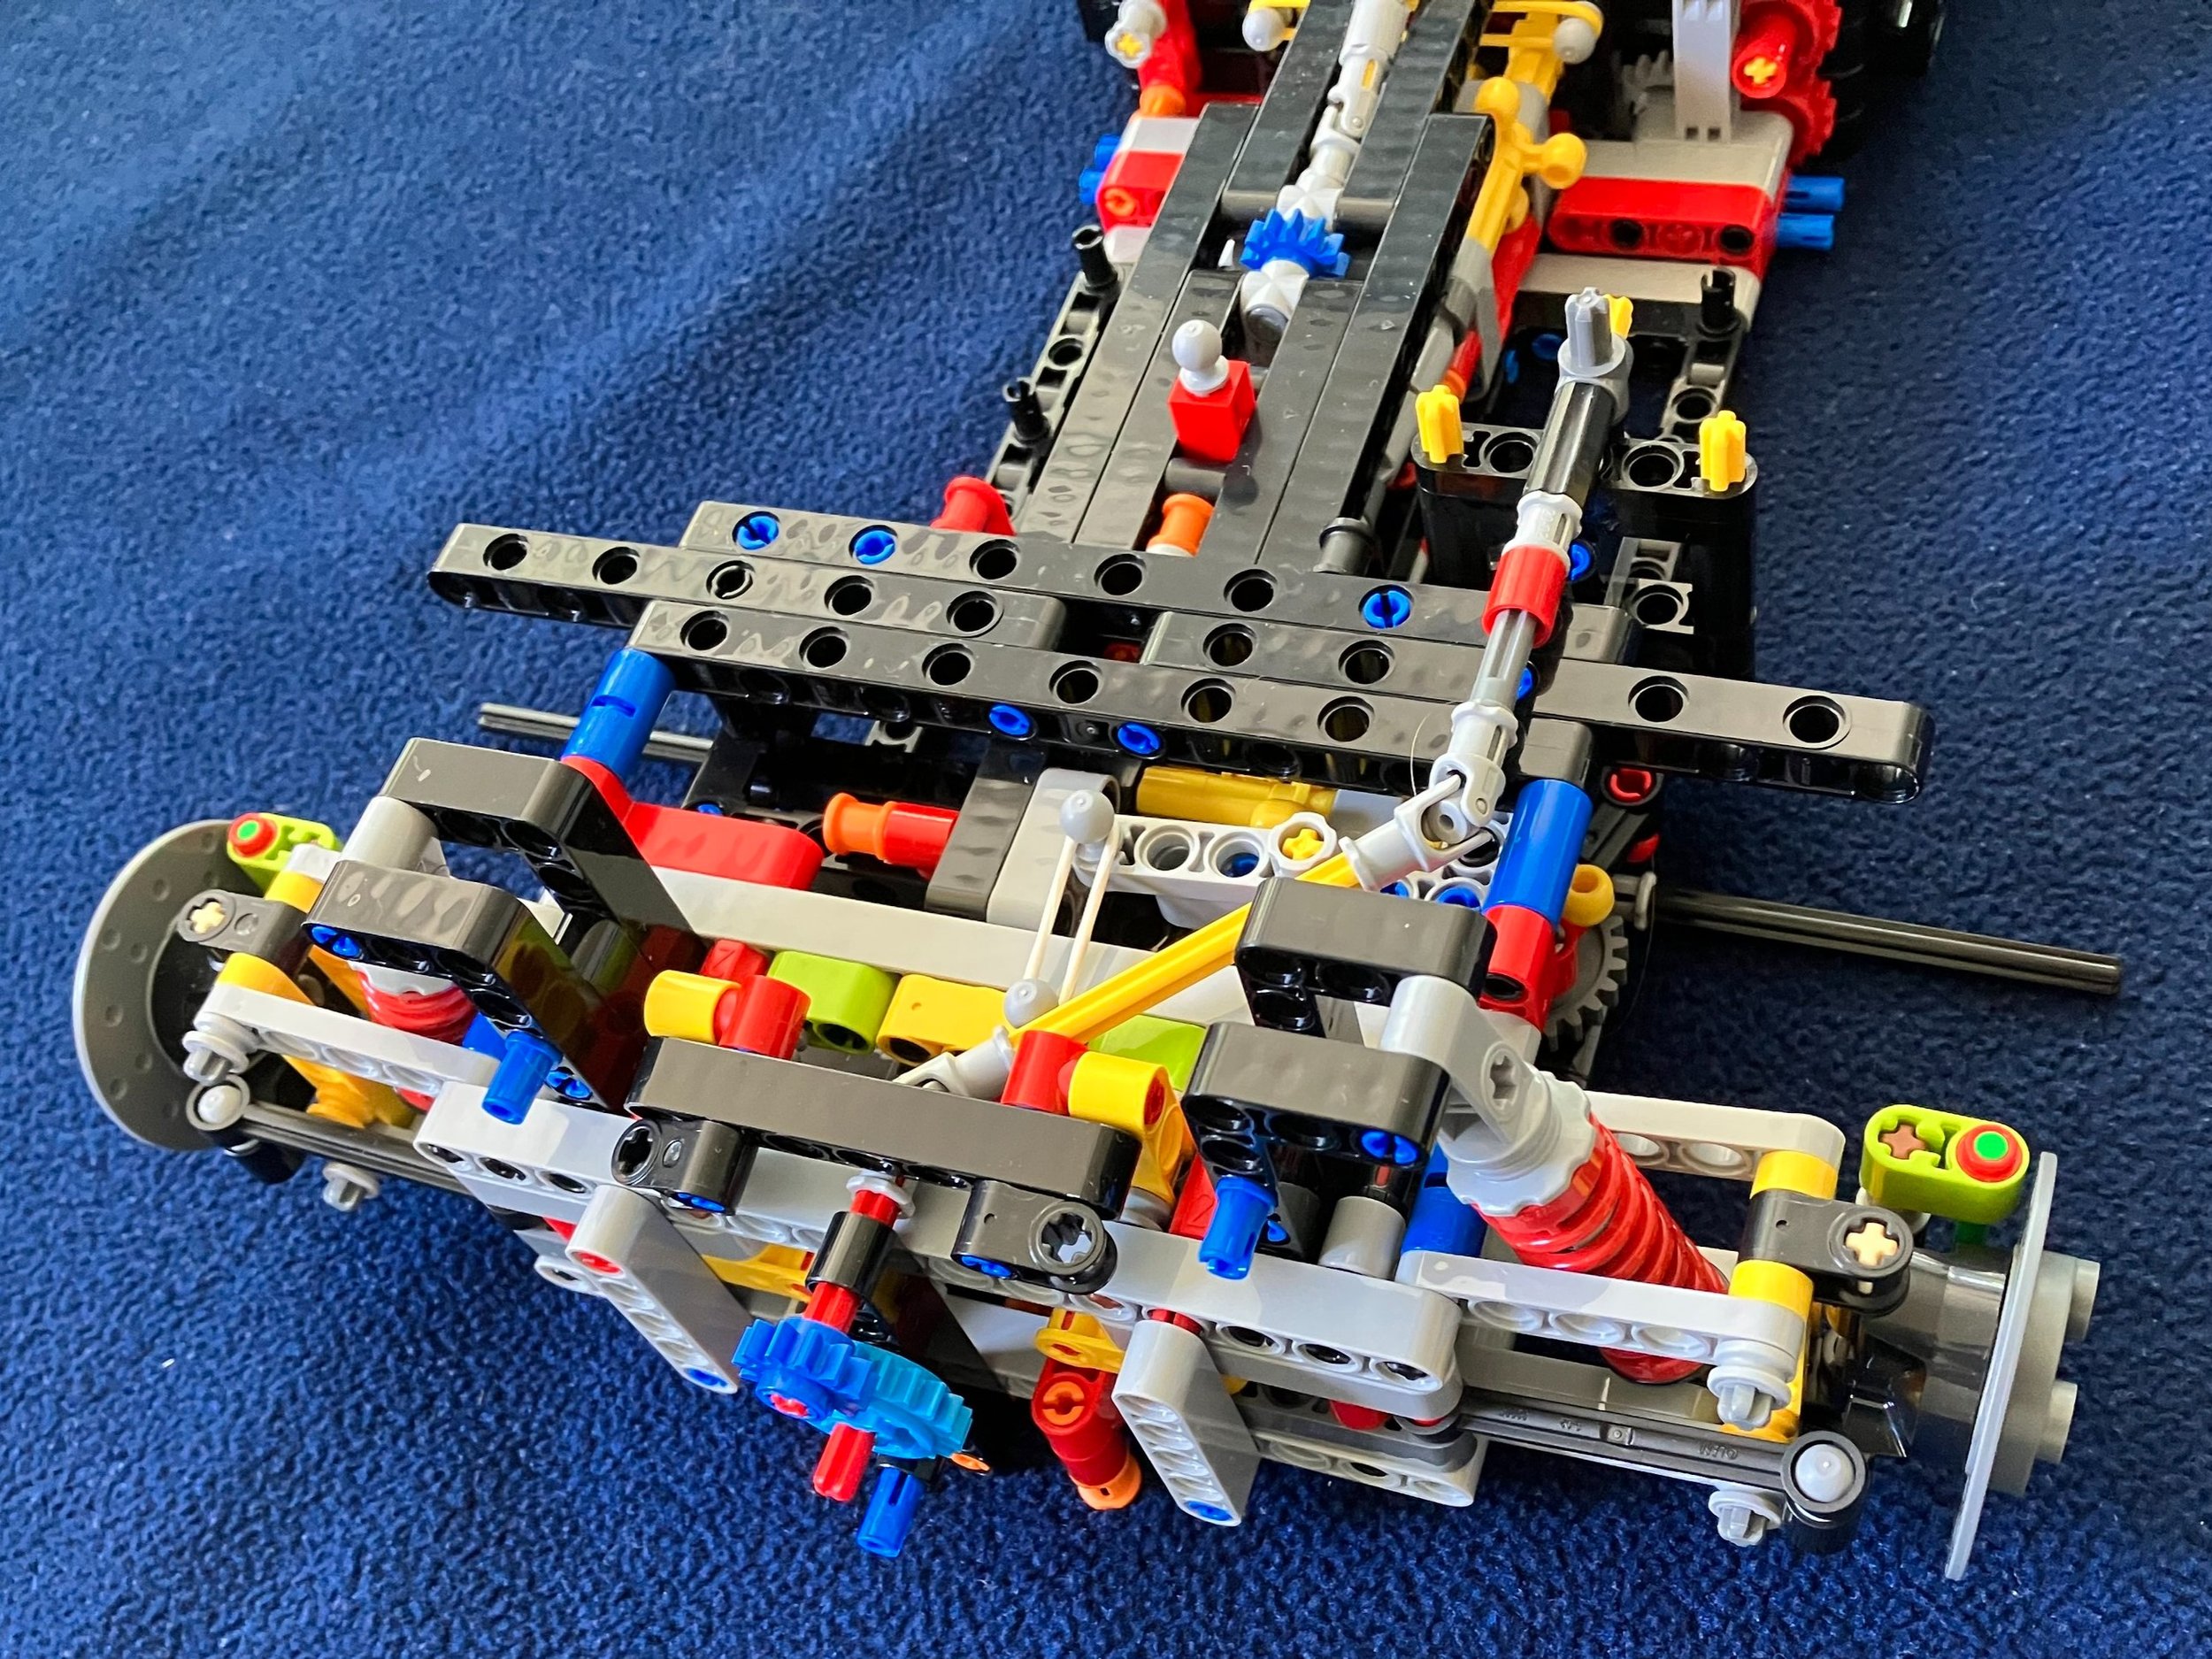

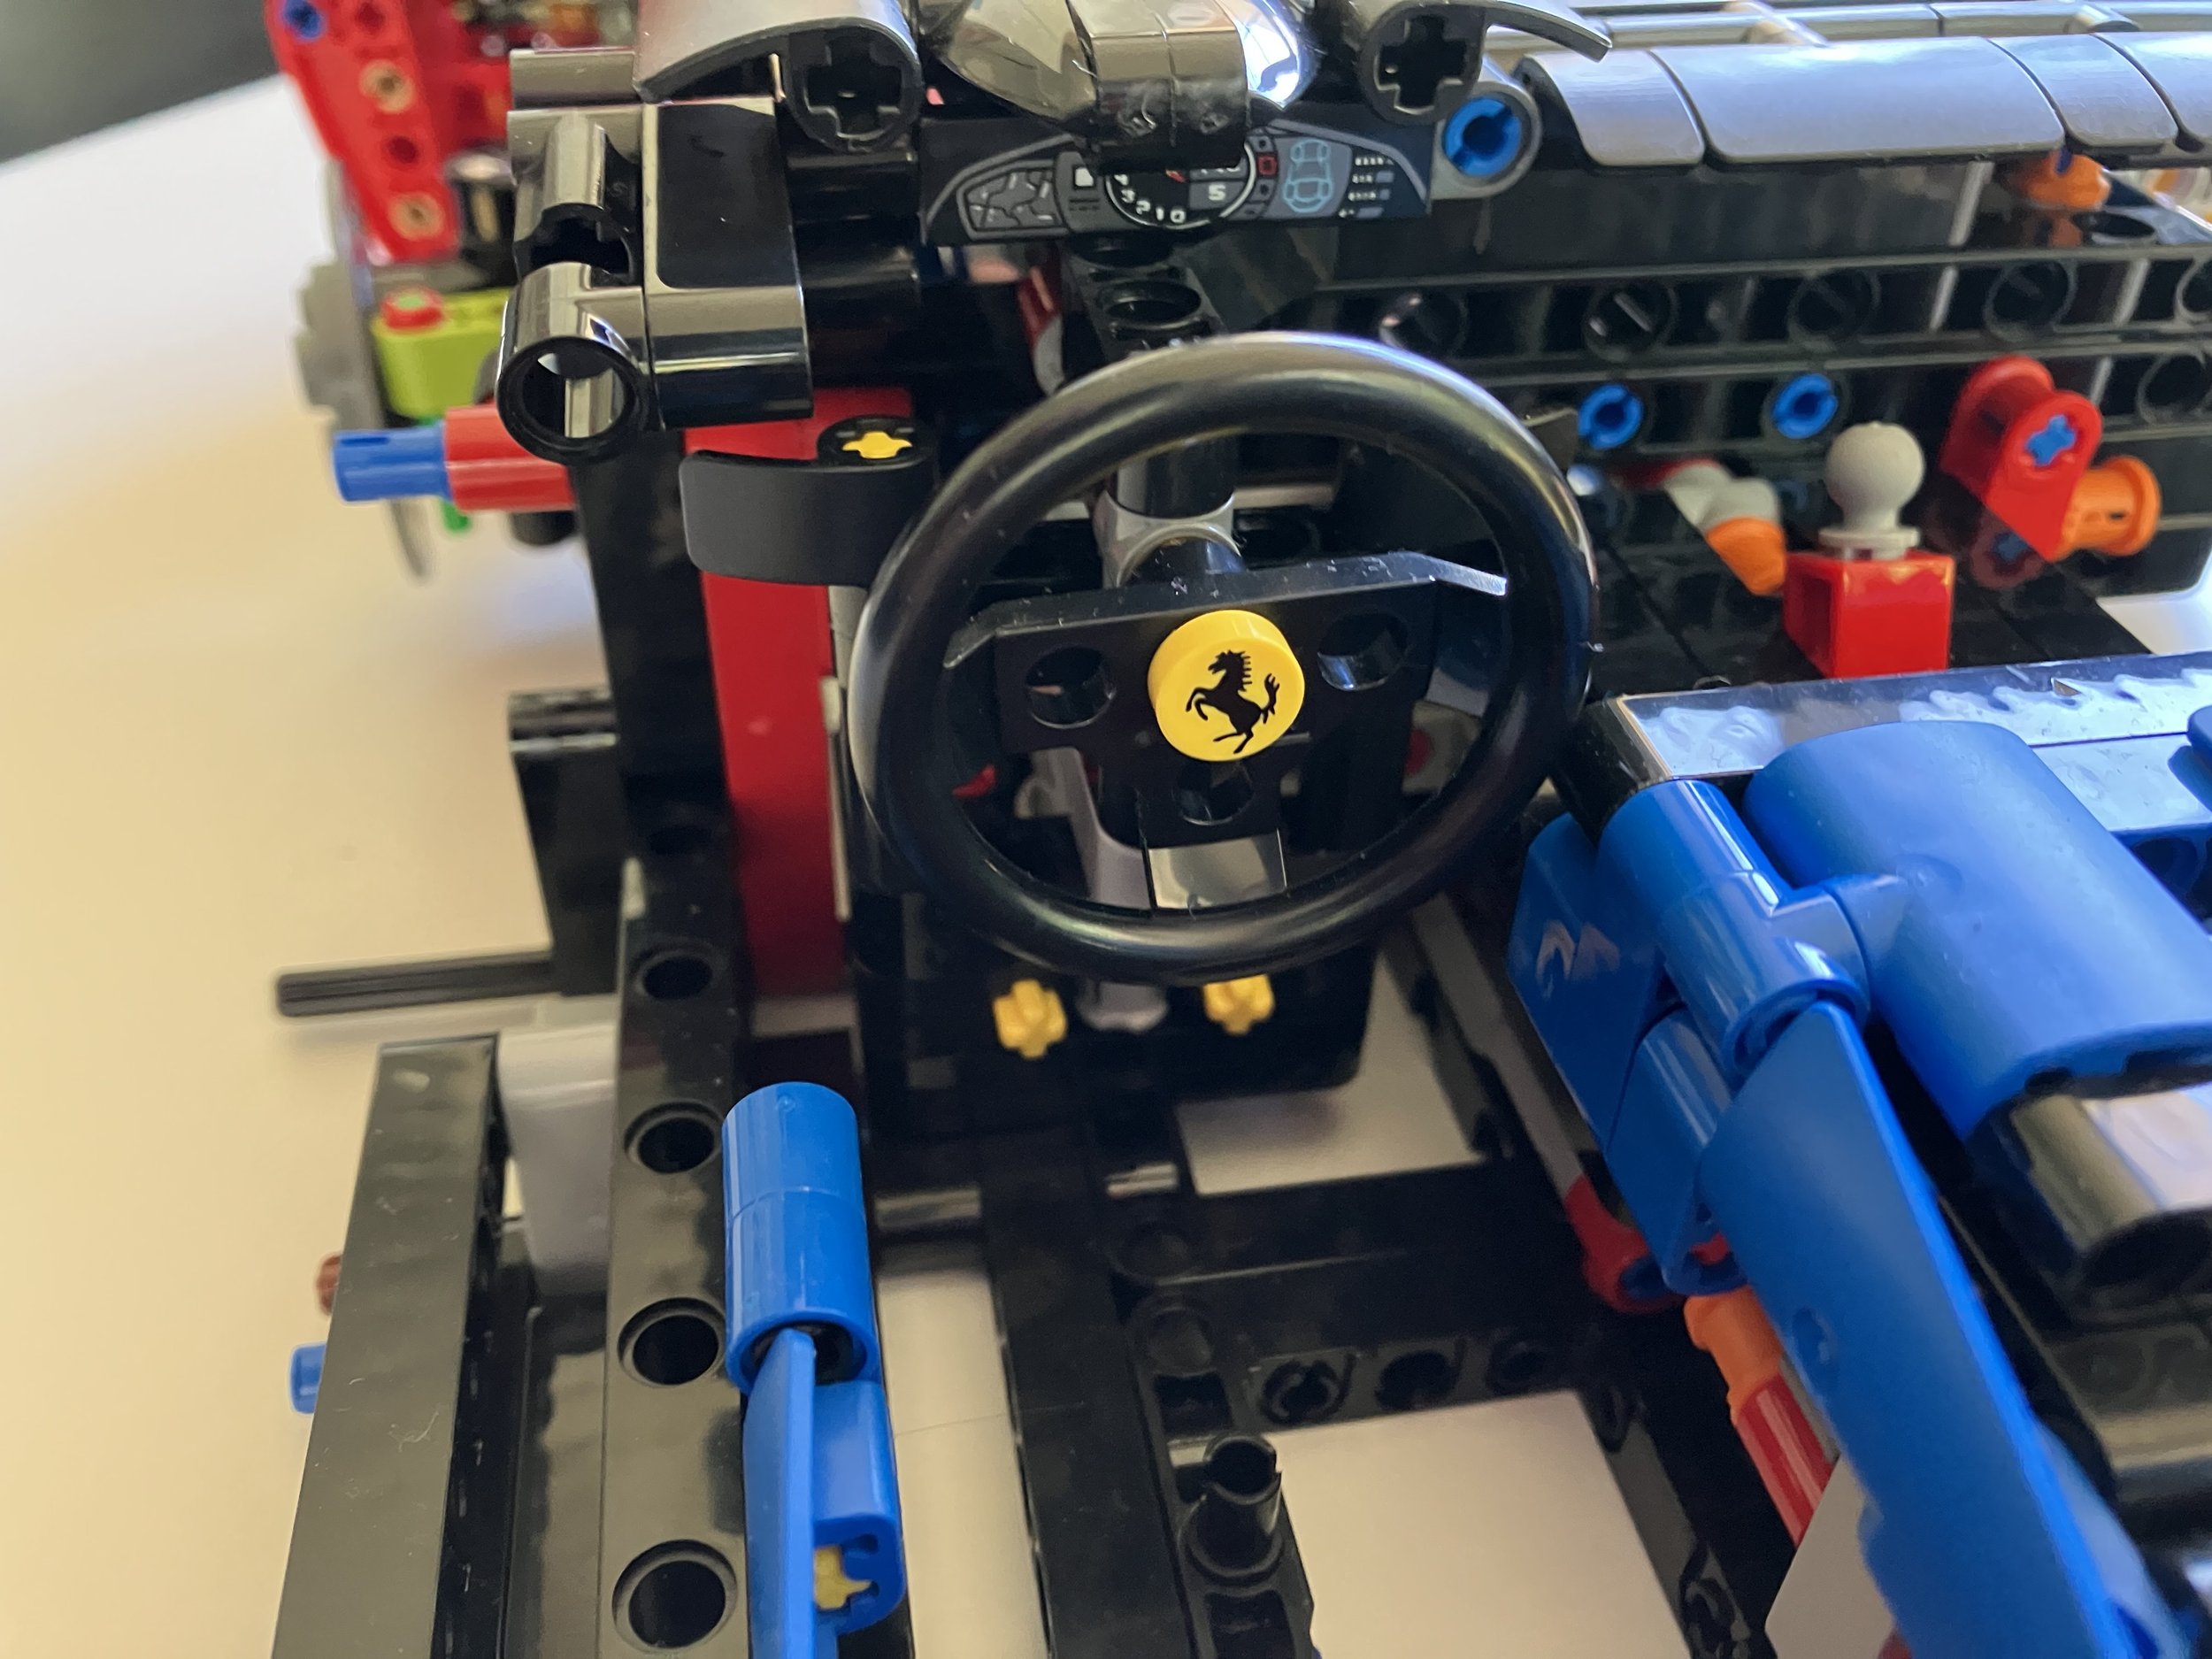
The third set of bags is the car frame/chassis. Here you install the start of the seats, the steering wheel, the pieces that will allow the doors to open and close later on, and a few other parts. The choice of blue and black for the seats is interesting as it’s a red car, but it works.

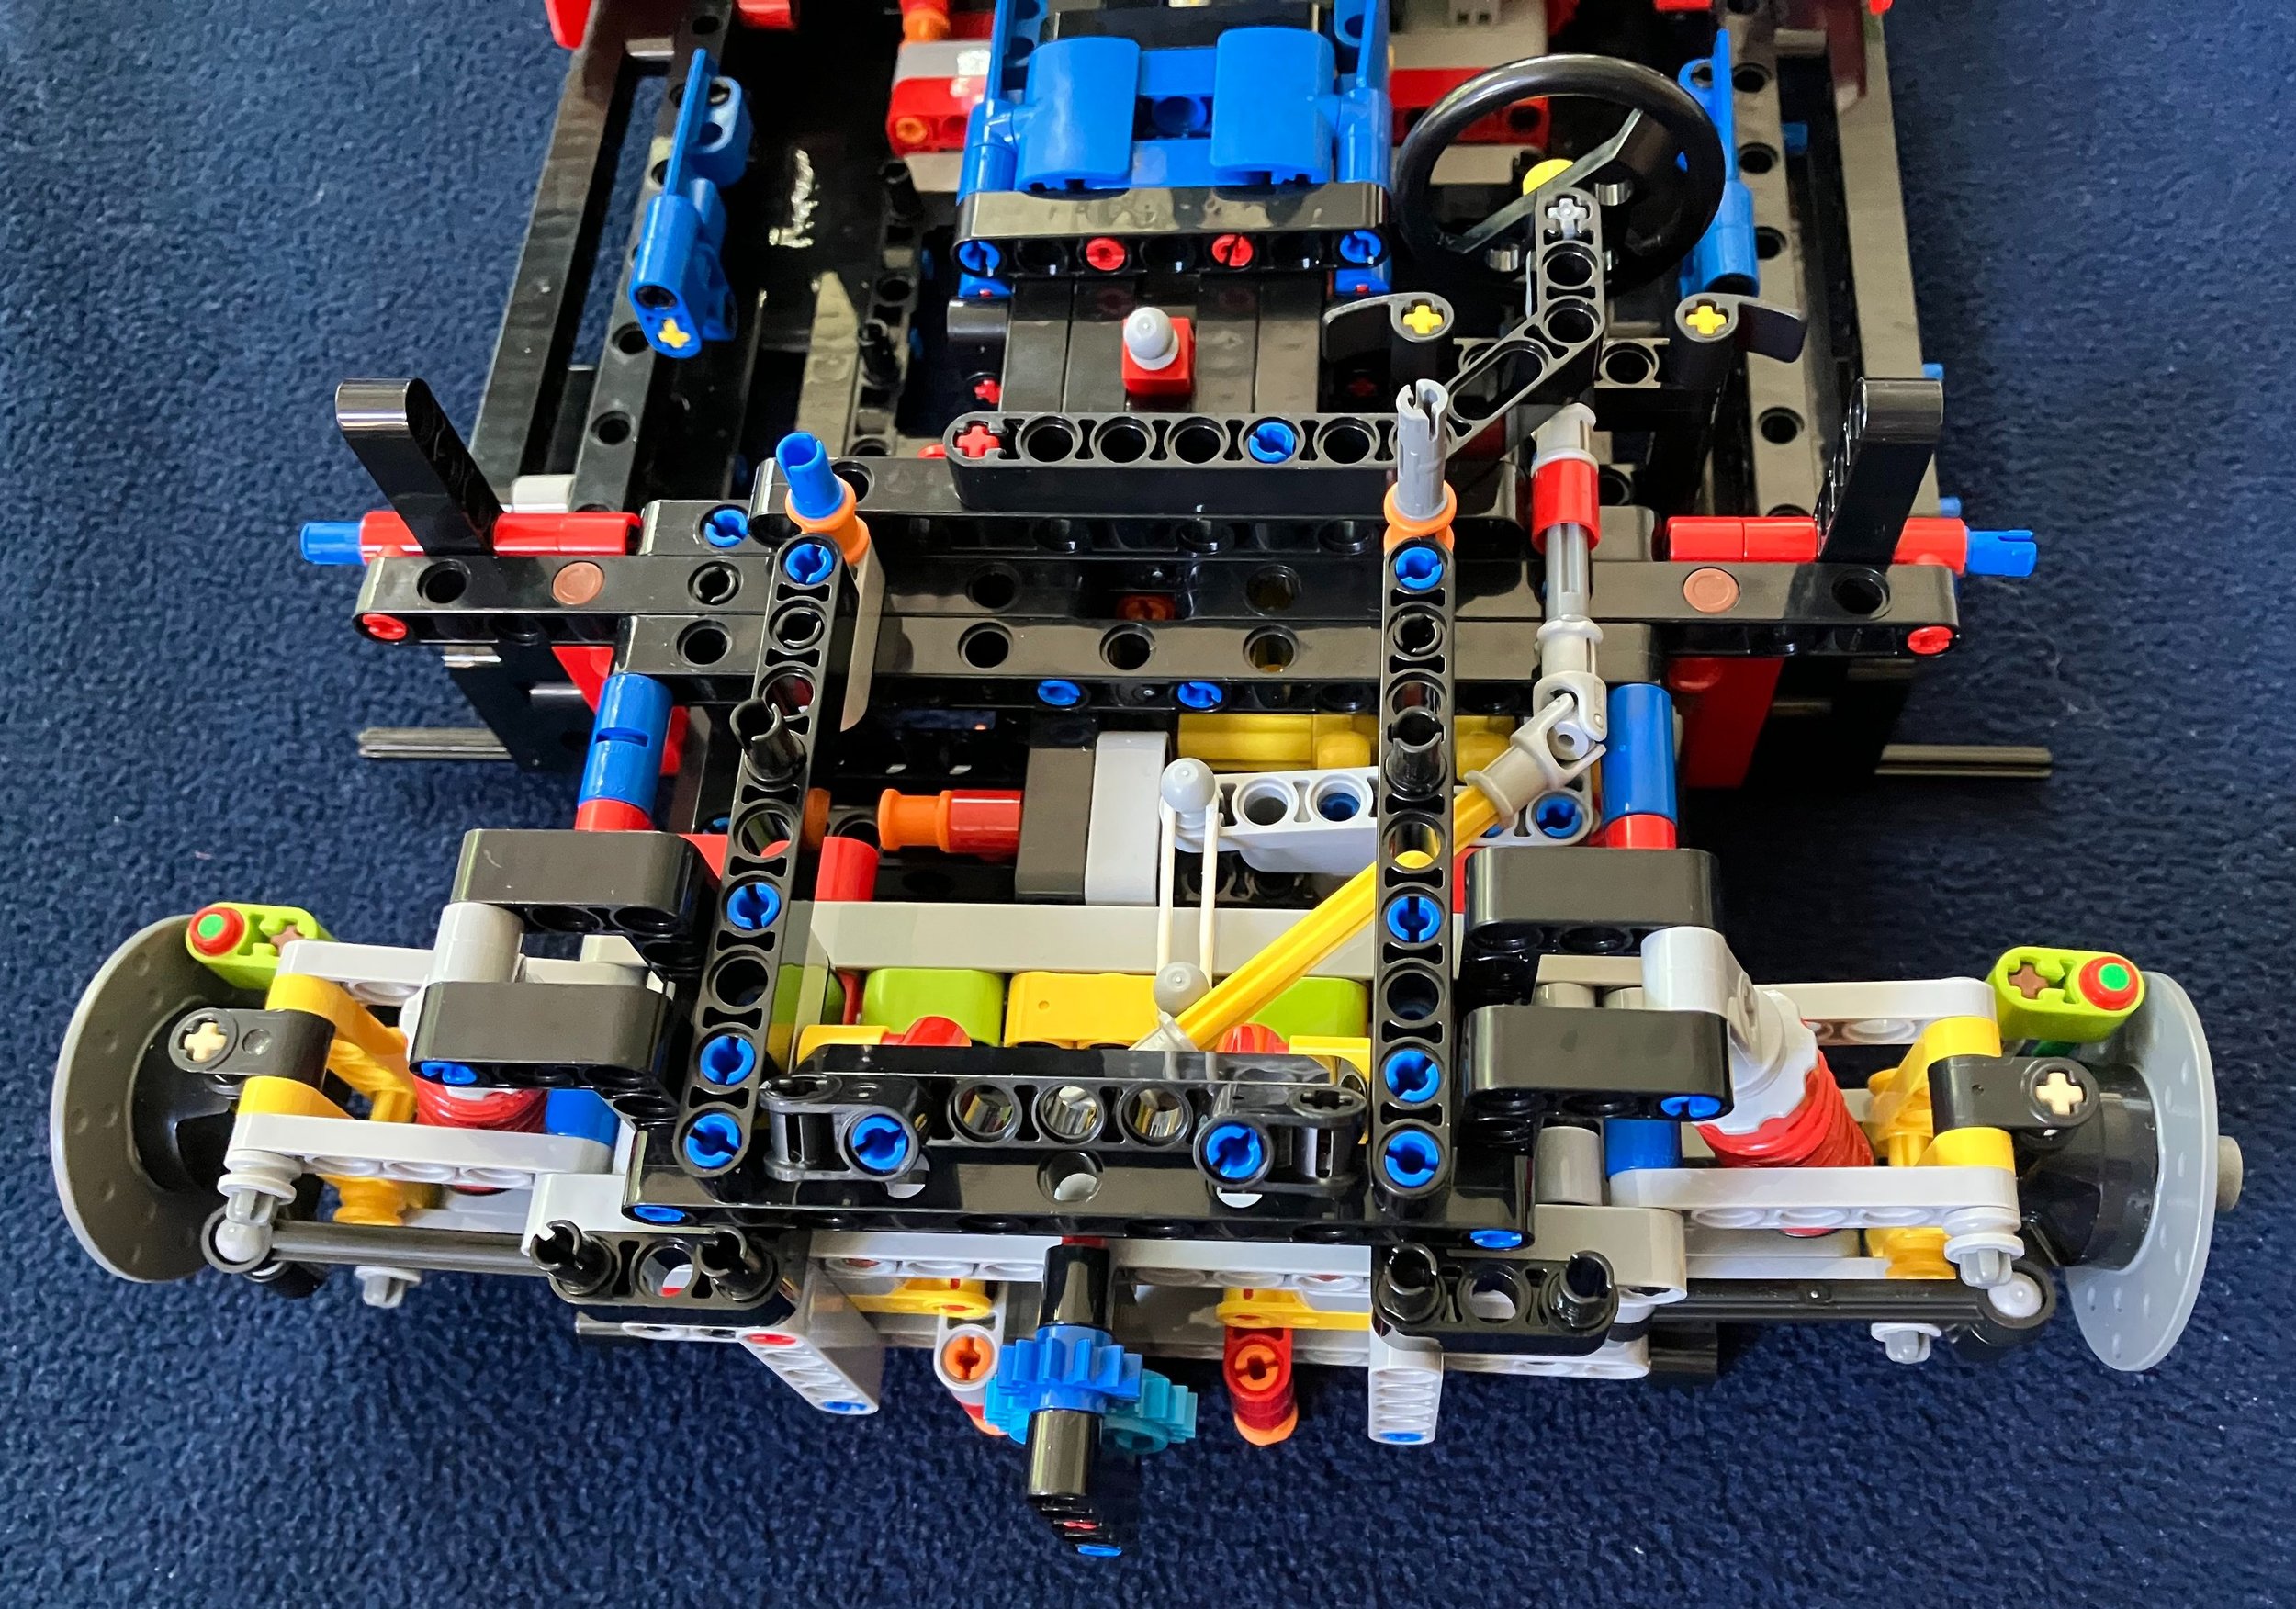

The fourth set of bags builds the front of the car. Thankfully, there are no stickers to install so the Ferrari logo on the hood, steering wheel, seats, and elsewhere are all printed. Yay! There is a trunk space in this car, but it does not come with a luggage bag like some of the earlier cars which is fine by me.
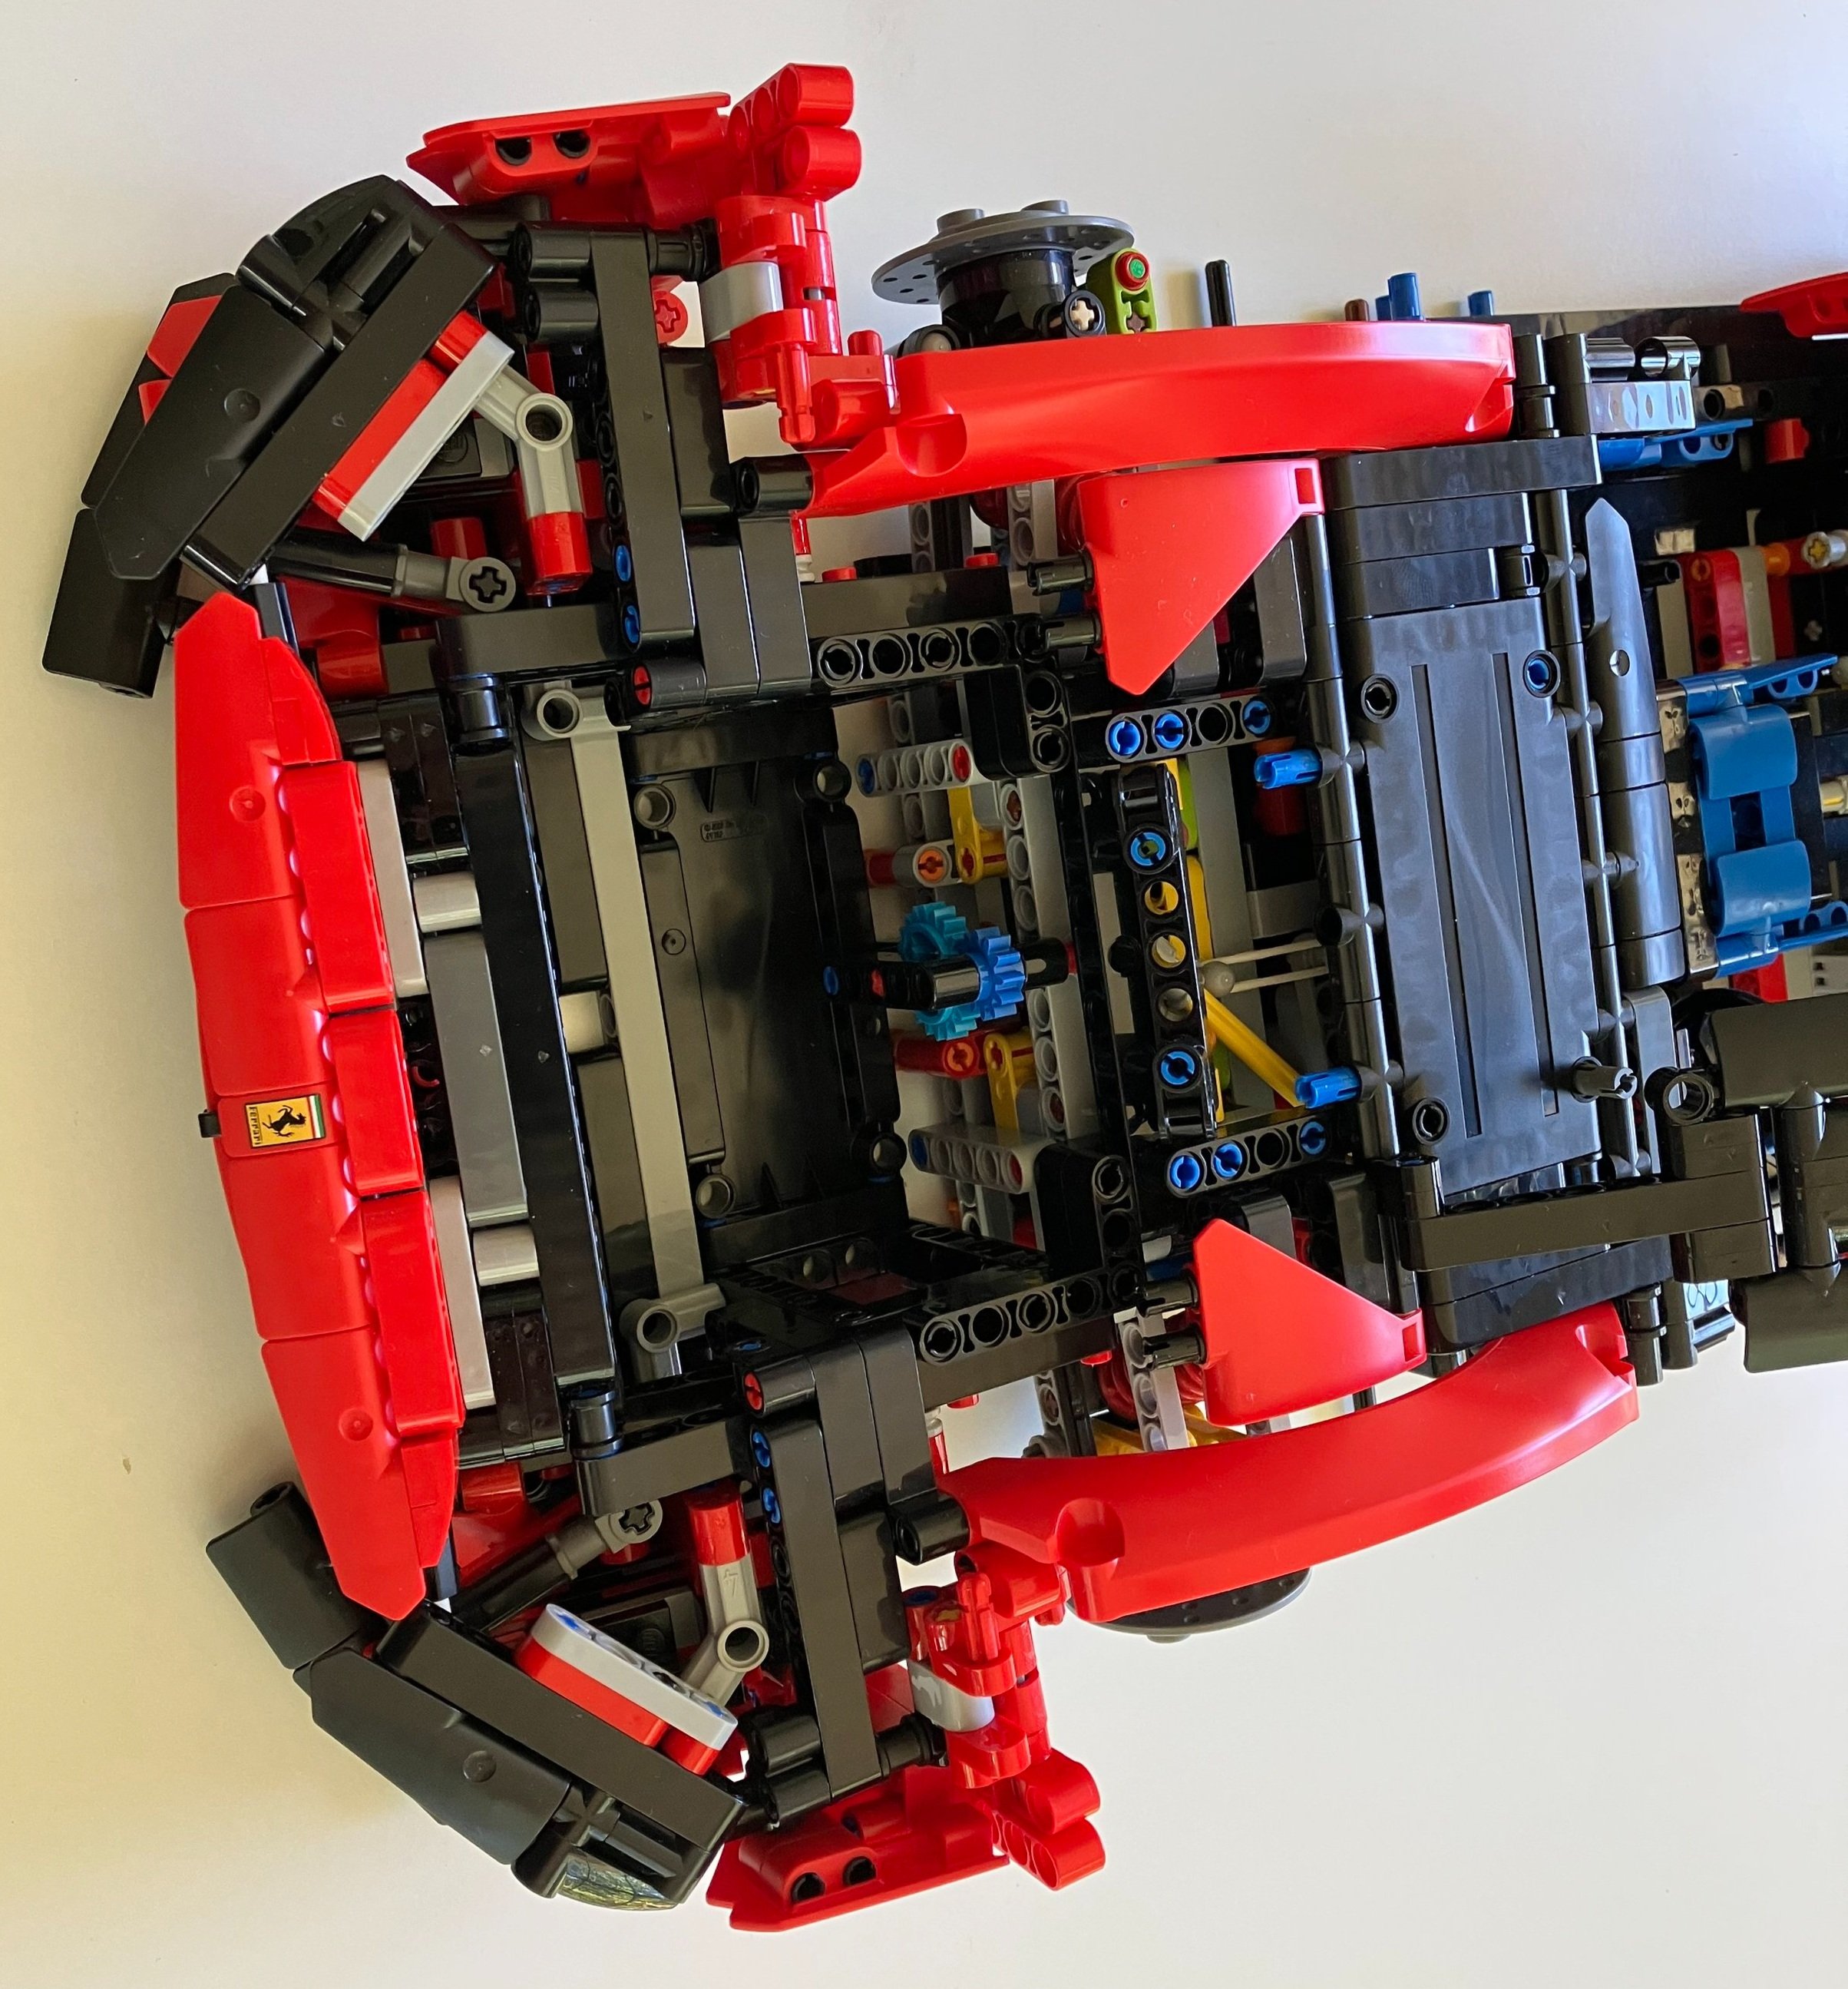
I like the use of System pieces to add detail to the car. The use of offset stacked plates on the bumper is a cool technique to replicate the shape on the actual car. It’s a nice touch here.

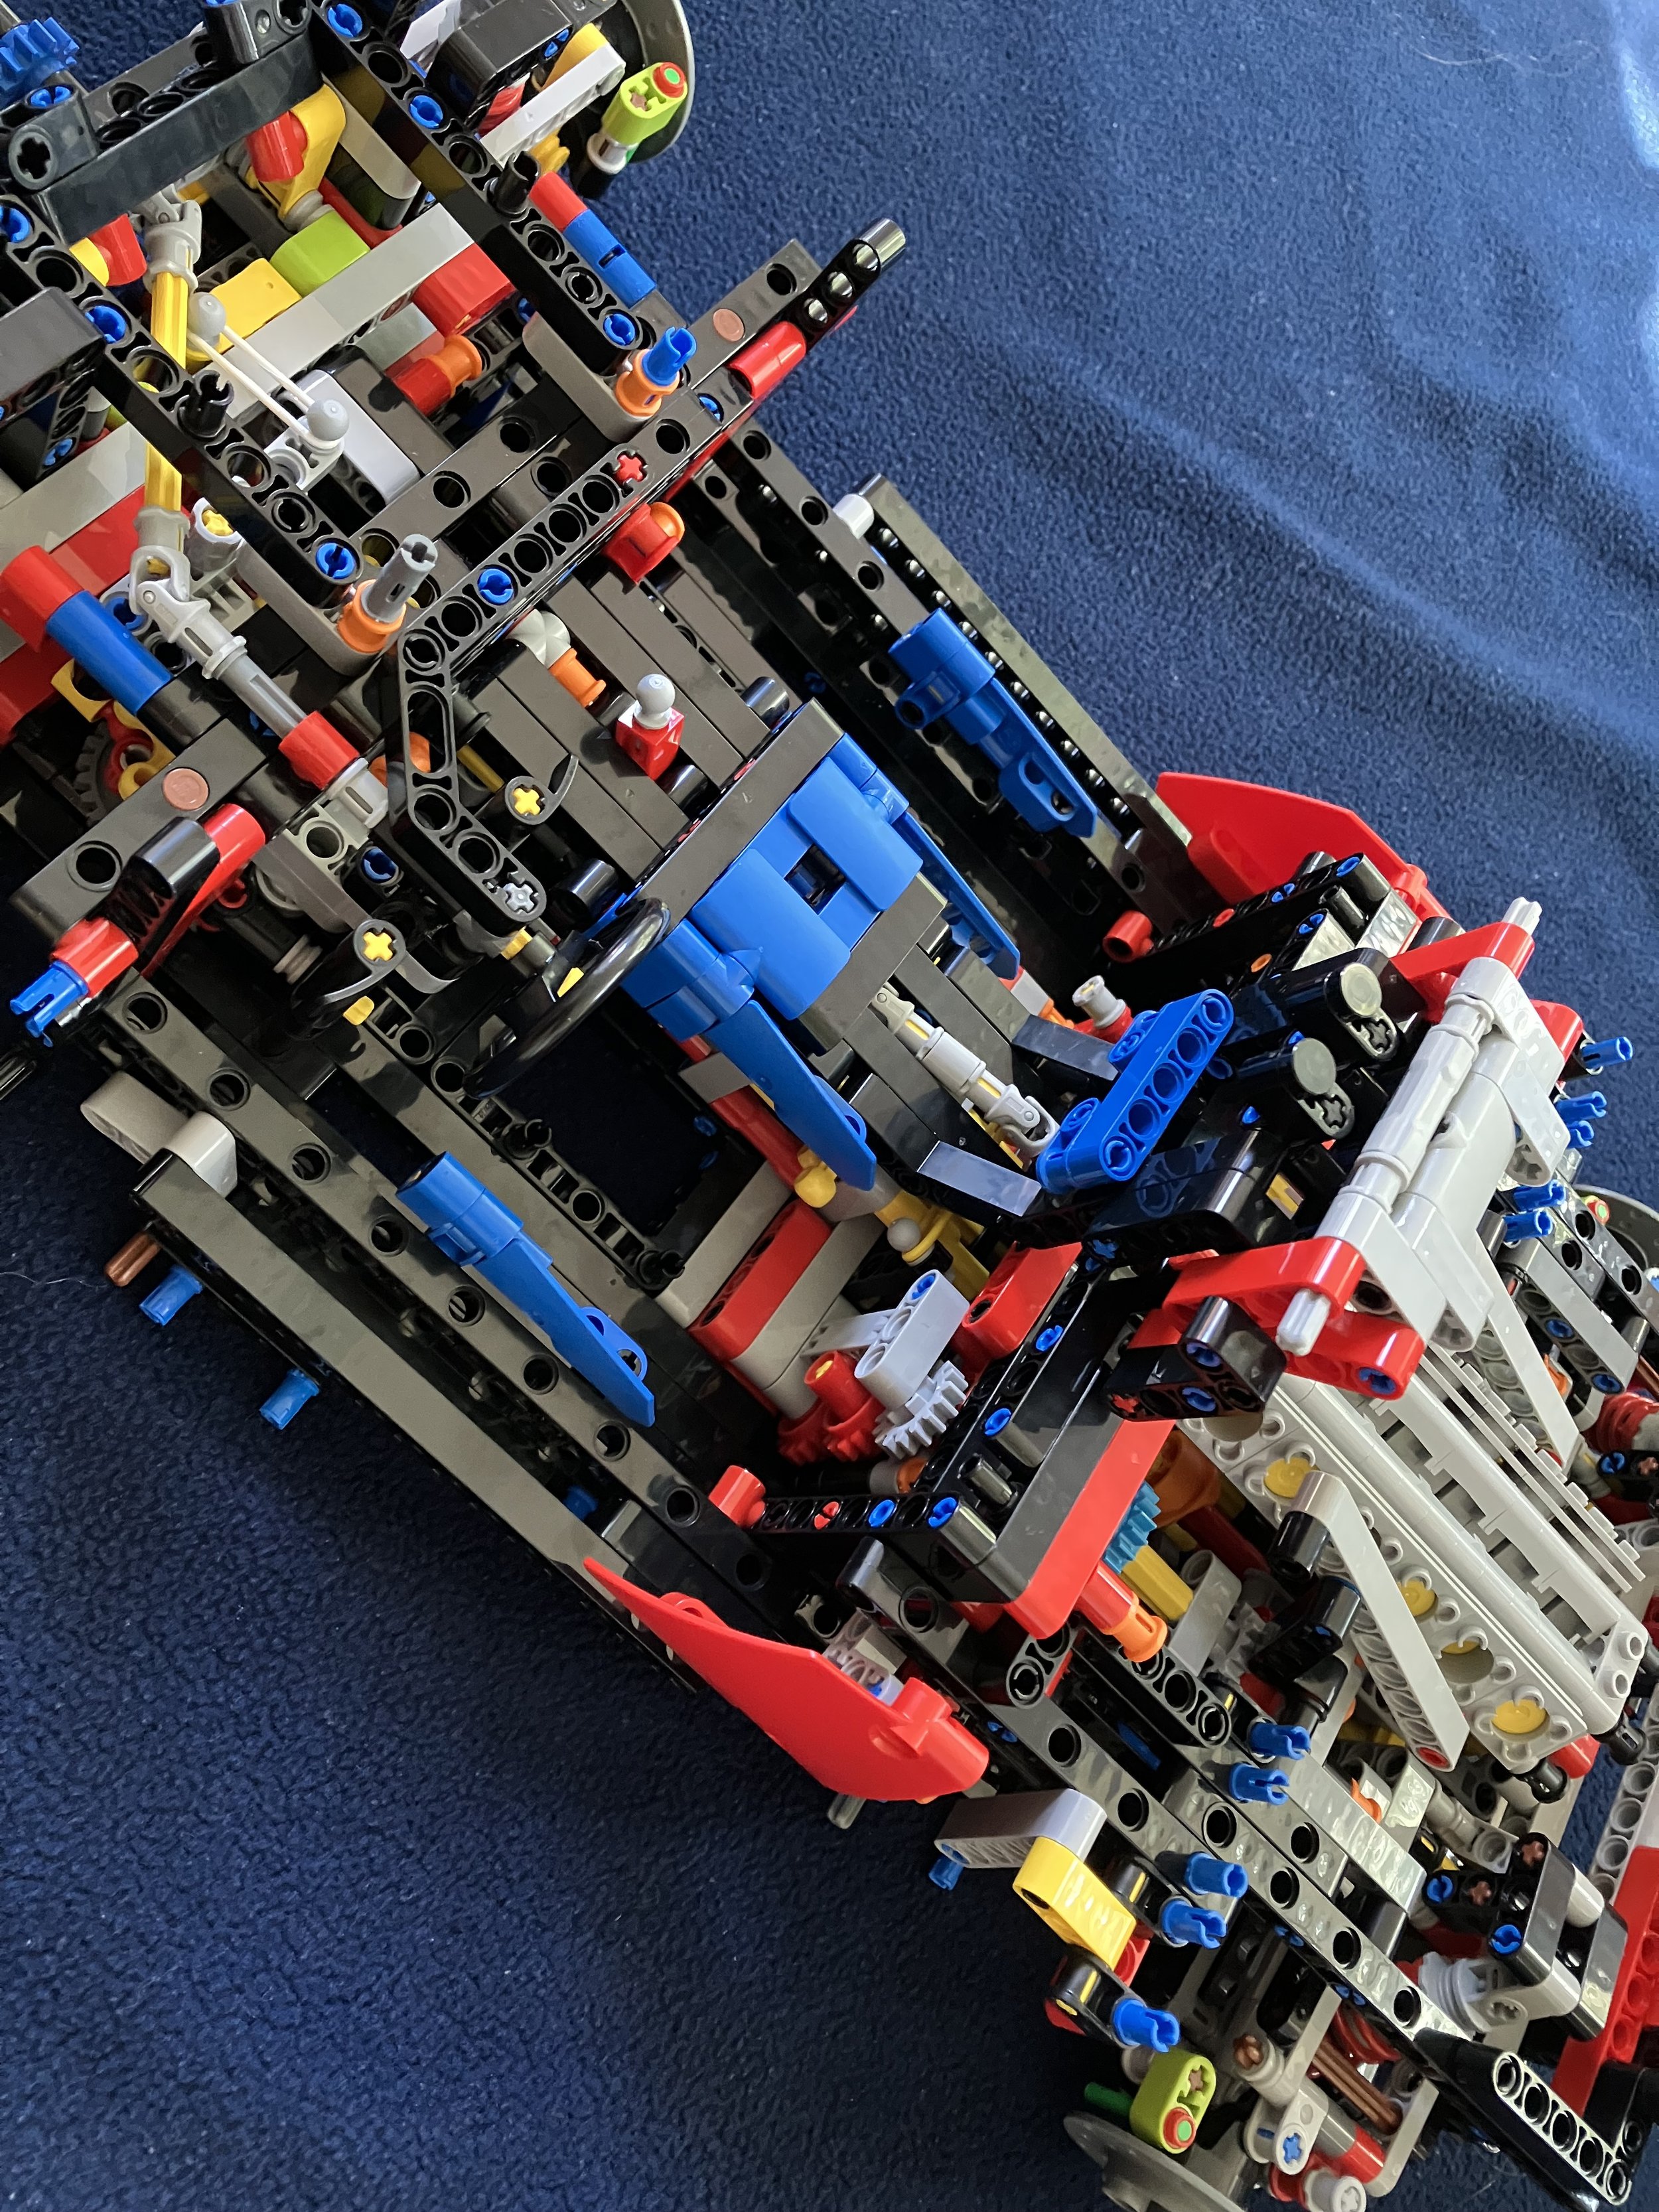
The fifth set of bags builds the rear hood. It also adds the front “windscreen” and some of the roof. Like the previous vehicles, there isn’t an actual windscreen and that’s okay.
The rear hood was a challenge for me to build as I had a hard time following what the instructions wanted me to do on some of it. I figured it out in the end. Note that there are a few errors in the instruction books. I went online and found some good articles highlighting them. Some I caught without looking them up, but a few required me to see why I had extra pieces left over at the end of a section.
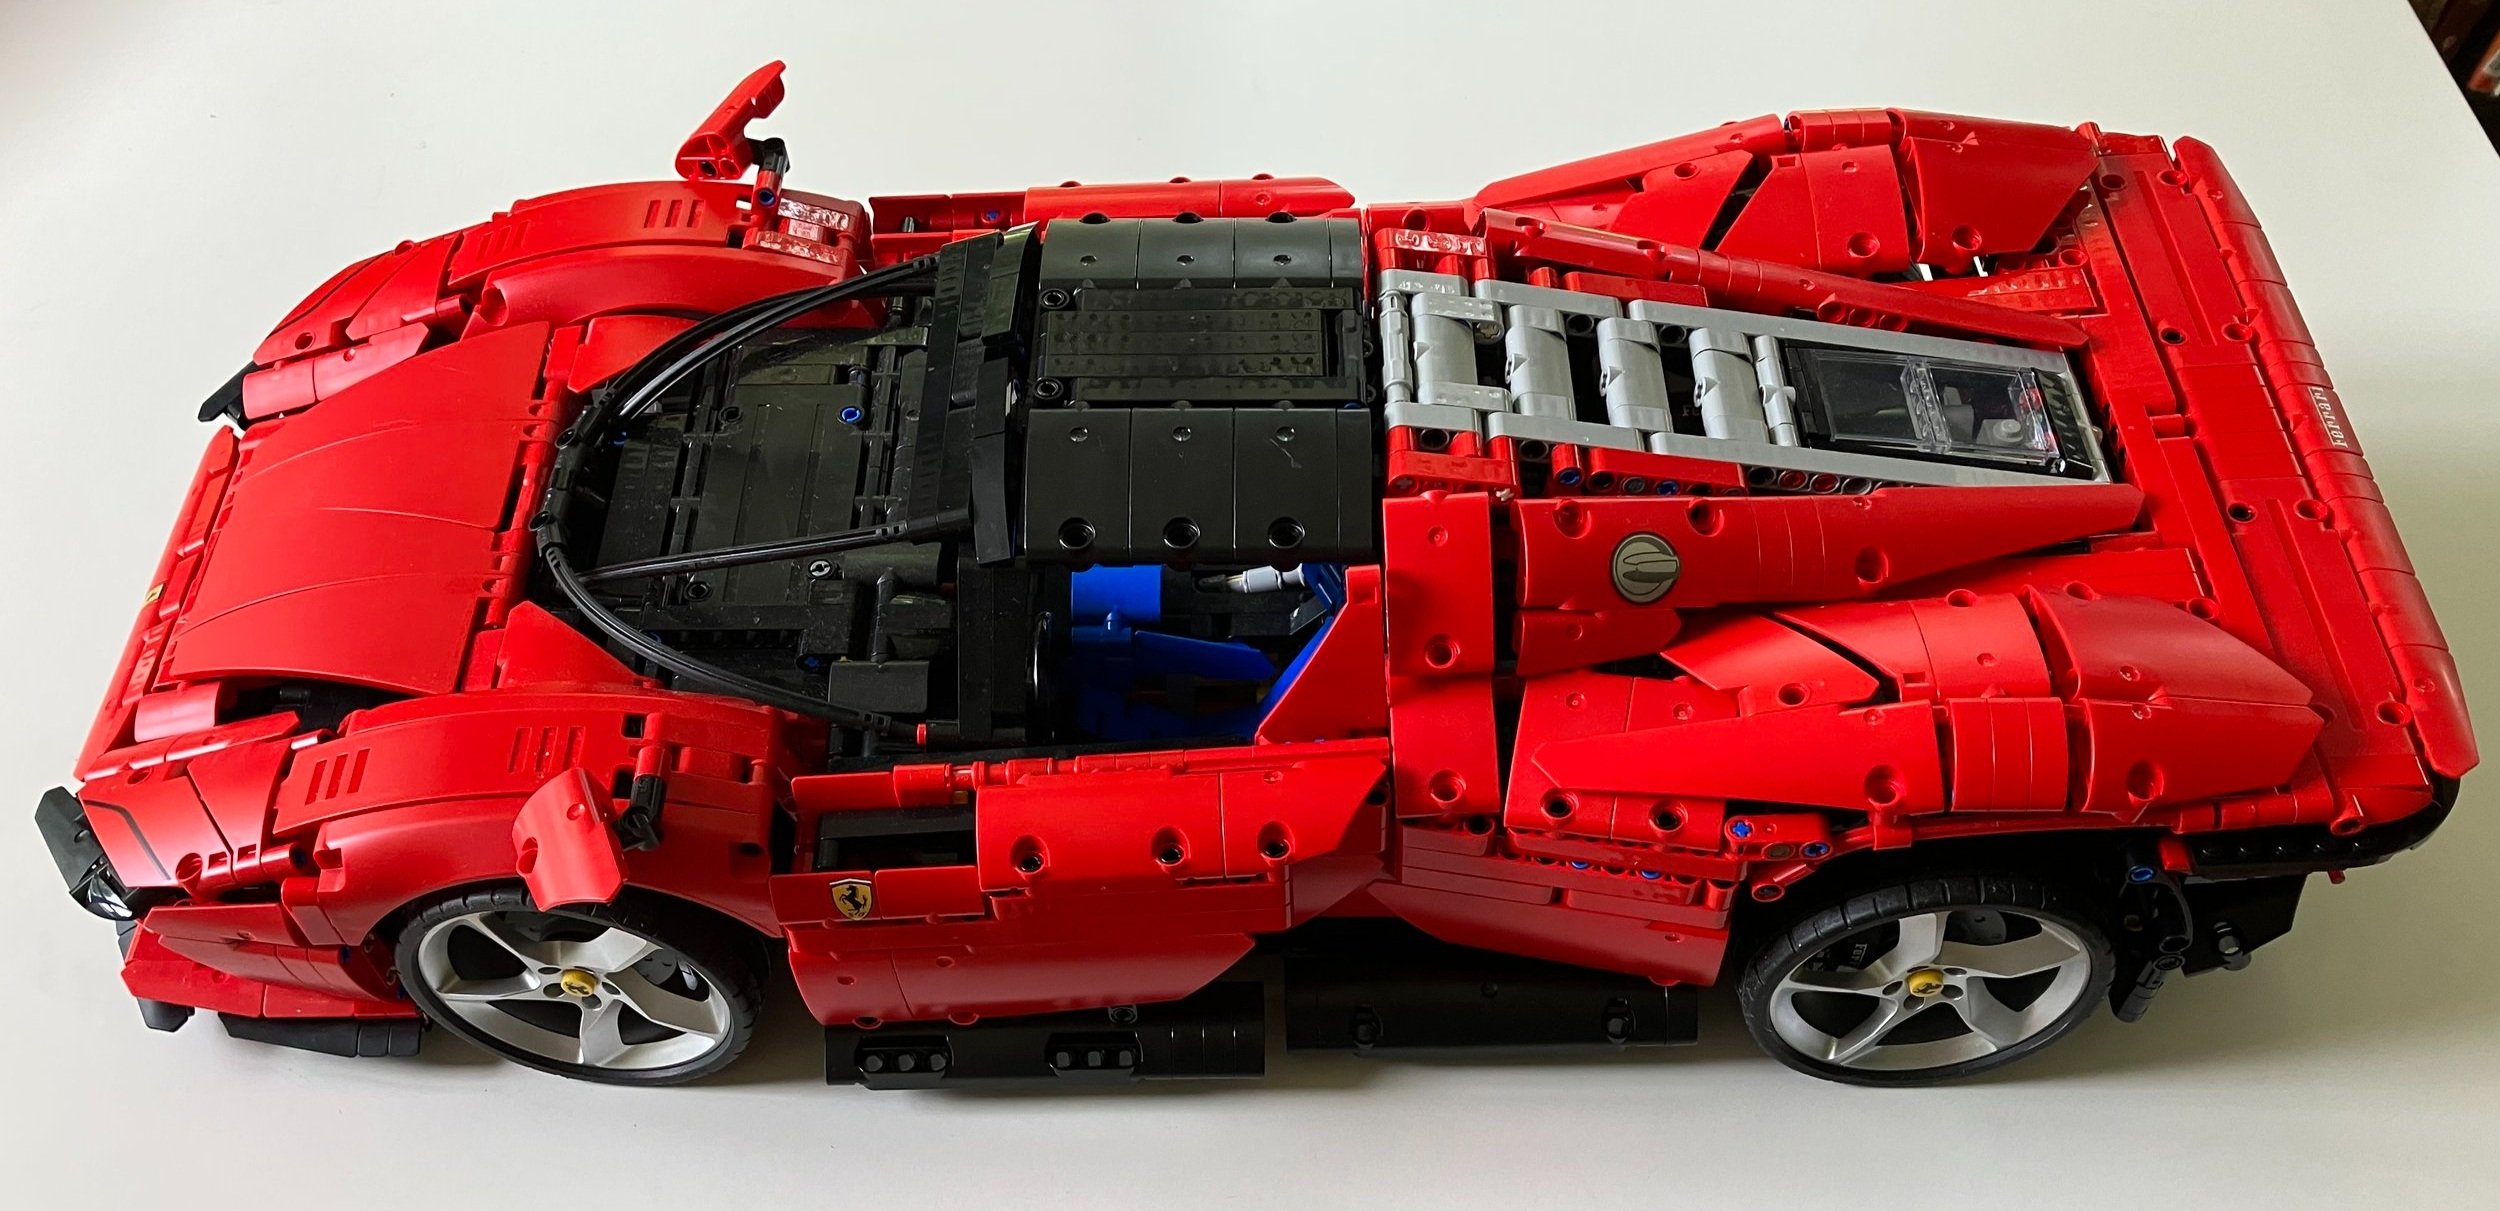
The rear hood can be raised which is a nice addition. You can get a good look at the engine instead of burying it like in the last two cars. It doesn’t stay up well as it’s heavy, but I got it to stay long enough to take a few photos.
One part of the build that intrigued me was the use of rubber tubing to hold on some of the structure and give it a curved shape over the rear wheels. I wasn’t sure what the instructions were getting at initially, but when I saw the pieces installed, it’s cool to see how the shape was created with Technic pieces.


The sixth set of bags builds the doors and seats. I failed to get separate pictures of them. The doors swing up in the actual car and the Technic version does the same. The doors were a challenge for me to assemble as the instructions show you connecting pieces, but don’t always show where. One picture will show you assembling a section and the next will tell you to install it. Either I missed something or you have to be smart enough to figure out how to install it.
The seventh set of bags is the final part of the build. It completes the rear of the vehicle, adds the wheels, and the display plate. The rear of the vehicle uses a lot of System pieces to achieve the detail similar to the front. I like the look and the offset plates. There is another error in this section where the instructions don’t have a few parts listed, but I found them online and got it squared away. The wheels are a similar size as previous vehicles, but the rims are a silver color. The 1x1 round tile with the Ferrari logo on the rim is a nice touch.
The Lamborghini had a display plate, although much smaller, and the Ferrari has one as well only this one is larger. The plate is printed so I’m thankful to not have a sticker, but I’m not sure it really adds to the model. I could have done without the plate if it saved a few dollars in production costs and on the final set price.
Overall, it’s a very sleek vehicle. The build was great and it challenged me throughout. I enjoyed putting it together. I’m not a Technic fan or MOC builder so I’m not sure if I’d use the pieces elsewhere, but there are a lot to pick from. The price is high and I can only imagine the price going up for future vehicles so get ready. VIP points are the only way I purchased this one. I highly recommend this one if you’re into the Technic vehicle line or if you’re a System builder and you’re looking for a challenge outside of your building comfort zone. Look for ways to save on this one whether it is double VIP points, cool GWPs, or some other method.


Here are the 4 vehicles. My NLS has let me display them in the house as they are up high and out of the way. I’m sure she can’t wait for me to have a LEGO room of my own some day to contain the spread of ABS. This is a pretty cool line up in my opinion. I wonder what car will be next?
Happy building!
