The Crocodile Locomotive was released in the US on 3 July 2020. If you follow what I write, it took quite a while for it to finally get shipped here, but thanks LEGO for the extra 1,000 VIP points. This set contains 1,271 pieces and retails for $99.99. That works out to $0.079/piece which isn’t too bad in my opinion.
You can watch the official LEGO Designer video on YouTube here.
If you want a review from someone who is a big train fan and into LEGO trains, you can see the Brick Model Railroader’s review at their site here.
Finally, one last plug. There have been a lot of comments about this set in terms of its design. JANGBRICKS has a video where he explains some of the fixes he’s made. You can give your own opinion, but feel free to use his fixes or modify your set as you desire.
Onto the review!
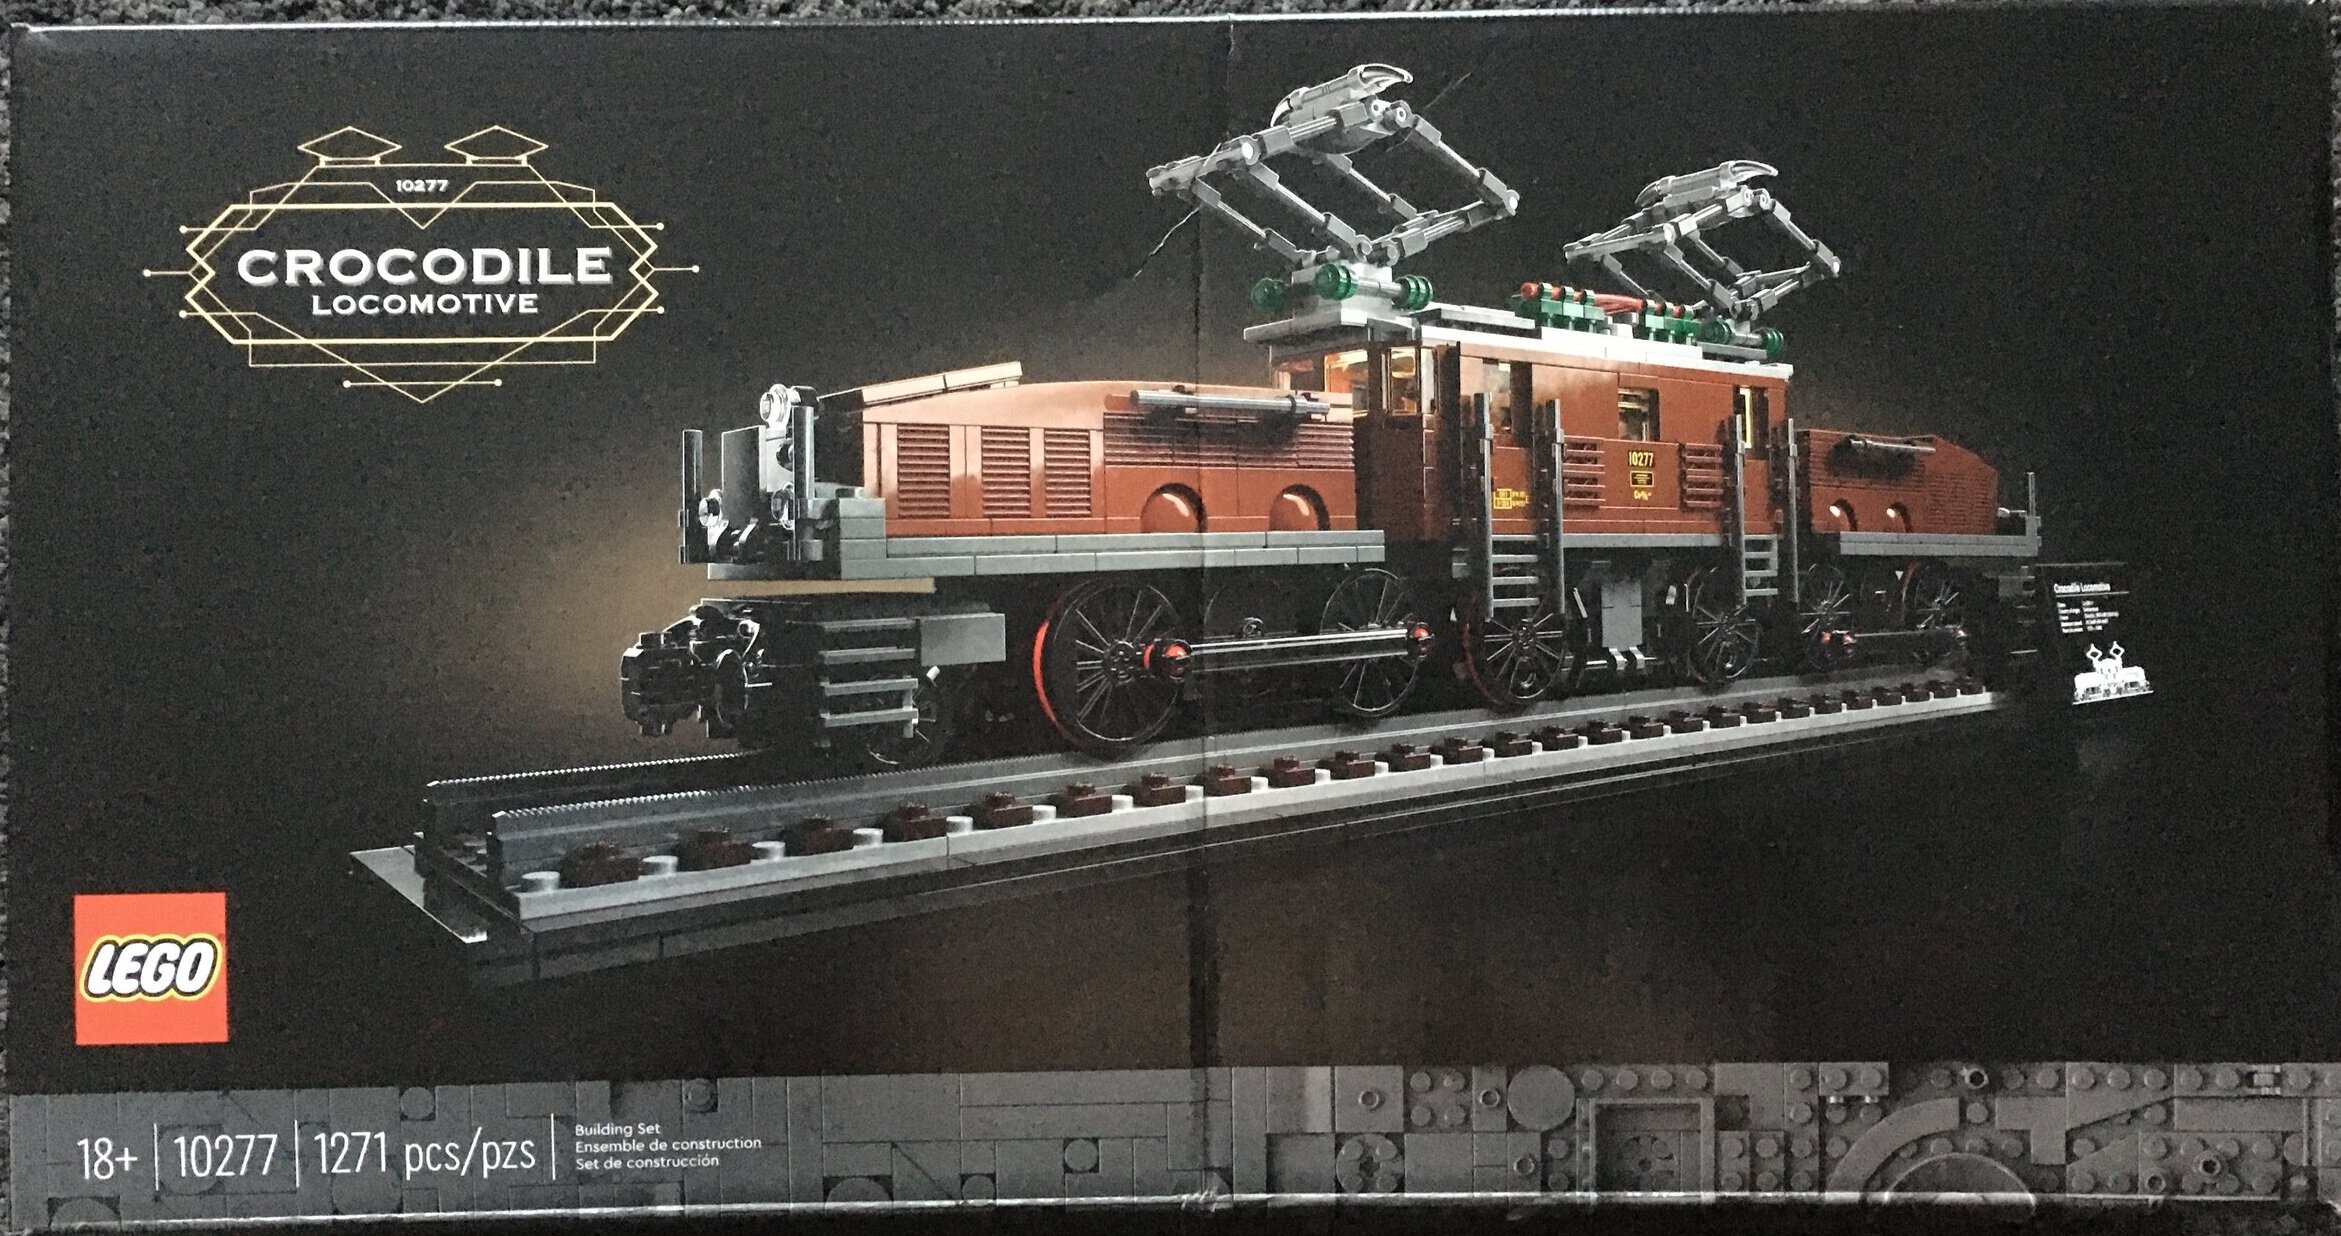
Here is the box. It is the new 18+ designed box. It no longer shows the play features or minifigures. Instead it highlights the design with some shots showing the detail. The title of the set is listed on the front with a design around it. Finally the bottom of the box has a dark gray stripe of greebling which lists the 18+, set number, and number of pieces

The box contains nine numbered parts bags (2 one, 2 two, 2 three, 3 four), an bag without a number containing the large plates and train wheels, and then the instructions and sticker. The set has mostly printed elements, but the data plate has a large sticker for you to place.

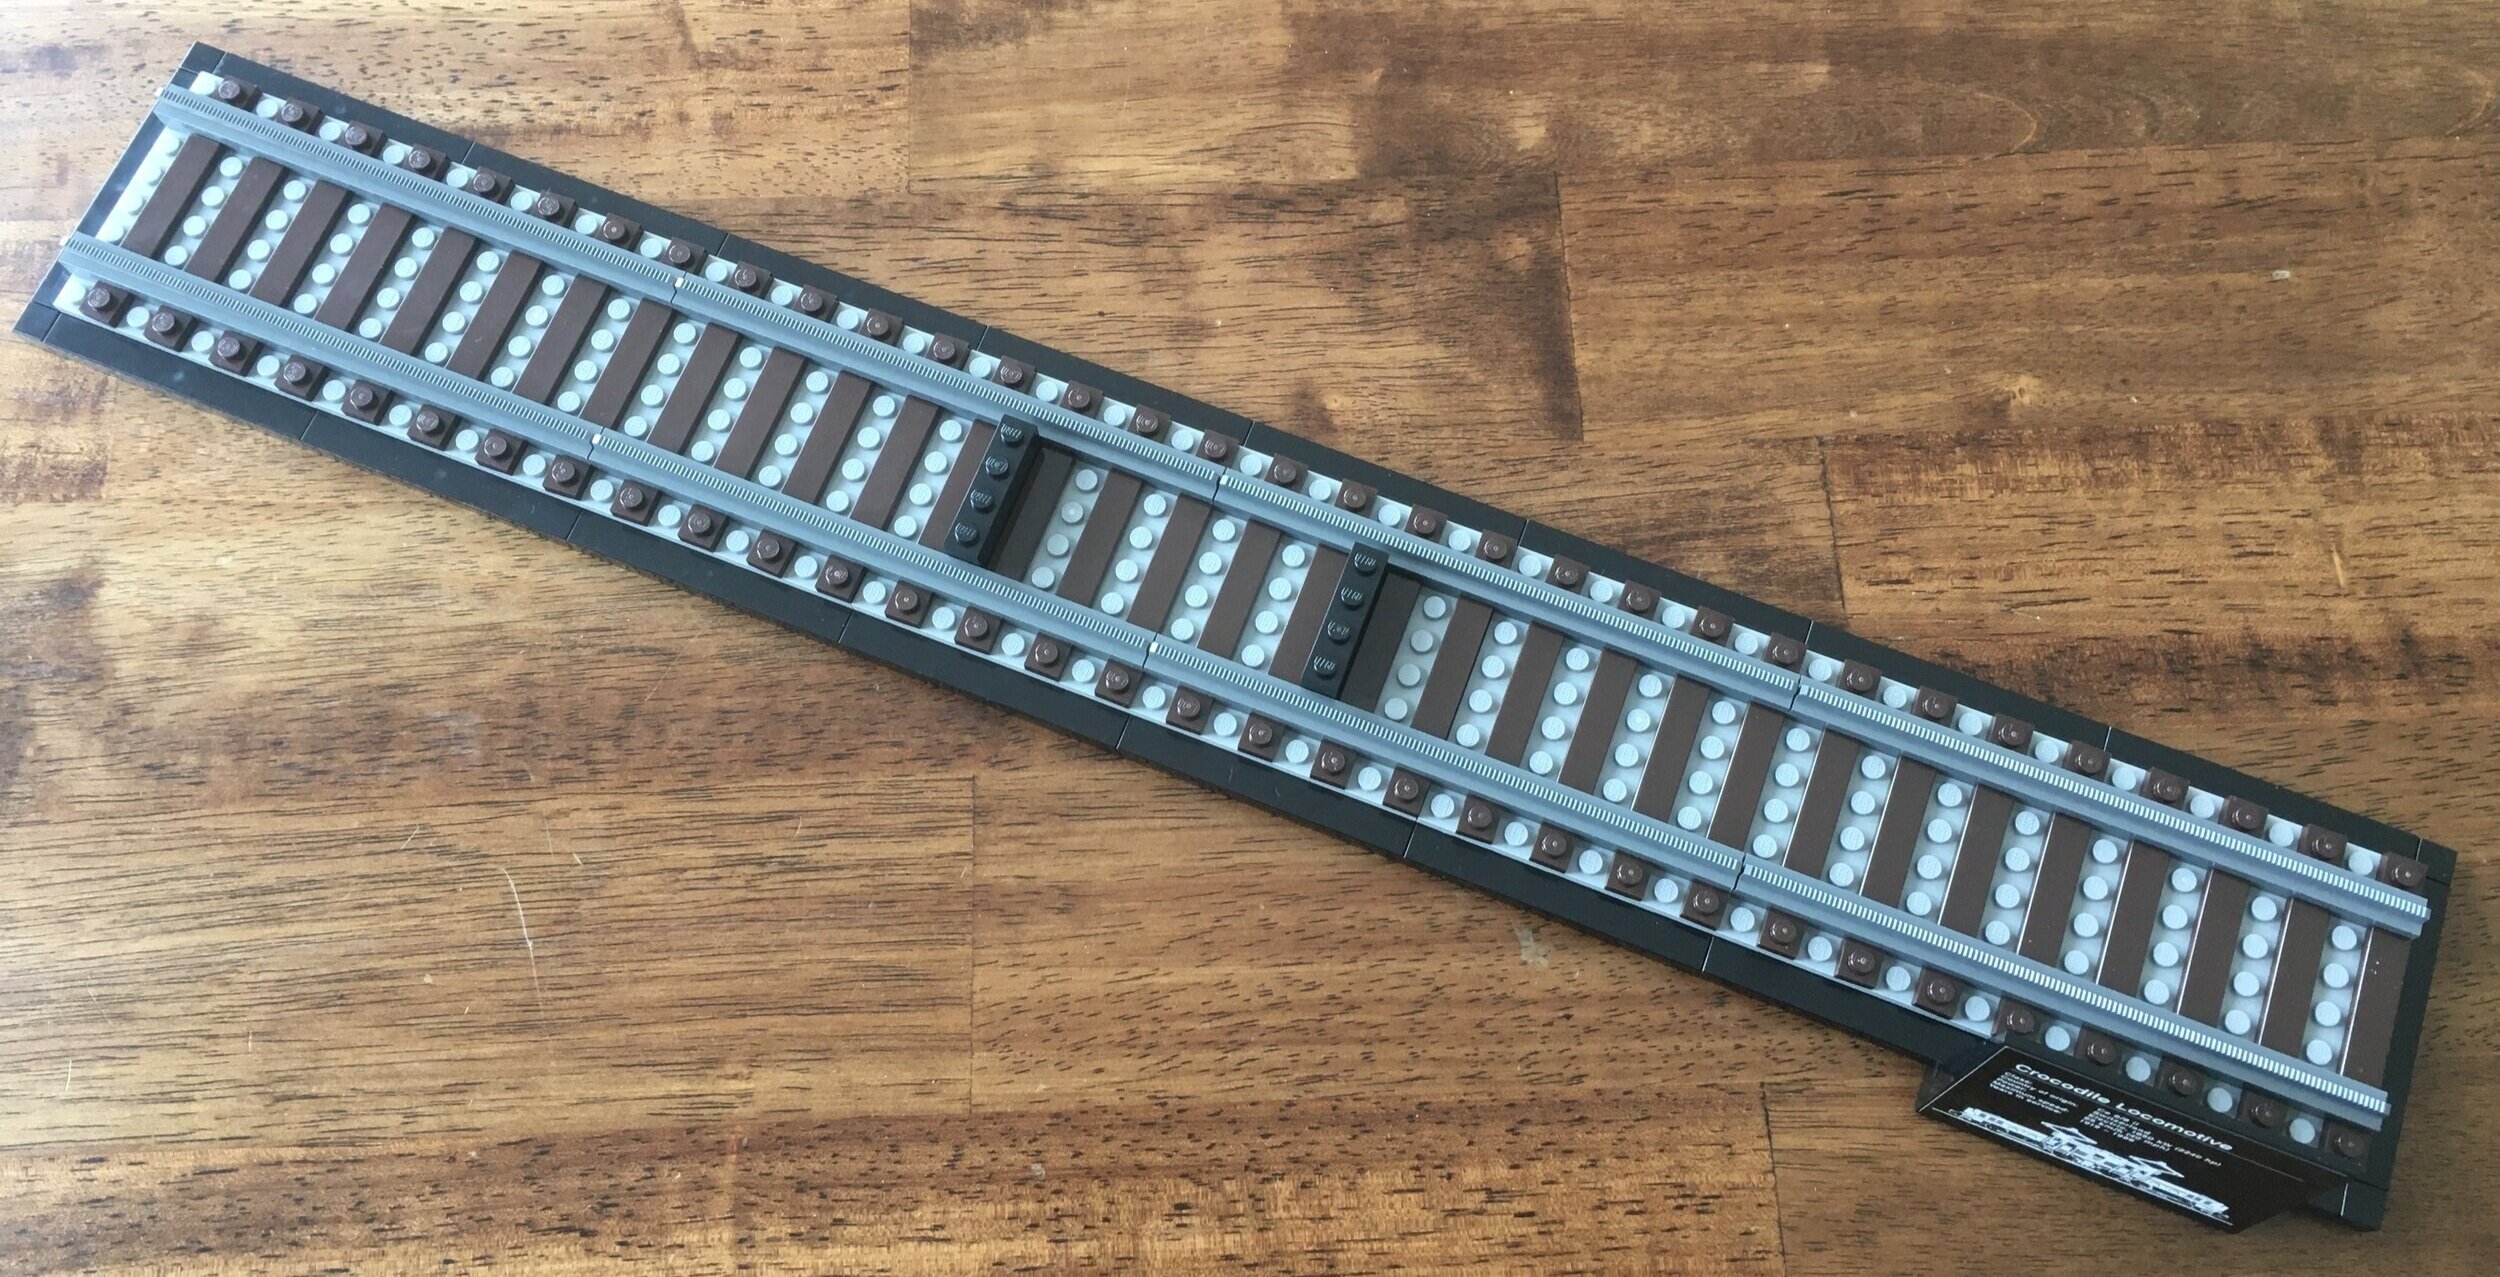
The first set of bags builds the base. The base reminds me of the bases on Architecture themed sets with the one stud wide black tile around the edge. Instead of using the standard LEGO track, you build the track yourself which takes a bit of time repeating the steps and placing a lot of 1x1 plates. It is interesting that they chose to put tiles in the center, but plates on the outside of the rails. I wonder why that was?
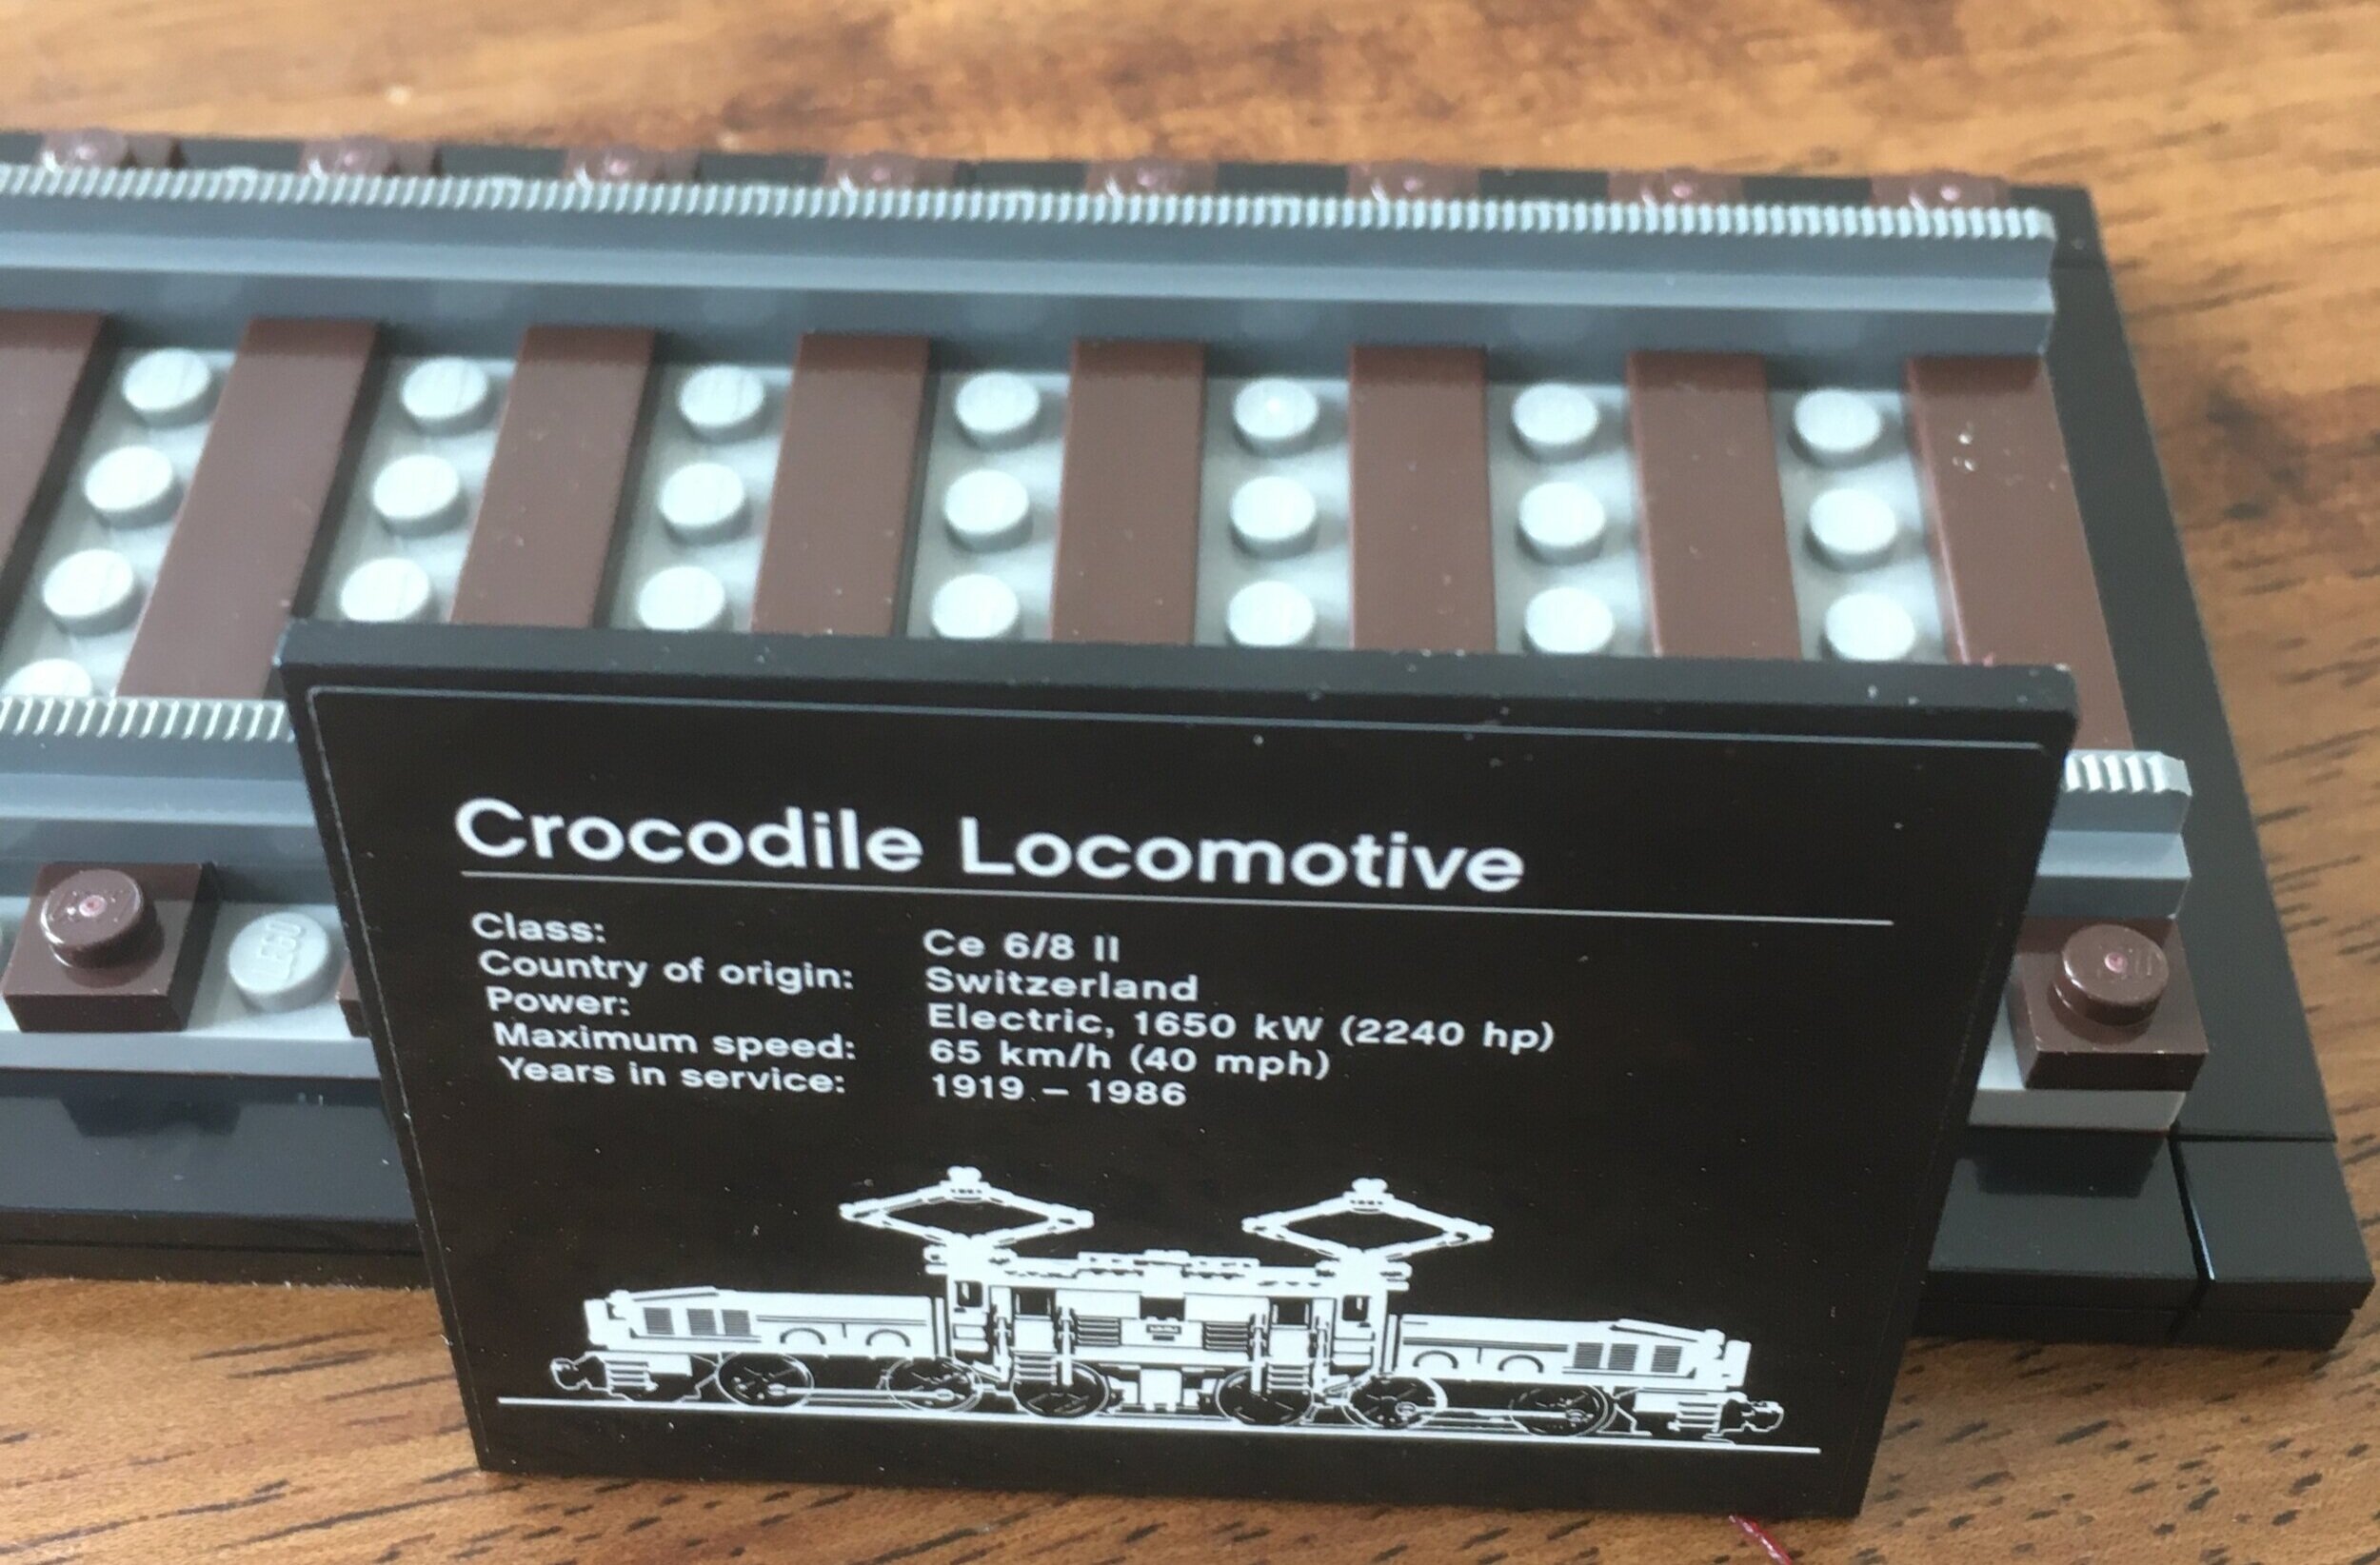
There are two 1x4 bricks in the center for you to attach the locomotive to for display purposes. Also, you can see the sticker on the ramp piece which describes the set.
Here’s an up-close look at the sticker. I think I was mostly able to center it and I didn’t get any large air bubbles. There might be one small one, but it is not noticeable at a quick glance.
This set comes with two minifigures. A male with the old style had and a female with black hair (no hat with hair?). They both have the same torsos and legs. As shown, they have some tools available to hold which can also be stored inside the train. Nothing super exciting about these minifigures, but no complaints from me on them either. They go well with the set.

The second set of bags completes the center section of the locomotive. The build starts with the Technic elements needed to motorize the locomotive (if desired). You then build the cabin area and the control areas for the minifigures.
While the set is an 18+ set, the build was not overly challenging. This part went together pretty smoothly for me. I was thankful to not have stickers to place. From this picture you can see the fans in the compartment and then two printed tiles on the side of the section which repeat on the other side.

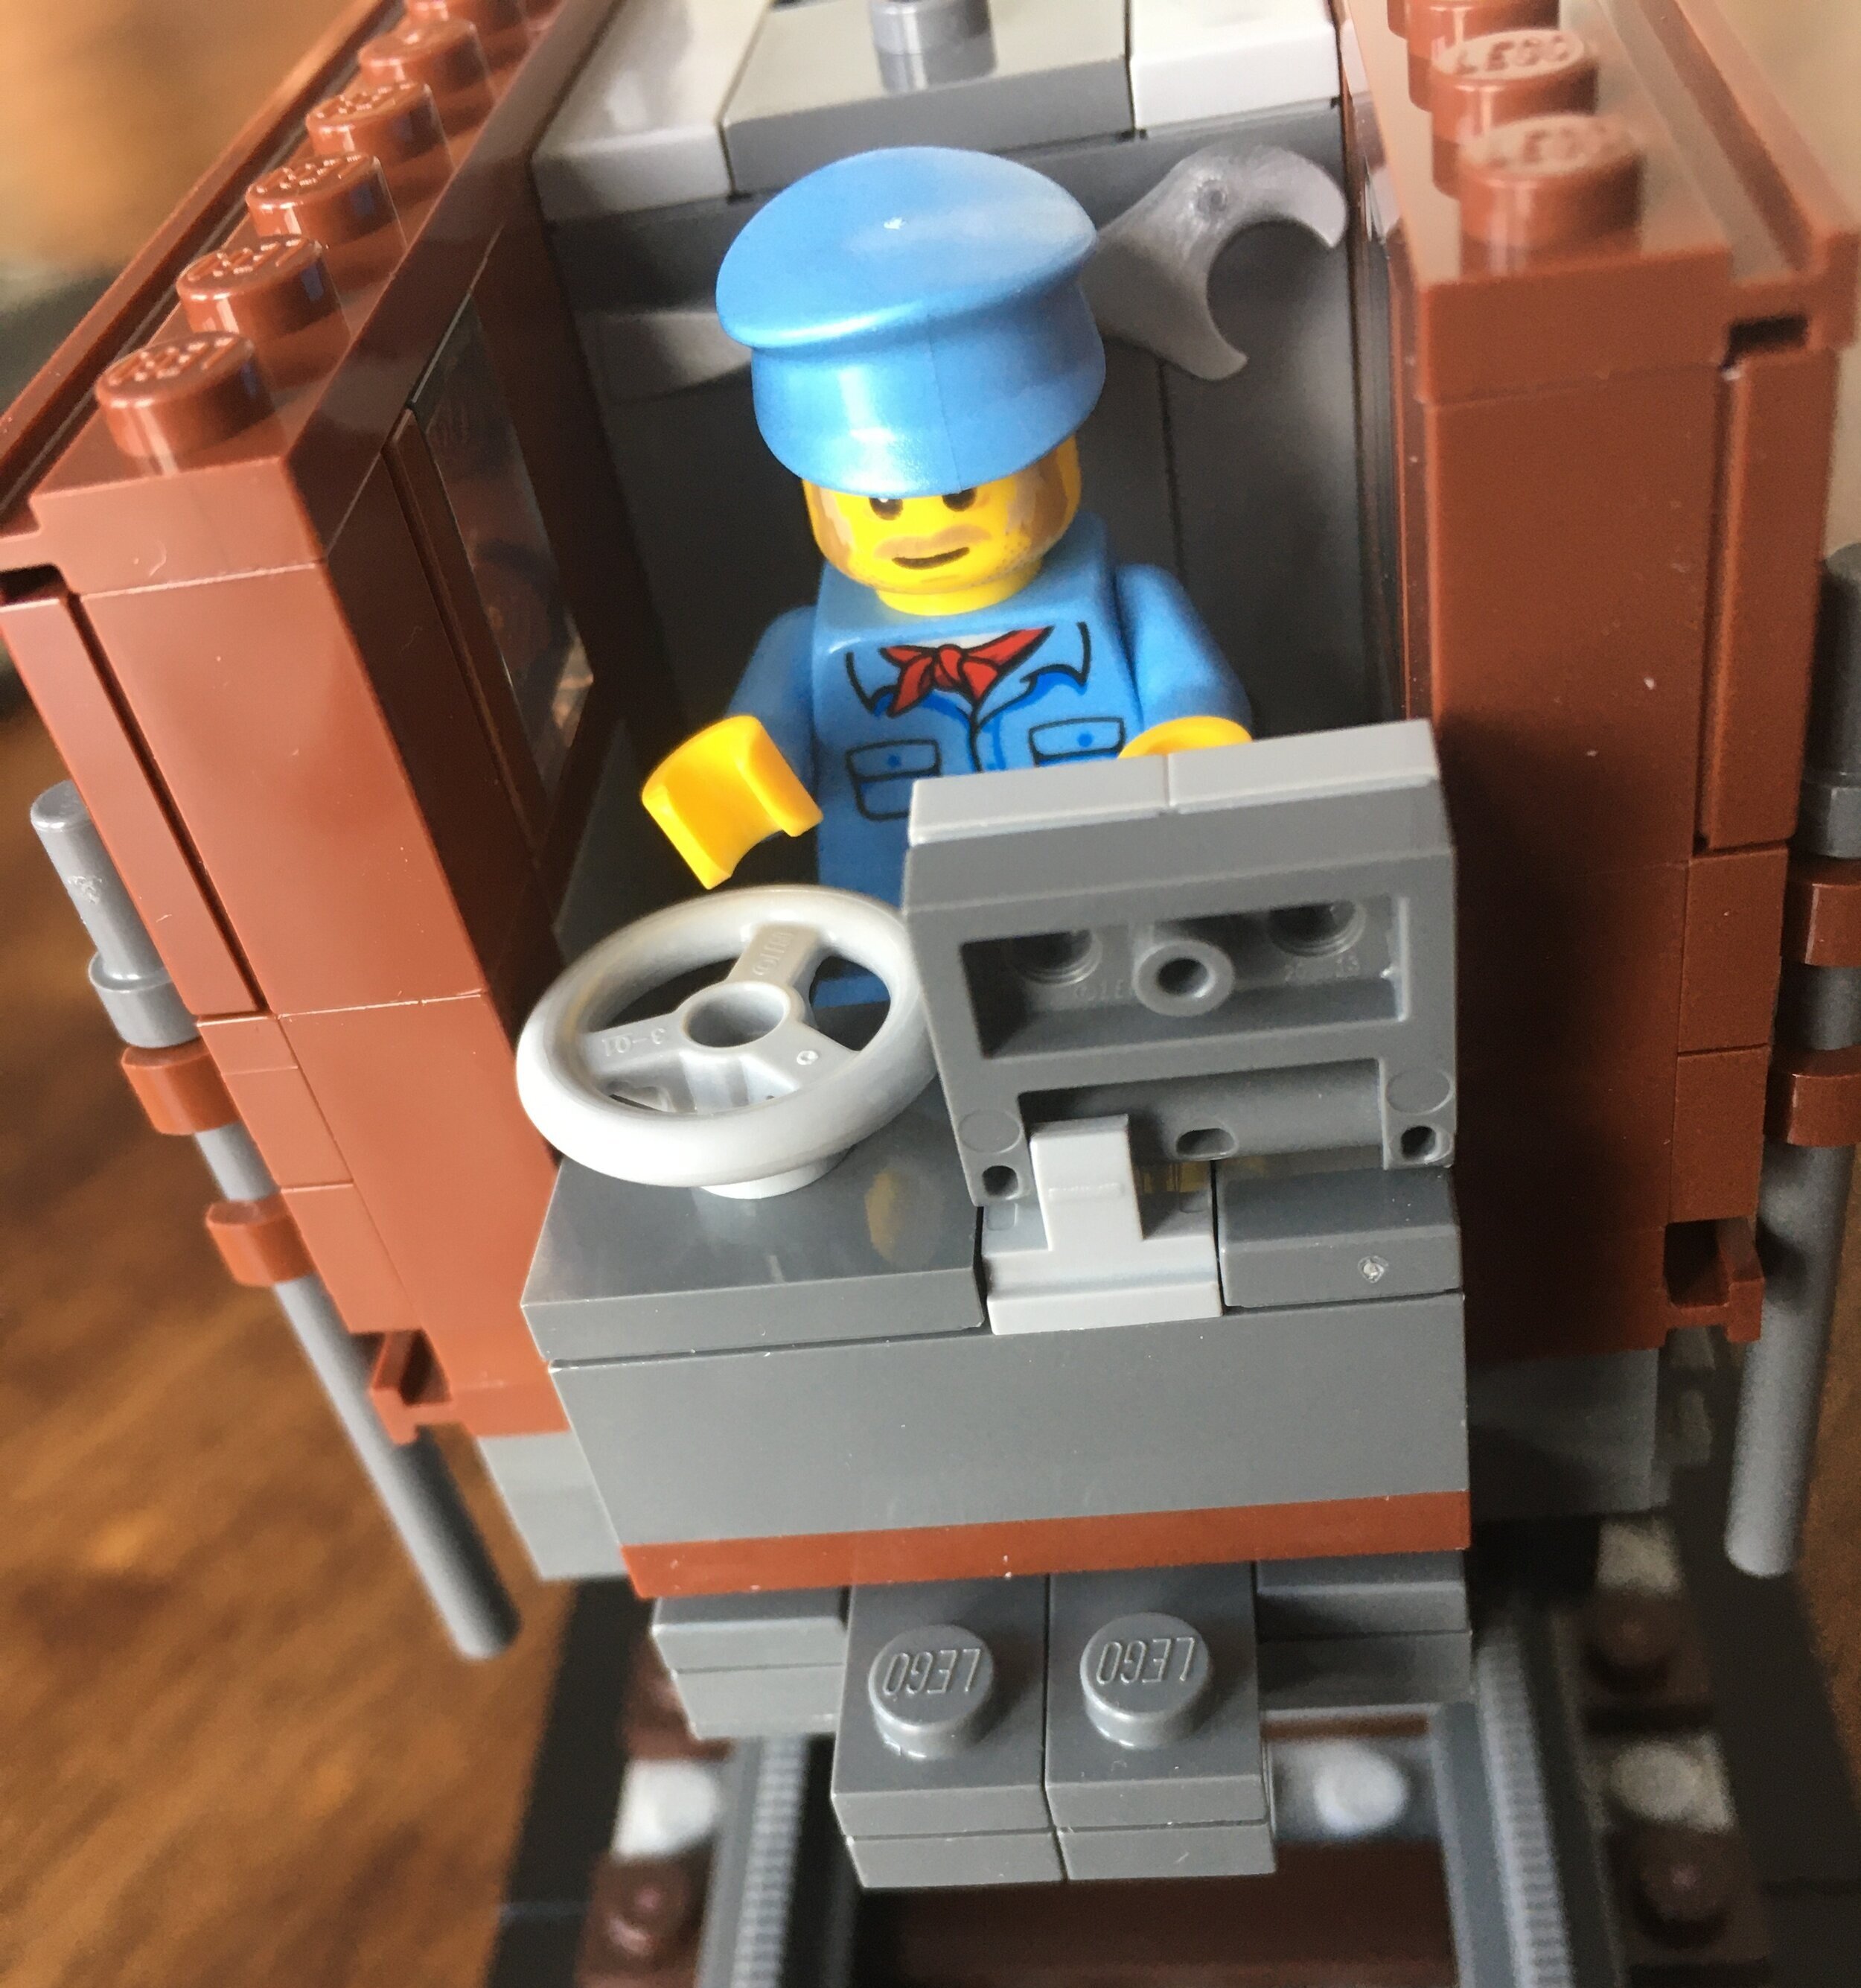
Two more pictures… first is a closer shot of where the minfigures sit. Each figure has a wheel, two dials, and a brake handle. There is also a clip directly behind them to store the toolbox and wrench. Not a lot of comfort here and don’t lean back or let the train stop fast to have a tool hit you.
The second is the crew seating area. This section pulls out easily so you can place the motor and Powered Up Hub inside the compartment. I like how easy this is as compared to the Emerald Night (#10194-1) which required some decent overhaul to motorize it.

Here’s a peak inside the compartment without the crew positions in place. You can see the Technic elements where the motor will go. Everything went together pretty easily and seems to run smoothly without the motor connected so we’ll see what happens with the motor.

The third set of bags completes the front and back of the compartment as well as the top. Most noticeable are the pantographs on the top. I placed one in the up position and one lowered. The pantographs took a bit of time to piece together and were a bit challenging to do given all of the small connections you have to make. They are pretty fragile as well so not something you’d want younger kiddos playing with. The top also had a bit of color with the red whip pieces as wiring and then a few spots of dark green to liven up the gray and brown color scheme.
The front and back have a one piece window frame that you insert a one piece clear window into. It makes the model look smoother and I can see why they did it, but it would have been interesting to see how you could have brick built the window screens.

Here’s a side view of the center section.

The last set of bags finish the set. They also build the front and back sections of the locomotive. These builds are identical and I built both sections at the same time. It was a bit repetitive, but for the most part this was the most advanced part of the build that provided a bit of challenge. Nothing crazy, but it seemed like more pieces and the use of different techniques.
I saw a few reviews where there were complaints about the black background of the instructions and the dark colored pieces. I concur that this was a bit of a challenge, but I managed to figure out the build okay.

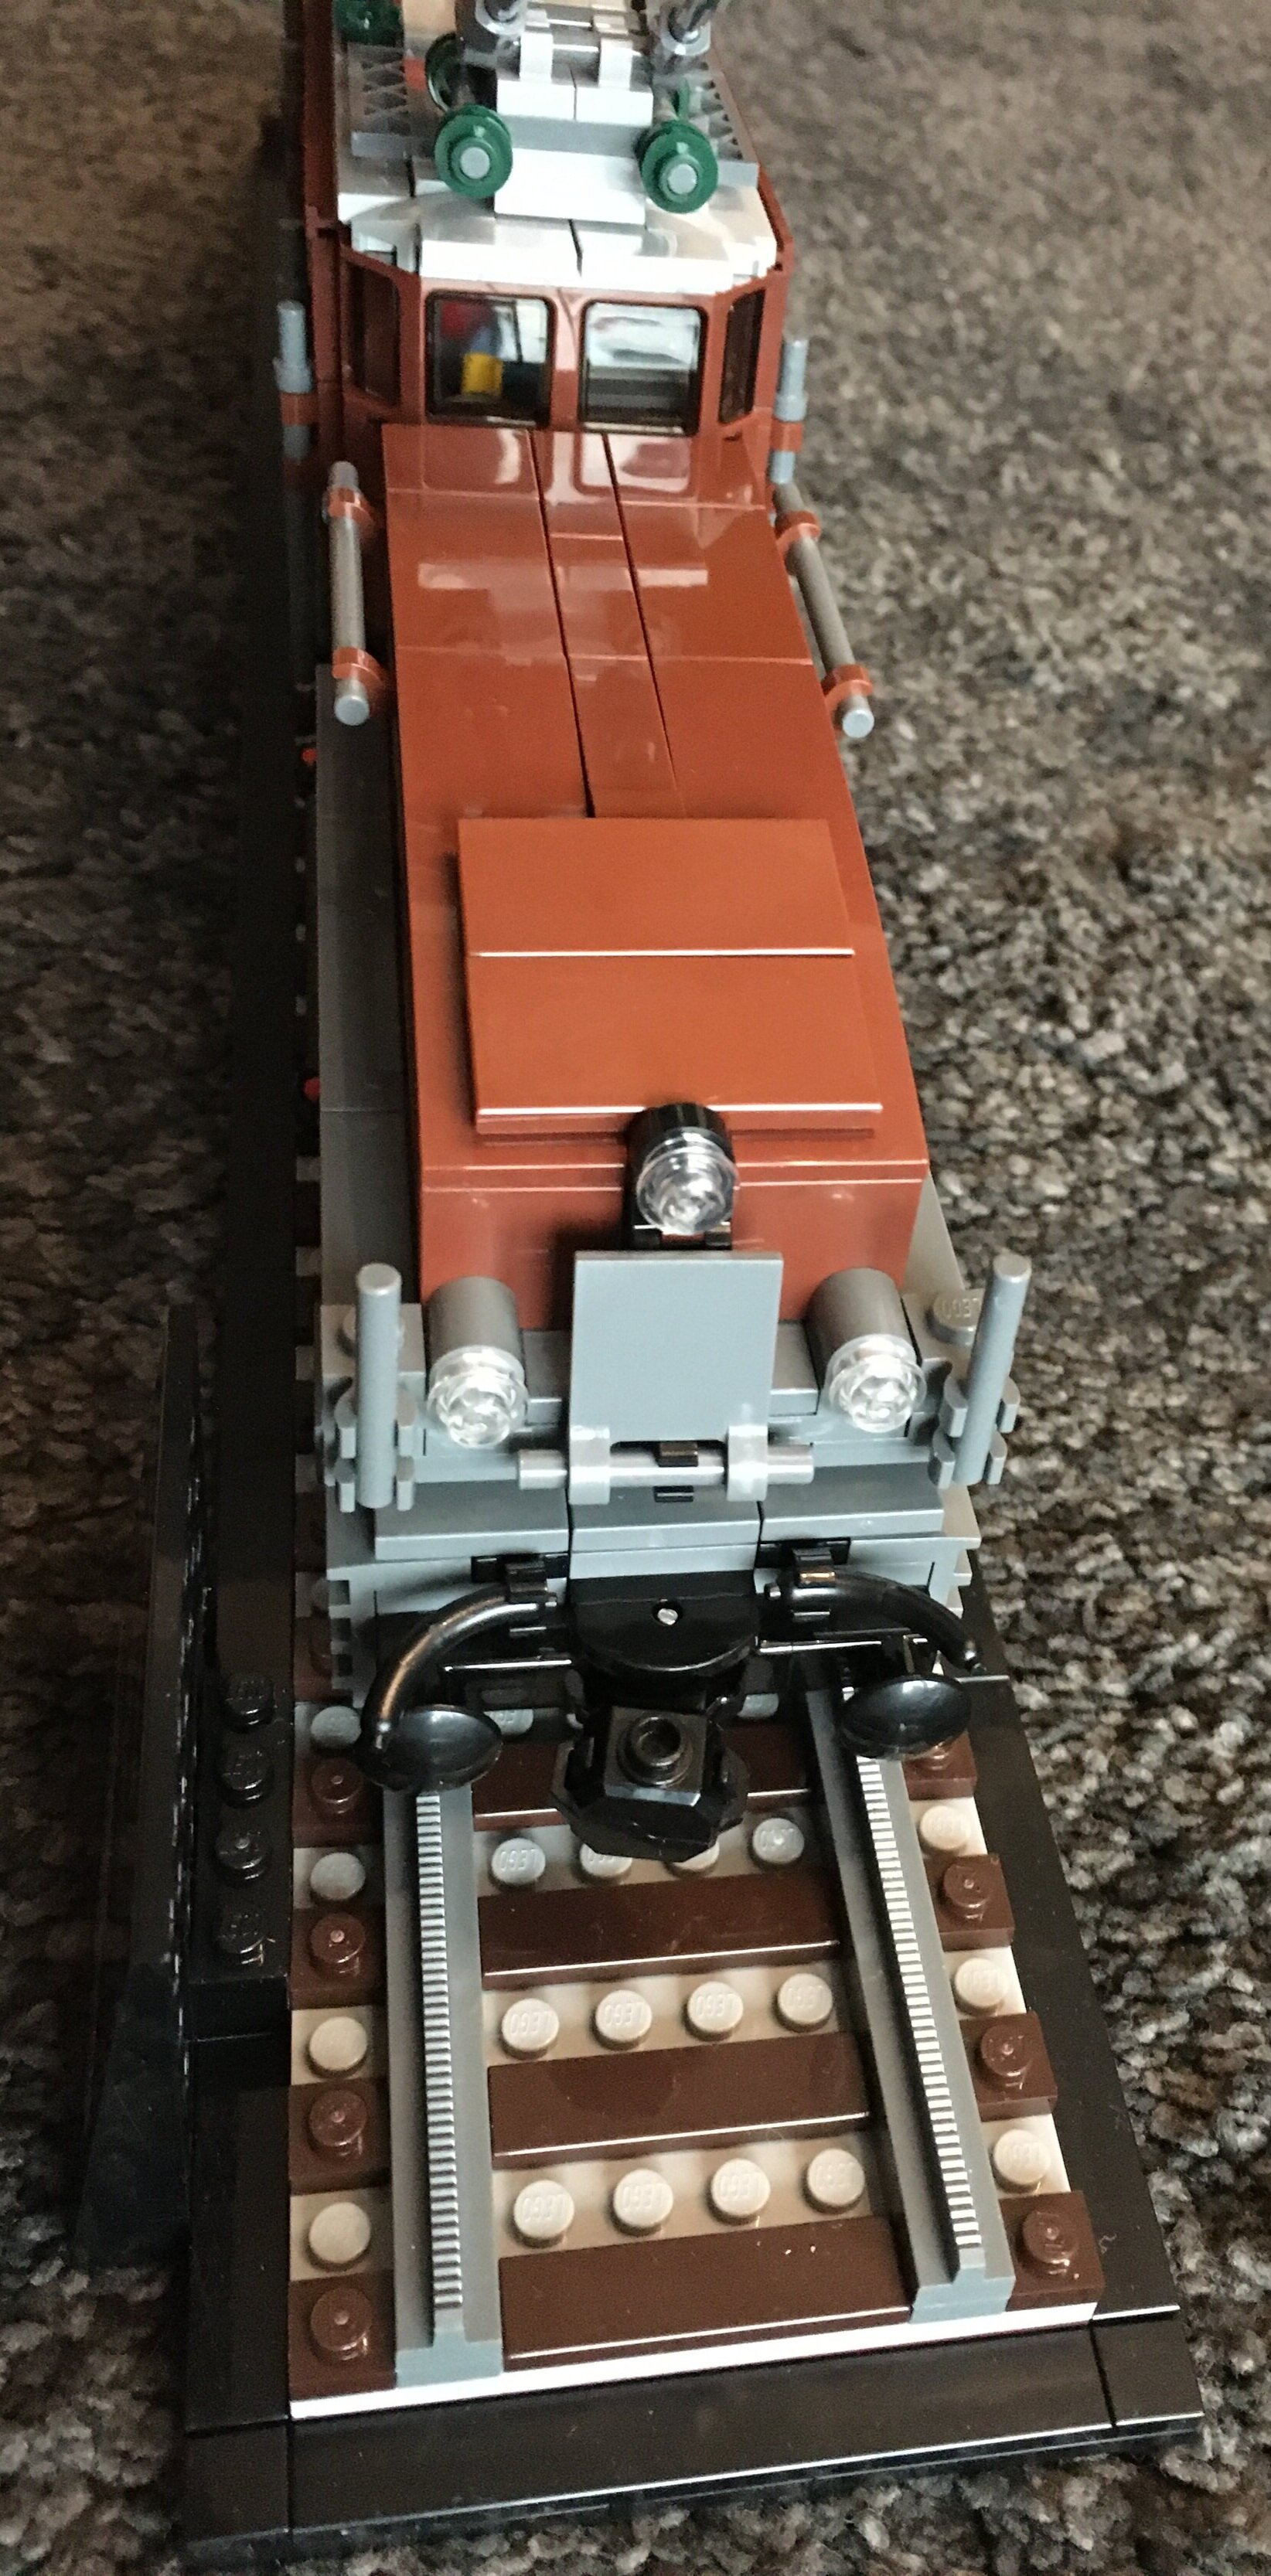
Two more photos… one a side view of the whole locomotive and one is a front view so you can see the detail there.
Overall, I am pumped to have another train to add to the collection. It’s not my first choice for a set, but I can’t complain about having one. The build is not super challenging, but it was technical enough to keep me interested. The color is a bit bland, but that’s the least of my complaints. The price per piece is decent and the initial sell out seems to be over on Shop @ Home.
I can see why people have complained about the gap between the cab area and the front/back sections. It could have been easily fixed in the design process, but I agree that if it is that big of a deal to you, fix it yourself. For now, I’m okay with the locomotive as is, but I may look to change it in the future.
I have a motor and hub finally, but I haven’t installed it yet. Stay tuned for that post and I’ll give an assessment on how the locomotive actually runs. (here is my post on motorizing the train)
In the meantime, happy building!