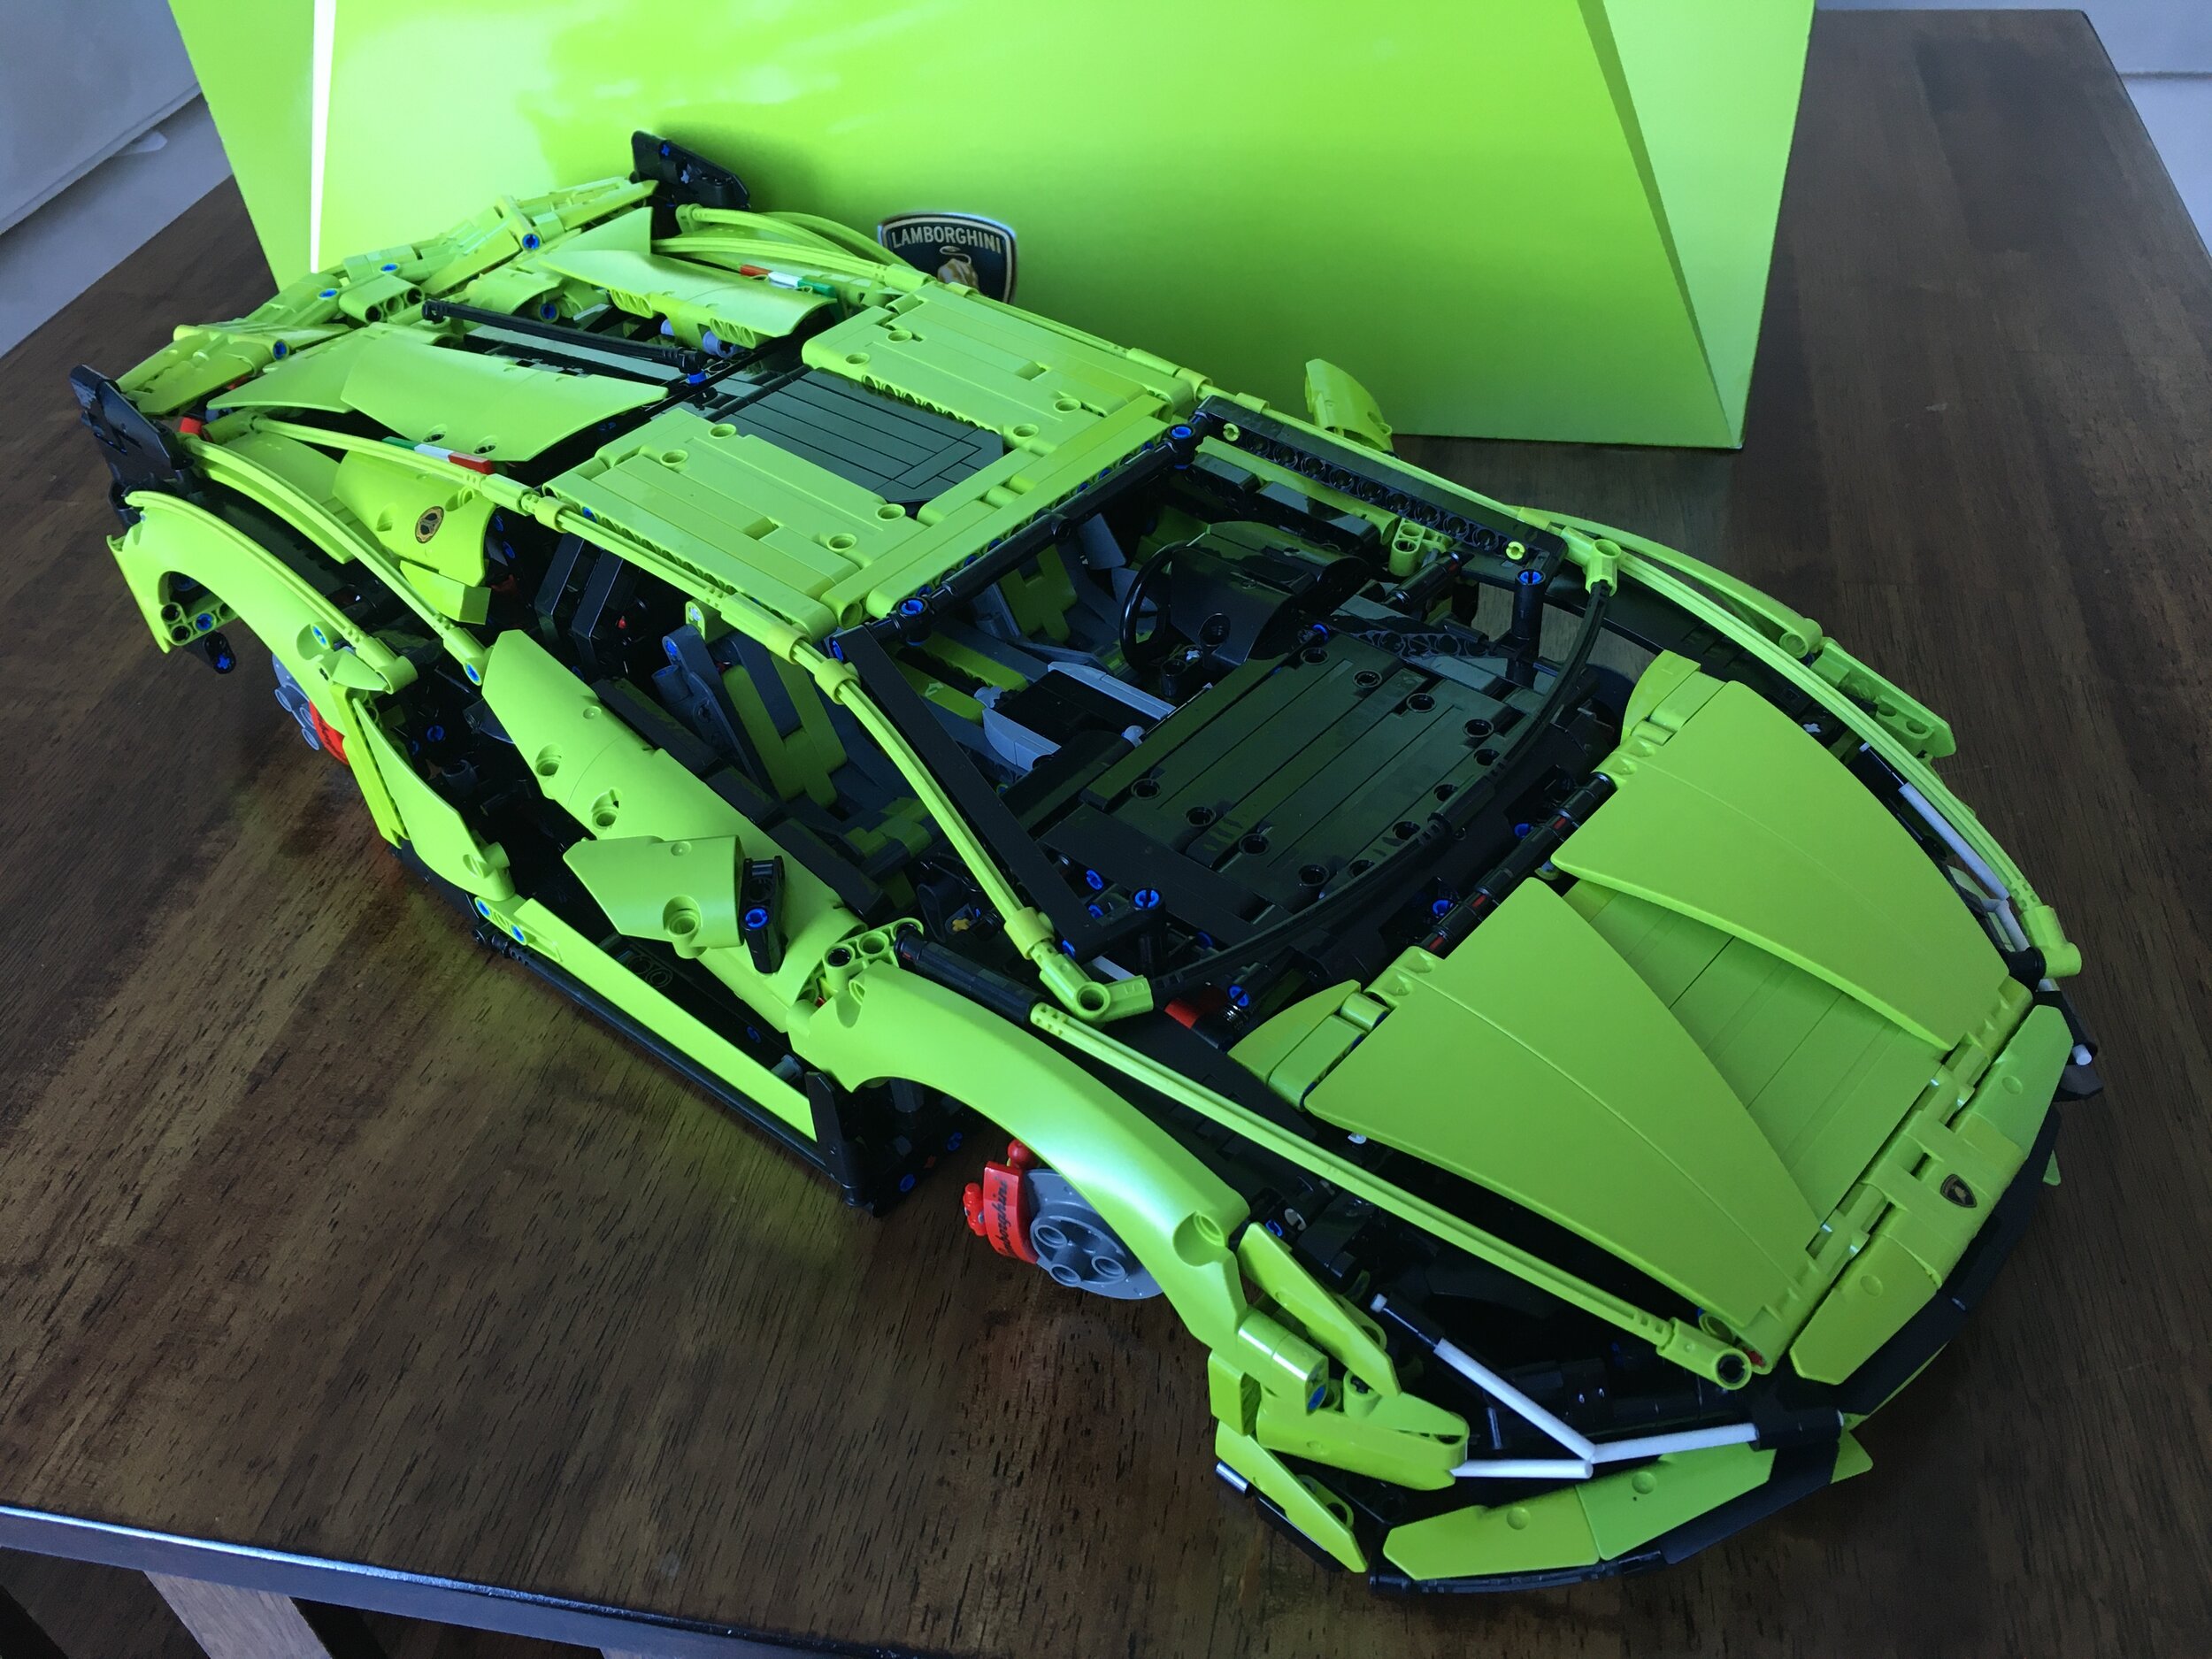
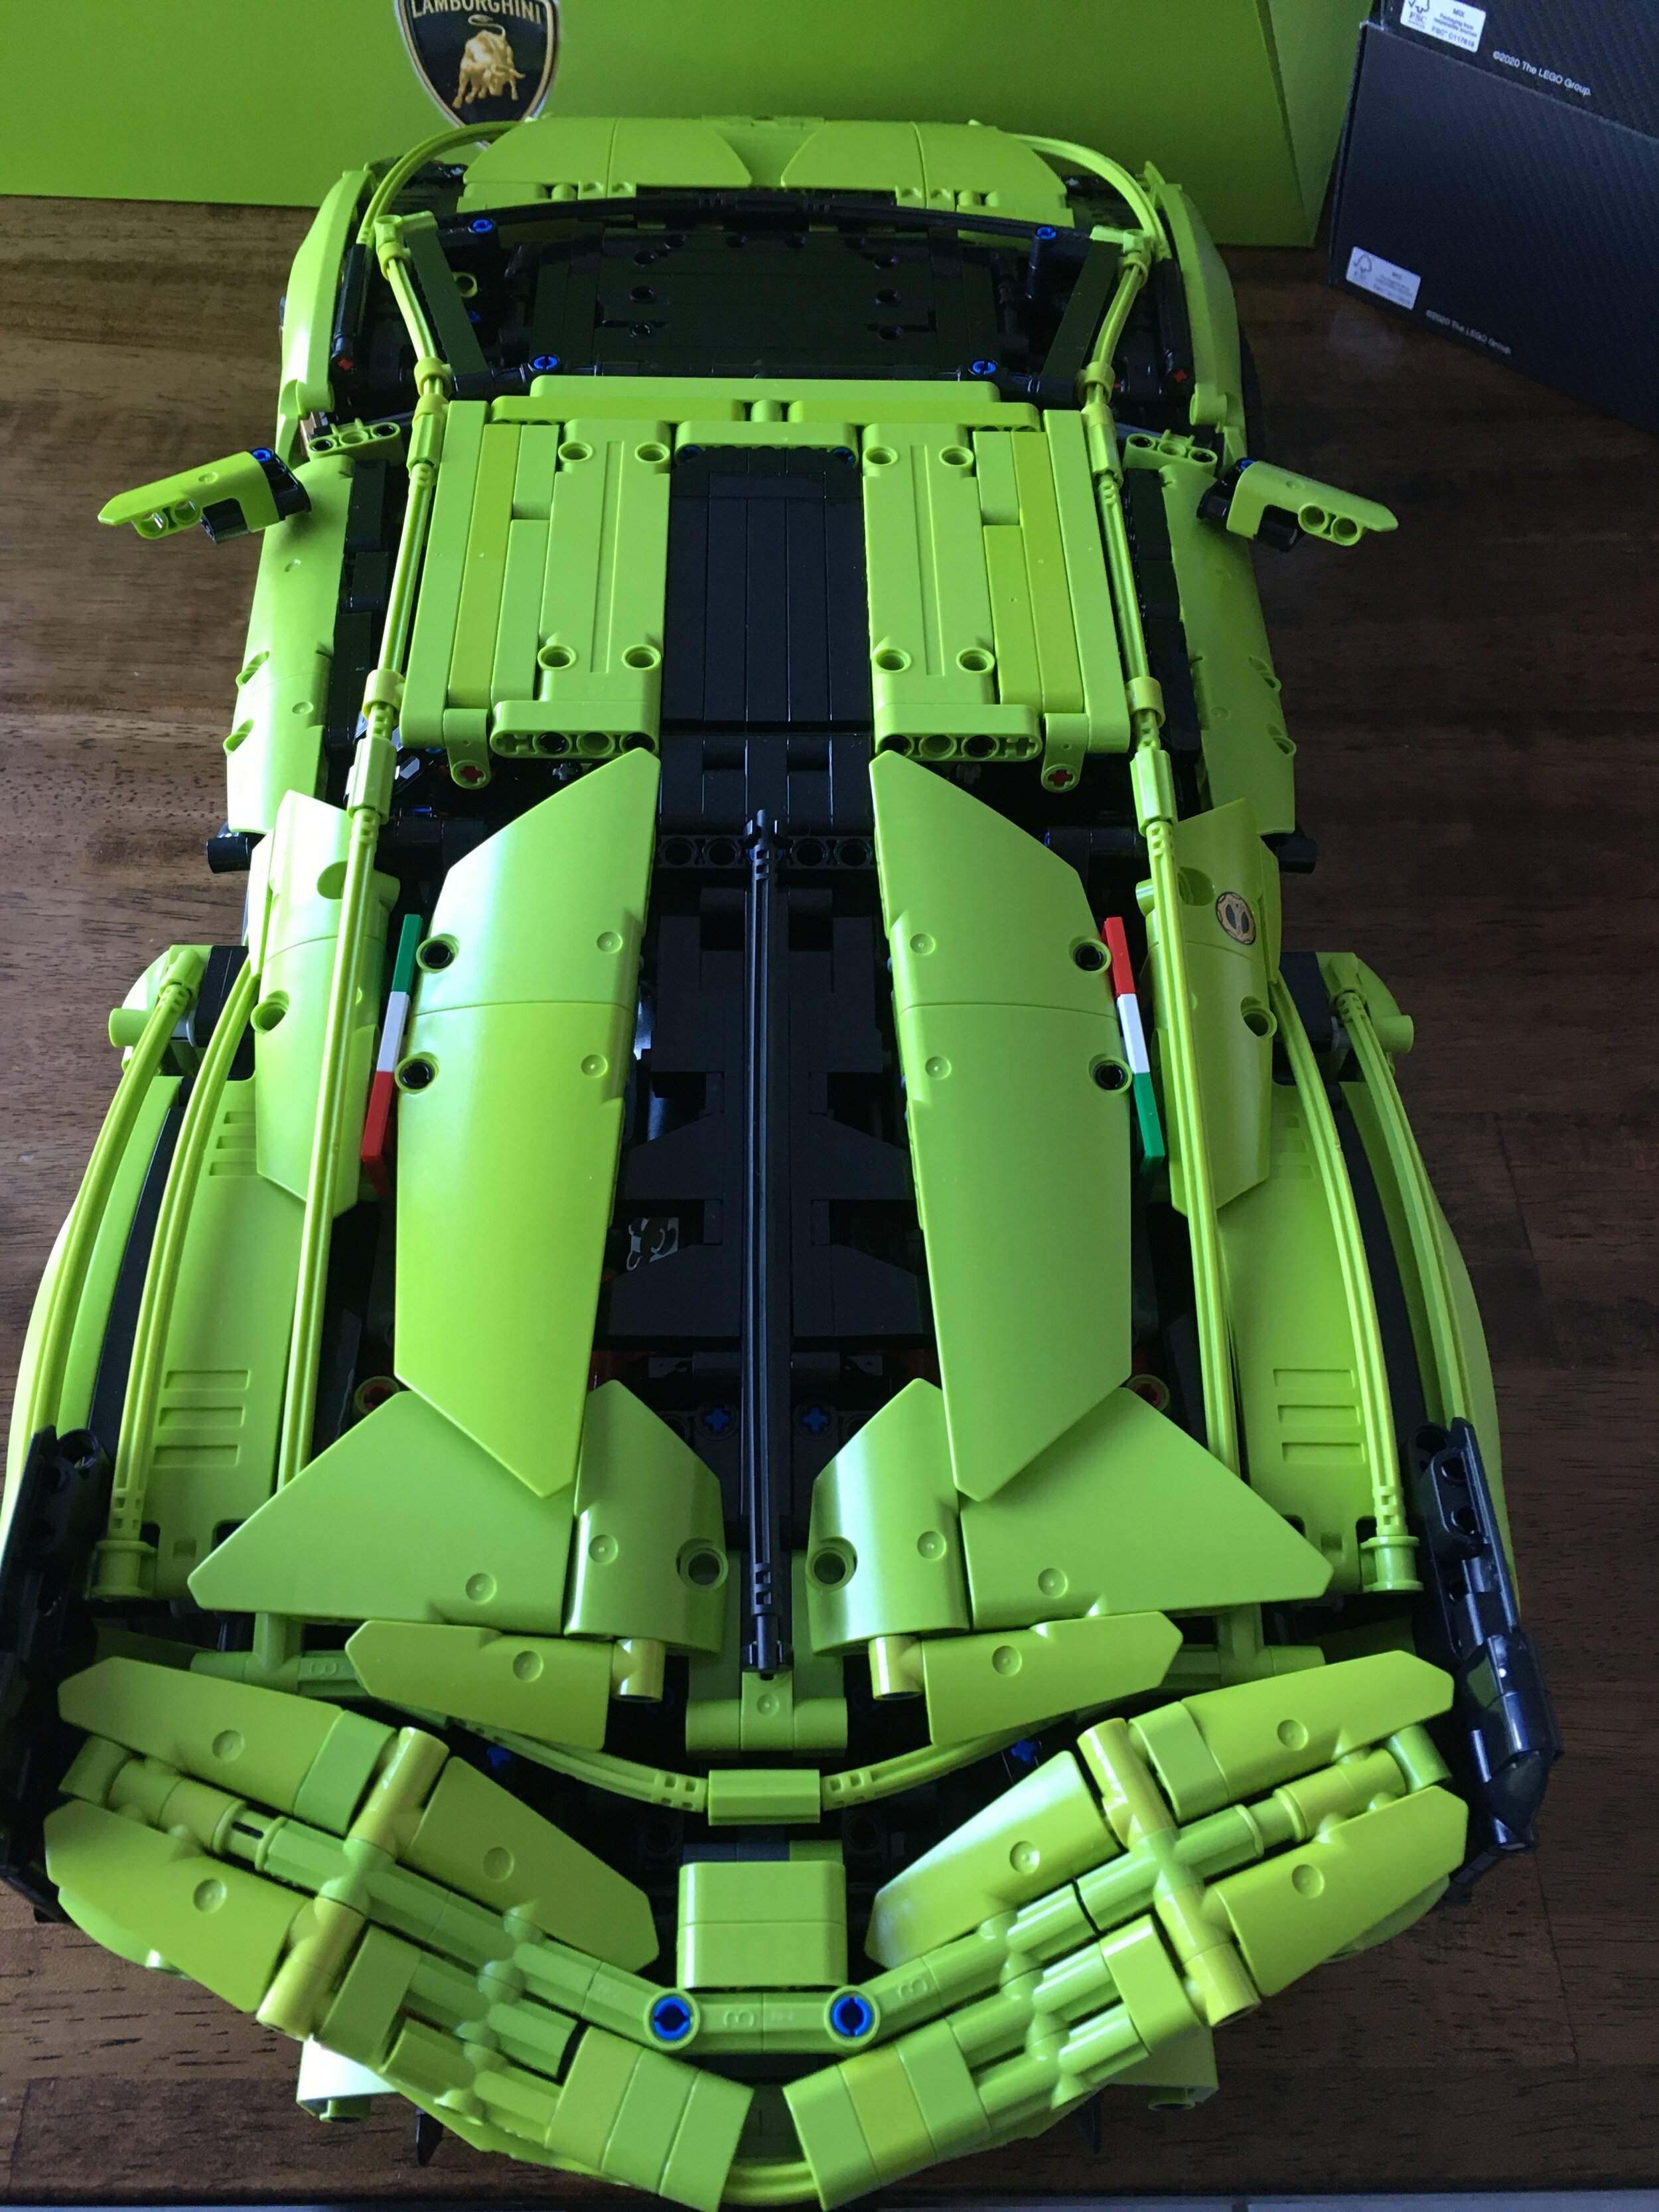
There are a few themes LEGO has sucked me into. One is modular buildings. The other is the Technic "super cars.” The first one was #42056-1: Porsche 911 GT3 RS back in 2016. The second was #42083-1: Bugatti Chiron released in 2018. The third car was released on 2 June 2020 in the US. It’s #42115-1: Lamborghini Sian FKP 37. It contains 3,696 pieces and retails for $379.99 in the US. This works out to $0.103/piece. Considering a lot of those pieces are tiny Technic pins, this car is expensive! Thankfully, I found it locally for ~$286 which I think is a much more reasonable price for the set. So if you live in the US, now is the time to complain as the Europeans get some discounts that you never see.
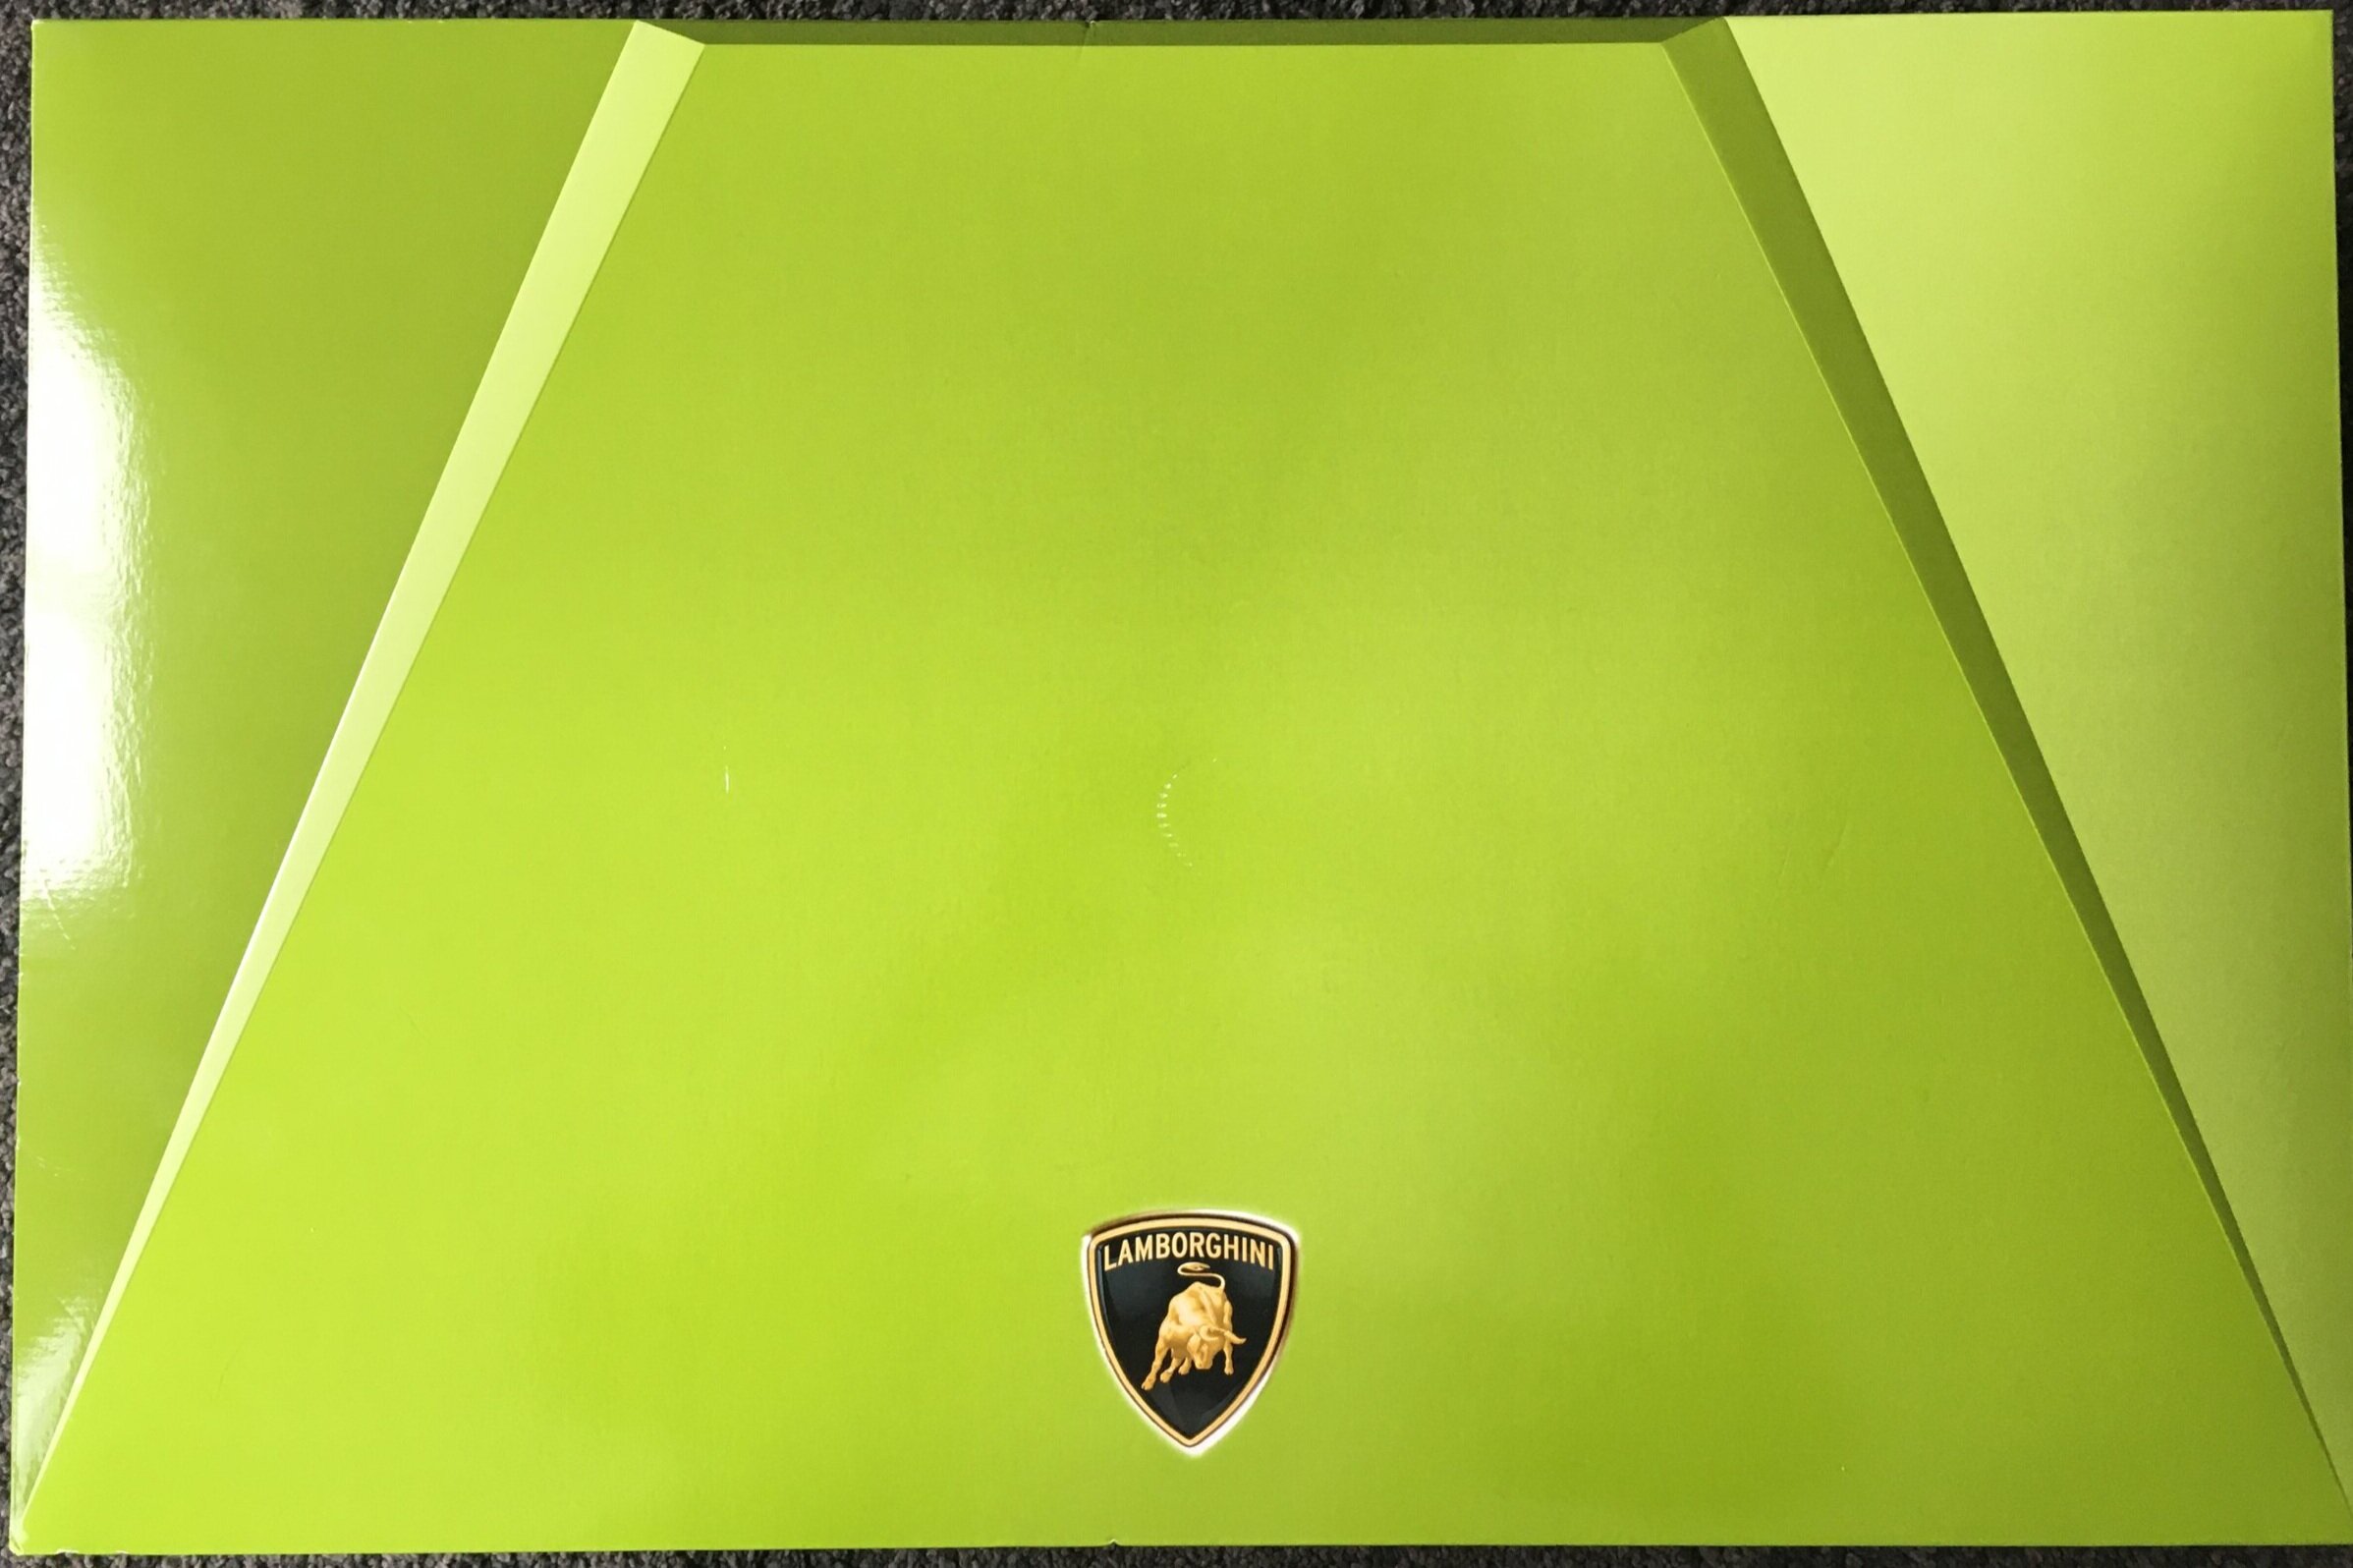
Like the previous cars, the box is unlike your standard set. The top half of the box looks like the hood of the car with the Lamborghini logo. The bottom part is a picture of the completed set with the name logo in the upper left. Unlike the Bugatti which was labeled as 16+, this one is labeled as 18+.
The sides of the box continue on the car shape with the front and back of the vehicle on the box.
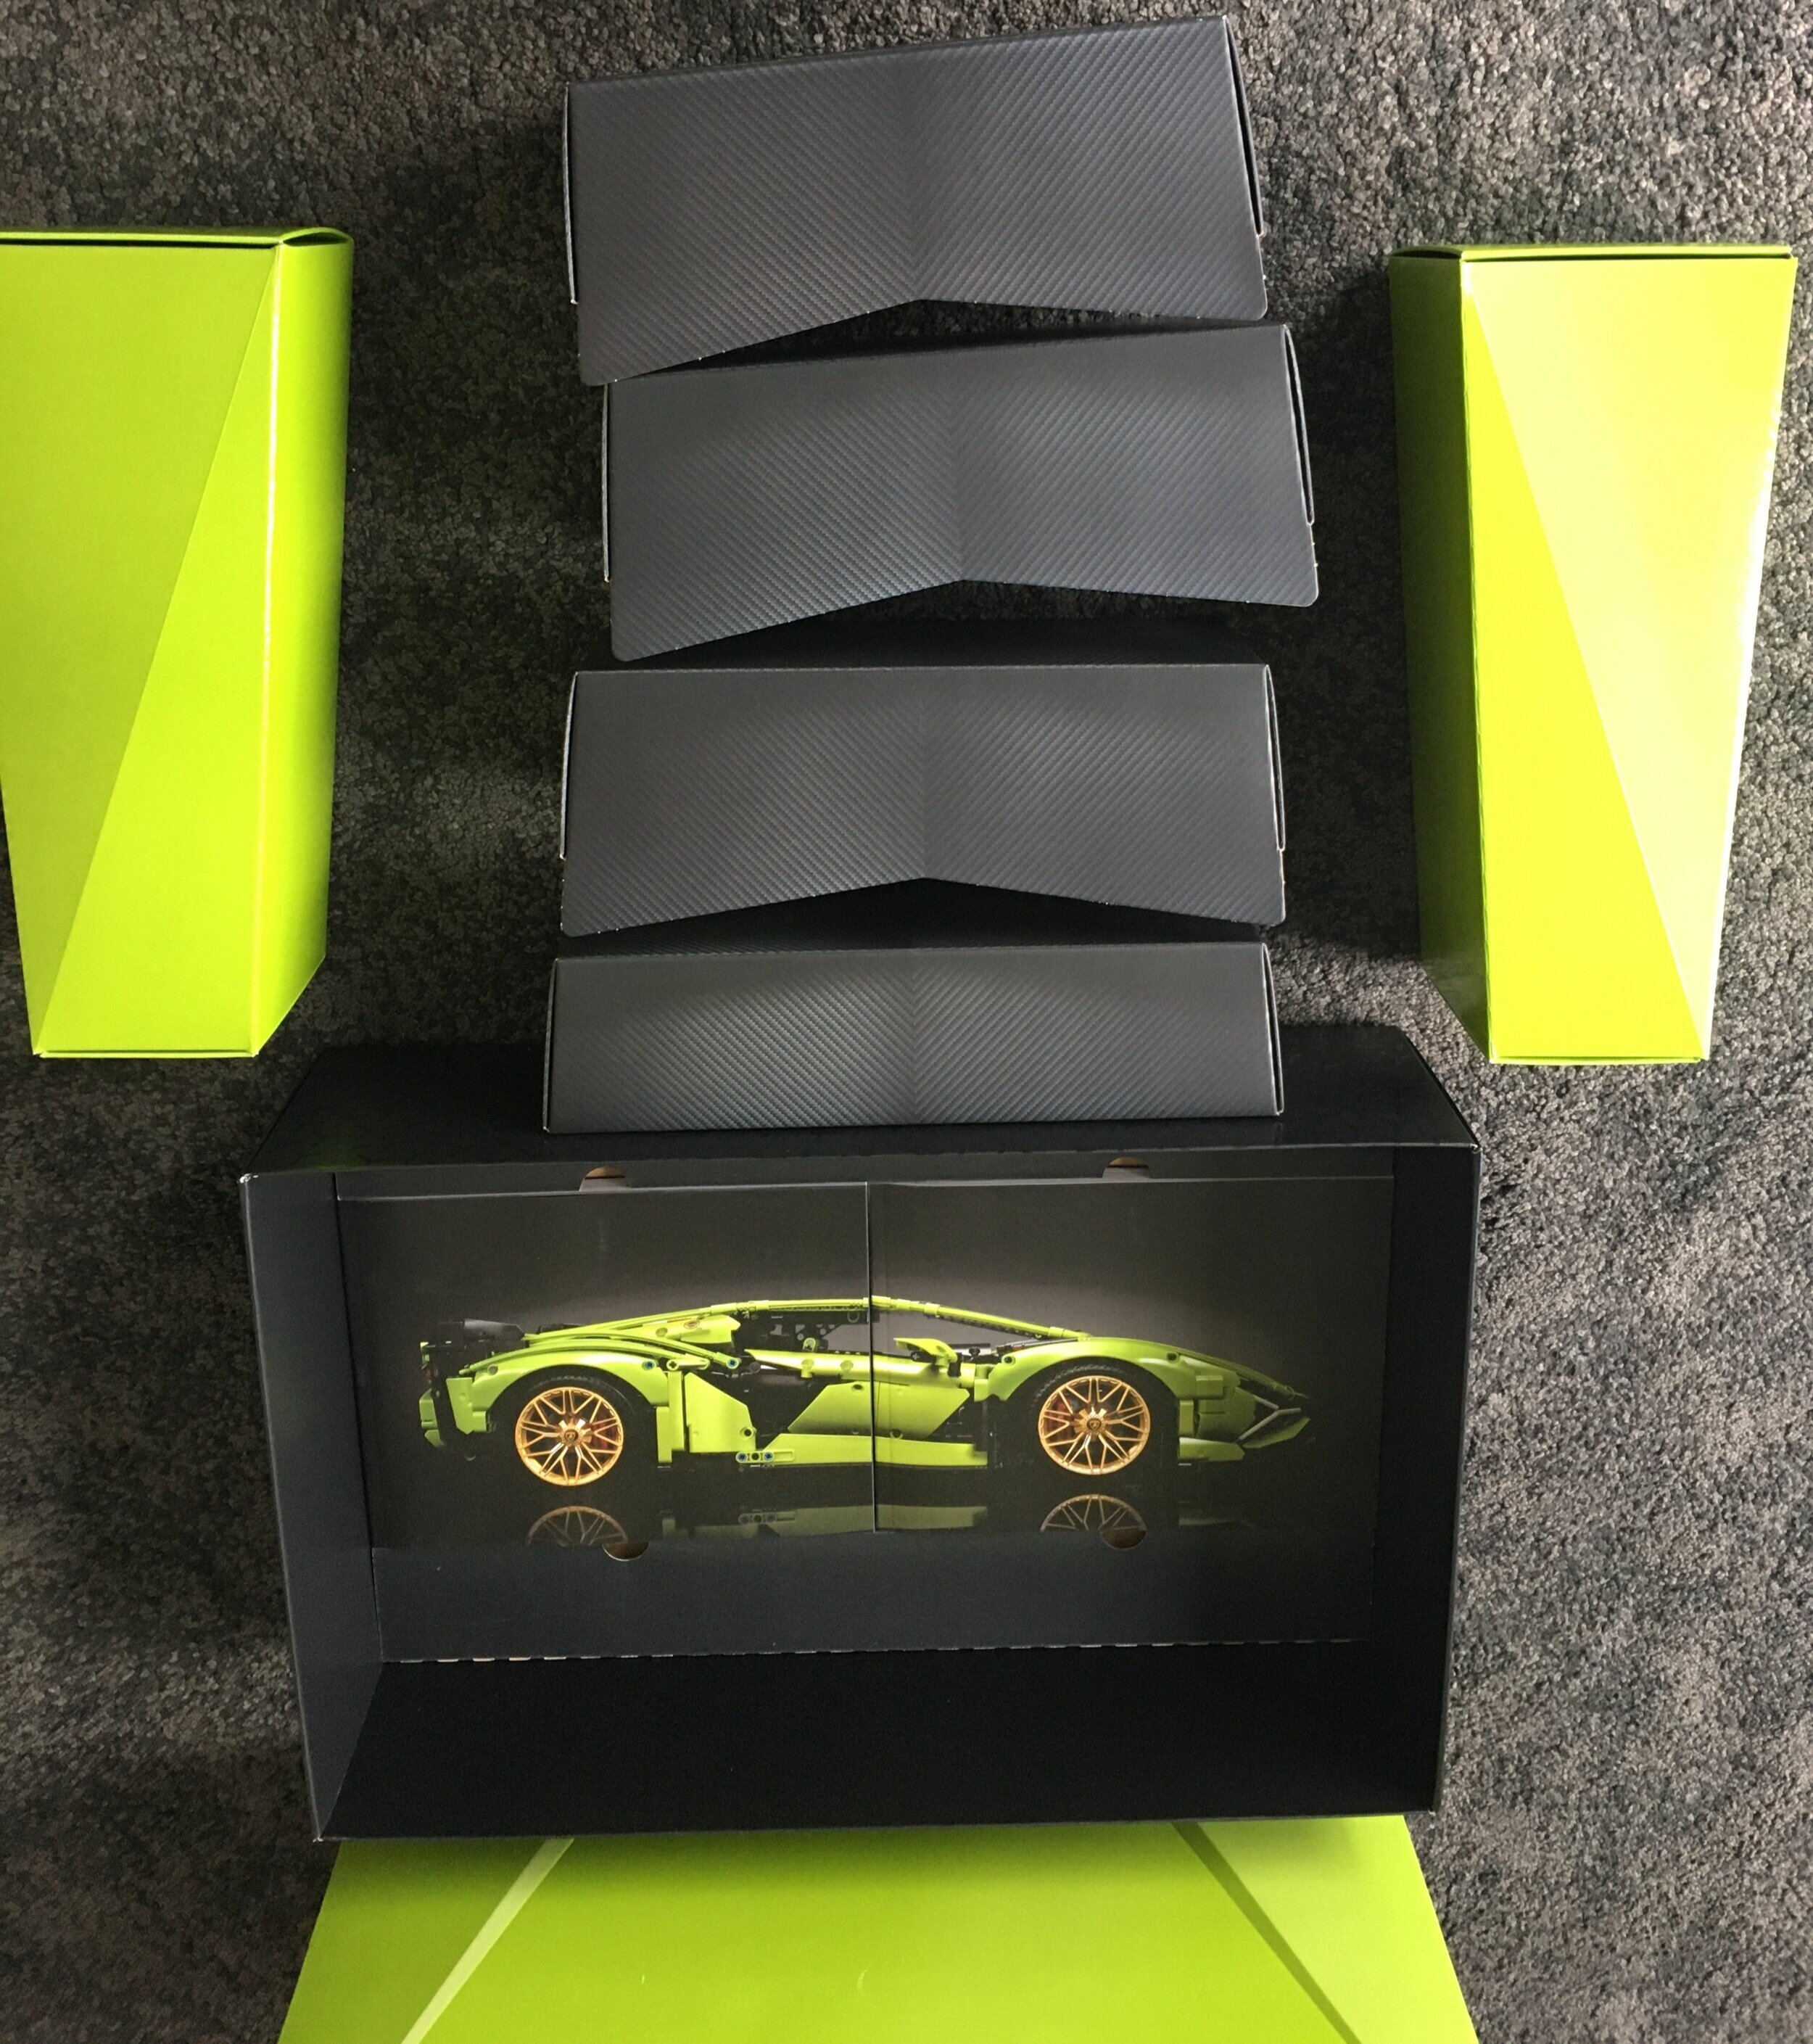
Taking the top of the box off reveals six boxes in the shape of the engine covering in the back of the car. The boxes are numbered 1 through 6. After removing the boxes, there are two instruction books on the bottom. When you put the books next to each other, you can see the completed model.
For reviews, I normally pull out all of the bags so you can how many parts bags there are in the set. I didn’t do that here as the parts bags are all contained in the numbered boxes. I didn’t count as I opened them either. Sorry…
The instructions are similar to previous Technic super car models with a lot of details and extras on the actual vehicle and the model. I found the extra details interesting. You are also given some QR codes that you can scan to take you to YouTube videos about the design process. The videos were interesting with some interviews of LEGO and Lamborghini personnel. I tried to watch while building, but couldn’t focus enough on the build so I watched them separately. I think I would have rather had one longer video versus a bunch of shorter clips, but not a major issue to me.
I bought my set in Germany so the instructions came in English and German. Not the North America version in English, French, and Spanish.
Box 1 - Gearbox and Rear Suspension
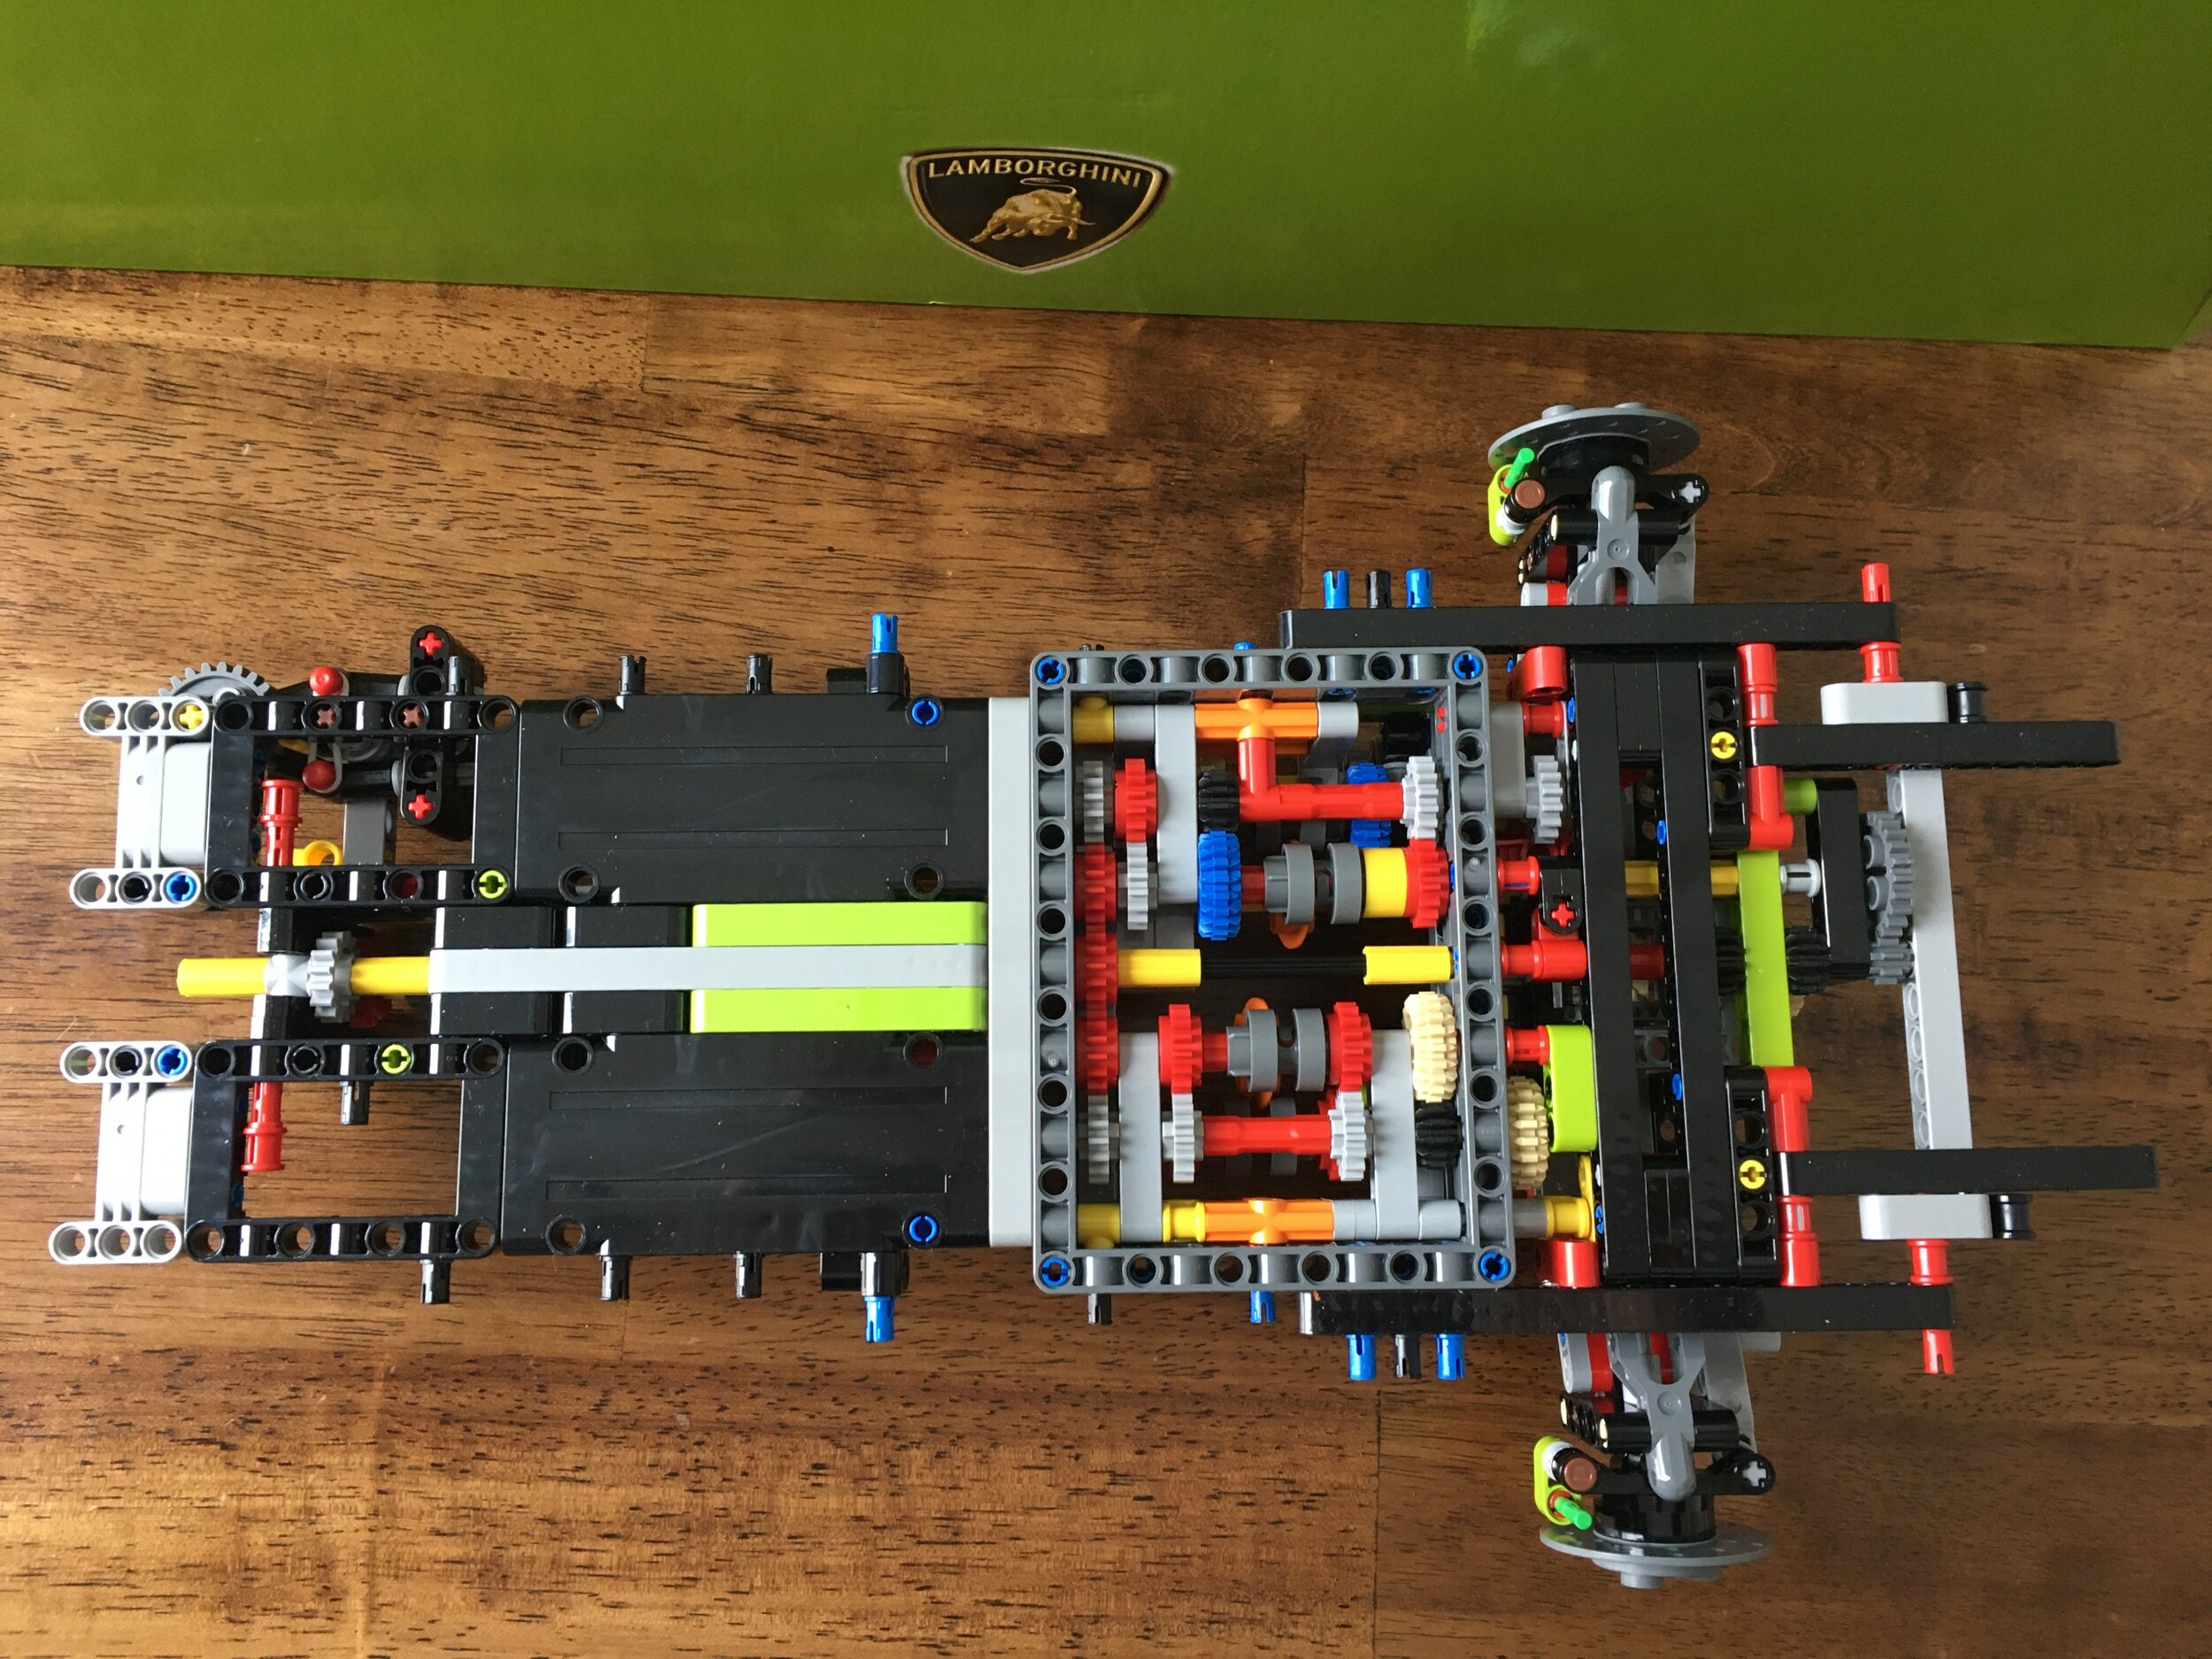
Each box is split up in the instruction book with a write up on that section and a corresponding video. Box one builds your transmission and where the back wheels go. The transmission is a challenging thing to build. I really had to pay attention to part types, angles, sizes, and how things were linked up. I made a few small mistakes, but thankfully caught them before I went too far.
The transmission is open on the bottom of the car so you can see the movement as you cycle through gears. This is different from the previous cars. While not realistic, it is a nice touch to see what is going on I guess. Also it’s on the bottom so it’s not like you see it all the time unless you flip it over.
I didn’t time myself on the build, but I think this part took a while for me. Might have been just because I was taking my time with it to make sure I got it right.
Box 2 - Engine and Front Suspension
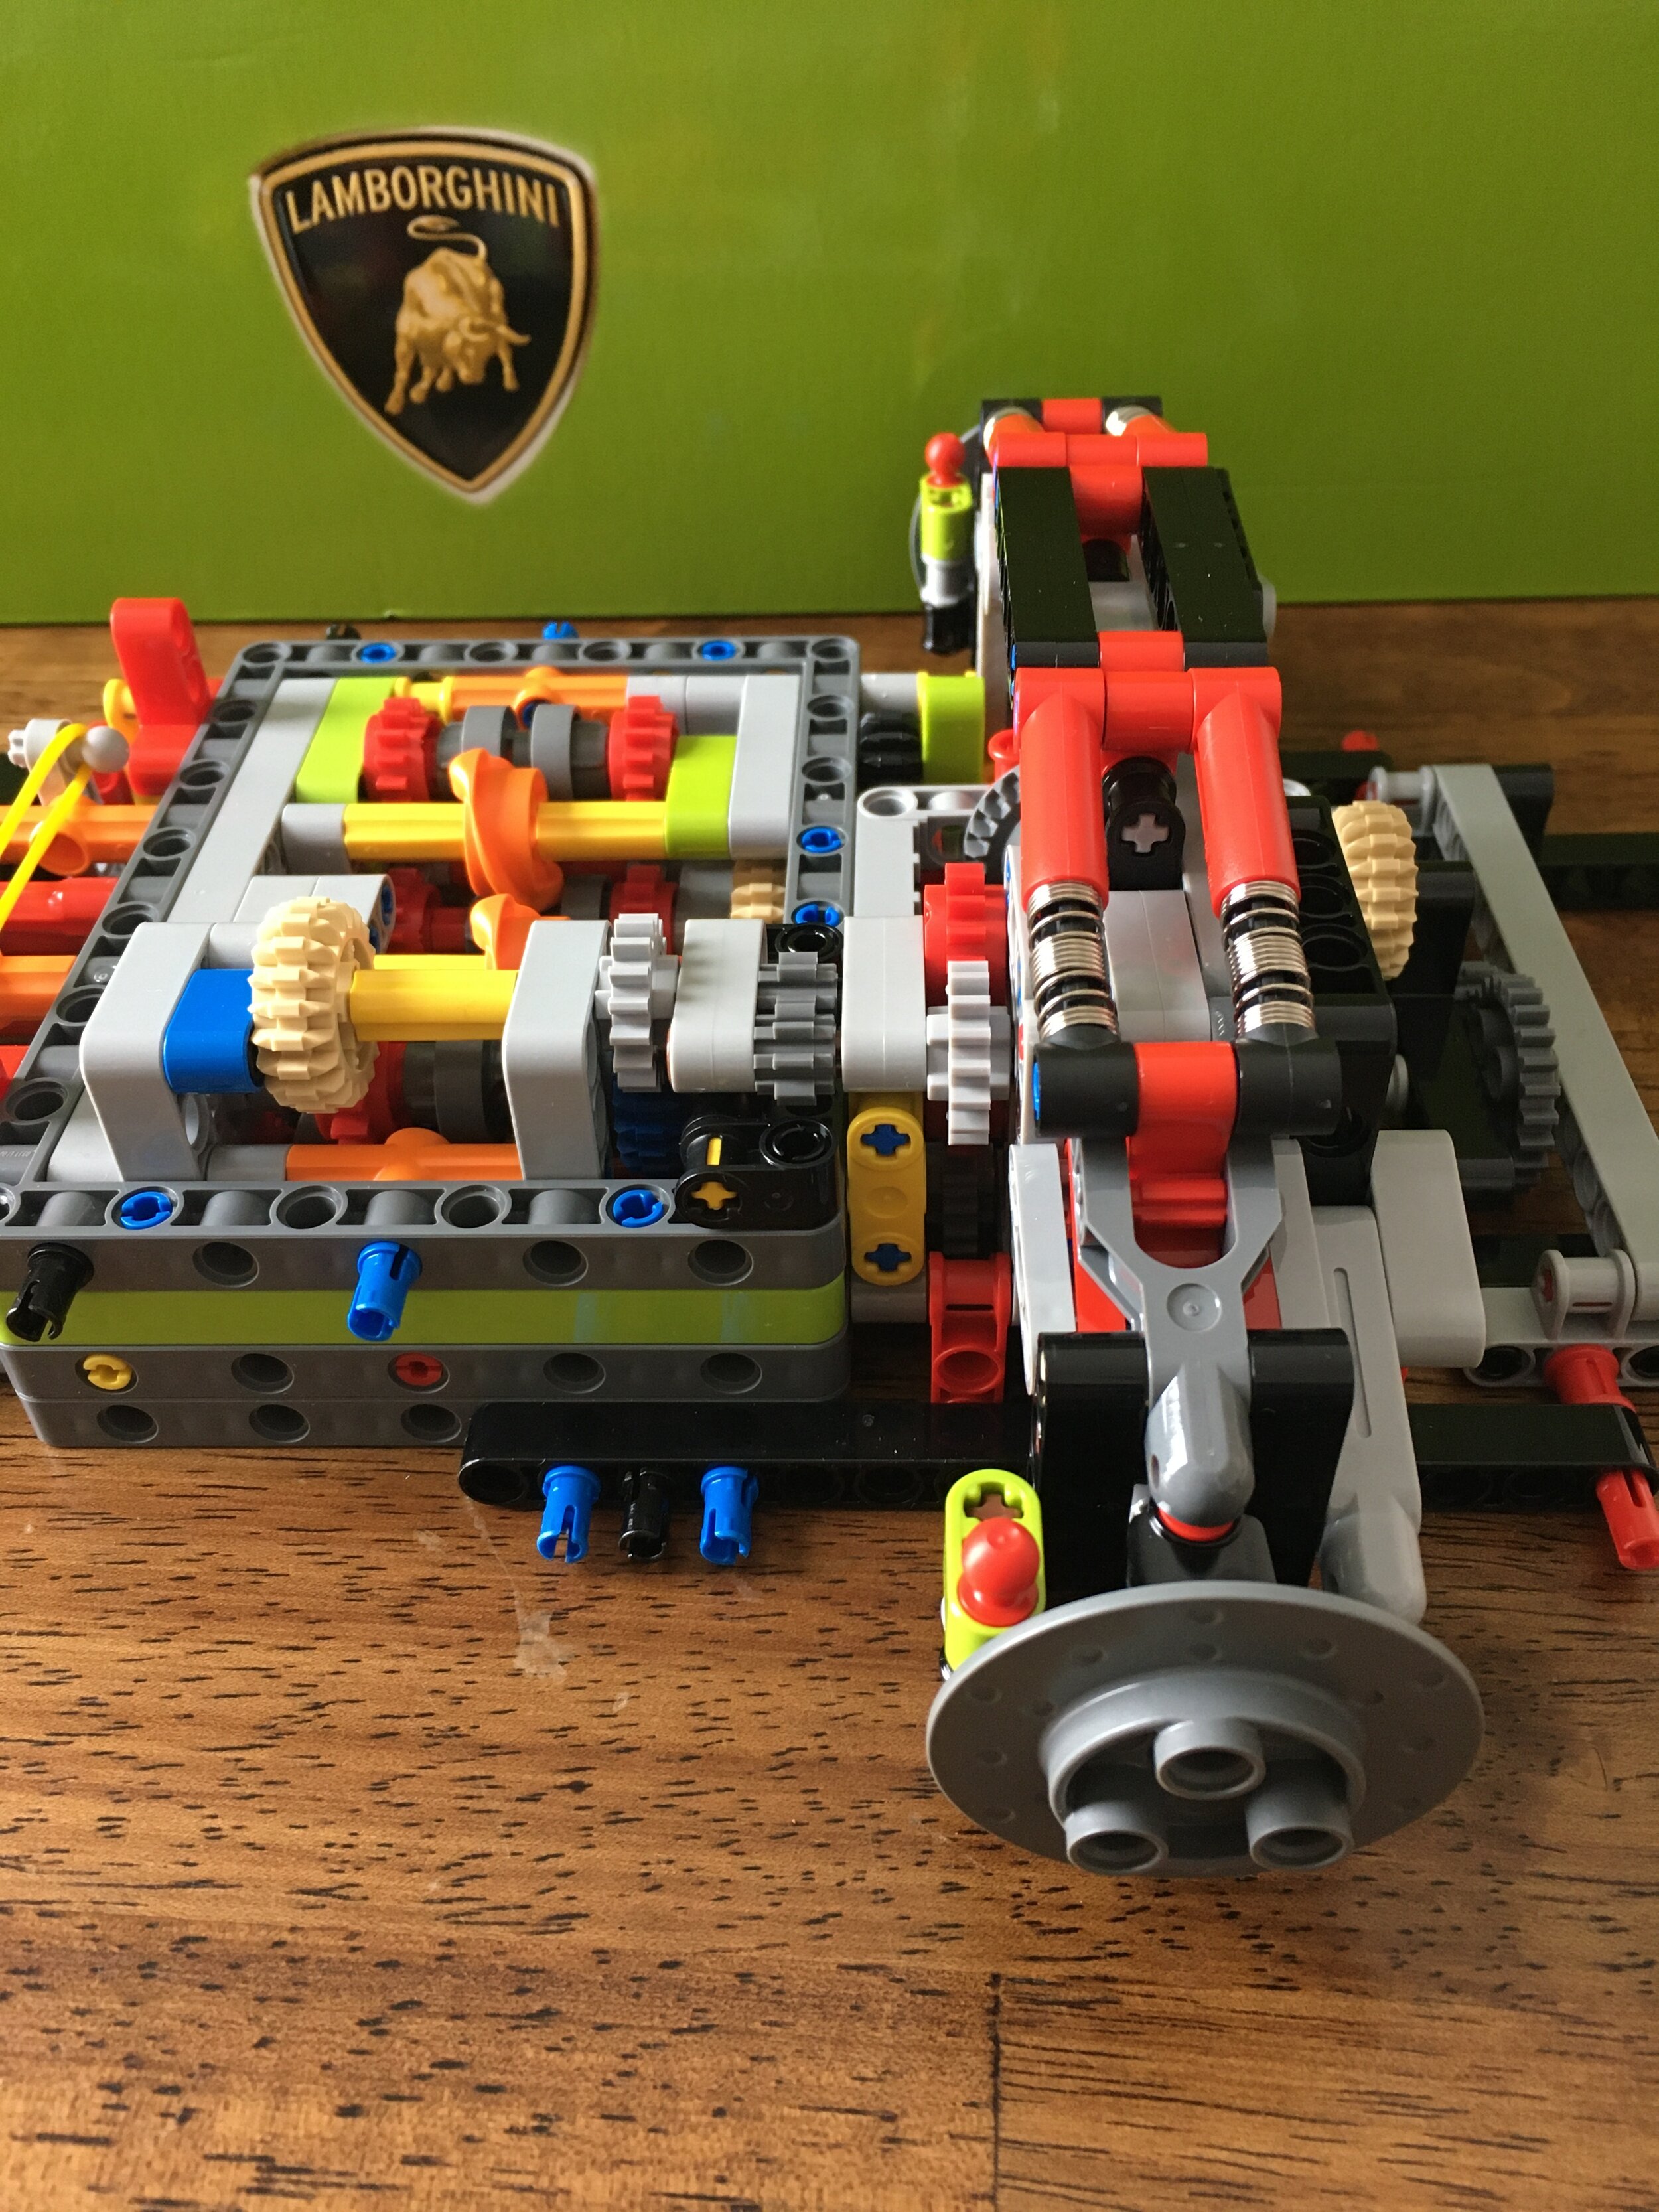
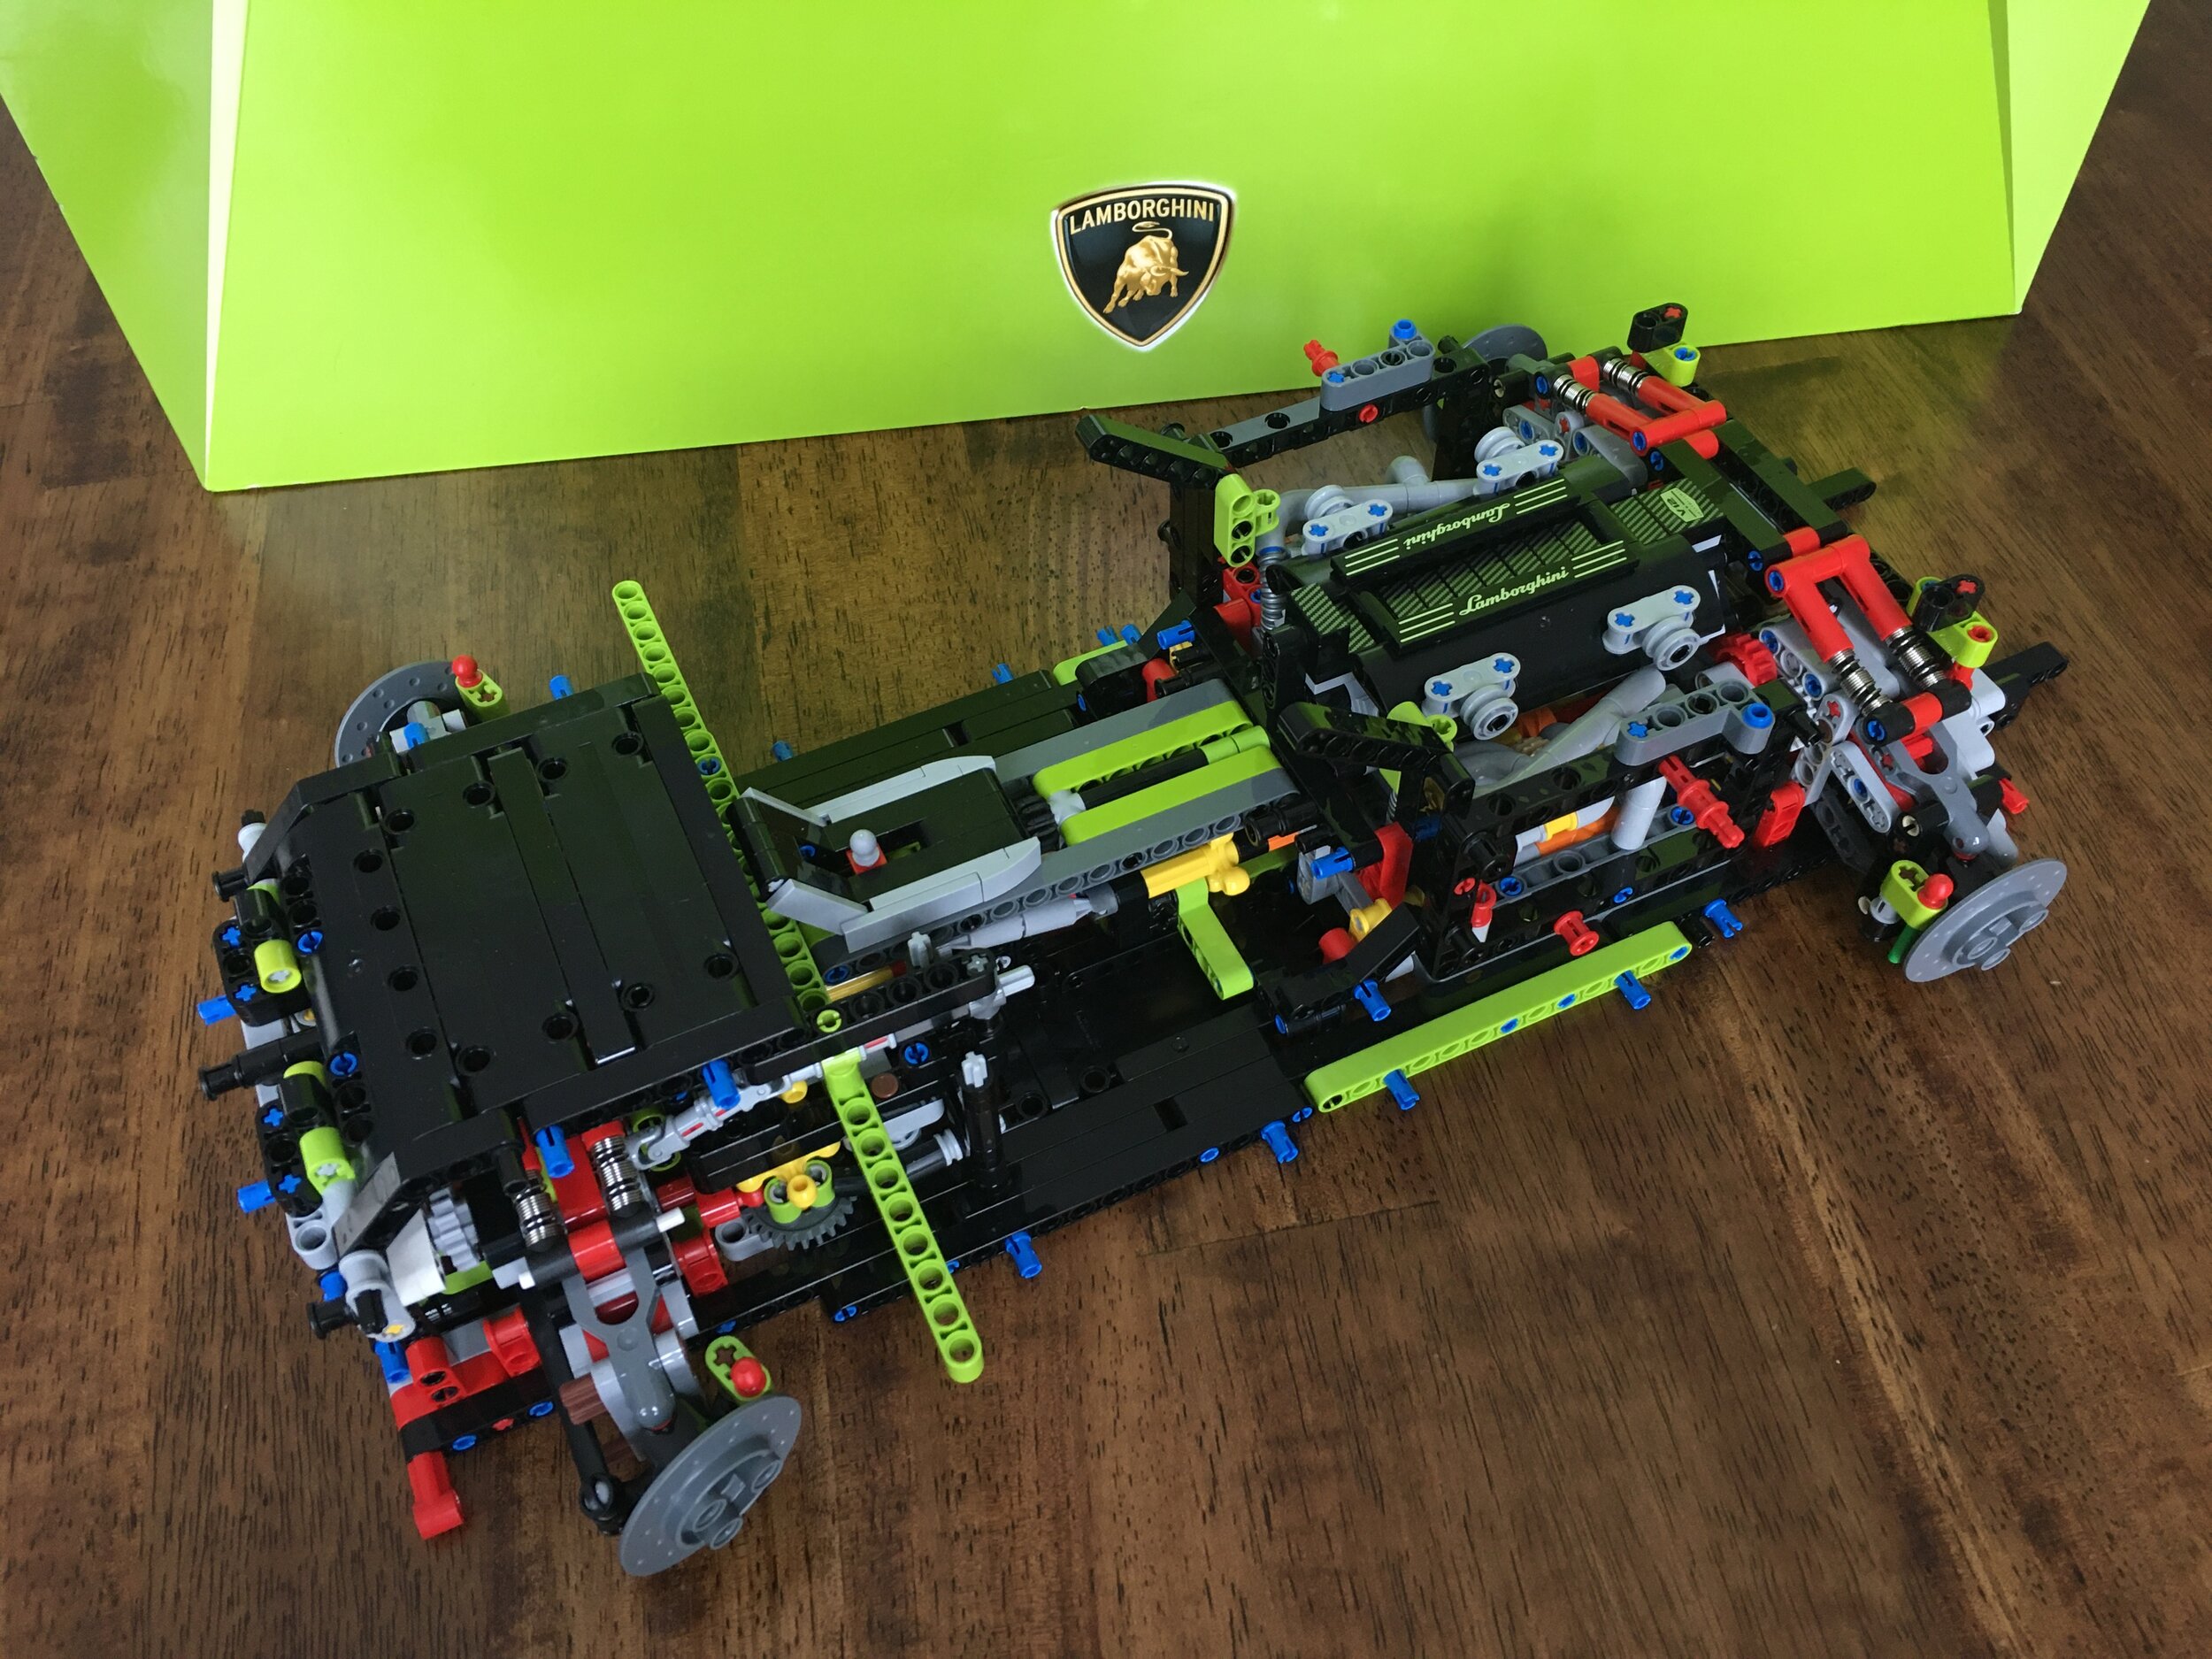
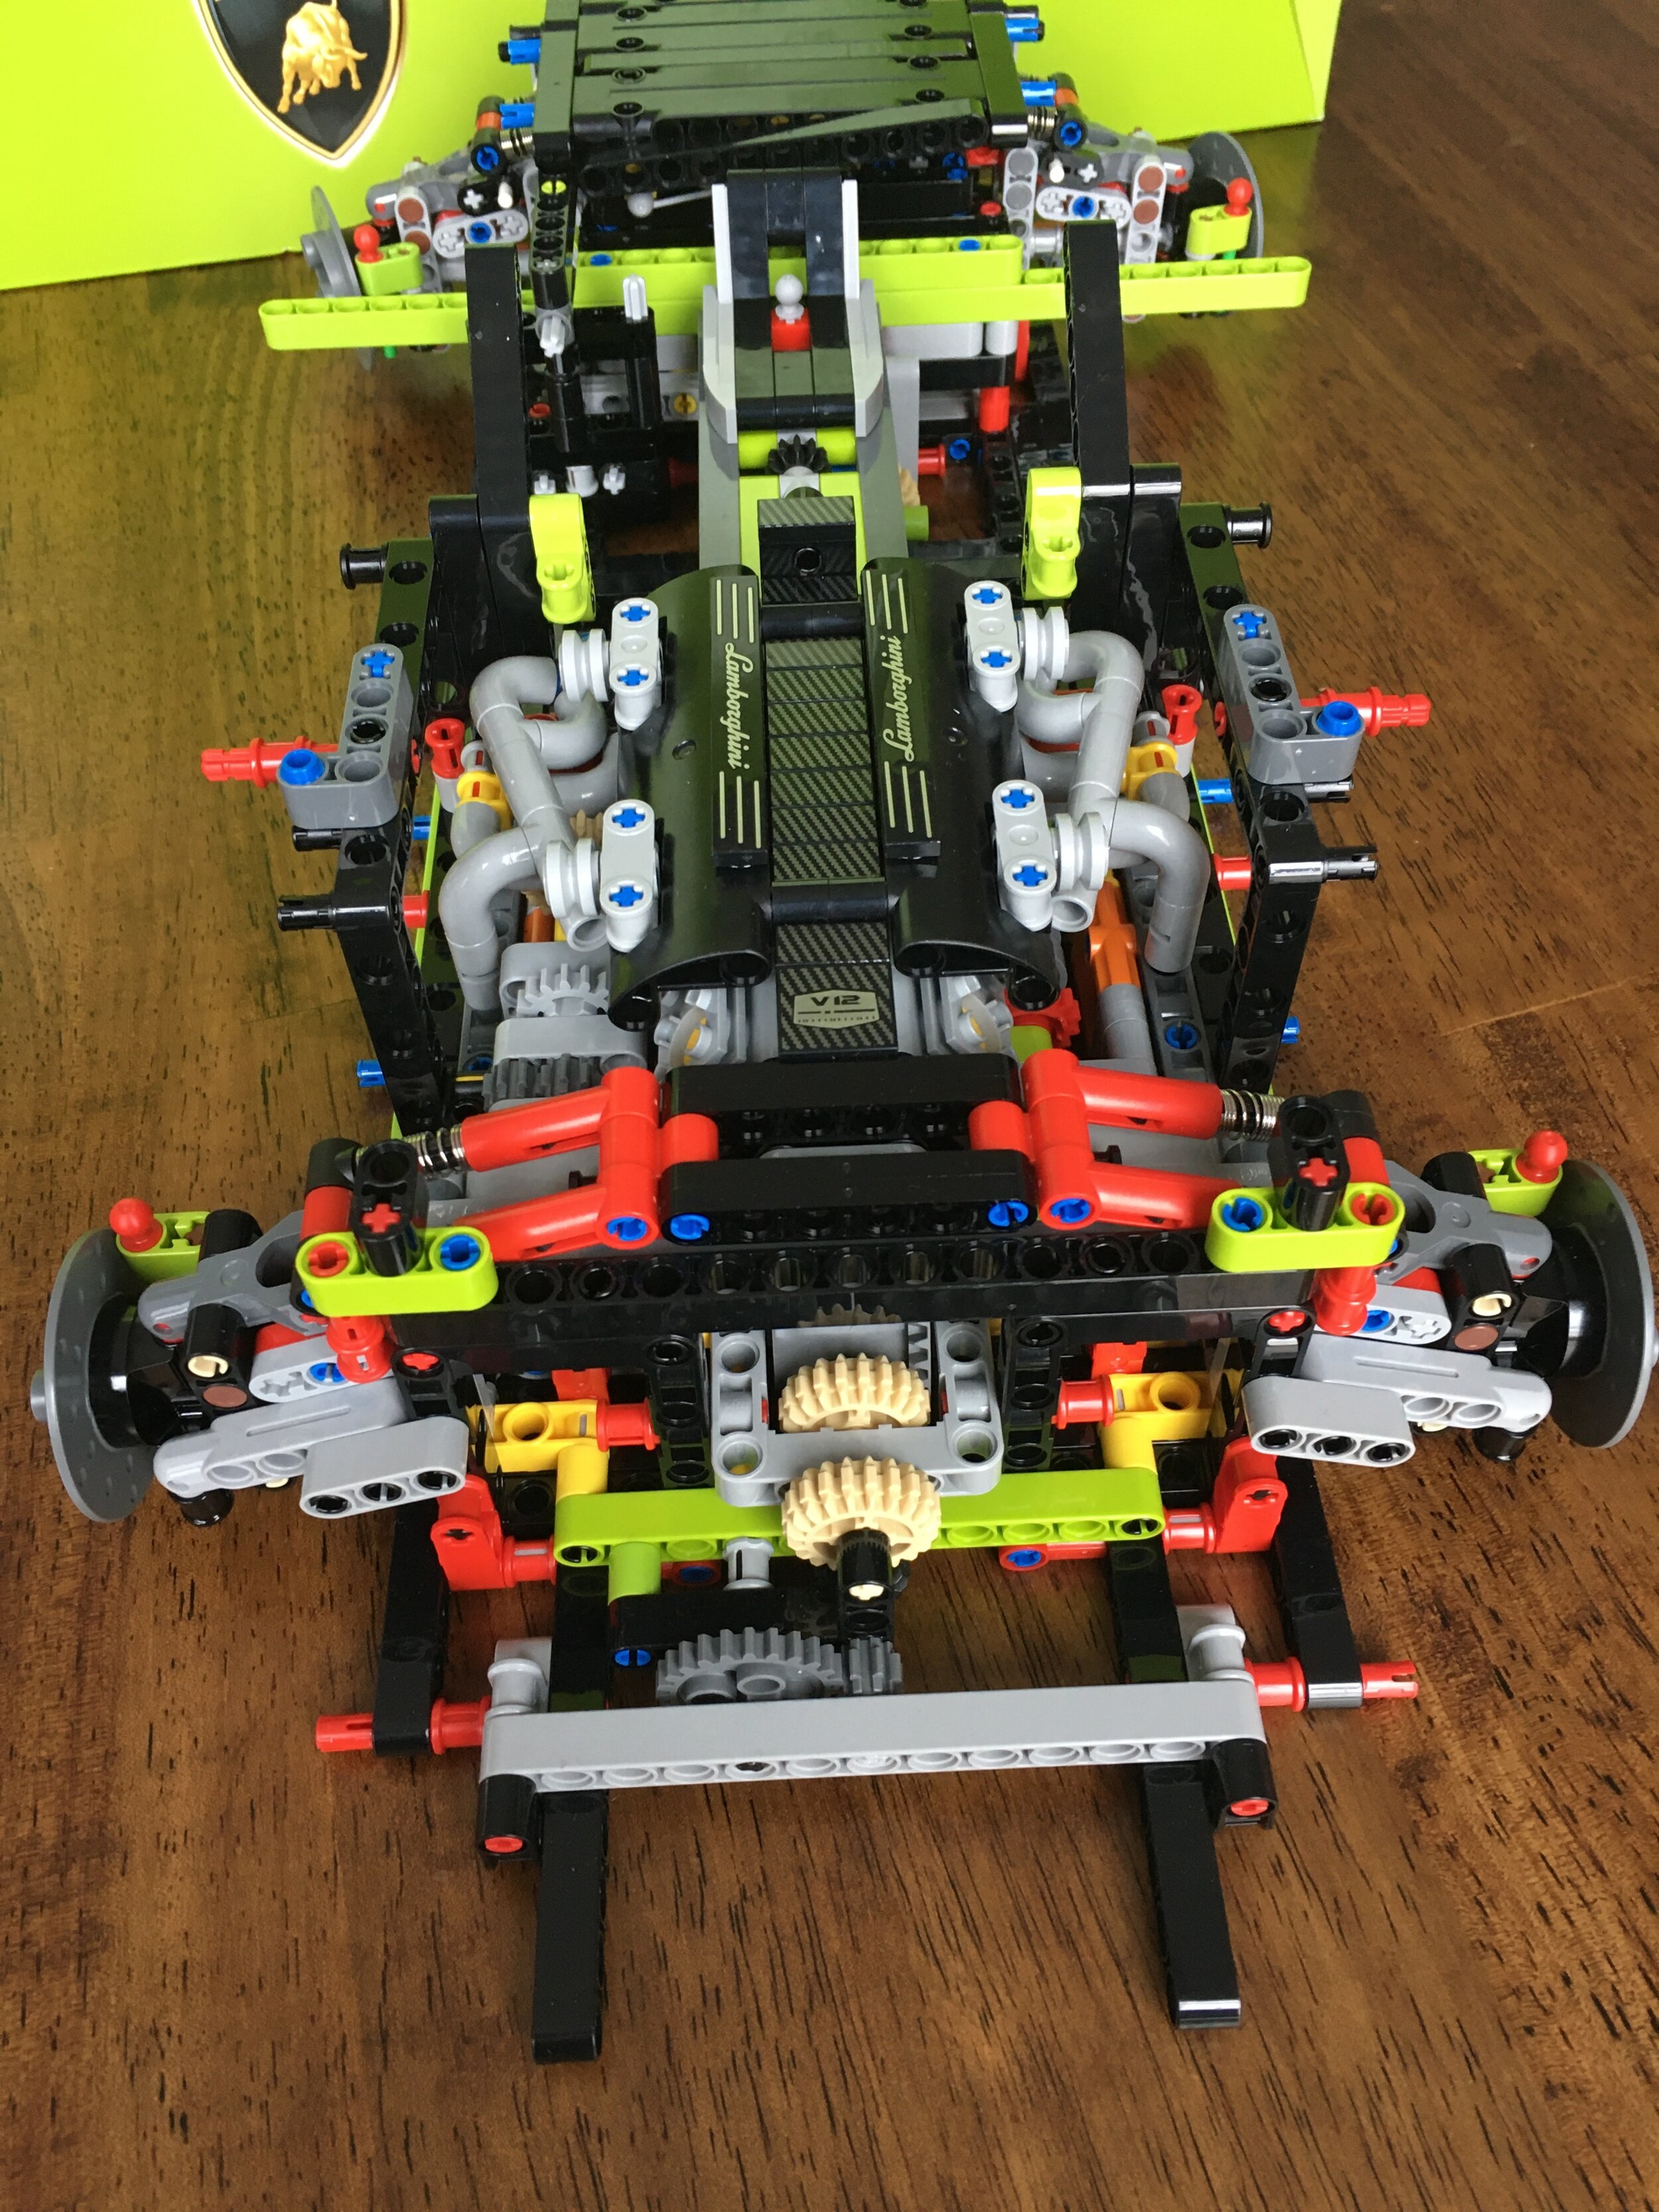
With box two you can attach all the wheels now and the engine is installed. You can also shift the car into drive, neutral or reverse now. The wheels have a pretty solid suspension. One of the things from the videos is the car actually has some bounce to it. It is not much, but is way more versus the Bugatti.
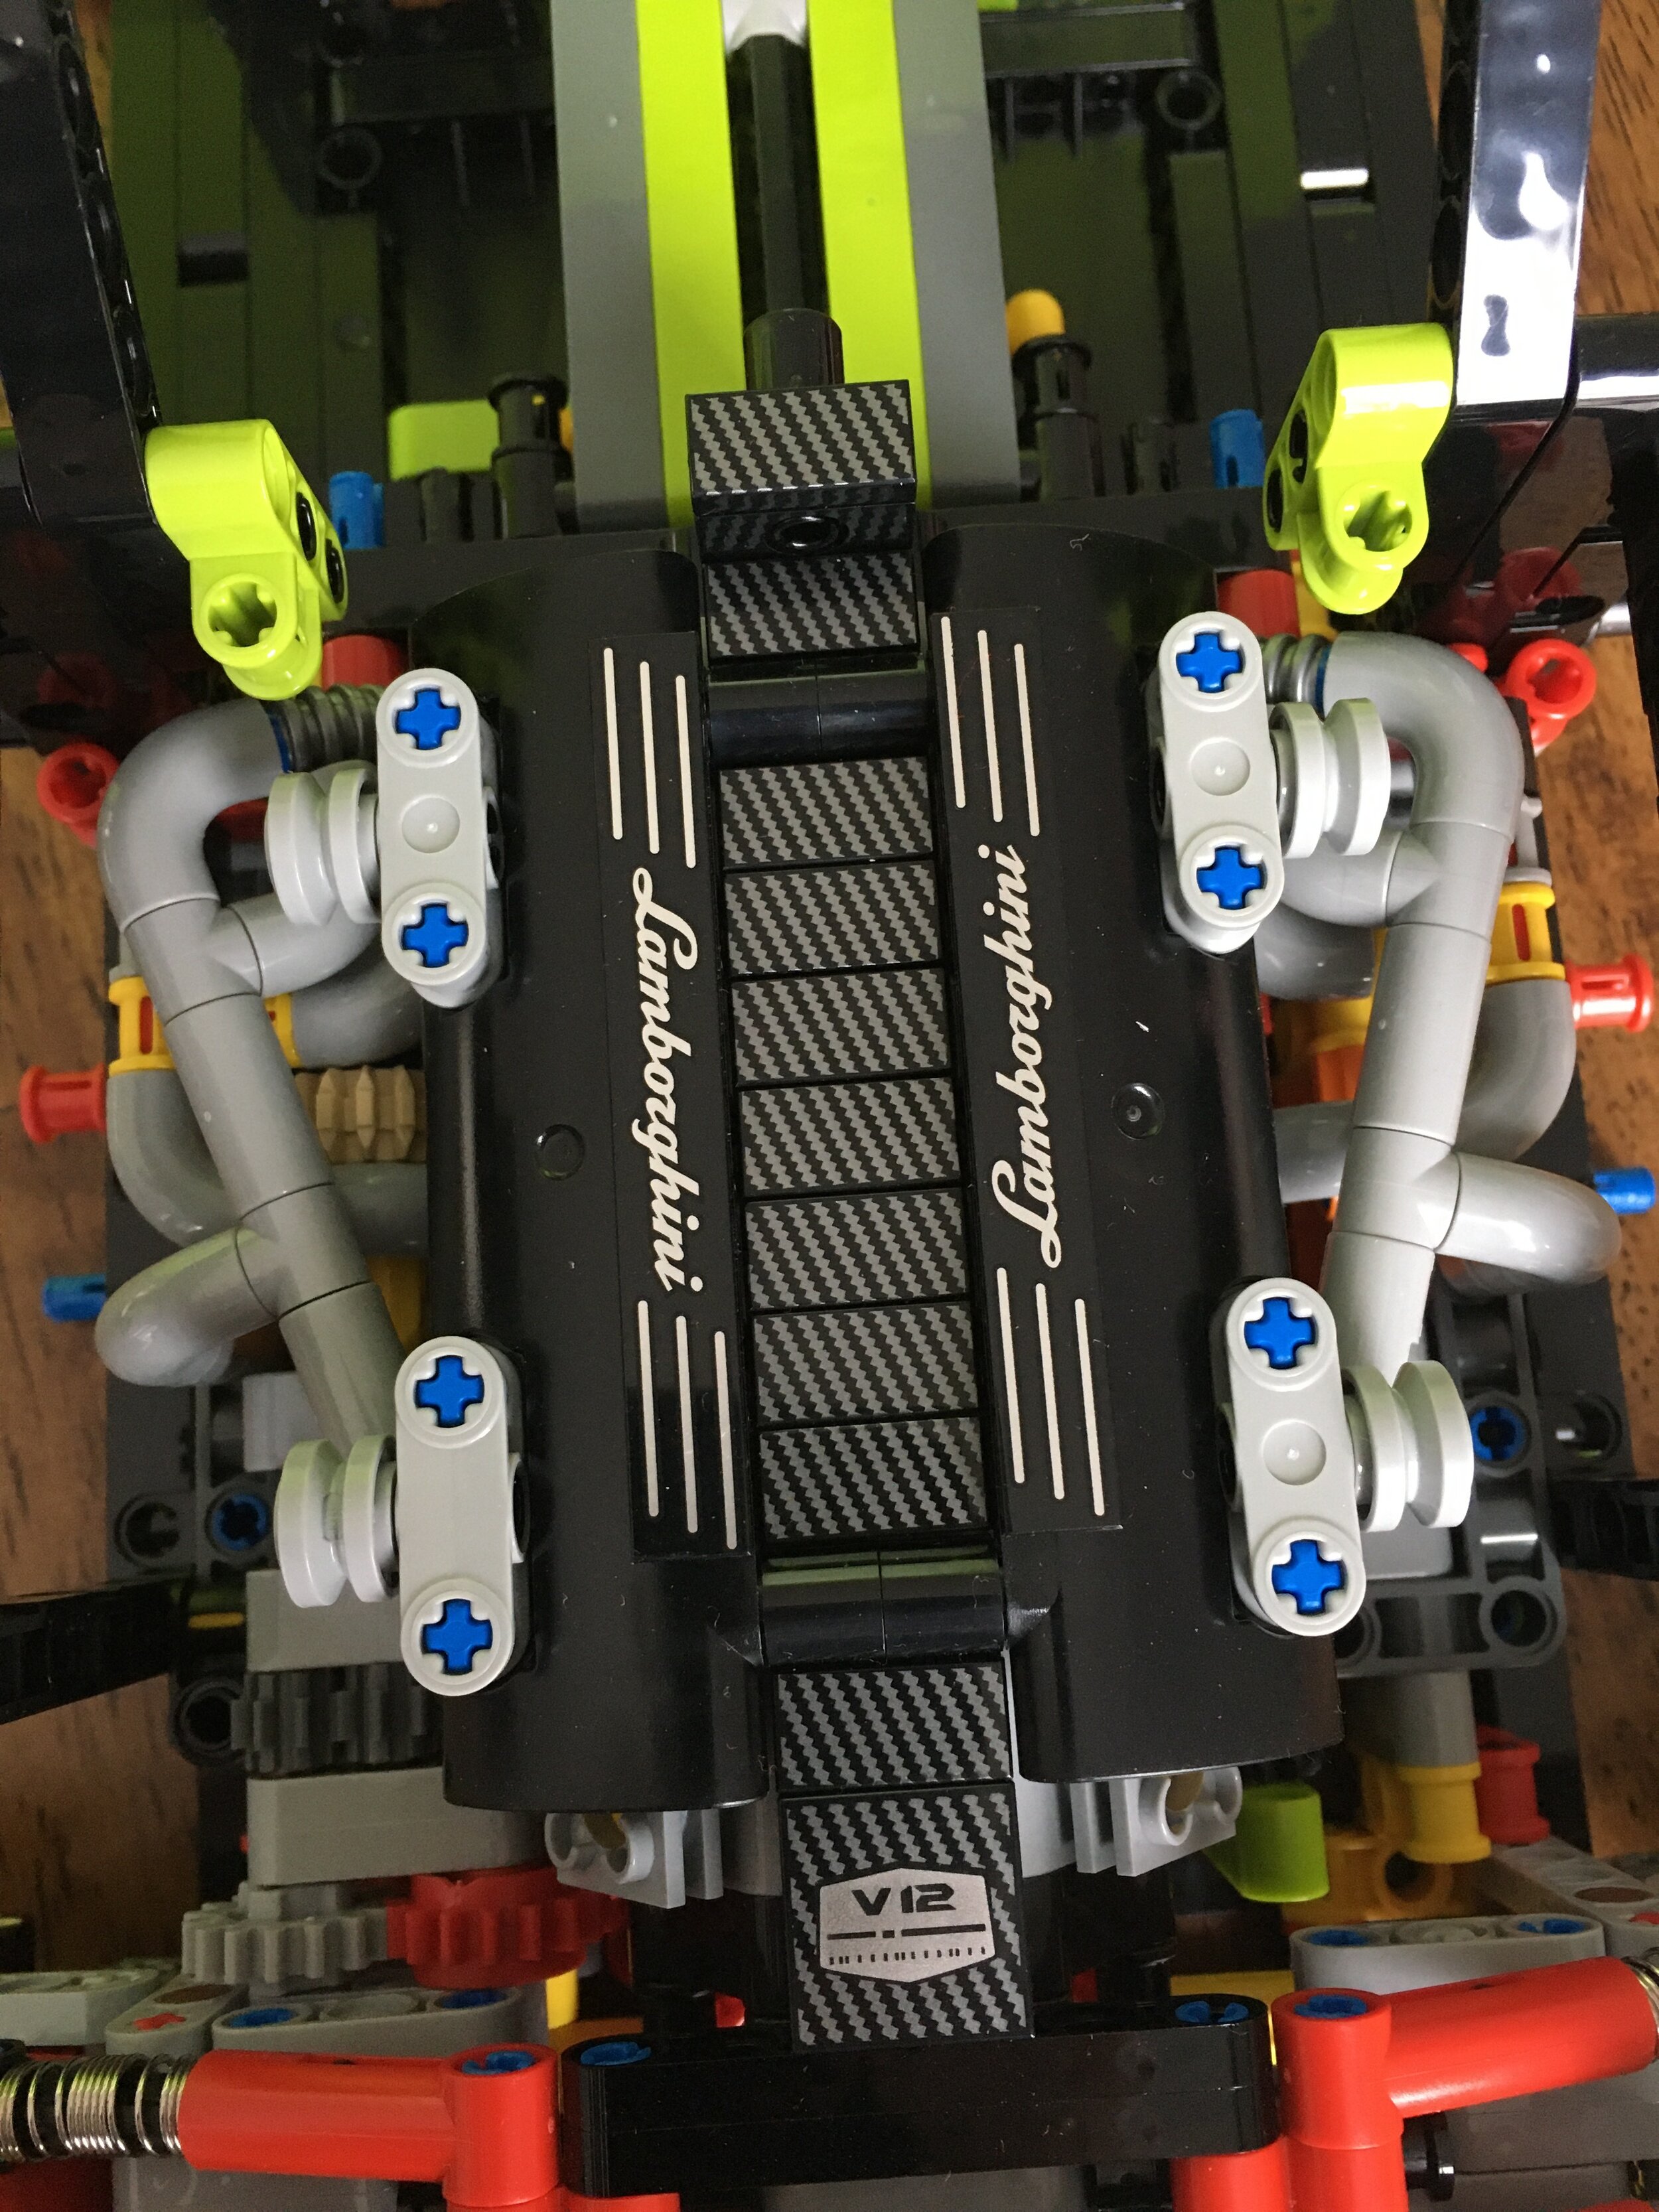
The engine has 12 cylinders that you can’t see working, but you get to install them all anyways. It’s not a big deal that you can’t see them in my opinion. I think it’s more about the build experience. The engine covering includes some printed tiles which add to the detail. I like the ones with the Lamborghini name on them. Super thankful there are no stickers on this one.
Here’s a closer shot of the front of the car at the end of box 2. I didn’t take a before step picture so you can’t see the details underneath. It’s a challenging part to assemble, but it comes together well. There were a few instances where I really had to stare at the instructions and compare it what I built to make sure it was all right. Some trial and error too. No mistakes so far…
Box 3 - Interior Details and Seats
This box adds some details as mentioned, but also adds some movements. You install the initial parts of the scissor doors to come later and the mechanism to raise and lower the spoiler.
The steering wheel is installed and like the previous vehicles, the wheel is functional. The other picture shown is the passenger side where you can see the Technic part used to raise and lower the spoiler. You can also see how some System pieces are added to the Technic pieces for detail purposes.
A quick look at the back. Not a lot of detail is added. Mostly structure to install other parts later.
Box 4 - Rear Spoiler
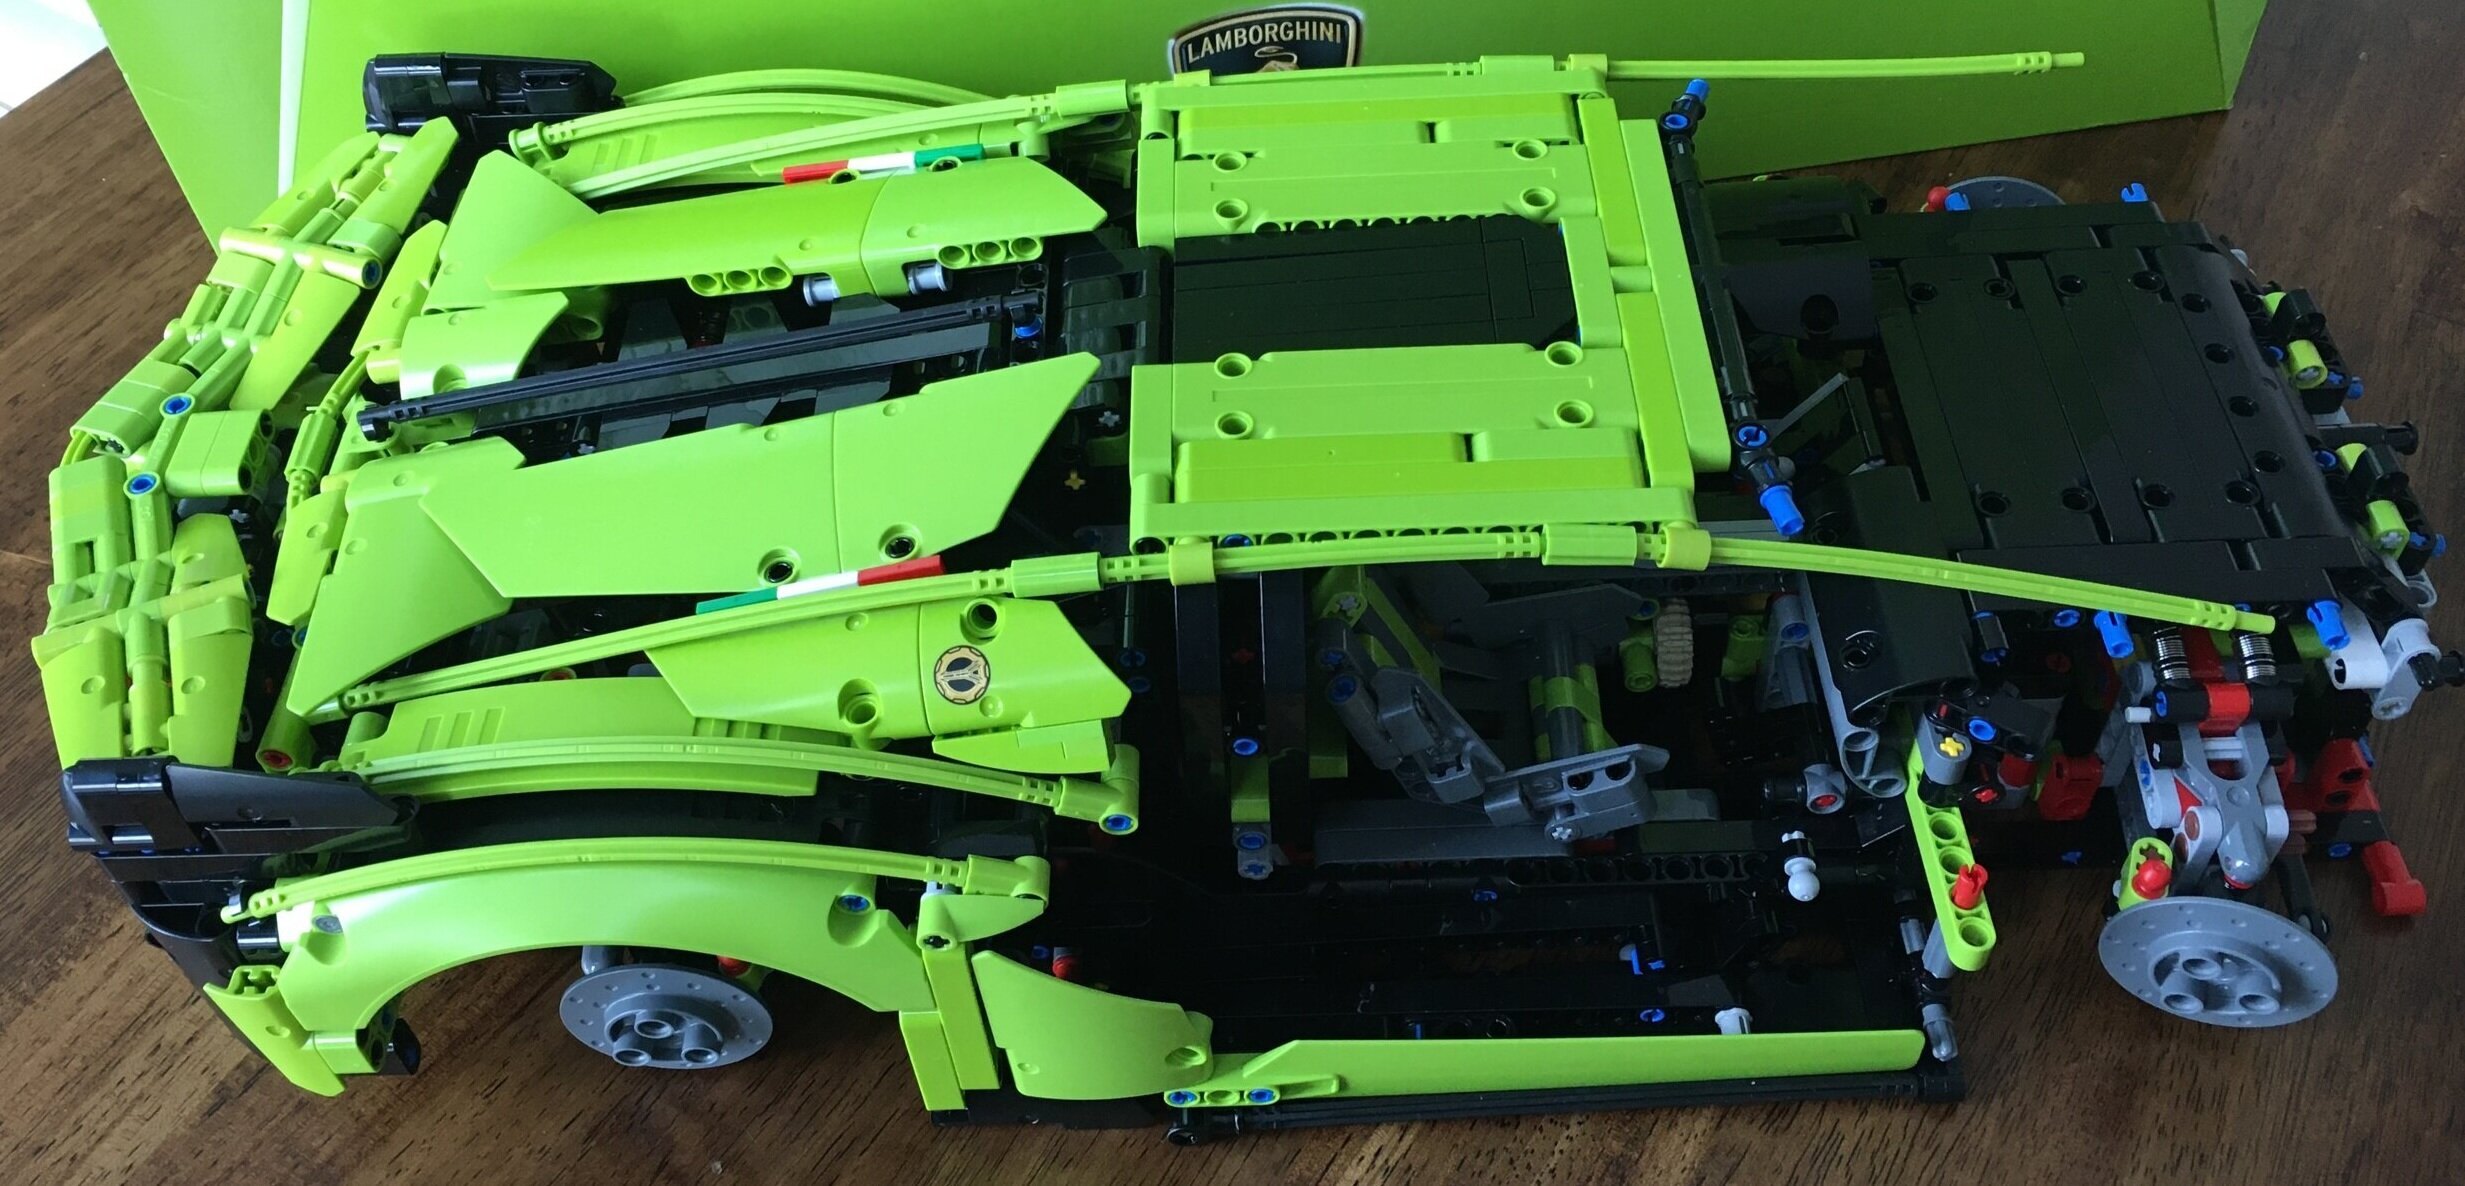
Now the car is starting to look more like a car. We’ve got a roof over where the passengers sit, a covering over the engine in the back, coverings over the rear wheels, and the spoiler. If you’ve seen anything about this car, you know that LEGO has had some issues with parts and colors. This is the part of the build where those issues became readily apparent. The spoiler itself has multiple shades of green on it. While the design of the spoiler is cool and fairly accurate compared to the real car, the color is disappointing. With a $380 price tag, you would expect a much higher quality.
Here’s a closer view of the back of the car. You can see the System tiles used to create the Italian flag which is a fun detail. I’m also a big fan of the brake lights. They used more System pieces mixed in with Technic pieces. If you look closely at the spoiler, you can see the color differences. The rear also has a cool “Lamborghini” tile in the lime green with black lettering.
Box 5 - Scissor Doors
The fifth box finishes up the majority of the car. This includes the front hood, the lights, the front bumper, and the doors. I found a few parts a bit challenging to put together as the instructions just show the assembly next to the spot it is supposed to go.
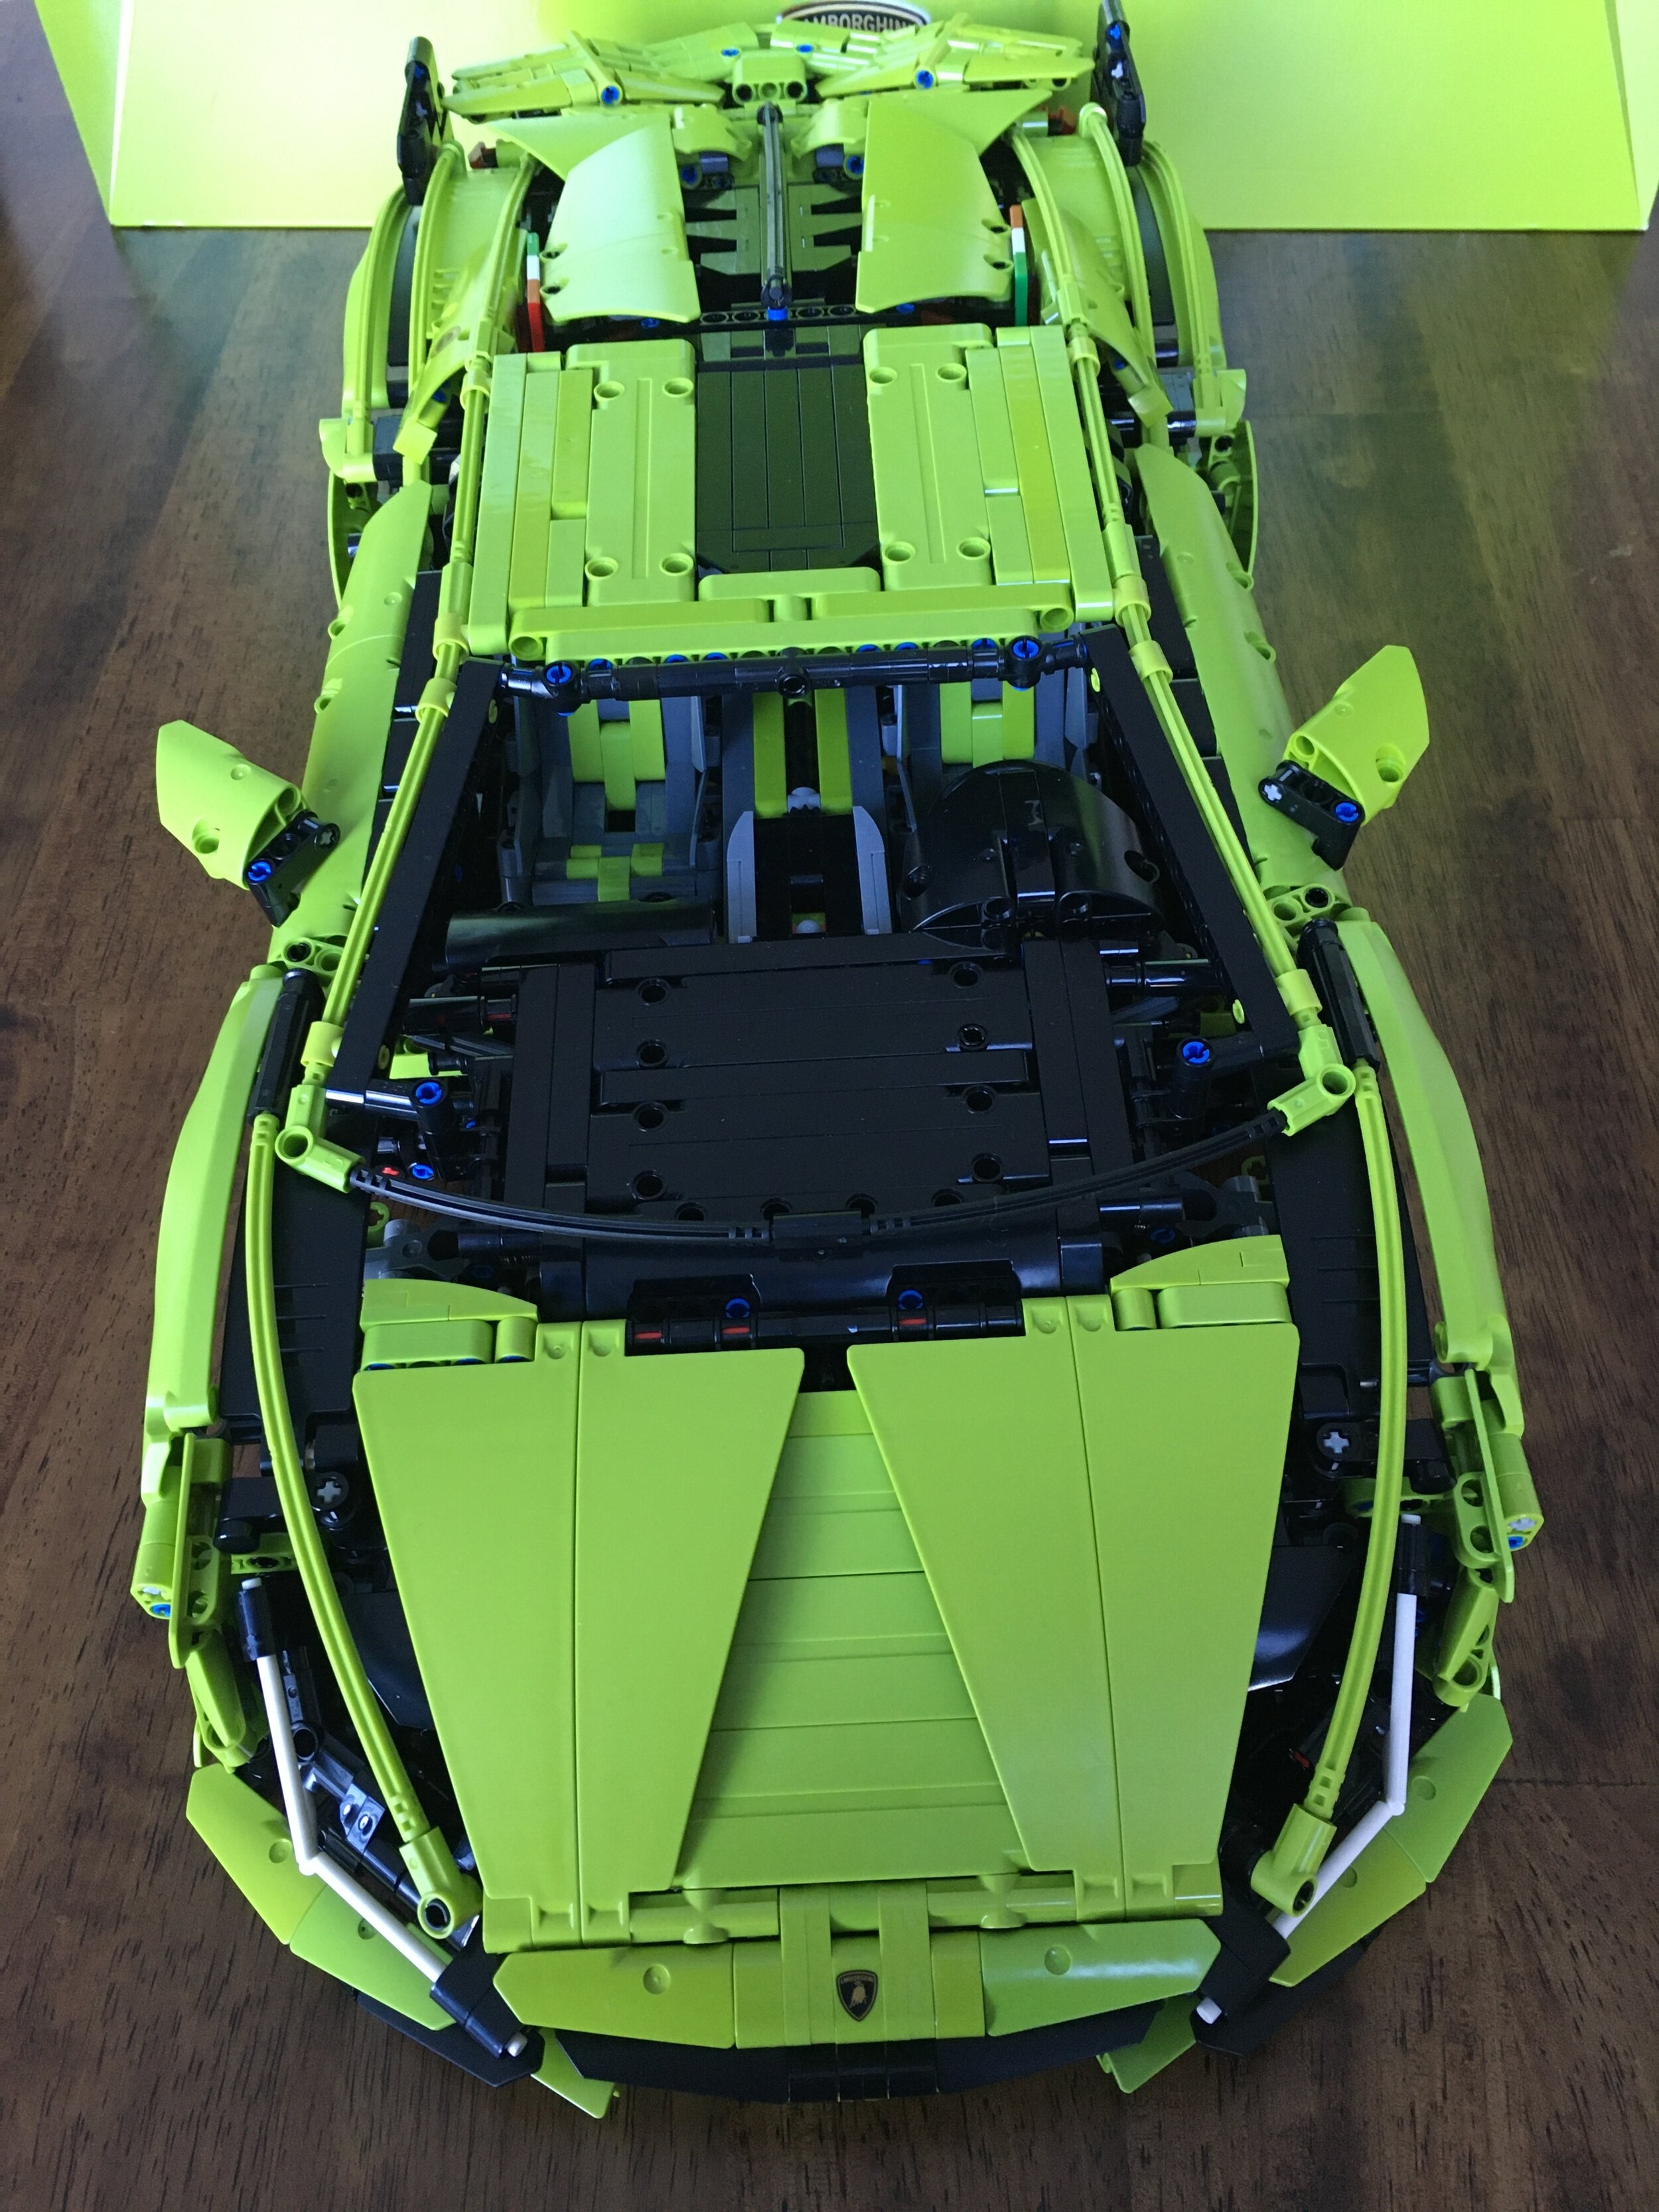
Here’s another view of the front of the car. It seems like the front dash is quite large compared to the rest of the vehicle. I’m not sure if it is proportioned correctly, but perhaps there is a reason.
The scissor doors have a piece you can push in behind the “cab” of the car. The doors pop up like a real Lamborghini. No complaints here. It’s a fun detail.
A few close ups from this part of the build. I’m not sure how I’d re-design the light bars, but I’m not a fan of how they were built. They do look similar to those of the actual car and I understand that the geometry is tough to re-create. I’ll have to think on this one…
I like the brakes with the printed brake calipers. I’m also glad they are not stickers. It’s a small detail that you really can’t see with the vehicle completed, but I’m a fan.
Box 6 - Rims and Tires
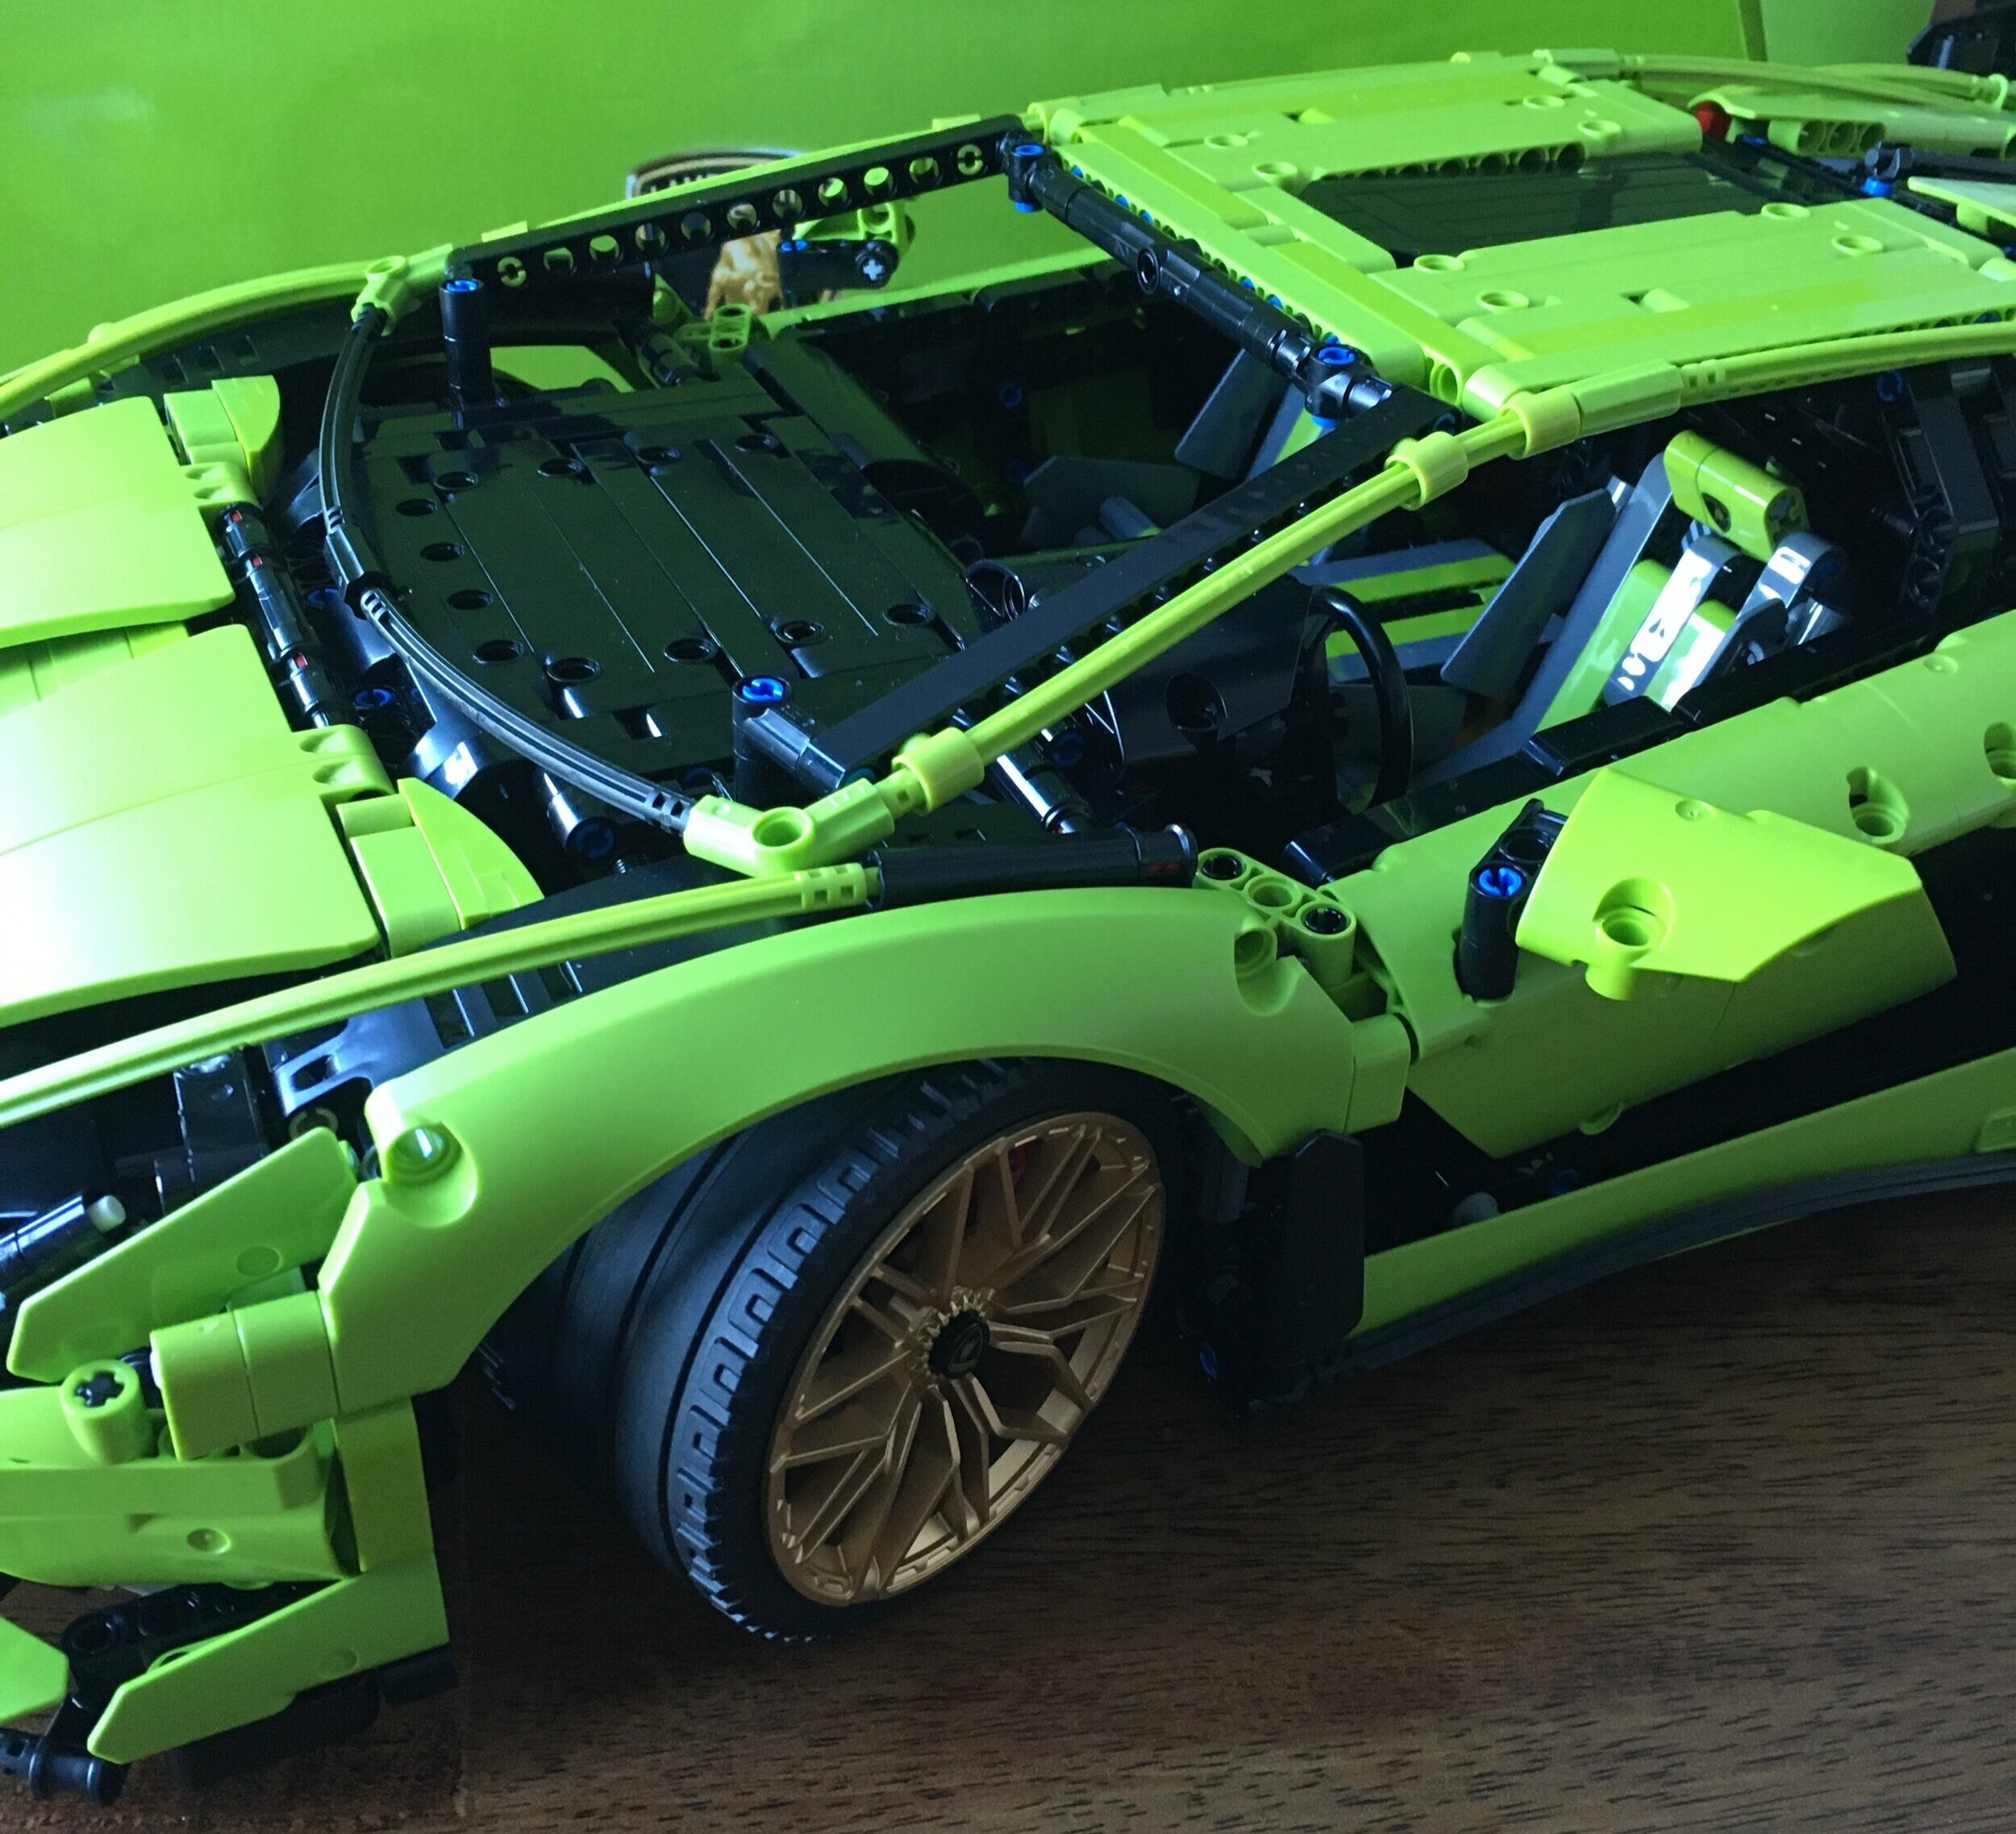
The lime green color issues with this model are disappointing, but the gold rims are awesome. They really make the vehicle stand out. It’s the same wheels as the Bugatti and there’s a small 1x1 round tile with the Lamborghini tile on it.
This second part of the build for this box is a brief case. The previous two cars had cases as well. This one has the fewest details of the three so far and in my opinion it seemed like a last minute add. The brief case doesn’t have much to it. It’s rather plain and bland. I would have rather done without the bag.
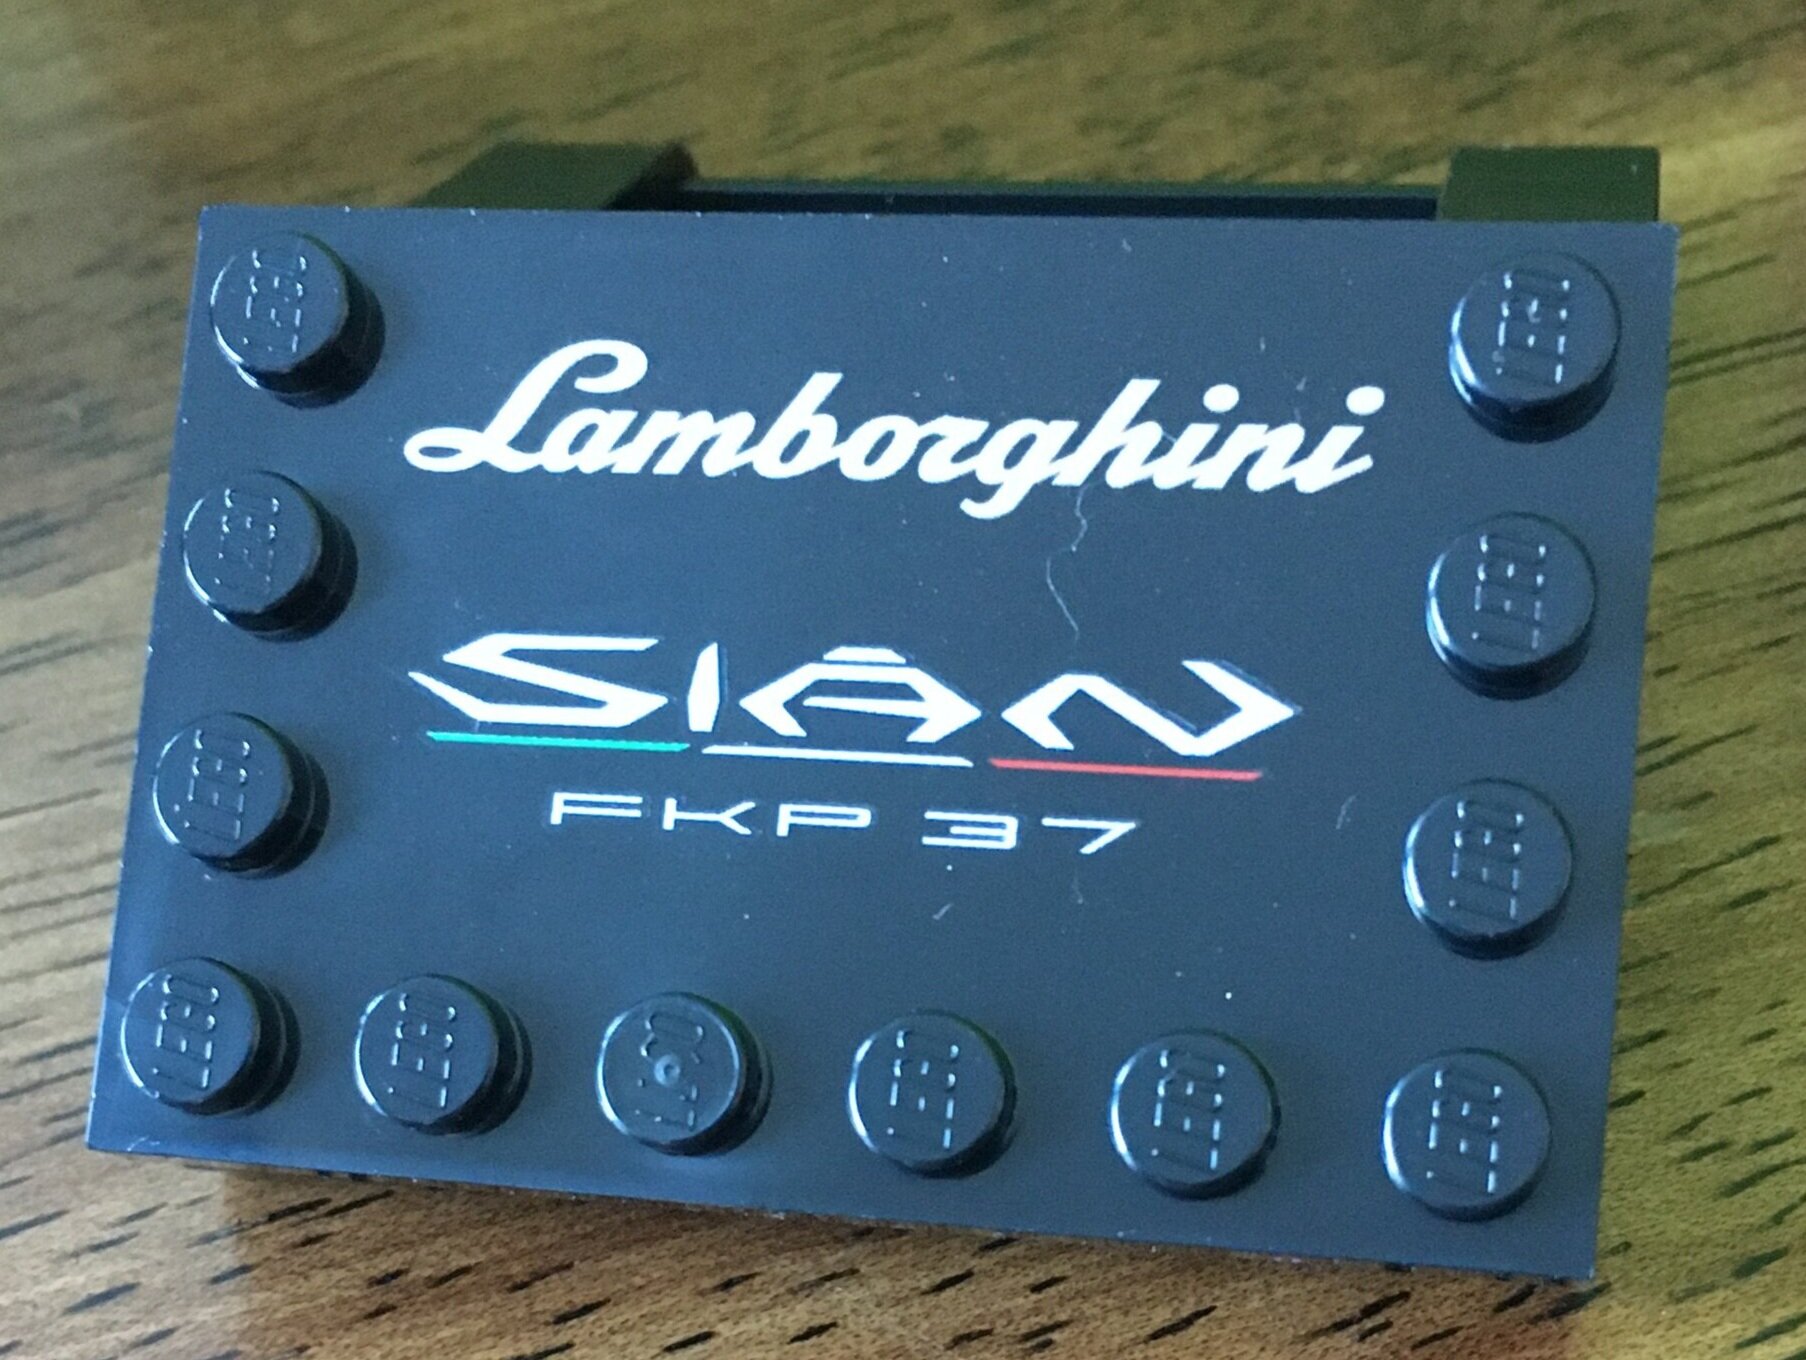
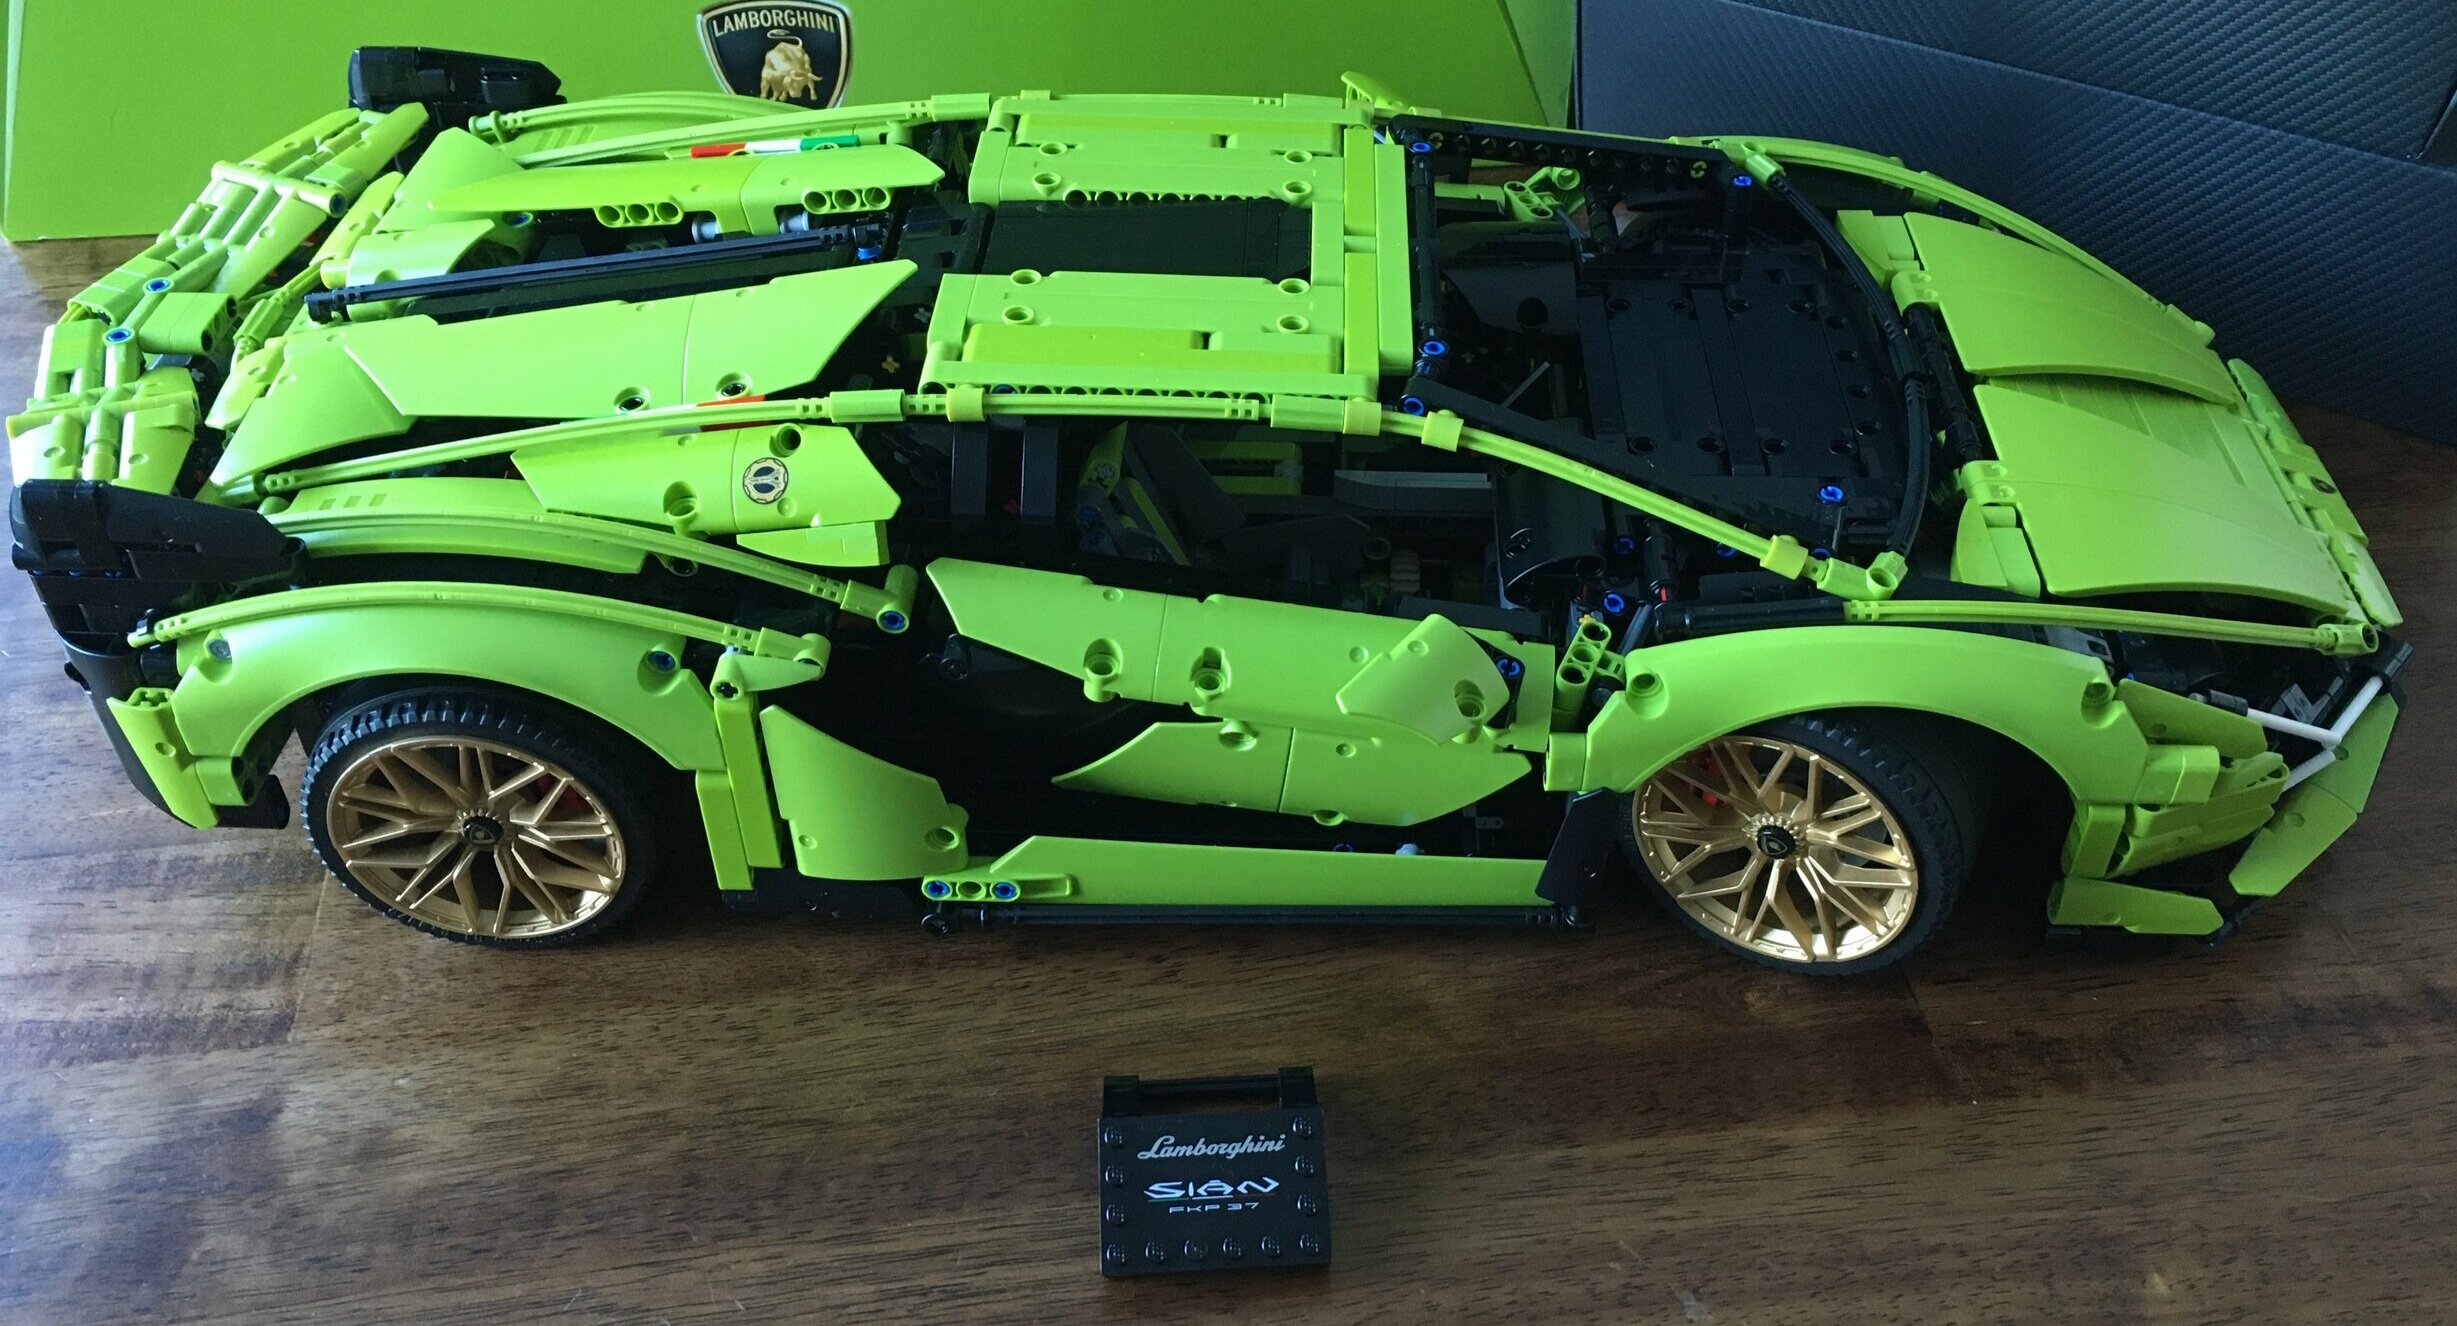
The last part of the build is a display plate. It’s a 4x6 plate with some studs. Impressively it is all printed on unlike a lot of the UCS type sets where there is a large sticker. It’s a nice addition to the model and for people who want to display it. They have it mounted on some Technic pieces so it can be angled up. A nice touch in my opinion.
Here are a few pictures of the final product with the wheels on . Overall, it’s an impressive model. I enjoyed the build process and getting away from System builds. I enjoyed all of the details and the mechanical connections. I didn’t enjoy the price originally posted. I was super thankful to see the price come down in Germany and to get it at a substantially lower rate, but I have yet to see it go down in the US. I’m hoping LEGO can adjust pricing in the future… either more car/build experience or lower price. We’ll have to see what LEGO does in the future. In the meantime, what do you think? Is it worth it?
Happy building!
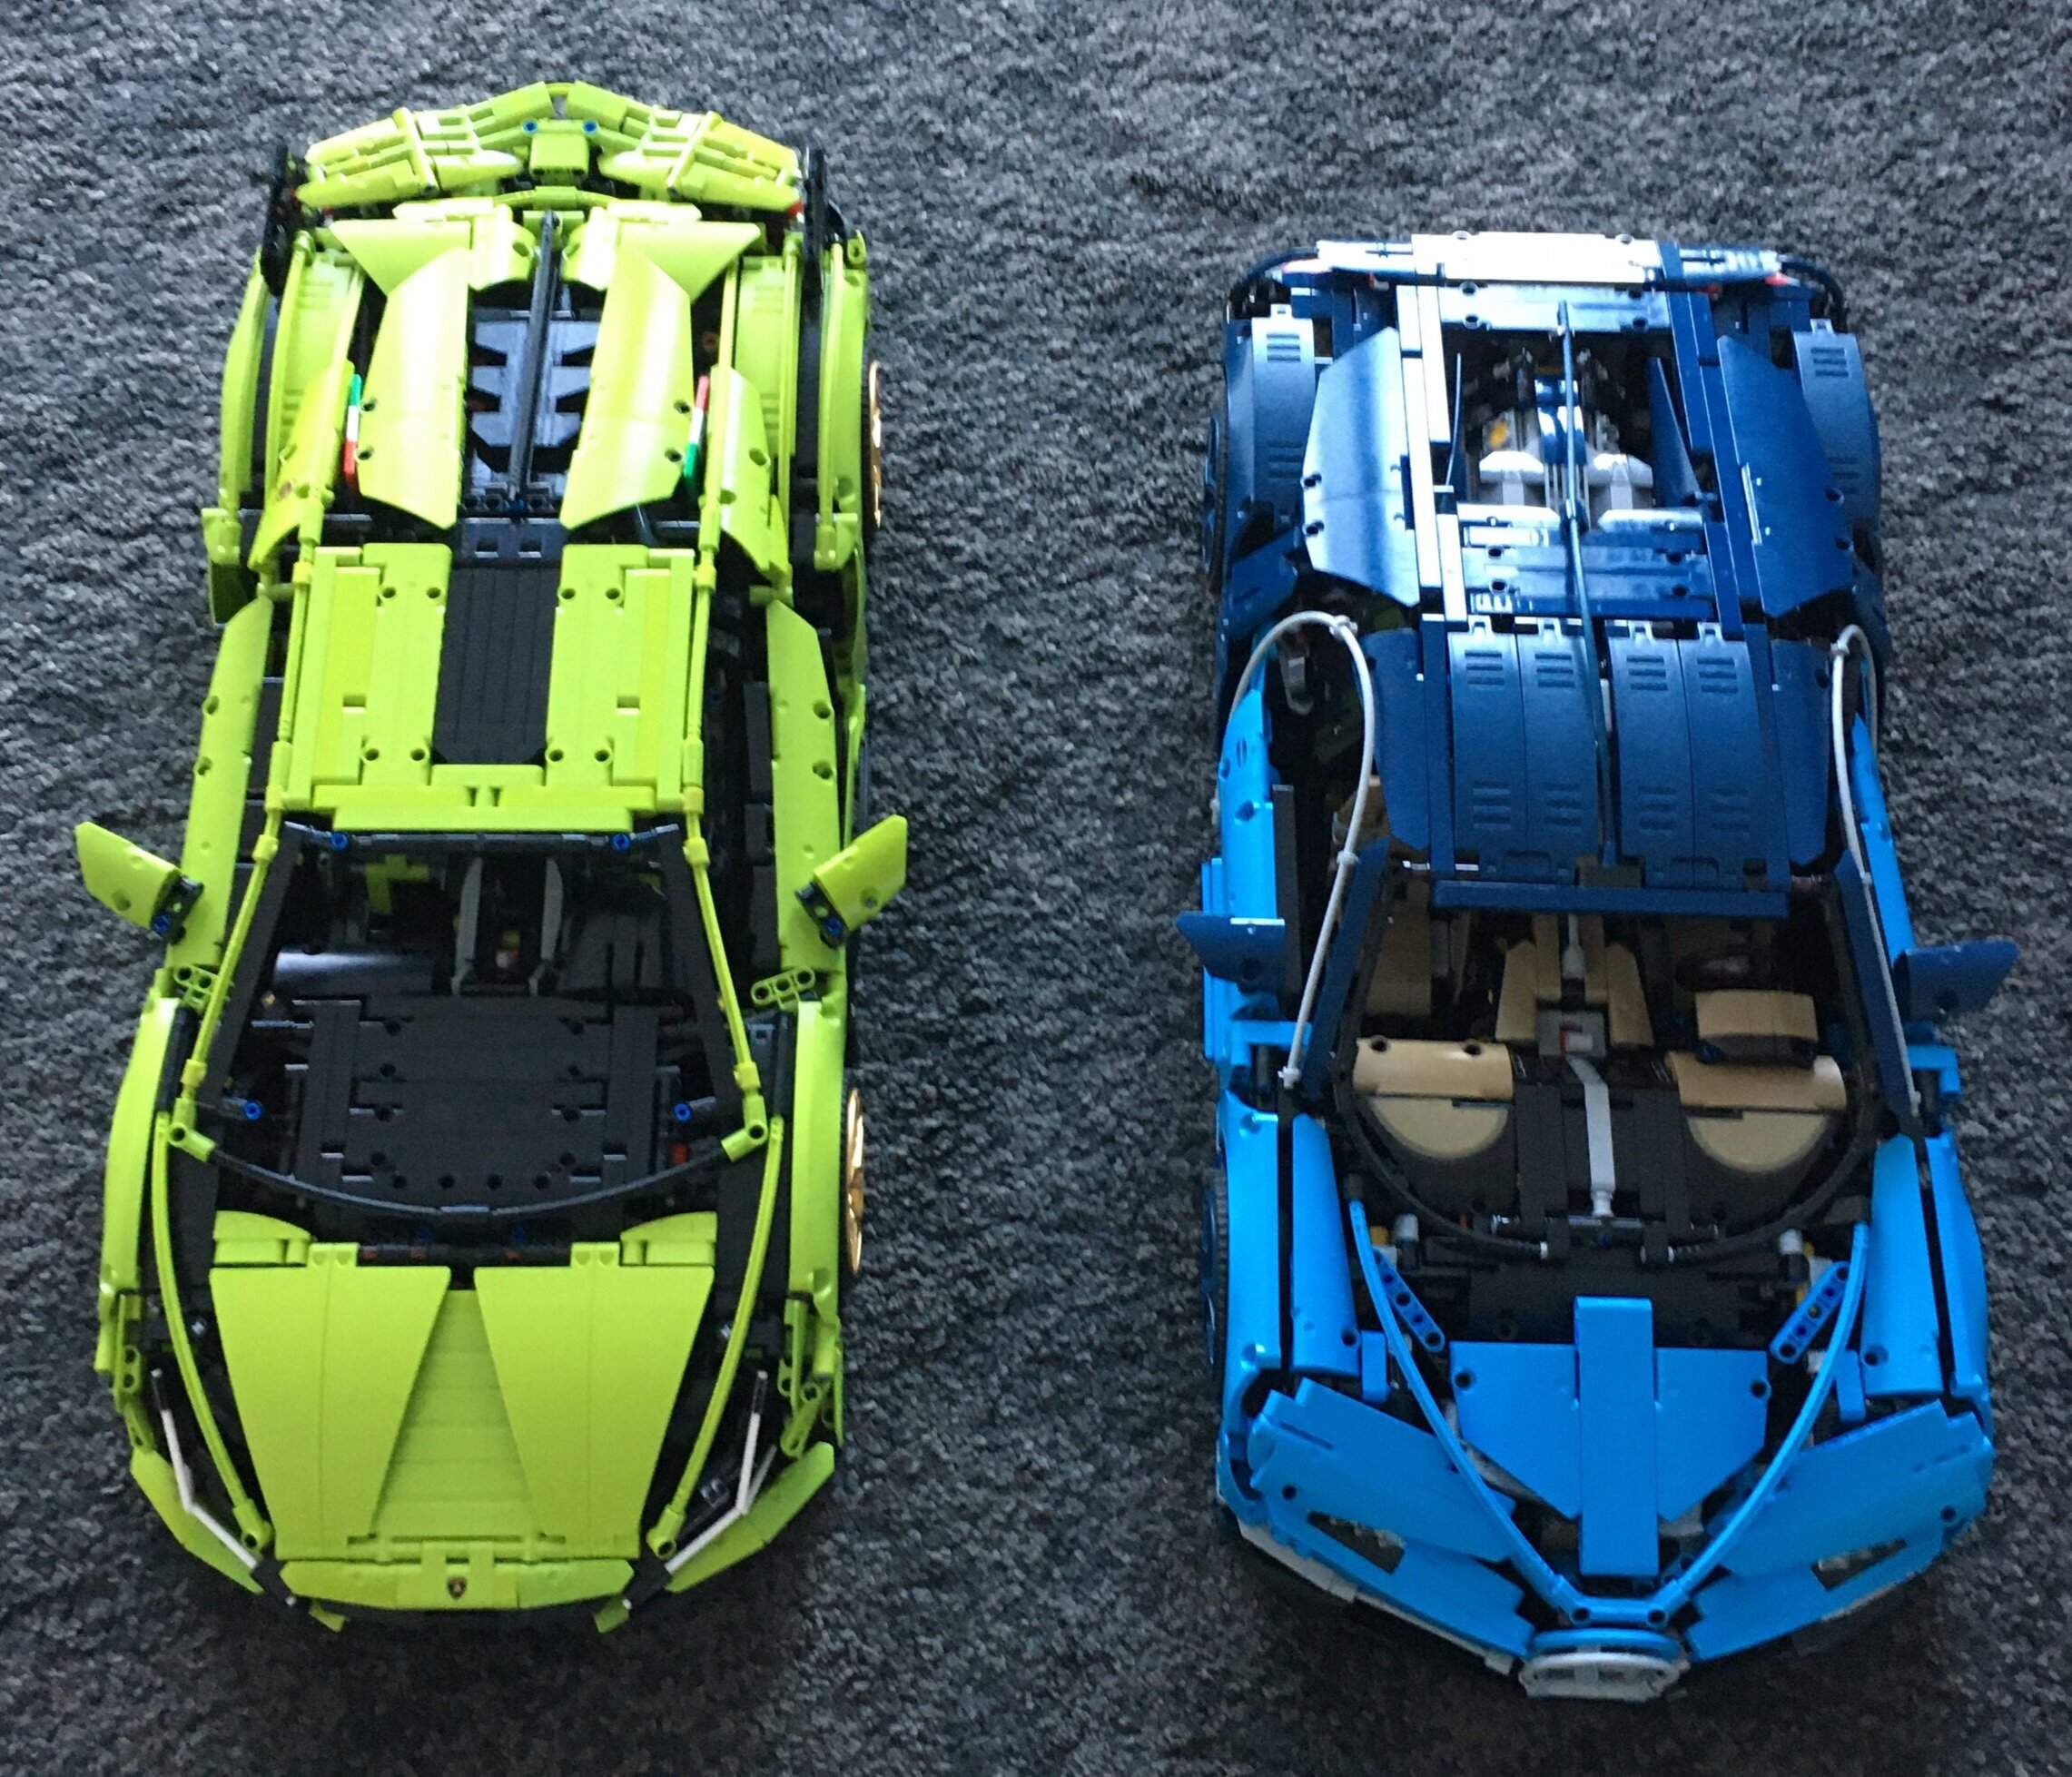
I have the Porsche in storage, but here is a picture of the Lamborghini and Bugatti together. The Lamborghini is slightly longer. Any thoughts on cool ways to display them? Here’s a Beyond the Brick clip where someone shows off his LEGO room and he has two of the cars hanging on the wall.


