It’s the 50th anniversary of the first moon landing and LEGO decided to put out a set to recognize the event. This one has received a lot of press on the fan media so there probably isn’t a whole lot I can say about this set that people haven’t heard so I’ll focus on the review. The basics are that it was released 12 June 2019 in the US. The price is $99.99 for 1087 pieces. This works out to $0.092 per piece. You can see the official LEGO Designer video here. You can see my review of #21309-1: NASA Apollo 11 Saturn V Ideas set here.
Onto the review…
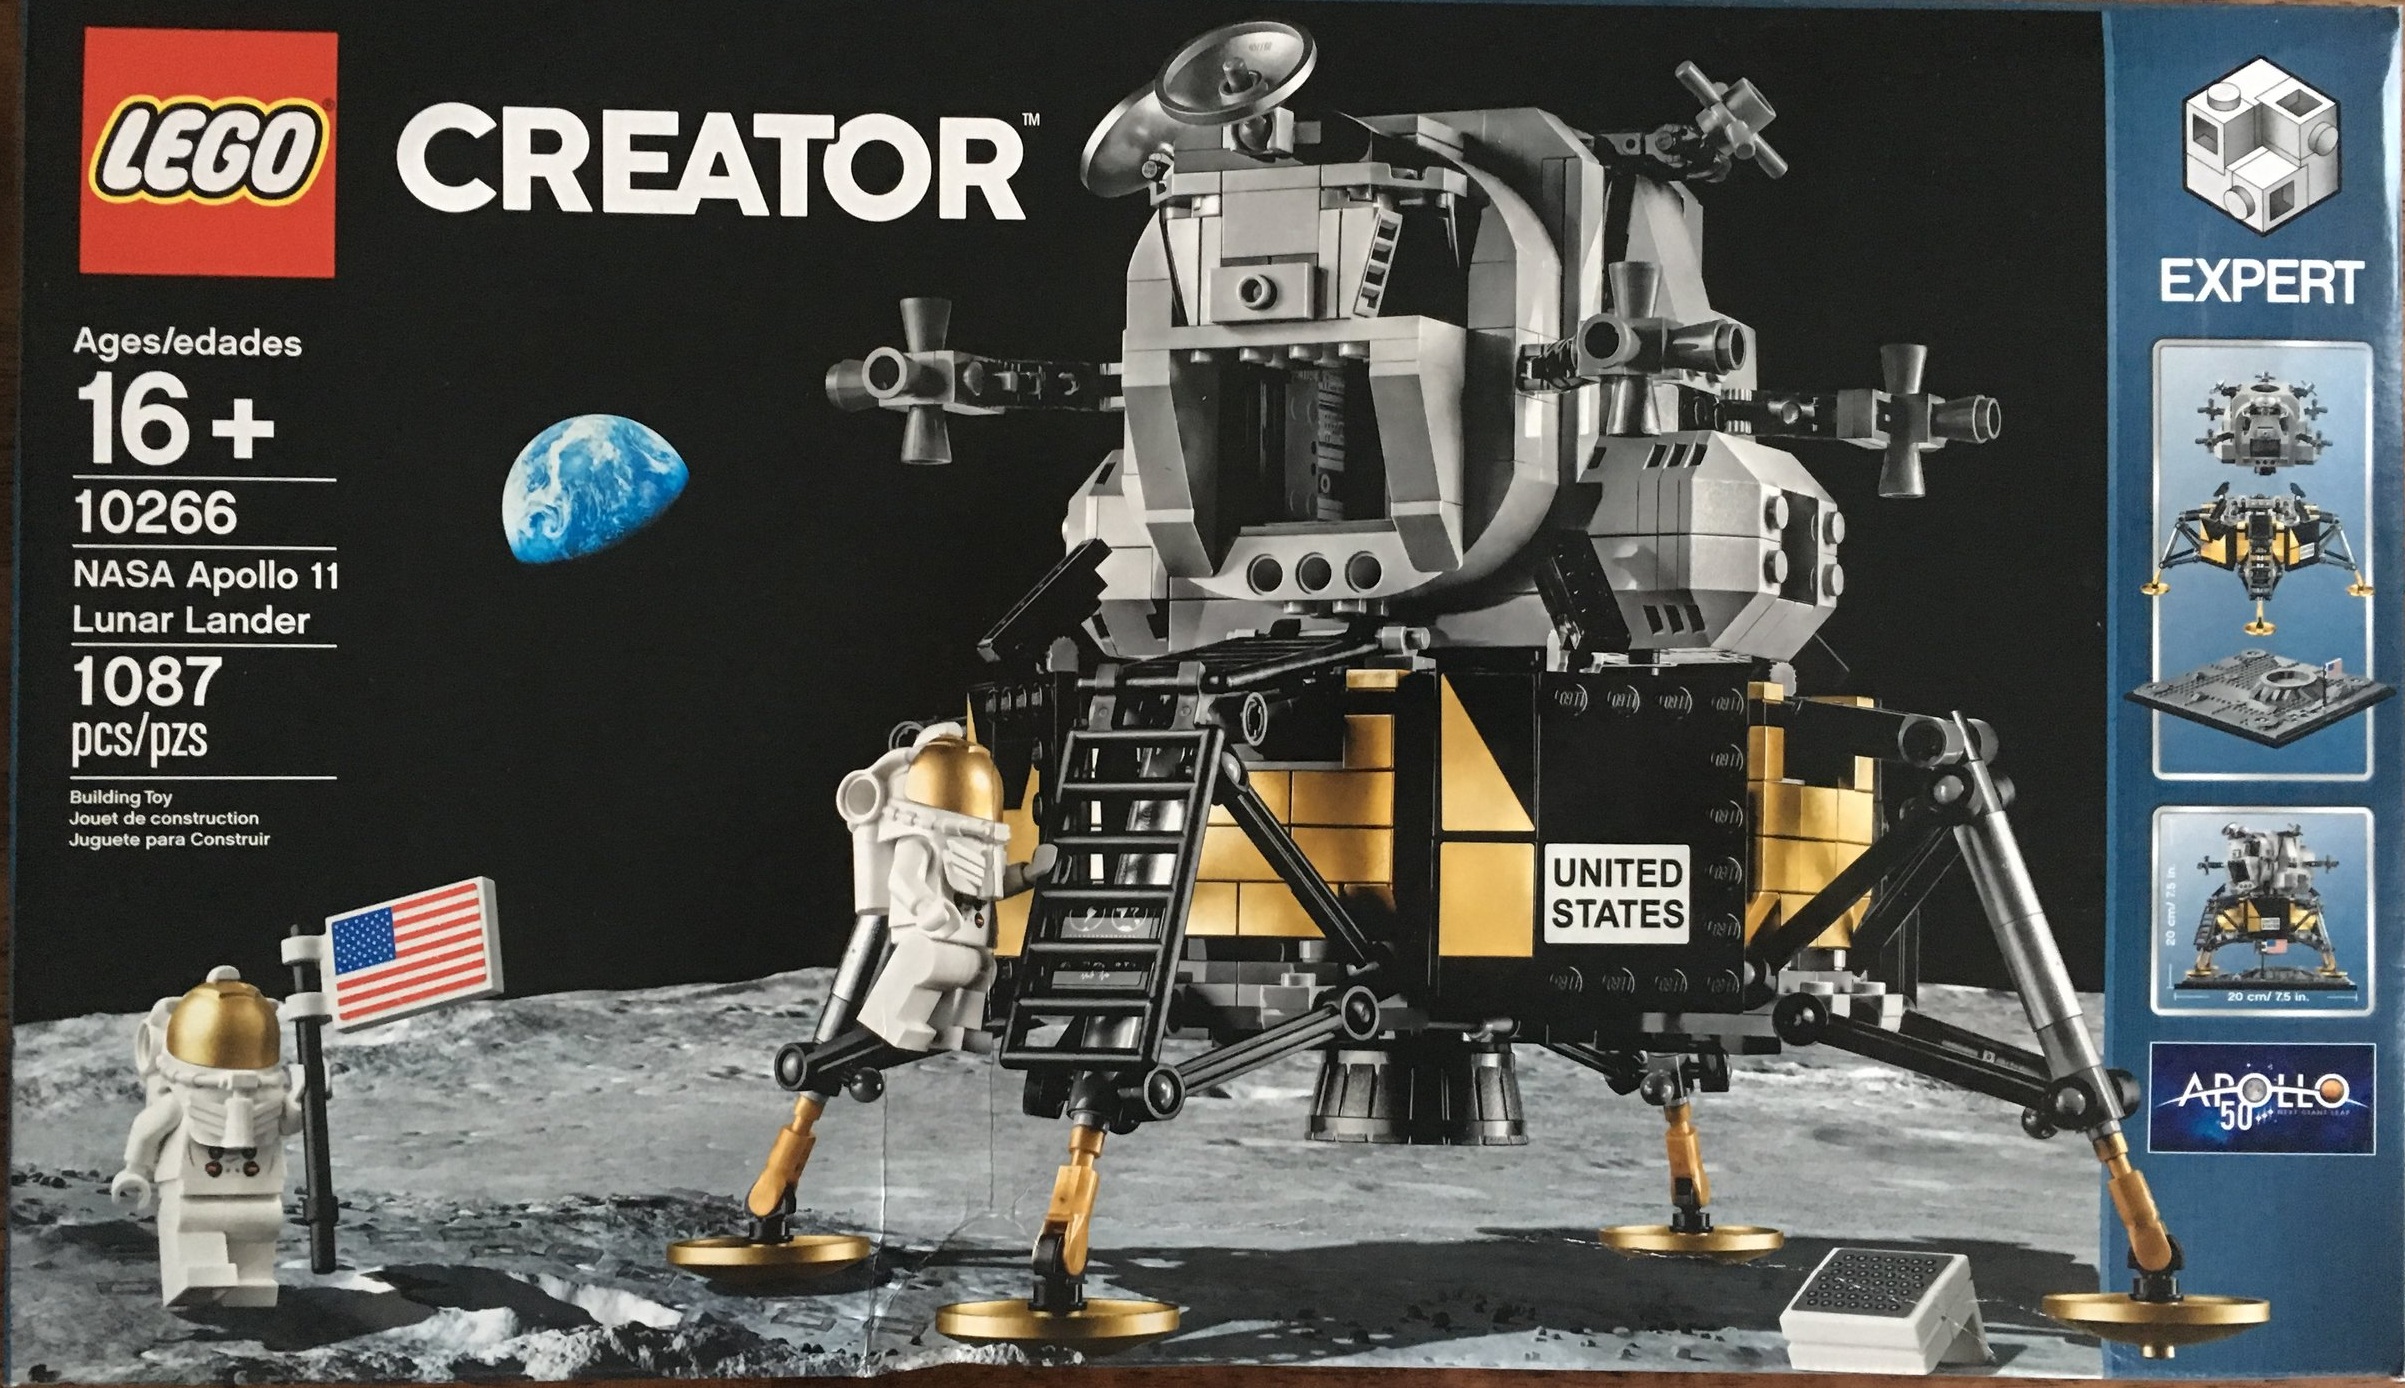
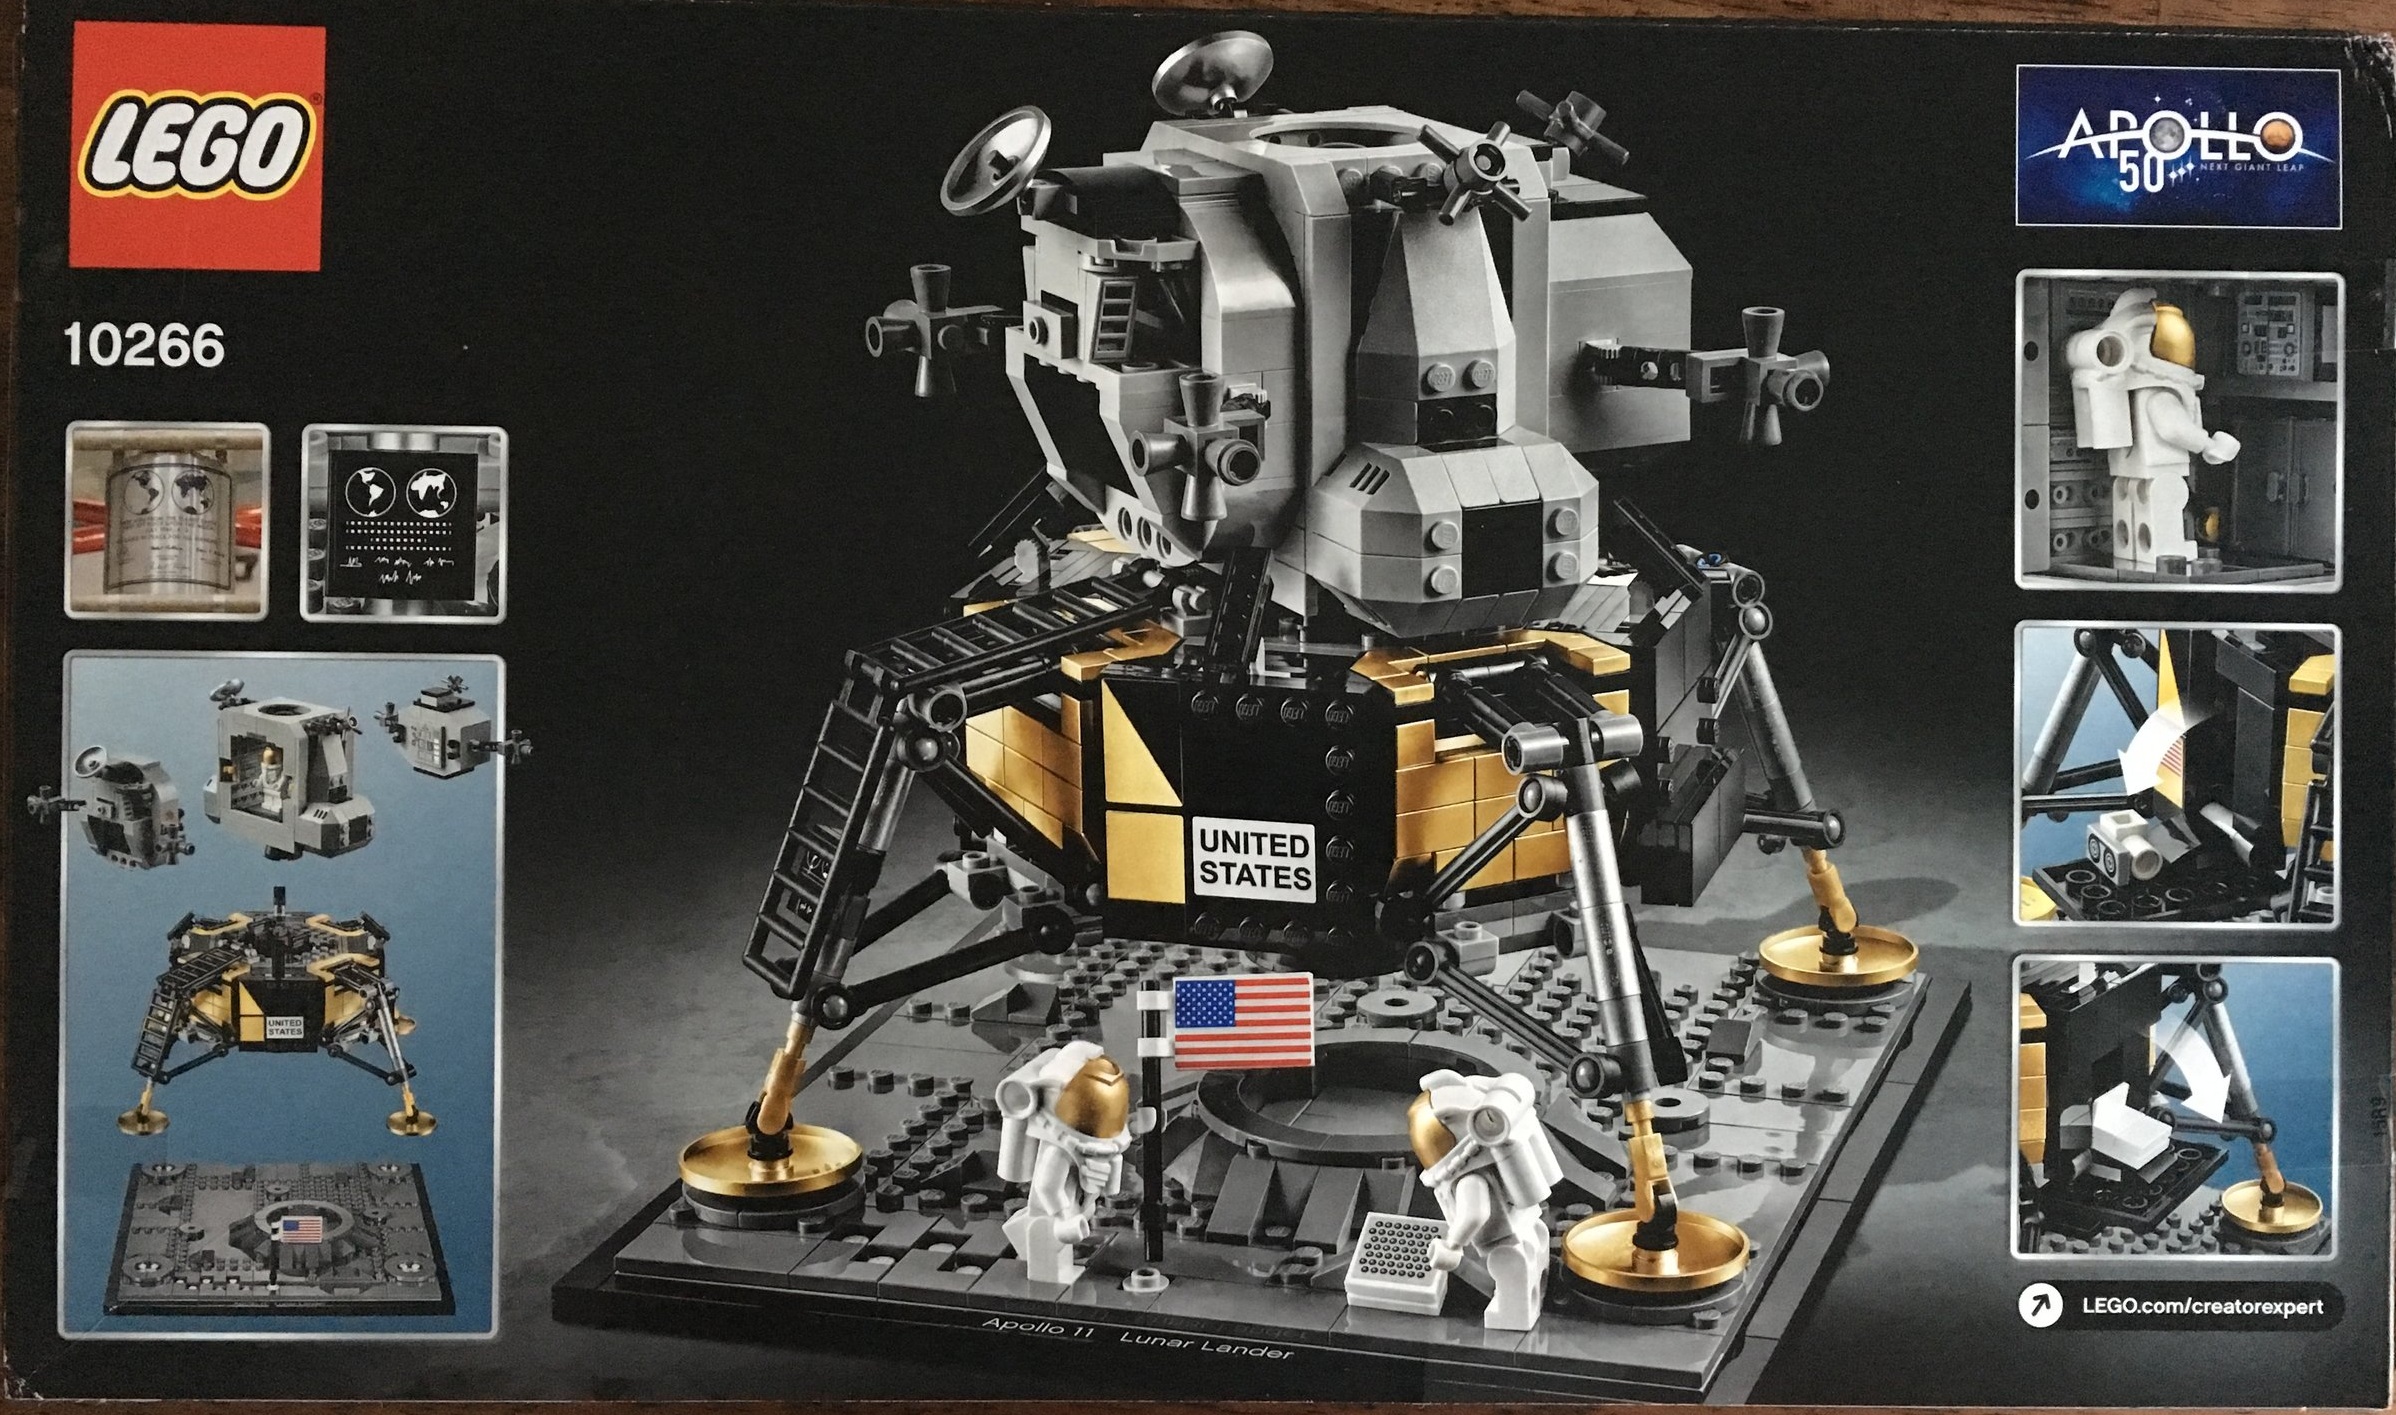
The front of the box shows the set on a lunar surface with the Earth in the background. The back shows the assembled set with close ups on some of the details.
The contents are 8 parts bags with 7 of them being numbered and one of them containing larger pieces. The instruction book is in a plastic sleeve and the stickers are there as well to make sure they are protected. Bag 1 includes a part separator.
While I am not a big fan of stickers, I like how these stickers provide a chrome look to the set to re-create the heat shield. So maybe they’re not all that bad. I still hate applying them though. I never seem to be able to line them up right.
The instruction book starts off with an interesting introduction that repeats in Spanish and French. Throughout the book, there are various references to the design and what part of the actual lunar lander it relates to.
Bag 1 completes the base of the model. It is very similar to an Architecture theme build with the black tiles around the outside and the printed tile with the name of the set. While Apollo 11 actually landed on a much smoother surface, the designer tried to replicate his version of the lunar surface. The minifigure footprints are a nice touch.
Along the corners are where the landing gear of the model sit which helps you to display the model itself.
Bag 1 includes one of the minifigures. Not sure which astronaut it is, but that’s okay. There’s also a US flag (sticker) to attach to the surface of the moon.
The second bag starts the construction of the actual lunar module. The initial build includes some of the main structure to include the start of the heat shield. It also includes the oxidizer (white) and fuel (red) tanks. The first 2 pictures I posted show the one heat shield folding down to reveal a camera. As I understand it, this is the camera that recorded the astronauts as they reached the surface of the moon and walked around.
The next 2 pictures show the other side. This includes one of the shields that folds down to reveal one of the laser reflectors. The “laser reflector” is a separate assembly that you can remove and place on your lunar surface if you want. Fun fact… they still use the laser reflectors to this day for experiments.
Here is a top view of the build after bag 2. The build is not your normal build of stacking bricks as you would expect from a Creator Expert set and includes some good building techniques.
Bag 3 adds on the landing gear and finishes the heat shield. When initially building the landing gear, they seemed pretty flimsy to me. Once they were finished, they are actually pretty sturdy. In looking at pictures, the designer did a good job recreating the actual gear. I have said this before, but I’m a fan of mixing System and Technic parts into a model. This set is no exception to that statement.
The gold colored pieces help to match the coloring of the heat shield. Even if you don’t like the model when you are done, getting so many of this color in a set is pretty rare so there are lots of opportunities to use the gold color in MOCs elsewhere.
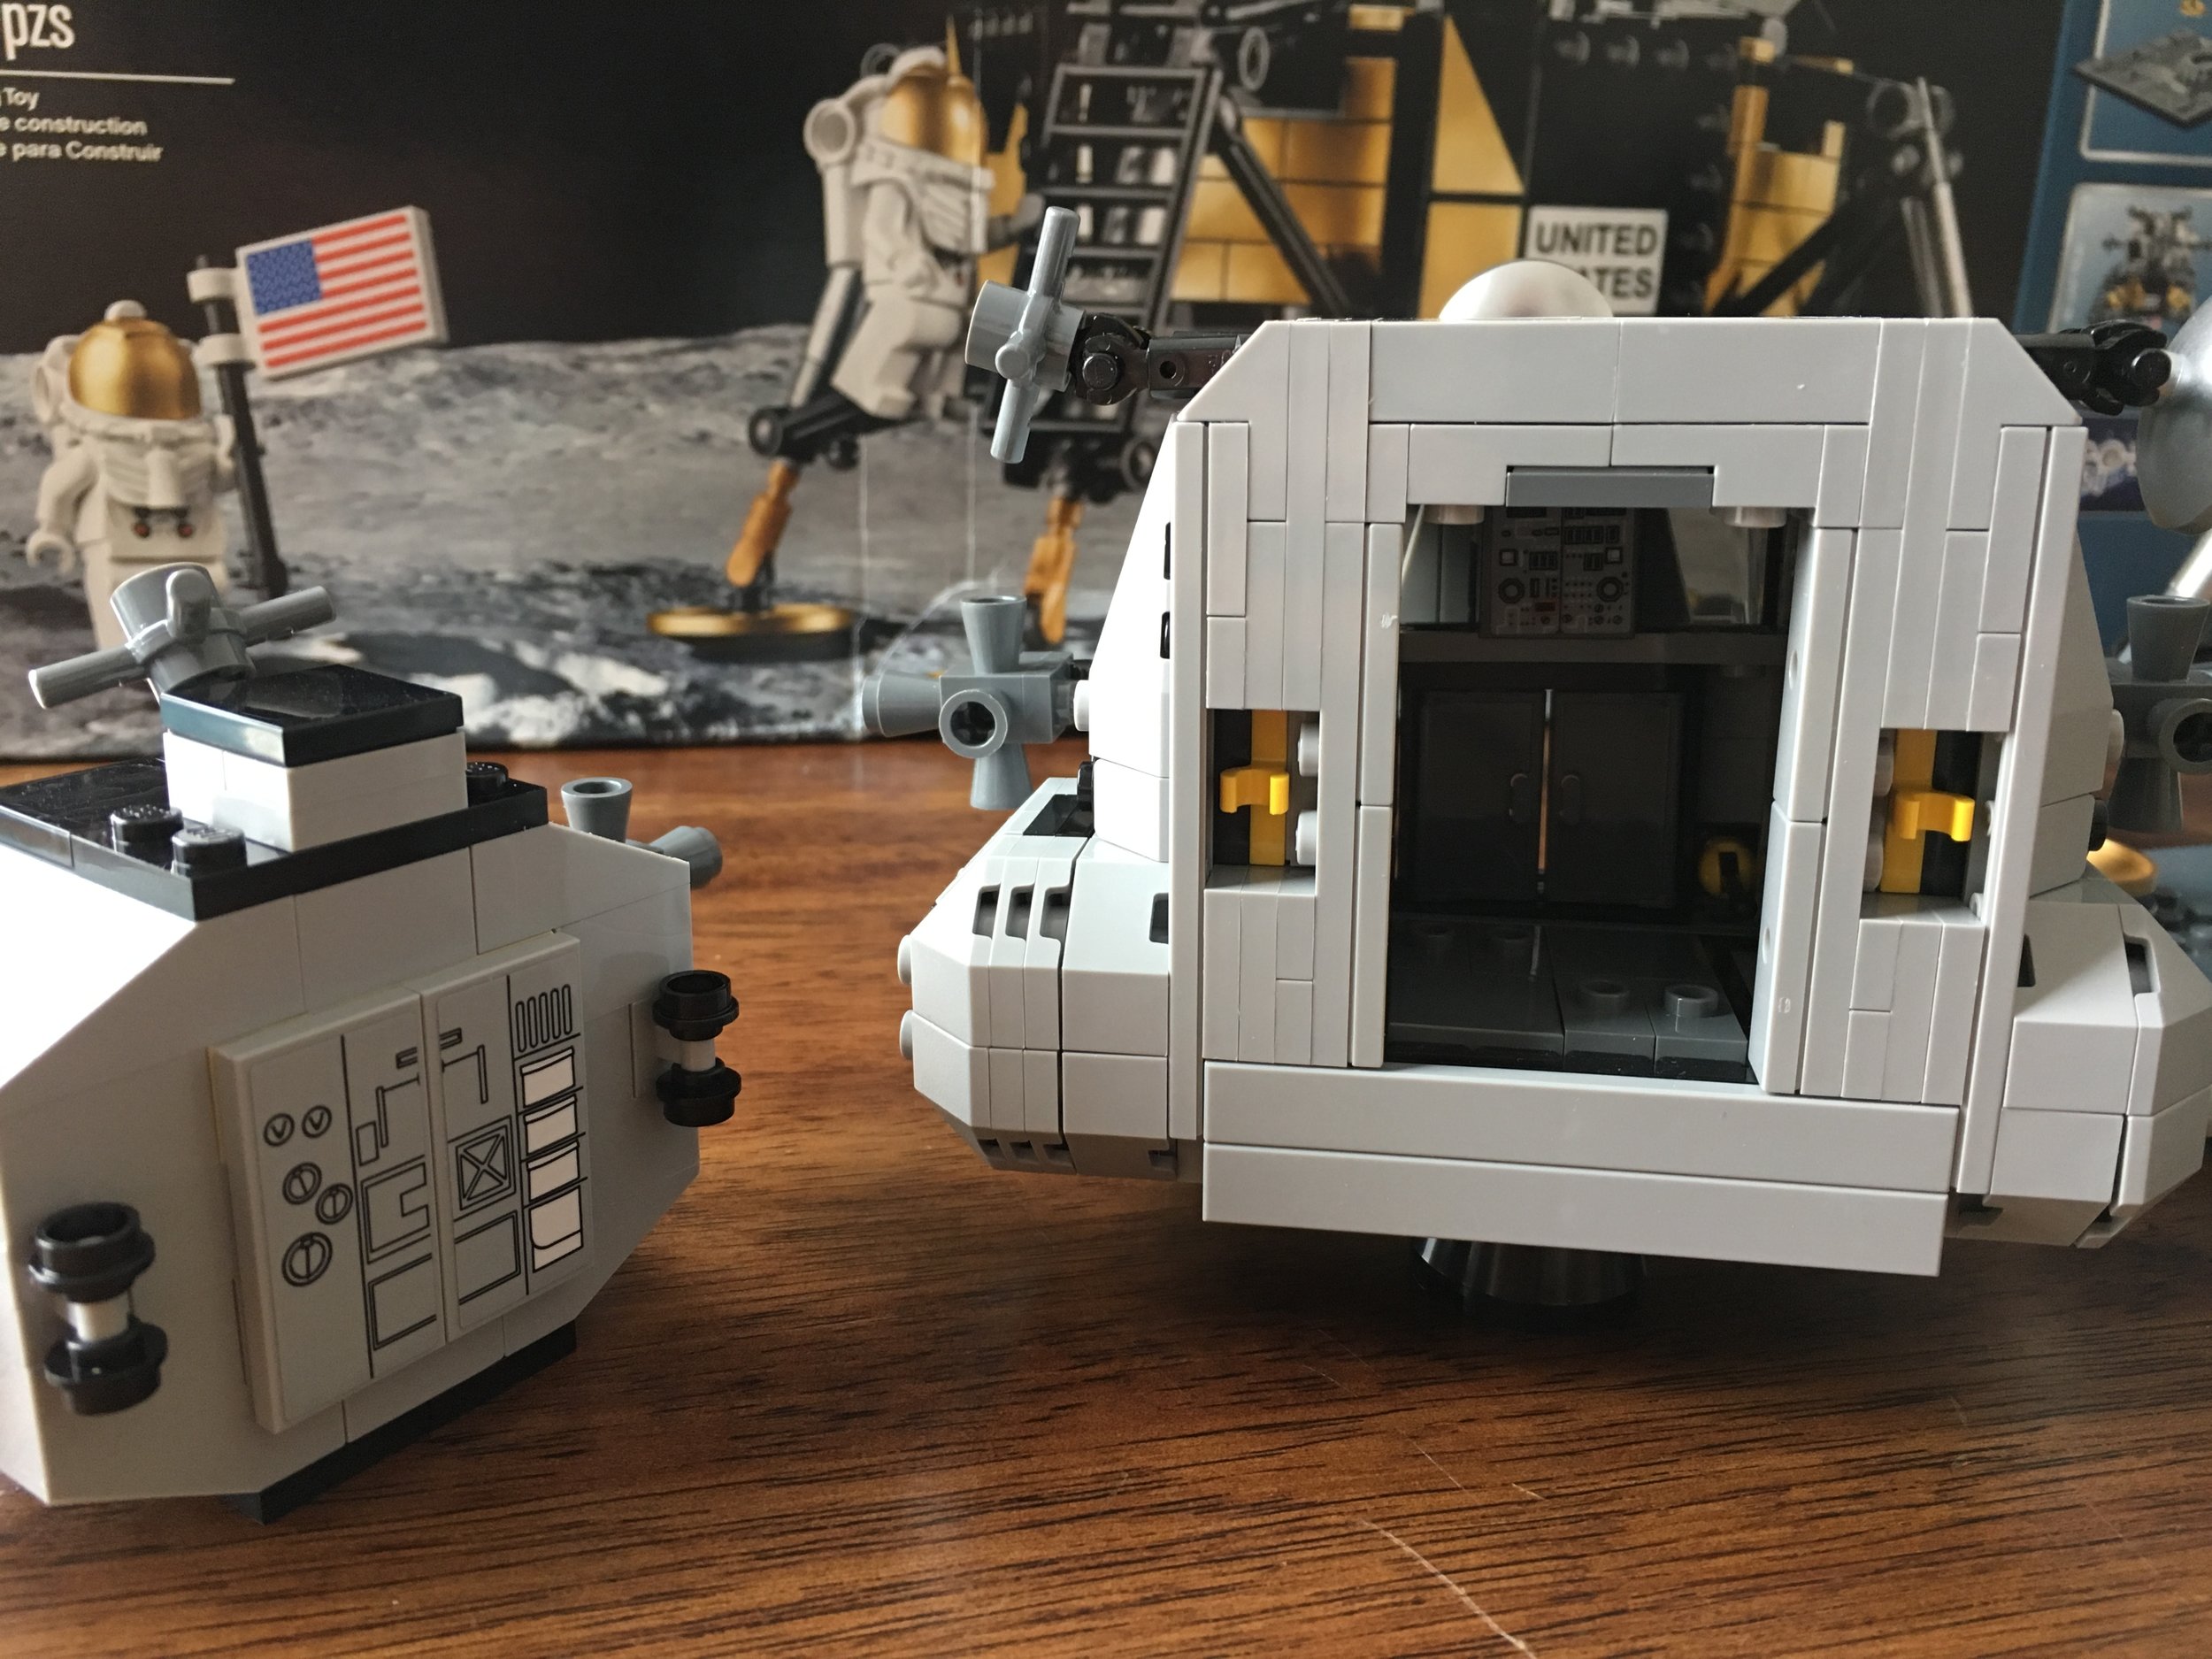
Bag 4 completes the crew compartment or Ascent Stage. The outside contains various antennas as well as some of the thrusters for maneuvering. The inside doesn’t have a lot of space for minifigures, but then again I don’t think it was designed for play. There are some details inside to include some stickers that I assume are the various control panels, but the 2 minifigures with their gear on will definitely have to squeeze in here. As you can see from my pictures, the designer built it so you can take a side off to see inside or put a minifigure in.
There’s a lot of SNOT use on this section and it is a pretty fun part to build in my opinion. I like the techniques used to capture the design of the actual section of the craft.
This section snaps into place onto the Decent Stage of the lander. Thankfully it snaps in easily and you don’t have to force it in or yank it out. I didn’t break the set while attaching or removing these parts.
Here’s the final model. Overall it was a fun build with some challenging techniques, but it went pretty quickly. I believe the designer captured the design of the original system well and still added some features that you would expect in a LEGO set like being able to disconnect the stages and being able to see inside the crew compartment. Someday when I have a nerd cave, this set will definitely go on display next to my Saturn V rocket.
The price isn’t too bad. I bought when the patch and #40335-1: Space Rocket Ride were being offered so that helped. If you’re looking for a better price, wait for double VIP points or maybe towards the end of its life we’ll see discounts on Amazon or at Walmart. Have fun building this one if you buy it!


