
You can see part 1 HERE.
Part 2 - Assembling the Ship
Time to put it together. As mentioned in part 1, there are 17 sets of bags. Normally, I take pictures after each step, but this time I did not as if you want a really detailed review, you can go to some of the sites where they analyze by pieces, build techniques, and differences between other LEGO Millennium Falcon sets. My plan is to cover the high points and then give my opinion at the end.
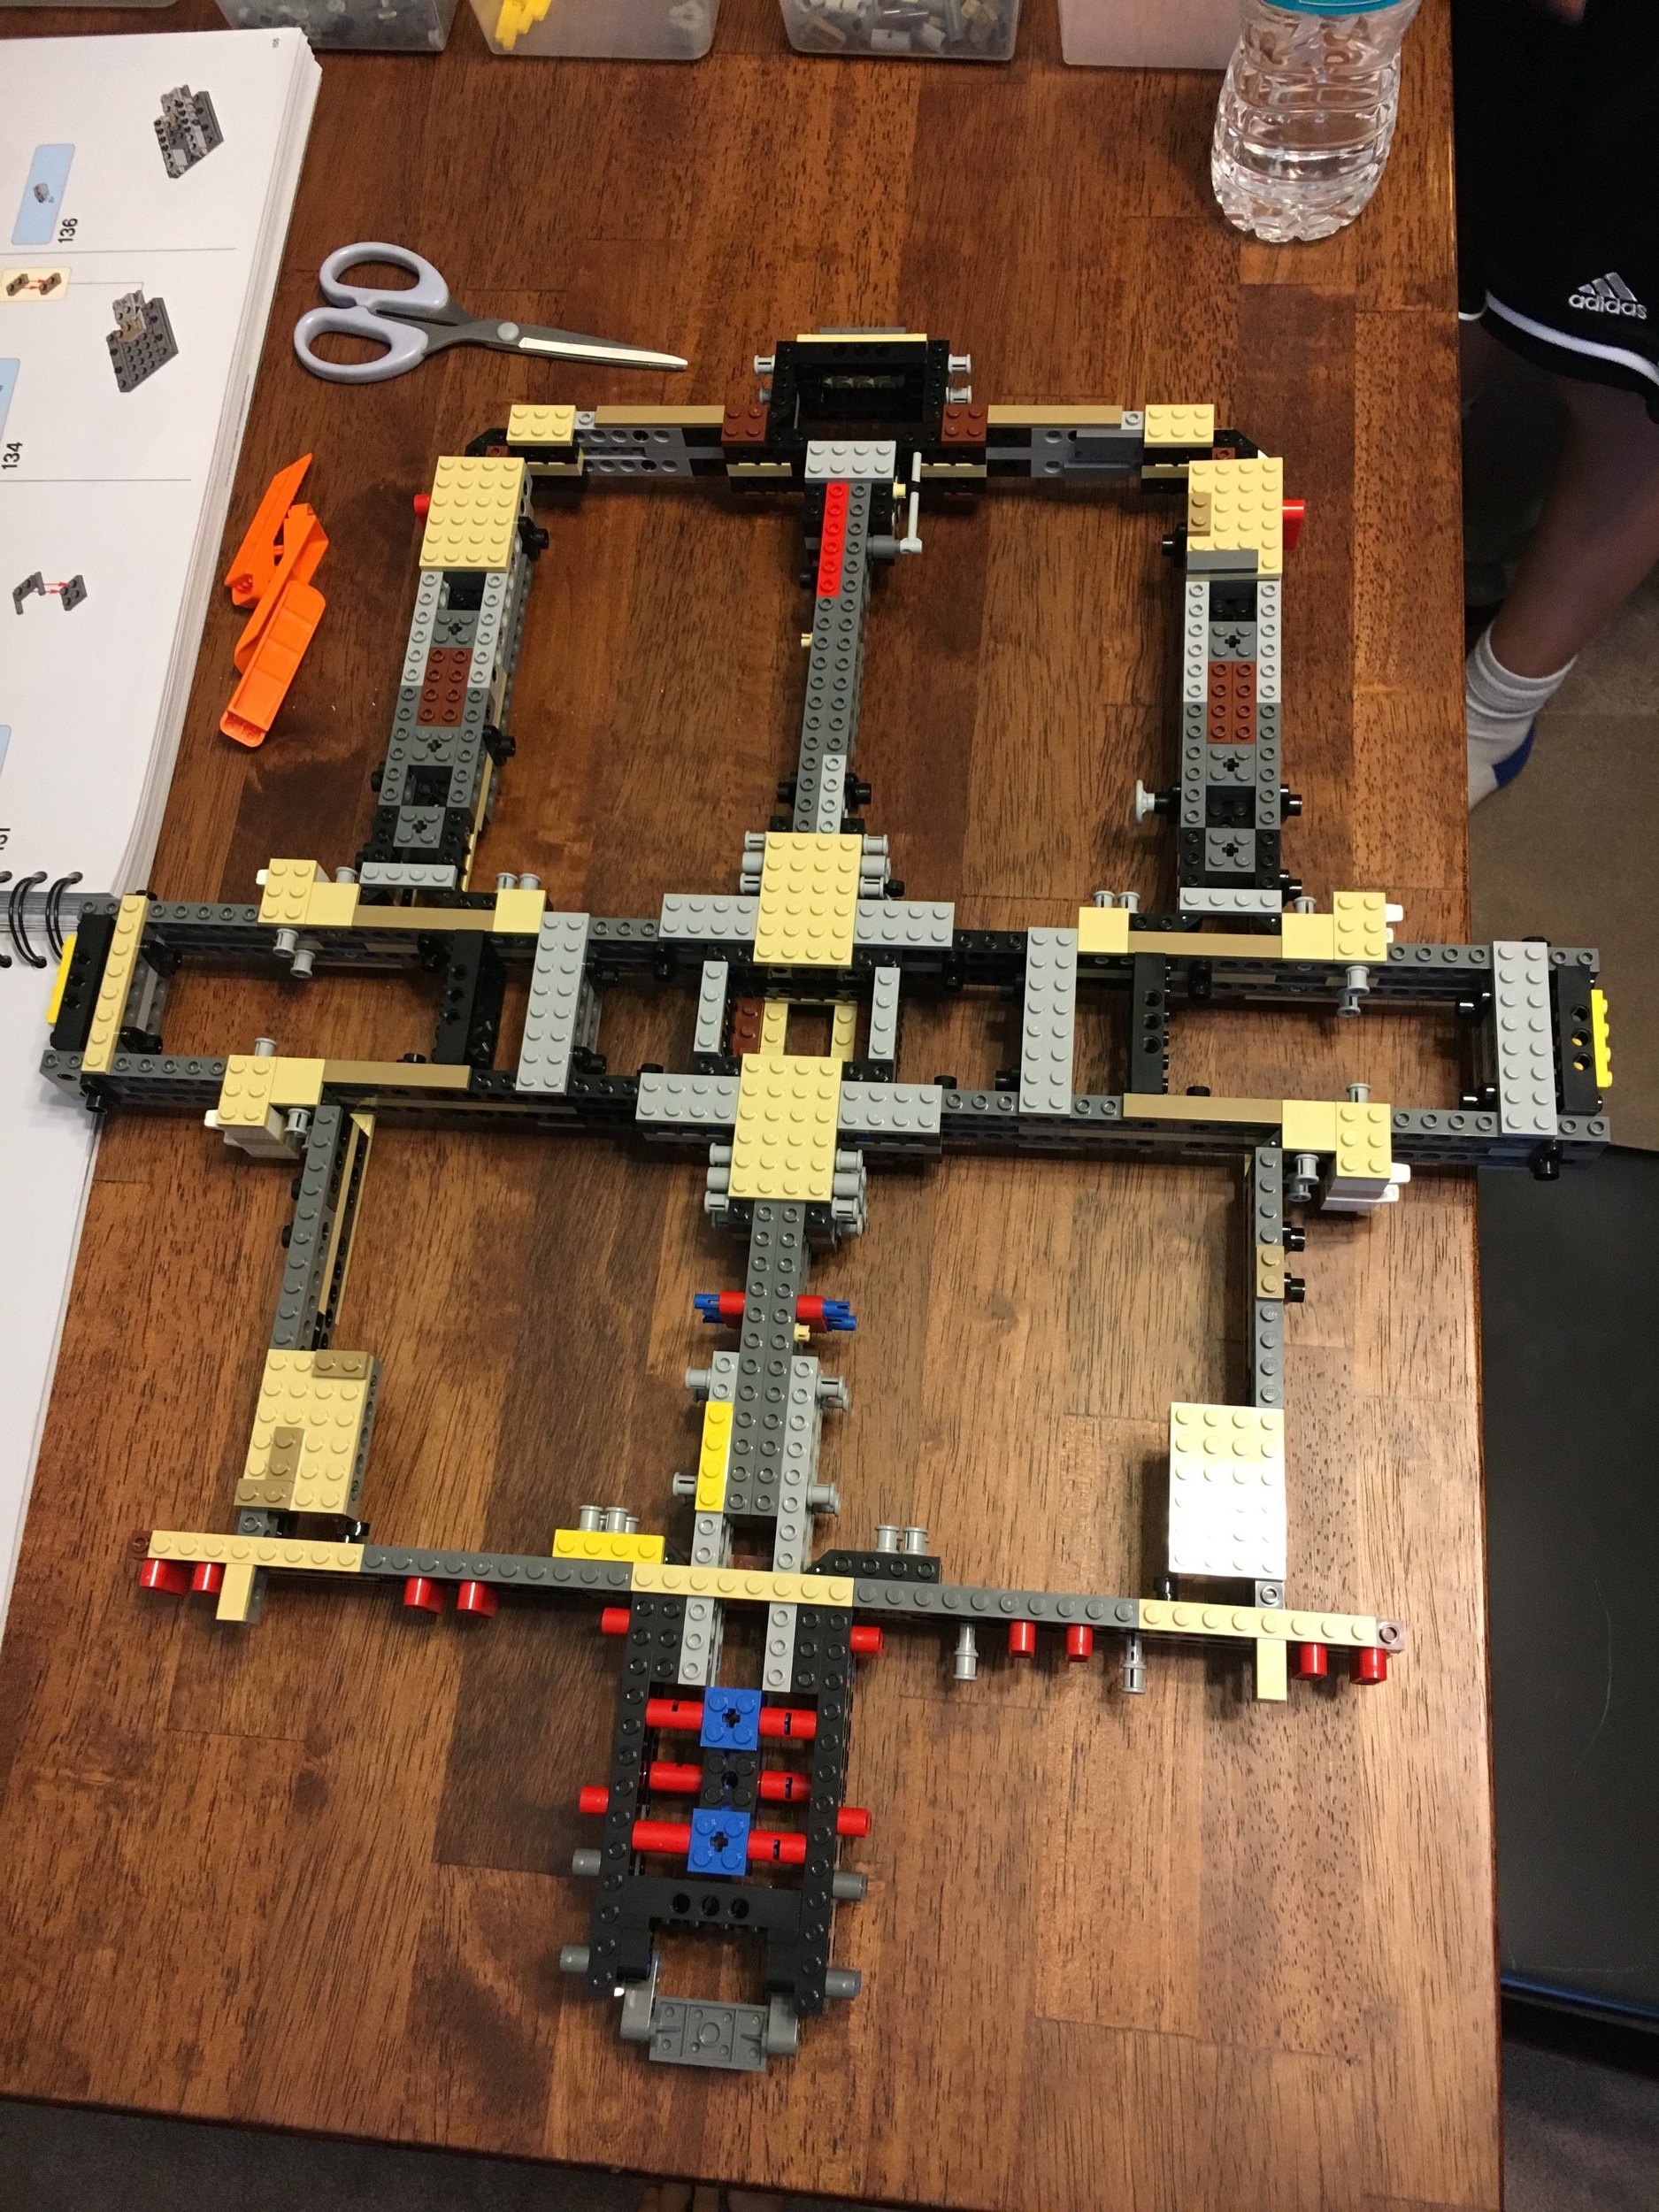
The set starts with construction of the internal substructure. There are many Technic pieces and pins put together to form a pretty solid skeleton for the ship.
Next up was the addition of the... okay, I'm not an official Star Wars fan... are they legs? Feet? Stands? Whatever they are called, you build a bunch of the same assembly over and over to make the legs.
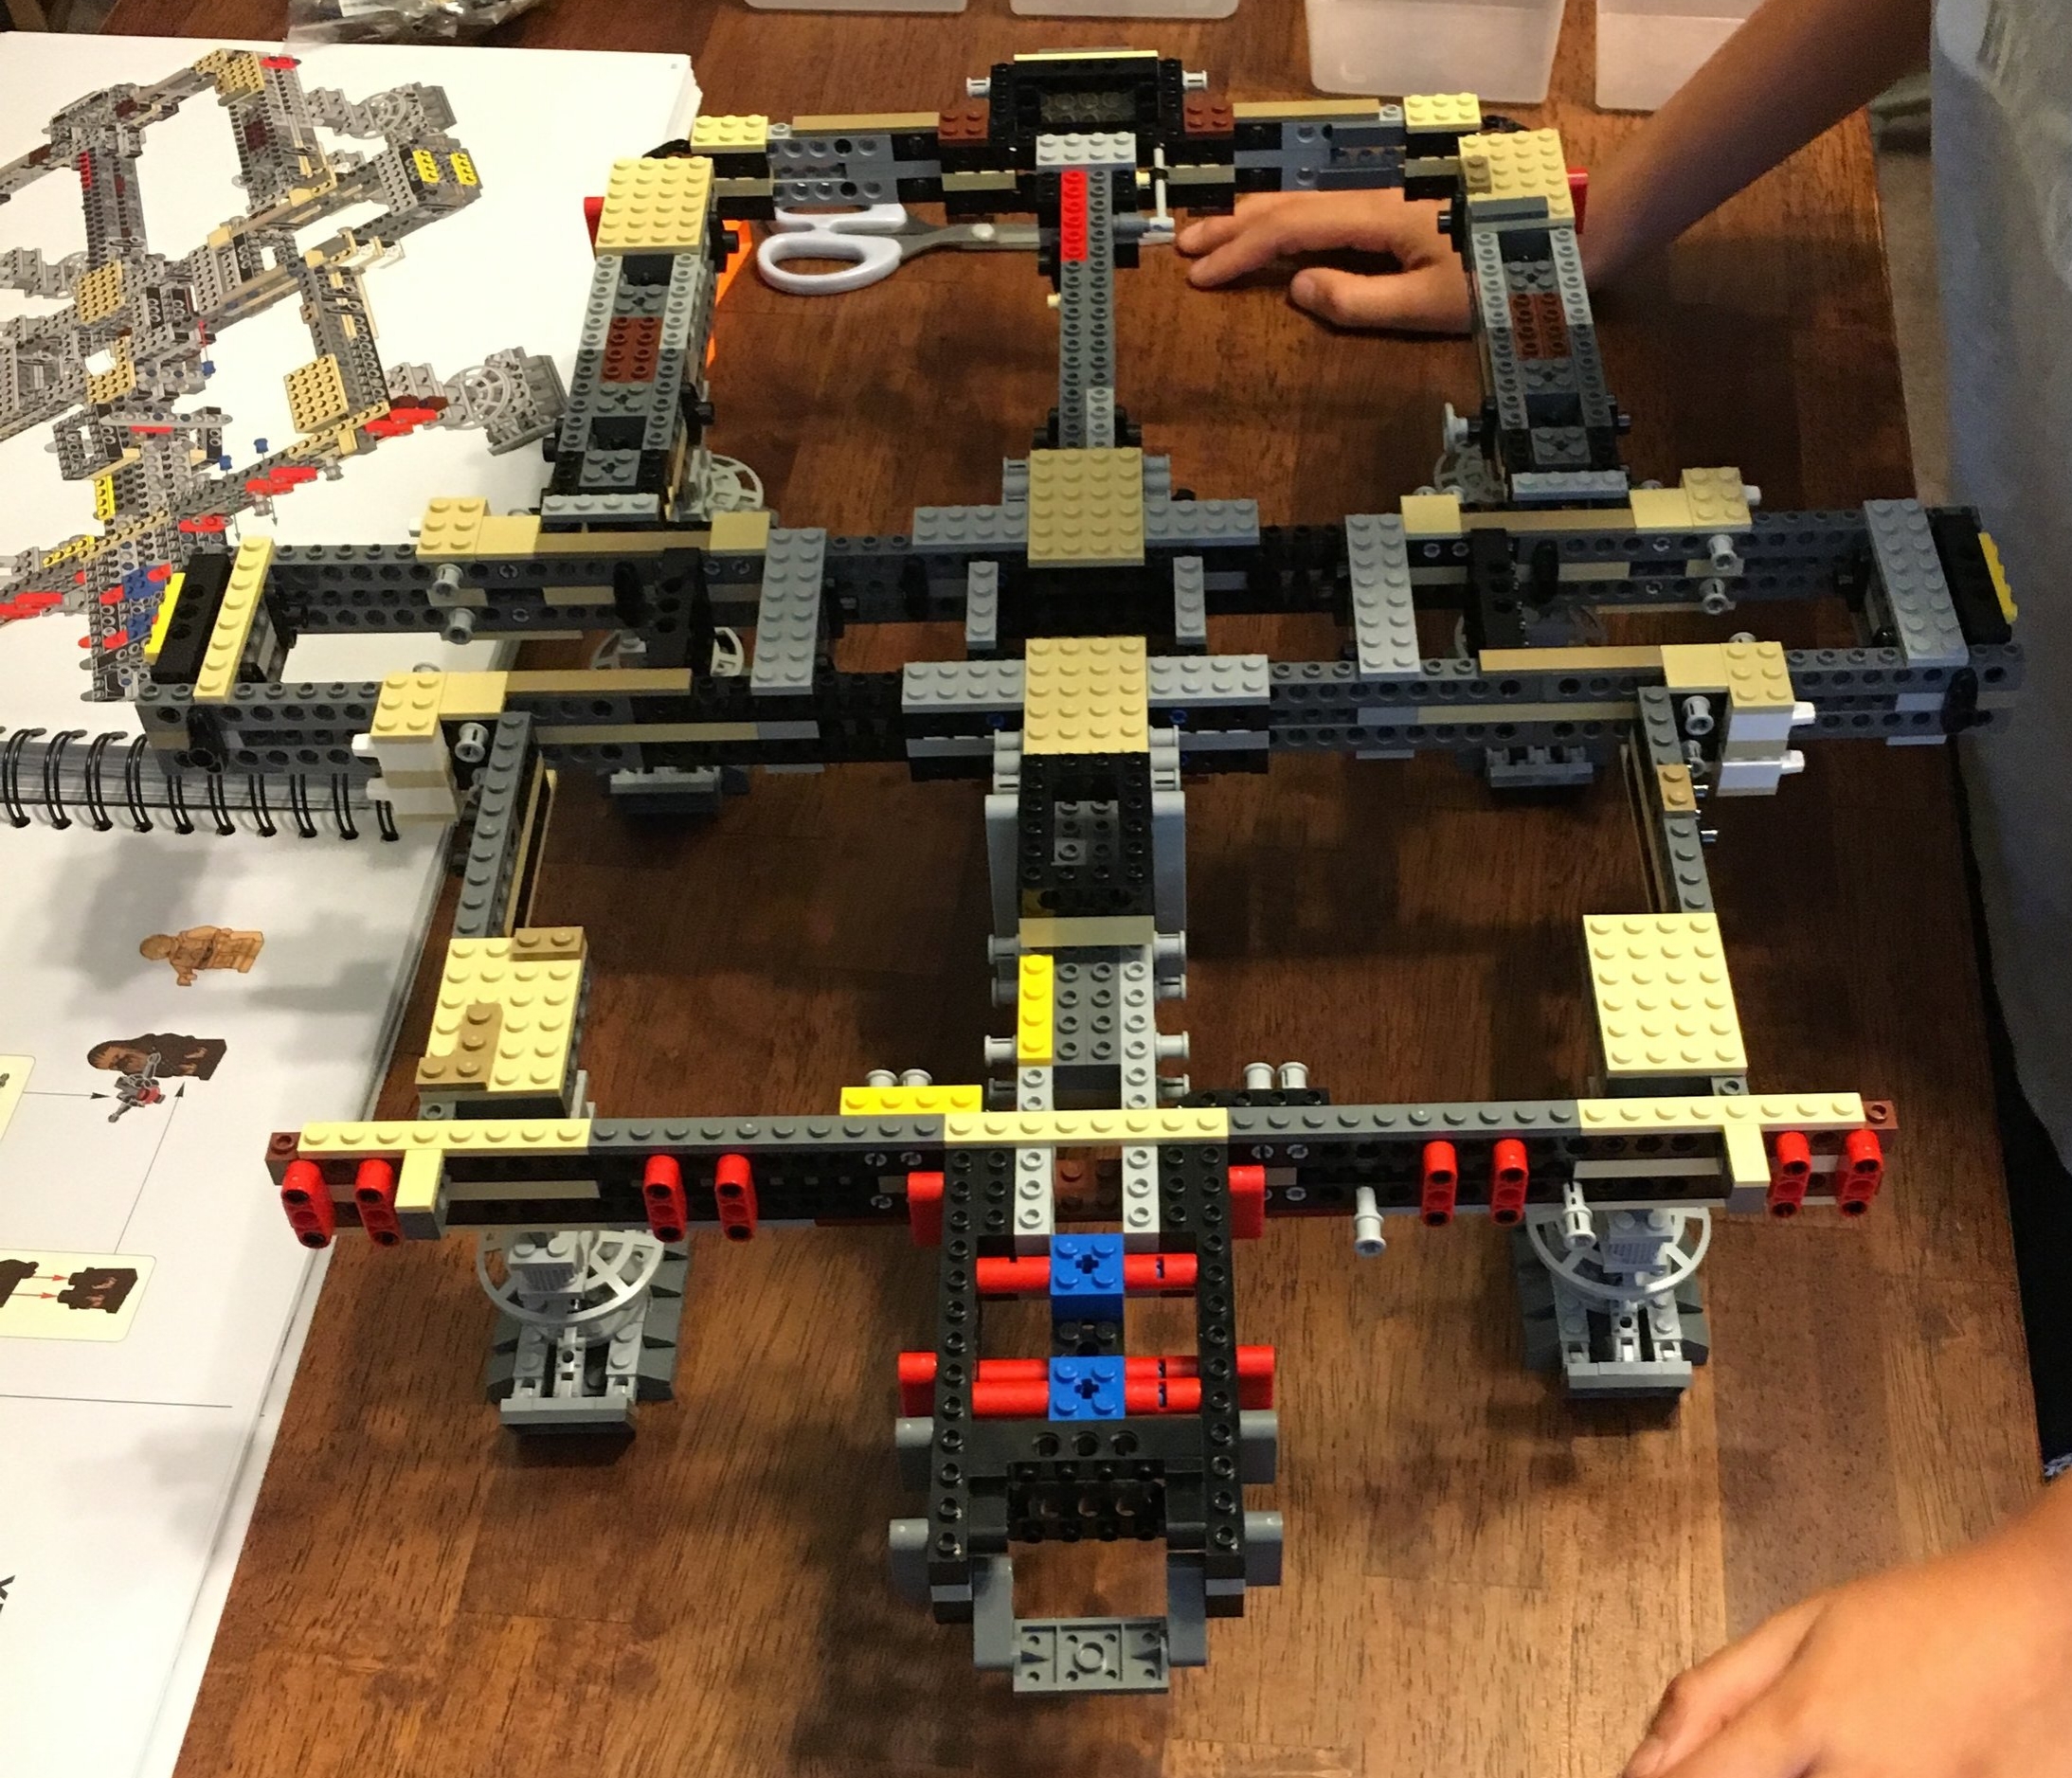
I skipped a few pics to show the assembly of the skeleton with the legs and the internal rooms. The rooms themselves were all attached via Technic pins. This was a bit challenging as there are a ton of holes where you could insert pins, but we ended up getting them right. Once you find the right positioning, they are easy to install.

I'm not going to spend a ton of time here, but here are the 4 rooms up close for your viewing pleasure.


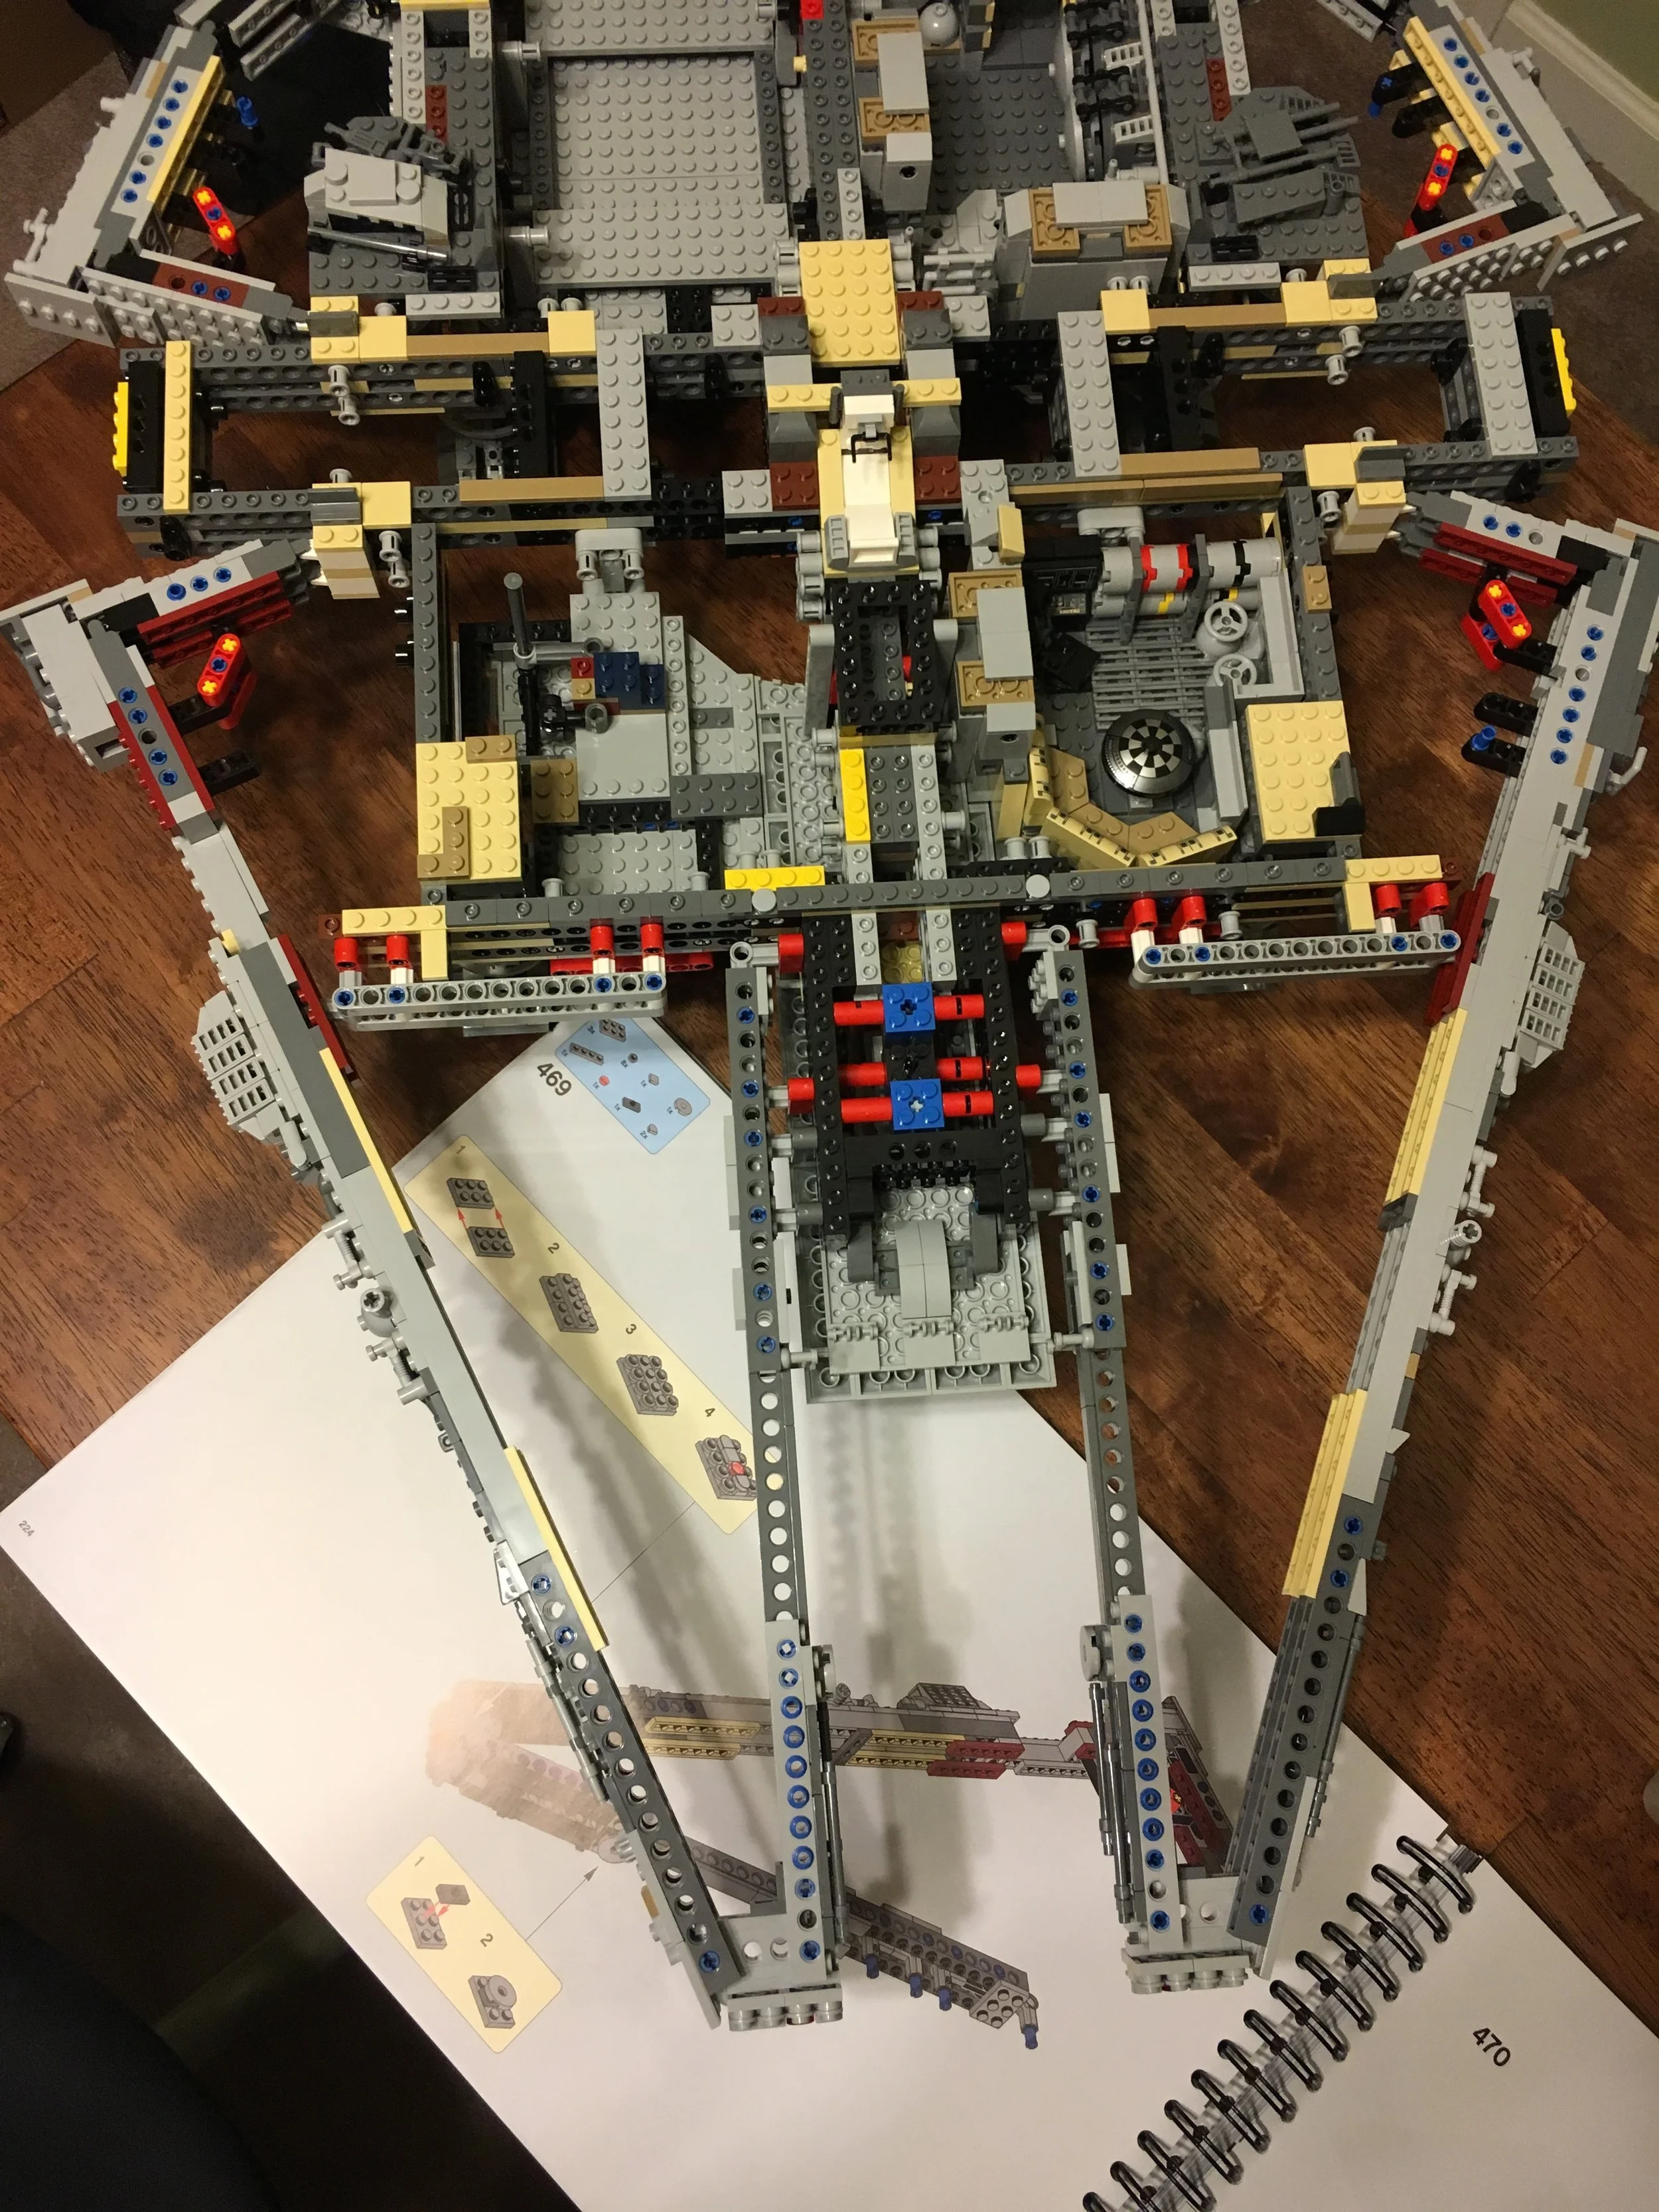
Next up, the back gets it's shape. The Falcon does not have a standard shape so I was curious how the designers made all of the curves. The next bag helps to get the unique shape started. It also adds the engines in the back with the use of some light blue colored tubes. You probably could have done the engines with translucent blue pieces too, but the tubes work just fine.

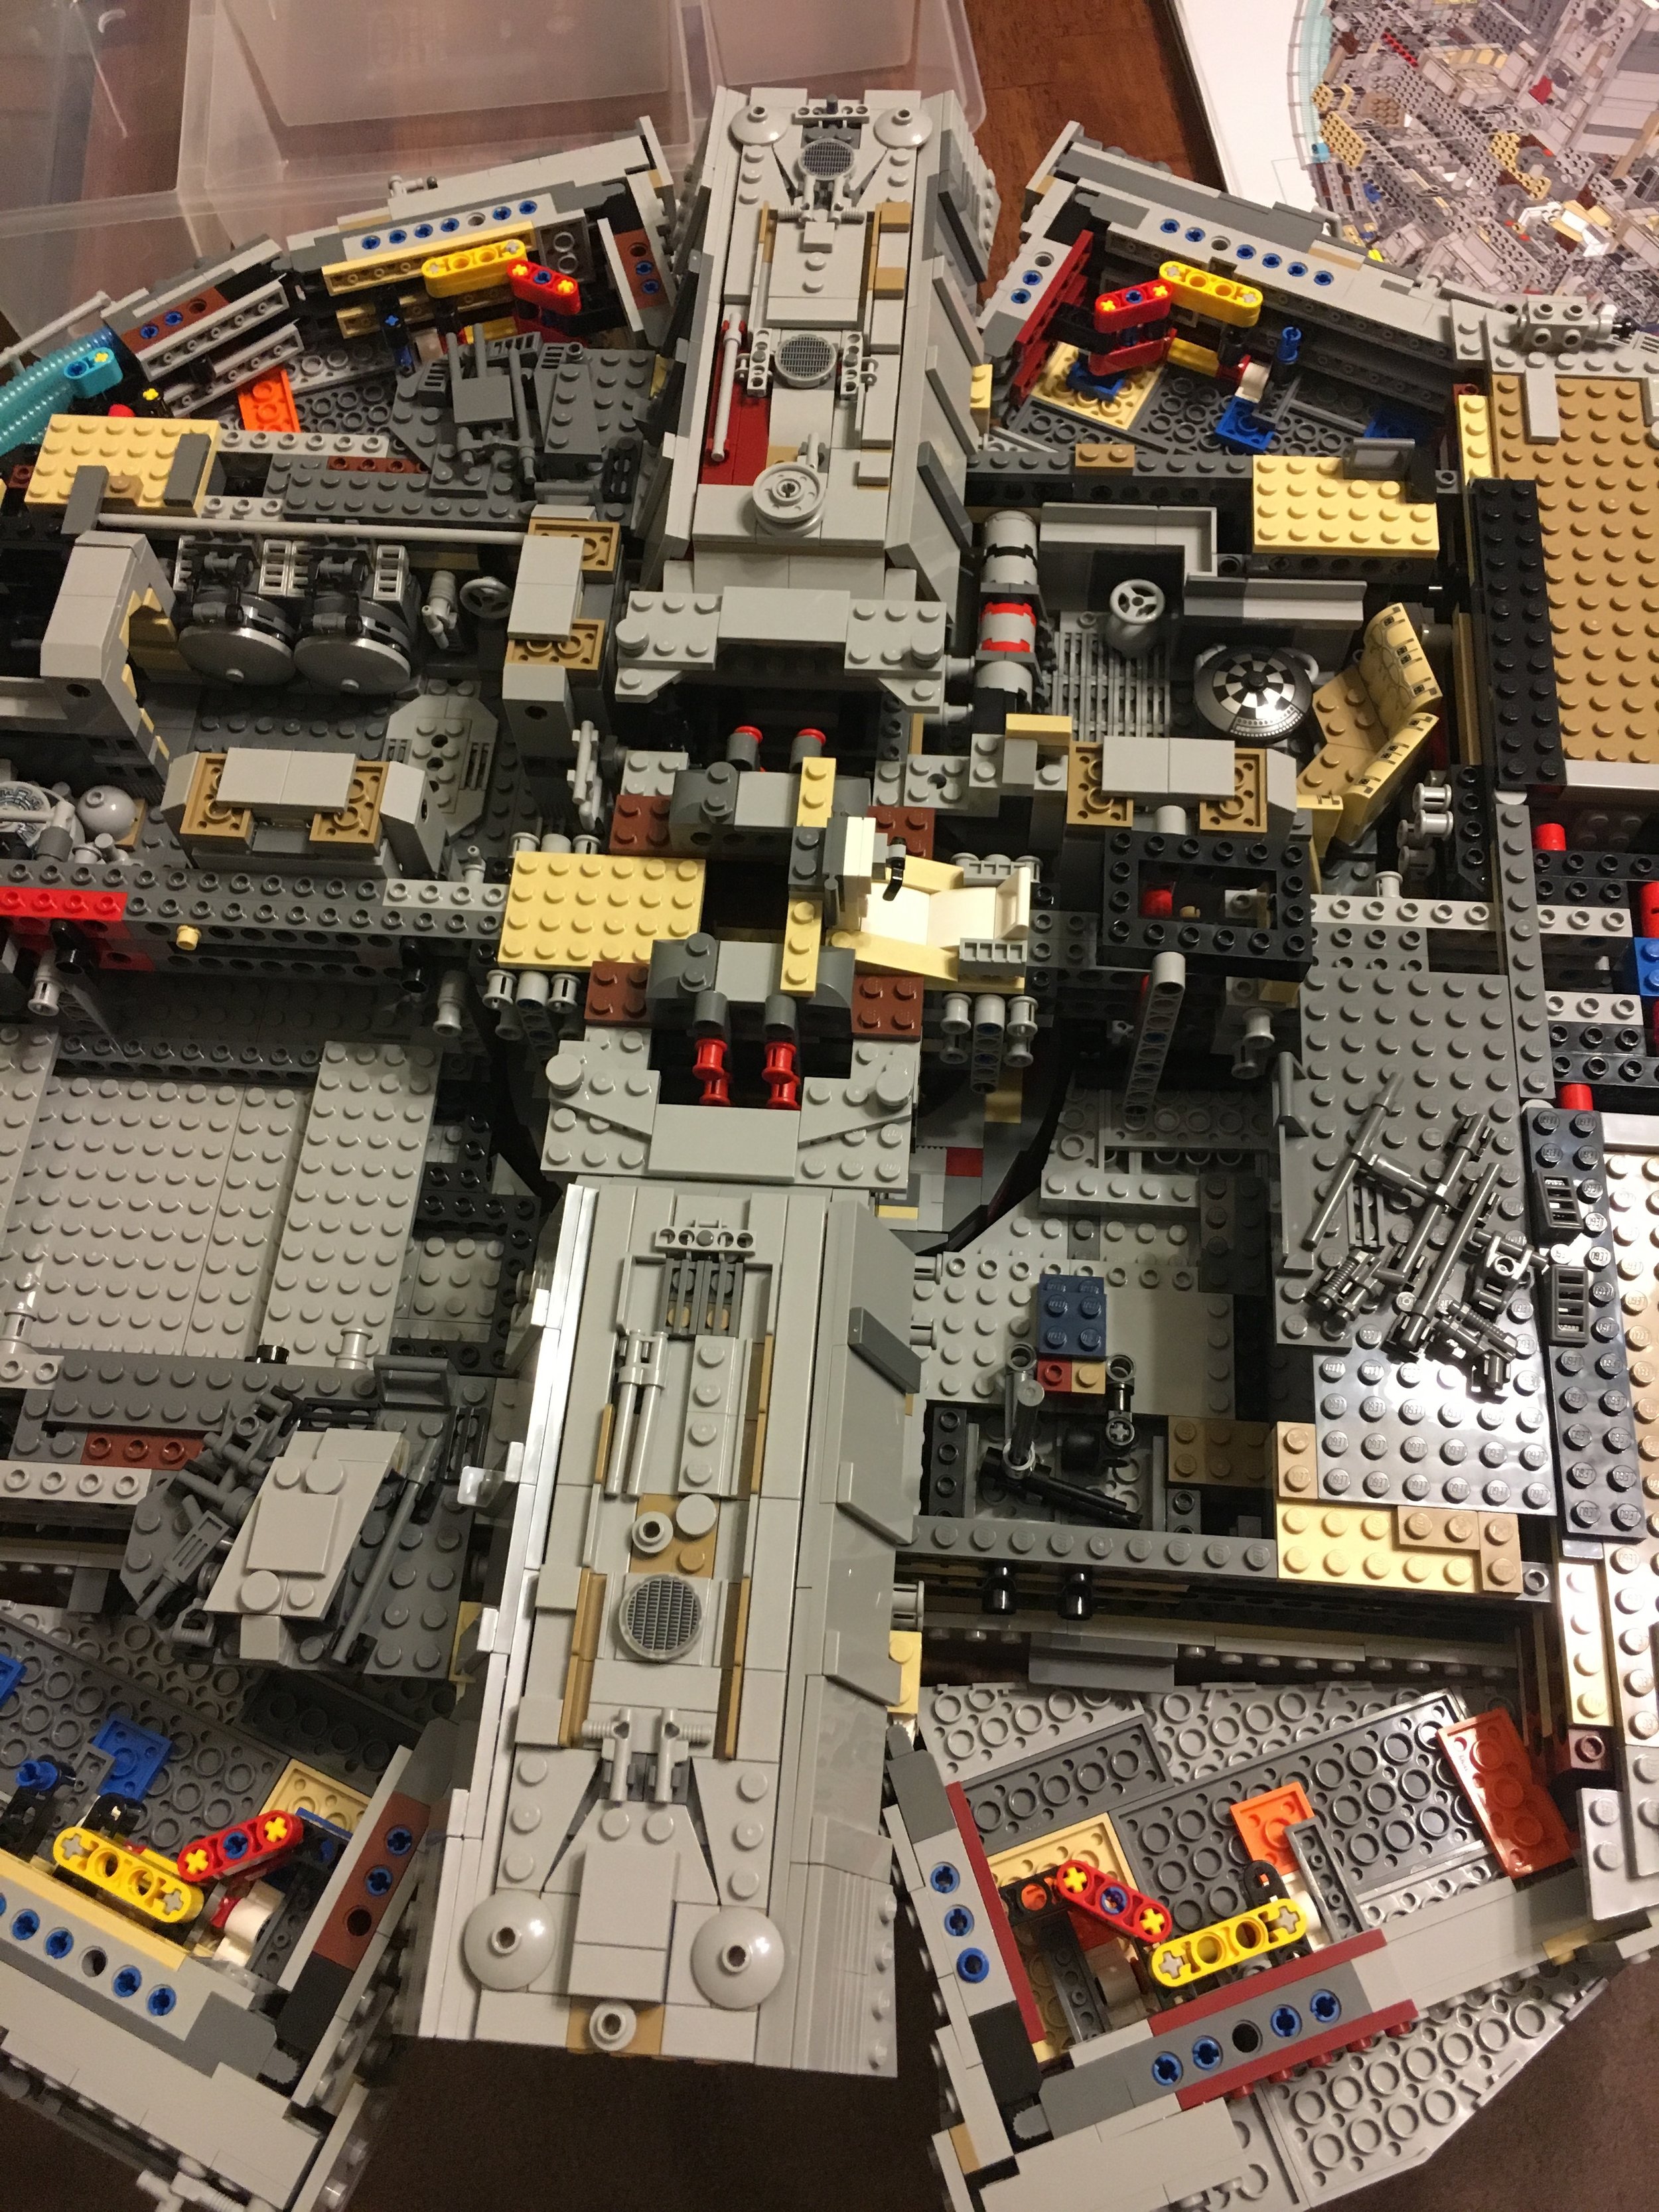
The shape of the front comes out next. What I found most interesting about this part of the build was attaching all of the random nick-knack pieces to create the detail on the outside of the Falcon. A lot of this portion of the build was attaching these pieces to the outer frame.
Next up is attaching the bottom of the ship. I didn't flip it over to take a picture because it was just too challenging to do so given that there aren't a lot of good ways to hold onto the unfinished top.

Okay so the next 2 pictures aren't super exciting, but let me explain the first one. The first one is a picture of the ramp. The design is pretty complicated, but very impressive. One reason... you build it outside of the ship and then attach it to the frame. Another reason, it doesn't require a locking mechanism to stay down or up. It's designed to stay up or down without any switches or locks. Pretty cool in my opinion, but maybe I'm overly geeking out over this part. The second picture is just the ship with the bottom completed and the top on the front started.


Now for attaching the top. Again, the pieces are built off of the ship and then attached after the fact. Most of them are pretty easy to attach although I had trouble attaching a few as there wasn't an easy spot to hold onto the frame to snap some of the sections into the frame. The ones shown in pictures 1 and 2 are permanently attached versus later on in the build where sections can be removed to see the internals in pictures 3 and 4 below.


Almost there... next up is the cockpit. I found it impressive that the hallway leading to the cockpit does not lock into place via studs or Technic pins.


Whew! All done! I didn't record how long it took me to do. I also didn't take a separate picture of the minifigures. You can look them up elsewhere if you want to see them in detail.

Congrats if you scrolled down this far... I realize I'm not the first one to post a review, but one more opinion doesn't hurt. Should you buy this one? It's pretty pricey. The price per piece is decent and the build experience was fantastic (in my opinion), but you have to weigh whether you want to spend $800 (or more with tax) if you buy one of these. Also, you have to decide what to do with it when you are done. Do you have space to display it?
I enjoyed the build and am glad I bought it. I was financially able to using some VIP points and profits from my store so it didn't hurt my wallet much. If you are in a position where you can do it, go for it! If not, there are a few other options. You can use one of the various brick rental services on the web. I have never used one, but it allows you to build the set at least. Another option is to team up with some friends to build it all together after you each pitch in. What do you do with it when you're done? I'm not sure...
What are your thoughts? Are the costs worth the build? Should LEGO stop making such huge models that price a lot of fans out of the market? Leave a comment and let me know what you think or send me an email at store@bricksforbricks.com.