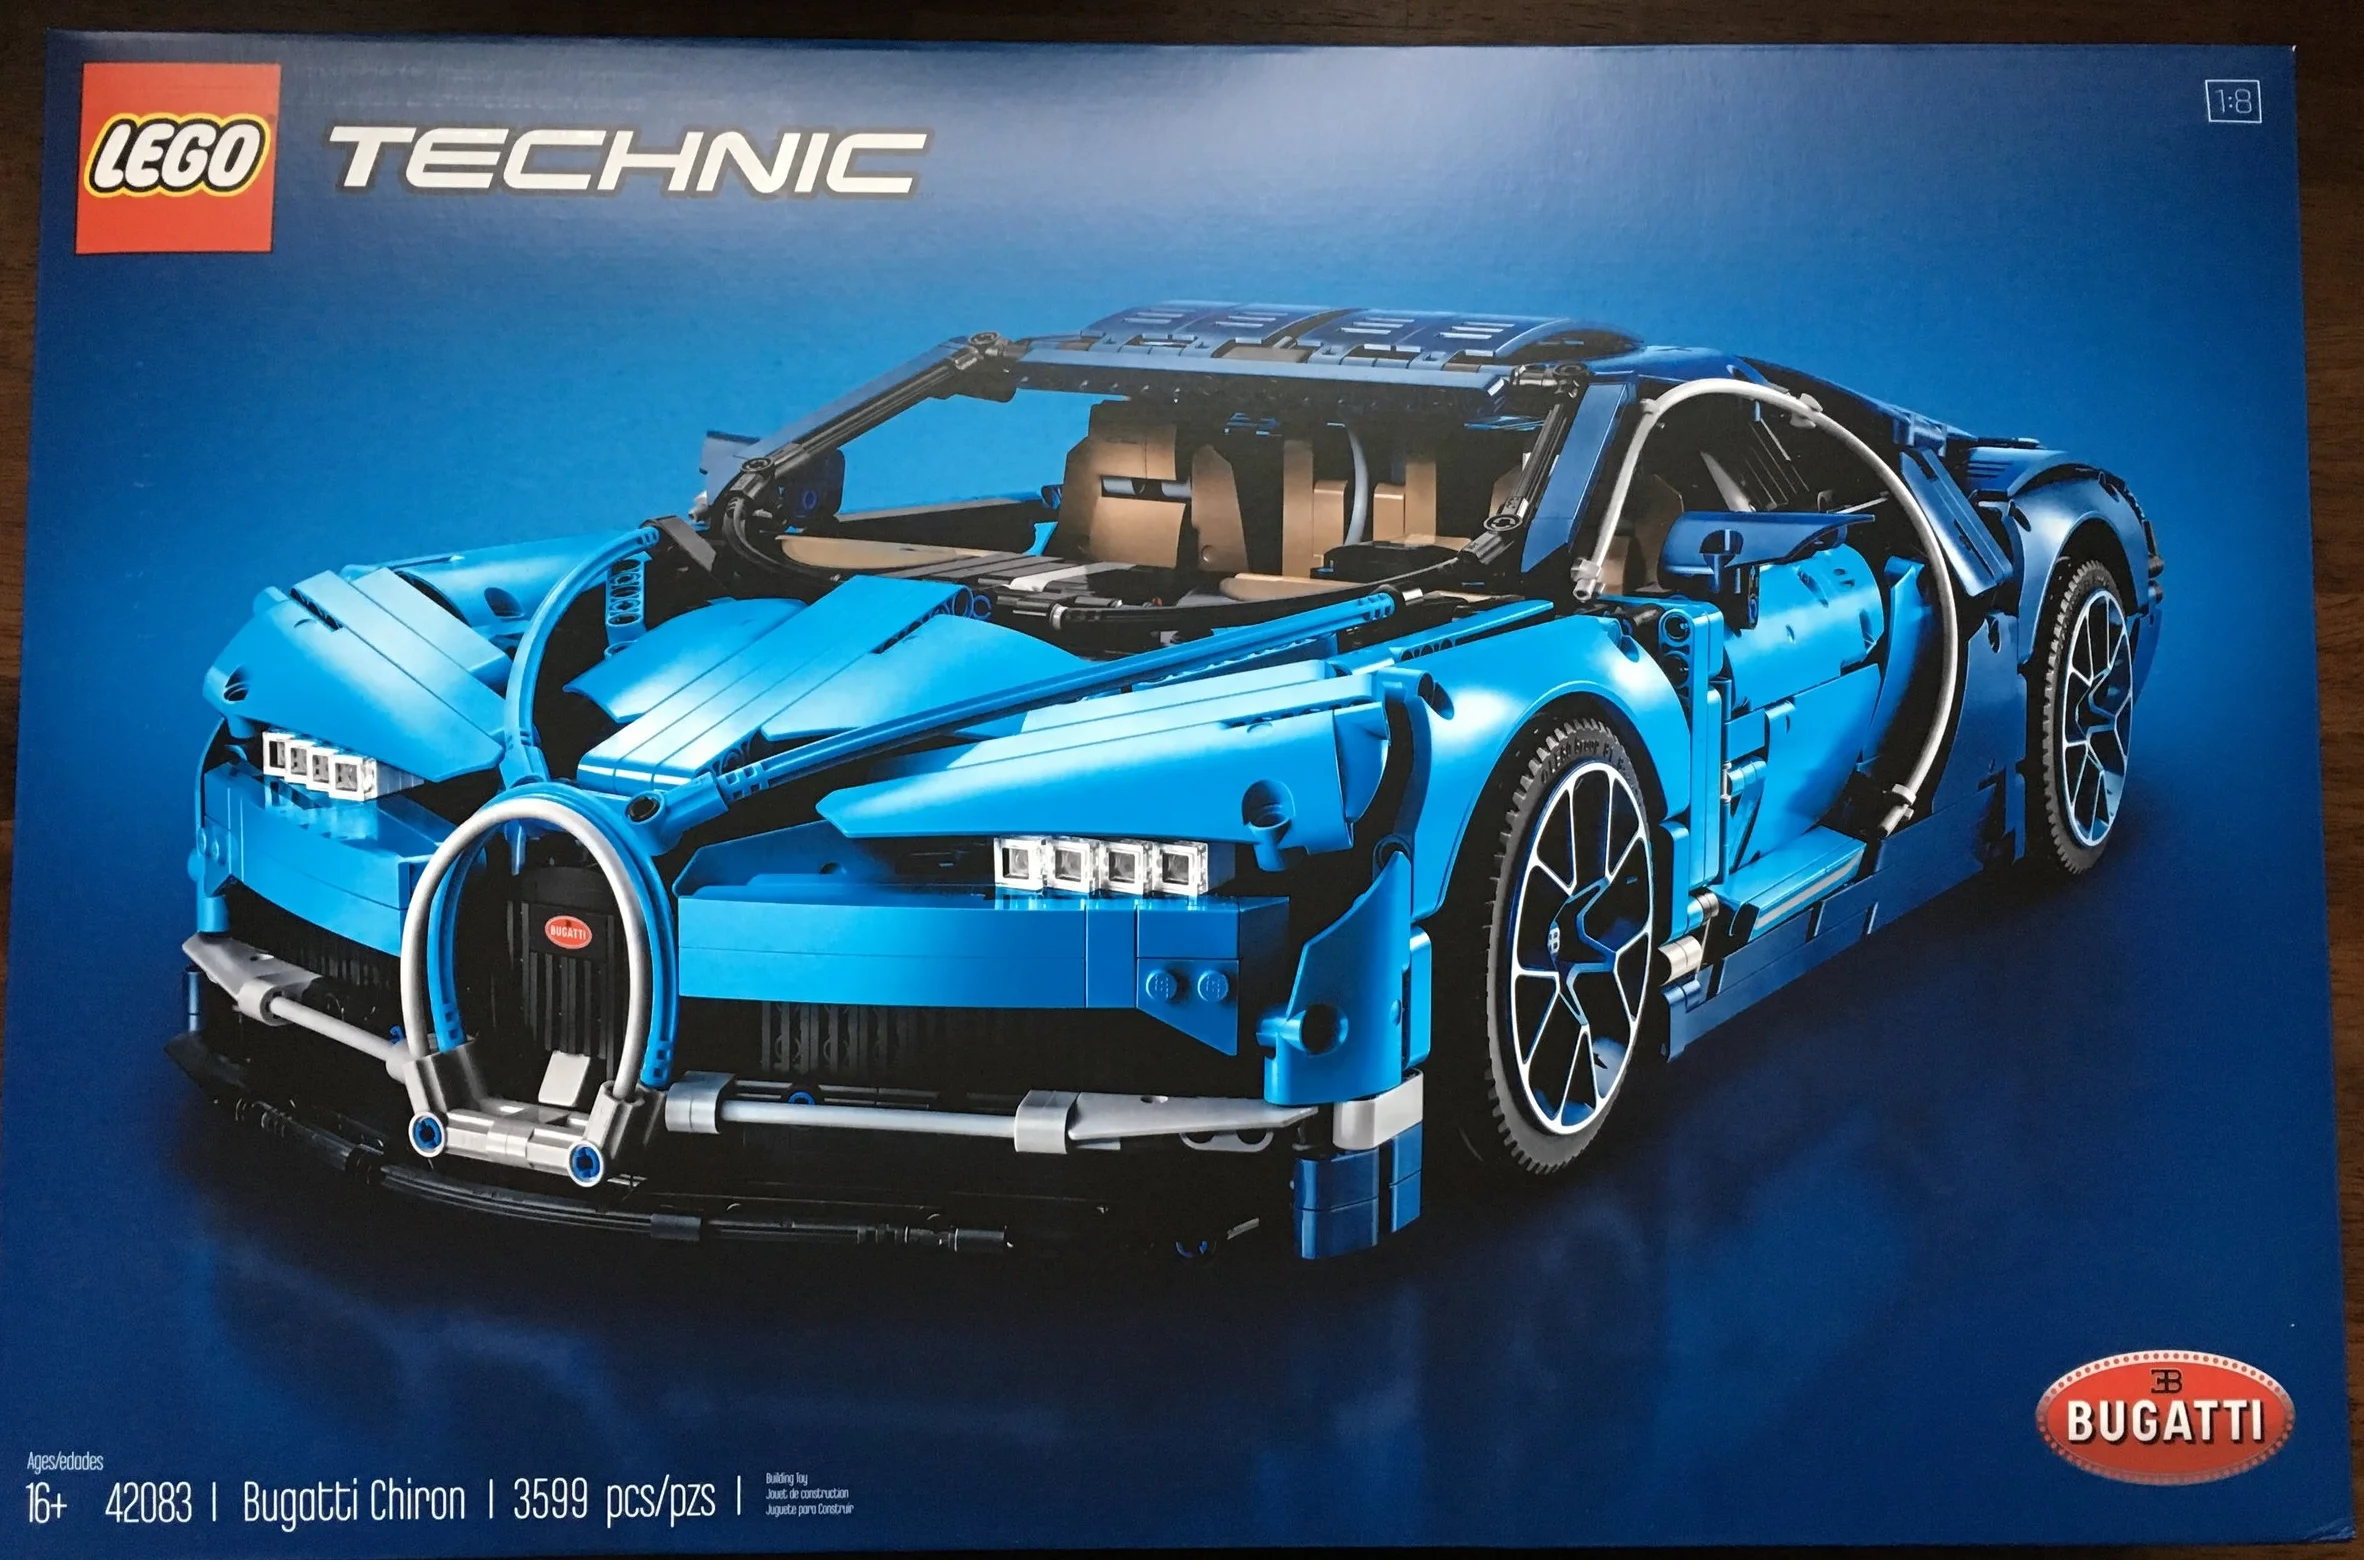
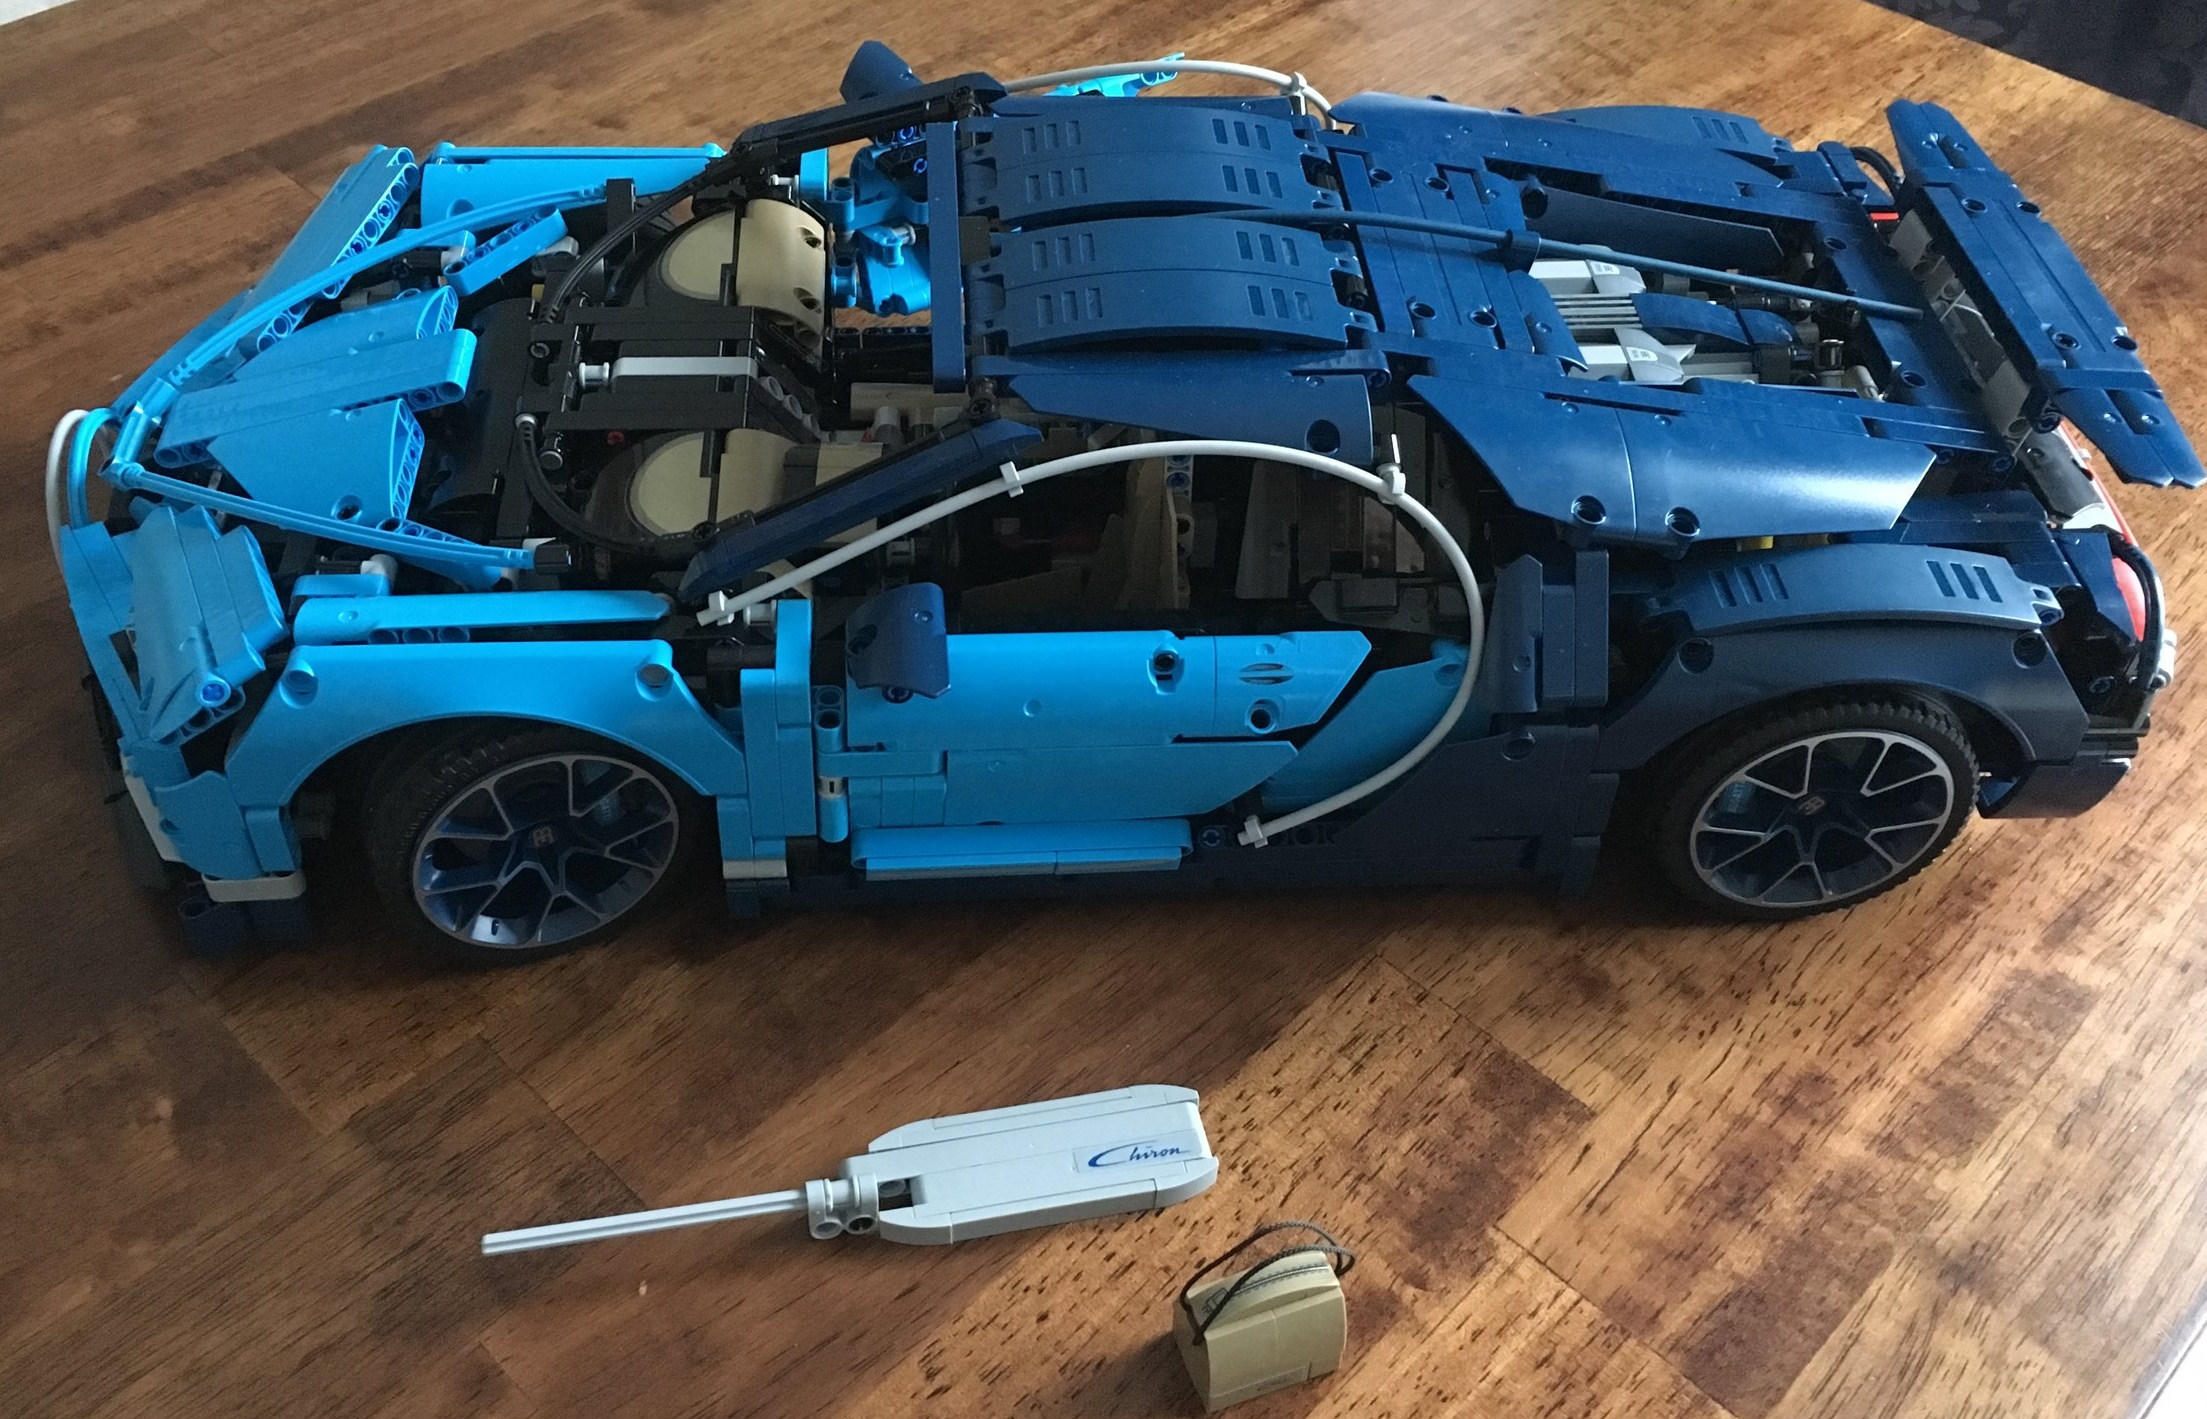
If you missed Part 1, you can see it here. If you want to see what a real Bugatti Chiron looks like or what the factory looks like, you can see that here. If you want to see more about the set, keep reading…
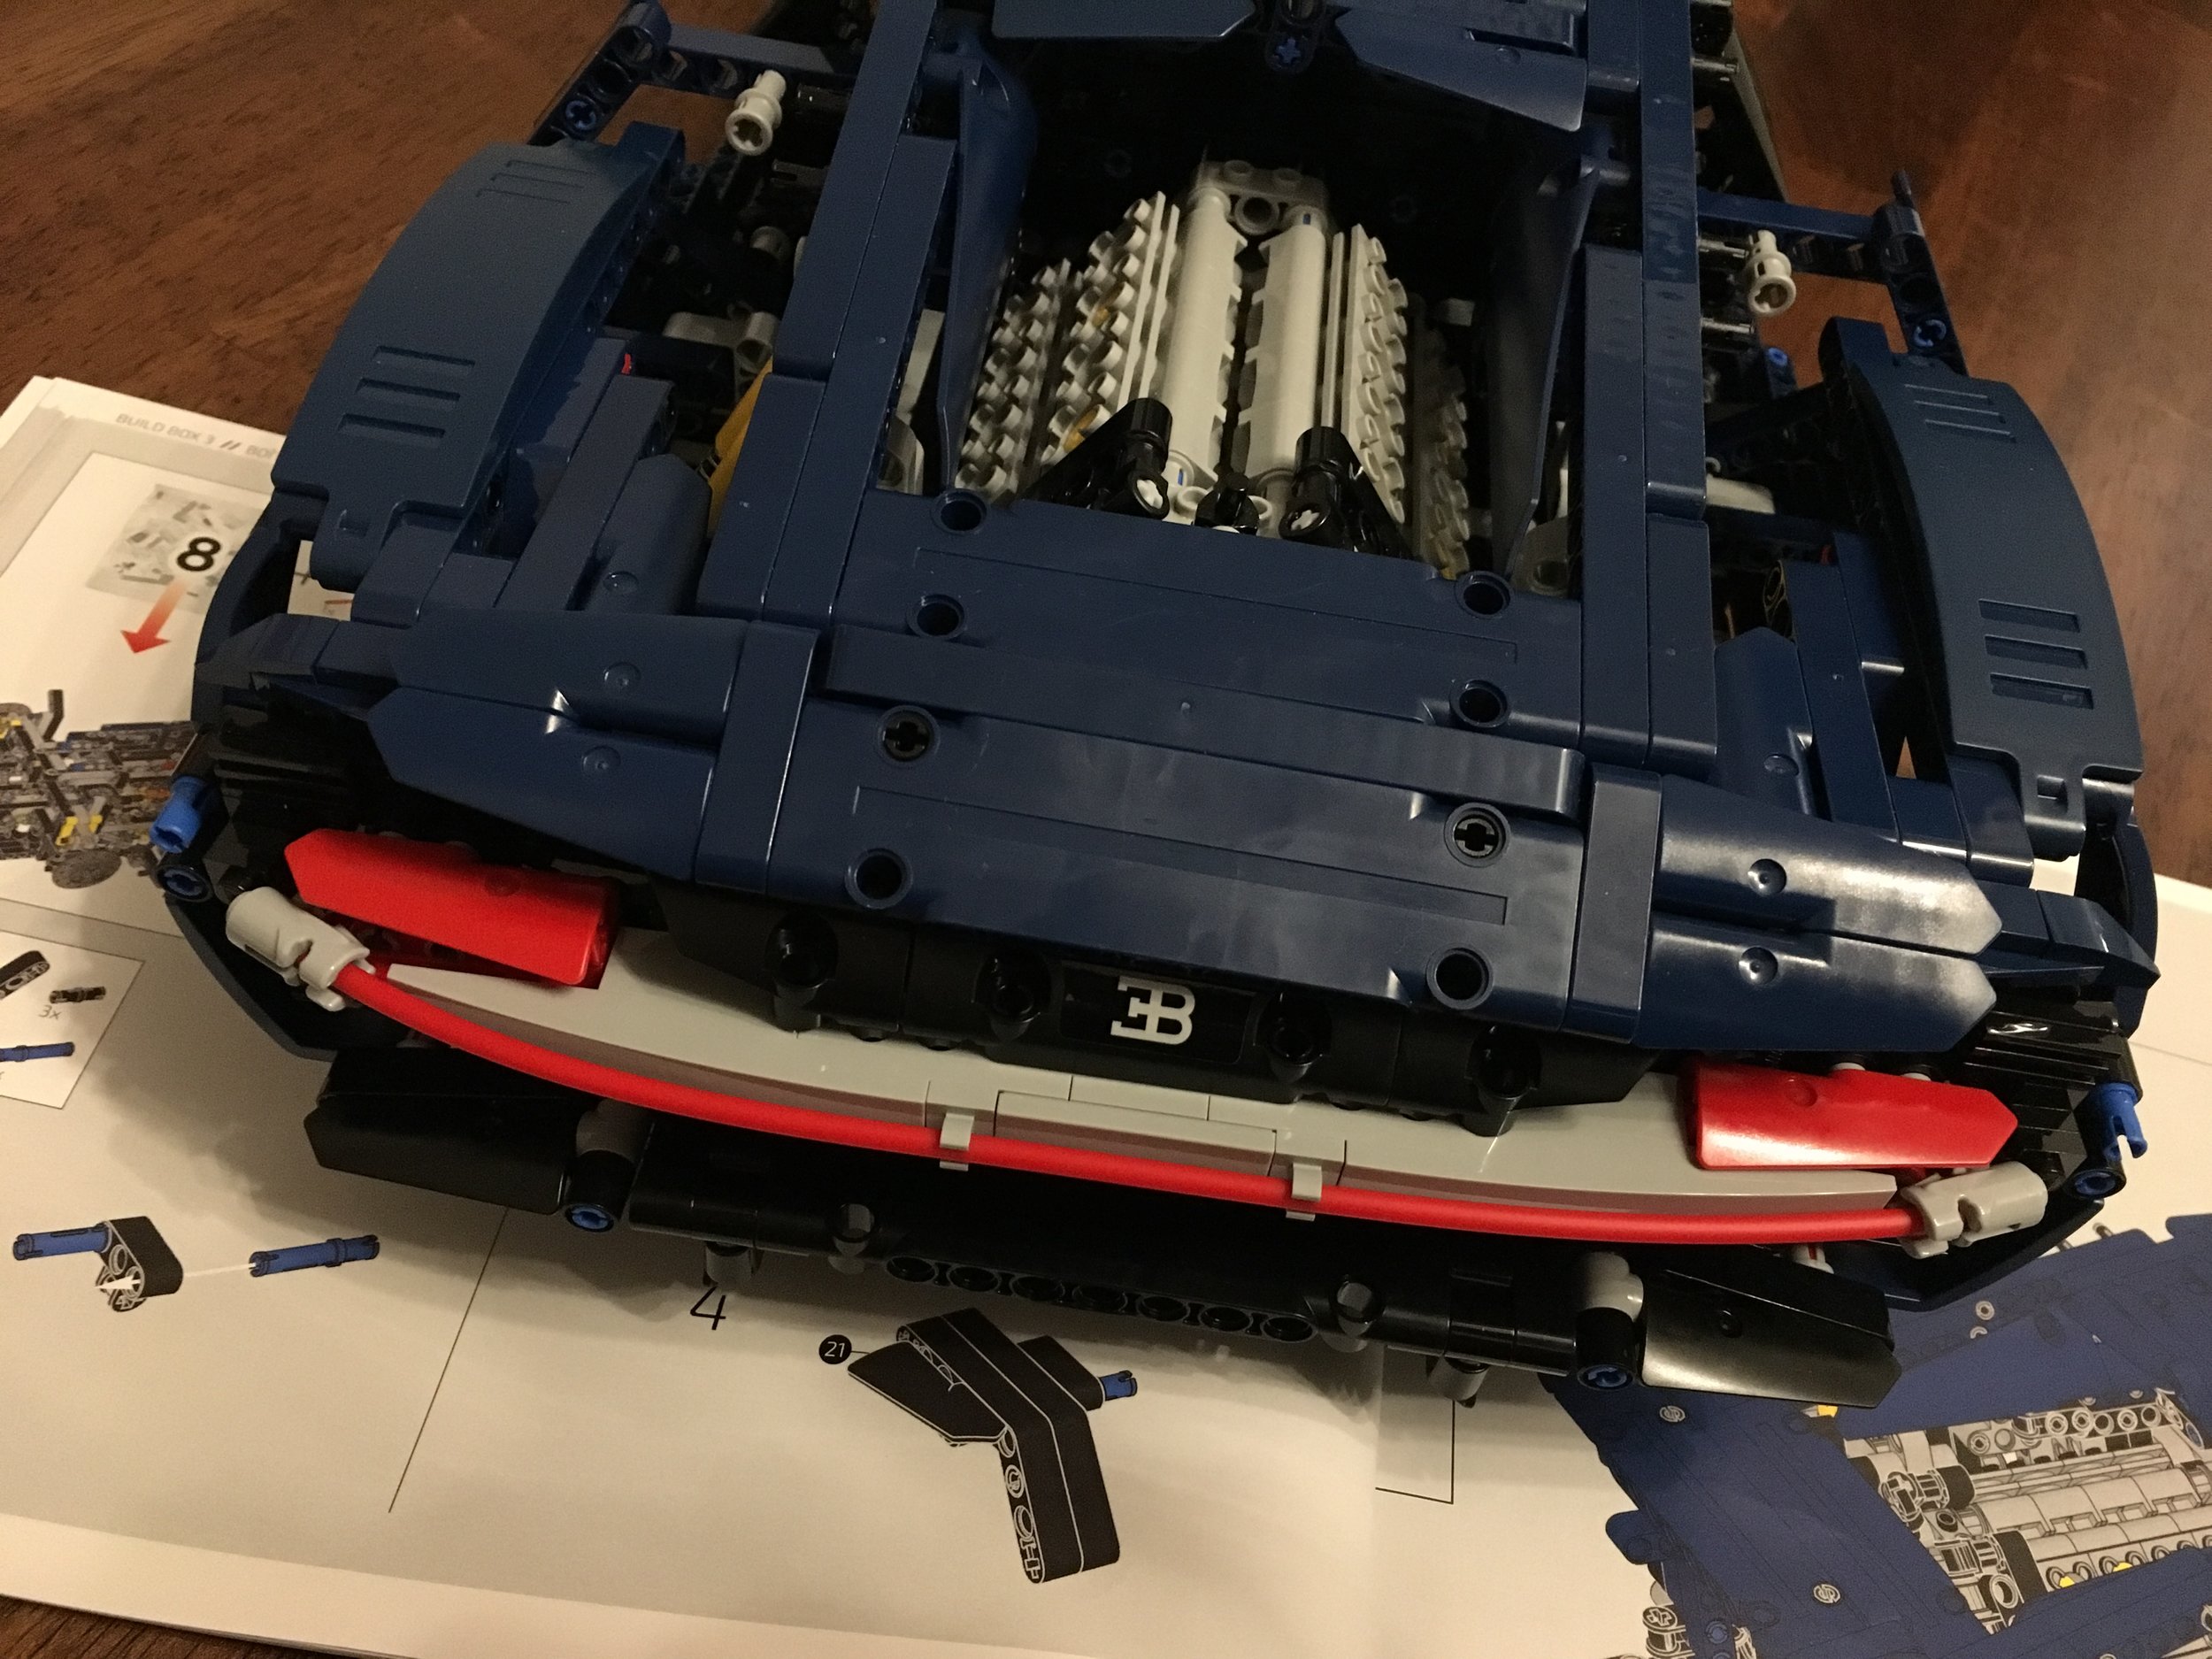
Instruction Book 2 is 322 pages long. It starts off with the set of bags numbered 7 in build box 3. This section of the build is labeled rear body work and deck lid. With Book 1 being the internals, Book 2 focuses on the externals. The bags numbered 7 include the construction of the rear spoiler and then a lot of the body for the back to include the portion around the engine and part of the top of the passenger compartment. Number 8 completes a lot of the detail in the rear to include the cool looking brake lights. There are also a number of stickers that go here. I am not a fan of stickers, but I realize LEGO has to do a price balance between printed pieces and sticker sheets. The cost of the sticker sheet probably helped save a few dollars on an already expensive set. I’m not the best at sticker placement, but it looks okay.
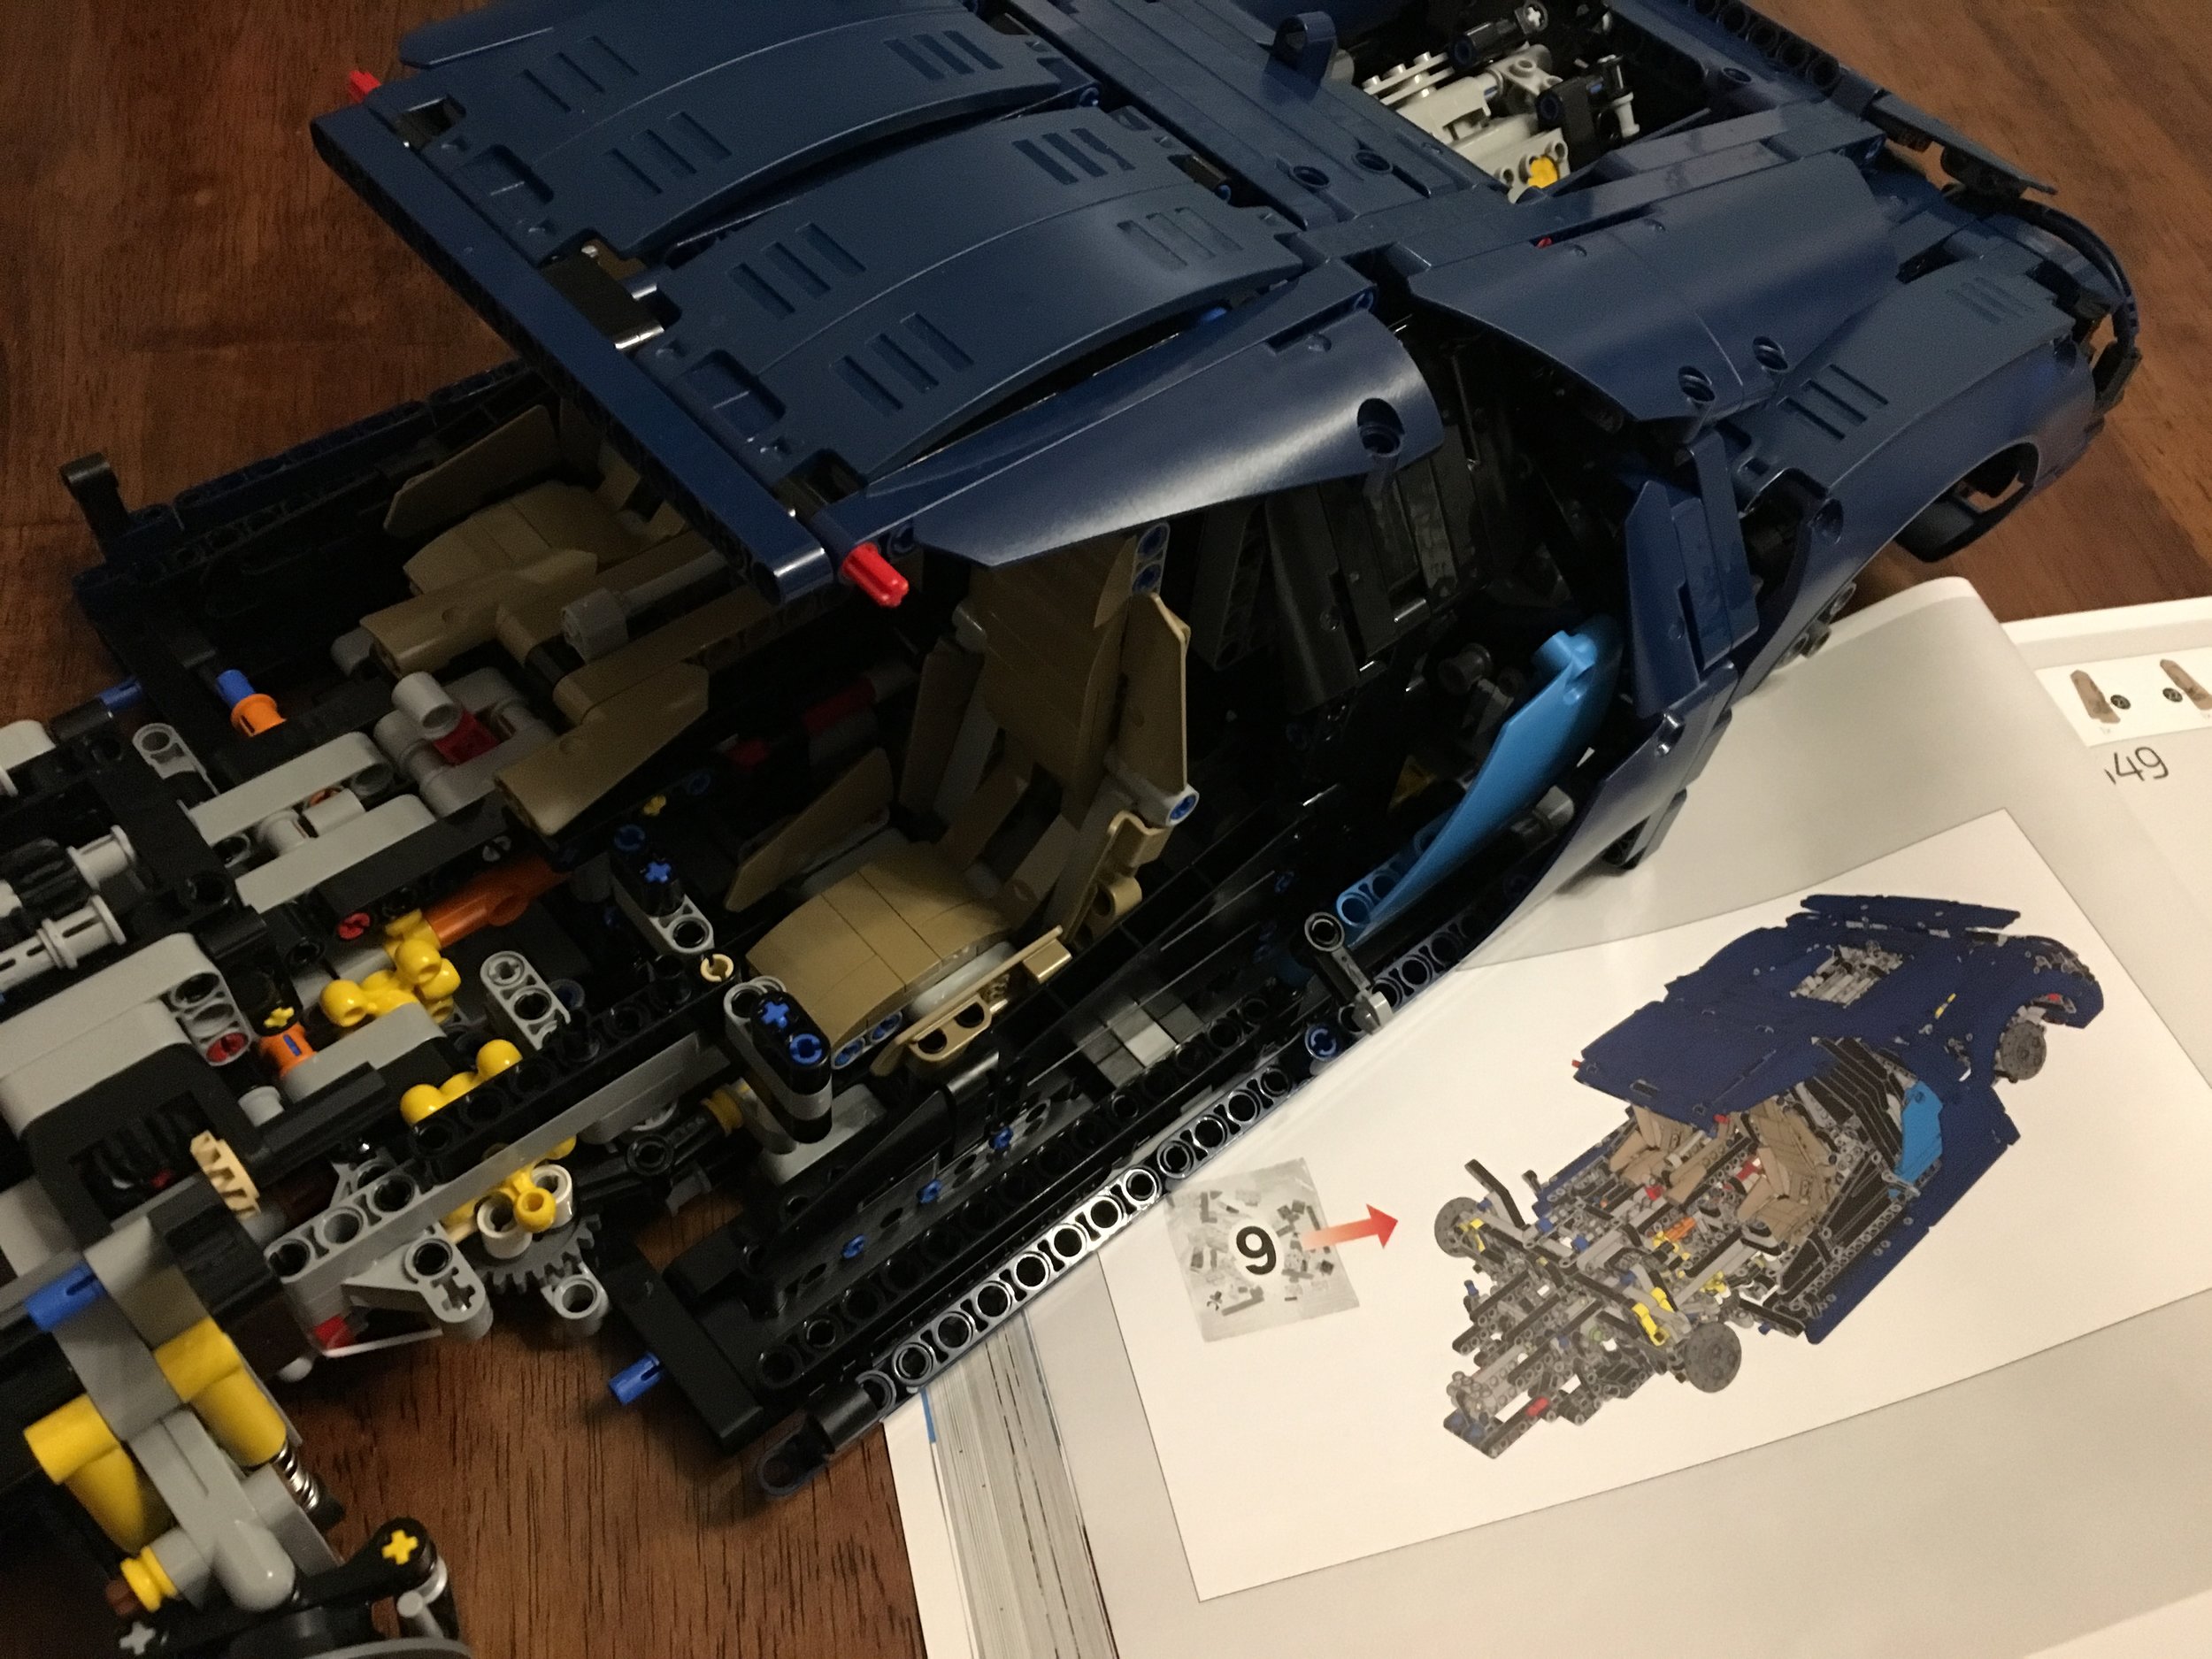
Bags 9 and 10 are labeled the seats and interior on page 108 and start off box four. The seats are Technic built with some System pieces for added detail. As the build went on, I realized that there were more and more System pieces used. I’m not a good builder/designer to begin with, but I’m impressed at the ability to combine the 2 types of pieces into one set and to have it go seamlessly like they did. Bag 9 is the seats and some more of the outer paneling. Bag 10 is the dashboard, steering wheel, glove compartment, and a bunch more stickers.
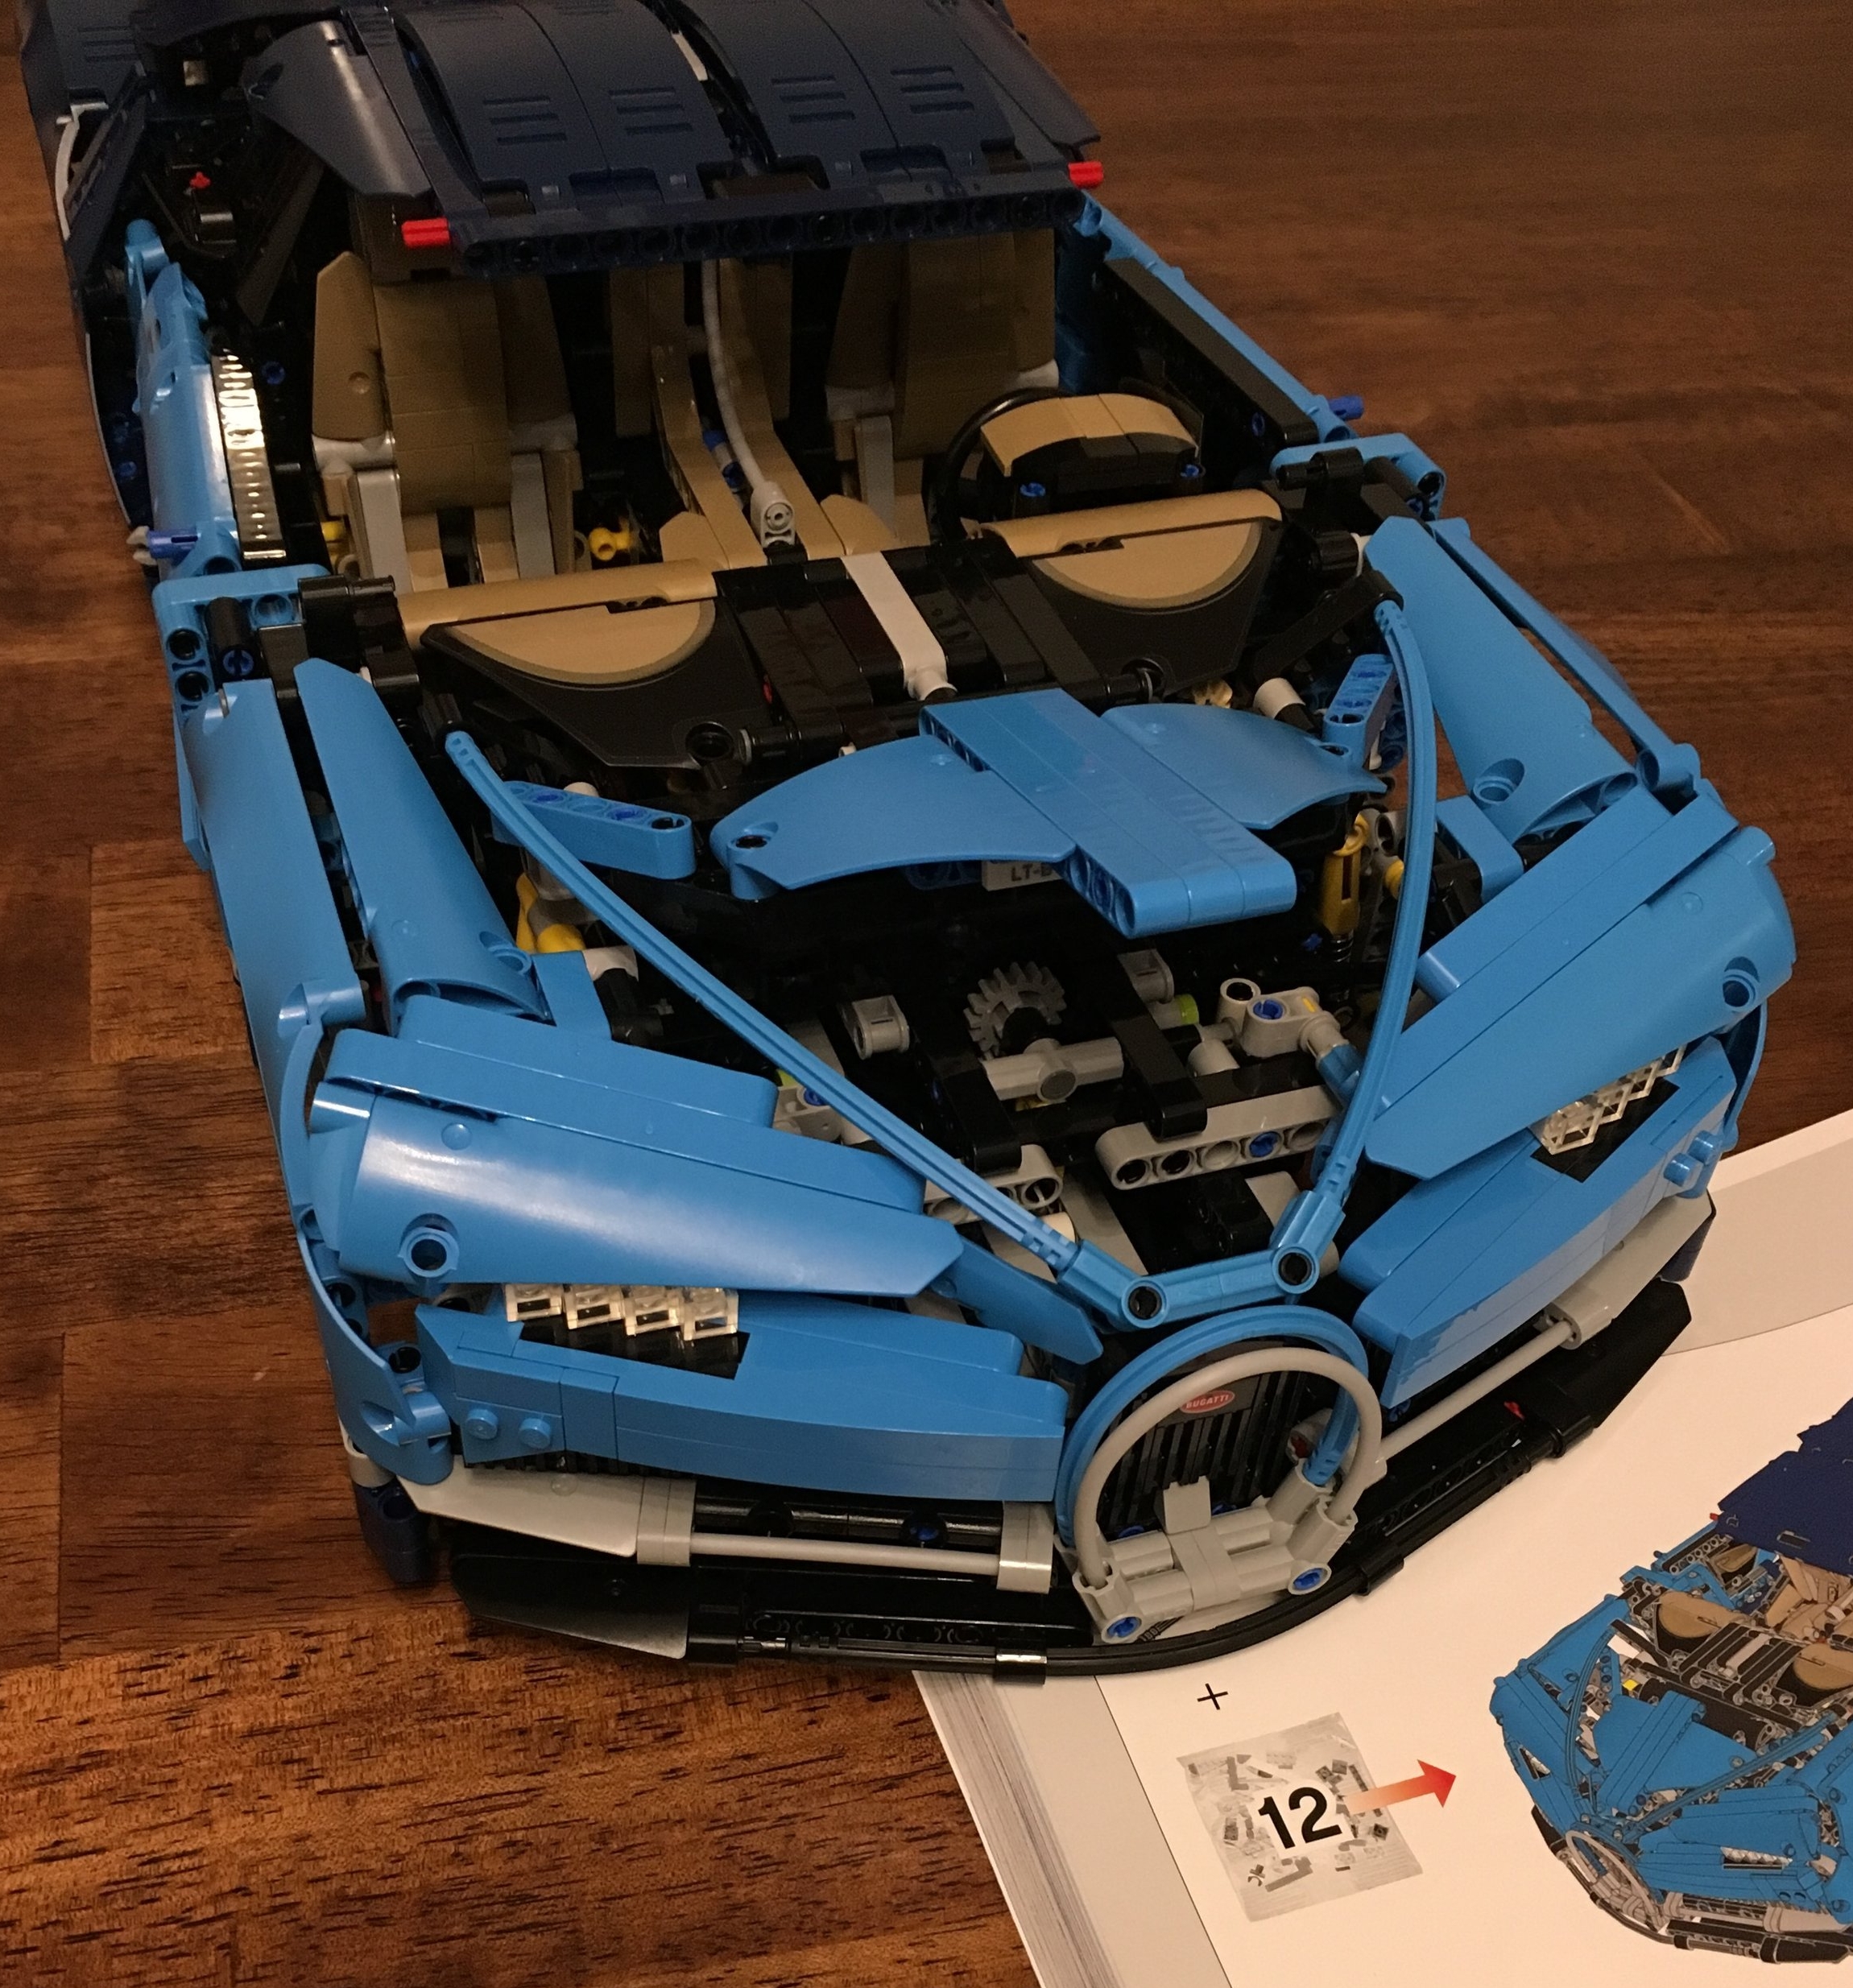
Bags 11 and 12 start on page 200. This section is labeled front body, lights, and horseshoe grill. Bag 11 is mainly the doors, but there are a few details to build up the front of the car. Bag 12 is the details on the front to include the front hood (and storage area), the bumper, the grill design, and the lights. There are a lot of System pieces used in the front to include the bumper and lights. The detailing is pretty impressive between the Technic and System pieces. It still has the Technic look without windows and with the various spots for pin attachments, but it still captures the sleek look of the actual car.
Bag 13 finishes everything up with the final details, the key to raise and lower the spoiler, and much like the Porsche (#42056-1) a handbag to stick in the trunk. It completes a few details to include a lot of the long, thin tubes that help create some of the contours on the car. The instructions for bag 13 also include the wheels and rims. The rims have a 1x1 round tile with the Bugatti logo on them and thankfully that was not a sticker. You even get an extra one (not sure what I’ll do with it).
The end of the instructions give you a link to go to and put in the code on the 1x4 tile that identifies your car. Similar to #42056-1, they have some free content. I have yet to go and see what it is, but #42056-1 had some cool graphics, a certificate of ownership, and some high resolution photos of the vehicle as well. If I ever have my own brick cave someday, maybe I’ll have to print a few of these up.
Here’s a top view of the car and then a view of the front with the hood open and the bag sitting next to it. The bag is made of all System pieces versus the Technic style bag of #42056-1.
Here is a good look at the front to include the horseshoe grill and the lights. Also a view inside the car by the driver’s seat. With my smartphone and poor lighting, you can’t see all the details, but you can see the main details: steering wheel, dashboard with various dials, paddle shifters, and shifter.
Finally, here’s the back. After seeing the real car, I think the designers did a great job getting it accurate. The first picture is with the spoiler down and the second is with it up and the key still in. The key goes into a small hole behind the driver’s side rear tire. I have yet to be able to do it without peering in to try and find it. The design is impressive as it locks in the up position as well.
So the final verdict… I had a blast building it. The design is sleek and very sturdy. It’s very impressive. Unfortunately it is very expensive! I used a gift certificate, but even with that it was still high. I hit a double VIP point day so that helped some, but yikes. LEGO keeps testing the boundaries on price and it’ll be interesting to see where they finally break their fan base. While it’s a great set and I hope LEGO continues this series, I would like to see the price go back to under $300 similar to #42056-1.
What are your thoughts on this one? Too expensive? Priced right for the build?
Happy building!

