Part 1 - Part 3 - Part 4 - Part 5
In case you missed it, I purchased the LEGO® Technic Porsche 911 GT3 RS (#42056). In my last post, I showed the awesome packaging design. Now it's time to get into the build.
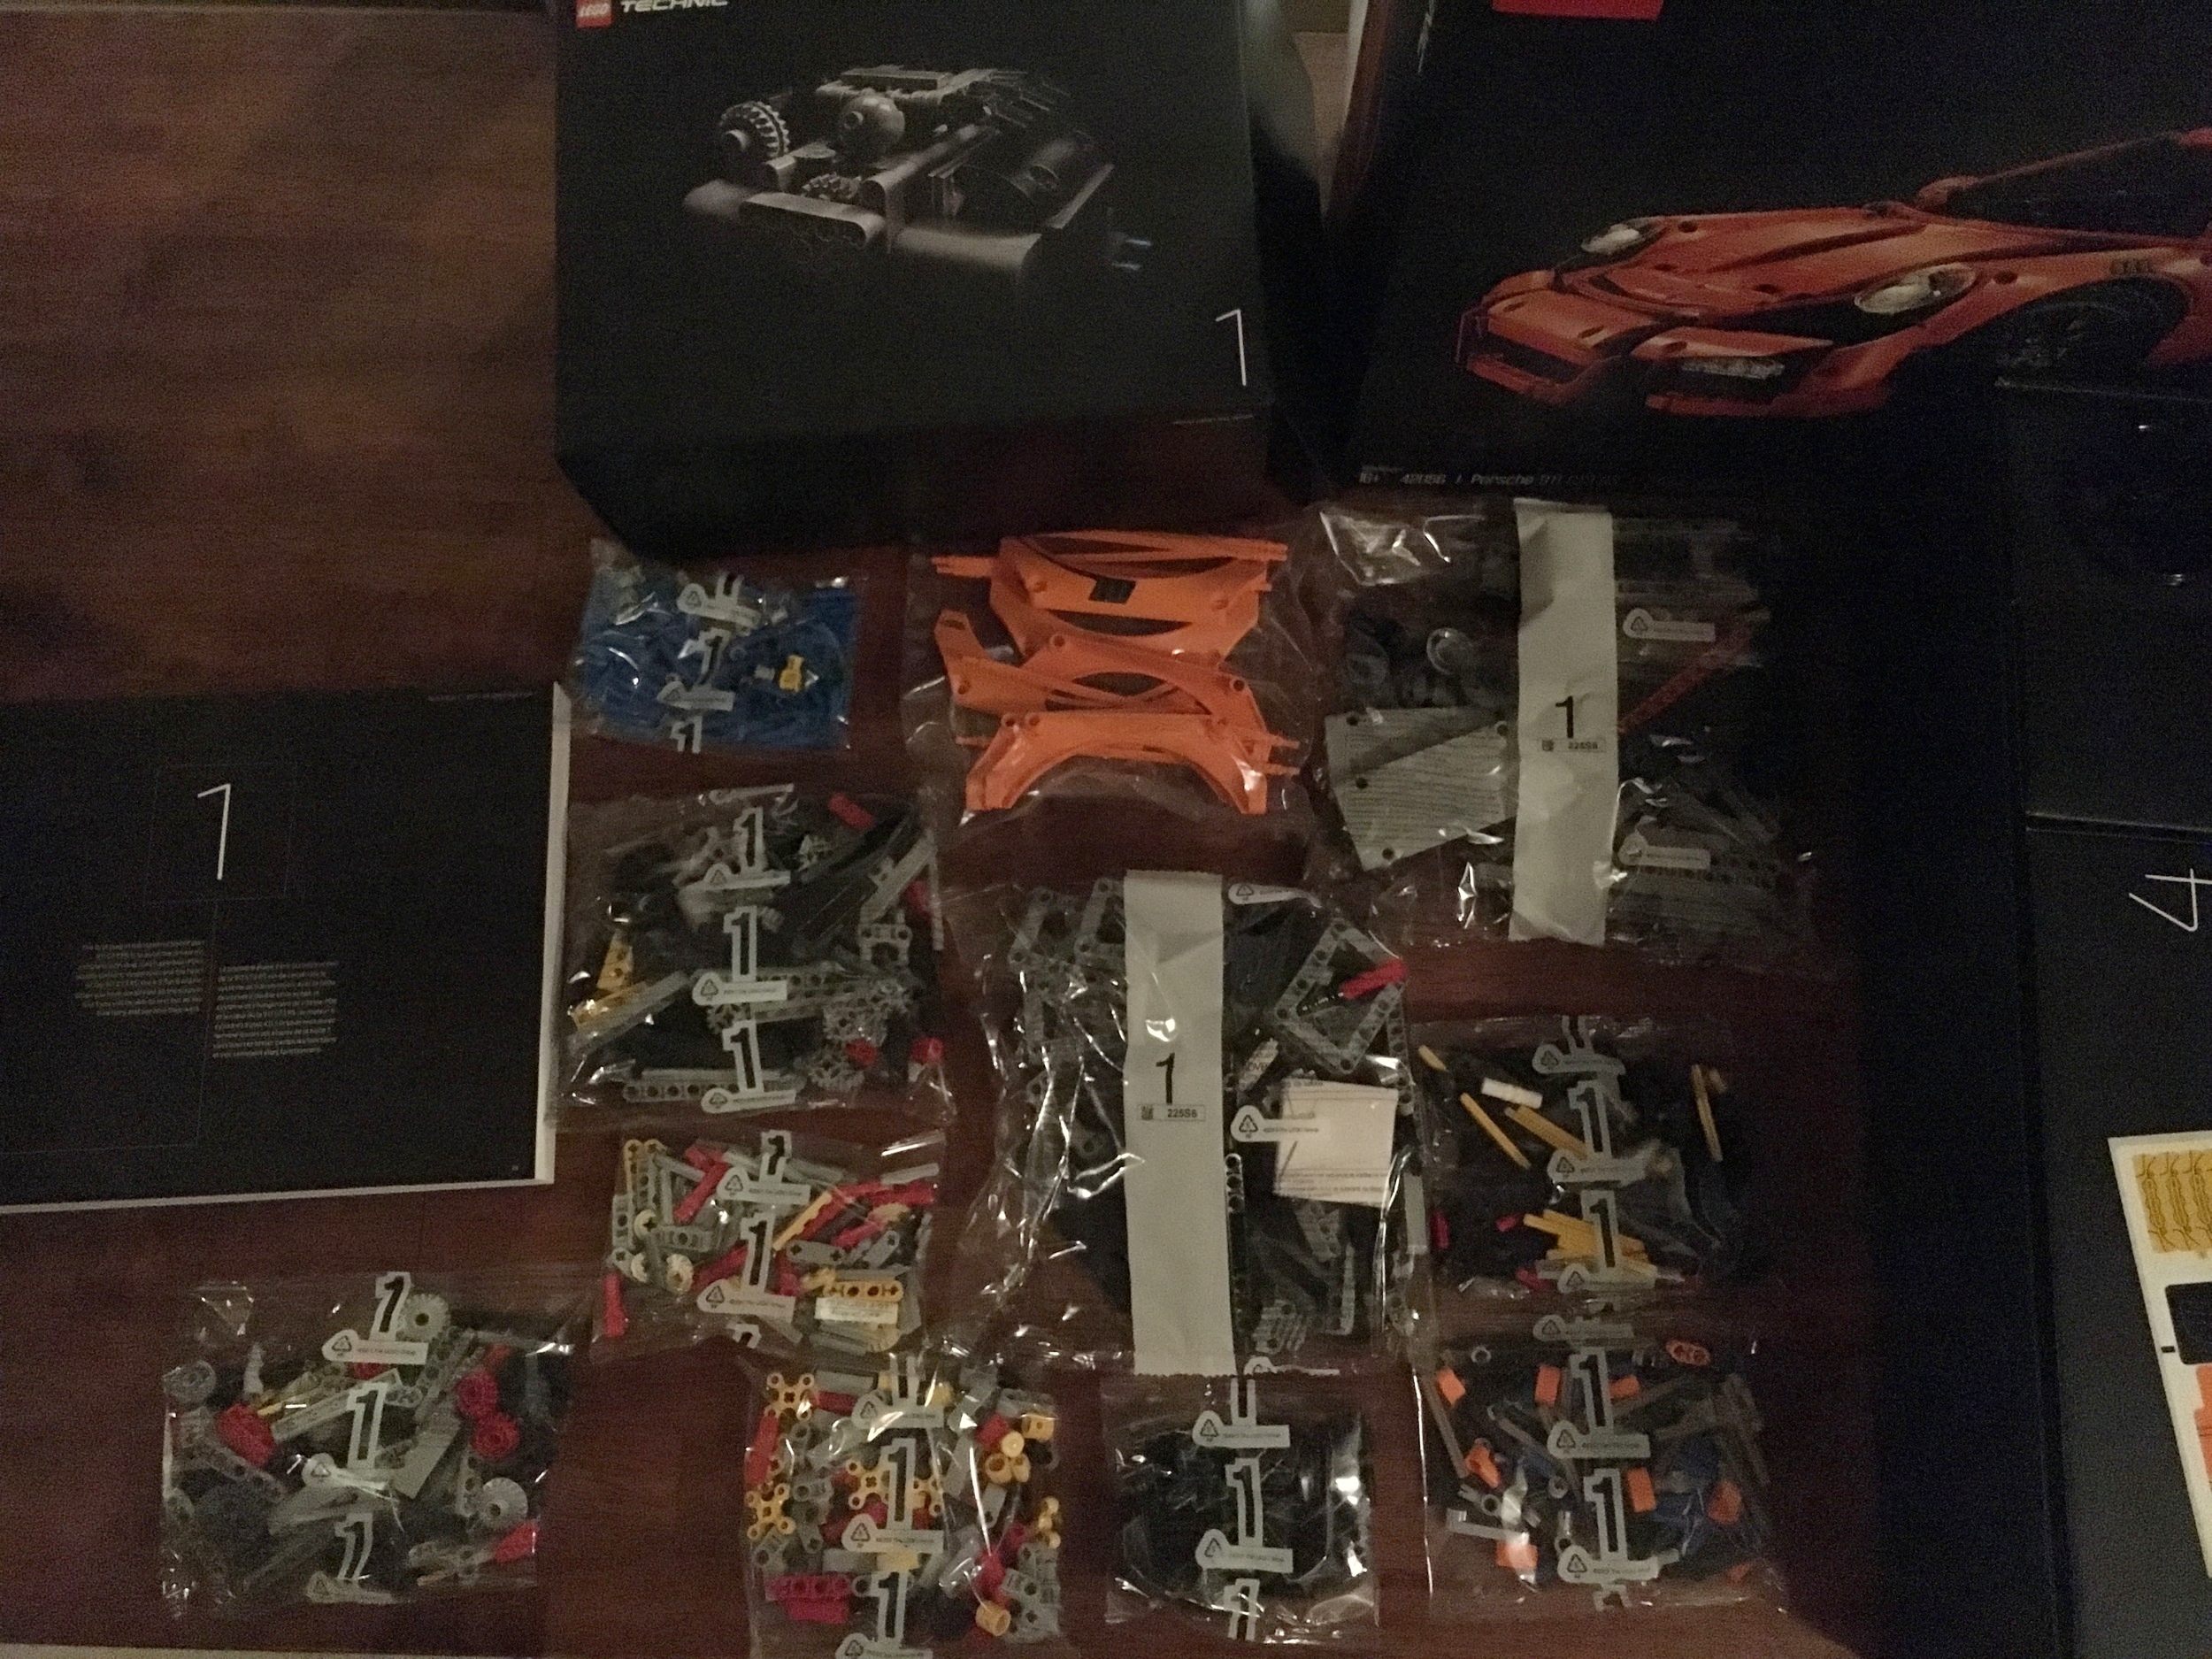
Box 1 is the largest parts box in the set. It contains 11 parts bags. One of them is some of the orange outer covering pieces to the car that isn't used in the instructions for box one (so if you purchased one of these, don't open that bag right away). This set doesn't include a piece separator like many of the brick based sets do, but if you're like me, you have a bunch of extras to use if required. Also, the instruction booklet gives a brief explanation of what you'll be building along with a picture of the engine on the box.

The picture above is all of the open parts packs. To be honest I haven't built a Technic set in probably over 20 years. Even then the last one was much smaller. This one is monstrous and it was an adjustment for me to not be looking for bricks or plates. Instead it was looking for pins, axles, or how many pin holes a part has. I'm not saying it was a bad thing... it was just something I'm not used to when building.
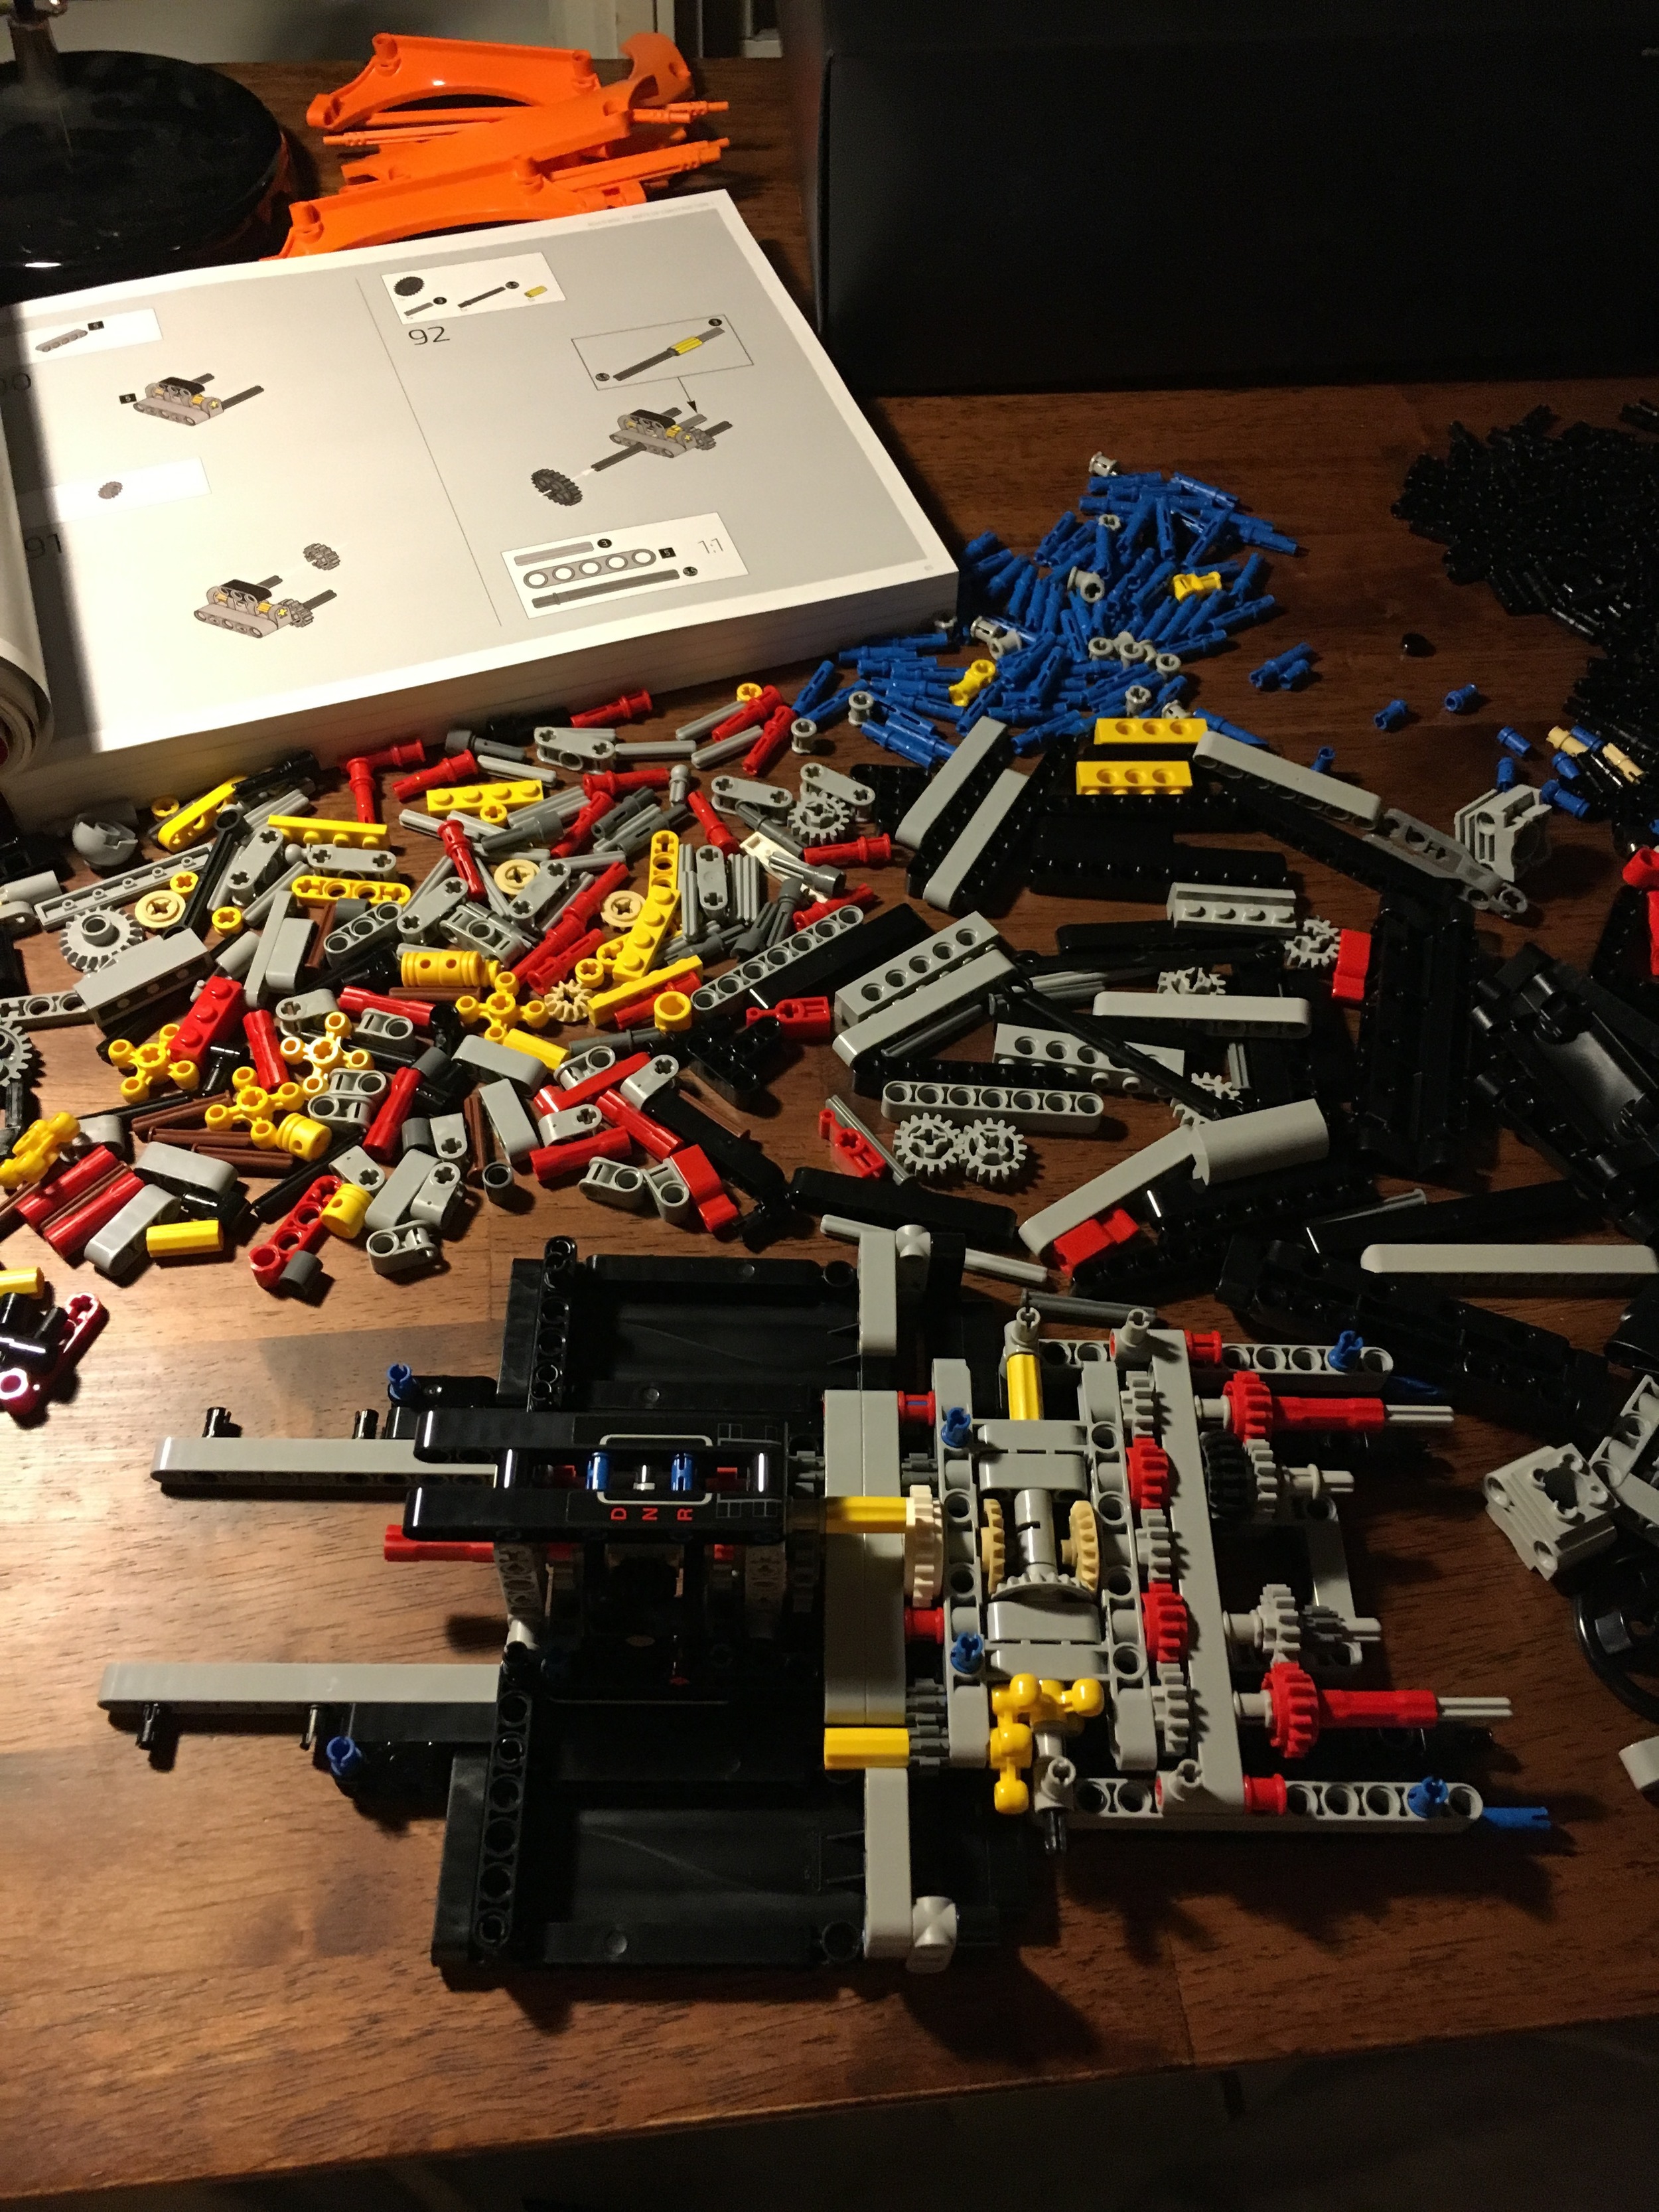
Here it is at step 92. For those of you keeping track, box 1 has 323 steps. You can see the start of the transmission, the floor of the seating area and lots of gears.

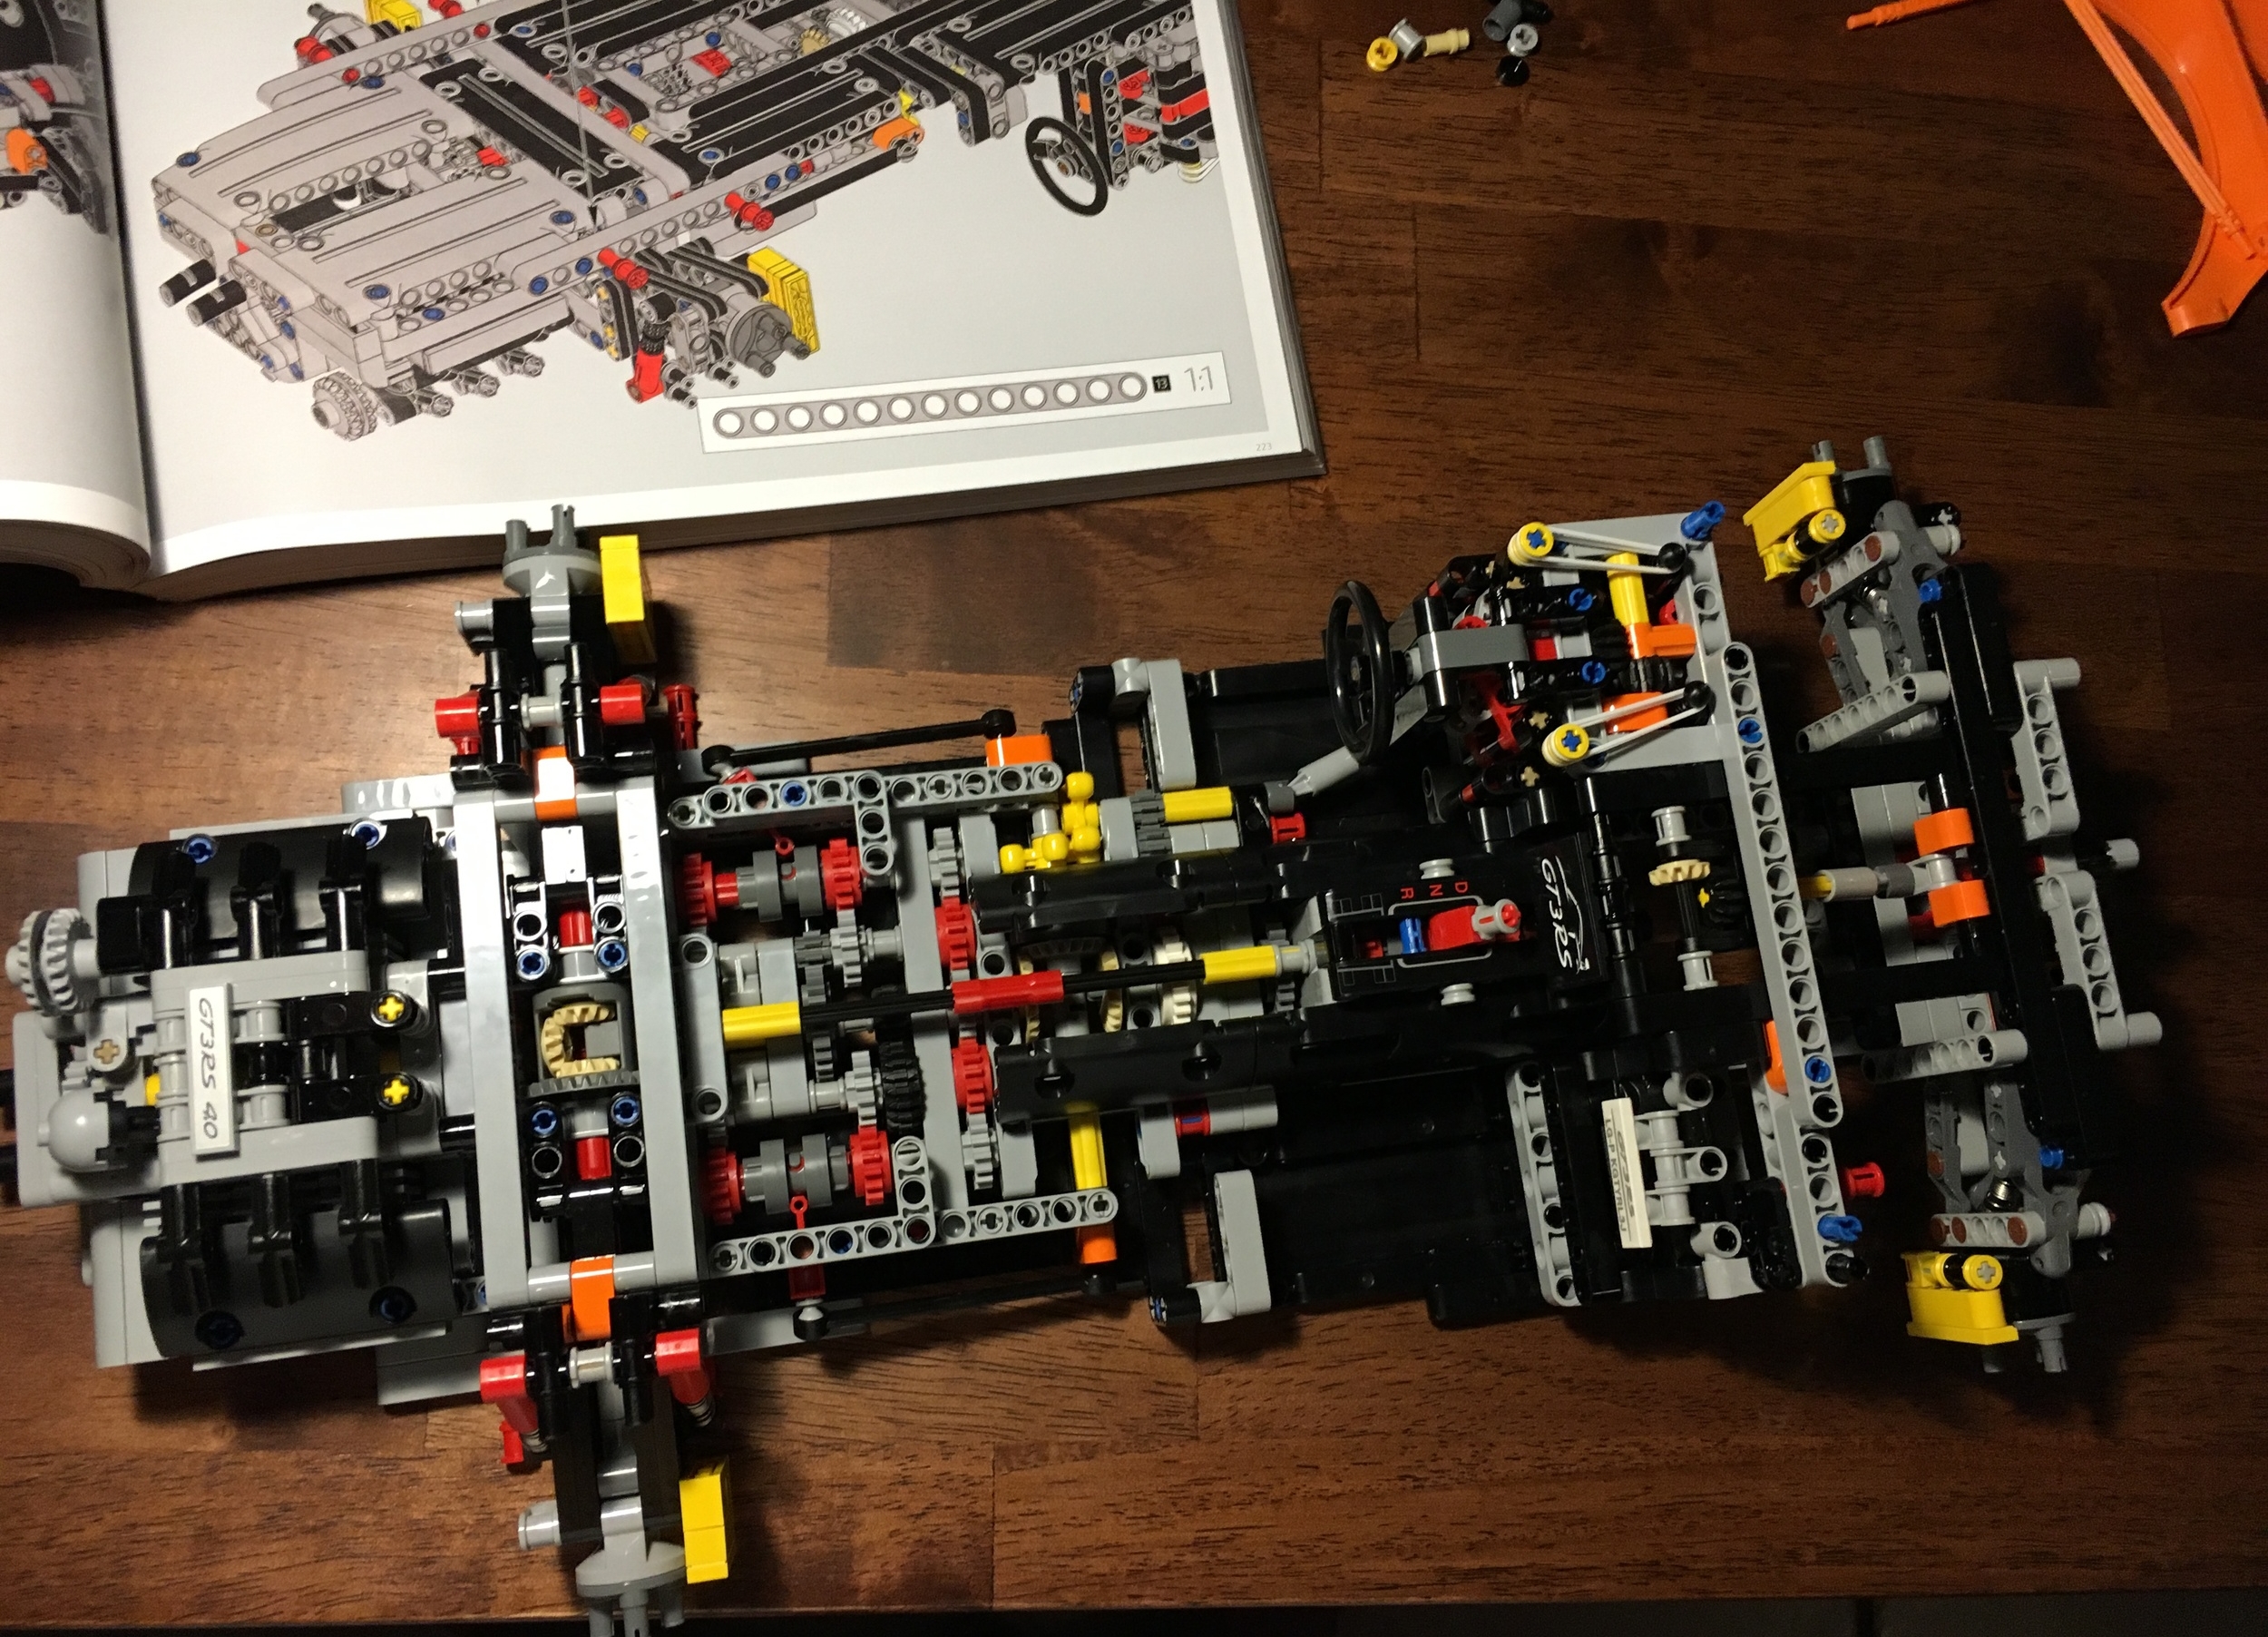
Here's instruction #203 (above). Whew! I'm starting to work on the front end to include where the front wheels go as well as the steering mechanics. If you're really sharp you can pick out the building error that I made and didn't catch until the end (whoops!). Also, they may be hard to pick out in this picture, but there are some stickers in this set. There is one on what will be the dashboard and the Porsche logo is on the steering wheel. I'm not a fan of stickers, but these seems to fit in okay. The stickers aren't huge and are pretty easy to apply.

The steering column is in process here. If you've built the set, you can see where my mistake came in.

Not too much to point out in this picture other than if you can see where there passenger sits, there is a white 1x4 tile. Each set has its own printed identification tag on it. I had heard about this prior to getting the set and I assumed it was a sticker, but was shocked to see it was a printed tile. Definitely an awesome touch to the set!

All for attachments for the wheels are in along with the axles for the wheels.
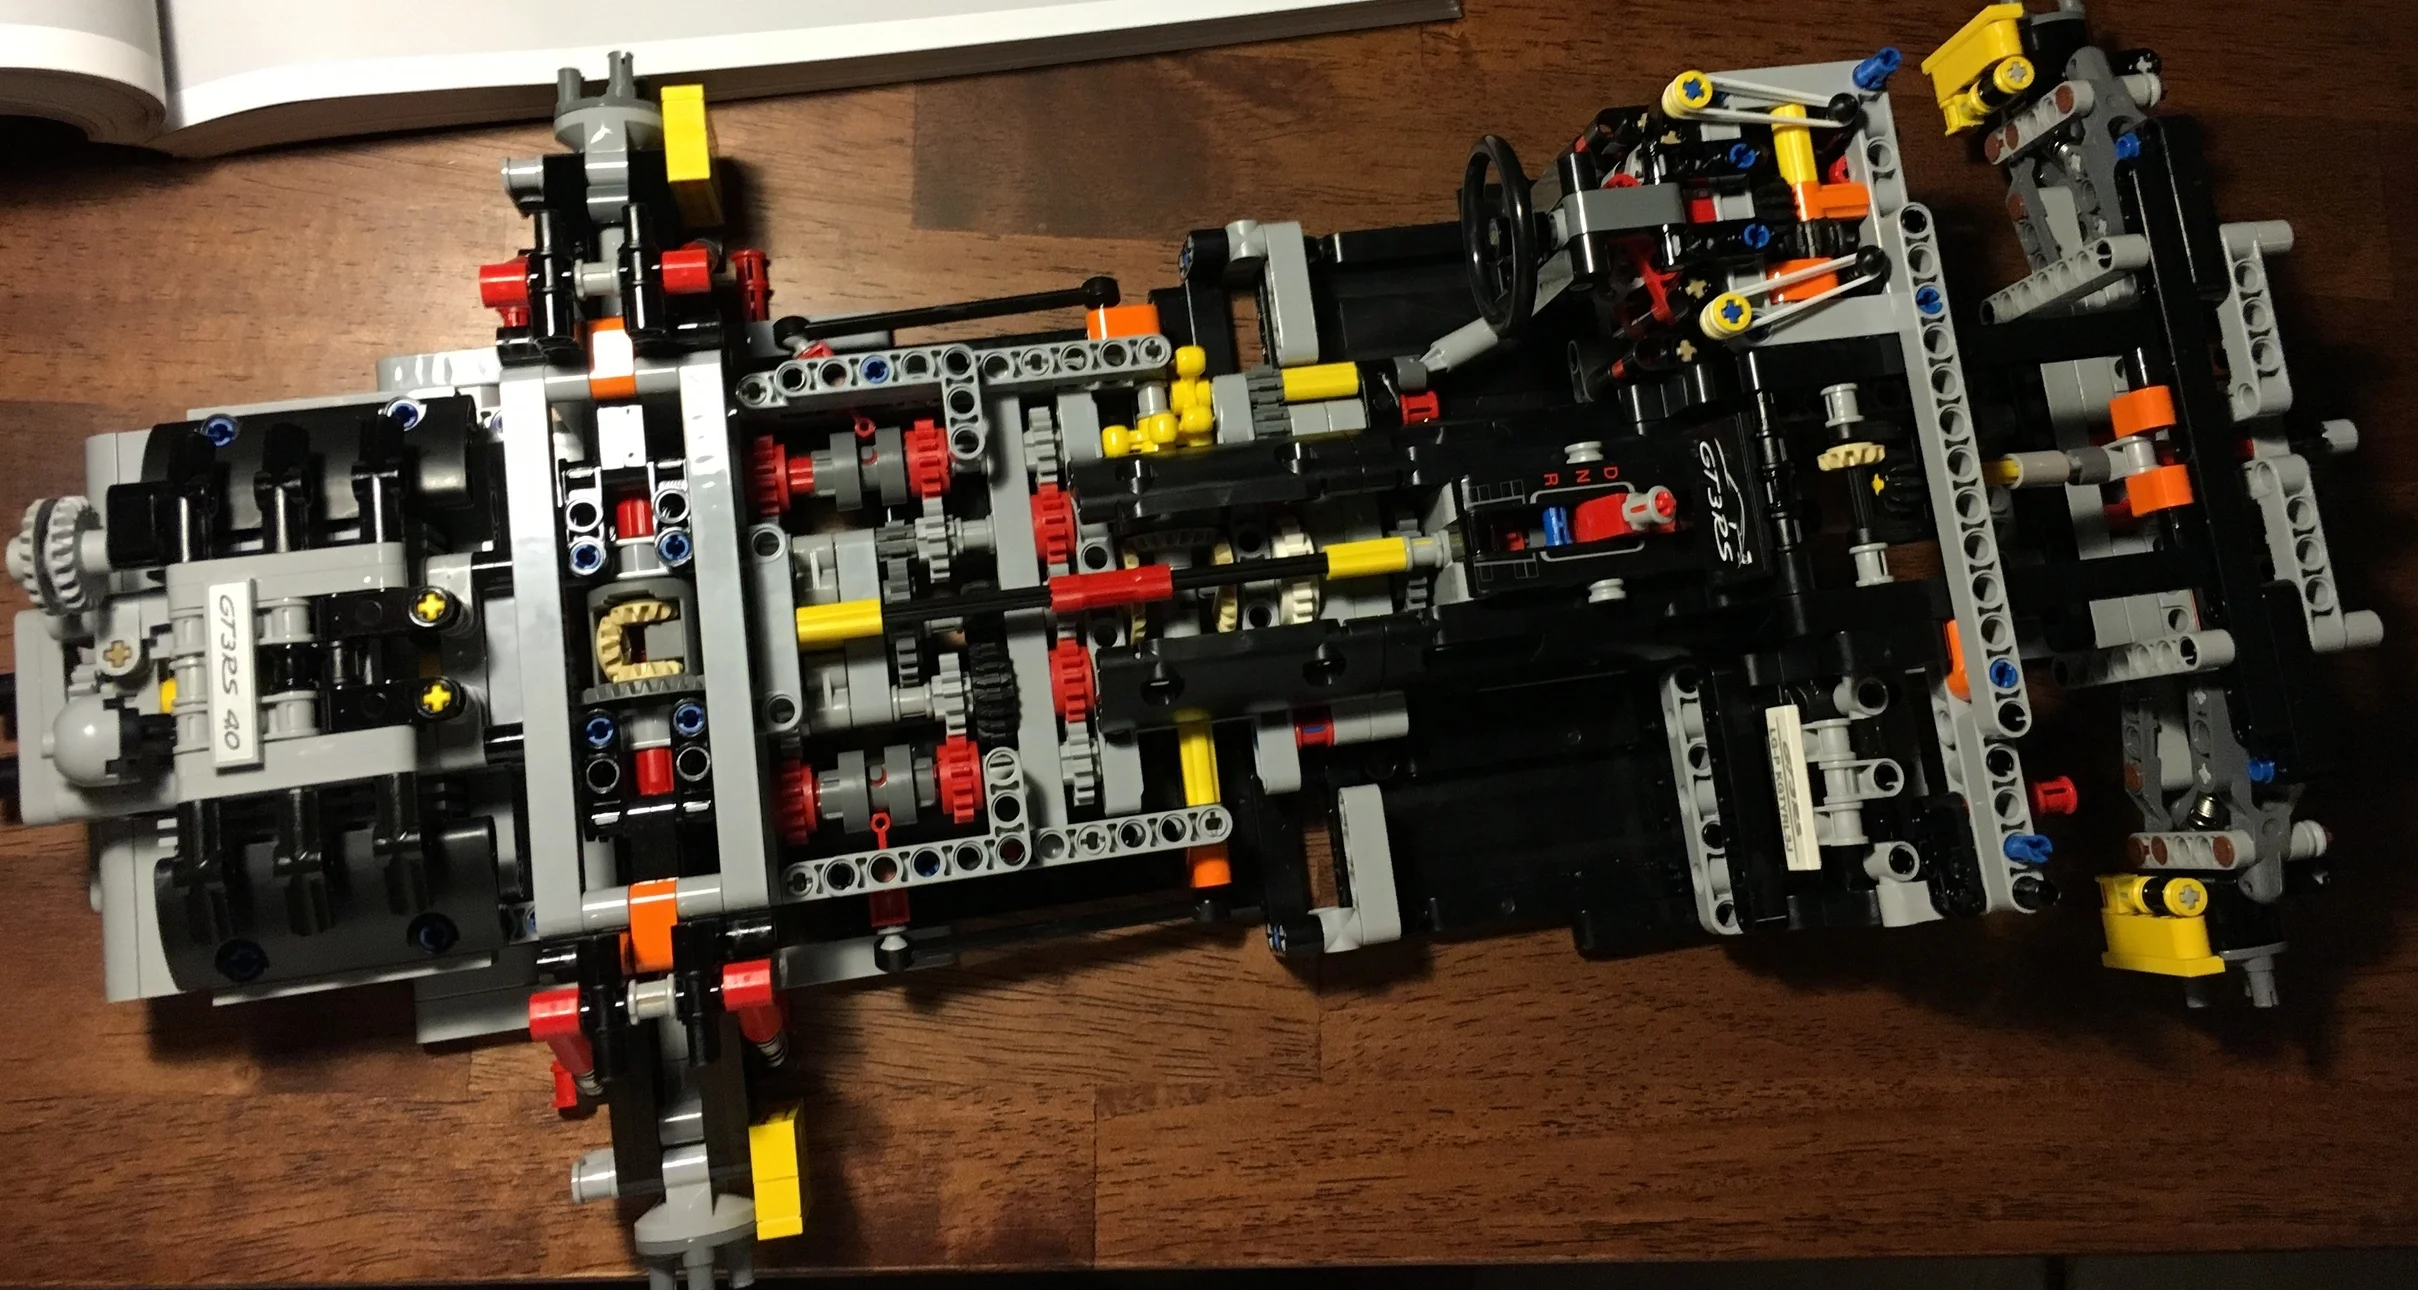
Finally we get to the end of box one and 323 steps later. It's been a great build so far. I didn't keep track, but I probably spent about 8 hours on the build (not all at once) As mentioned, I'm not as familiar with Technic builds so it's been a real challenge for me. I have made a number of mistakes by either building too fast or mistaking where a part was supposed to go. I had a number of instances occur where I had to figure out how to tear it apart to make the fix without tearing the entire set apart from scratch.
My opinion so far... Wow! I'm impressed to see the number of details and the functionality. The steering column, shocks on the wheels, transmission, engine with pistons... it's all pretty impressive. I'm excited to get into the next box and to make this set become a final reality. Stay tuned for more.