Set Review - #60431-1: Space Explorer Rover and Alien Life - CITY

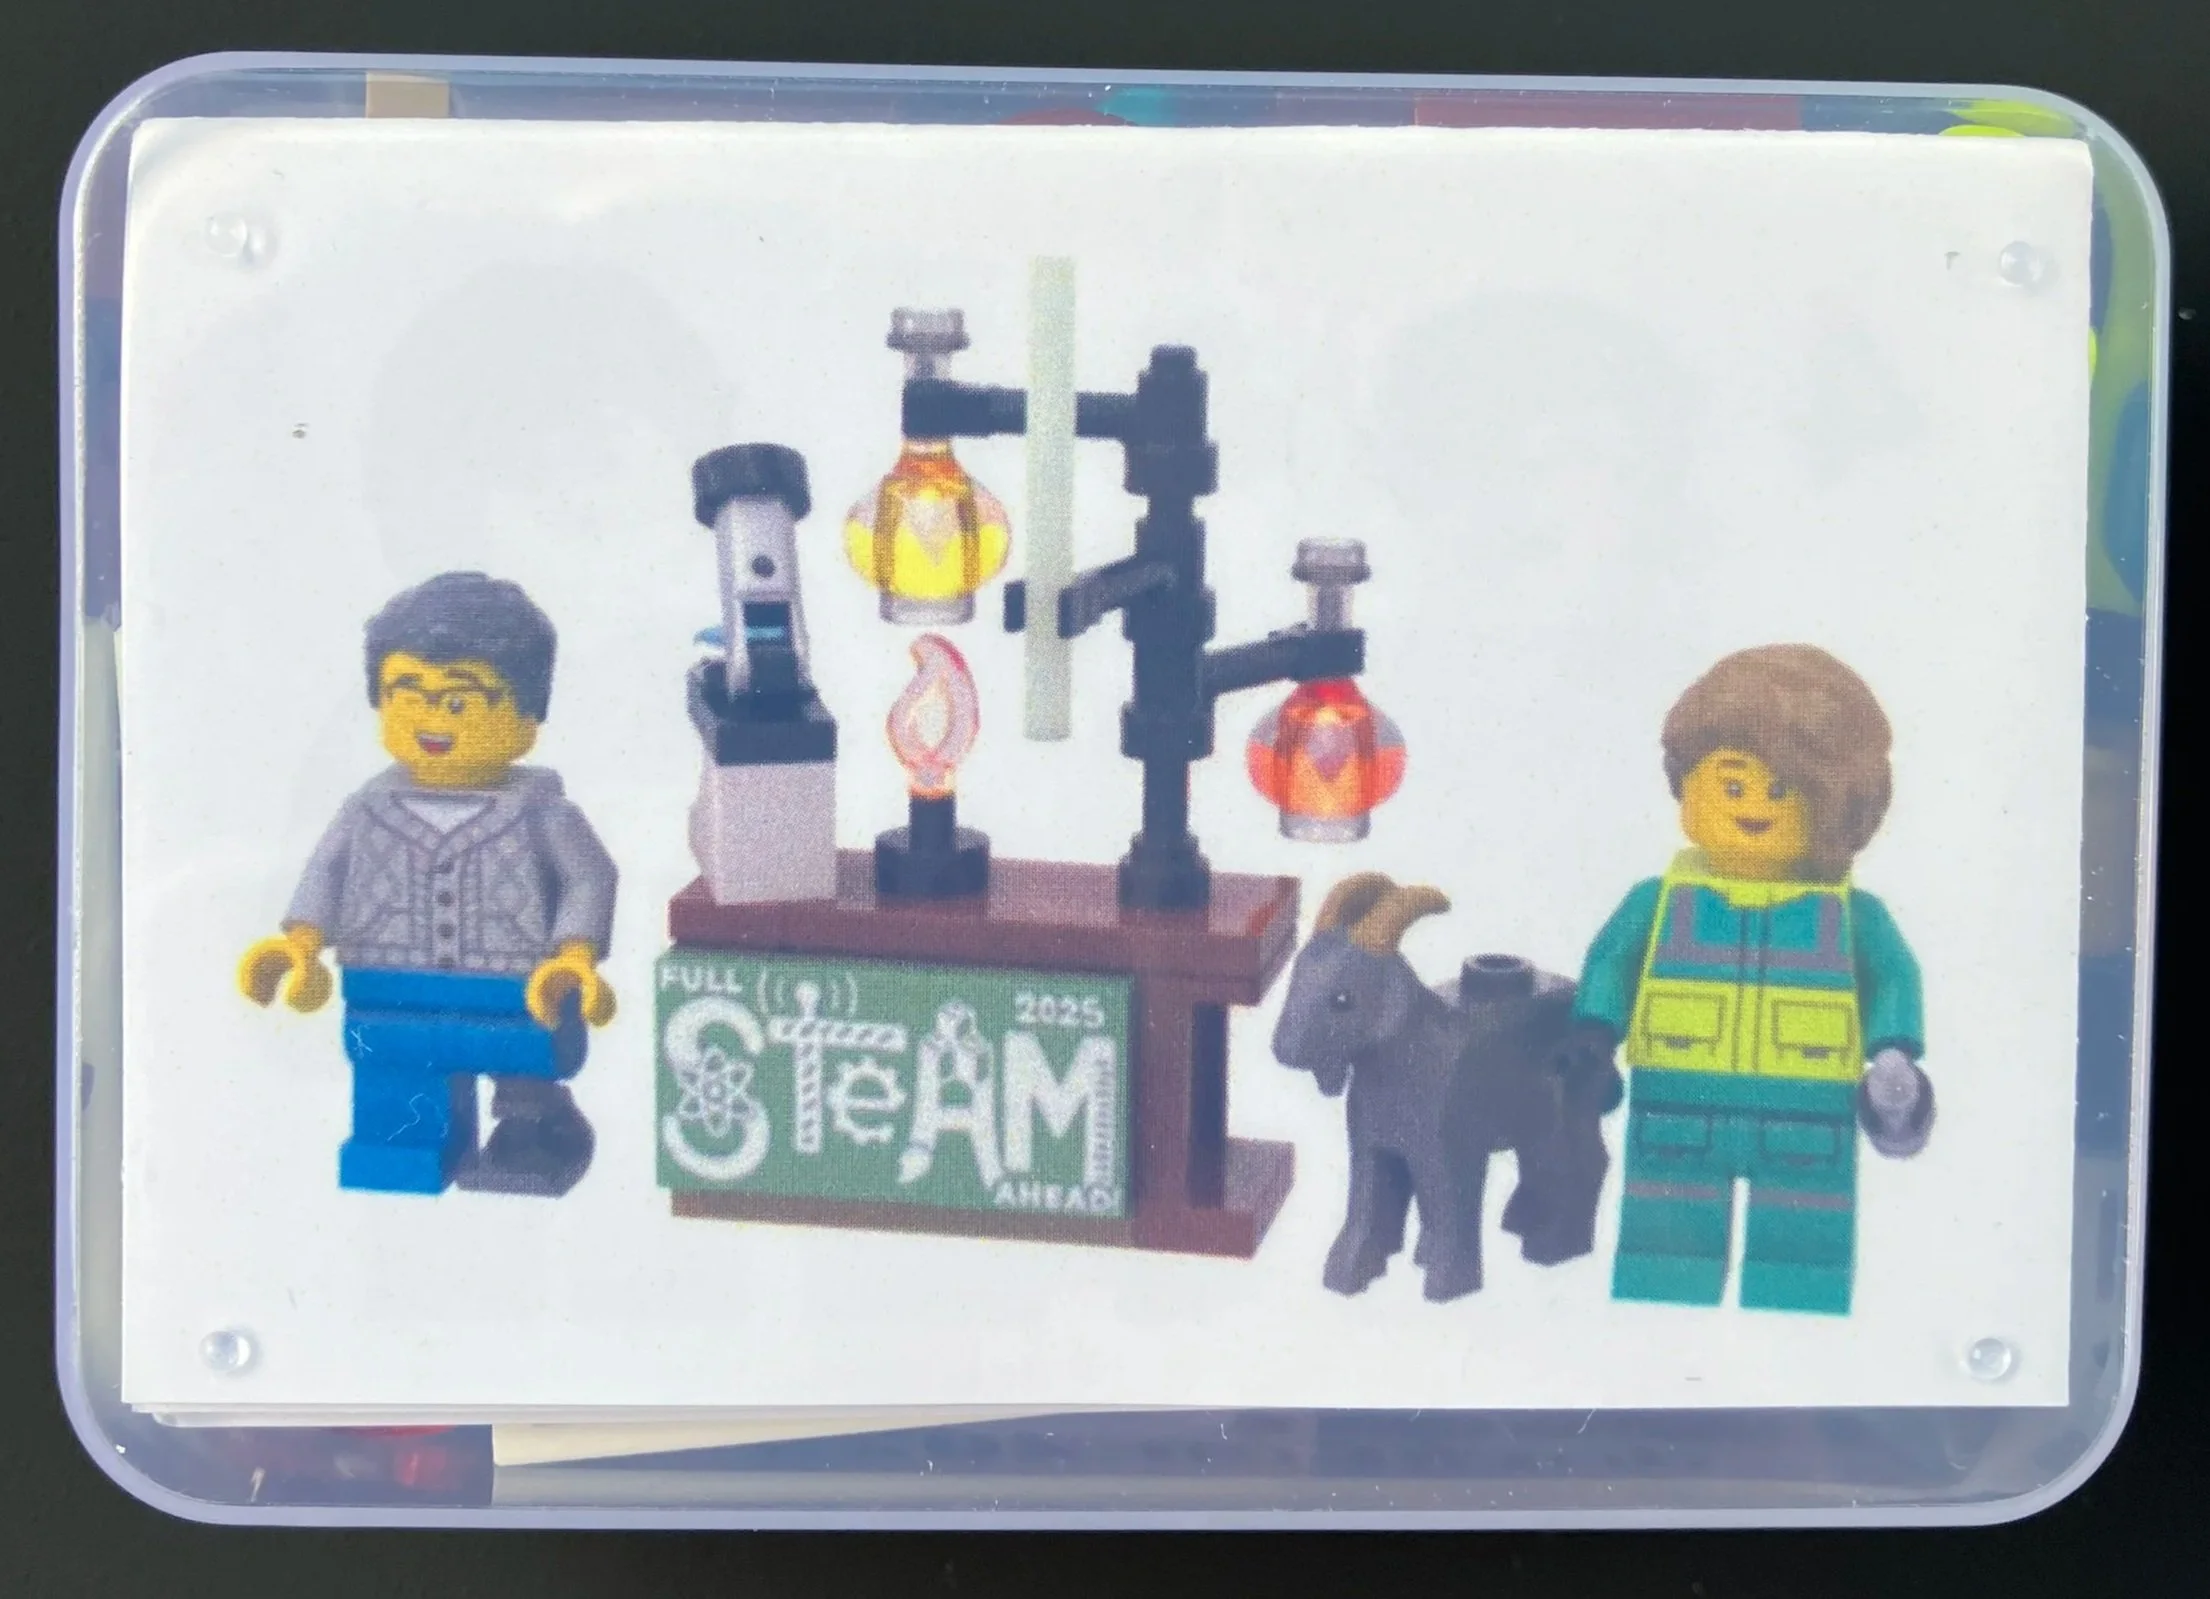
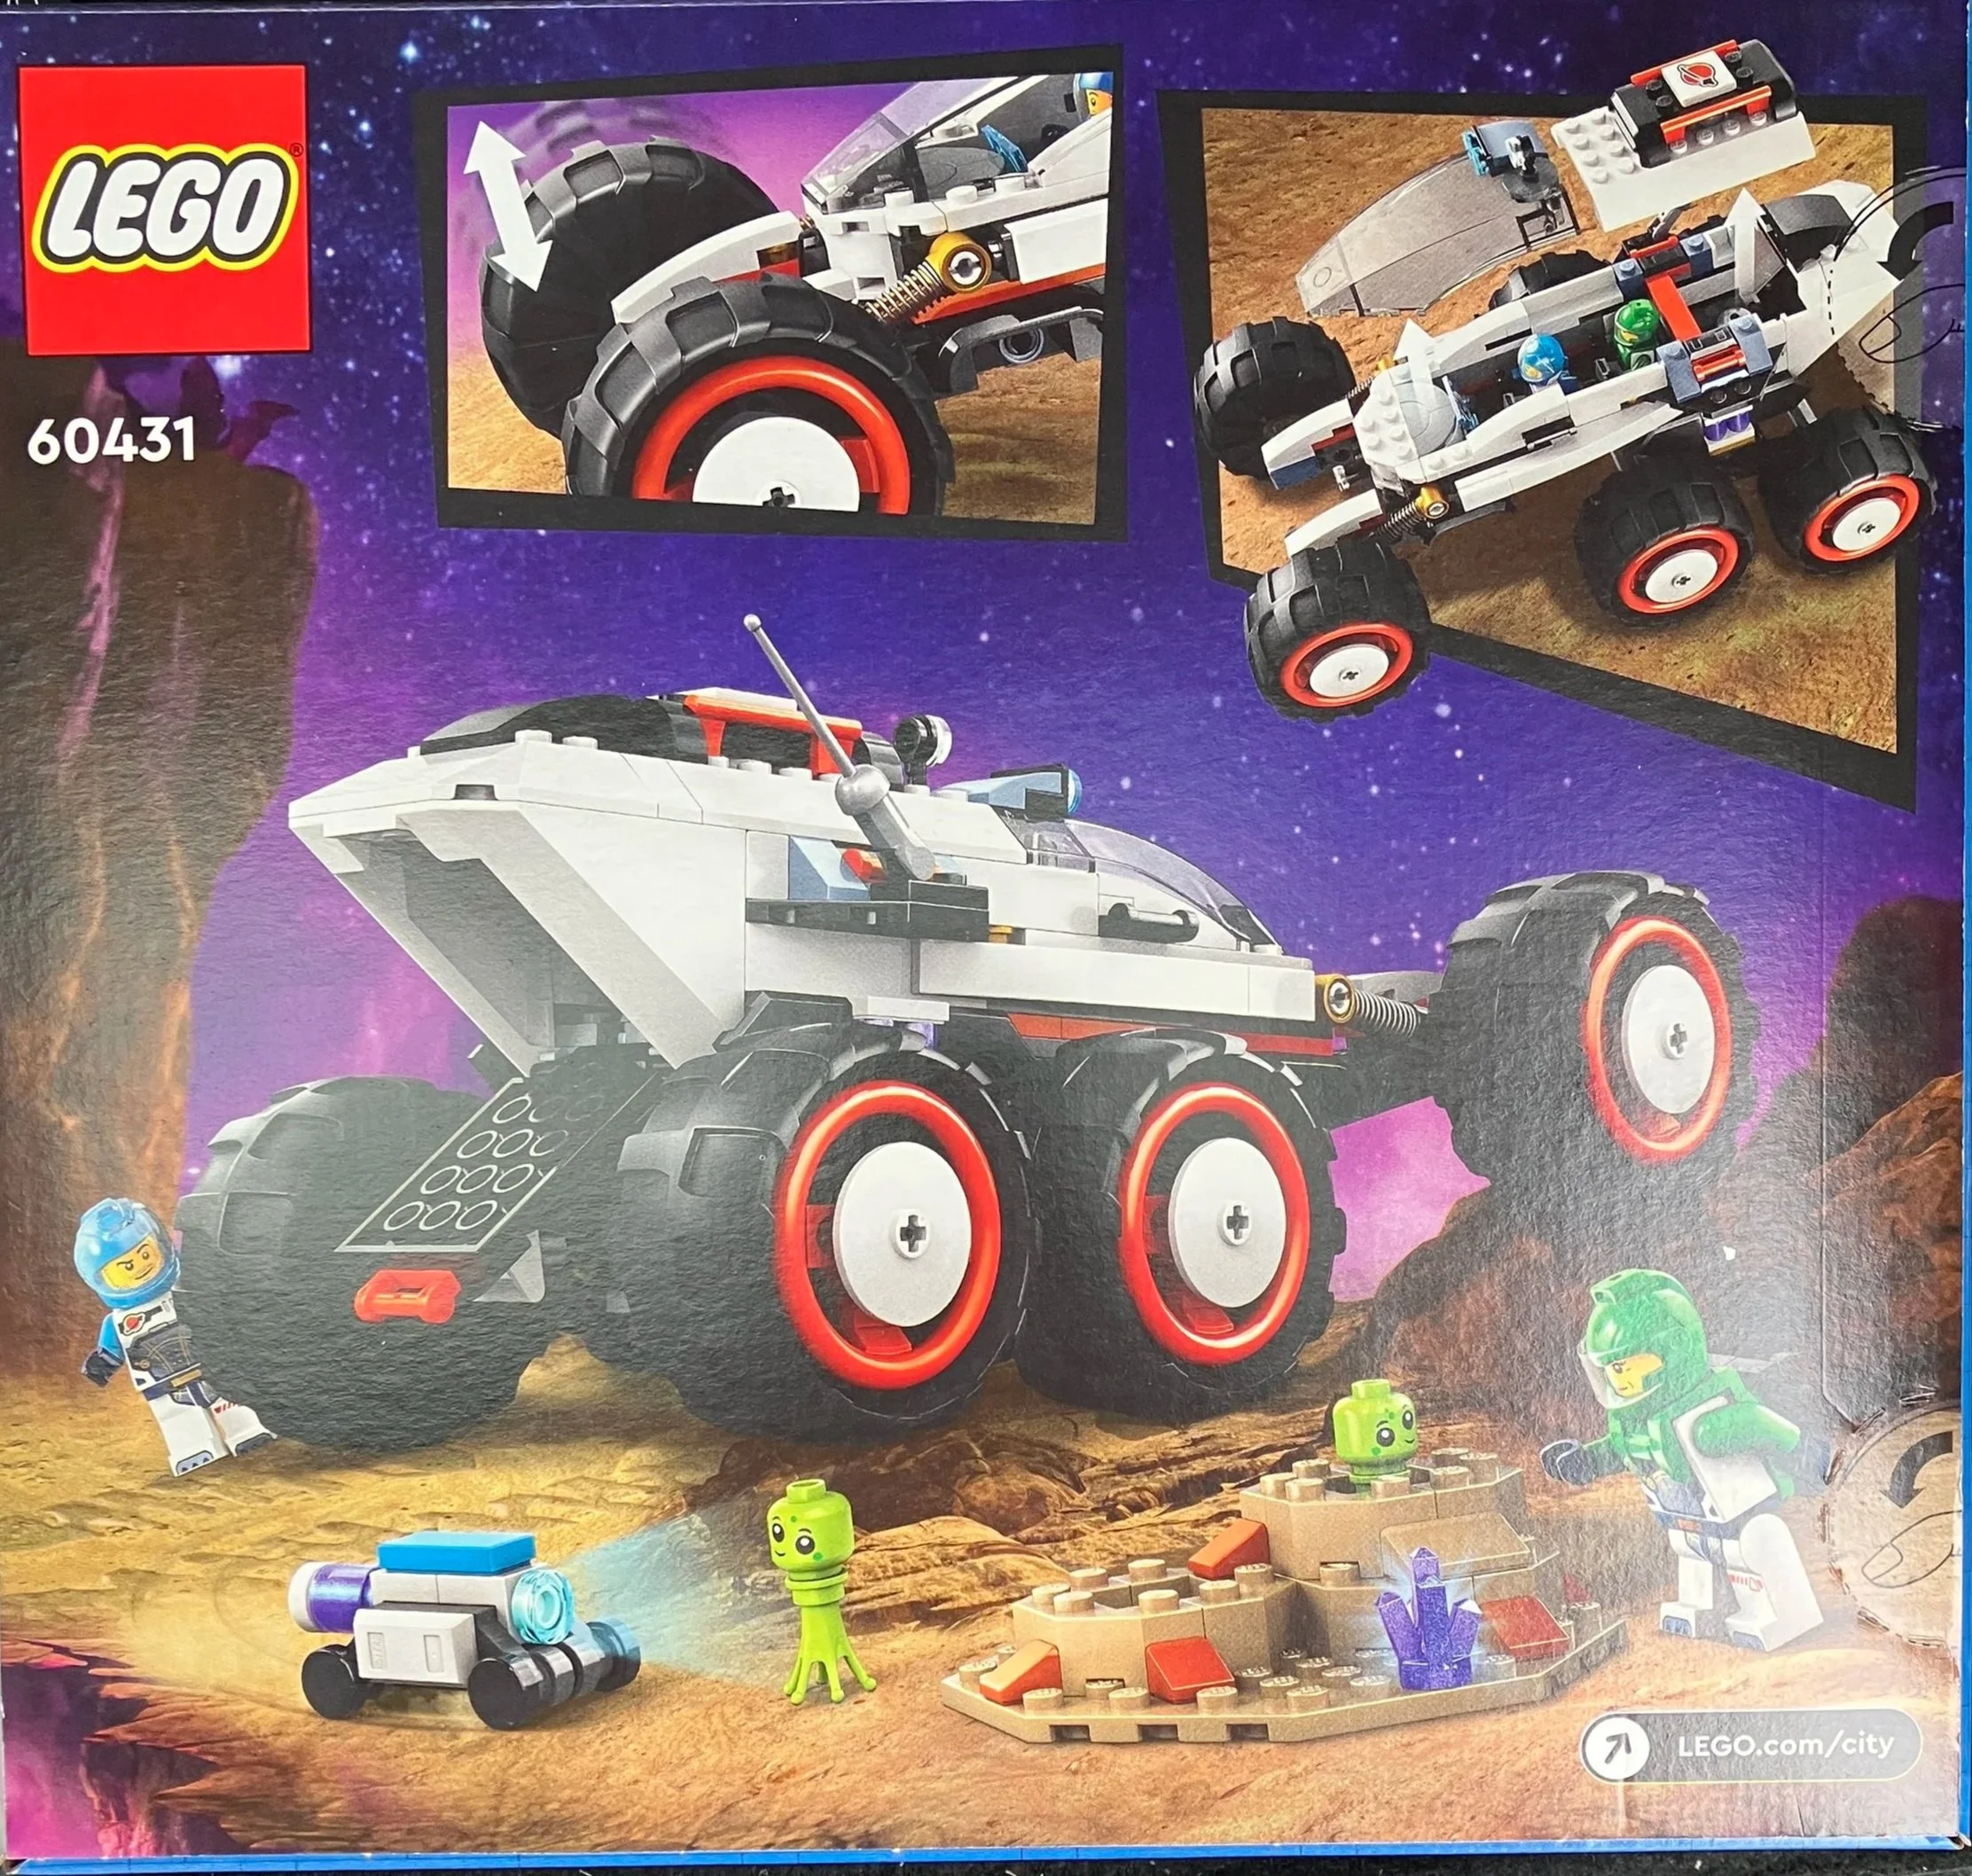
#60431-1: Space Explorer Rover and Alien Life is another part of the space subtheme in the CITY line. This one was released on 1 January 2024 and contains 311 pieces. It retails for $34.99 which works out to $0.113 per piece. This is pretty high, but I got it on sale and I’ve seen it for at least 30% off recently.

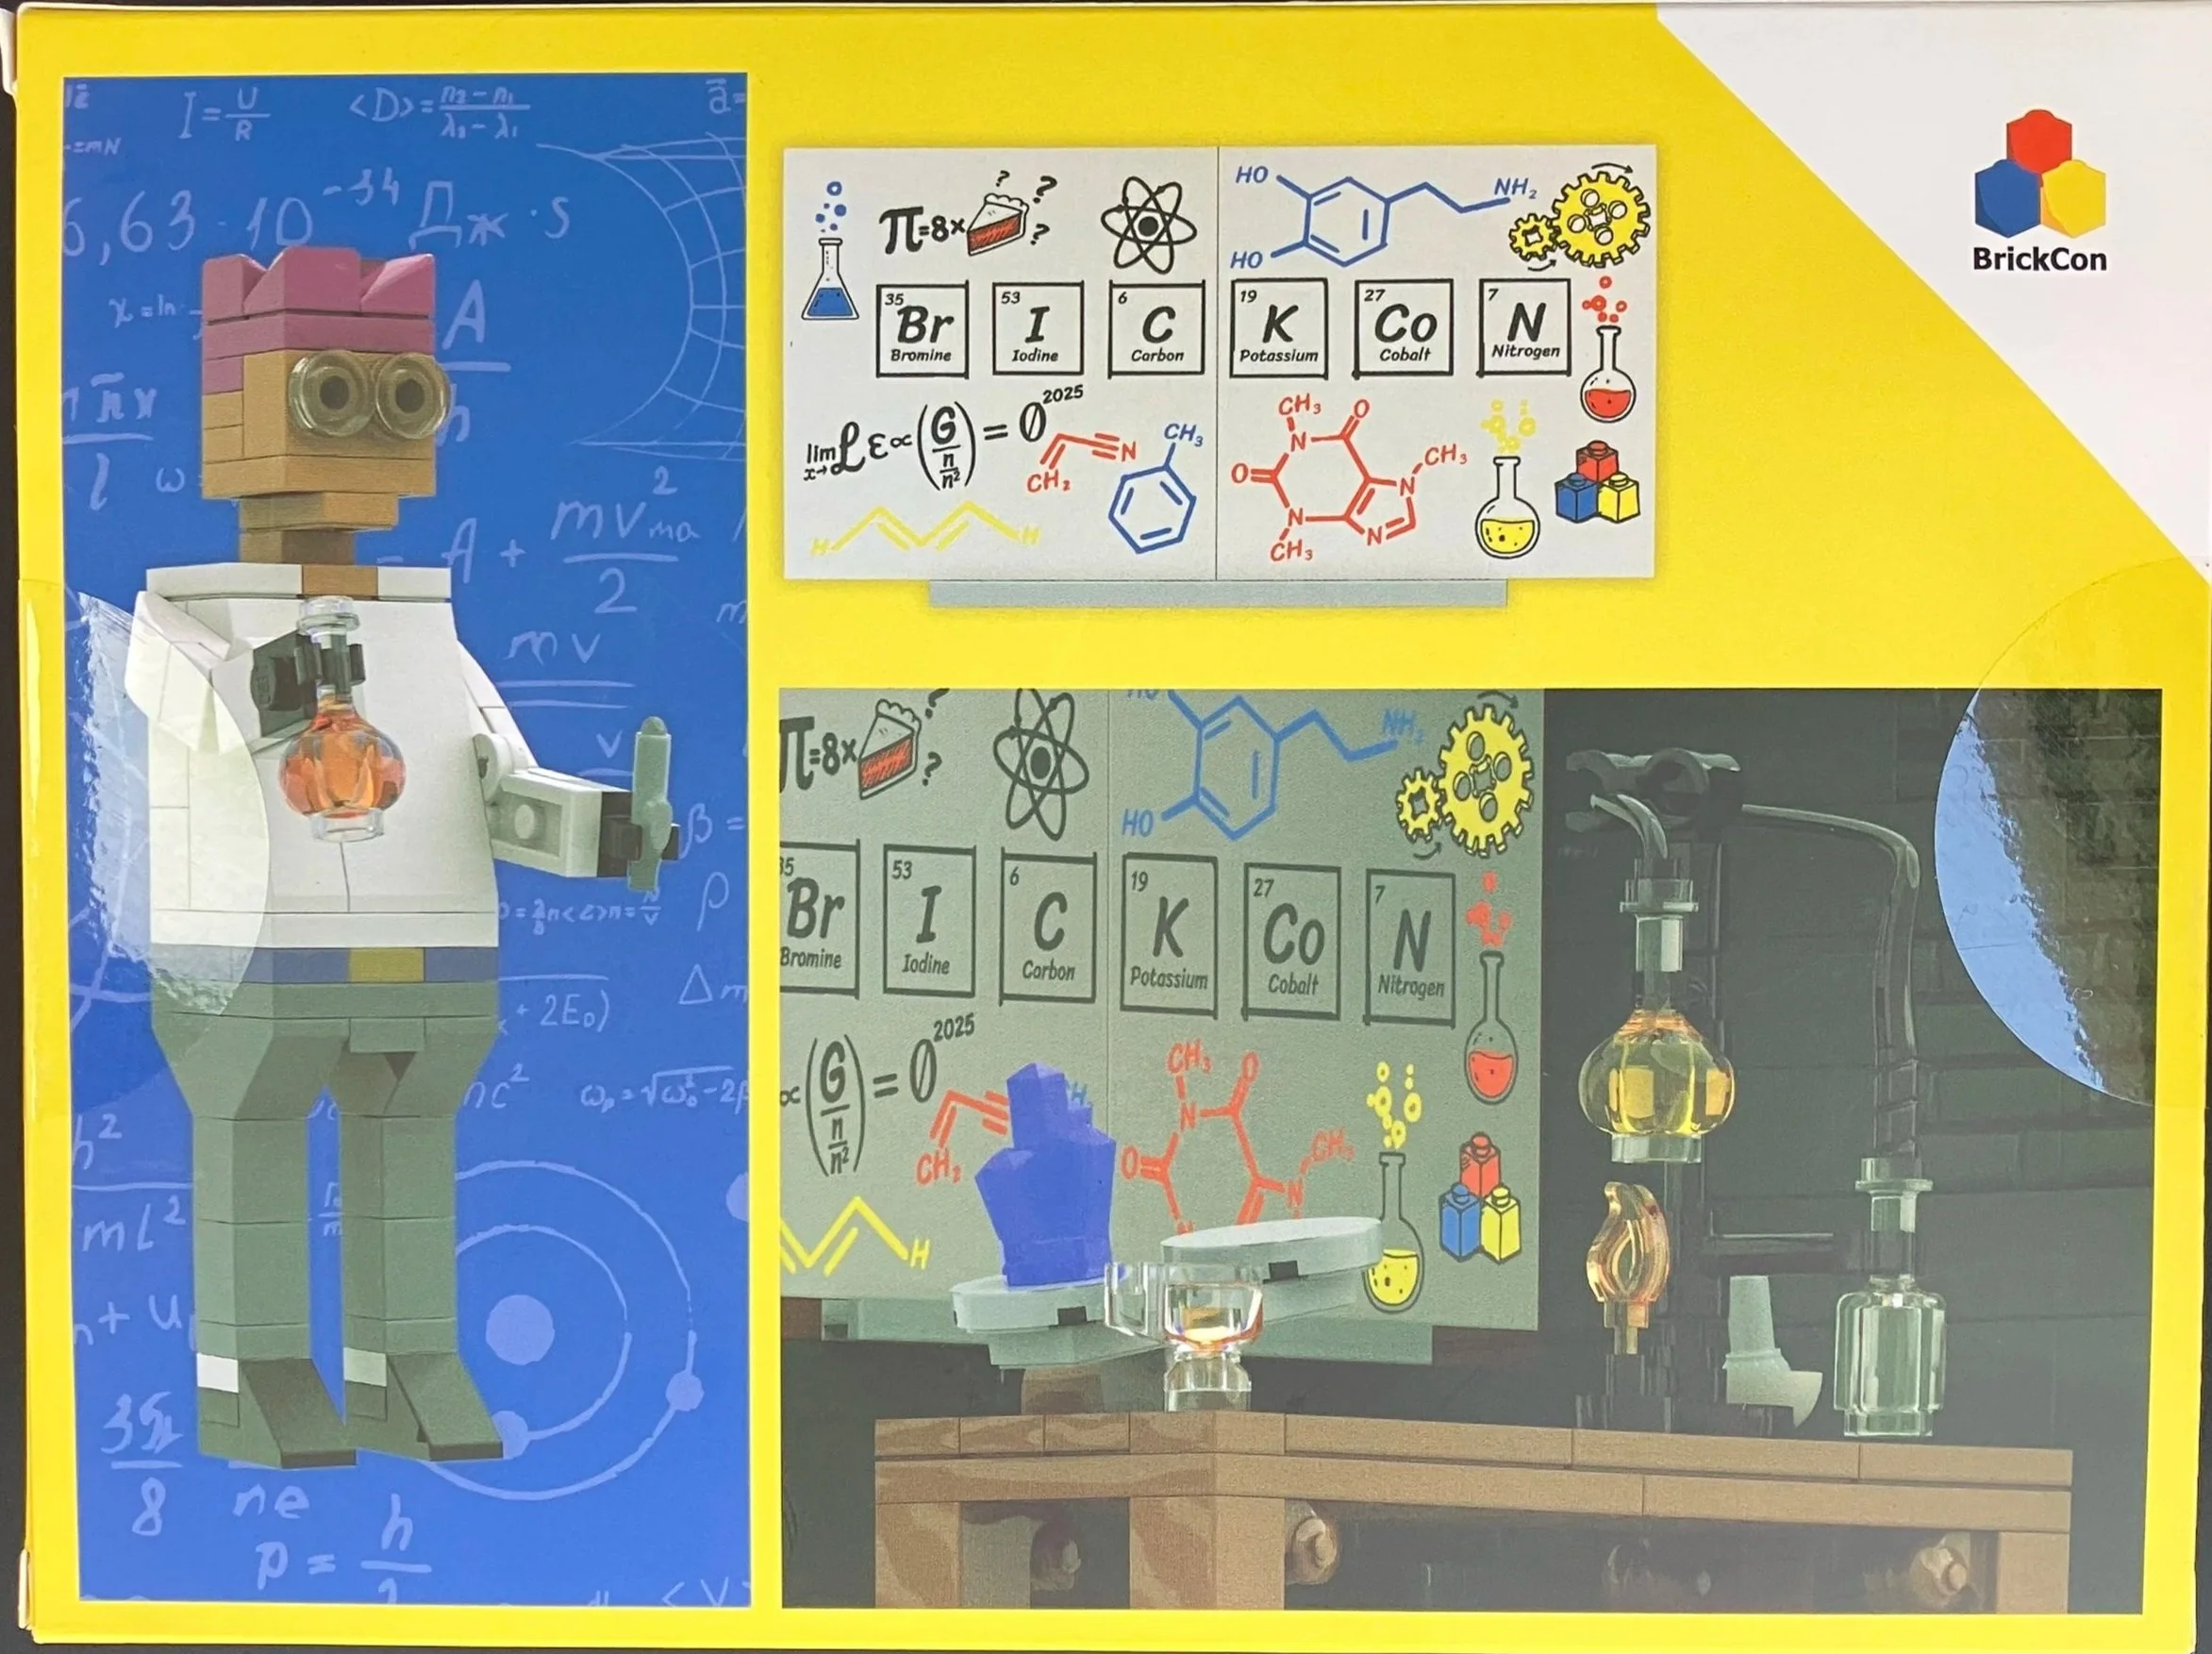
The box has the CITY logo and the Space subtheme logo. The front shows the full set while the back shows some of the play features.

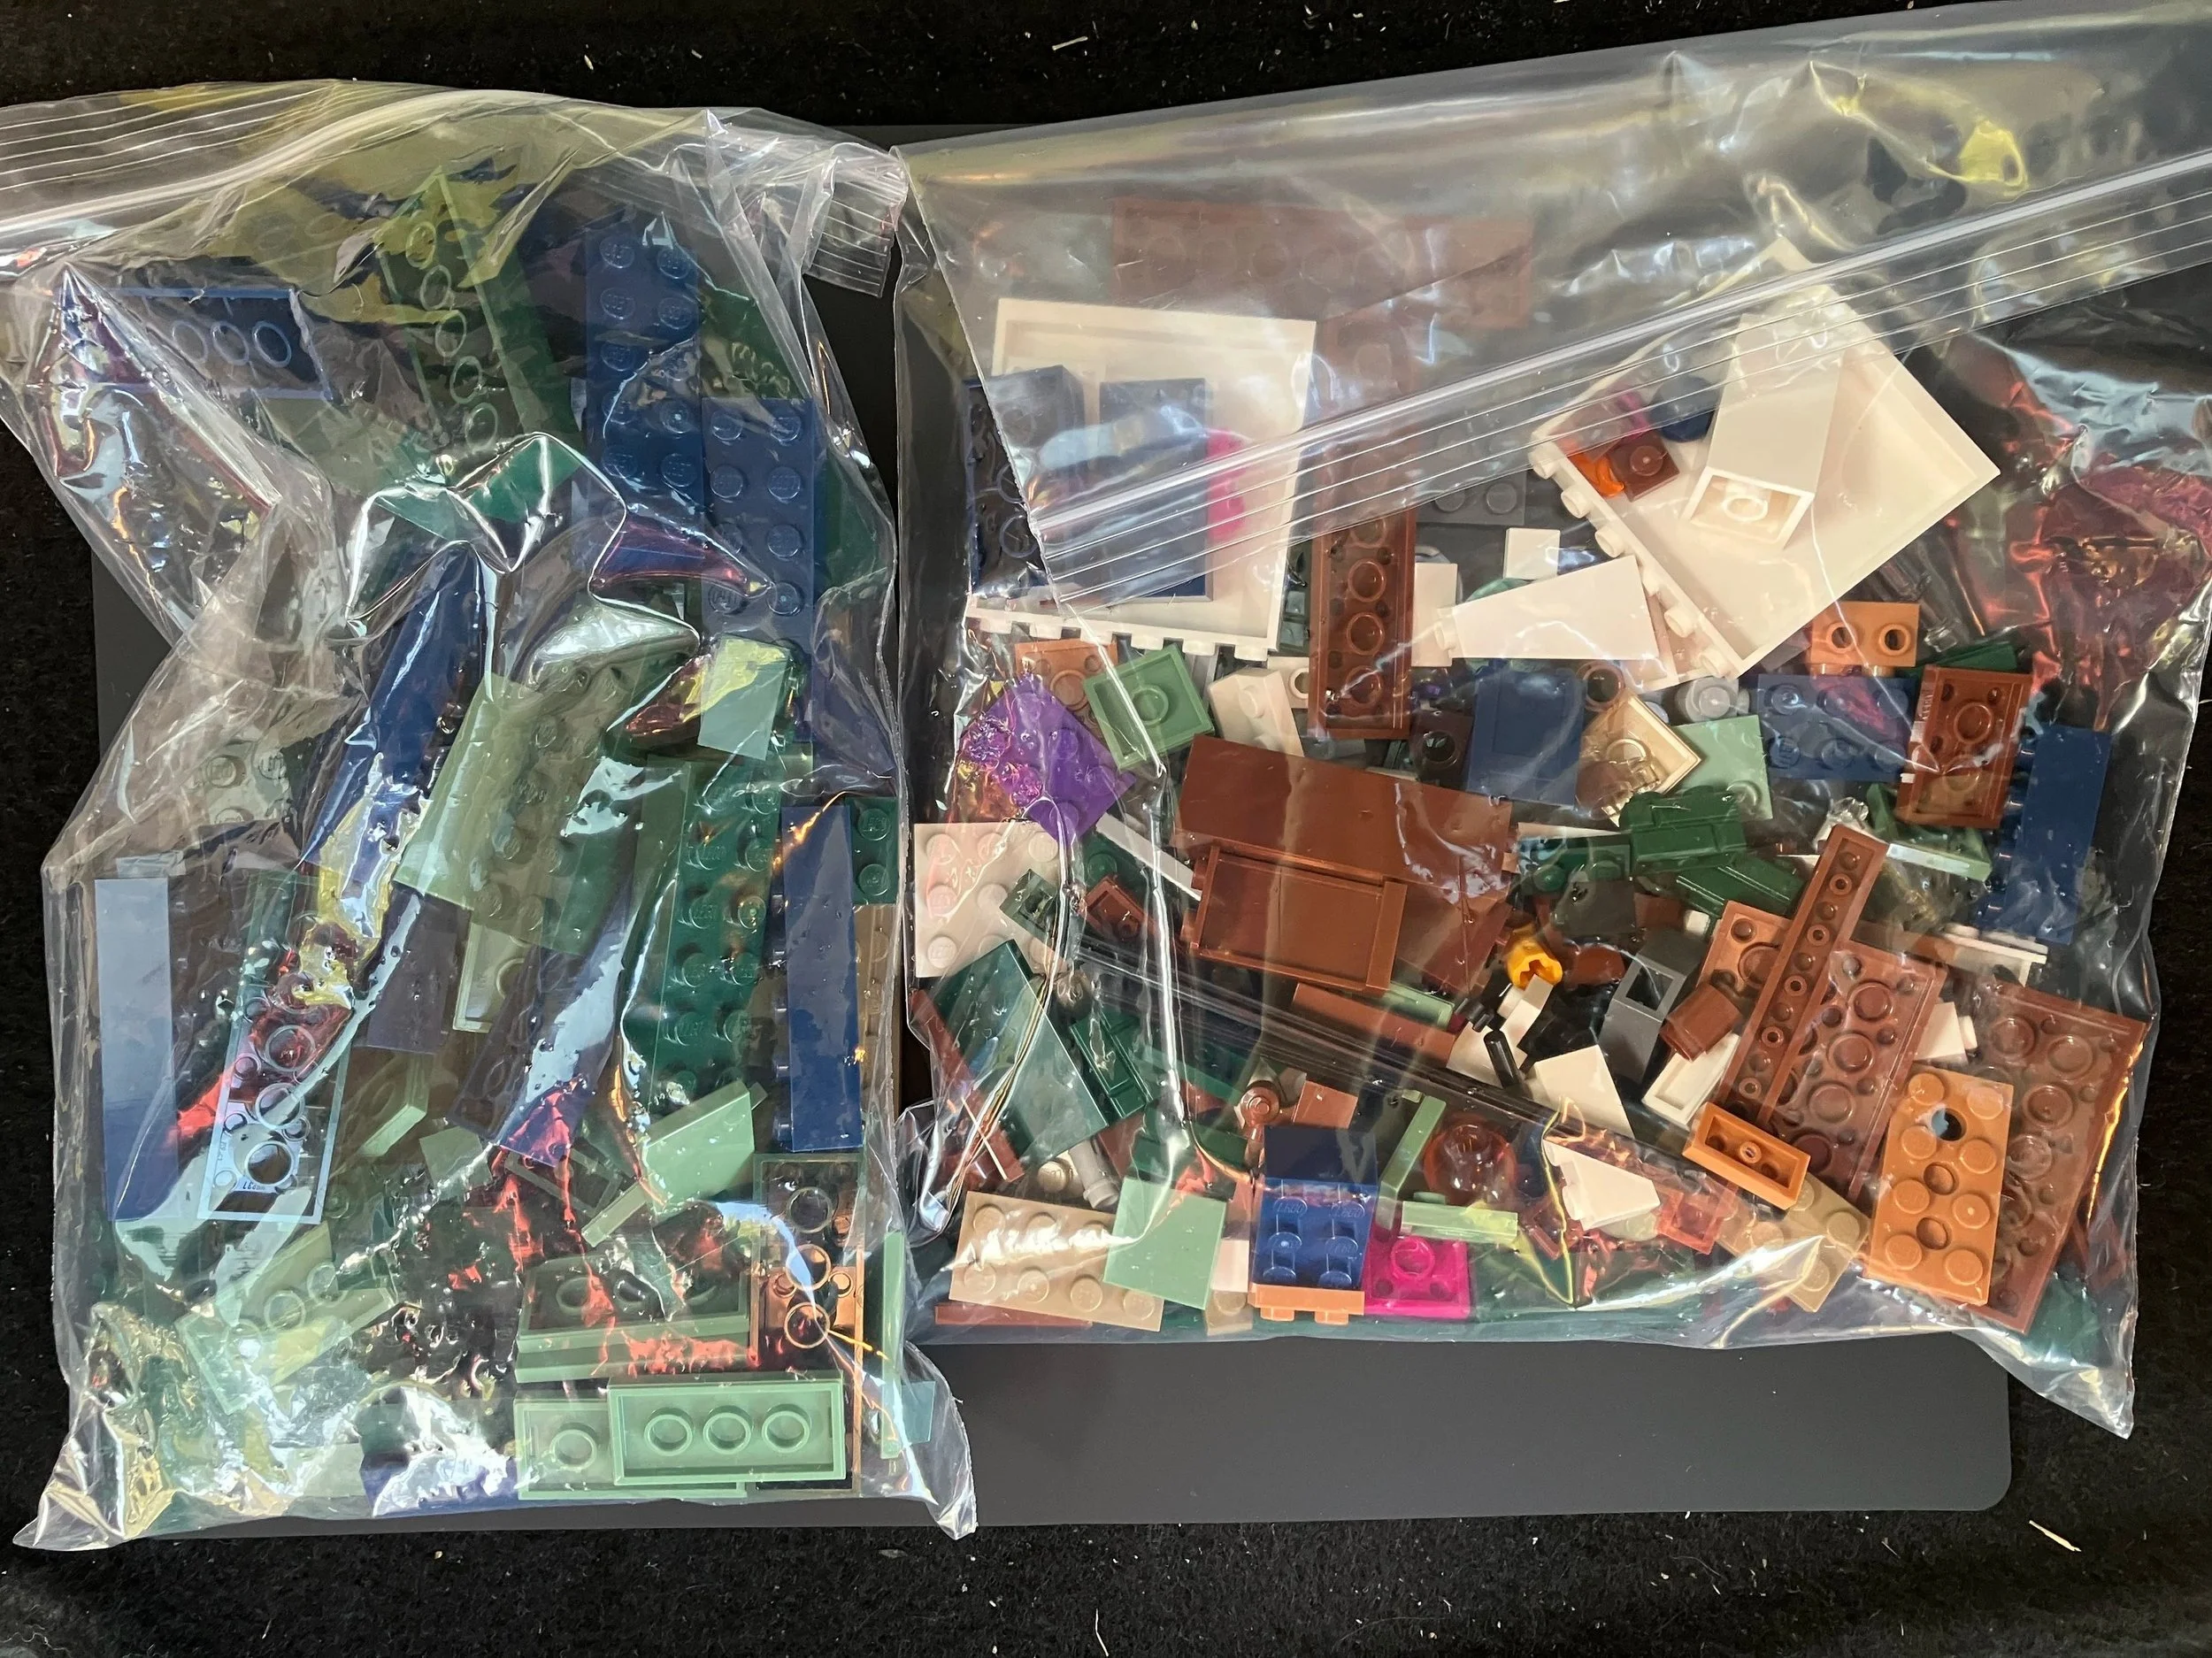
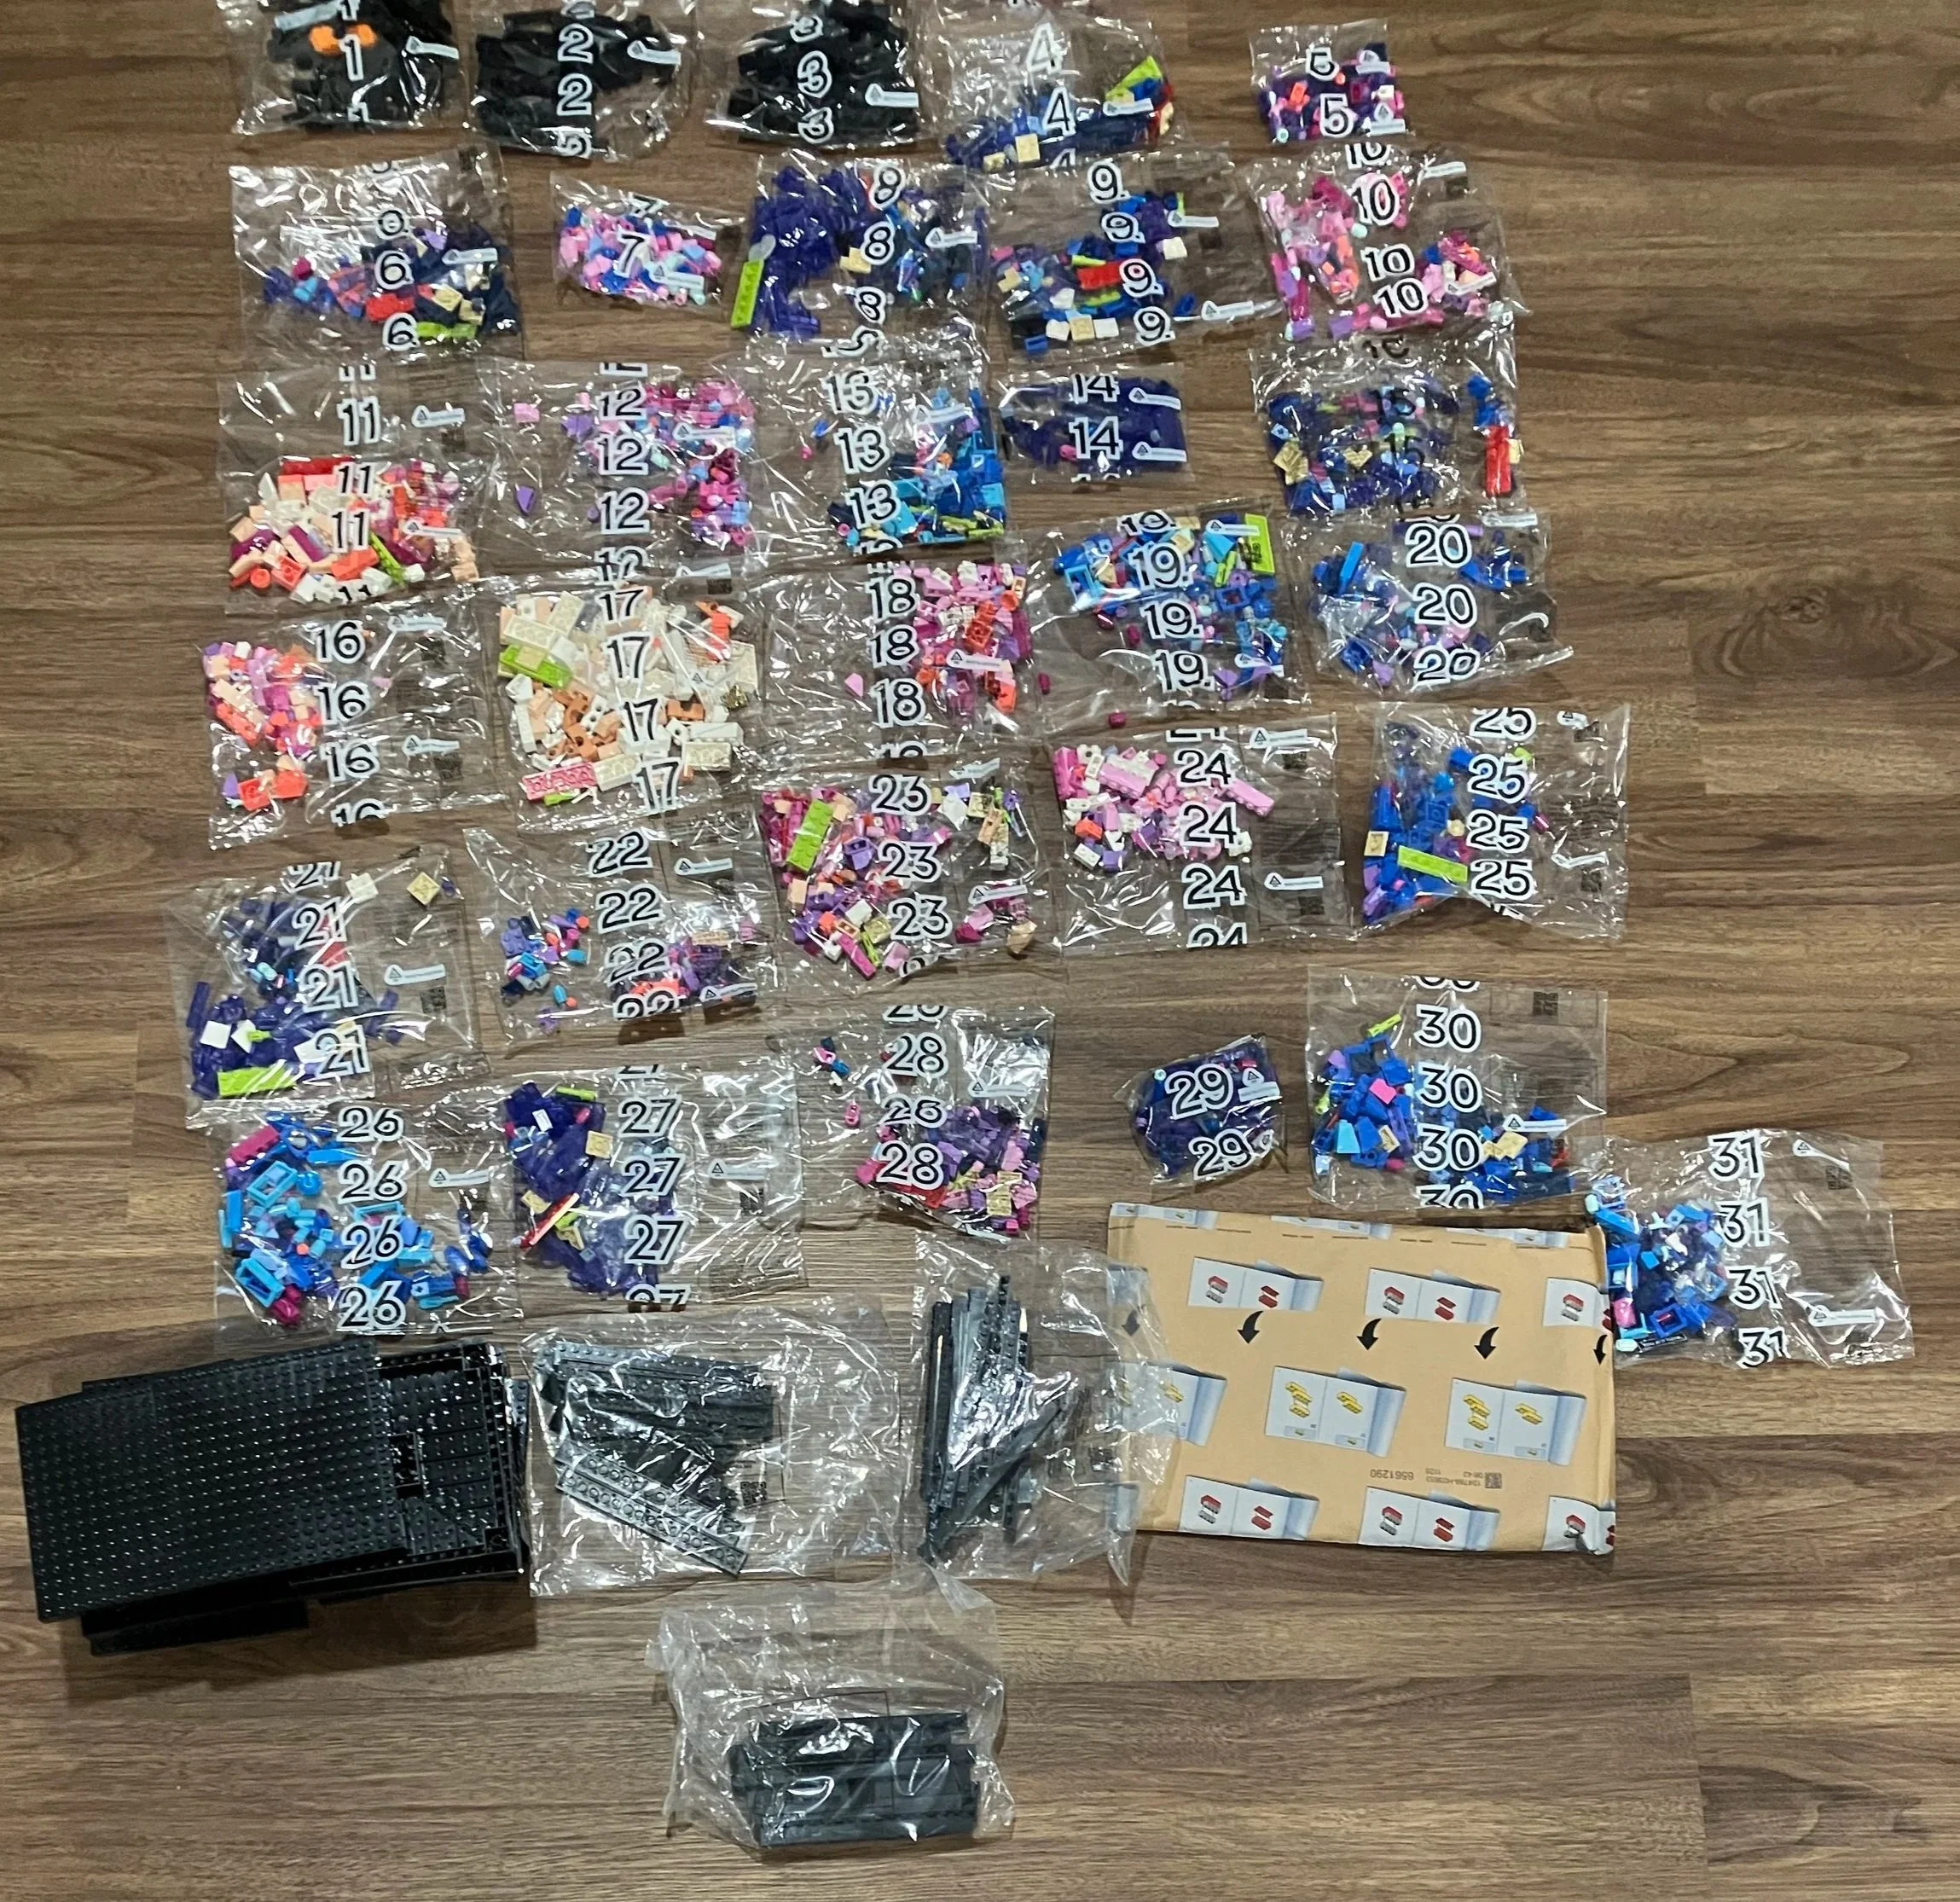
The box contains four numbered parts bags, two instruction booklets, and then six of the large wheels for the rover.

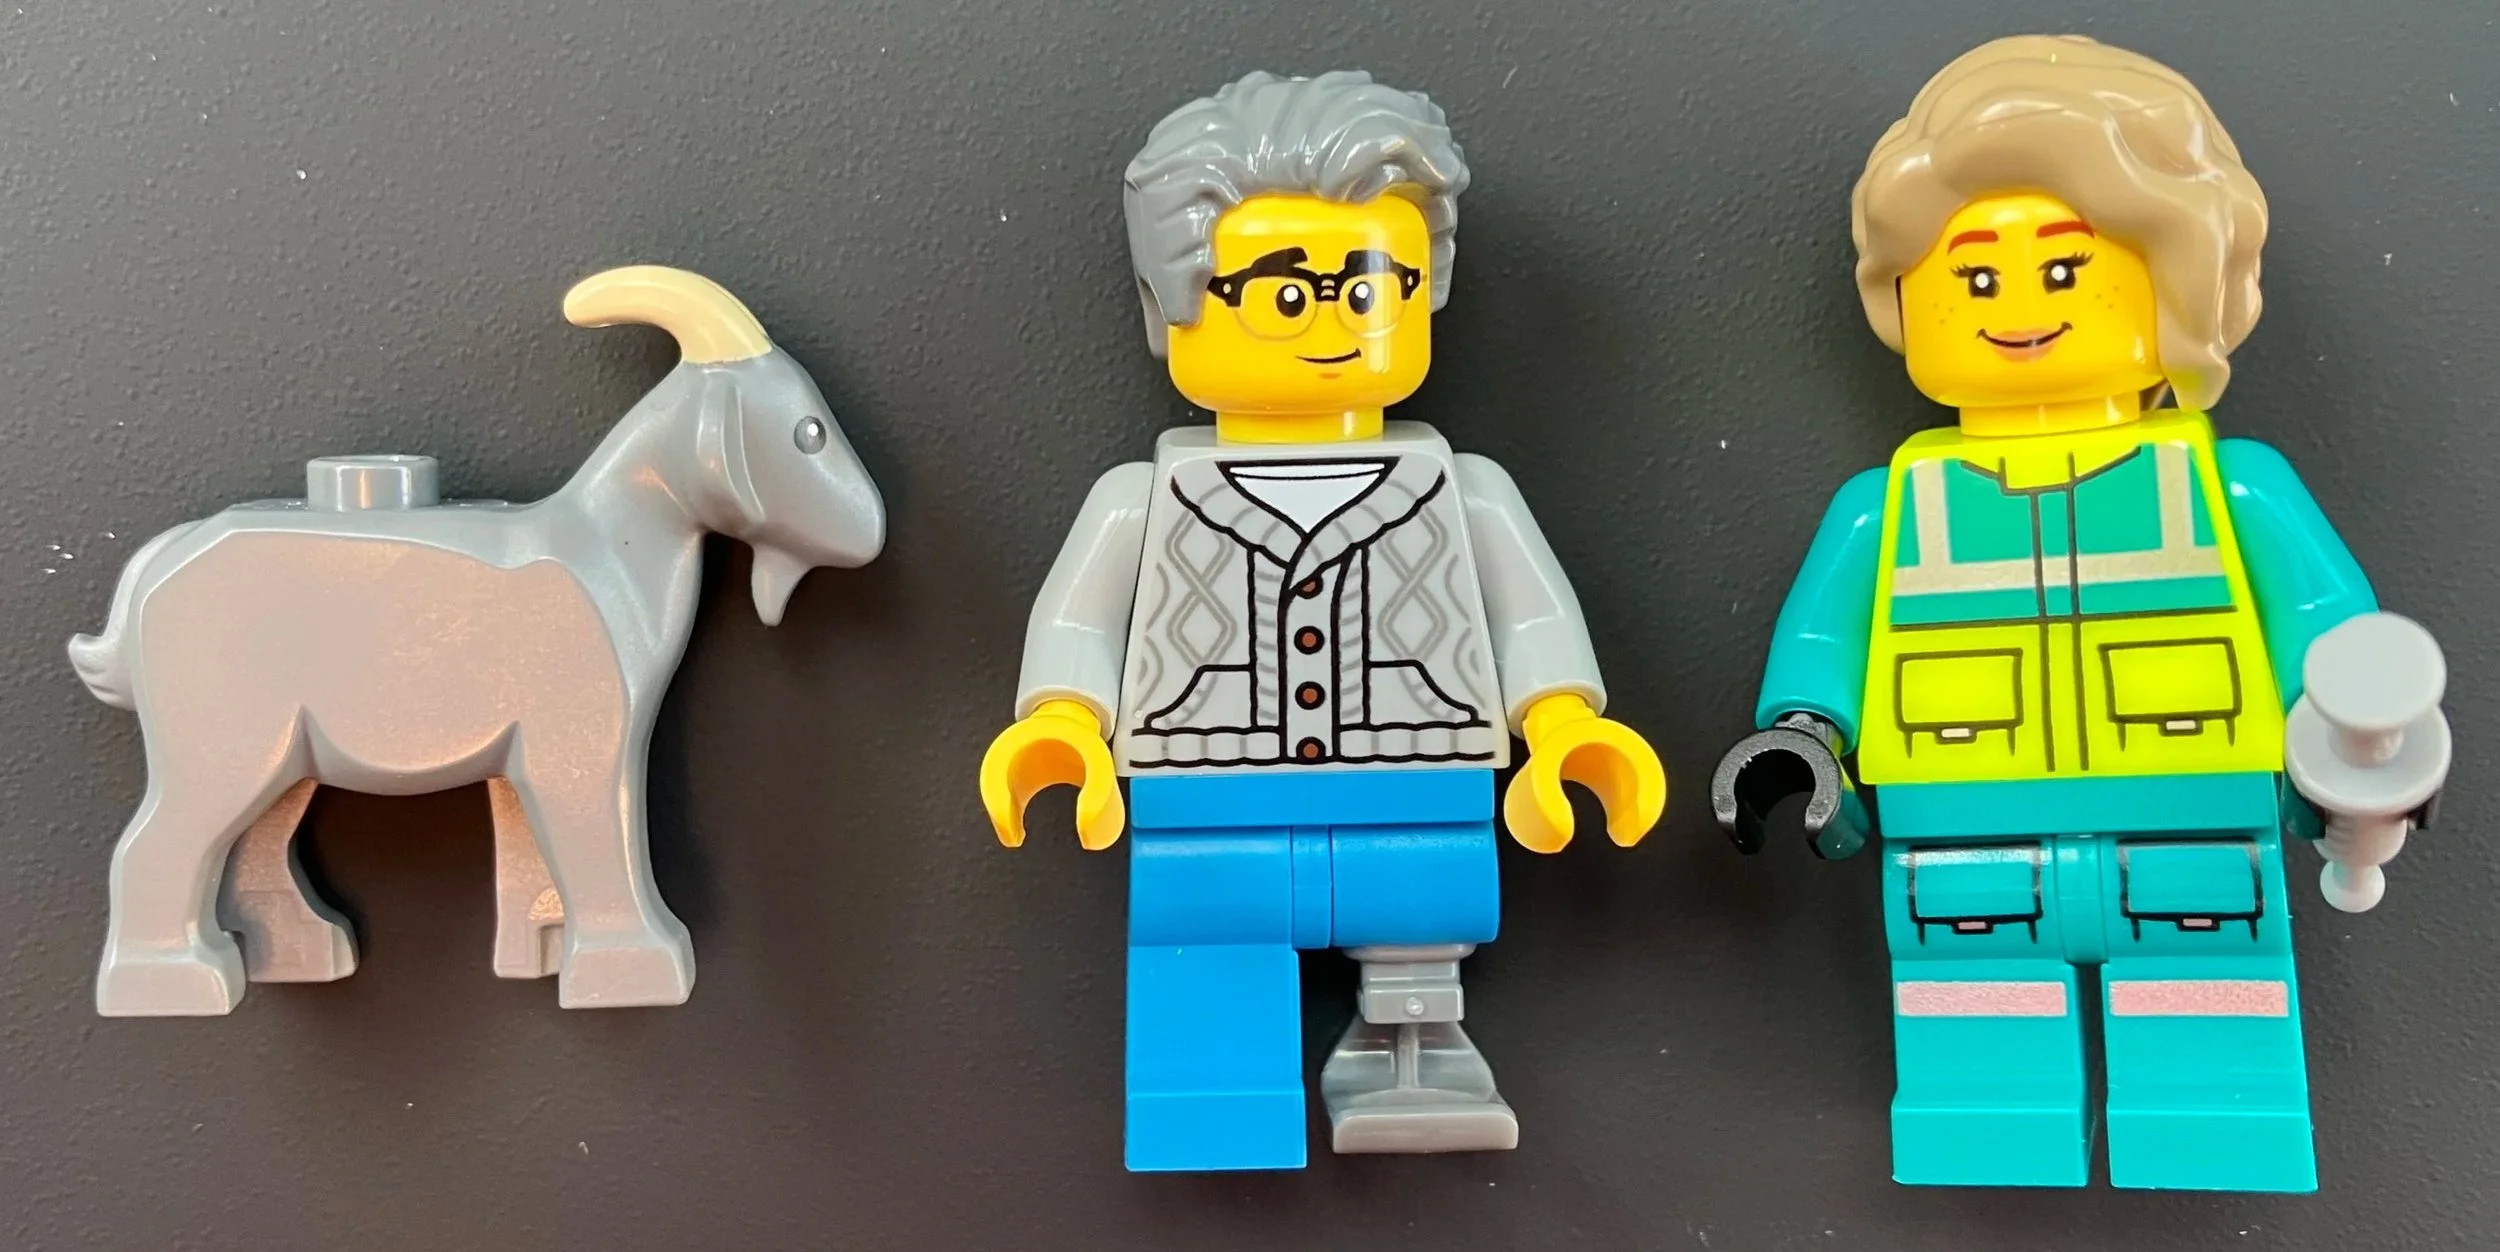
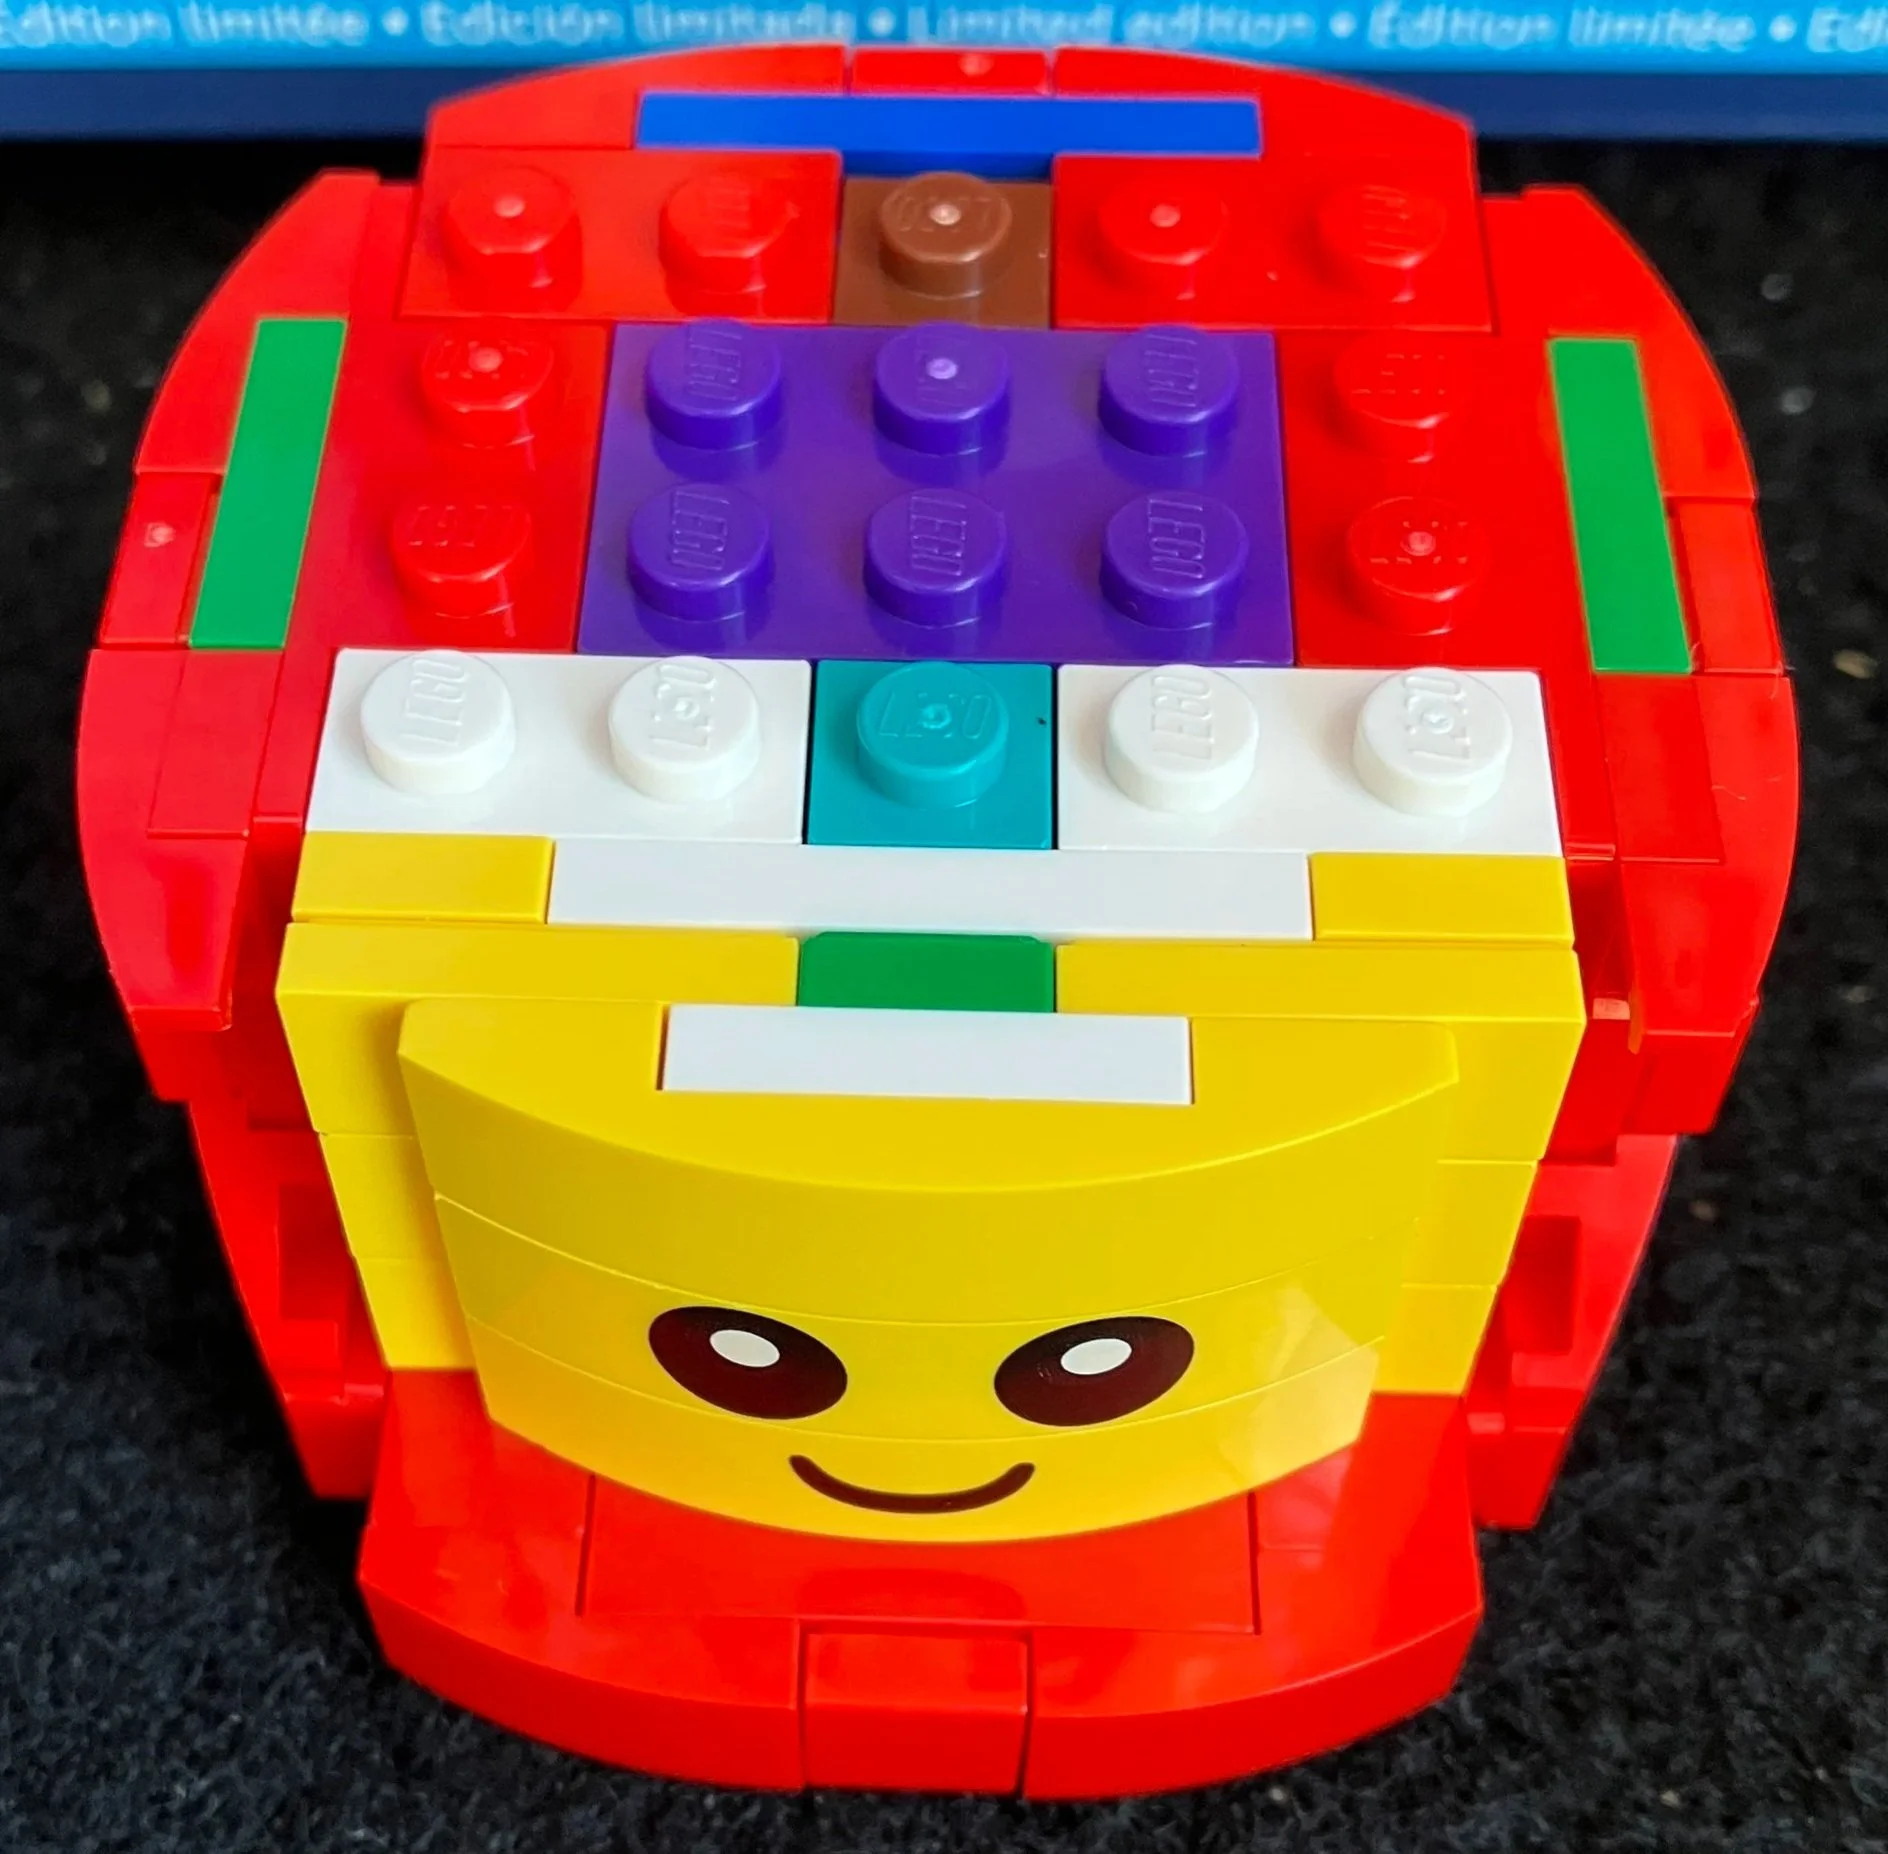
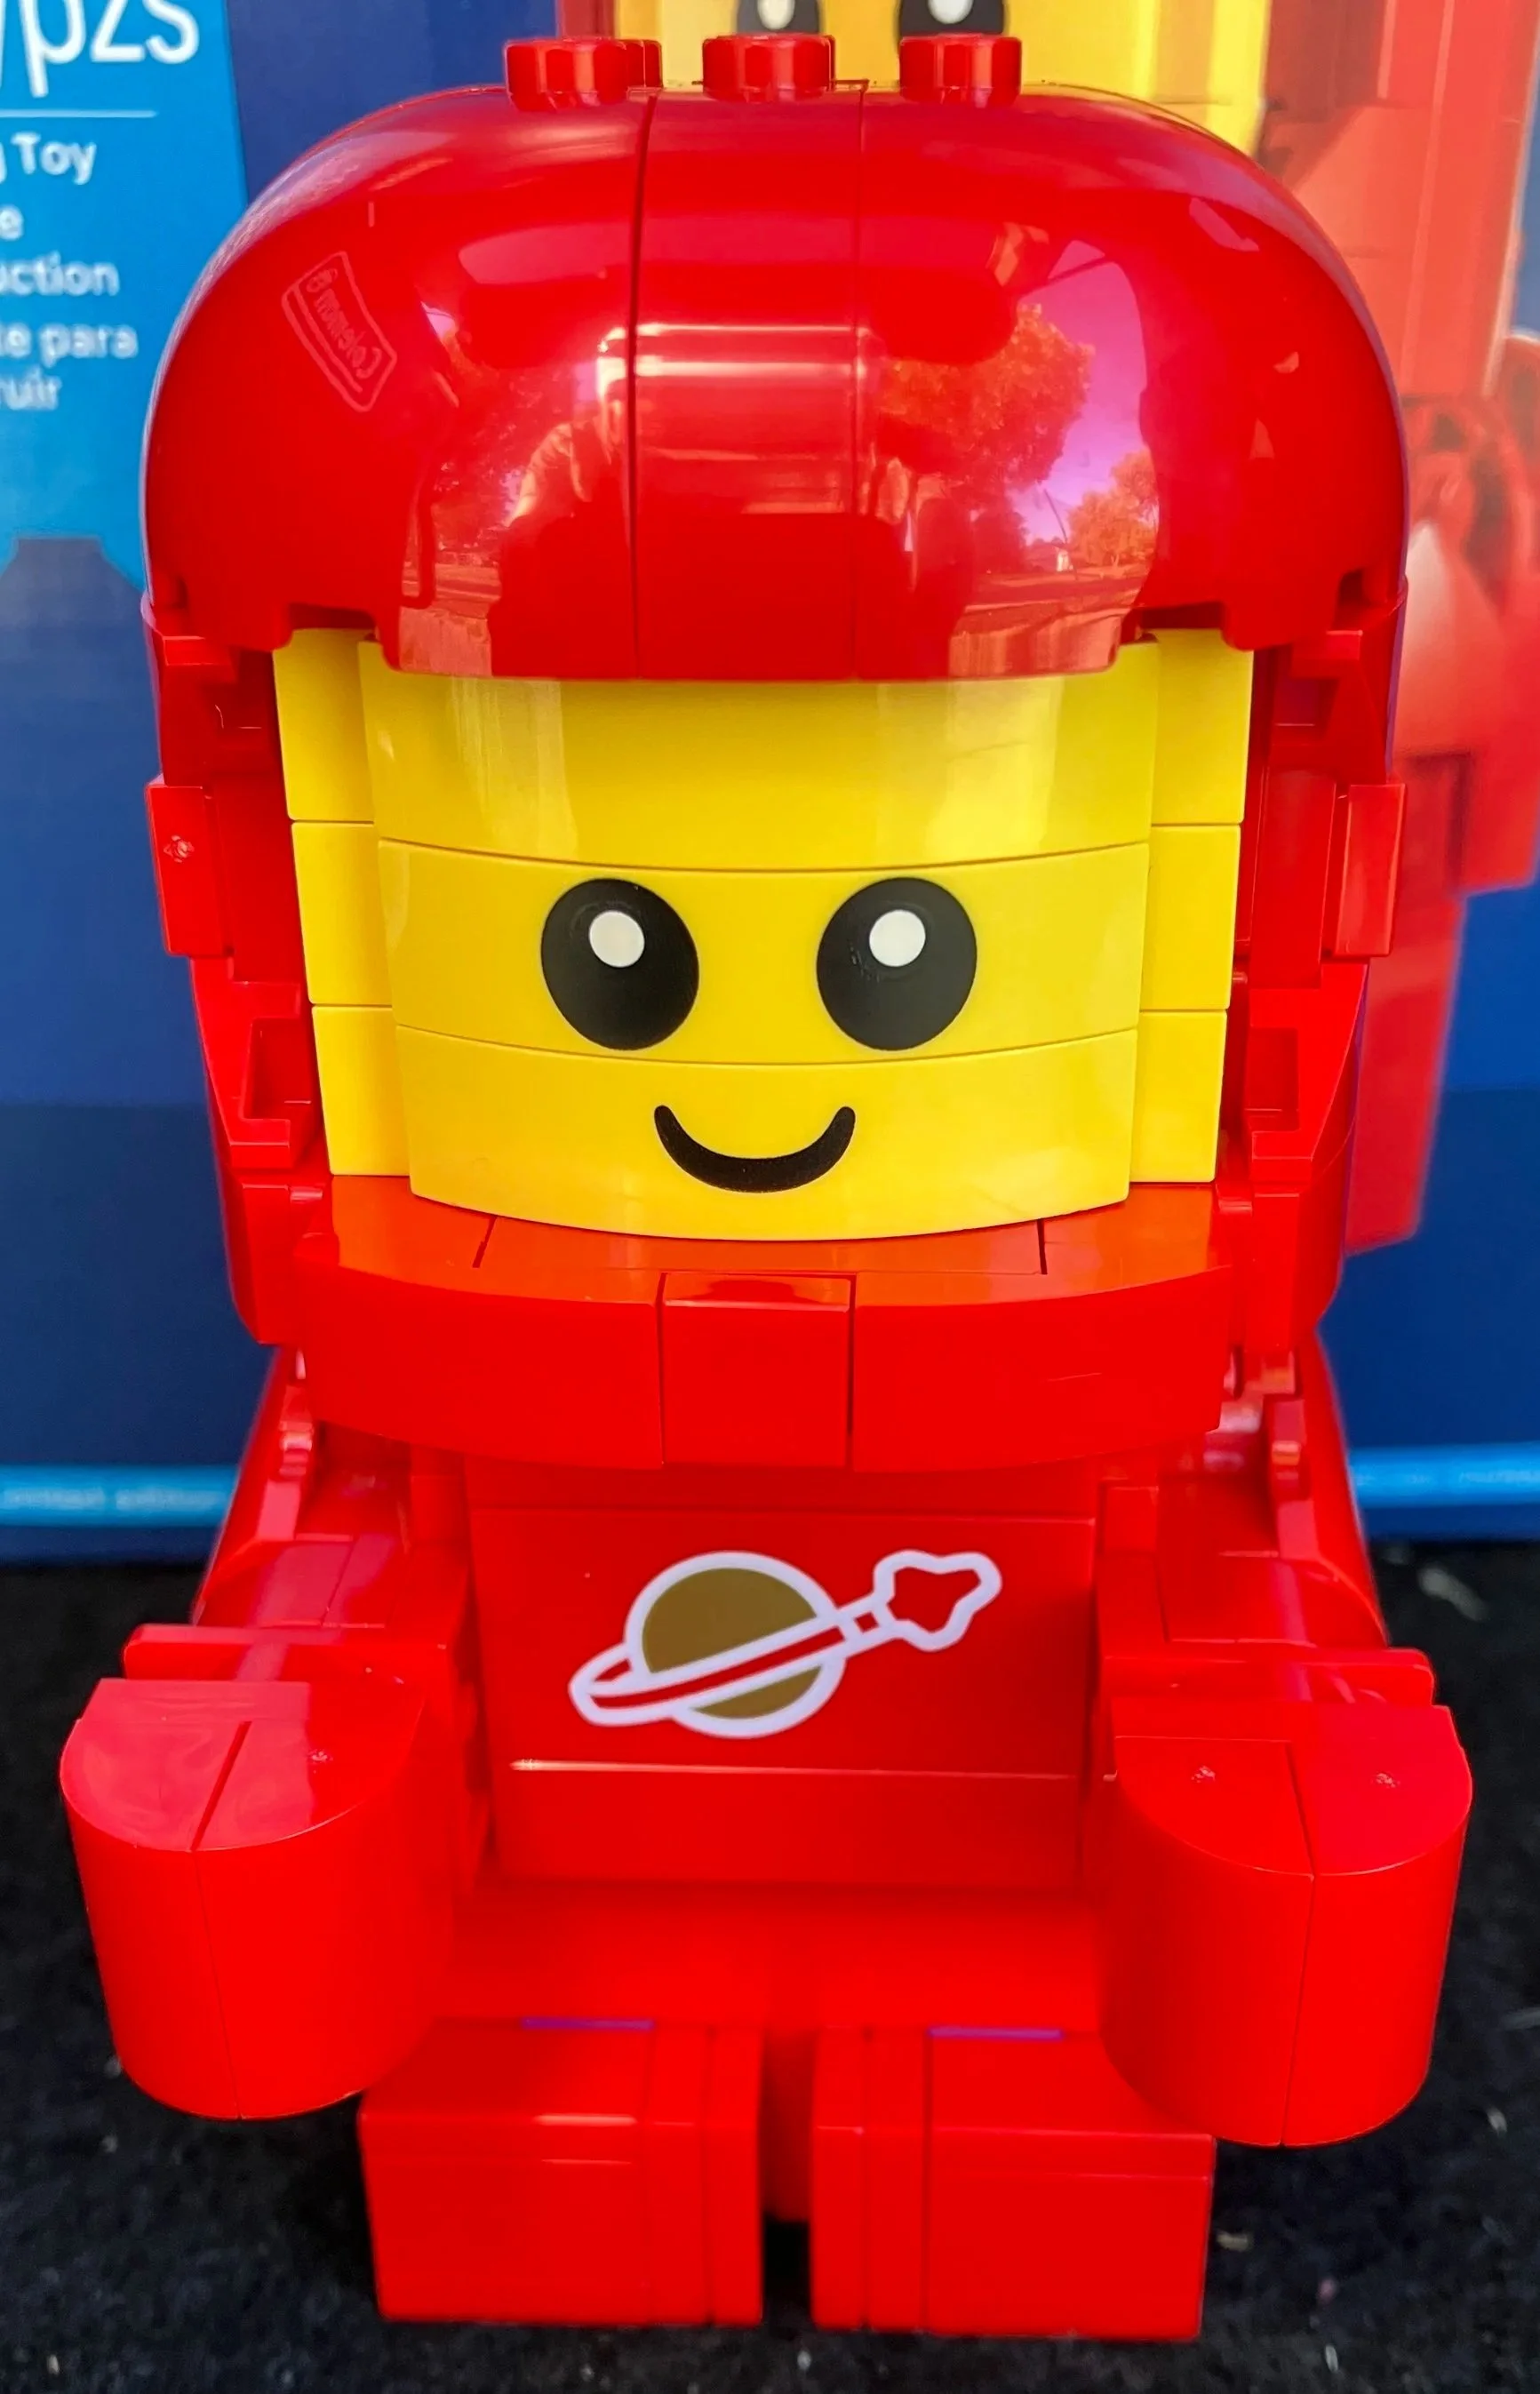
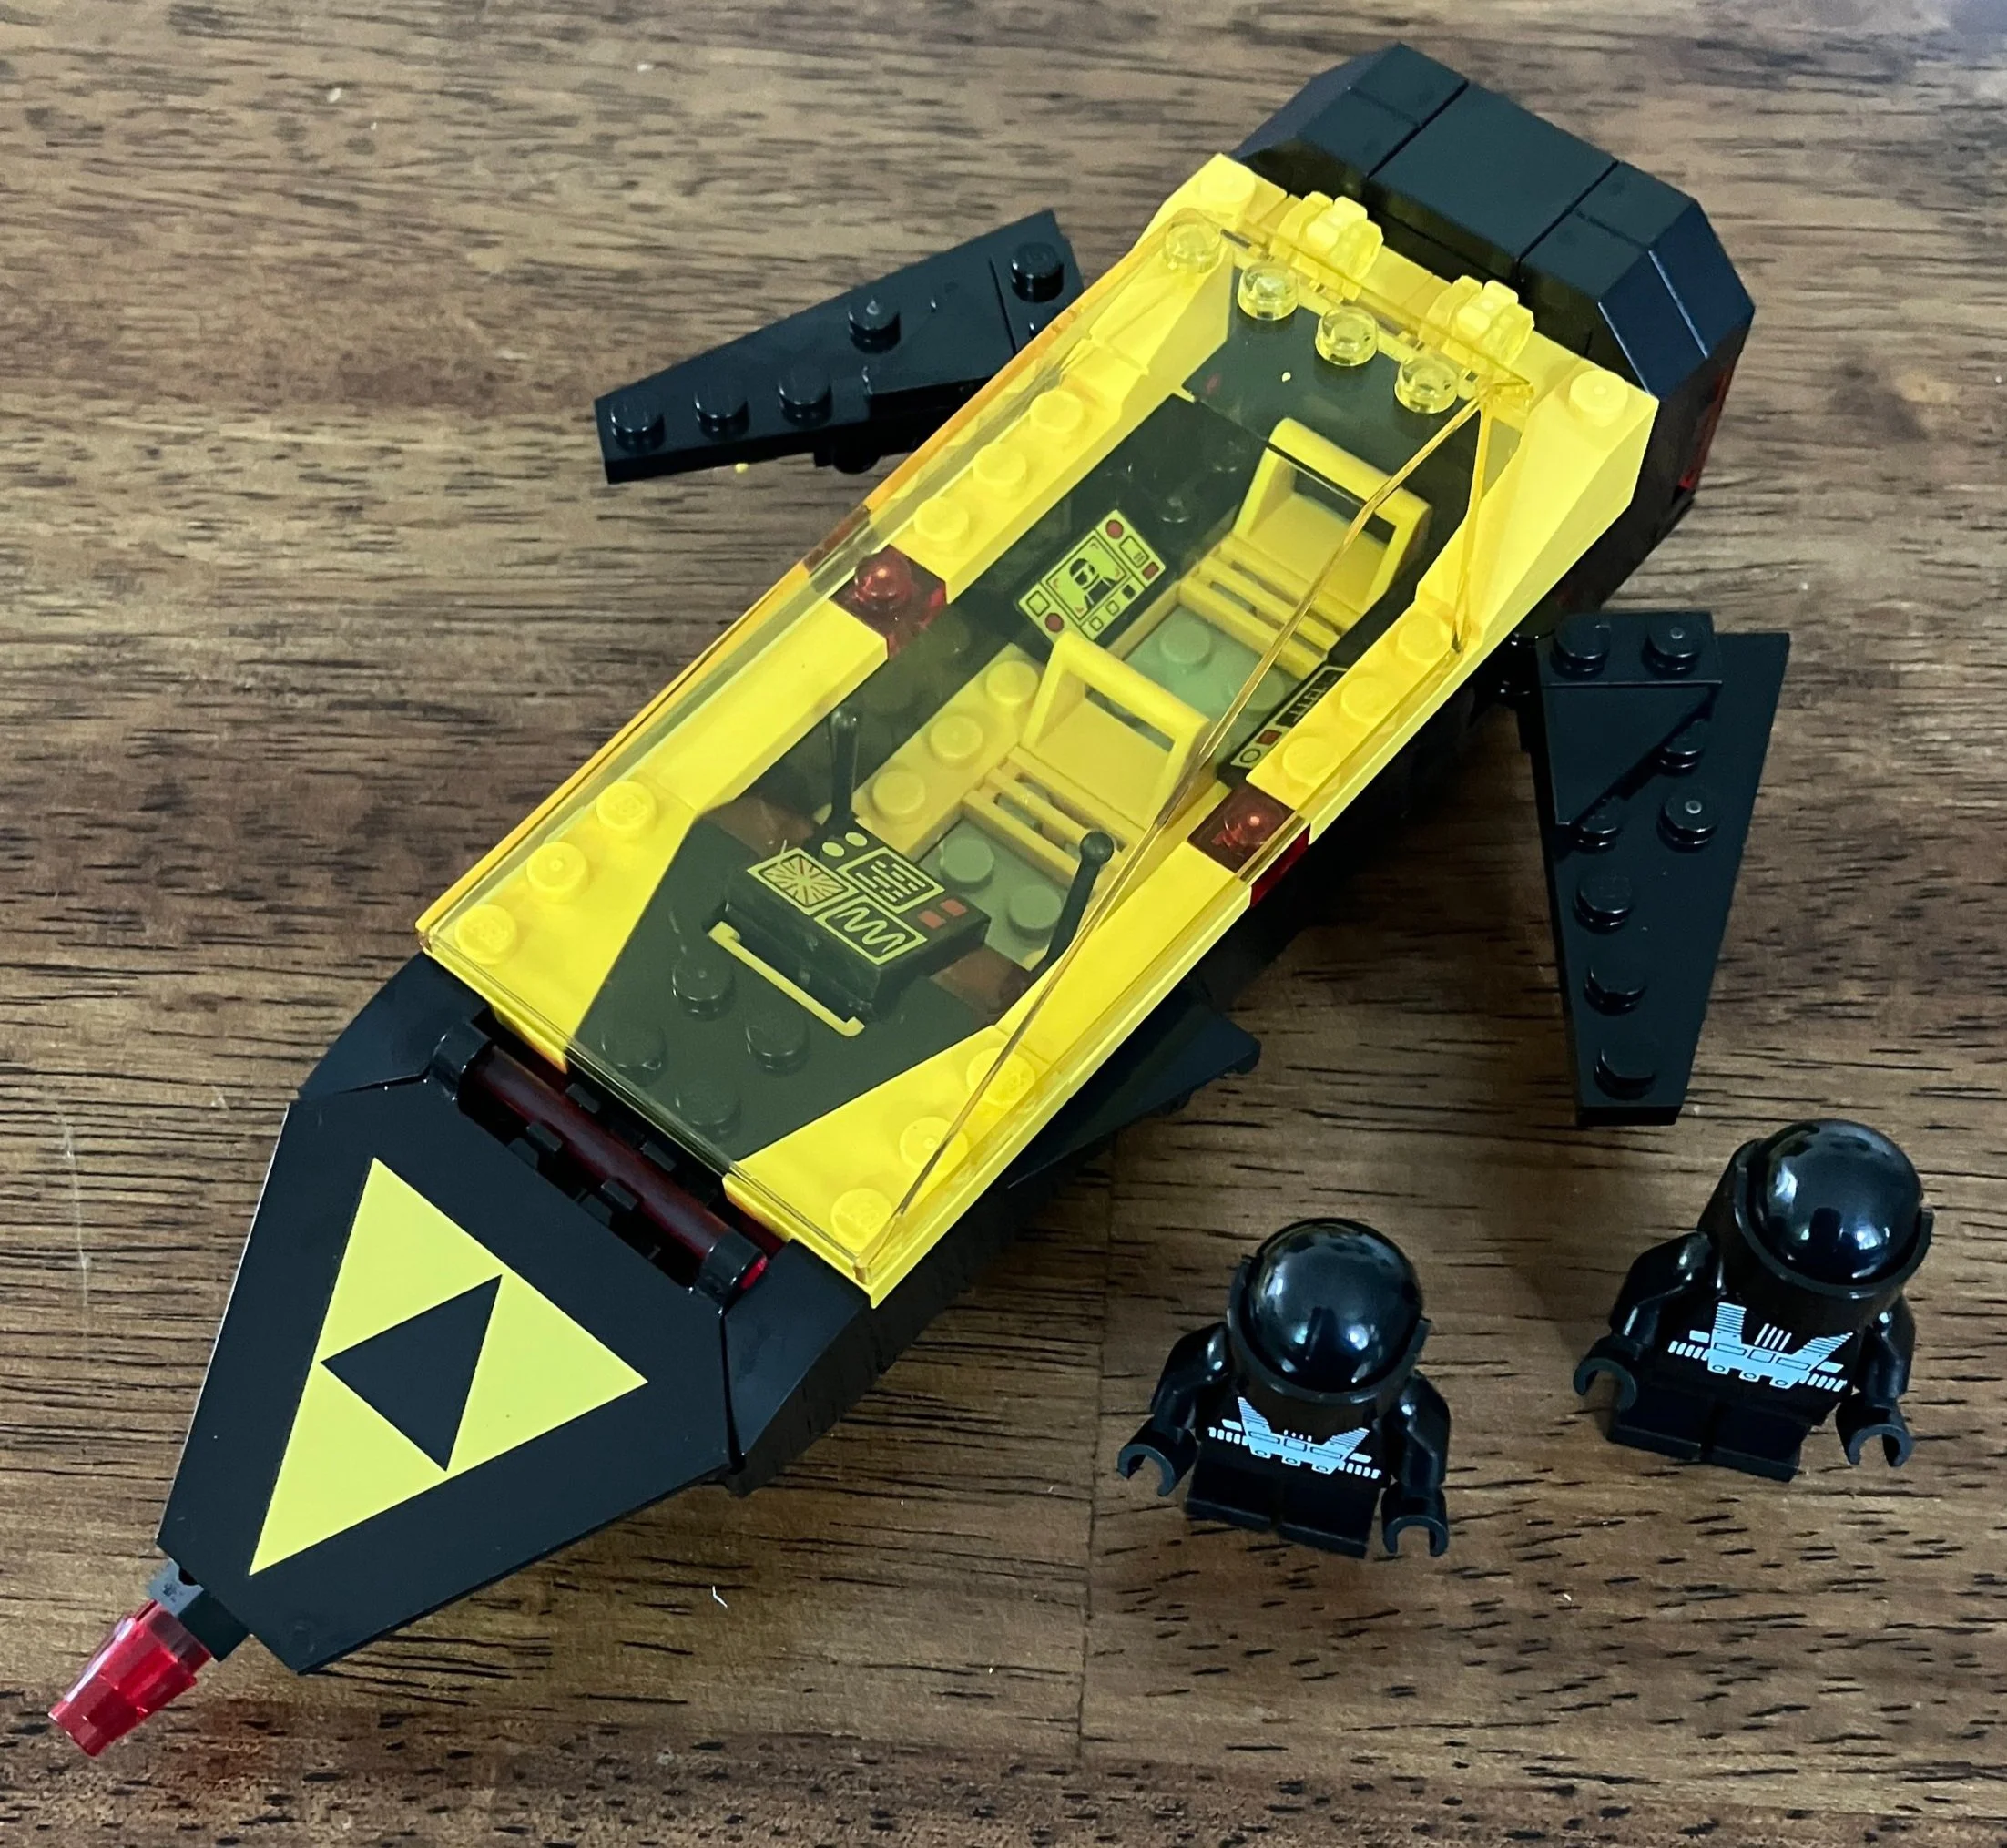
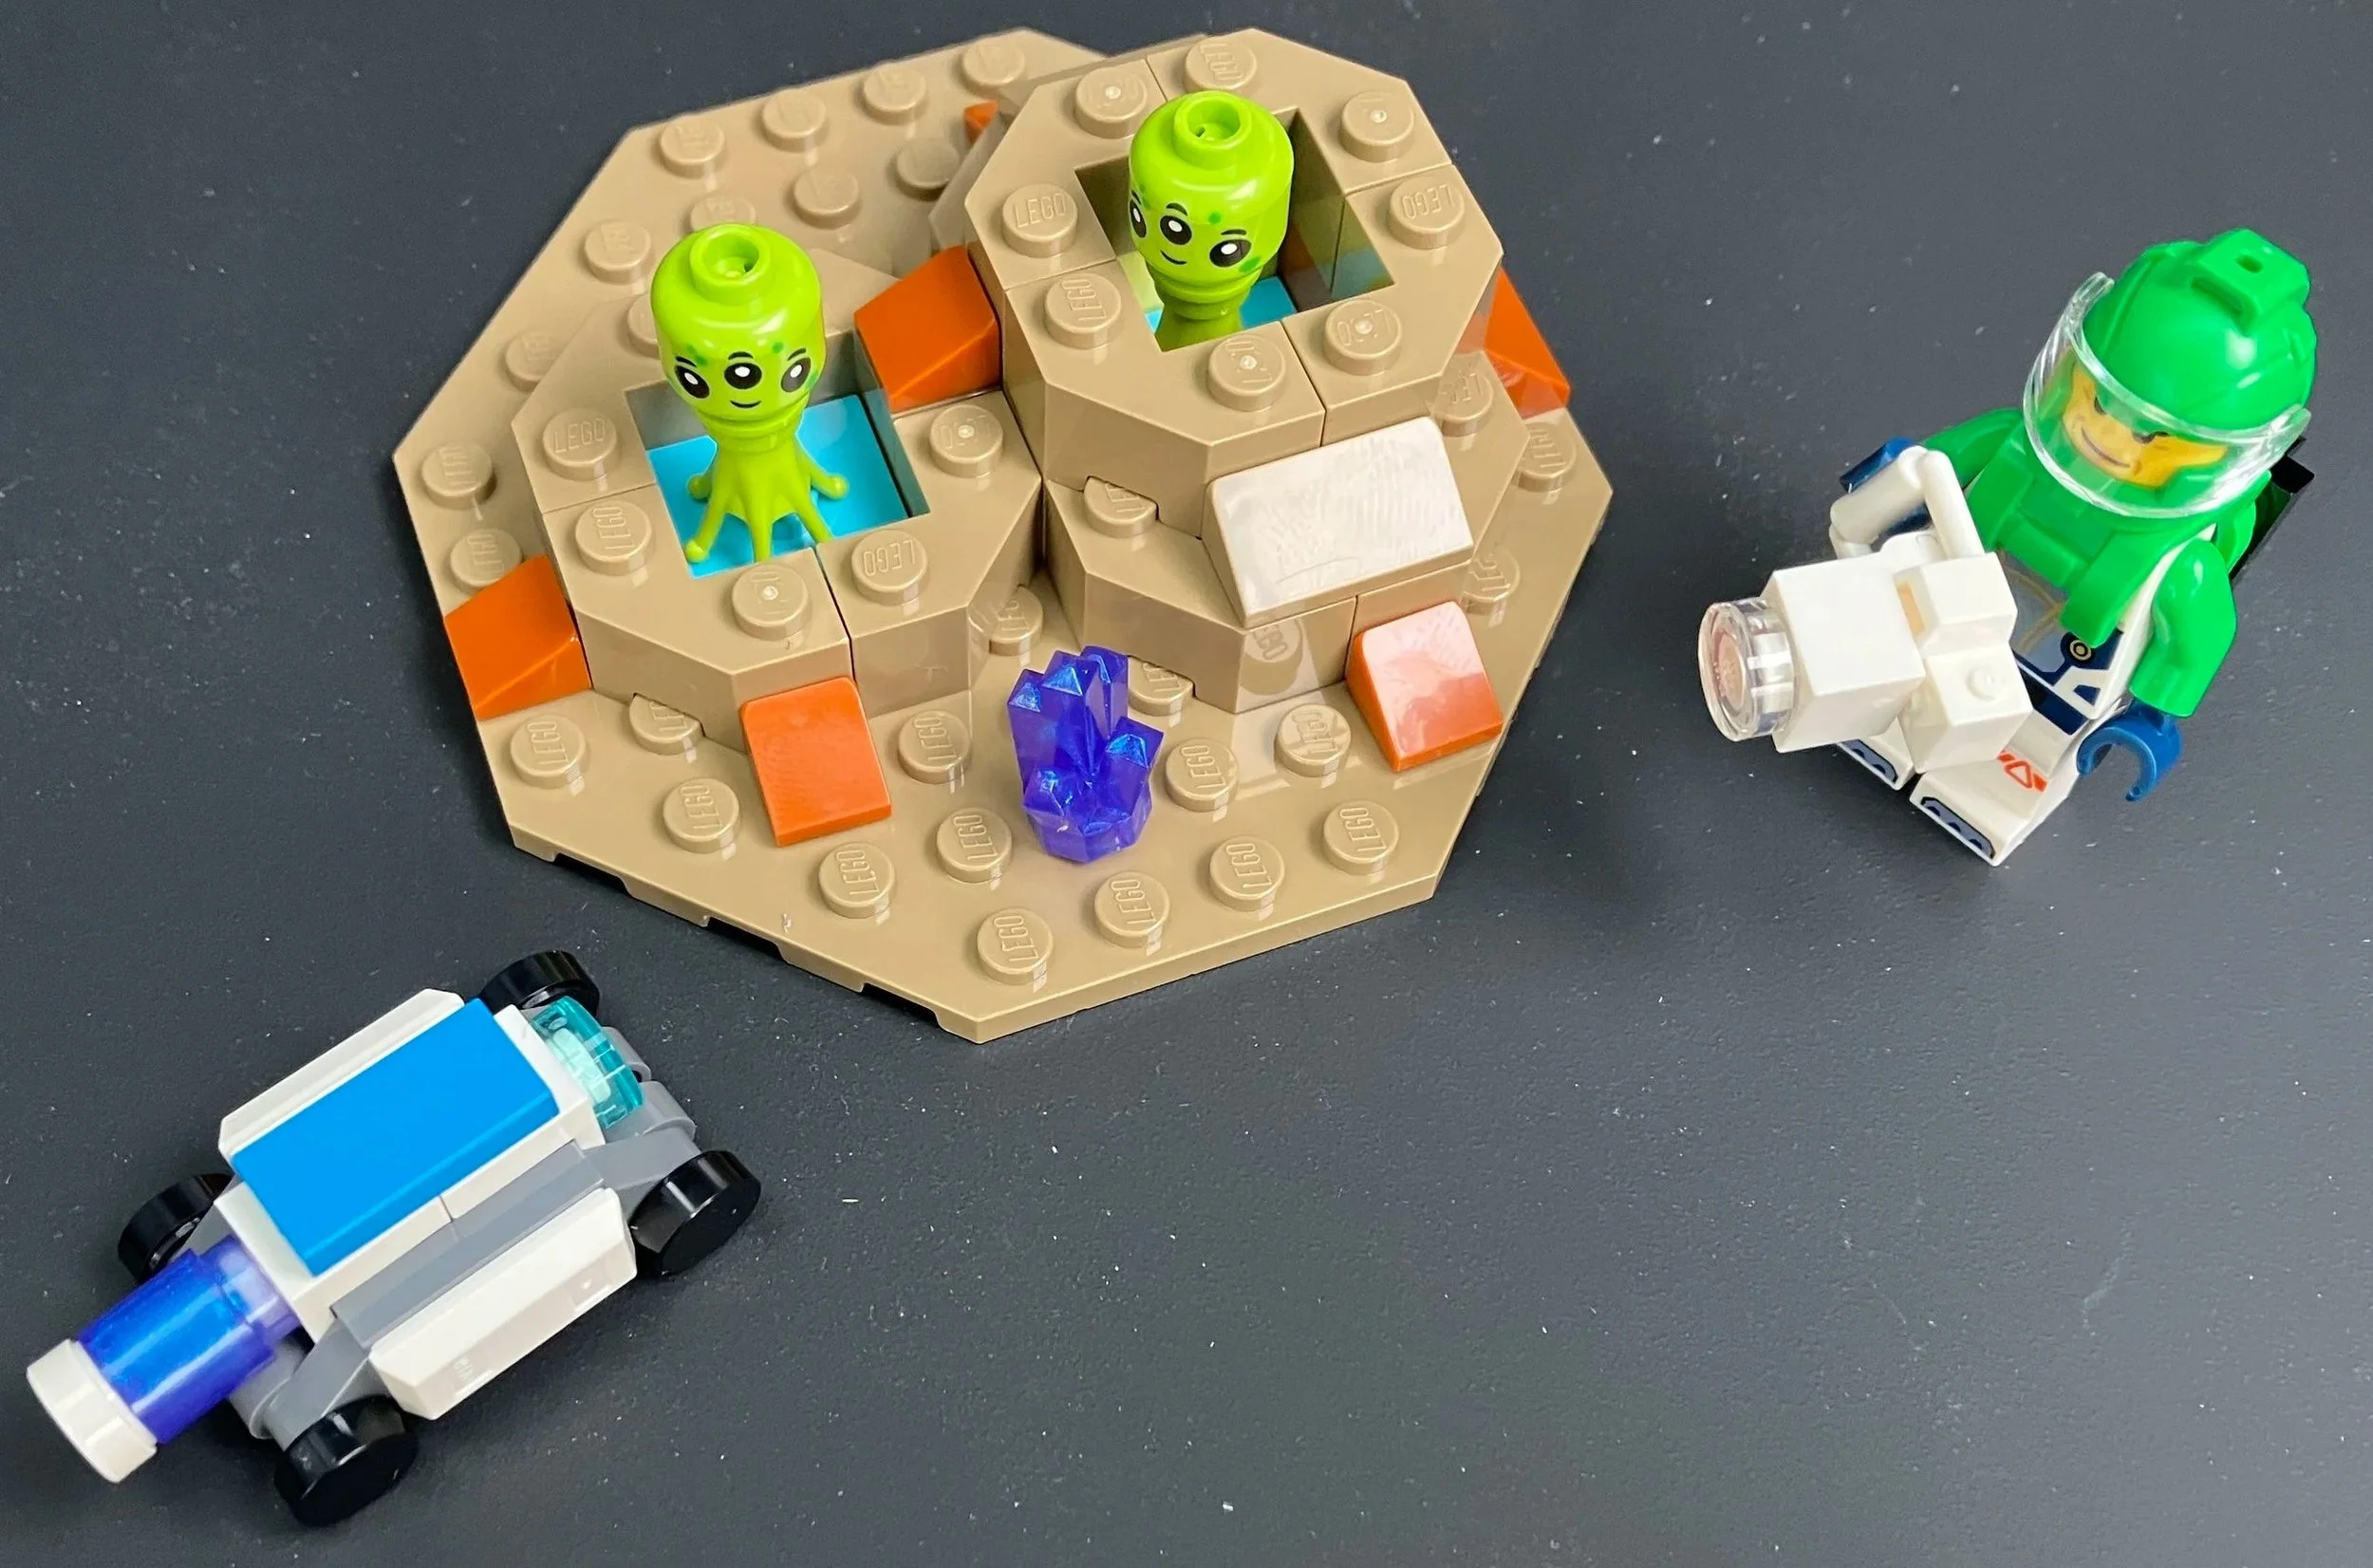
The first bag builds a female space minifigure and a small unmanned rover. Then there is a small piece of alien landscape with two little aliens.

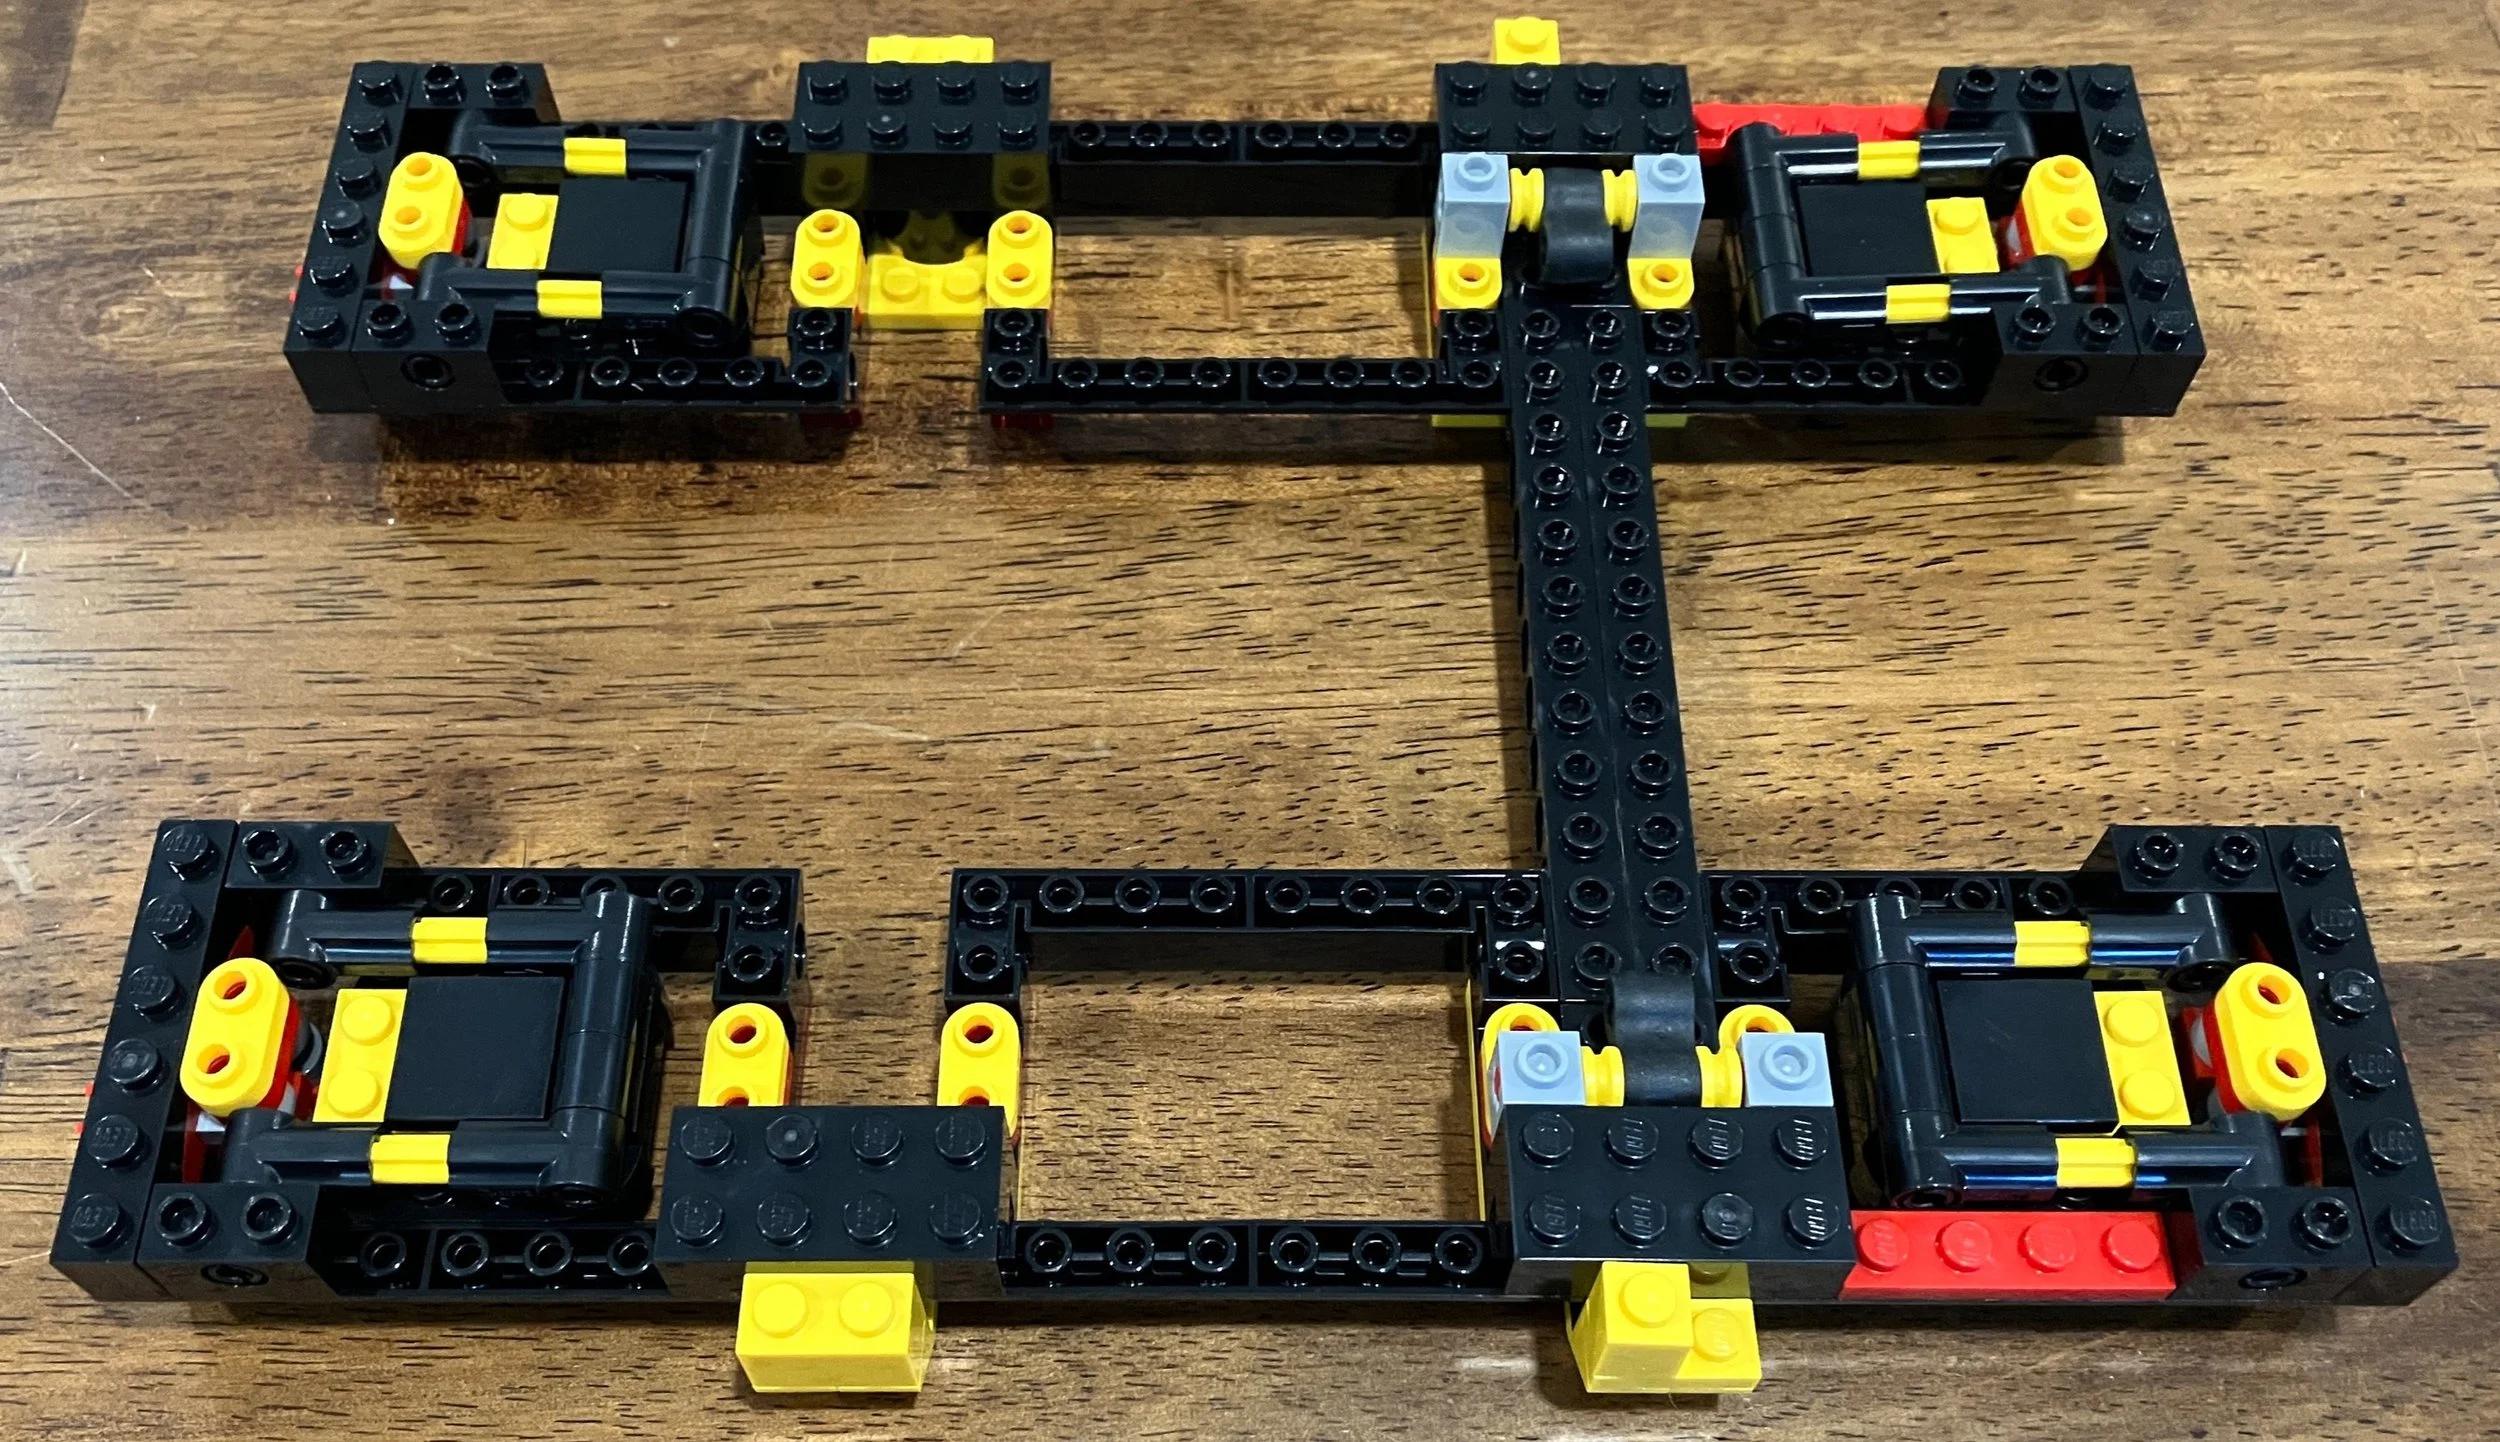
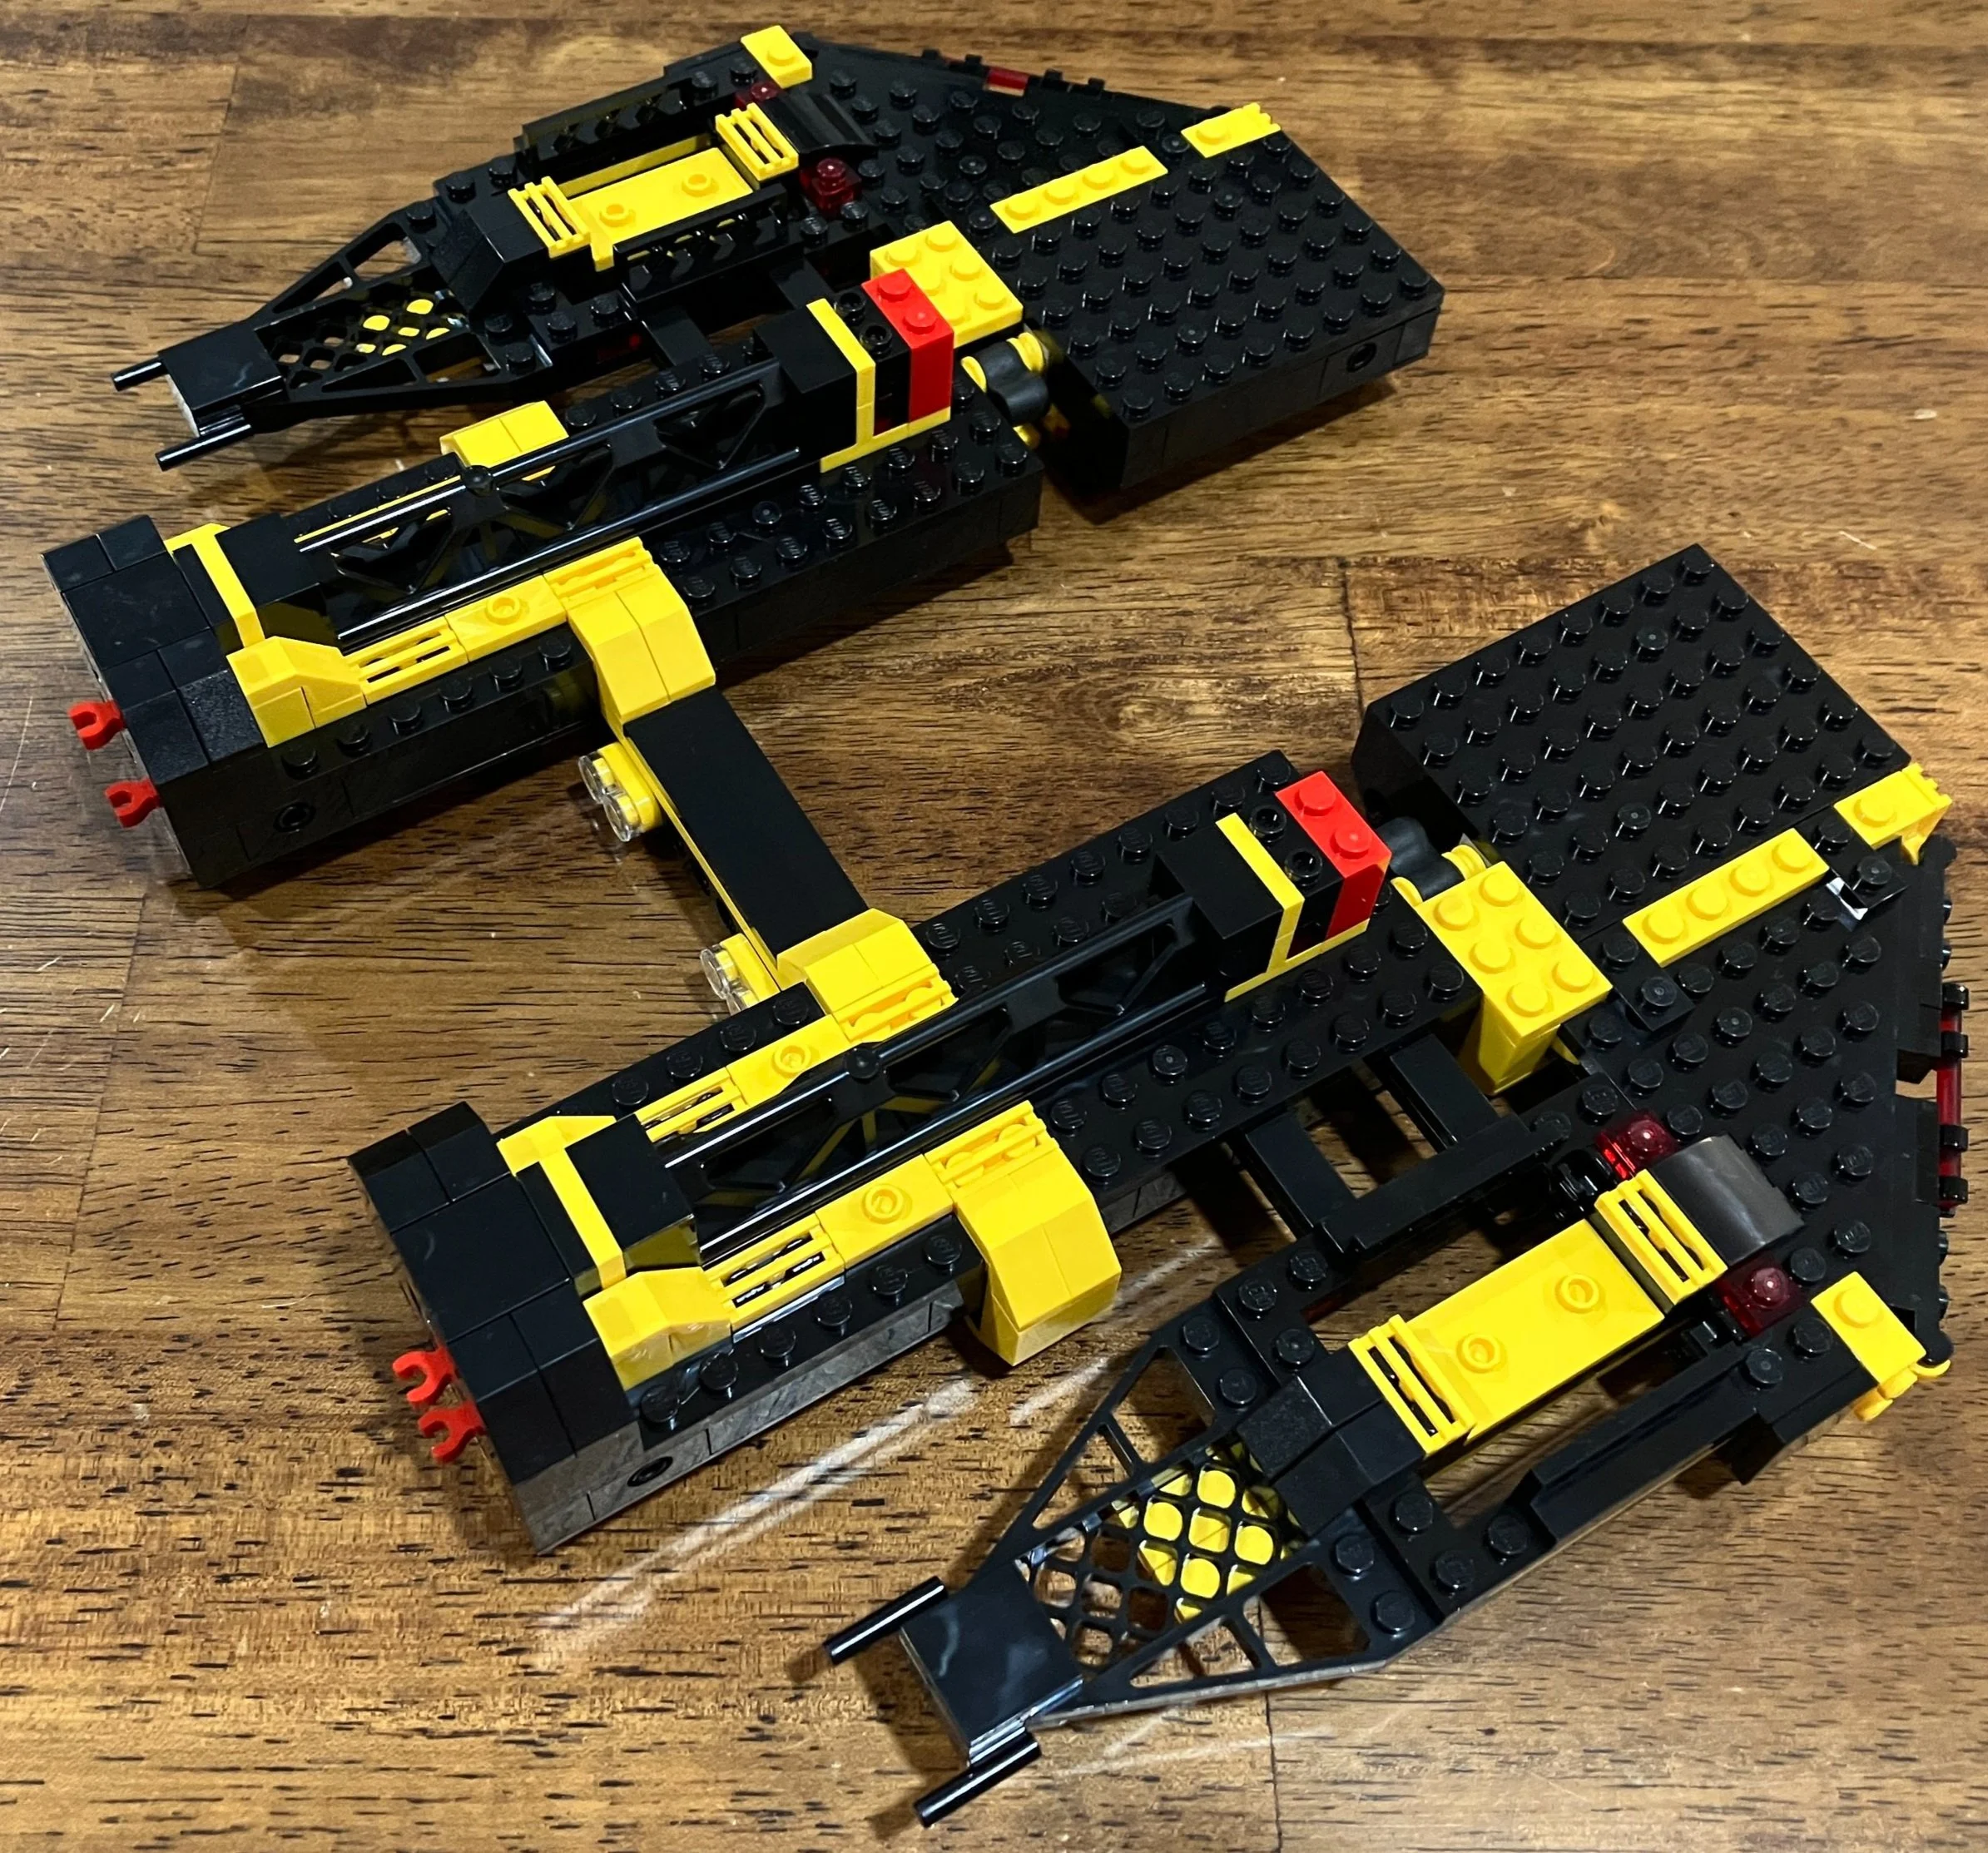
The second bag builds the base of the rover and a male minifigure. The box says the set is for ages 6+, but there are a lot of Technic pieces on this one and I could see a six-year old having trouble with assembly.

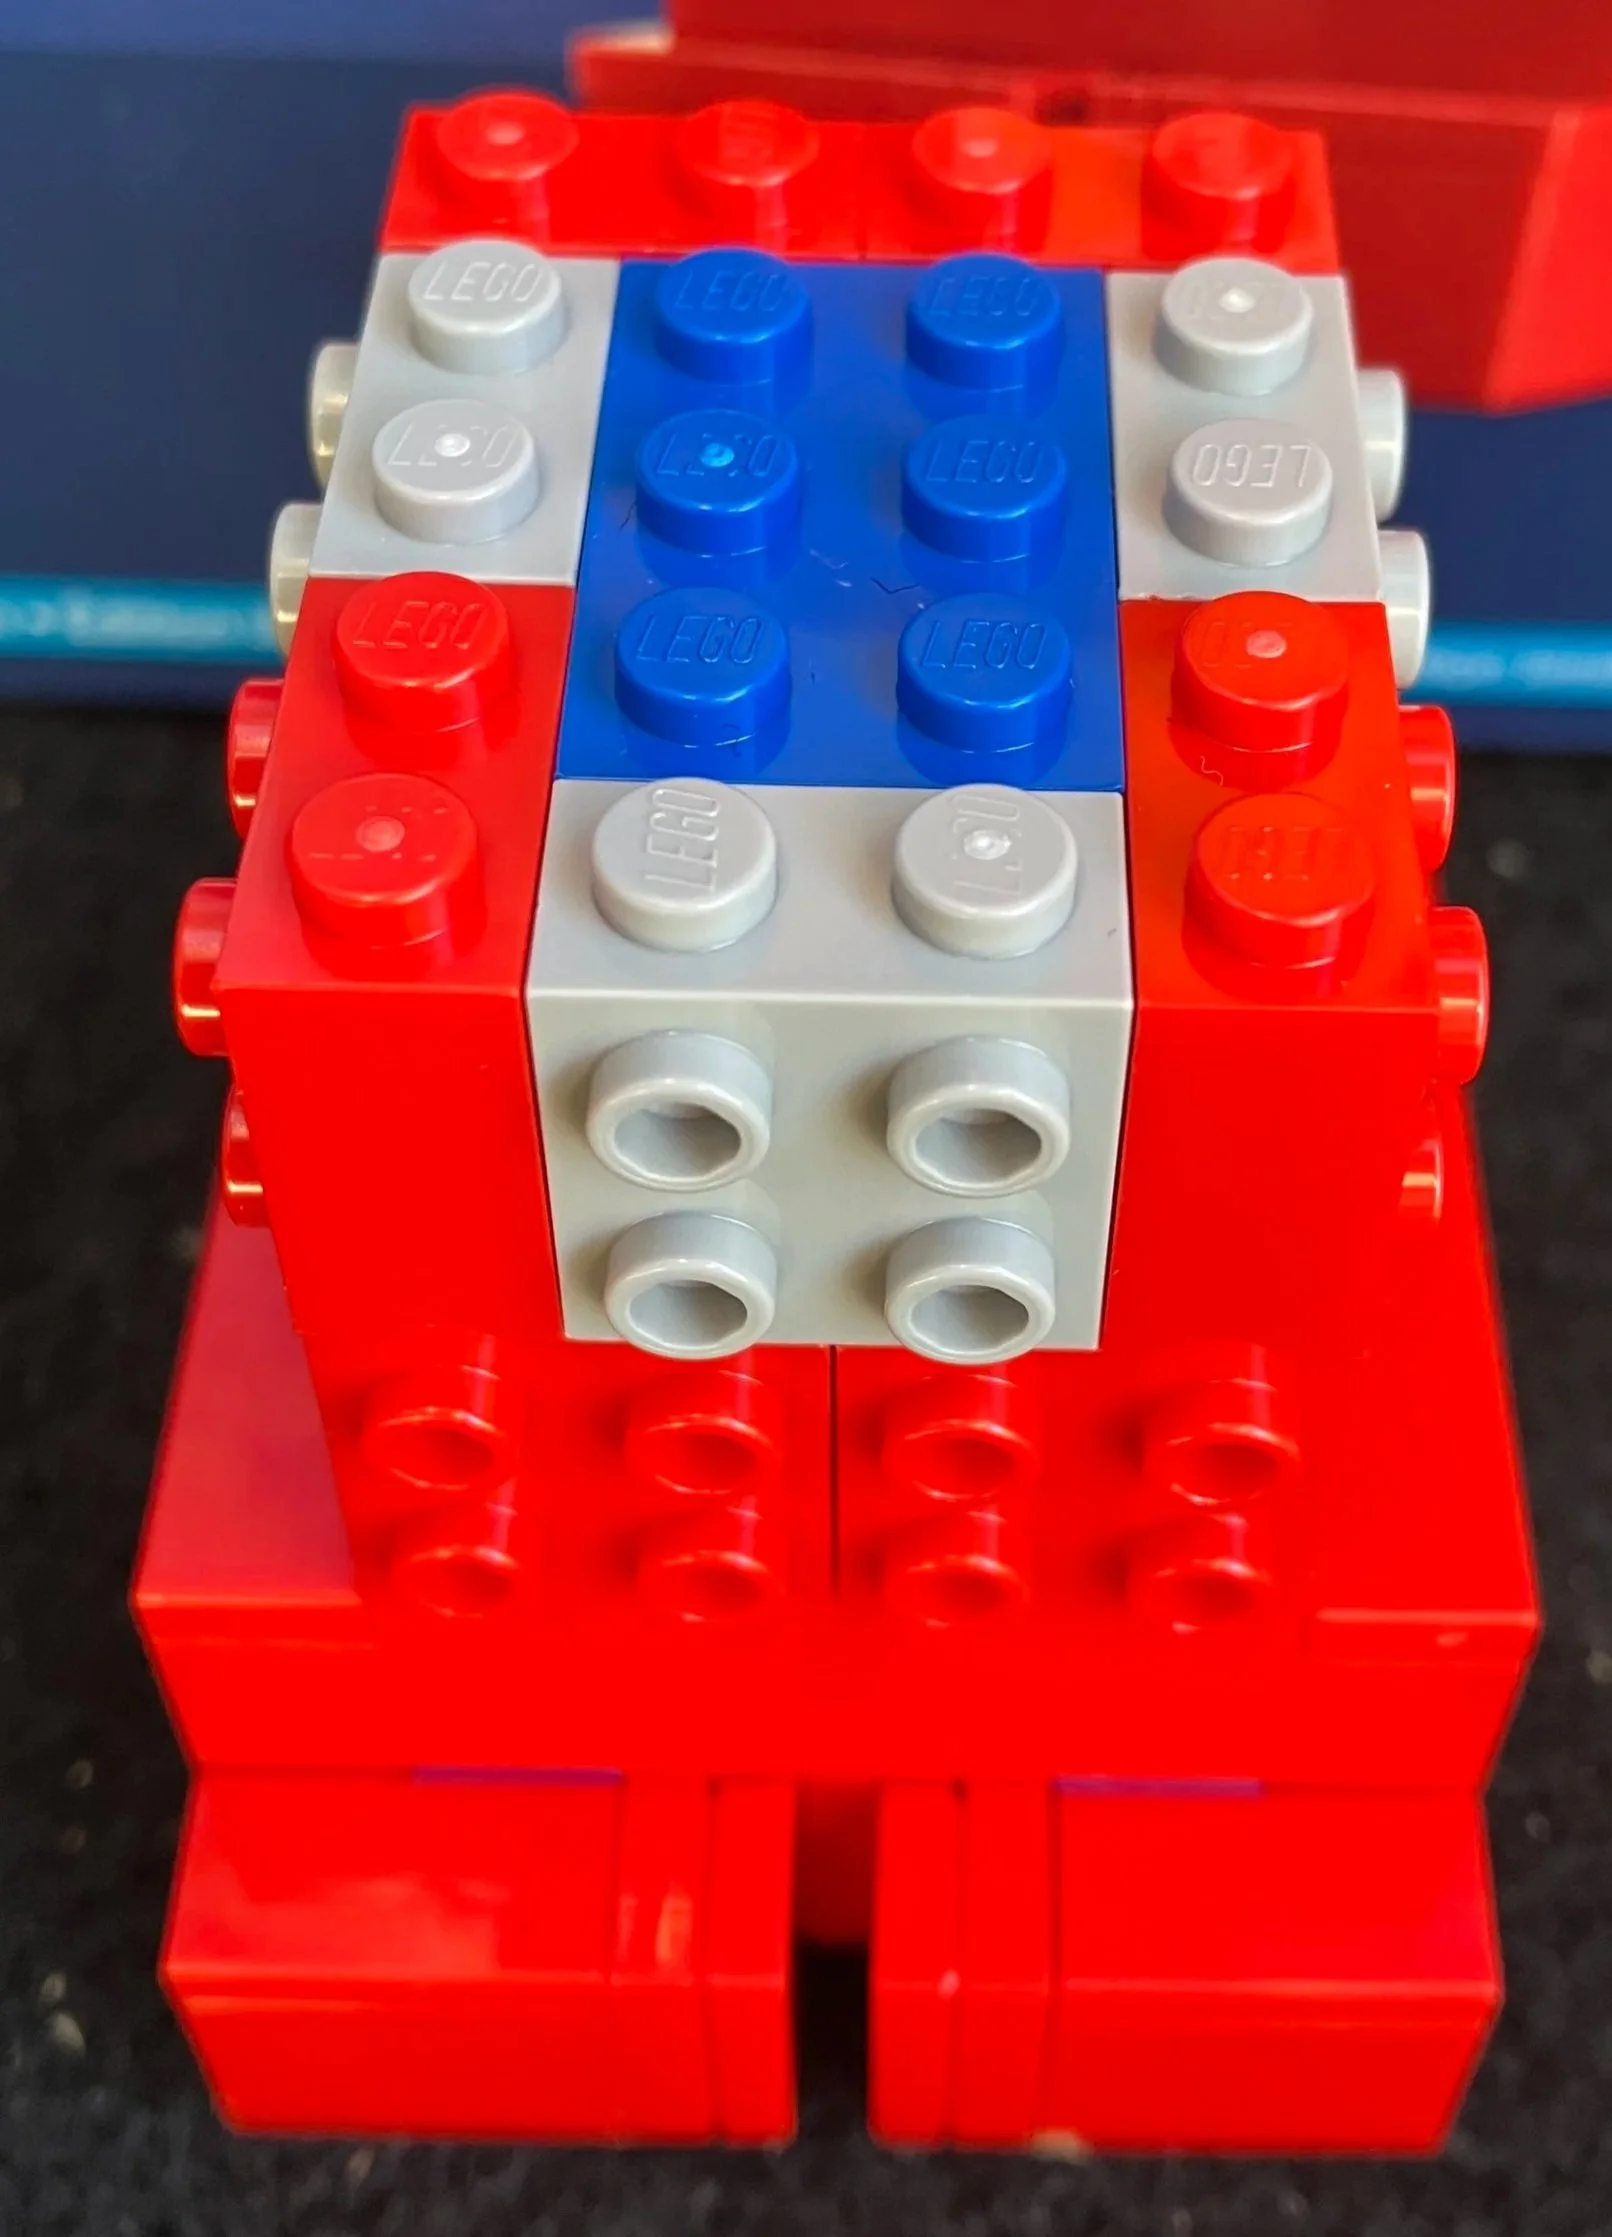
The third bag adds more of the top of the rover and then you add the front four axles. The front four are not static and can be pivoted which allows you to tackle all of those tough alien landscapes. Again, more Technic pieces which was surprising for me considering that this one is a CITY set.

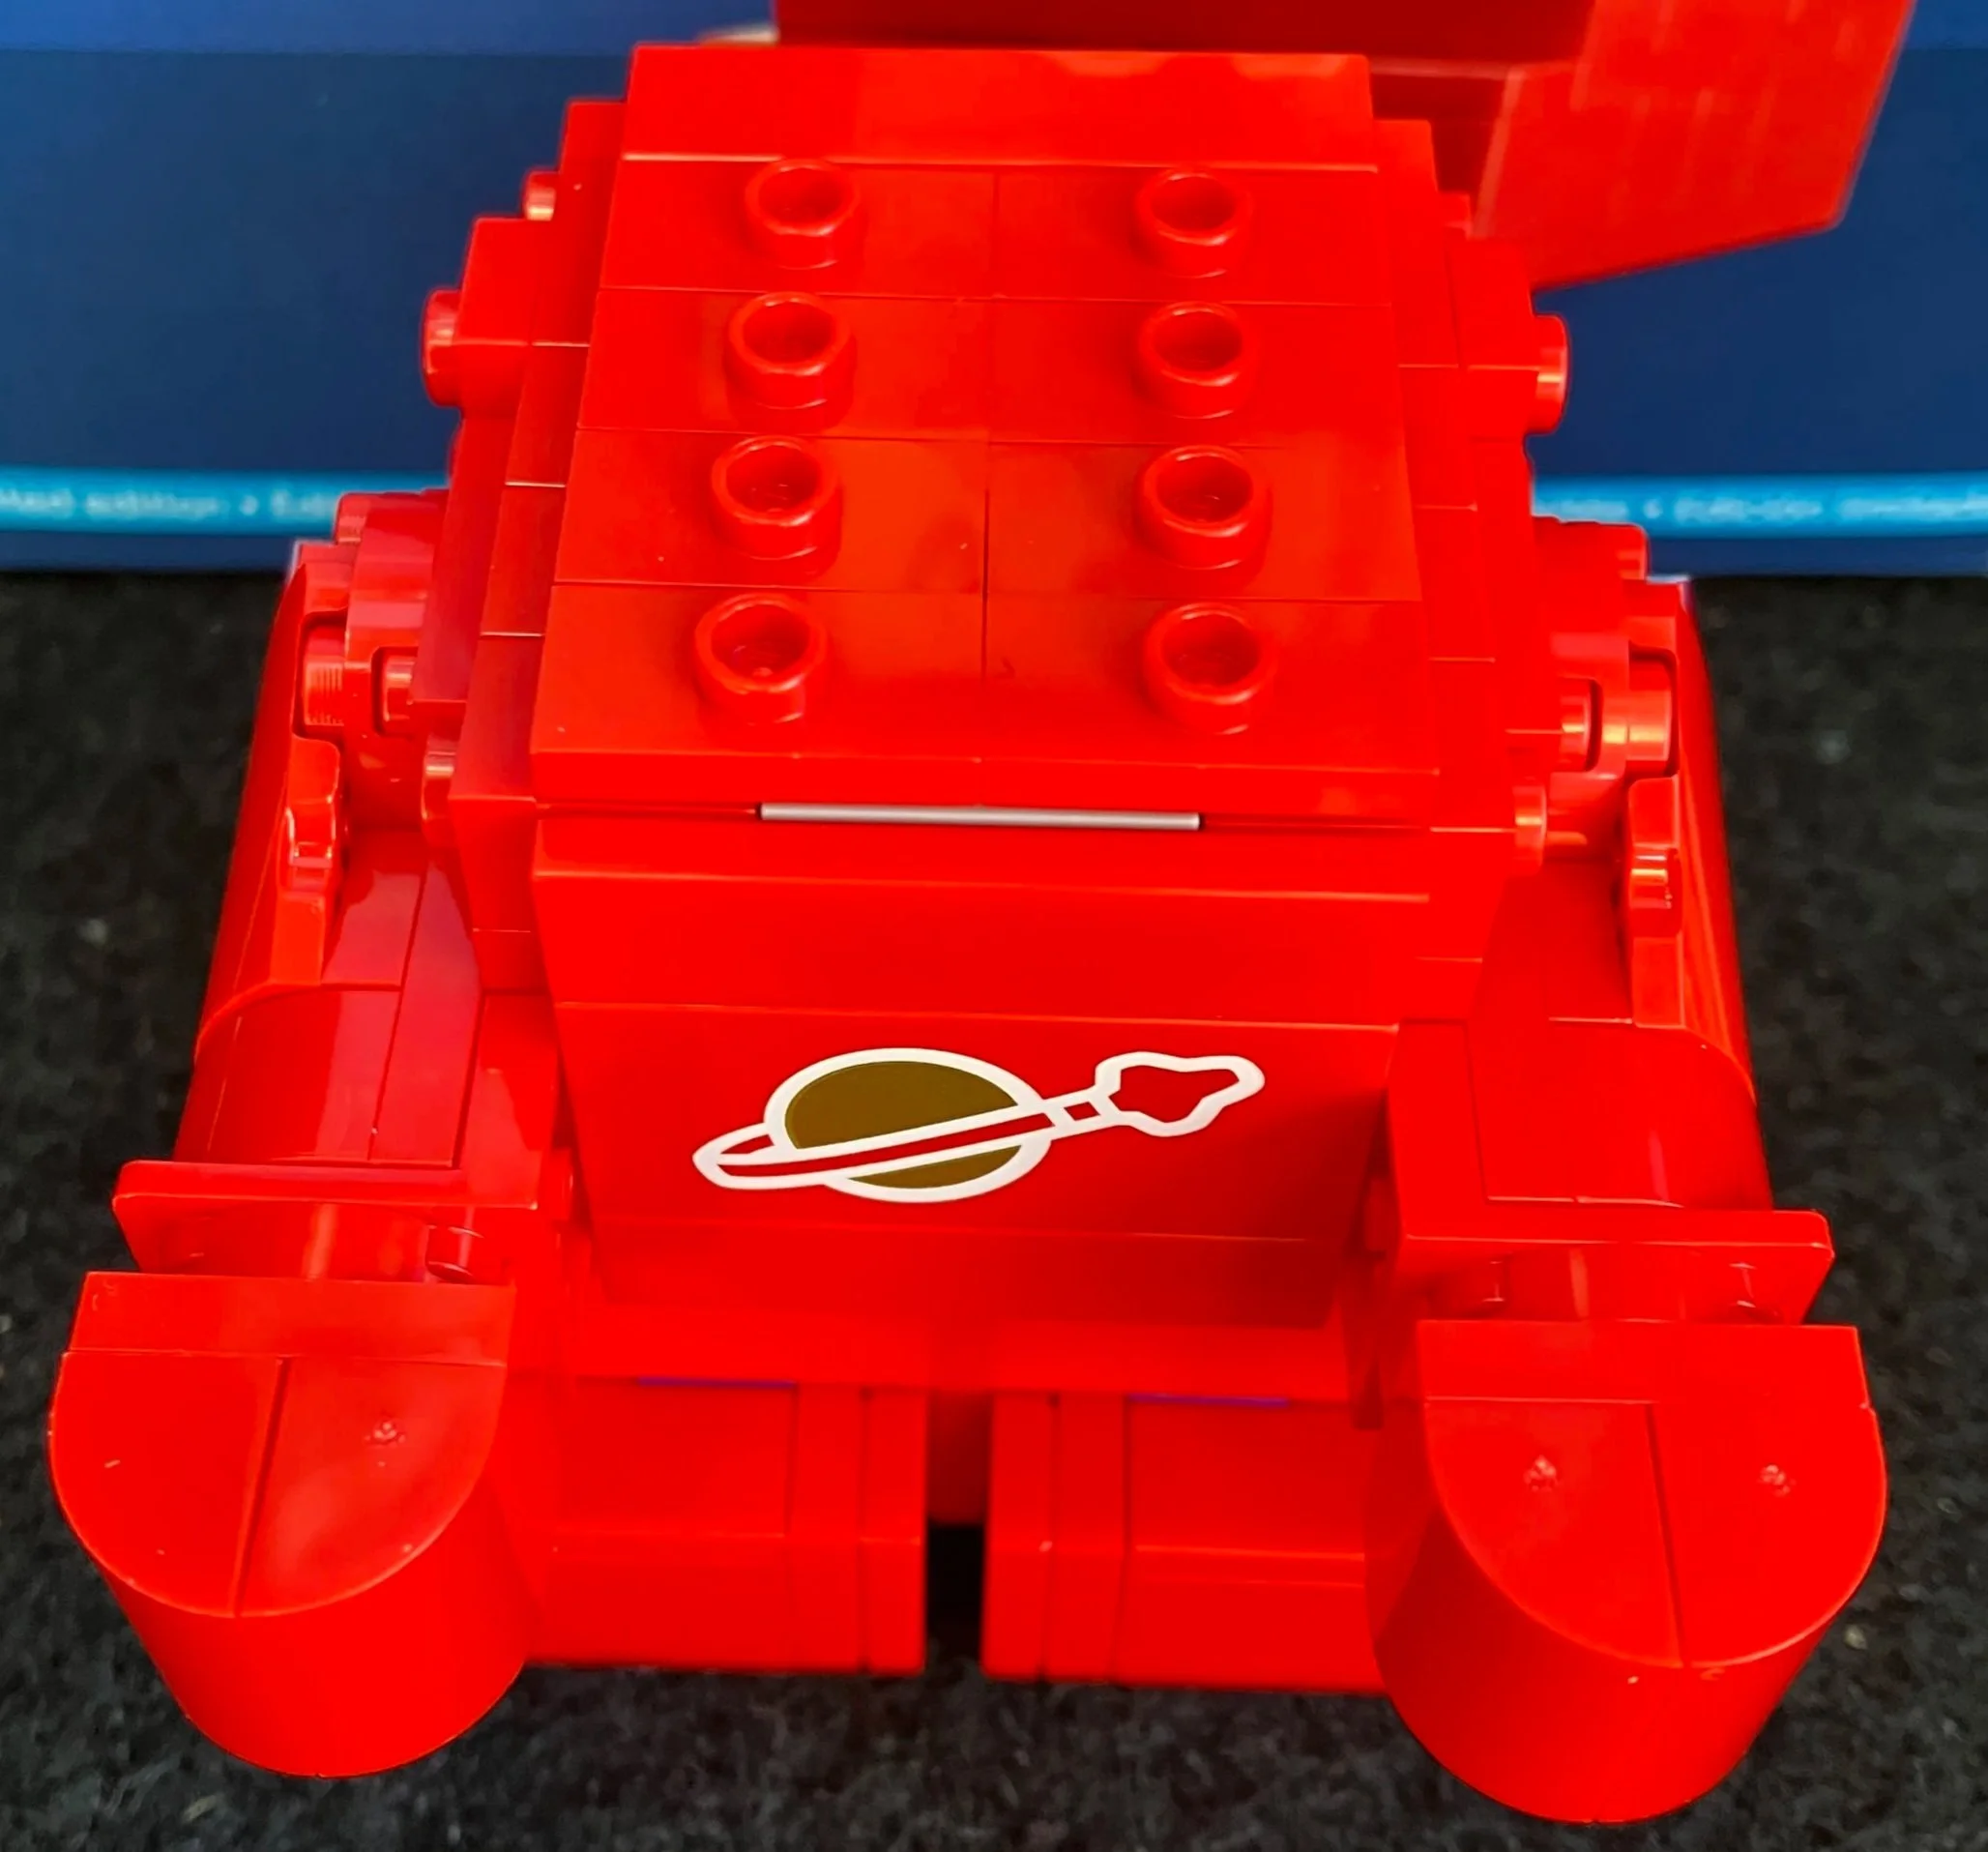
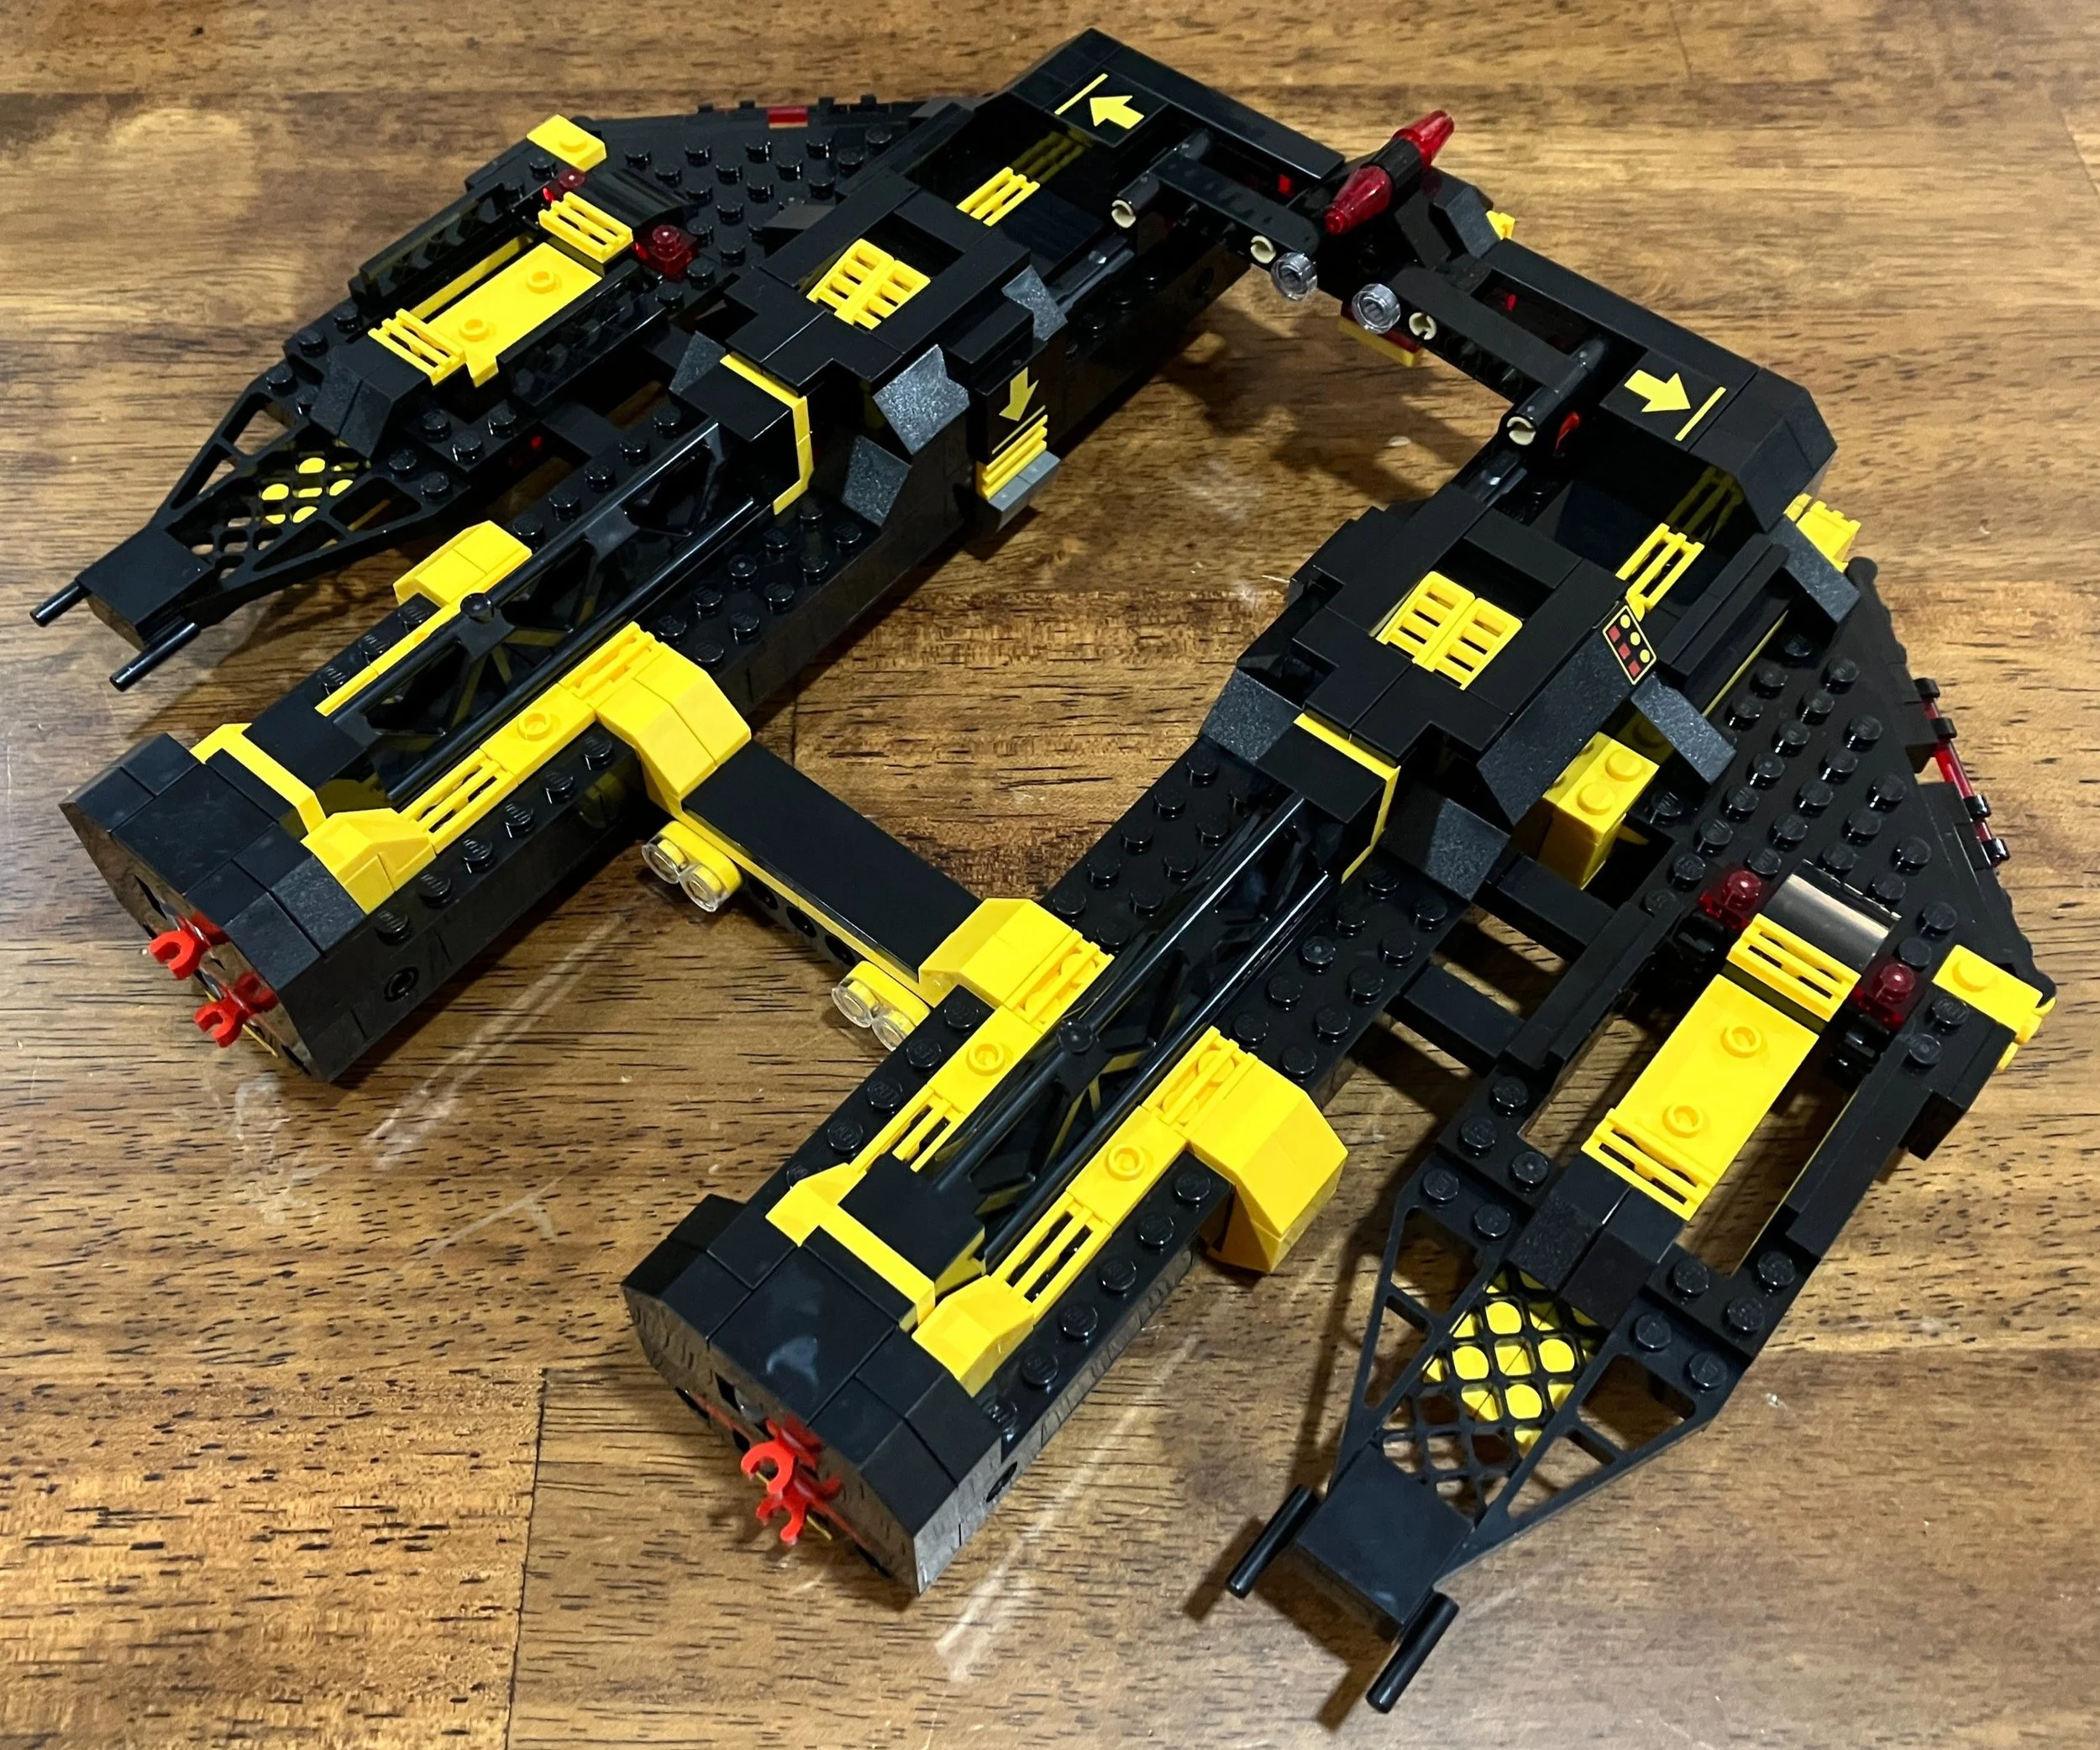
And here is bag four… The top is added on and there are some fun play features. You can drive the unmanned rover up and use a door that opens down to have it enter the larger rover. Then the windscreen opens up so you can add in the minifigures. The wheels are put on with the inside facing out and you add a Technic steering wheel and a another round wheel cover. The dark orange color is a nice touch too.

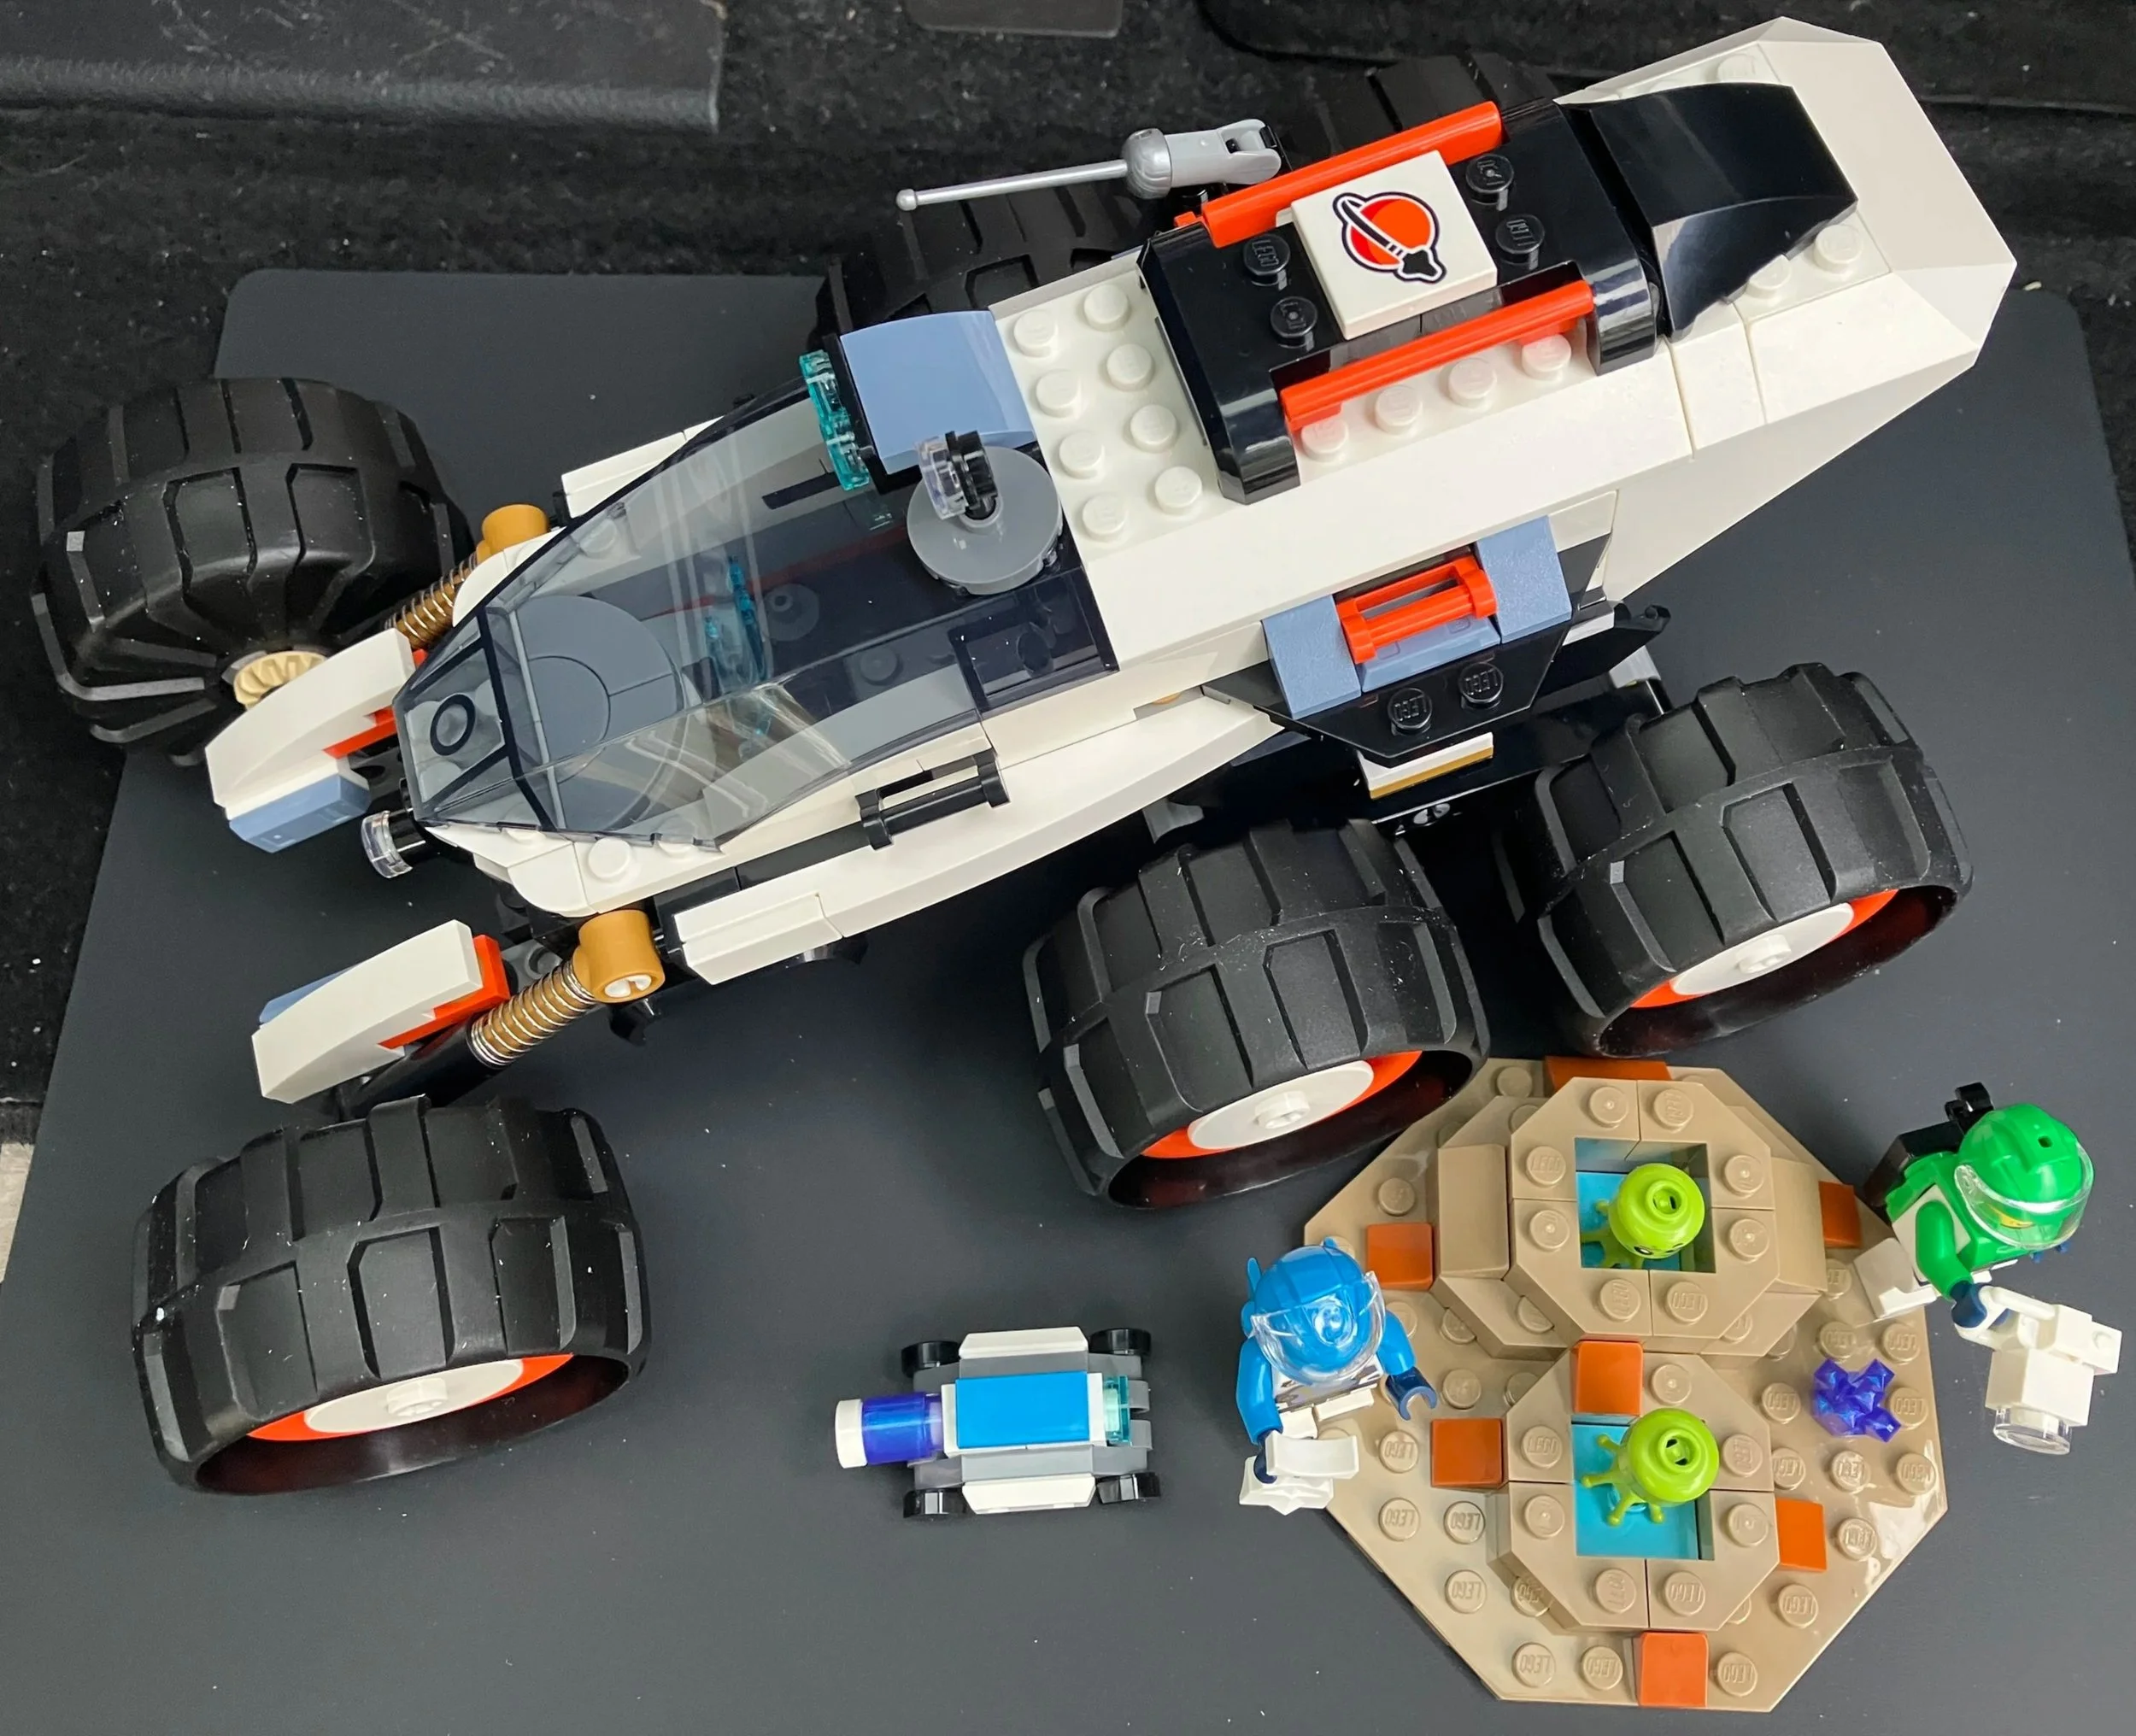
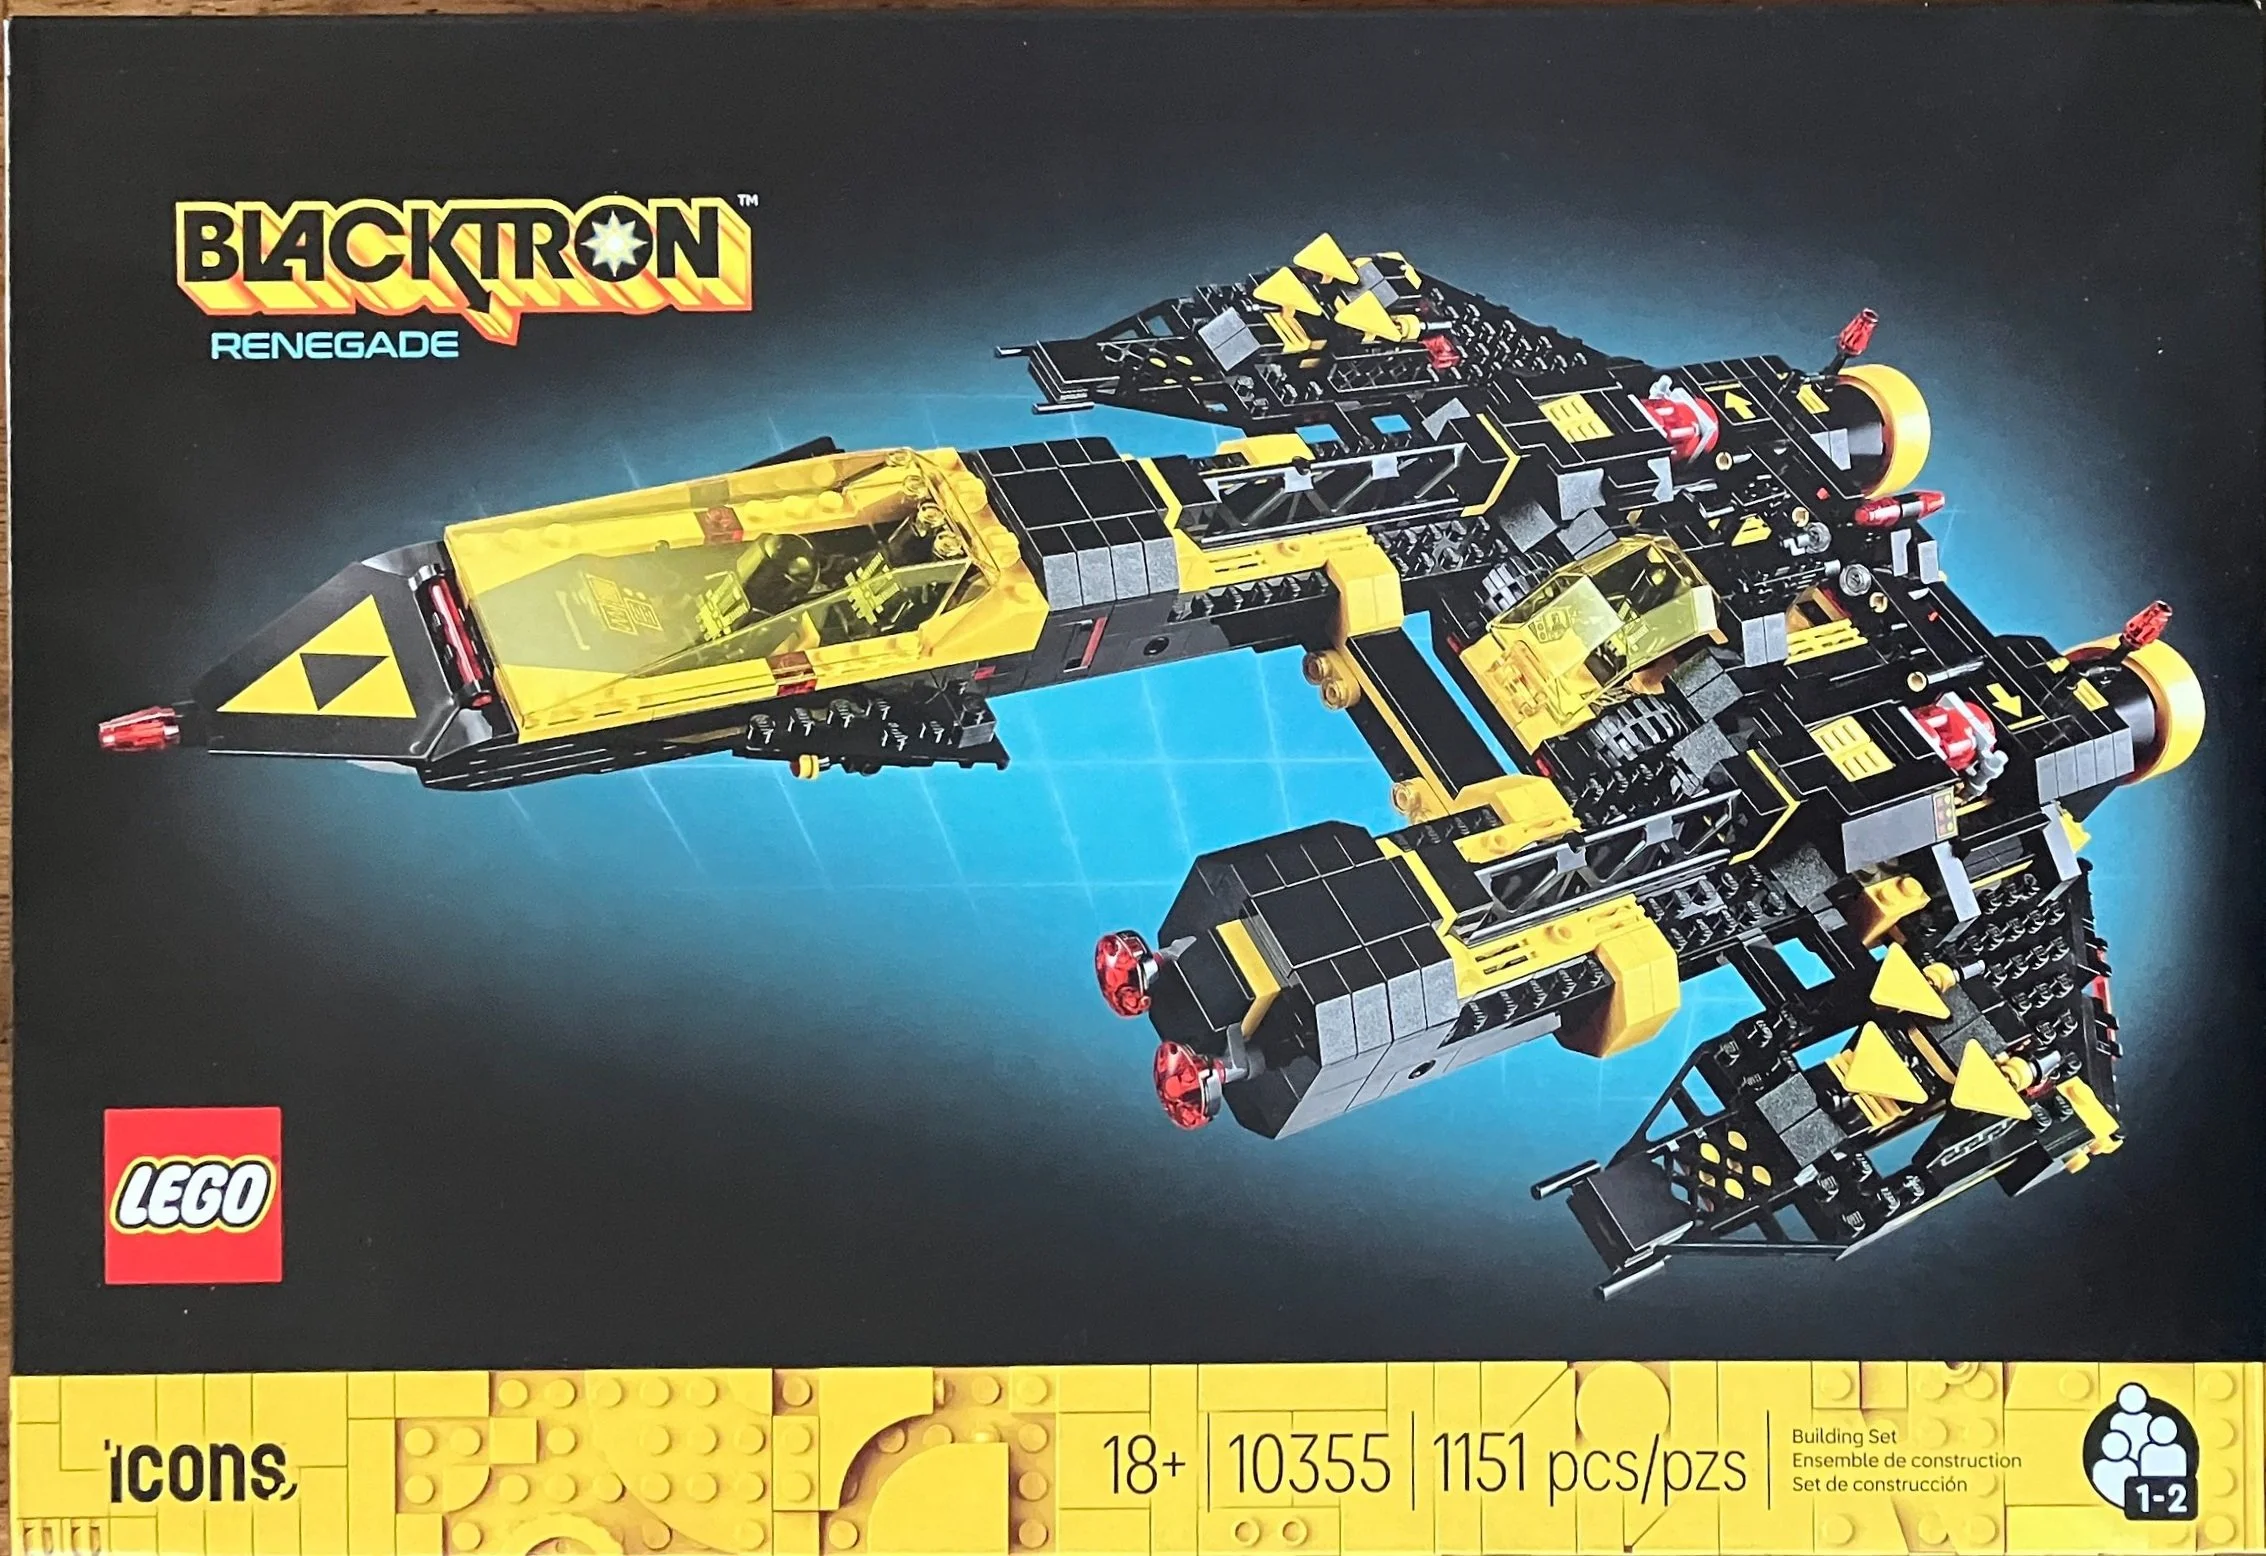
Here’s the final view. It’s a bit overpriced, but now that it’s showing up on sale, it’s more reasonable to pick up. There are some great play features (the off road axles) and a few fun pieces too. Two minifigures and the two aliens aren’t too bad either. It’s definitely not an 18+ set so if you’re looking for something more intricate, check out the Icons line.

Happy building!

BrickCon 2025 - Full STEAM Ahead - Mini Model

One more item to review from BrickCon 2025. The swag bag included a mini model in the theme of the convention. This one was smaller, but included two minifigures and a goat. It came in a small plastic container which was something I have not seen done before, but I like it. Here’s a picture of the container with the instructions also as a label on the inside and then some of the parts.

The instructions were just one sheet. You needed to figure out all of the individual steps. Not great for a new builder, but not a problem for someone experienced as a builder.

The first part of the build is a lab table with a chemistry experiment and a microscope. The has some drawers built in which is cool. There is a printed sand green tile with the theme logo which is cool to have an exclusive element like this.

Next up are the minifigures. First is the goat which was from #10332-1: Medieval Town Square. Then there’s a male minifigure with a prosthetic leg and a female minifigure with a shot. Apparently she’s going to shoot up the goat? Or maybe the dude? Not sure. Either way, it’s cool to get minifigures in the swag bag.

Here’s the final build to include the convention printed brick. There’s a lot packed into such a small set. Awesome job BrickCon team!

Last up is the BrickCon 2025 printed brick with the Recognized AFOL Networking Event 2025 print on the back. Another brick to add to my brick badge stash.

Hope to see you at BrickCon next year!

Happy building!

BrickCon 2025 - The Professor -Con Model Review

Every year, someone from the BrickCon crew puts a build together tied to the convention theme and it is developed into a model from scratch. This includes sourcing all the pieces, putting all the pieces into bags, getting custom prints done, developing the packaging art and getting it printed, and putting together instructions. At 297 pieces, this is not a small feat for a group of unpaid volunteers.

This year, the set was titled “The Professor” and it shows a brick built figure in a classroom teaching chemistry. There is a table and a board with some atomic elements which happen to spell out BrickCon (very clever). There are some great pieces used and even some movement, but back to the review.

The box this year is modeled in the way boxes were done back in the early days with the yellow color and angled stripe with blue text on the front. The front shows the full model while the back gives some of the set details. My set was #218 as you can see from the side of the box and another side had some notes about the model.

The set contains two parts bags. What were you expecting? Professional packaging? Two plastic zipper bags works for me.

The instructions are small and pretty complicated. To keep them short, a lot of steps are crammed together. As the audience of the set is experienced builders, they expect people to understand builds and to be able to piece it together without obvious piece by piece steps. I’ll admit that I made mistakes along the way. Whoops!

Here is the final build. The dark green wall and sand green tiles are awesome! I like the addition of some of the random printed pieces and the custom prints are incredible. No stickers. Yay! There is a Technic axle to pull out and push in to make the figure spin, but I need to make some adjustments to the set to make that function work better. It shouldn’t be too hard to do. Also, there is a whip piece that is supposed to connect between the beaker and one of the flasks. I couldn’t get the whip piece to stay. I’ll have to mess with it. Other than that, it’s a great build with some great parts. Thanks Jessie R. and the whole BrickCon staff for putting this set together.

Happy building!

BrickCon 2025 - The Only AFOL Convention With A Virtual Side

BrickCon 2025 is in the books. In case you missed it, it was held in person in Bellevue, WA from 4 to 7 September 2025 for AFOLs. However, you could attend from anywhere virtually online. I have been on the staff for a few years now and I help run the virtual sessions. I realize that makes me a bit biased when I write this, but I still think it’s a great deal. Here’s how it works. You pay $25, you get access to the same swag (I’ll show that shortly), attendance at the main sessions and presentations, you get the chance to win door prizes, you get to play virtual games with your fellow AFOLs, and you can attend whatever you’d like without having to travel to Bellevue, WA, get a hotel, pay for airfare, or whatever the case may be. This year we had around 55 virtual attendees which isn’t the most ever, but it’s not the least either. So pencil in to attend in early September 2026!

Onto the swag. Attendees have access to get some cool stuff. Here’s what I picked up.

Gotta get the shirt! This year’s theme was “Full STEAM Ahead” with a tie into Science, Technology, Engineering, Art, and Math as it relates to BrickCon’s Foundation efforts to support STEAM initiatives. I love the parts usage to make a SPACE logo.

Next up is the swag bag itself. Bricklink was a sponsor this year (shameless plug to visit the Bricks for Bricks Bricklink store) and so it has the Bricklink 25th anniversary logo. There were a few ads to include a sticker for Brick Architect (Tom Alphin was there and gave a presentation), a BrickCon sticker, a few BrickCon cards, and a BrickCon themed minifigure cape.

Brother’s Brick sponsored a lanyard for the in person folks to show their ID. Virtual folks get one too and you can use it as desired. I got a copy of Brick Journal as well although it is a year old.

This year included a brick built BrickCon logo (which I have received in the past). It also included a custom minifigure costume of a bottle with a BrickCon logo.

Like past years, you can request some custom engraved bricks. I got a few along with the 2025 BrickCon brick for my collection.

New this year was a building mat and ruler to help you with plate and brick heights and angles. The ruler was 3D printed. Both are awesome additions to the swag bag this year!

BrickCon gets bricks that you can buy and then trade with fellow attendees. As a virtual attendee, you have no one to trade with so you have to hope they give you some cool pieces. I got some parts I found useful this year so no complaints. 2x2 sand green tiles, 2x3 dark blue bricks, some trans-black curved windows, 1x4 brown tiles, 1x8 light gray plates with rails, and then some clear beverage containers with coffee/hot chocolate inside. I did good!

The swag this year included a little mini model with two minifigures, a custom printed tile, and a goat. You also get another BrickCon 2025 brick.

Last up, the convention model… I will give this one a separate review soon, but here is a picture of the box. I always grab these as they are a cool opportunity to get something unique from the convention.

Hope to see you all virtually next year. In the meantime, happy building!

Set Review - #40767-1: Up-Scaled Baby Astronaut - GWP

We’ve had a few up-scaled minifigures to include #40649-1: Up-Scaled Minifigure and #40819-1: Up-Scaled Racing Driver Minifigure. Leave it to LEGO to release an upscaled baby minifigure, but to make it a SPACE BABY! #40767-1: Up-Scaled Baby Astronaut was released as a GWP on 15 May 2025. It had two open periods. We’ll see if it shows up again. The set contains 250 pieces.

The front of the box shows the full set while the back also shows the full set only at an angle. Maybe they couldn’t think of anything better to do.

The set contains four parts bags and an instruction booklet.

Bag one assembles the legs and then starts on the torso.

Bag two builds the torso and arms. The hands are rounded pieces so you don’t get the look of a minifigure hand with the grip. I can think of a few ways they could have done it or even flipped the pieces they used around, but we’ll take it I guess. You get a 2x4 red printed tile with a classic space logo which is awesome.

Bag three starts on the head. No surprise item inside like the larger minifigures, but there is a printed mouth and eyes. Good to see no stickers.

Bag four finishes up the build with the rest of the helmet and then the oxygen tank.

There were a bunch of complaints about the arms and how you can see lots of studs towards the shoulder. A few people have posted their re-designs so if it irks you, feel free to use your own pieces to fix it. If you have a copy of #10497-1: Galaxy Explorer, then you have a 2x4 blue printed classic space logo and could try and turn this figure into a blue space baby. I’m not sure if all the other pieces are out there, but it’s got to be pretty close.

This is a GWP so depending on what you purchased to qualify for it, it’s either too expensive, just right, or cheap. You can grab it on the secondary market too. I recommend Bricklink. Like maybe the Bricks for Bricks Bricklink Store.

Happy building!

Set Review - #31212-1: The Milky Way - Art

I don’t normally build LEGO Art sets, but this one looked interesting to me. #31212-1: The Milky Way was released on 15 May 2024. It contains 3,091 pieces and retails for $199.99. This works out to $0.065 per piece which isn’t bad, but the majority of those pieces are very small so it might not be the best ratio. Although, you do get some of the big Art plates so maybe it’s a decent balance. I got the set for $160 during Amazon Prime week from LEGO so the additional discount helped make it a little more worth it for me.

The front of the box shows the full set and it highlights that you can build this set with between one and five people. It also mentions that there is a soundtrack where you can listen to a podcast while you build if you want. The back has the set name in French and Spanish along with a few more pictures.

The set contains 31 numbered parts bags. They are split between the main box and then another box inside the main box. You also have three bags without numbers, the instructions, and the numerous Art baseplates.

There are six instruction booklets. In theory, you can split this build between six different people if you want to. I split it between my kiddos and my NLS.

Bags one through three build the frame. It’s a pretty simple build with black bricks and plates with tiles on the top. The bricks are mixed with 1x2s that have Technic axle holes to help hold the different builds in place later on.

I’m not going to write about each section as the build process is very similar. You take one of the Art plates/panels. Then you add some parts to the back to connect it later on. Next up you add the various parts on the front for the design. Finally, you connect plates/panels together. The build starts on the left side of the design and goes to the right.

There are some very fun pieces mixed in to include utensils, brushes, hermit crabs, cherries, windows, flowers, and gems. The build went rather quickly for me. The only real challenge was to keep up with where you were on the instructions. The first panel starts with bags four, five, and six.

Bag Four

Bag Five

Bag Six

Bags seven and eight finish up the first panel. One difference here is the addition of what is described as a satellite. The instructions provide some additional details on the satellite and what it is known for. I won’t spoil it.

Bag Seven

Bag eight

The start of the second panel.

Bag Nine

Bag 10

Bag 11

Wrapping up the second panel.

Bag 12

Bag 13

Bag 14

Starting the third panel.

Bag 15

Bag 16

Bag 17

Finishing up the third panel.

Bag 18

Bag 19

Bag 20

Starting the fourth panel.

Bag 21

Bag 22

Bag 23

Finishing the fourth panel.

Bag 24

Bag 25

Bag 26

Starting the fifth and final panel.

Bag 27

Bag 28

Bag 29

Finishing up the last panel.

Bag 30

Bag 31

Here is the final build. You connect all of the panels together and then add Technic axles to lock it into the frame. There is a LEGO Art attachment on the back to hang the piece on a wall with a nail or screw. Also, there is one final step which is adding in a tile that says “You are here.” It is next to a piece used as an arrow to show where Earth would be located in the picture.

Overall, I enjoyed being able to share the build with my family and getting to see it come together. It didn’t have all of the build techniques of an Icons set or the minifigures of Star Wars or Harry Potter sets, but it’s still cool to see how it all comes together in the end. Getting the set on sale helped too.

I don’t think this set is for everyone. You have to appreciate the final product and a lot of just stacking pieces on top of larger plates. If this set doesn’t look cool to you, then stay away. If you have done other Art sets and want to try something a little different with some different shaped pieces, it’s a nice change.

Happy building!

Set Review - #10307-1: Eiffel Tower - Icons (and a light kit!)

Full disclosure… I’ve had this set for a long time… like a few years. It took a long time for me to finally start building, then to finish building, and then to add a light kit. So this review is long overdue, but the good part is this set is still available if you are interested in purchasing it. If you’ve read the blog or followed it, you’ll know that i spent some time living in Europe. I had a trip planned for Paris, but sadly, this pandemic shut down the borders and I never made it there. I did however pick up set number 10307-1: Eiffel Tower a few years ago. This set was released on 25 November 2022. It contains 10,001 pieces (the additional piece above 10,000 is the brick separator. This set retails for $629.99 which works out to $0.063 per piece which isn’t too bad. I picked this one up a few years ago when LEGO ran a sale on it around Black Friday. I used some Insider Points as well so in the end I think I paid like $200 out of pocket. There was a GWP so even better. I don’t think I could have swallowed the $630 in one chunk so I’m glad I scored it when I did and that I had the points to help.

The box is huge. The set come in it’s own box and I had it shipped so the box was in another box. Here are the various sides of the box.


Here’s the top and then when you open the first flap, the next flap has a quote from Mr. Eiffel along with his picture.

Inside the box are three numbered boxes that fit together to form the Eiffel Tower as a picture. The other cool part is that you assemble the sections of the tower on each box using the parts in those boxes. So box one builds the base and the four legs. It’s not an exact match, but it’s pretty close.

The set comes with 74 numbered bags, a few bags without numbers, some parts not in bags, and then three instruction books (one in each box). Below are the contents of each of the three boxes.

Contents of Box 1

Contents of Box 2

Contents of Box 3

With 74 bags, I decided it best not to go through each bag. If you want a full up review that goes step by step, you will have to look elsewhere. Sorry.

The builds starts with the base of the tower. This is created with Technic pieces and system parts. The first picture is from bags five and six. You can see the four spots where each of the legs of the tower will connect and then the center section which will become the area where there will be trees, lights, and benches. Of note, throughout this build, there are multiple bags for each instruction section. I’m not sure why they didn’t just number it step five and have two bags numbered five, but it works.

Bags 17 and 18 show a finished off center section and then they start to form the base of the tower in each of the corners. While the majority of the build from here on out is with gray pieces, it was nice that they used a few other colors so you can tell different corners apart.

By bag 28, you finish all four legs and you connect them with an initial frame. The legs are all built in a similar fashion and you use various gray pieces to build the internal frame of each leg. The frame does not actually provide any structural support. It’s just there for looks.

By bag 32, you add more of the detail of the structure connecting each of the legs. I like how they came up with the curved section by using flex tube and then different pieces connected to the frame at different lengths.

Bag 50 finishes up the next level and the next section of the tower. Each of the sections are similar to the legs using various parts to make the framework that doesn’t actually provide structure.

Bags 62 and 63 finish another section of the tower. In the center are little elevators. This section goes on top of the section from bag 50.

There is another level on top of the previous level. Then there’s the top. Bag 73 and then 74 build the very top (as seen in the next two pictures). It was great to have color at the very end with the flag at the top after all that dark gray.

Here’s the final build. It looks incredible and it’s so tall! I enjoyed the build although it was spread out over quite a bit of time. There are a lot of repetitive sections and you build with a lot of dark gray so that can be a turnoff for many. Also, once you are done, you need to have a place to put this. It won’t just fit on a small shelf or table in the corner. It takes up some space!

Getting this set with the discount and Insider points helped. I’m not sure I would have picked this up without a substantial discount and GWP.

What are your thoughts? Too gray? Great model of a landmark? Too expensive? Fun build?

When I bought this set, Light My Bricks had a light kit for this set on sale for about half off. I forget the total price. It originally was $260 and I think I got it for $130, plus they threw in some extra lights. (Note I purchased the 1.0 kit, not the 2.0 kit). I have reviewed a light kit before from a different brand and that one wasn’t too bad to install. This one was a beast! Besides all of the very small wires and connections, it was a challenge to thread all of the wires into the right places and to follow the instructions of what to remove and where to hook things. I definitely made incorrect connections along the way. The 1.0 kit starts with lighting up the base of the tower with little lights on many of the small lamps (you remove a bunch from the original build). This part took a very long time for me to get right. I ended up breaking a few pieces and had to ask Light My Bricks how to purchase replacement pieces. They were kind and send me new pieces for free. Once I got the base complete, you start to light up the legs of the tower. This uses some thicker strands of LEDs that make the set look awkward in the day time. At night and in the dark, you can’t tell and the lights look great. You also add in some RGB strips for color at each of the levels of the tower. I installed a few wrong so the colors aren’t all synchronized like they should be. Finally, at the very top, I followed the instructions and the two white lights don’t come on. At this point, I’m done messing with it so it will stay dark at the top in white mode, but will look great in color mode. Here are two pictures below of the lights. The white looks great (except for the very top) and the color is a cool function with the ability to set different levels at different colors or to have it continuously change color.

After this experience, I don’t think I will do another light kit. While the end product looks cool, it was too stressful for me to build. I enjoy assembling LEGO sets, but adding in the light kit was more frustration than it was worth. Light My Bricks has a 2.0 series out now which they claim is better. The instructions are supposedly better and it’s designed to show less wires. Has anyone tried them out?

Happy building!

Set Review - #10350-1: Tudor Corner - Modular Buildings - Icons - 1

WOOHOO! Another modular building to add to the lineup. This one is #10350-1: Tudor Corner and it was released at the start of the year on 1 January 2025. It contains 3,266 pieces and retails for $229.99. This works out to $0.070 per piece which isn’t too bad.

The front of the box shows the set built from the outside with the Icons logo and greebling along with the Tudor Corner name. The back shows the set near the other recent modulars and some of the details. These include #10312-1: Jazz Club and #10326-1: Natural History Museum.

The set contains 20 numbered parts bags with each number having one bag. There is one bag without a number that contains some larger plates. The instruction book is in paper packaging and the baseplate is in a paperboard envelope.

Bag one assembles the base. Like most modulars, this step is a lot of tiles. You add a few pieces of the walls as well as the Technic pins to attach this modular to other modulars. This bag contains a female minifigure with an umbrella and a hat.

Bag two adds a lot of the flooring tiles and plates for the inside of the structure. You also build up some of the walls around what will become the bathroom and install the toilet with some toilet paper. The toilet appears to have been flushed which is a good start. No brown plates or tiles inside.

Bag three adds the haberdashery where various articles of cloth and materials are sold along with some hats. There is also a mannequin figure inside. It’s a full minifigure, but the face is blank. This section comes with a male minifigure who you can have work there. I built this set with my kiddos and we found that the desk in the back of the store is a bit tall. You either need to add a brick for the minifigure to stand on or lower the desk so he can see over it. Behind the haberdashery is a very small kitchen for the Old Guarded Inn (I can call it a pub. LEGO can’t). The kitchen is very small. A minifigure has no chance of bending over or getting to anything, but somehow they can manage I guess.

Bag four builds up the walls and adds the bar area of the pub with some food details, drinks, and barstools. The barstools are tiles instead of plates so a minifigure can sit on it, but will fall off if you hit the building too hard. You can easily switch the parts out for plates on your own, but a missed opportunity for playability there.

Bag five adds to the walls and adds in some stairs to the next level above the small bathroom.

Bag six just about tops off the walls, adds a front to the haberdashery, and starts the angled wall for the pub. This bag adds a minifigure to be the server for the Inn.

Bag seven adds a section of the wall for the pub. This section is on an angle and you use some clever techniques to keep the the angle while still staying within the tolerances for LEGO. I like the use of the dark green coloring with the black and the gold.

Had I remembered to take a picture of what bag eight did, I would be able to tell you that it adds a curve on the outer wall of the Inn with some printed tiles for the menu and specials. Then it adds another window and wall section for the front of the Inn.

Bag nine finishes the first floor. There are tiles with a few jumper plates added in around the tops of the walls for the connection to the next floor. Railings are added to the stairway. Also, a small gold fence is added above the pub with some plants. Additionally, some red awnings are added over the windows of the Inn.

Bag 10 builds the base for the second floor, adds in some tiles, a few wall parts, and a male minifigure with a big moustache.

Bag 11 adds some of the walls and the stairwell to the next level.

Bag 12 starts to assemble the clock makers shop. Along with the minifigure, you add a desk and start assembling various types of clocks. It’s pretty impressive the number of different designs of clocks they came up with to put in the shop. You also add more to the wall and build a window.

Bag 13 proves you can build as many LEGO clocks as you want. I was impressed to see that the clock designs just kept coming. You also add to the walls and outer decor which are all great, but the clocks are what stood out to me.

Bag 14 finishes up the floor with the rest of the walls and windows, plant life, and tiles on top so you can easily add and remove the next floor. I took this picture with level two on top of level one and I really like how the first floor has the added angle above the inn which is not continued on the second floor.

Bag 15 builds the base of the third floor and starts the Tudor style as you can see in the front of the picture with the angled pieces. The build isn’t that challenging, but it’s a good use of slopes and SNOT pieces to achieve this effect.

Bag 16 starts to build some of the walls and some of the interior to include items for the cats that live there.

Bag 17 adds more to the Tudor style walls and a window. You also get a minifigure that lives there with the cats.

Bag 18 finishes the floor with some additional details to include a book shelf, a rug, and a plant. You finish up the walls and add tiles to make sure the roof can be added easily.

Bag 19 adds the red sloped roofing. While not challenging to assemble, the dark red is a great contrast with the rest of the building and the use of angle pieces lines up well with the design.

Bag 20 finishes the set. You put a roof on the building which comes with a chimney sweep. You also add a chimney which the instructions say was left on after a building renovation for aesthetic purposes, but doesn’t actually connect to anything below.

Additionally, you add a bicycle with a cart in the front for transporting cats (I guess).

There’s a cool printed tile to use for a clock out front of the set that is added on.

Finally, you add a small chain fence in the front which the instructions say are also historical.

Here are some final pictures of the set. It was a great build and it was fun to see something different in the modular building lineup. You get some good pieces and the minifigure selection isn’t too bad. I still wish the price was lower, but I’m not sure there’s much we can do about that these days. I purchased when there was a double Insiders points event along with a GWP so that lessened the blow somewhat.

My downside for the set… I thought the little notes in the instructions got old. I understand LEGO is trying to create storylines within the modular building theme, but some of the references were a little corny. I say just keep the story to yourself so we can focus on the build.

What are your thoughts on this one?

Happy building!

Set Review - #10355-1: Blacktron Renegade - Icons

I was pumped when #10497-1: Galaxy Explorer came out and I was equally stoked to see #10355-1: Blacktron Renegade show up as a companion Classic Space vehicle. This one was released on 1 January 2025 and retails for $99.99. It contains 1,151 pieces which works out to $0.087 per piece. This isn’t too bad. This one is set to retire at the end of this year, but was recently on discount for LEGO Insider Days so it will potentially be on sale again at LEGO or at other retailers.

The front of the box shows the full built set with the old Blacktron logo. The bottom has the greebled Icons look. The back shows some of the play features, the size, and how you can build other models with the pieces using instructions that can be found online using the Builders App.

The box contains eight numbered parts bags. Not sure why they are so big, but sure… There are two instruction booklets. It’s set up so you can build with another person. One builder can build the ship while the other builds the ground rover and the crew compartment of the ship.

Bag one builds the ground rover vehicle. It has four wheels, a crew compartment with a trans-yellow cover, holders for a camera and metal detector and then storage space. This bag comes with a minifigure and robot. It’s a pretty simple build, but I think it looks good and fits in line with the classic Blacktron style.

Bag two builds a crew compartment that resembles that compartment from #40580-1: Blacktron Cruiser GWP. This one carries two minifigures and the fold out wings on the sides are a smaller than the Blacktron Cruiser. The front uses a printed triangle with clips instead of a solid sloped piece like the Cruiser uses. The only challenge I had with this section was assembling the laser in front. I’m not sure if I did it wrong or if the instructions didn’t explain it well, but I couldn’t get the yellow 1x1 round plates to fit into the section of the camera that was stated. The camera still fits, but it’s not as sturdy as it could be since I didn’t get this section right.

Bag three assembles the main frame of the ship. Technic pieces hold together the two sides and the rest is a mixture of plates and bricks. You also add in the landing gear which are the same as the recent Galaxy Explorer. I found these a bit hard to access when swooshing it around, but it’s not a major issue.

Bag four adds more detail and structure to the frame.

Bags five and six add additional plates to keep the build sturdy along with some other parts to add to the aesthetics. The front has clips to add or remove sections of the ship as desired.

Bag six adds the drop-ship capability to clamp onto or drop off the ground vehicle. You install a Technic mechanism where you move it to one side or the other and it releases the clamps that hold the vehicle. It’s pretty simple, but gets the job done and is a fun play feature.

Bag seven adds some rocket motors. These can be added or removed in the same way the other sections clip onto the main frame of the ship in the front.

Bag eight finishes the model. You add in some small ships that clip onto the main frame in the symbol of Blacktron, a communications section in the front, and some power packs that don’t stay on if you swoosh the ship at too much of an angle. The instructions throughout the build guide you through what you are building and explain what they are as they aren’t 100% obvious when looking at them.

Overall, I enjoyed the build and I think the end product looks great. Growing up as a LEGO Space fan, I was easily suckered into buying this set. My kiddos had fun playing with all the functions, but at $100, it’s not exactly in the kiddo price range. It was recently on sale for Insiders Day and we’ll see if it is on sale again before it retires. If you’re not a Space fan, it might not be the best to get unless you’re looking for pieces like the trans-yellow canopy pieces.

I look forward to re-building some of my other space sets and getting a few space scene pictures for the blog in the future. In the meantime, happy building!

Set Review - #76934-1: Ferrari F40 - Speed Champion

If you’ve followed this blog for a while, you’ll know that Speed Champions set reviews don’t typically show up here… well… ever. There is always a chance for a first, right? I ordered set #76934-1: Ferrari F40 to add to the Bricks for Bricks Bricklink store in the future. When the set arrived, the box was beat up pretty bad from shipping (as in, it was opened). I sent a damaged item request in expecting to send it back and was told to keep the damaged set and I would get another one. So why not build it?

This set was released on 1 August 2024 and it contains 318 pieces. It retails for $26.99 which is insane that Speed Champions sets have gone up so much in recent years. Still, the set is $0.085 per piece, which isn’t too bad, but don’t forget that the pieces are pretty small.

The front of the box shows the set with the Speed Champions logo. The back gives a few more views along with a picture of the actual car.

The contents are four numbered parts bags, a bag with two sets of hubcaps, a base piece for the car, a sticker sheet with a bunch of tiny stickers, and the instructions.

Having never built a Speed Champions set before, I did not realize how much detail is packed into these sets. Just in this bag, you add some of the initial internal structure in, you get seats, a parking break, a shifter, and a few printed pieces. This bag includes a female minifigure with a shirt with the Ferrari name on it. She has a wrench to help tune up her vehicle.

The second bag installs the engine, the back, and the doors. Compared to the real car, the designers did an amazing job using some small pieces to capture all of the details. The engine isn’t exactly super detailed, but it works for the size. There are a few small stickers that you add in. I wasn’t a fan of trying to get them on, but I made it work. I was also impressed how they got the angle of the door to work in a small space.

The third bag starts to go to the details on the front of the car. It’s really starting to come together.

The fourth bag wraps up the car. I was thankful a few pieces had printing versus stickers. Definitely the windshield and the main logo on the hood of the car as printed pieces were perfect as I’d mess those up. Spoons as the mirrors are not the greatest look, but it captures the main idea. At the risk of repeating myself over and over, I’m just shocked at how much detail is packed into such a small space. The designers really got the look of the car with a lot of small details. It’s impressive the pieces LEGO has now and what you can do with them. I like how this car turned out. I’m not a fan of the stickers. I’m glad there was some printing, but overall, they were tiny and a pain to get on some of the pieces. Although I can’t imagine the cost of this set with no stickers and all printing. At $27, this single Speed Champions car is expensive. I got it for $21 (before it was wrecked during shipping and given to me for free) and even that’s too much. I get that LEGO and their retailers need to make money, but this is more of a $15 car and then $12 on sale in my opinion.

What do you think? I say if you are a Ferrari or Speed Champions fan, grab this one, otherwise find another set to buy.

Speaking of other sets, back when we had a Creator Expert line, LEGO build set #10248-1. It’s slightly bigger and I have to say they look great together! I need to find a fun way to display it, but there’s an opportunity for LEGO to make Speed Champions and then a corresponding LEGO Icons car to go with it at a higher price point. That way suckers like me will grab both.

Happy building!