Modular Building

Set Review - #11371-1: Shopping Street - Icons - Modular Building

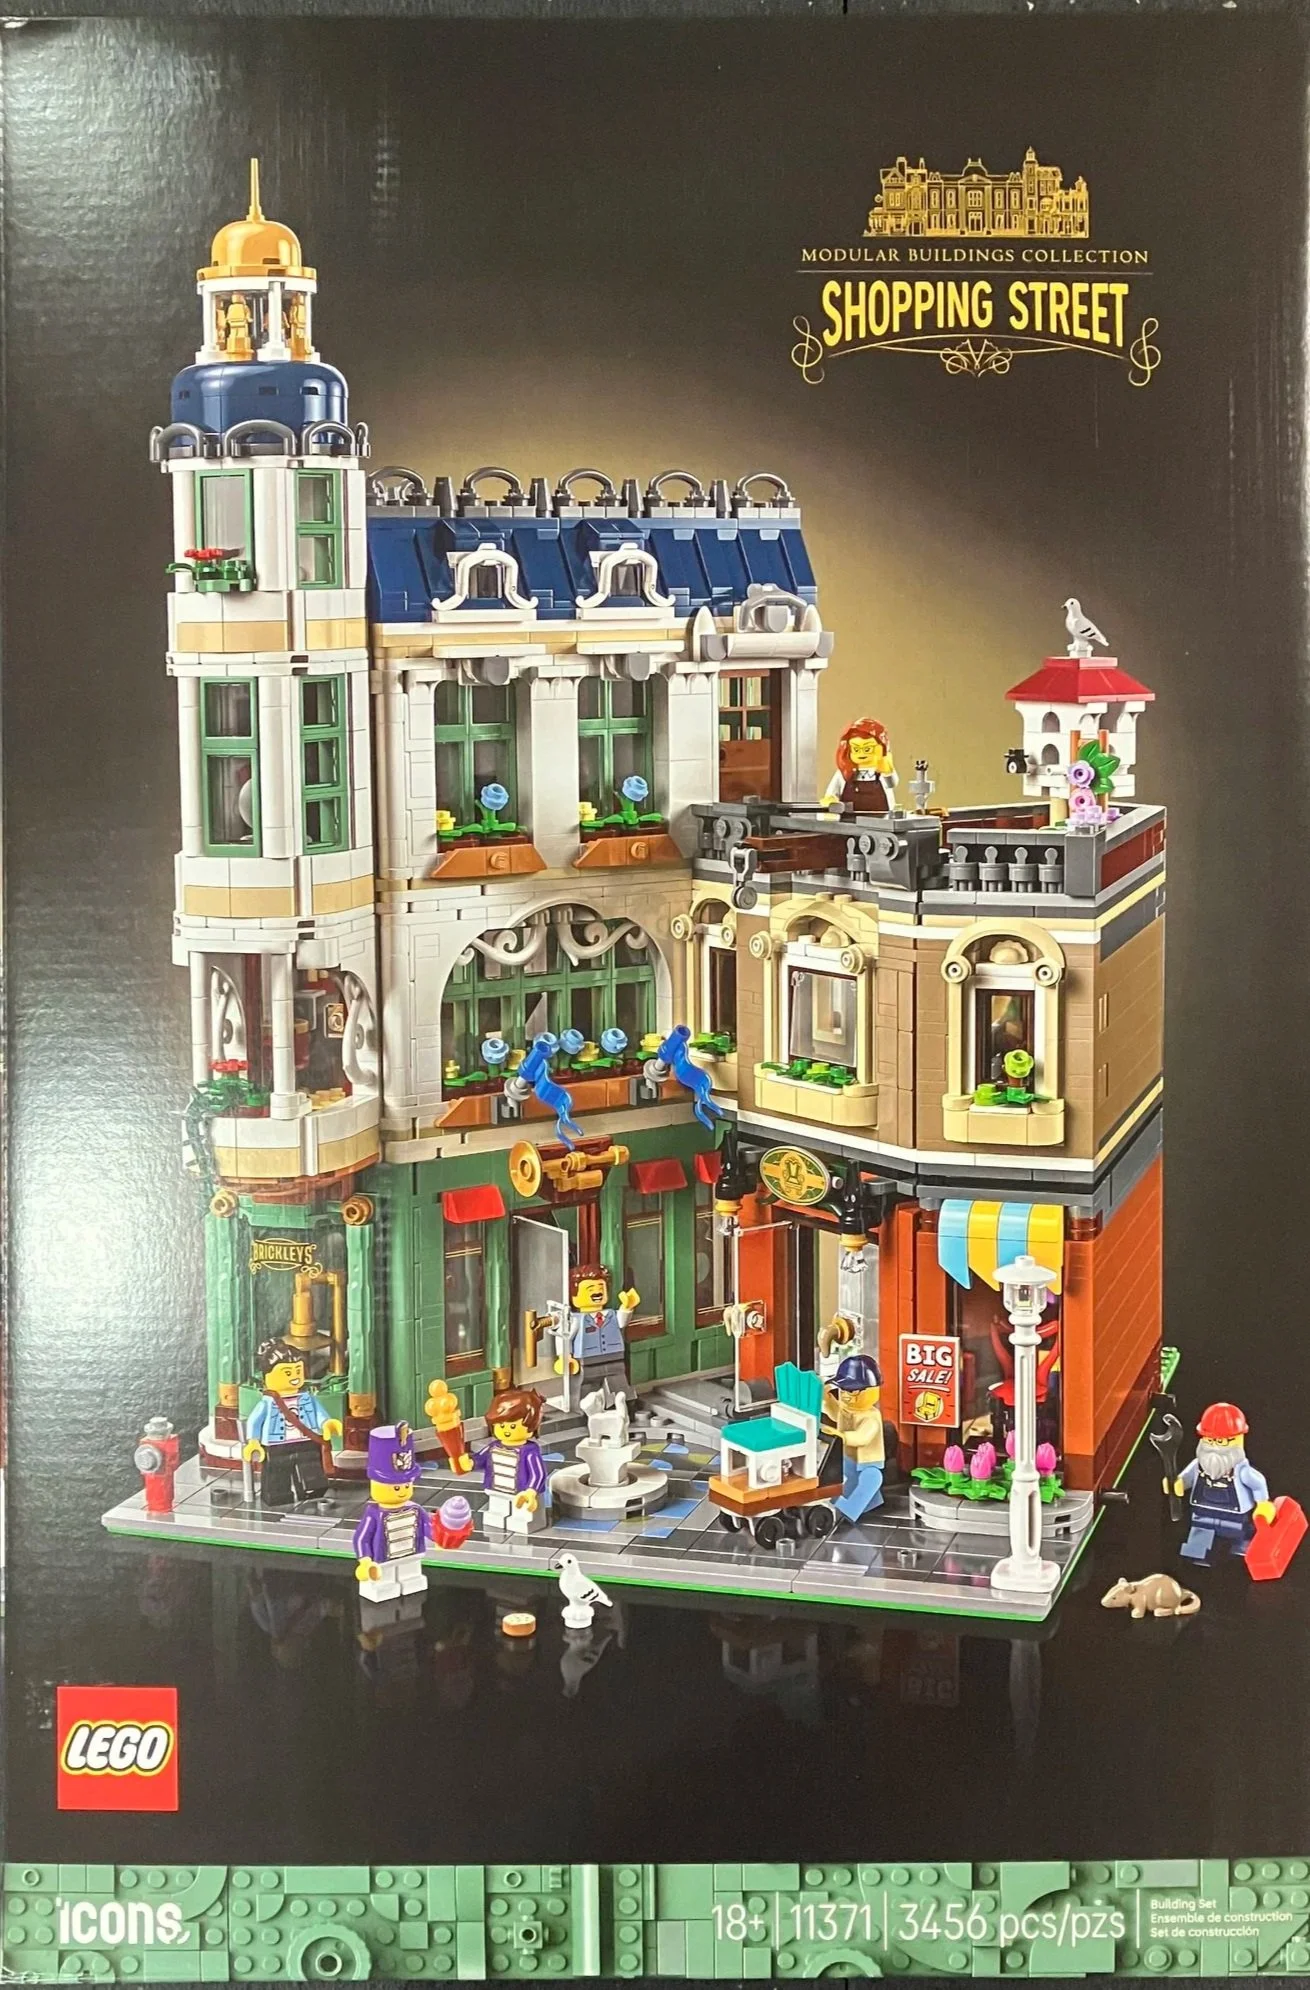
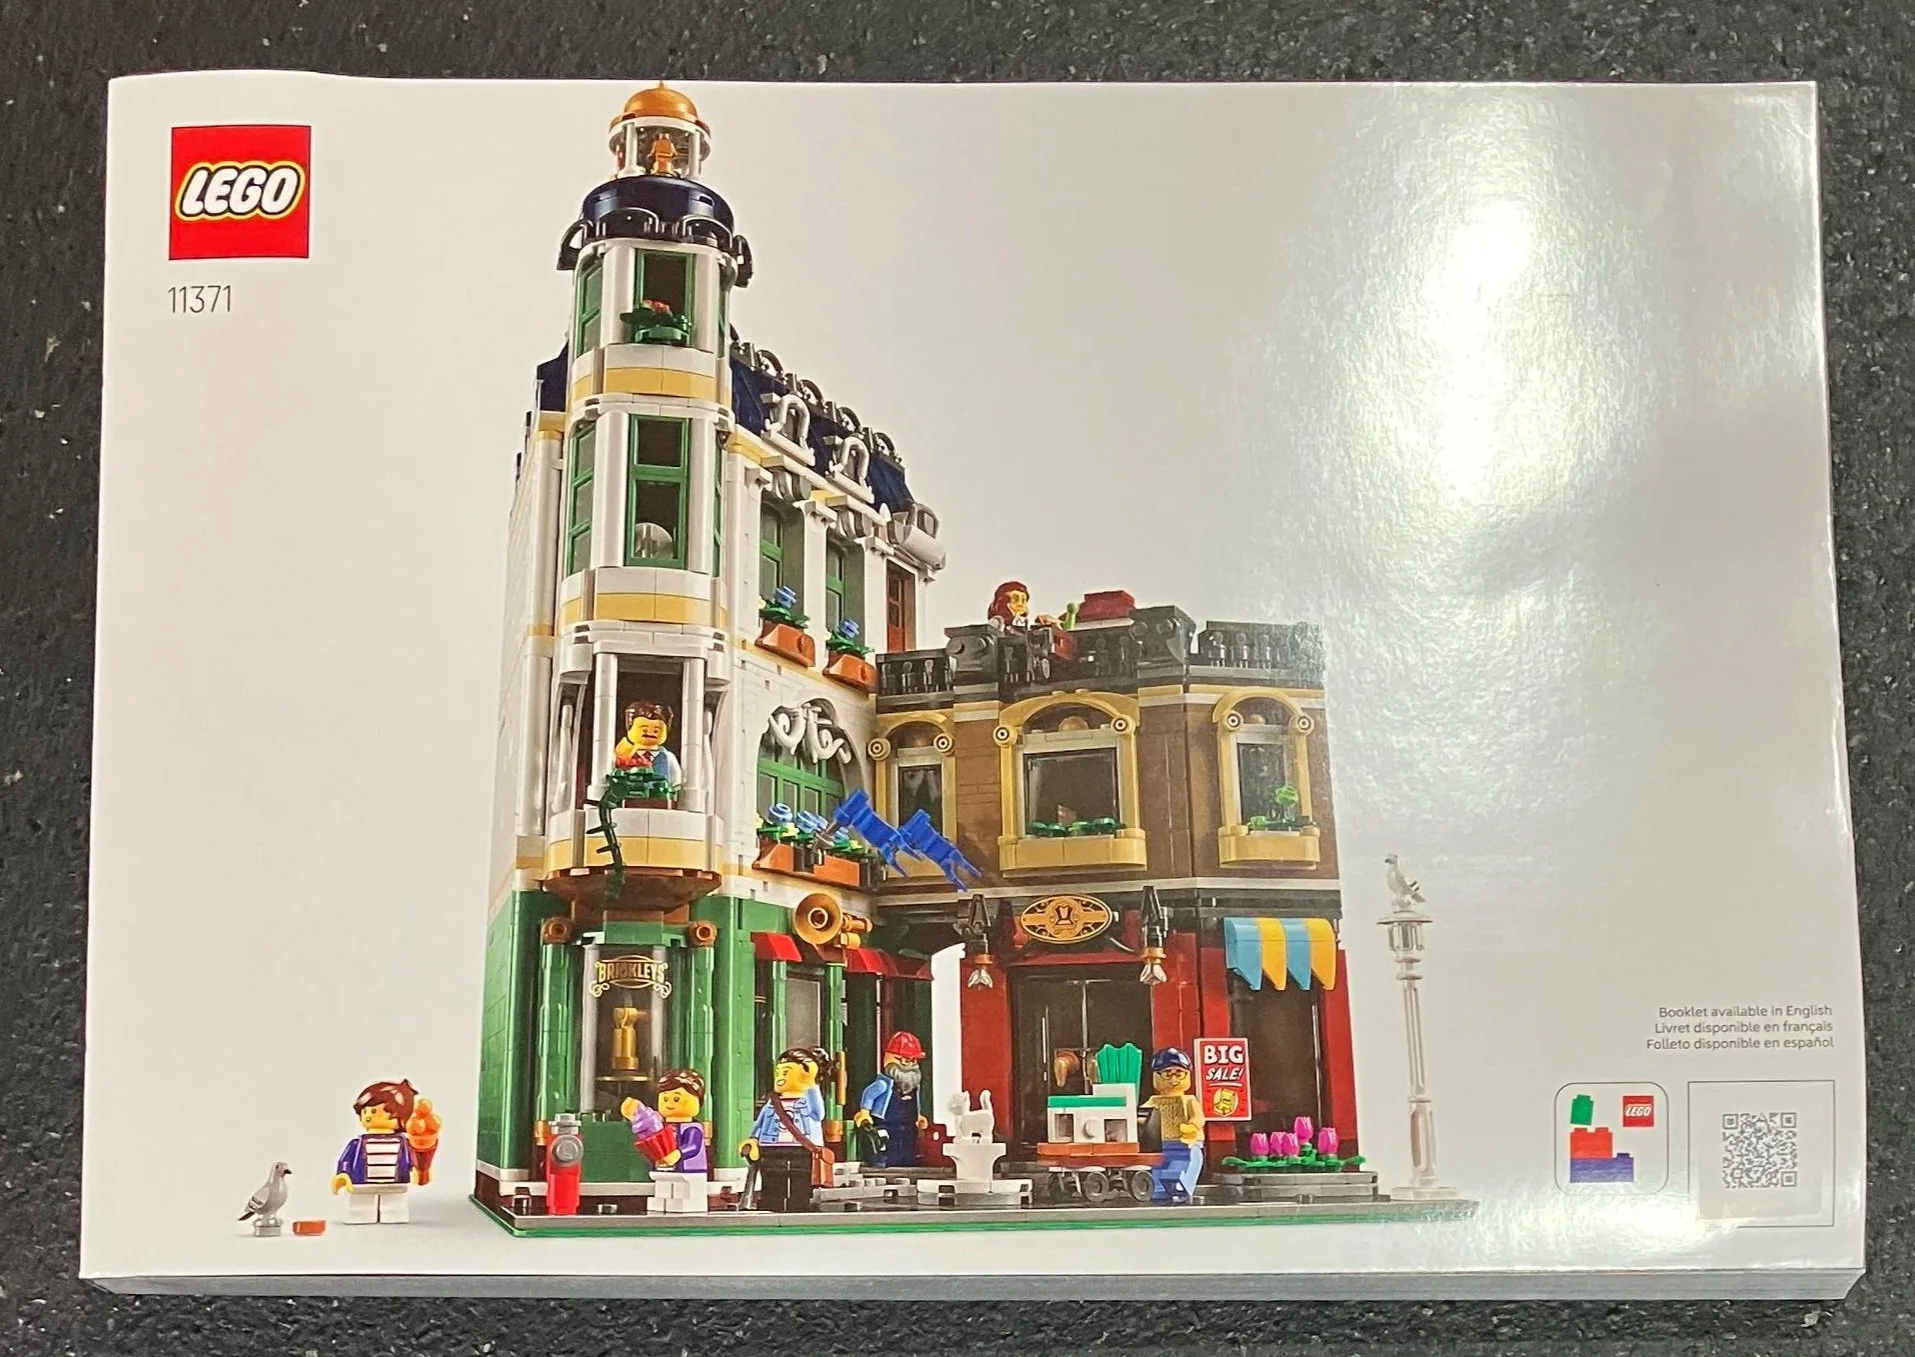
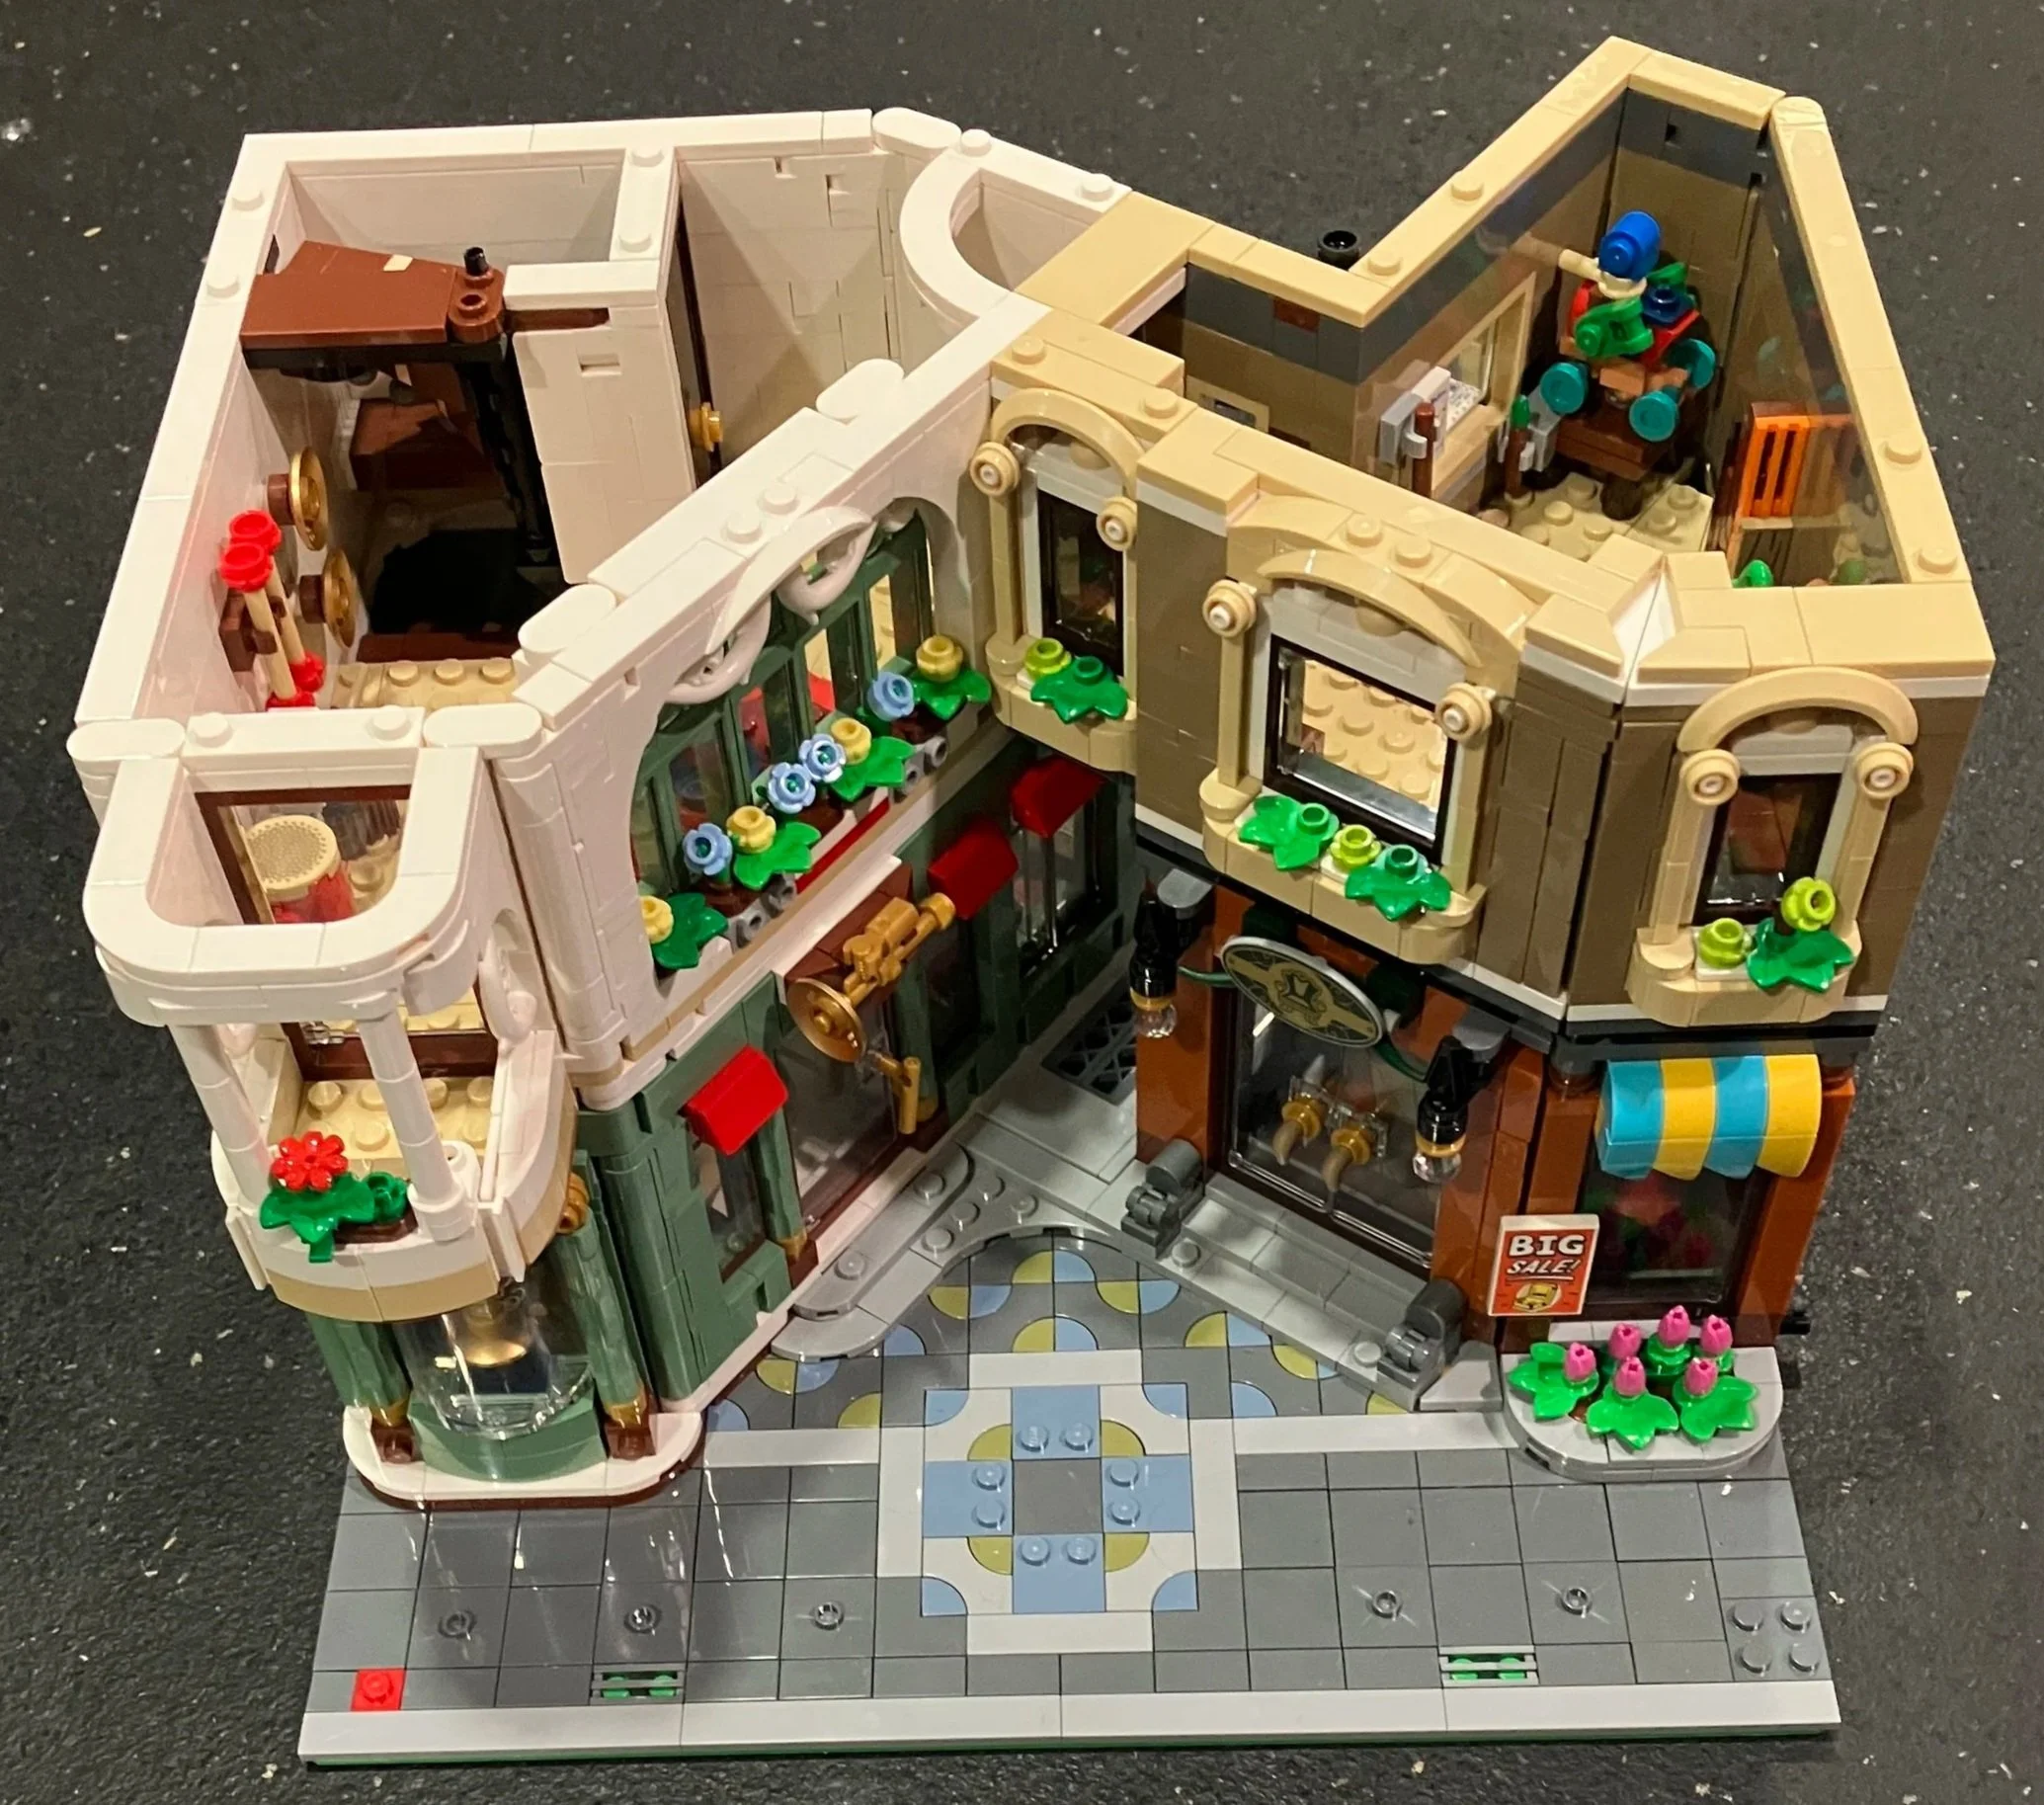
Another year and another modular building that I was sucked into buying. This one is #11371-1: Shopping Street. It was released on 1 January 2026 and contains 3,456 pieces. It retails for $249.99 which works out to $0.072 per piece. The price keeps going up, but the piece count is high too. However, there are a lot of smaller pieces too so that mixes into the cost equation. This set is different from the others in that the buildings are not just square or rectangular, but built at random shapes and angles.

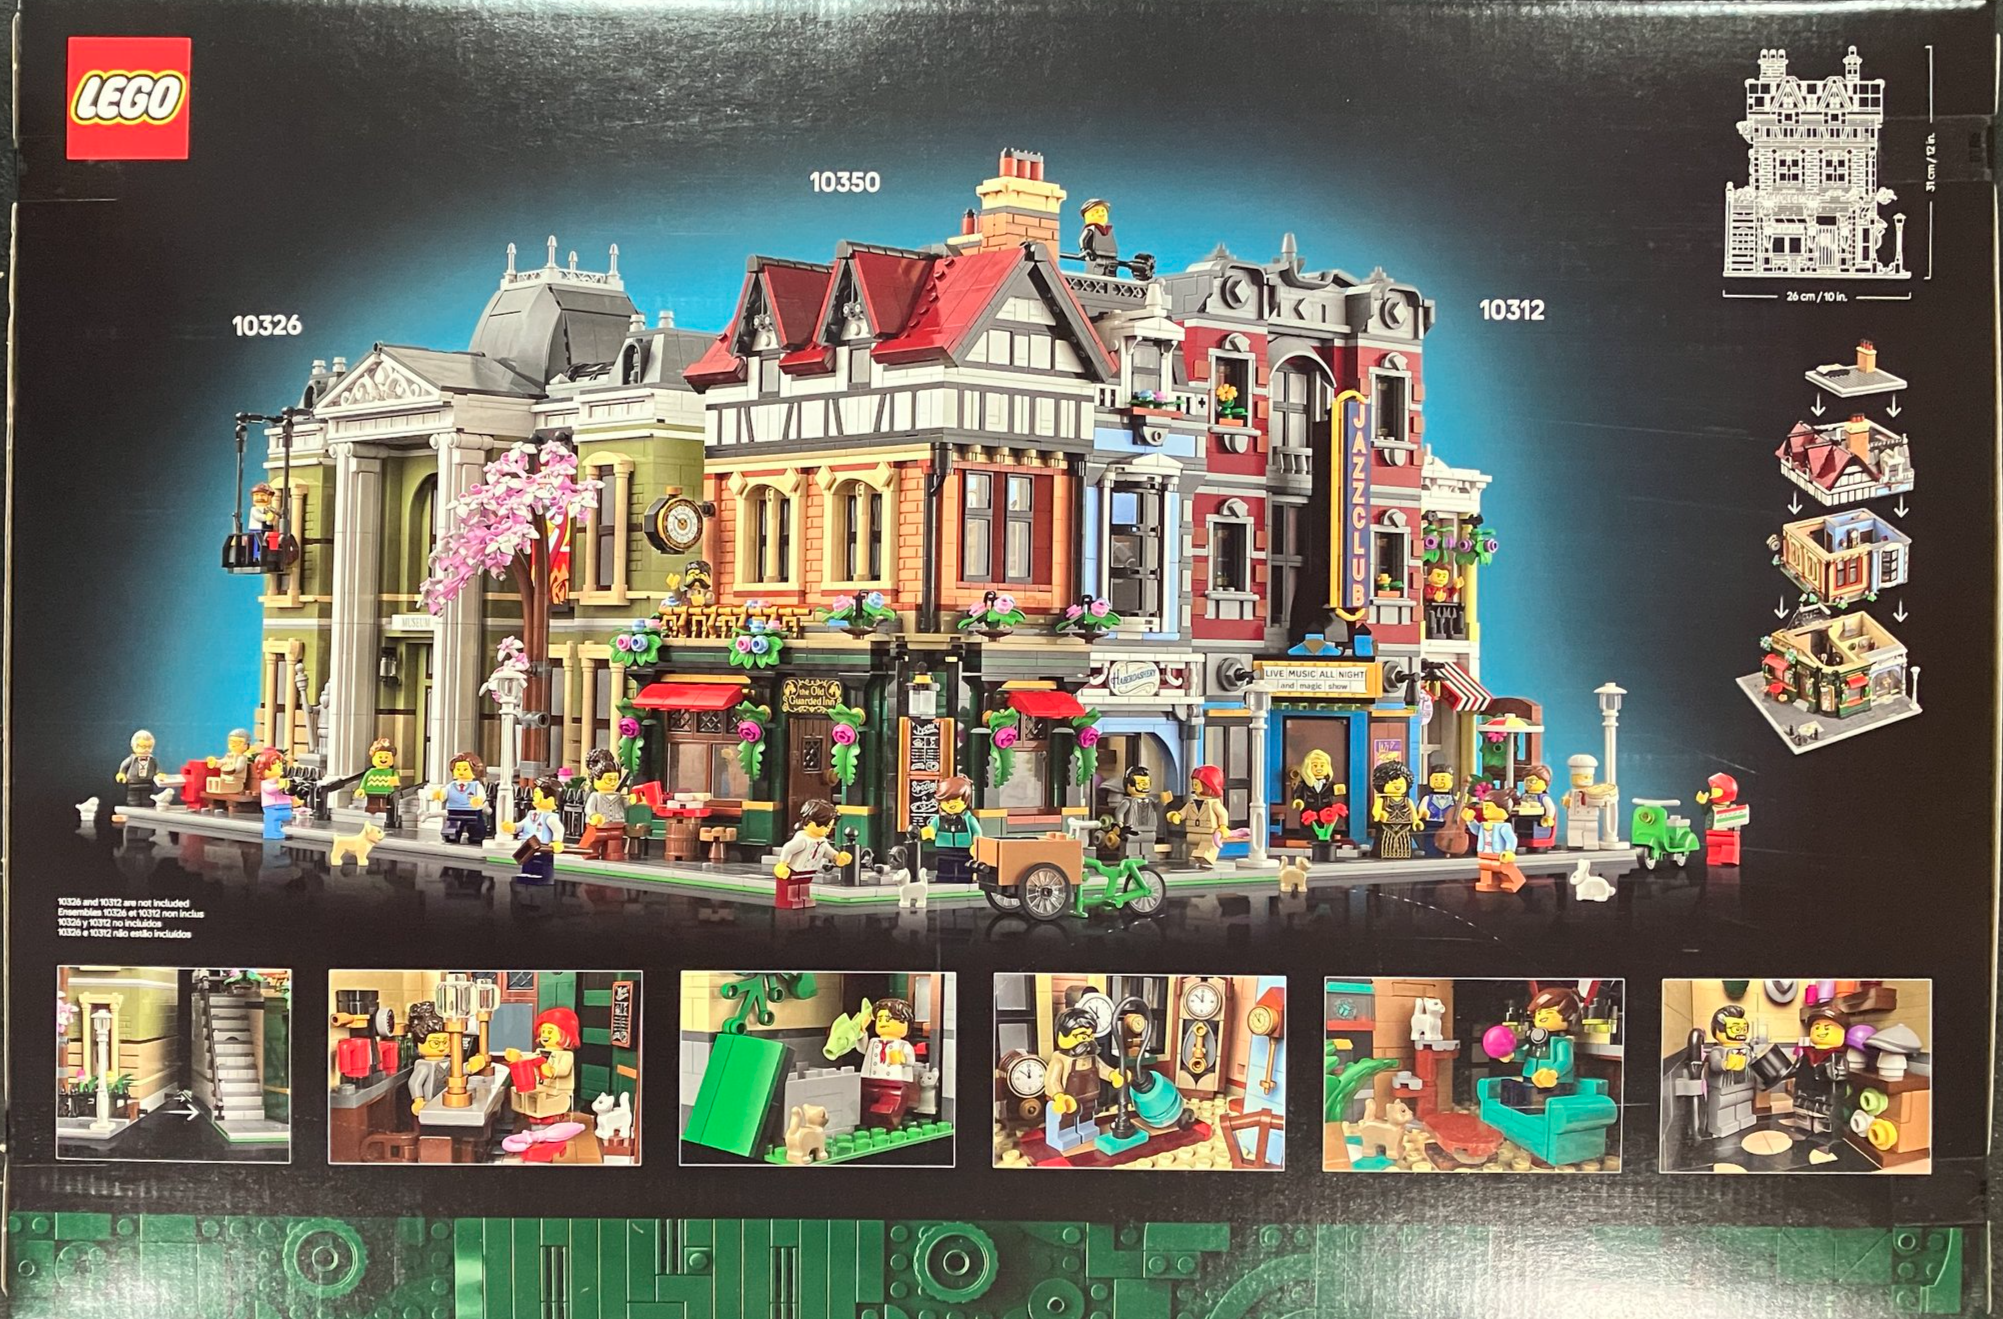
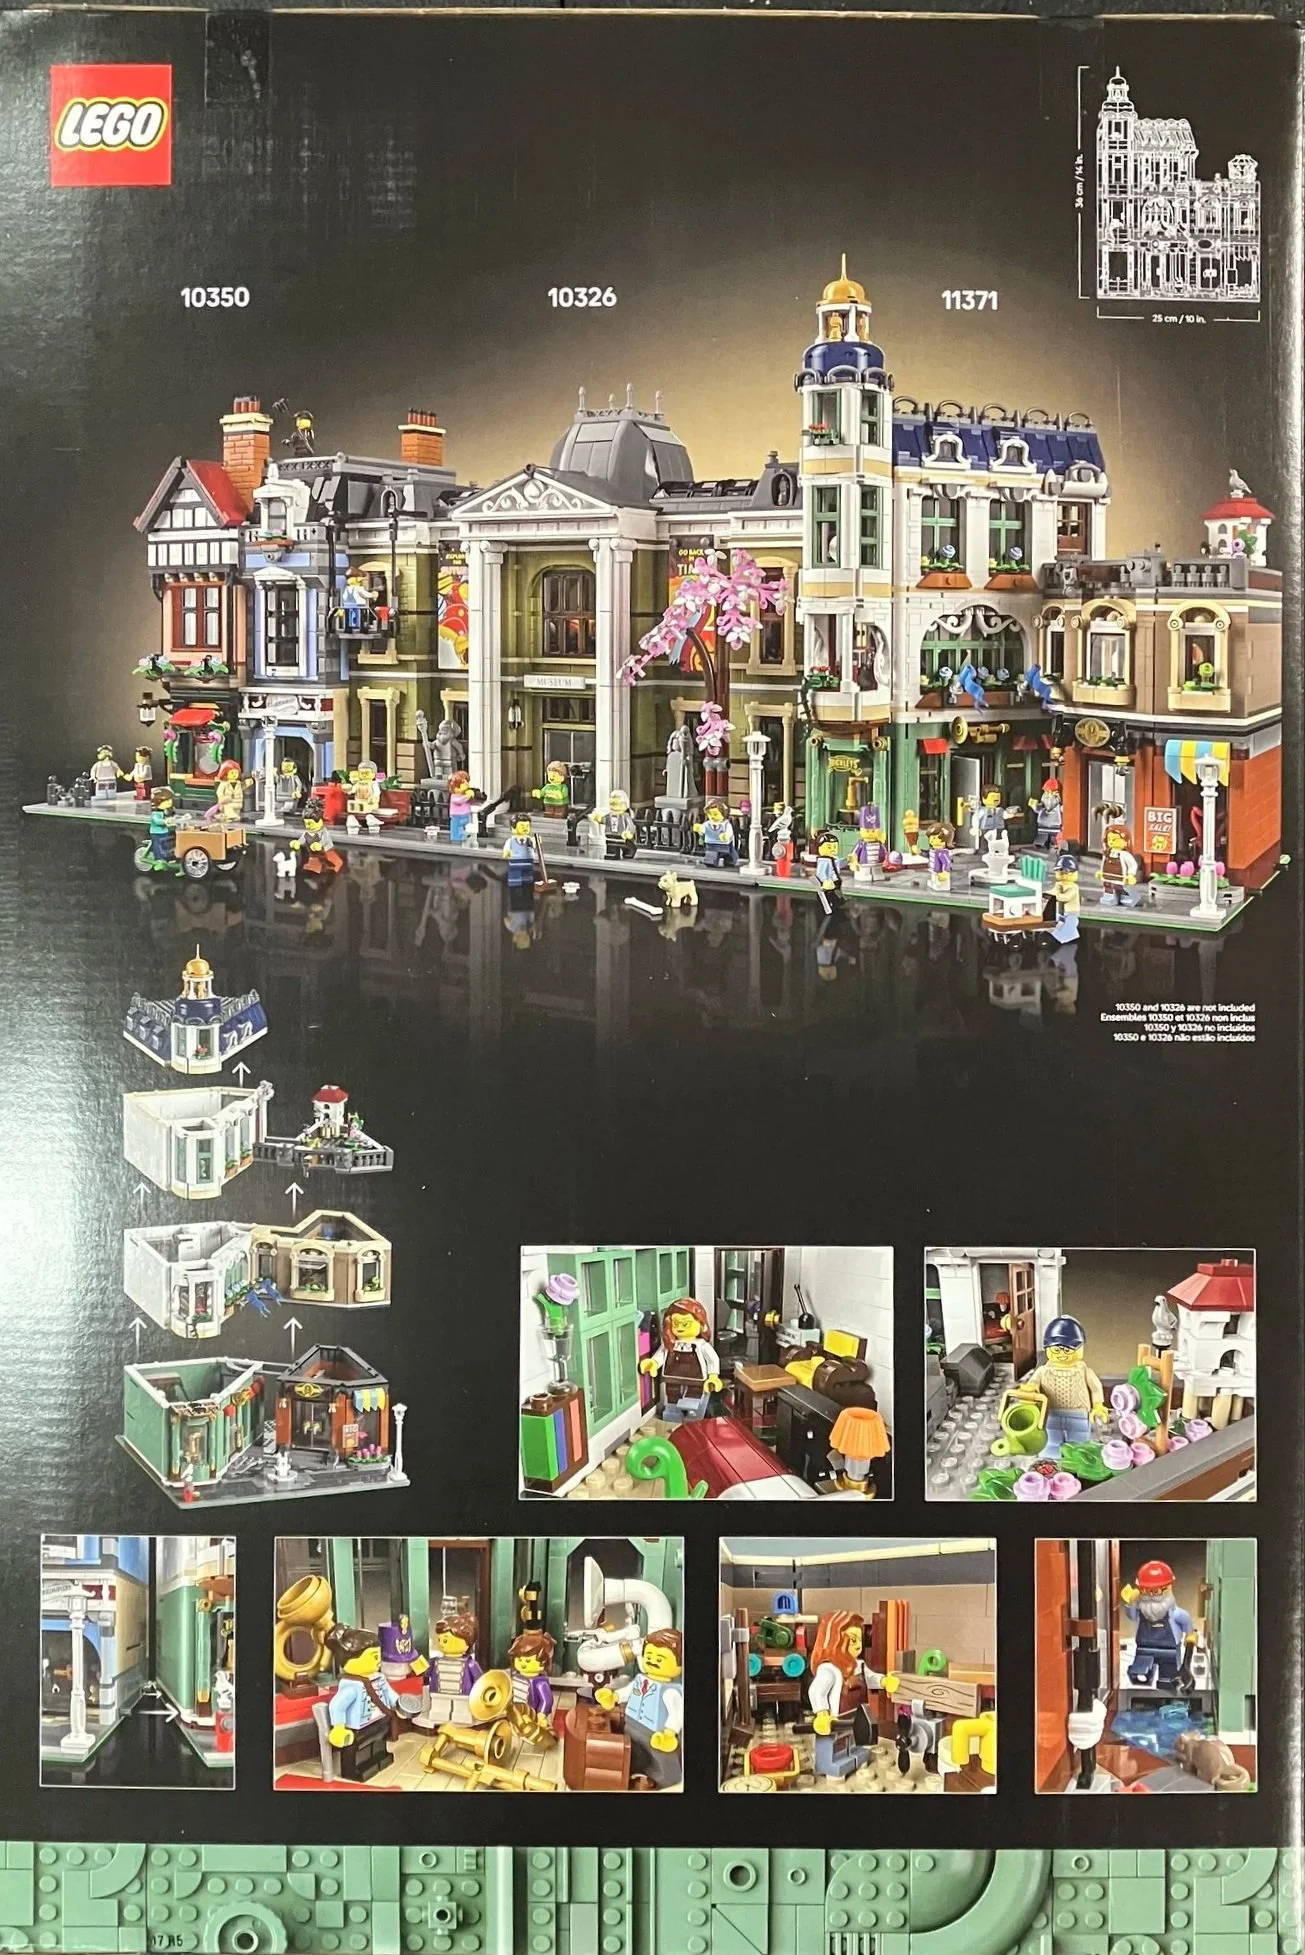
The box front shows the full set with the title of the set in the top right and then the 18+ branding on the bottom. The back shows what it would look like next to the two most recent modular buildings. It also shows the dimensions and some of the additional details and features of this set.

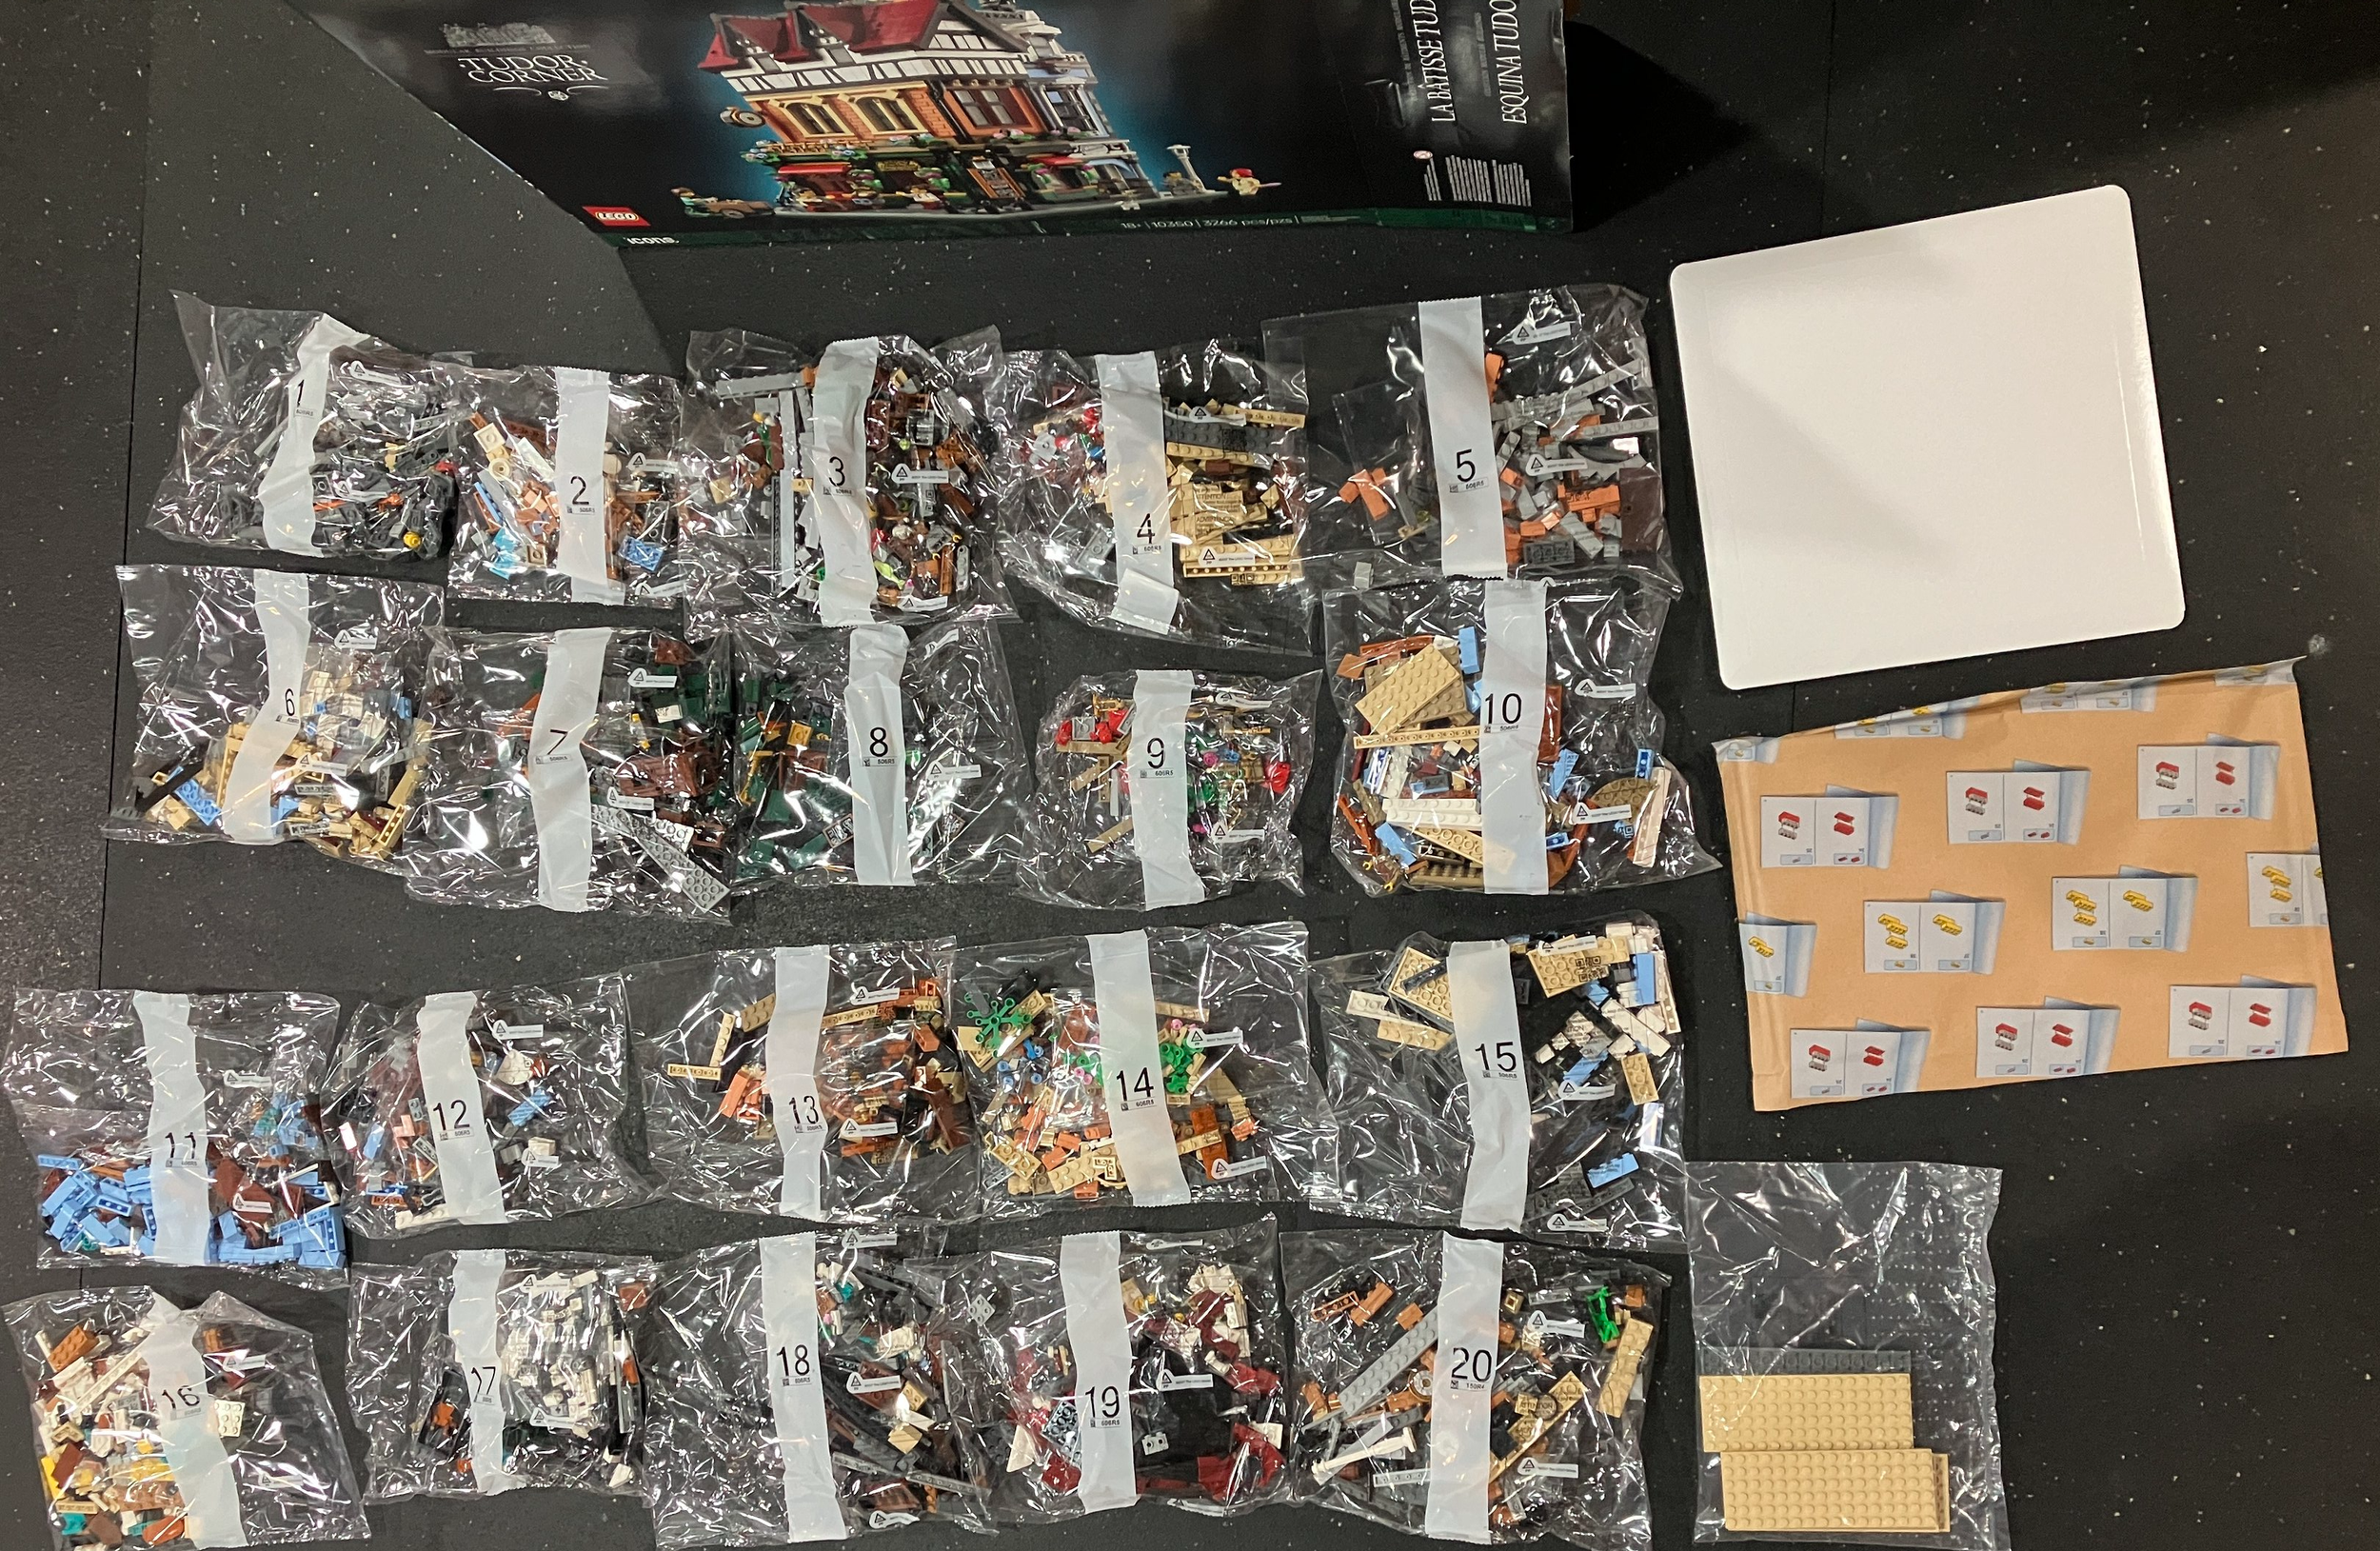
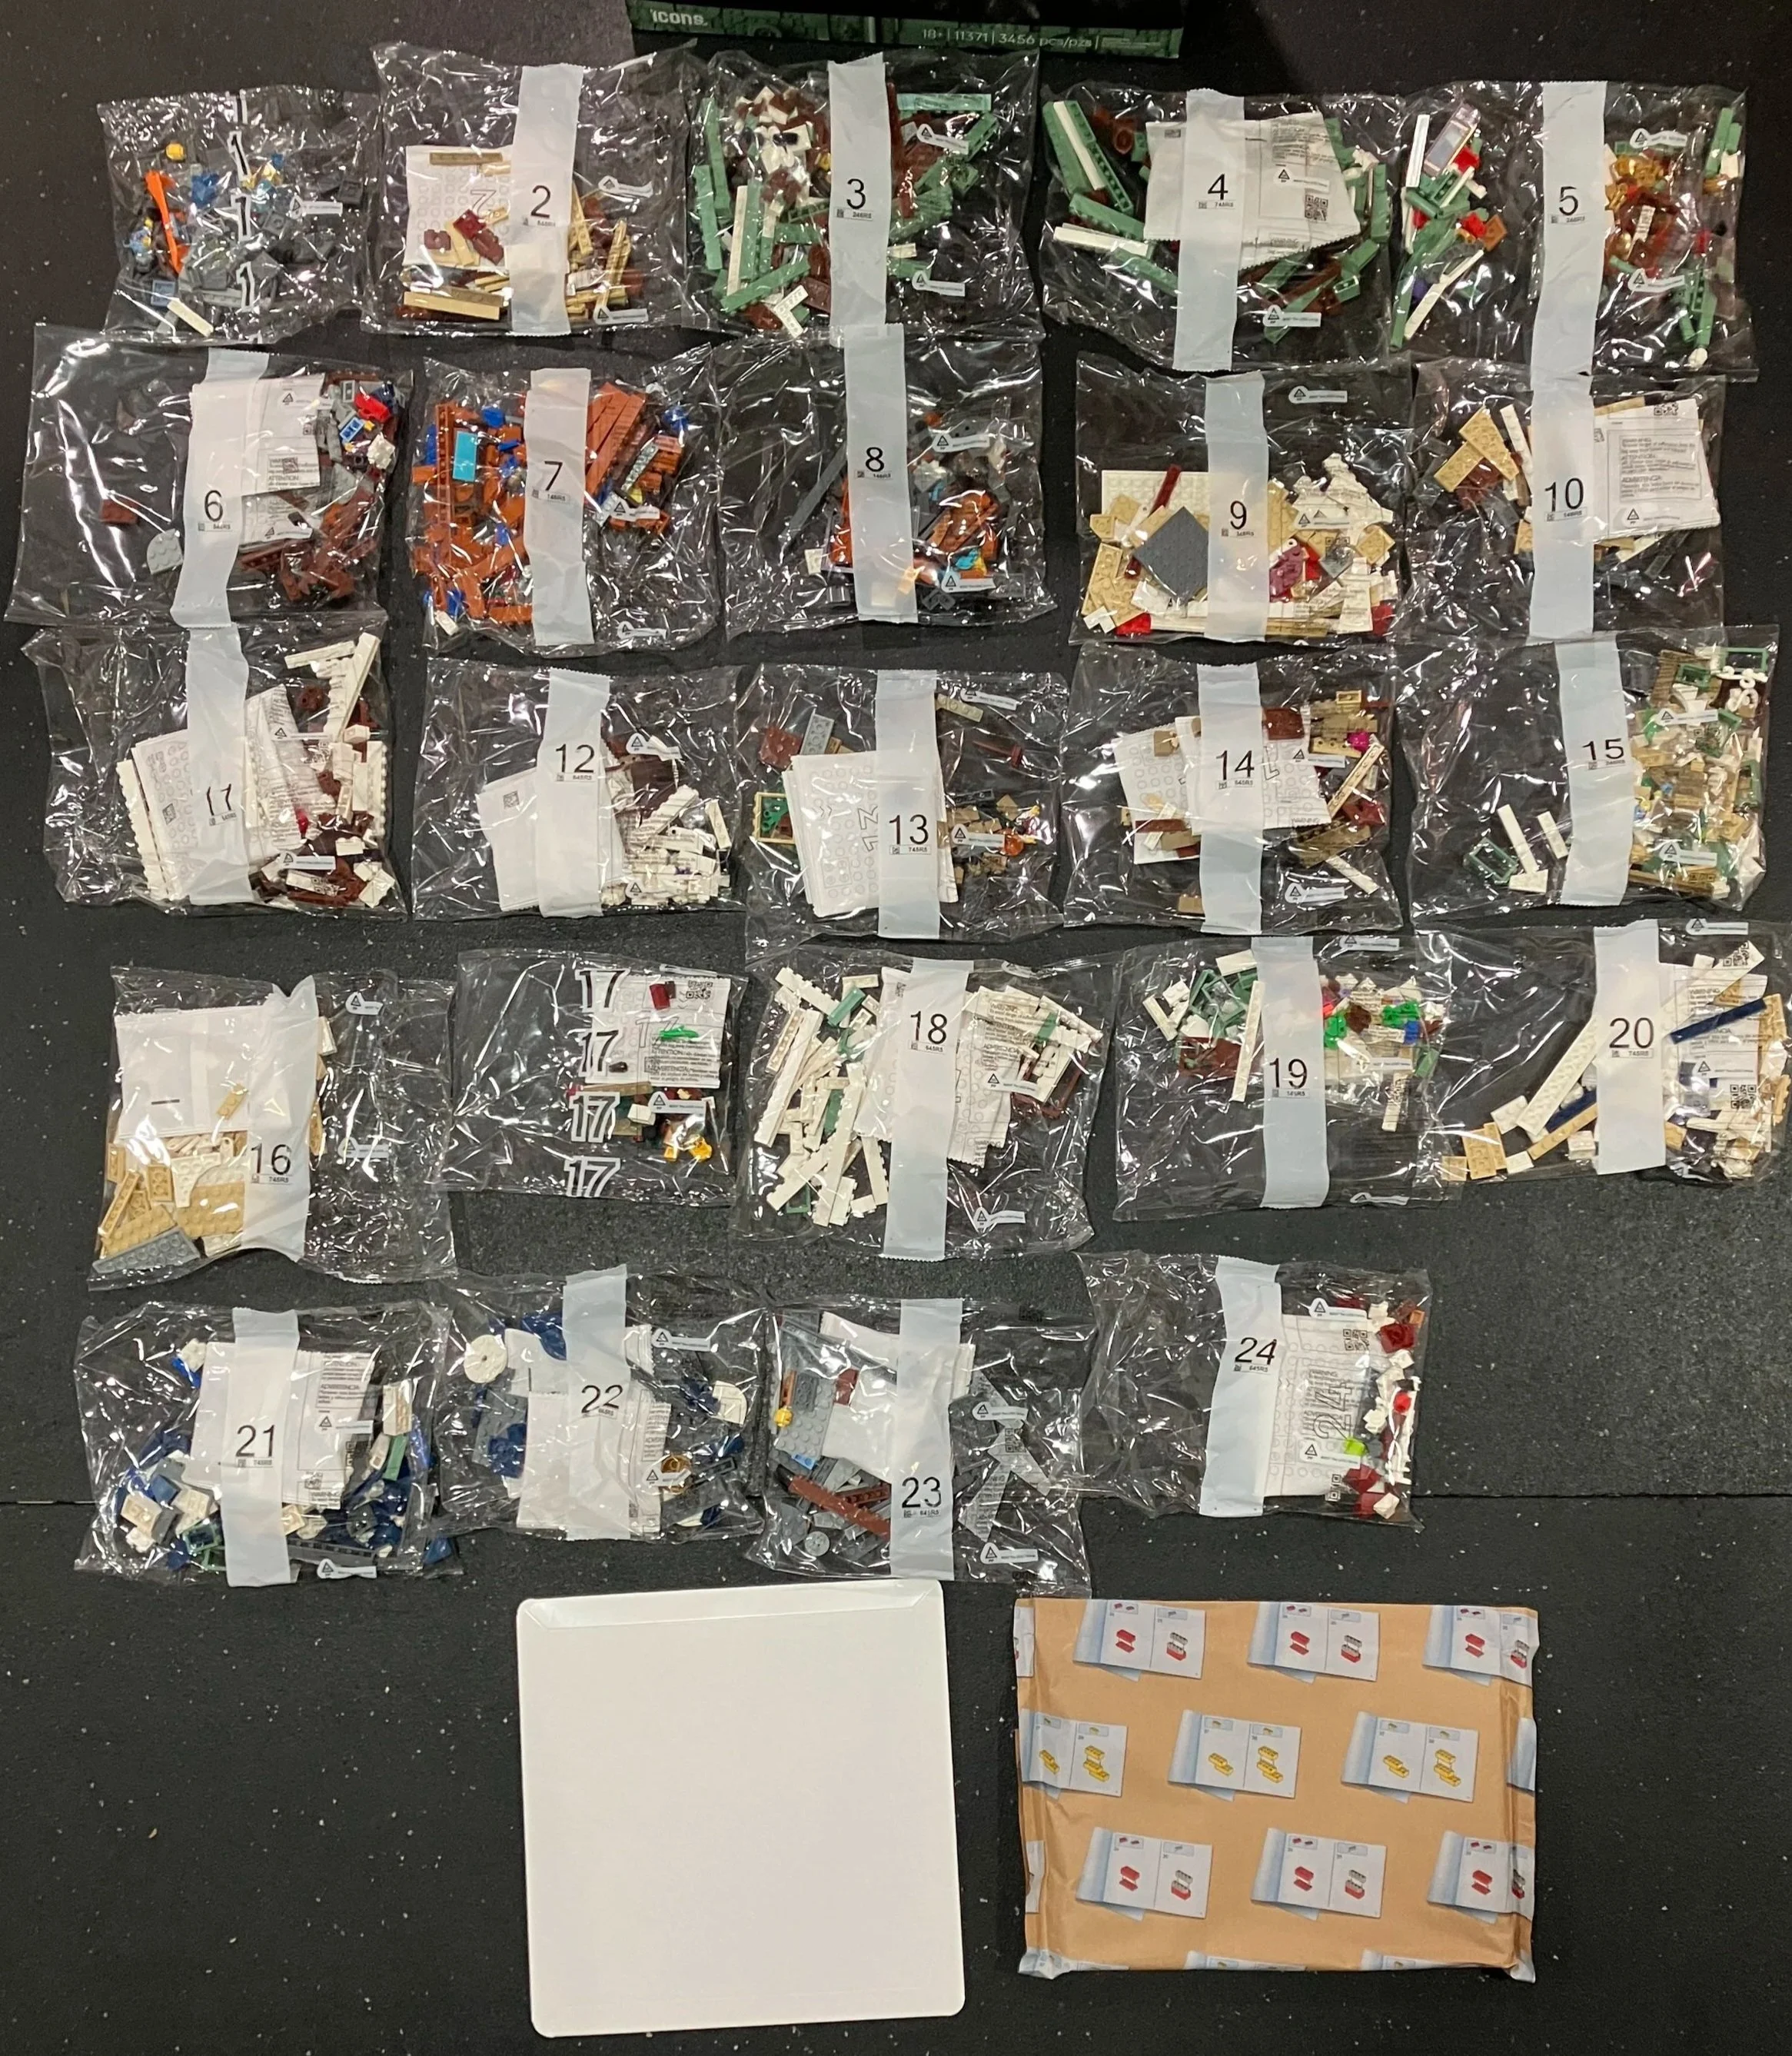
The set contains 24 numbered bags with one bag per number. The instructions and base plate are in paper protective packaging.

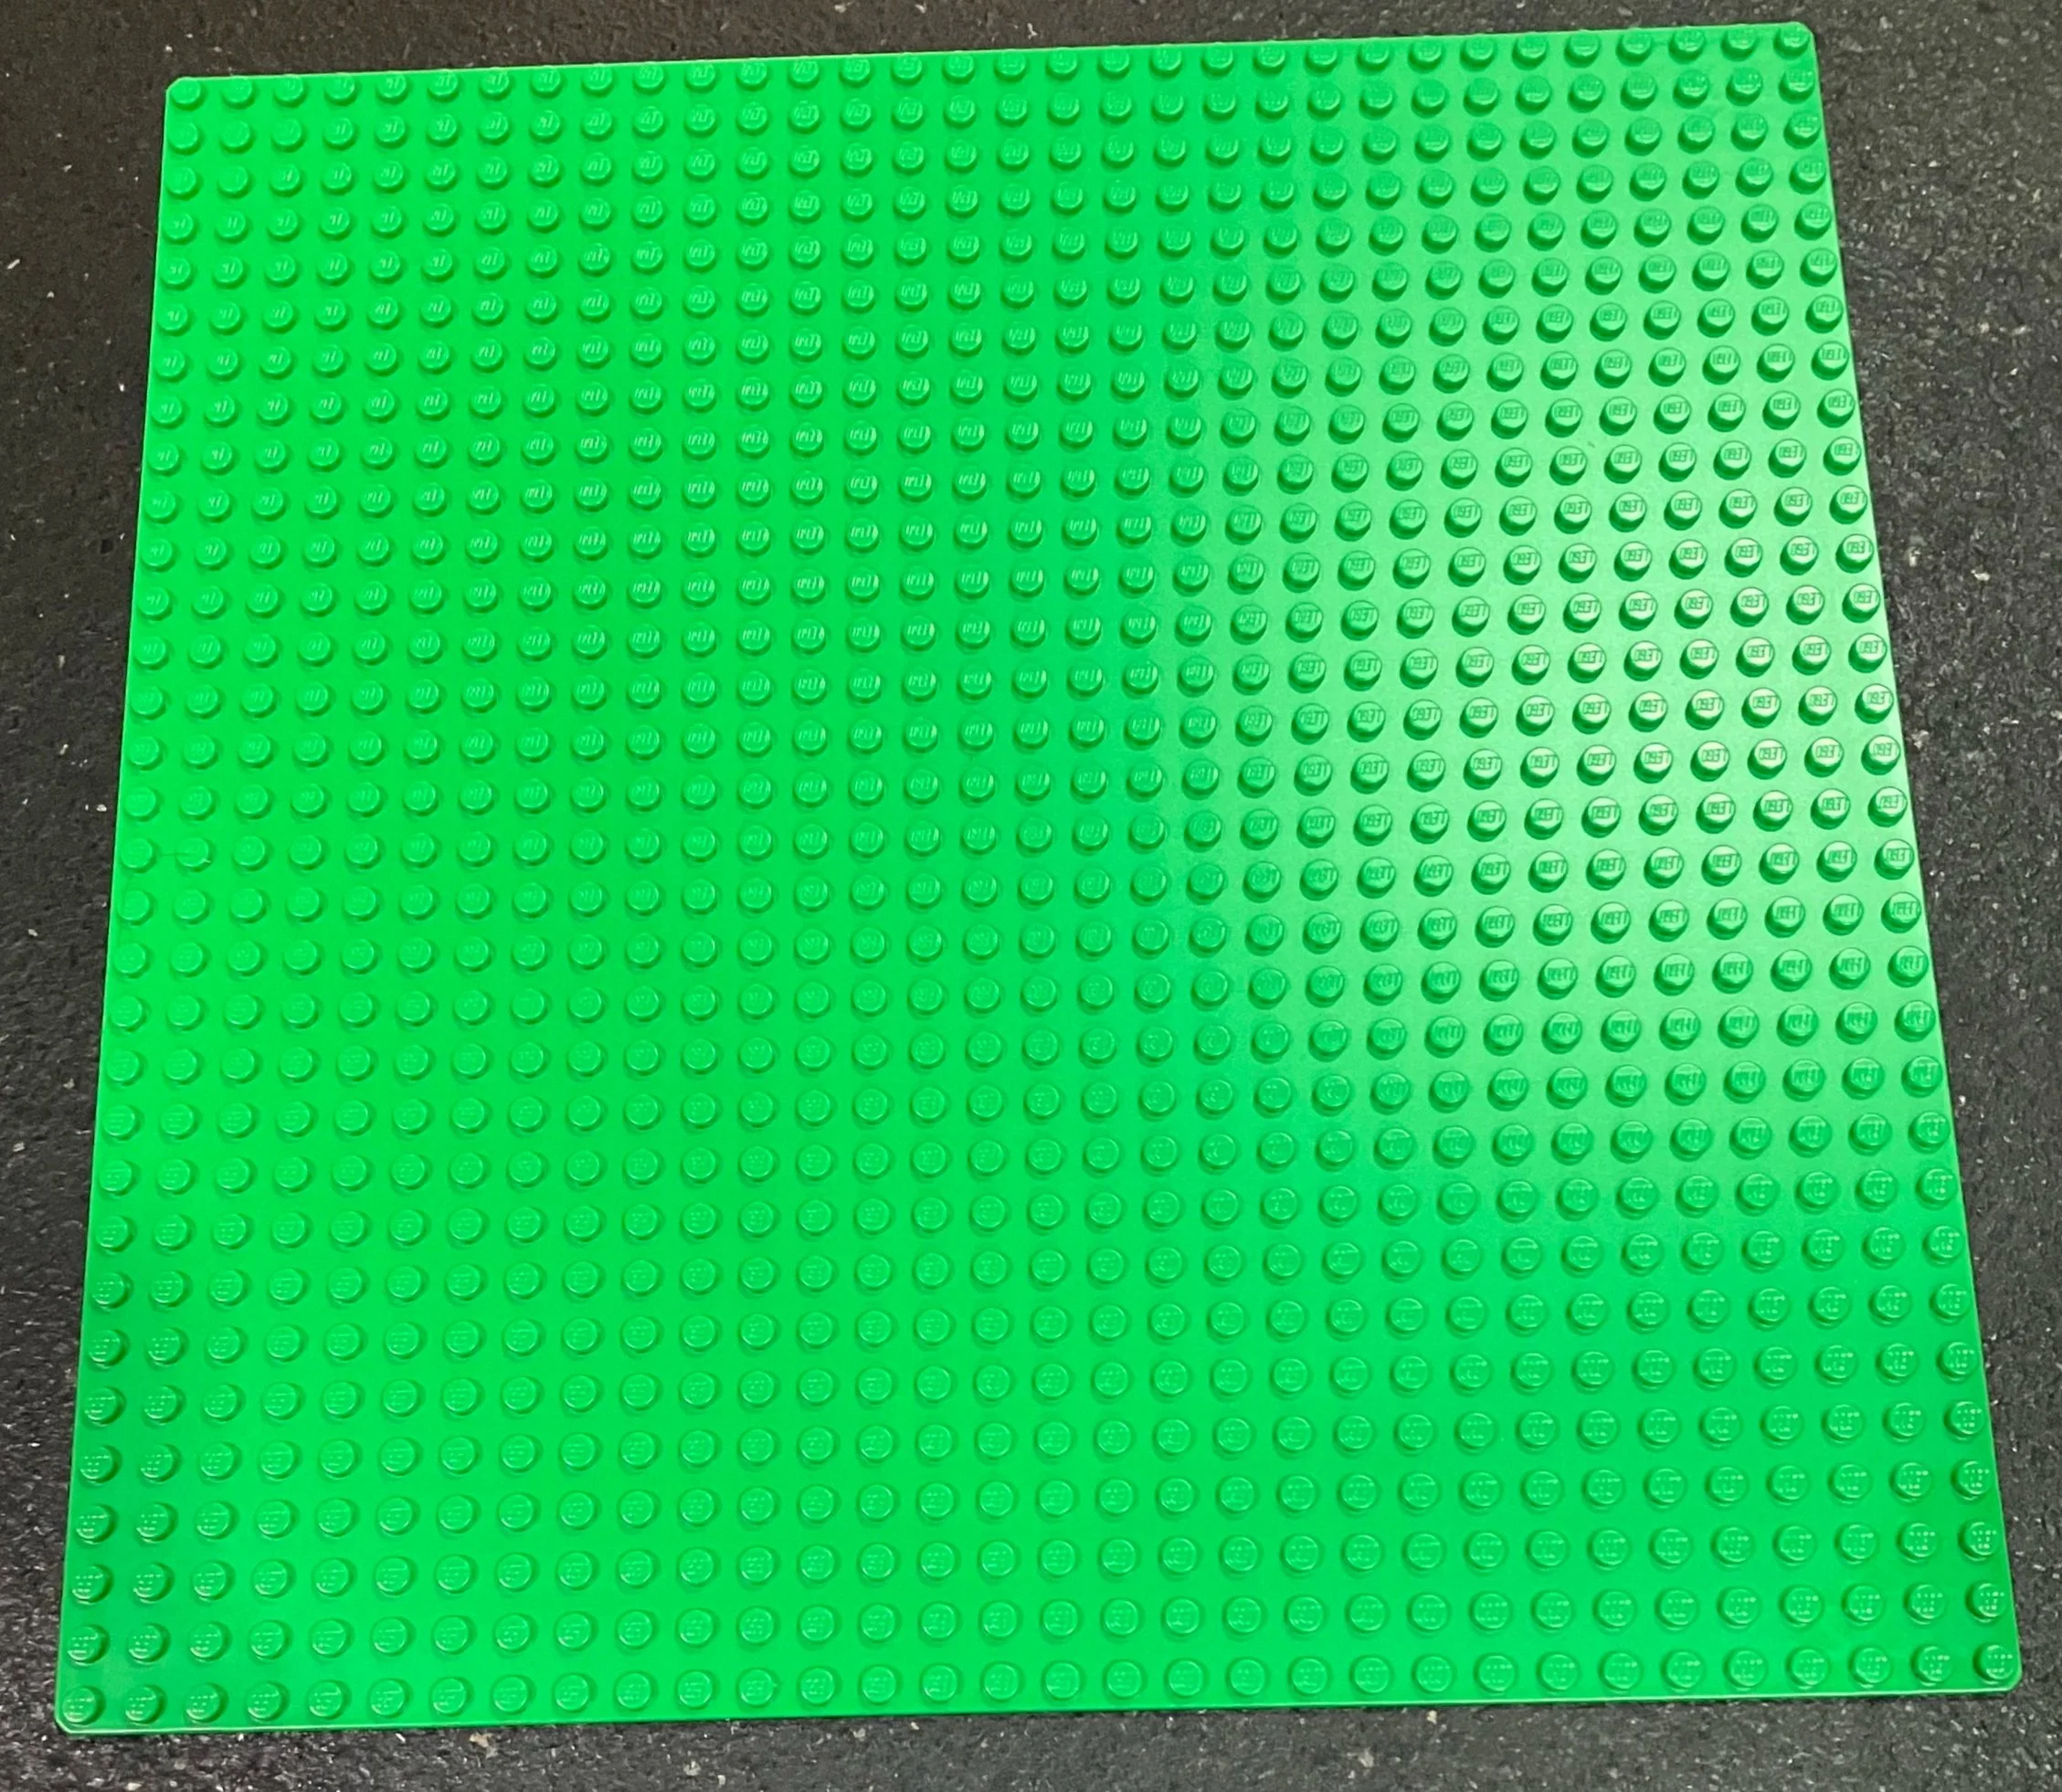
Here is the instruction book and the green baseplate.

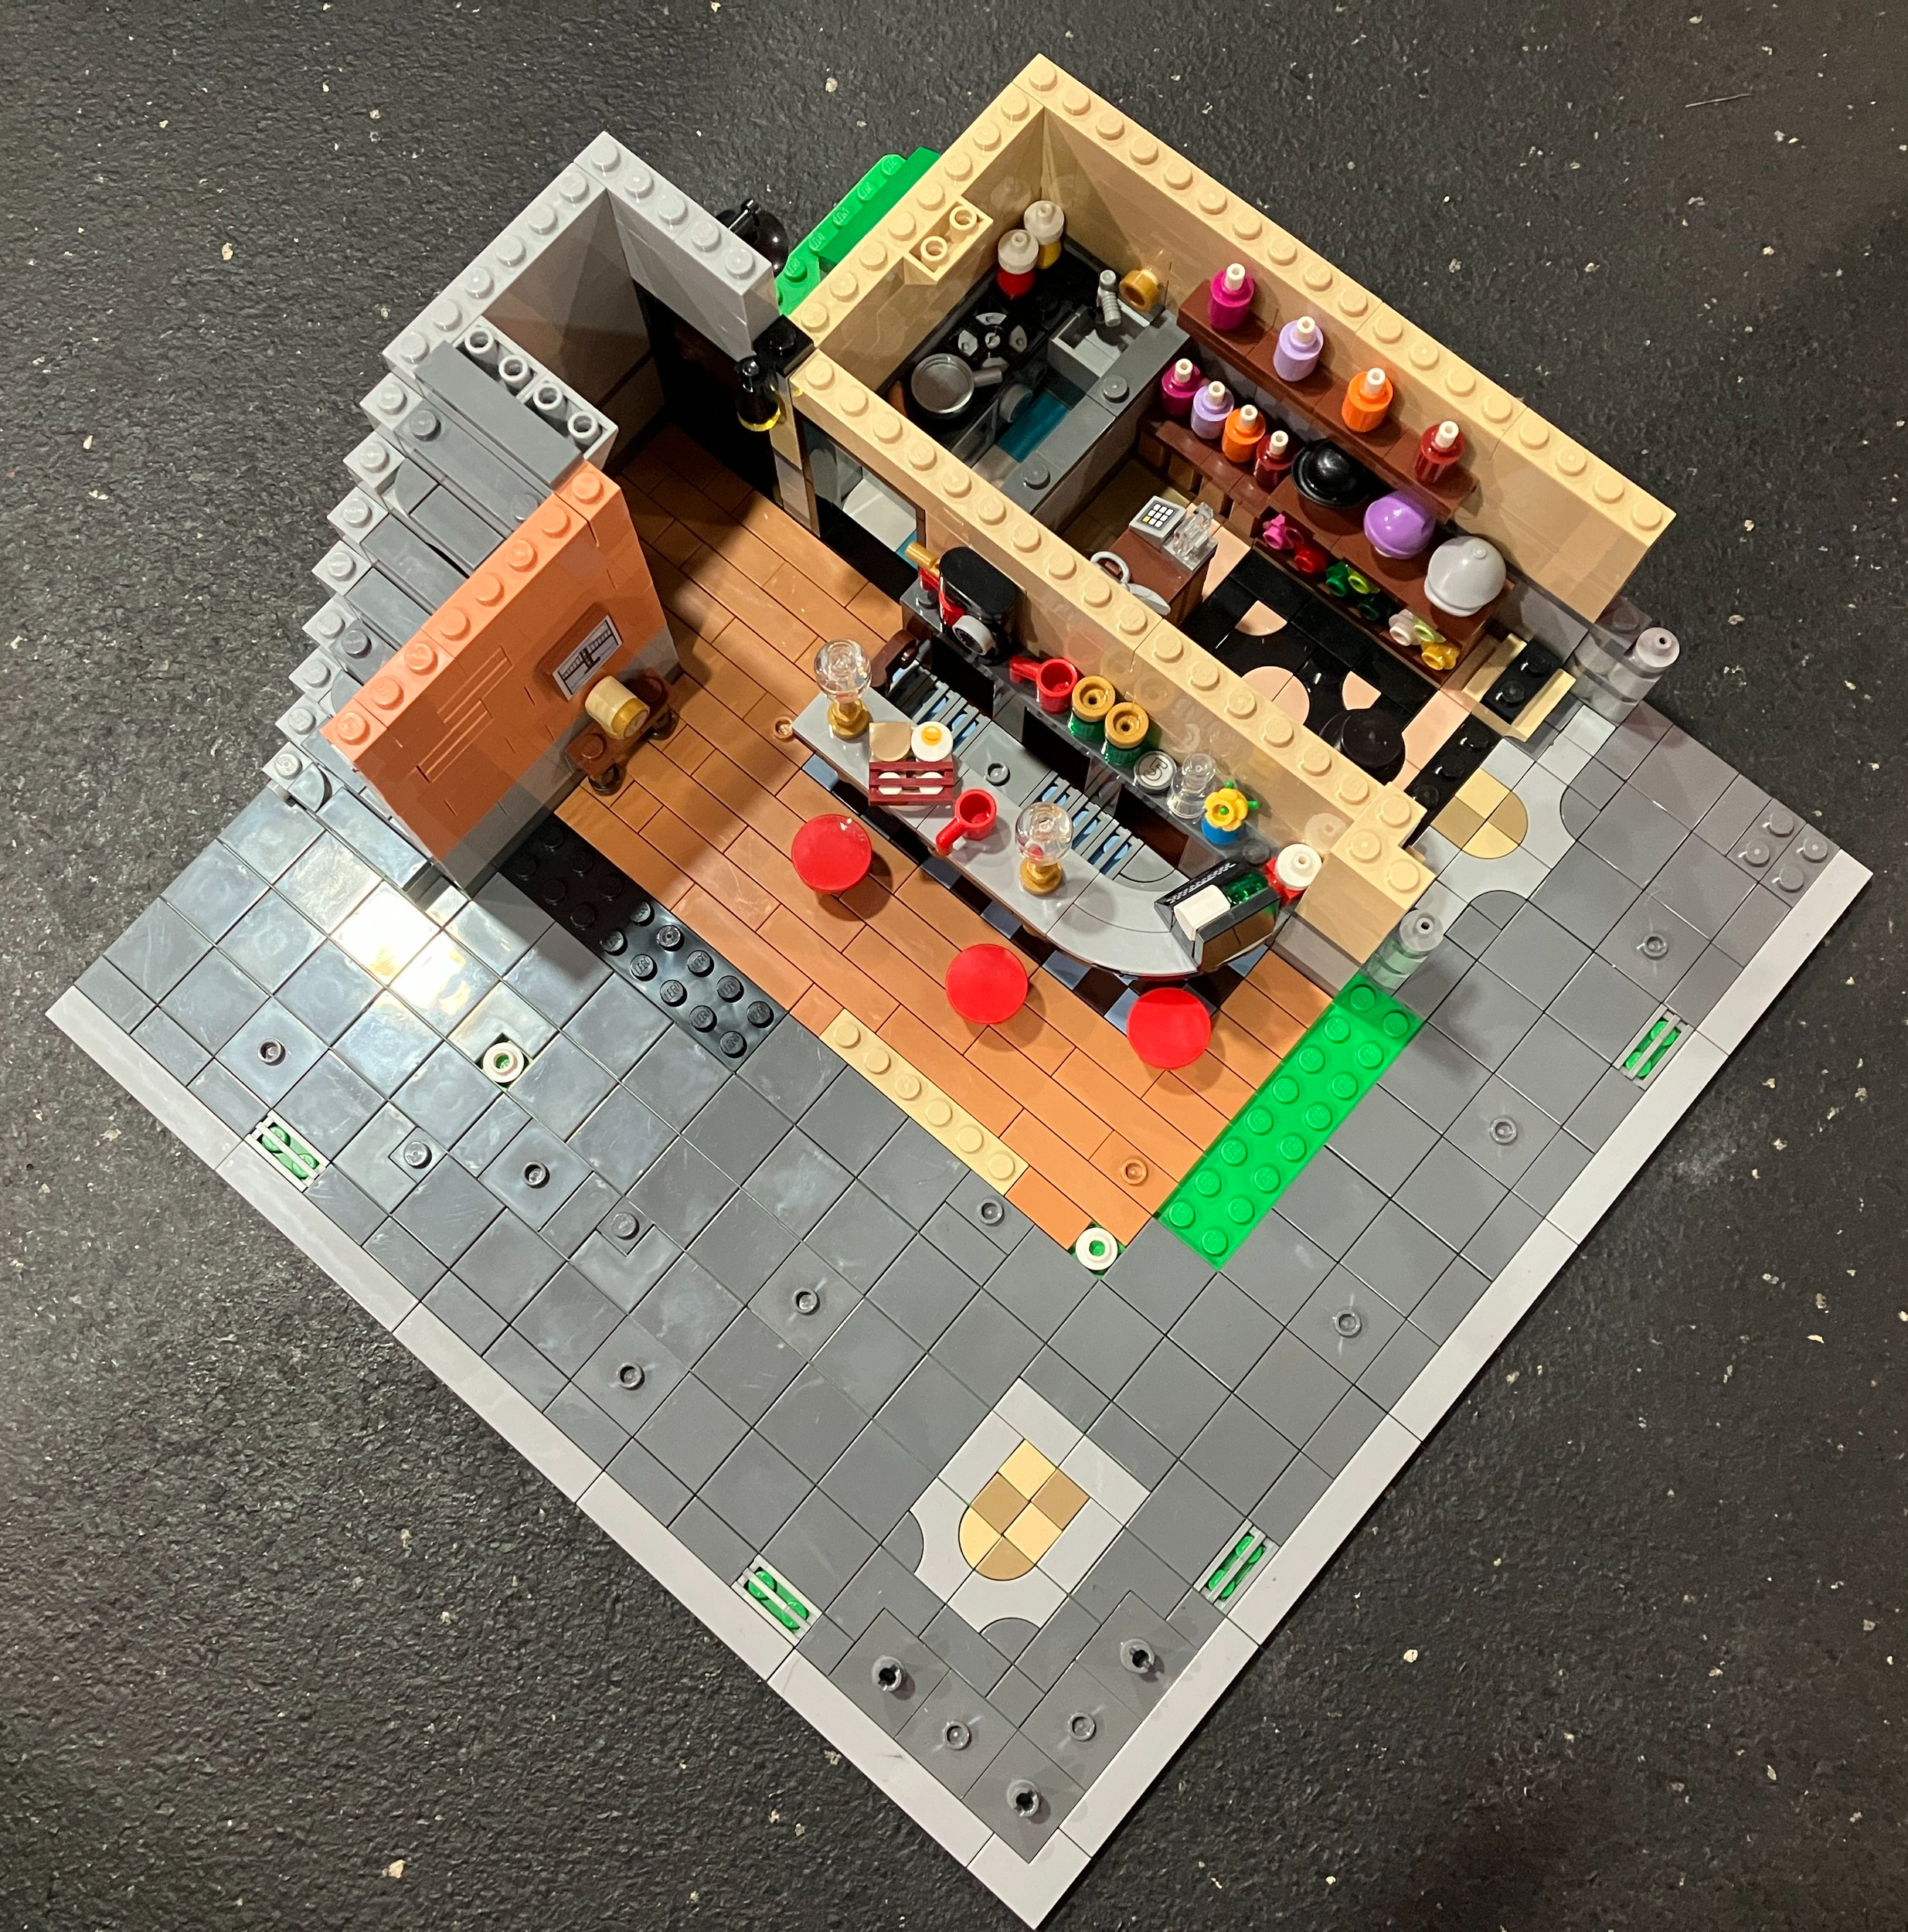
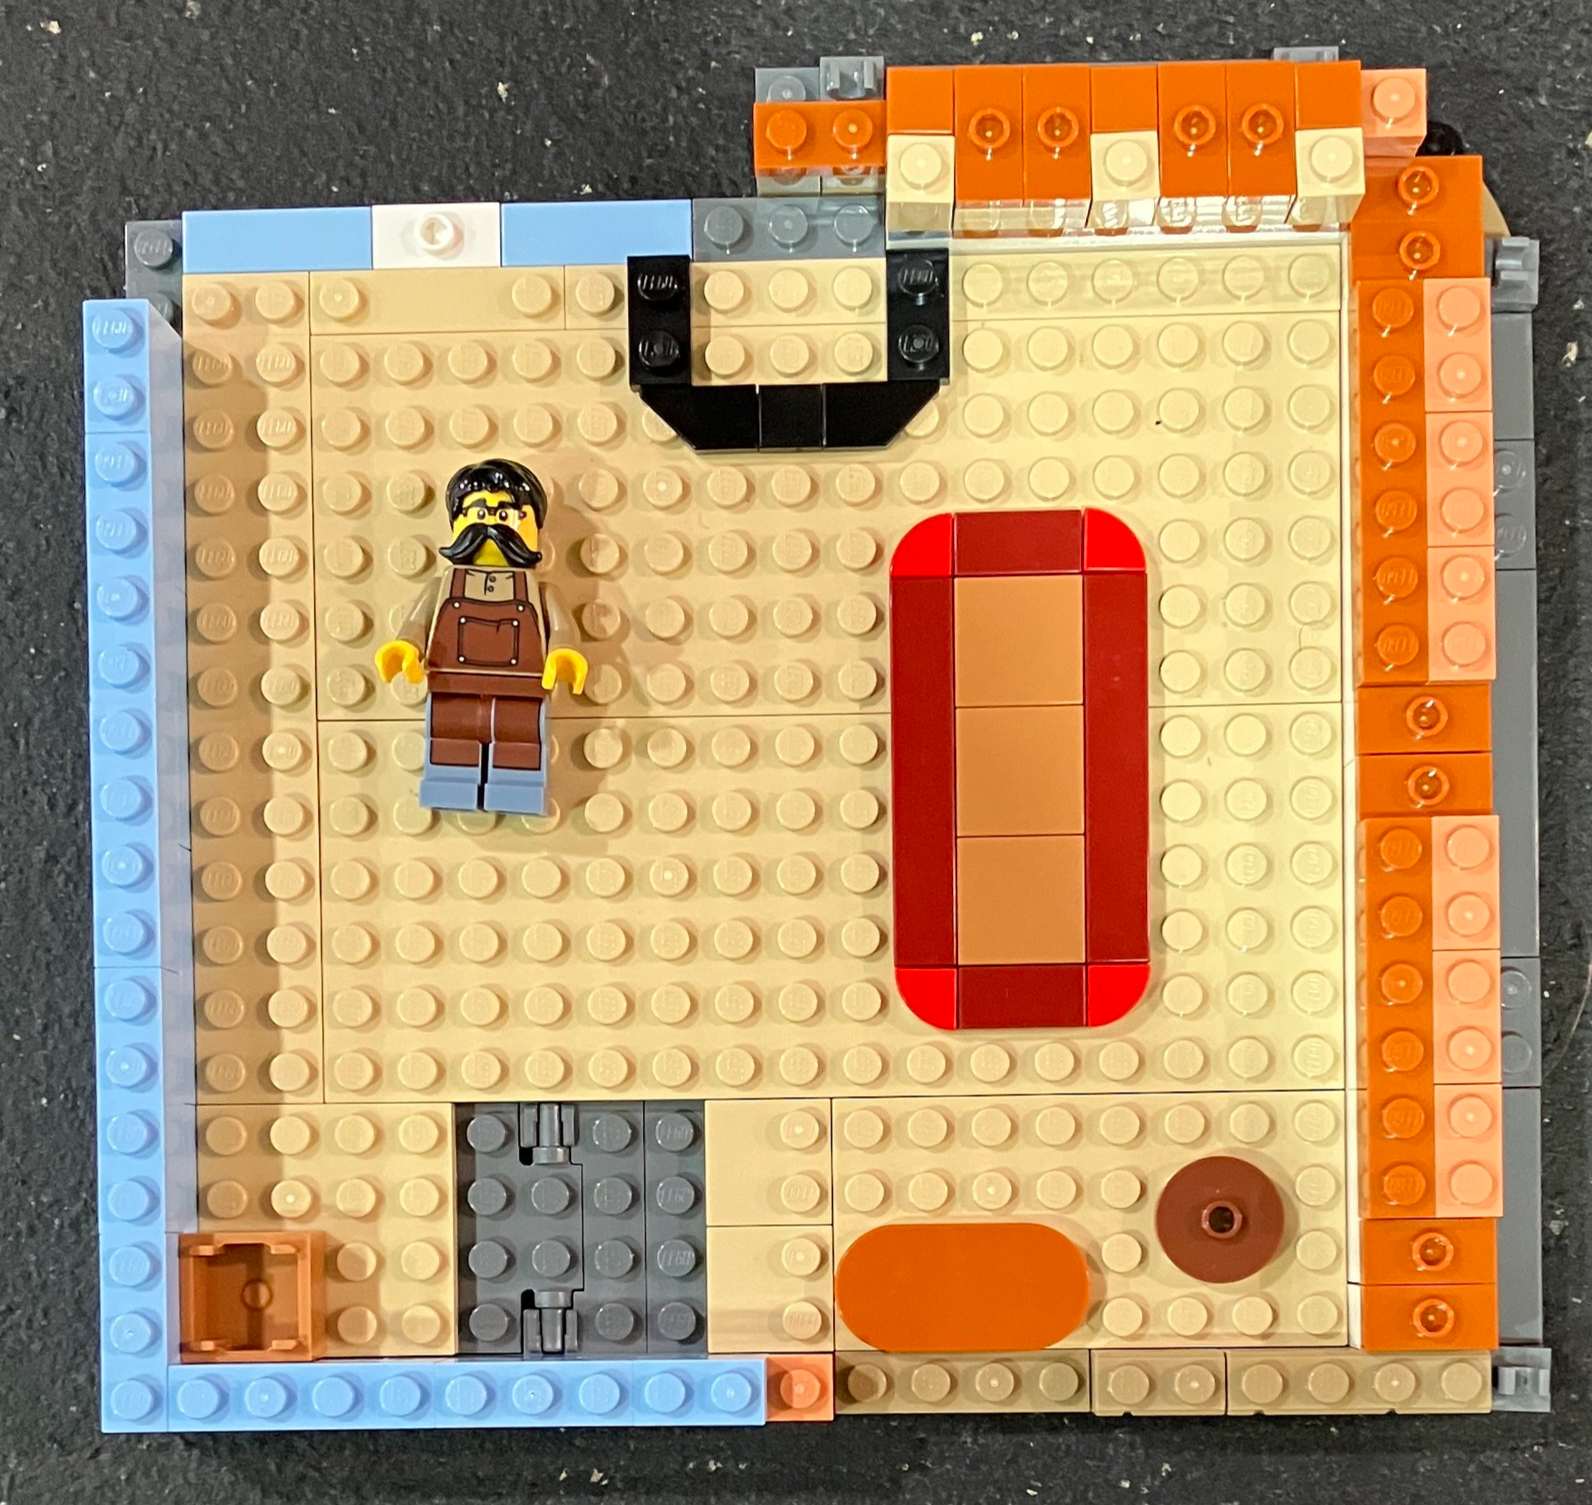
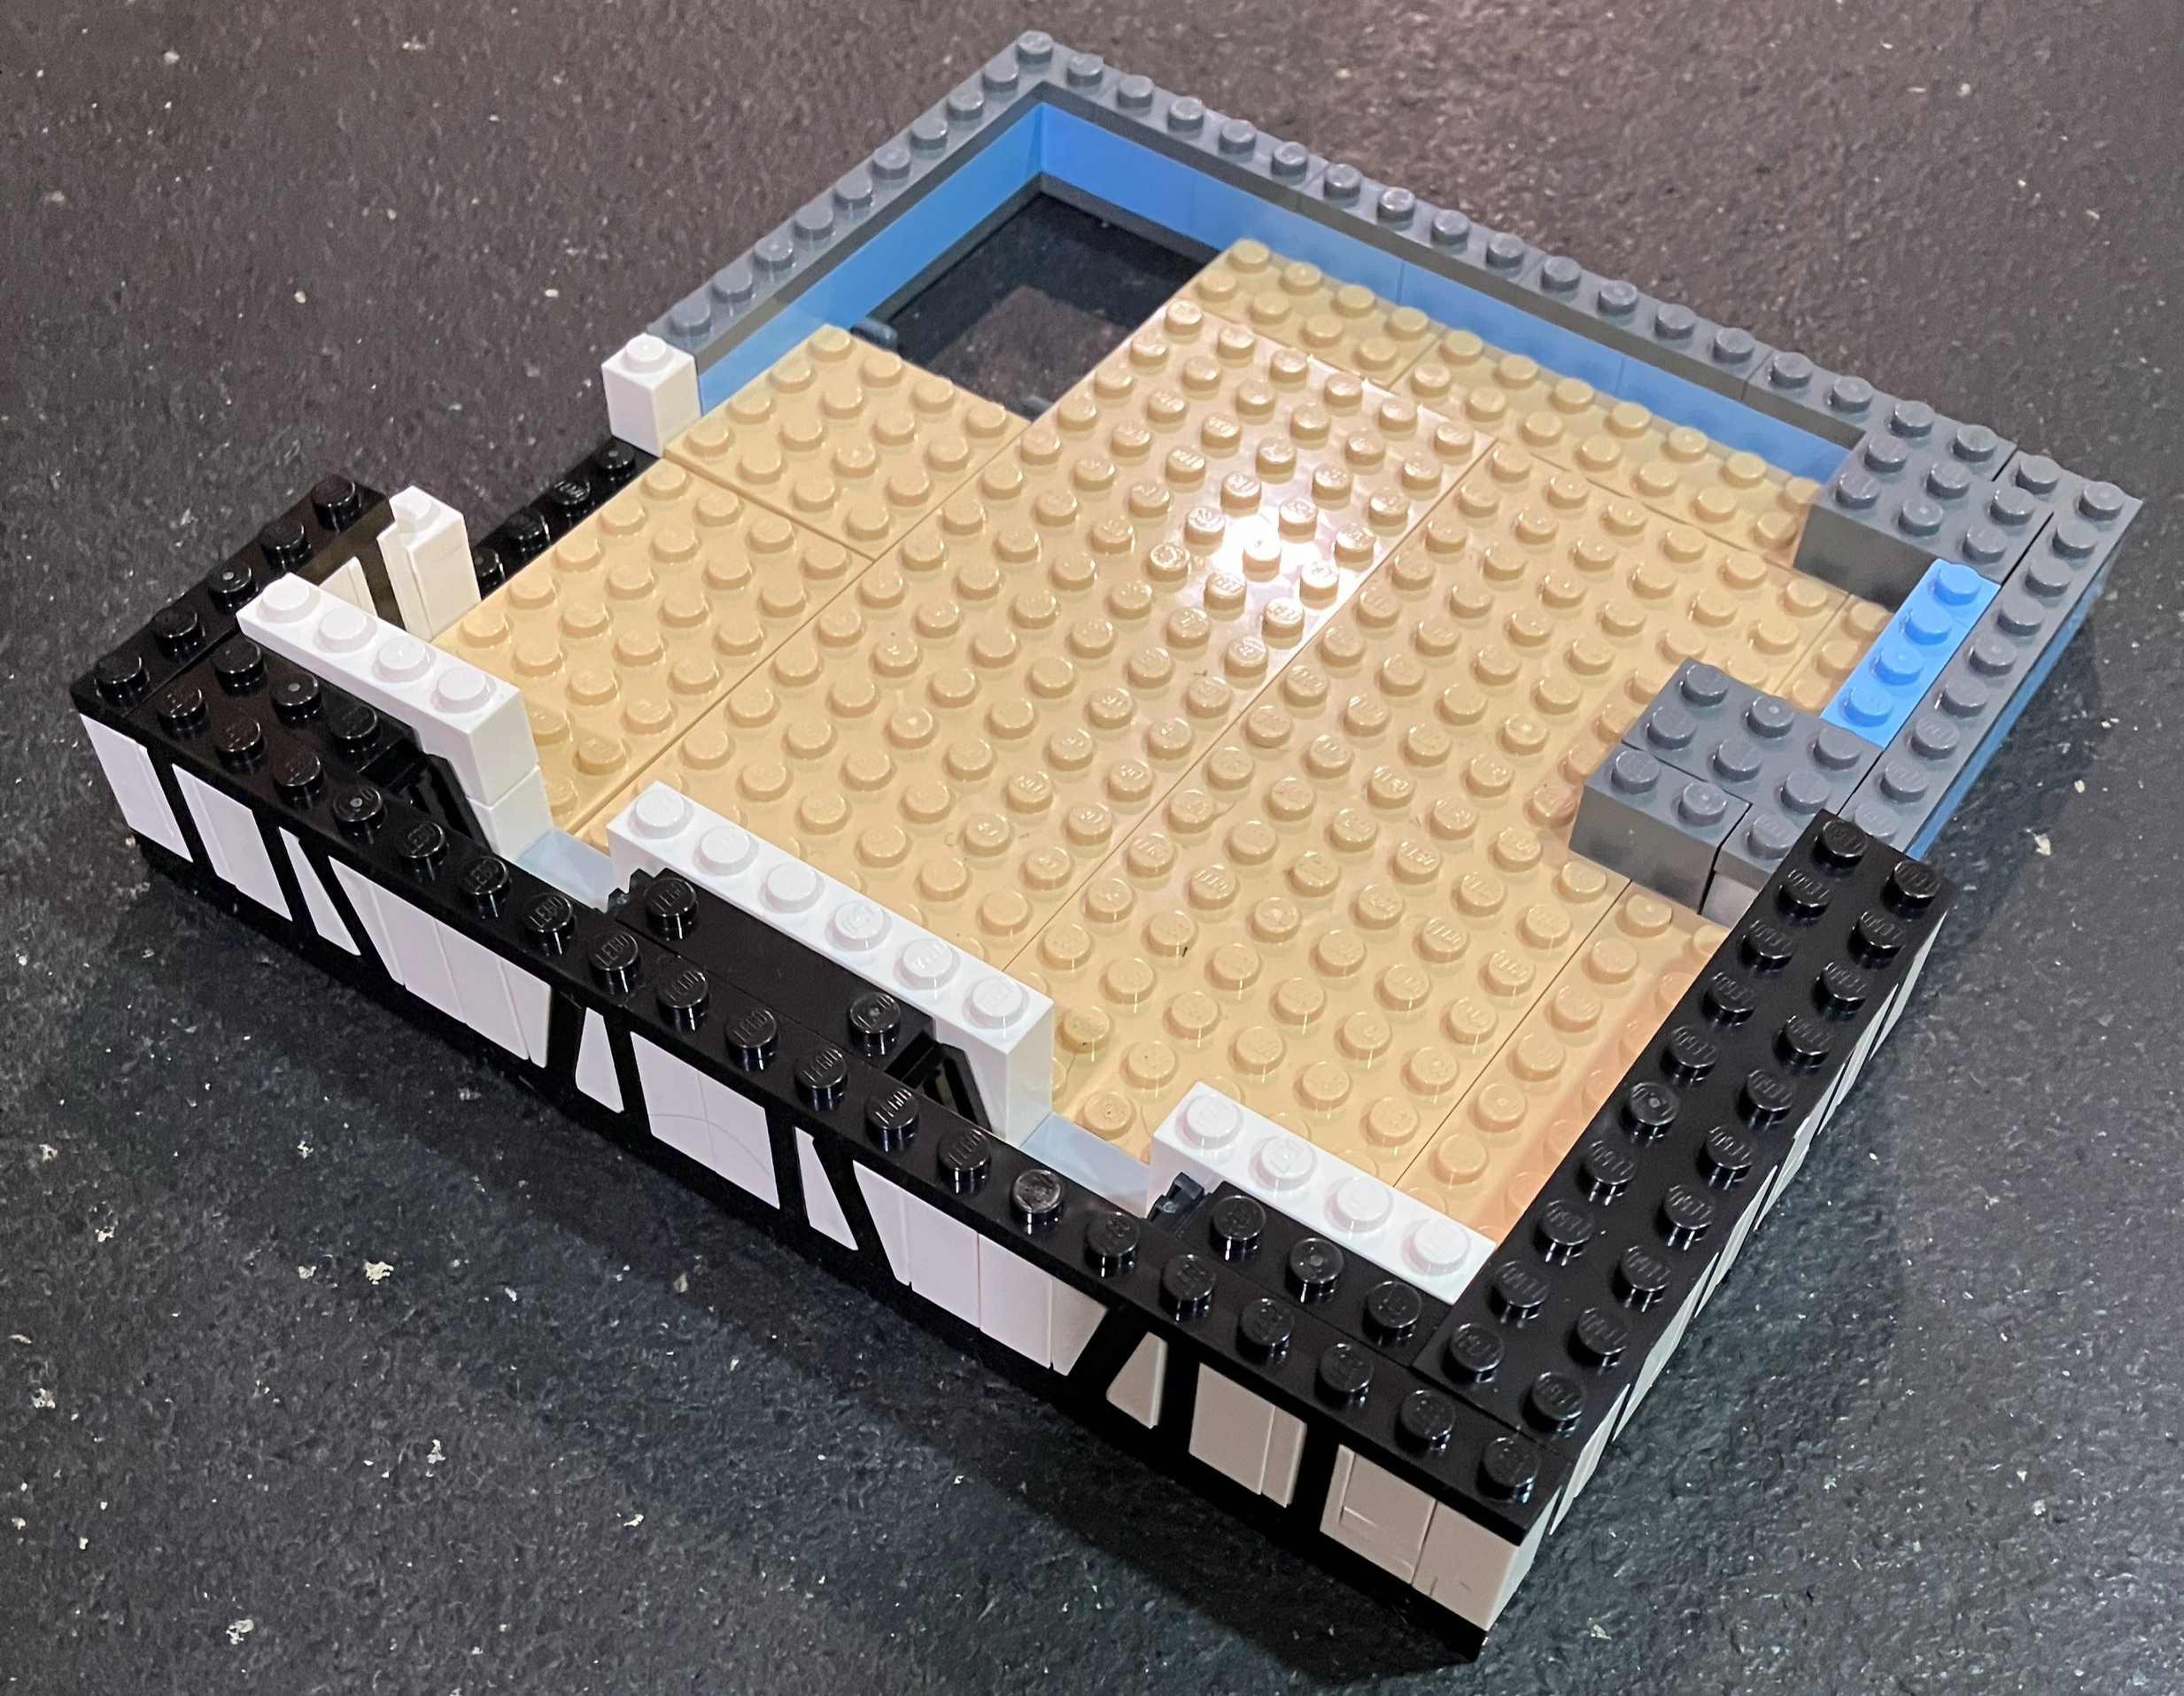
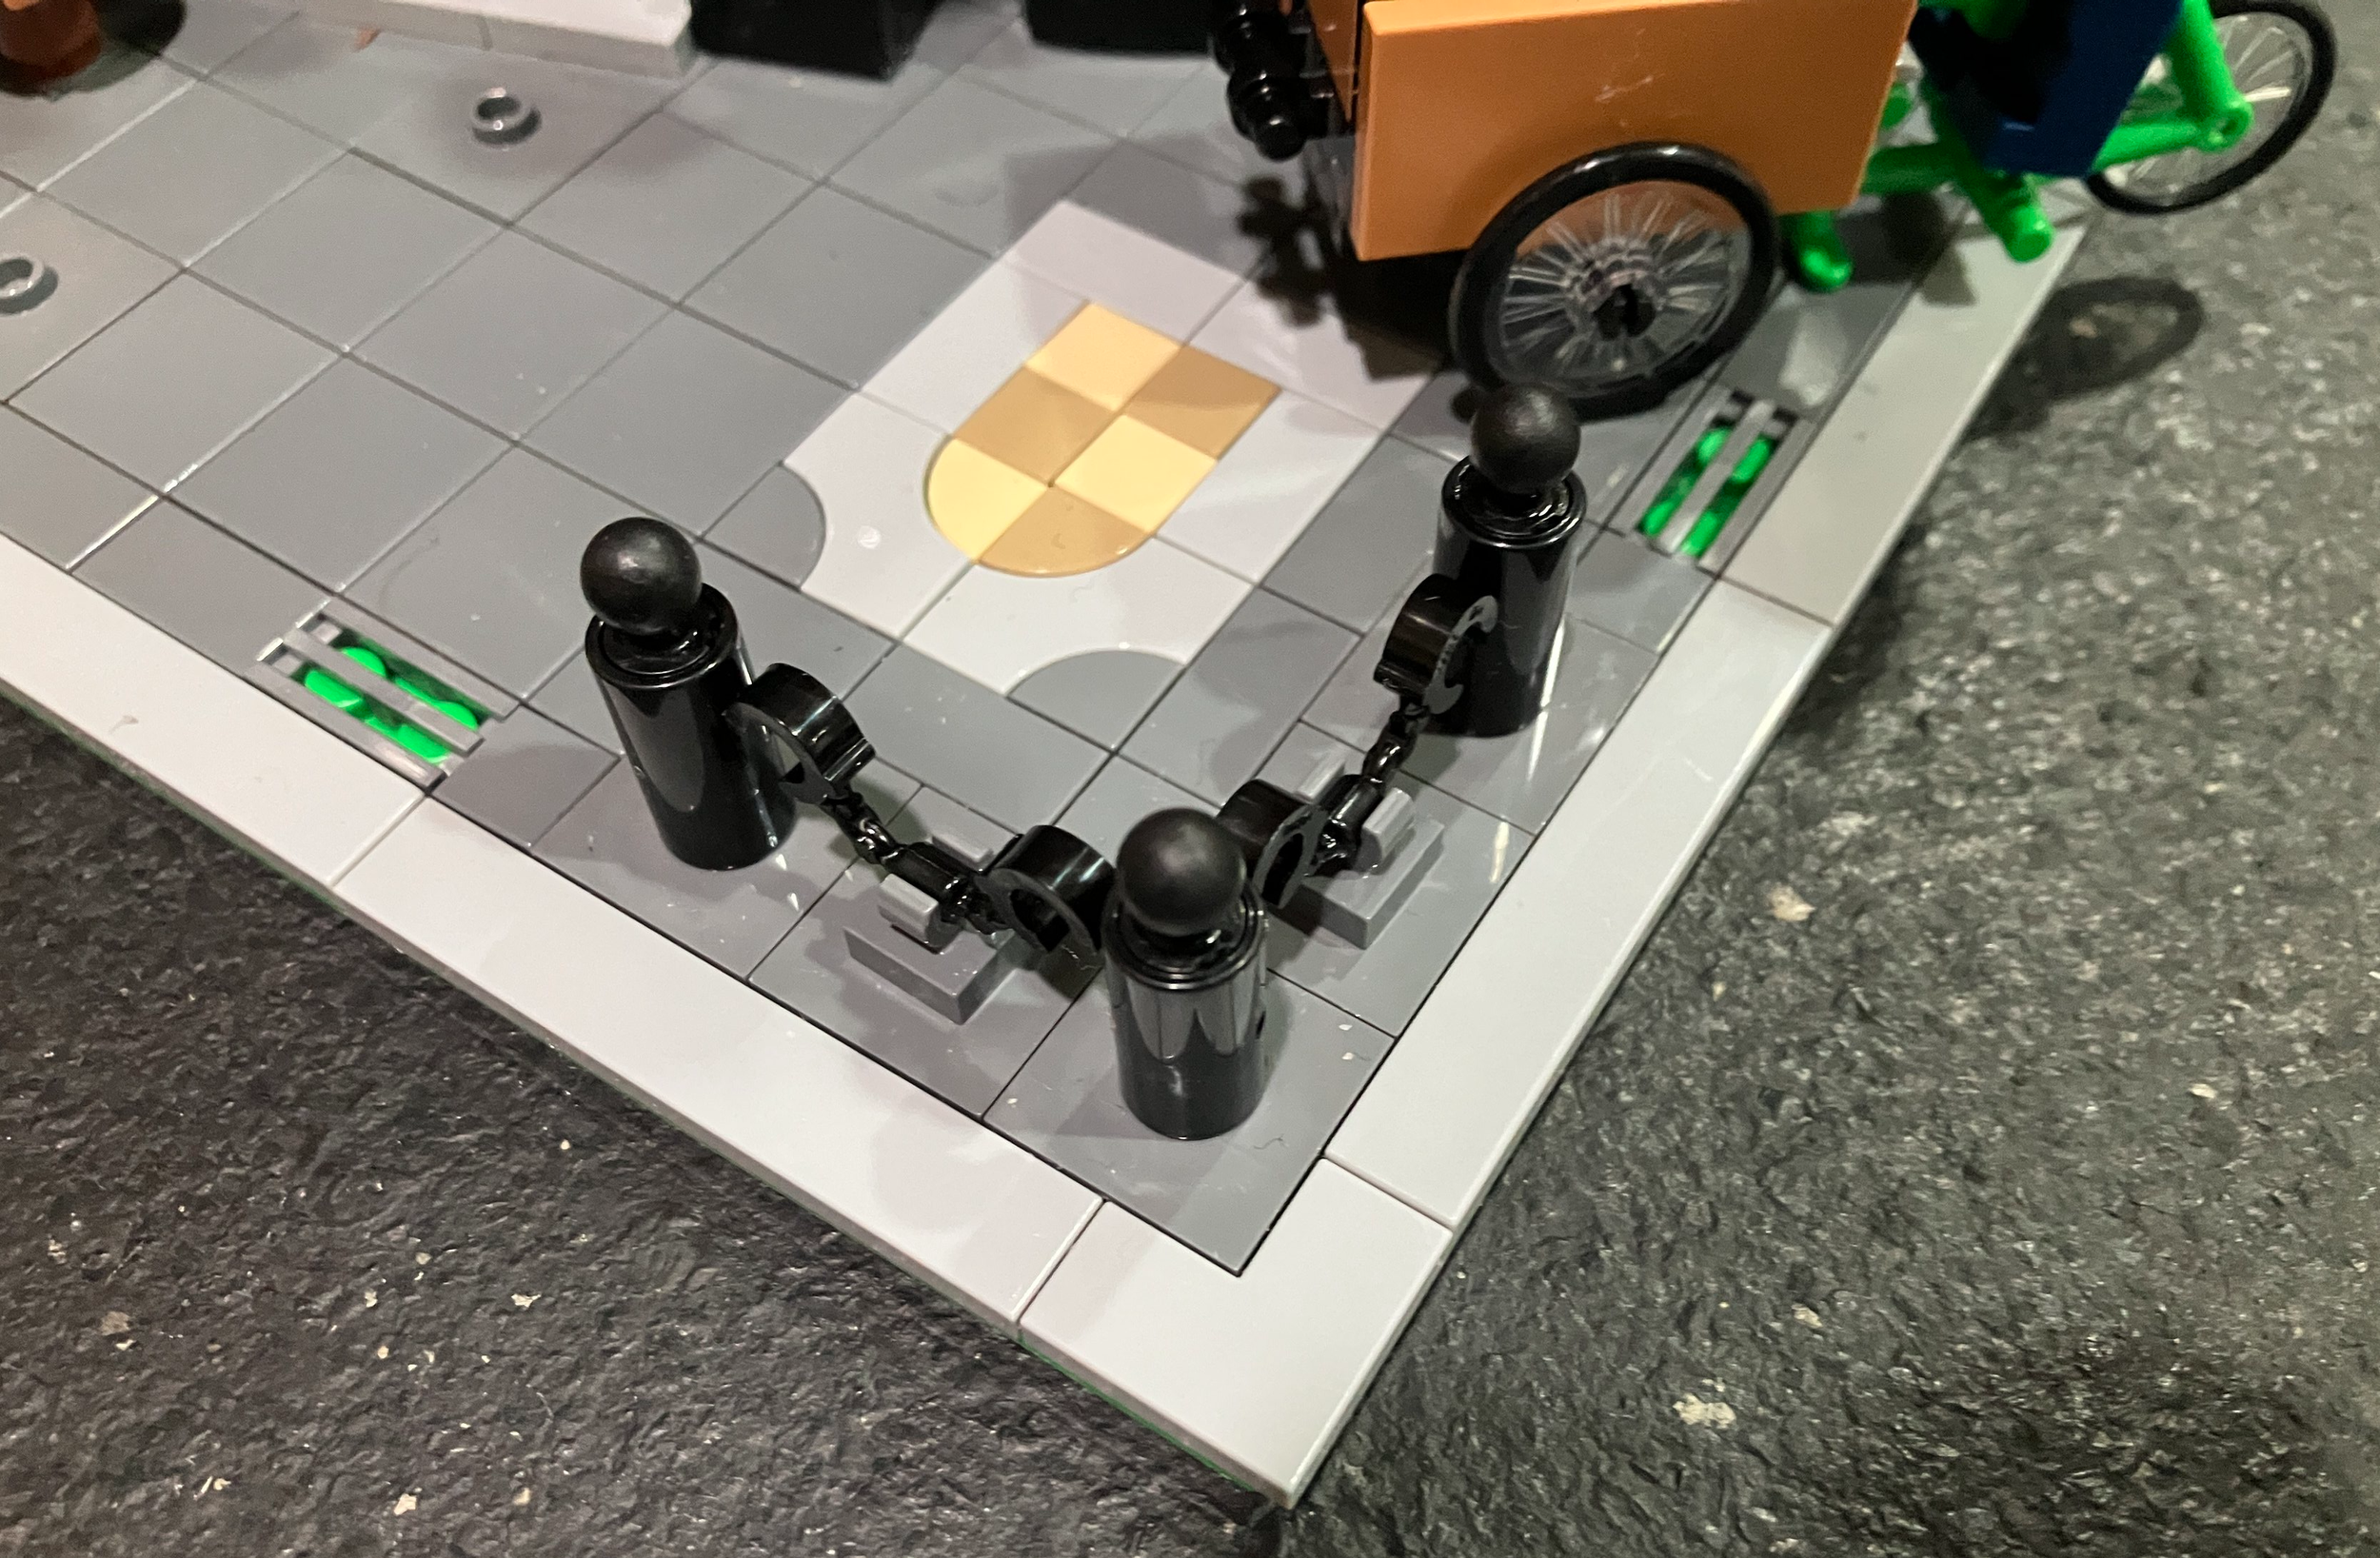
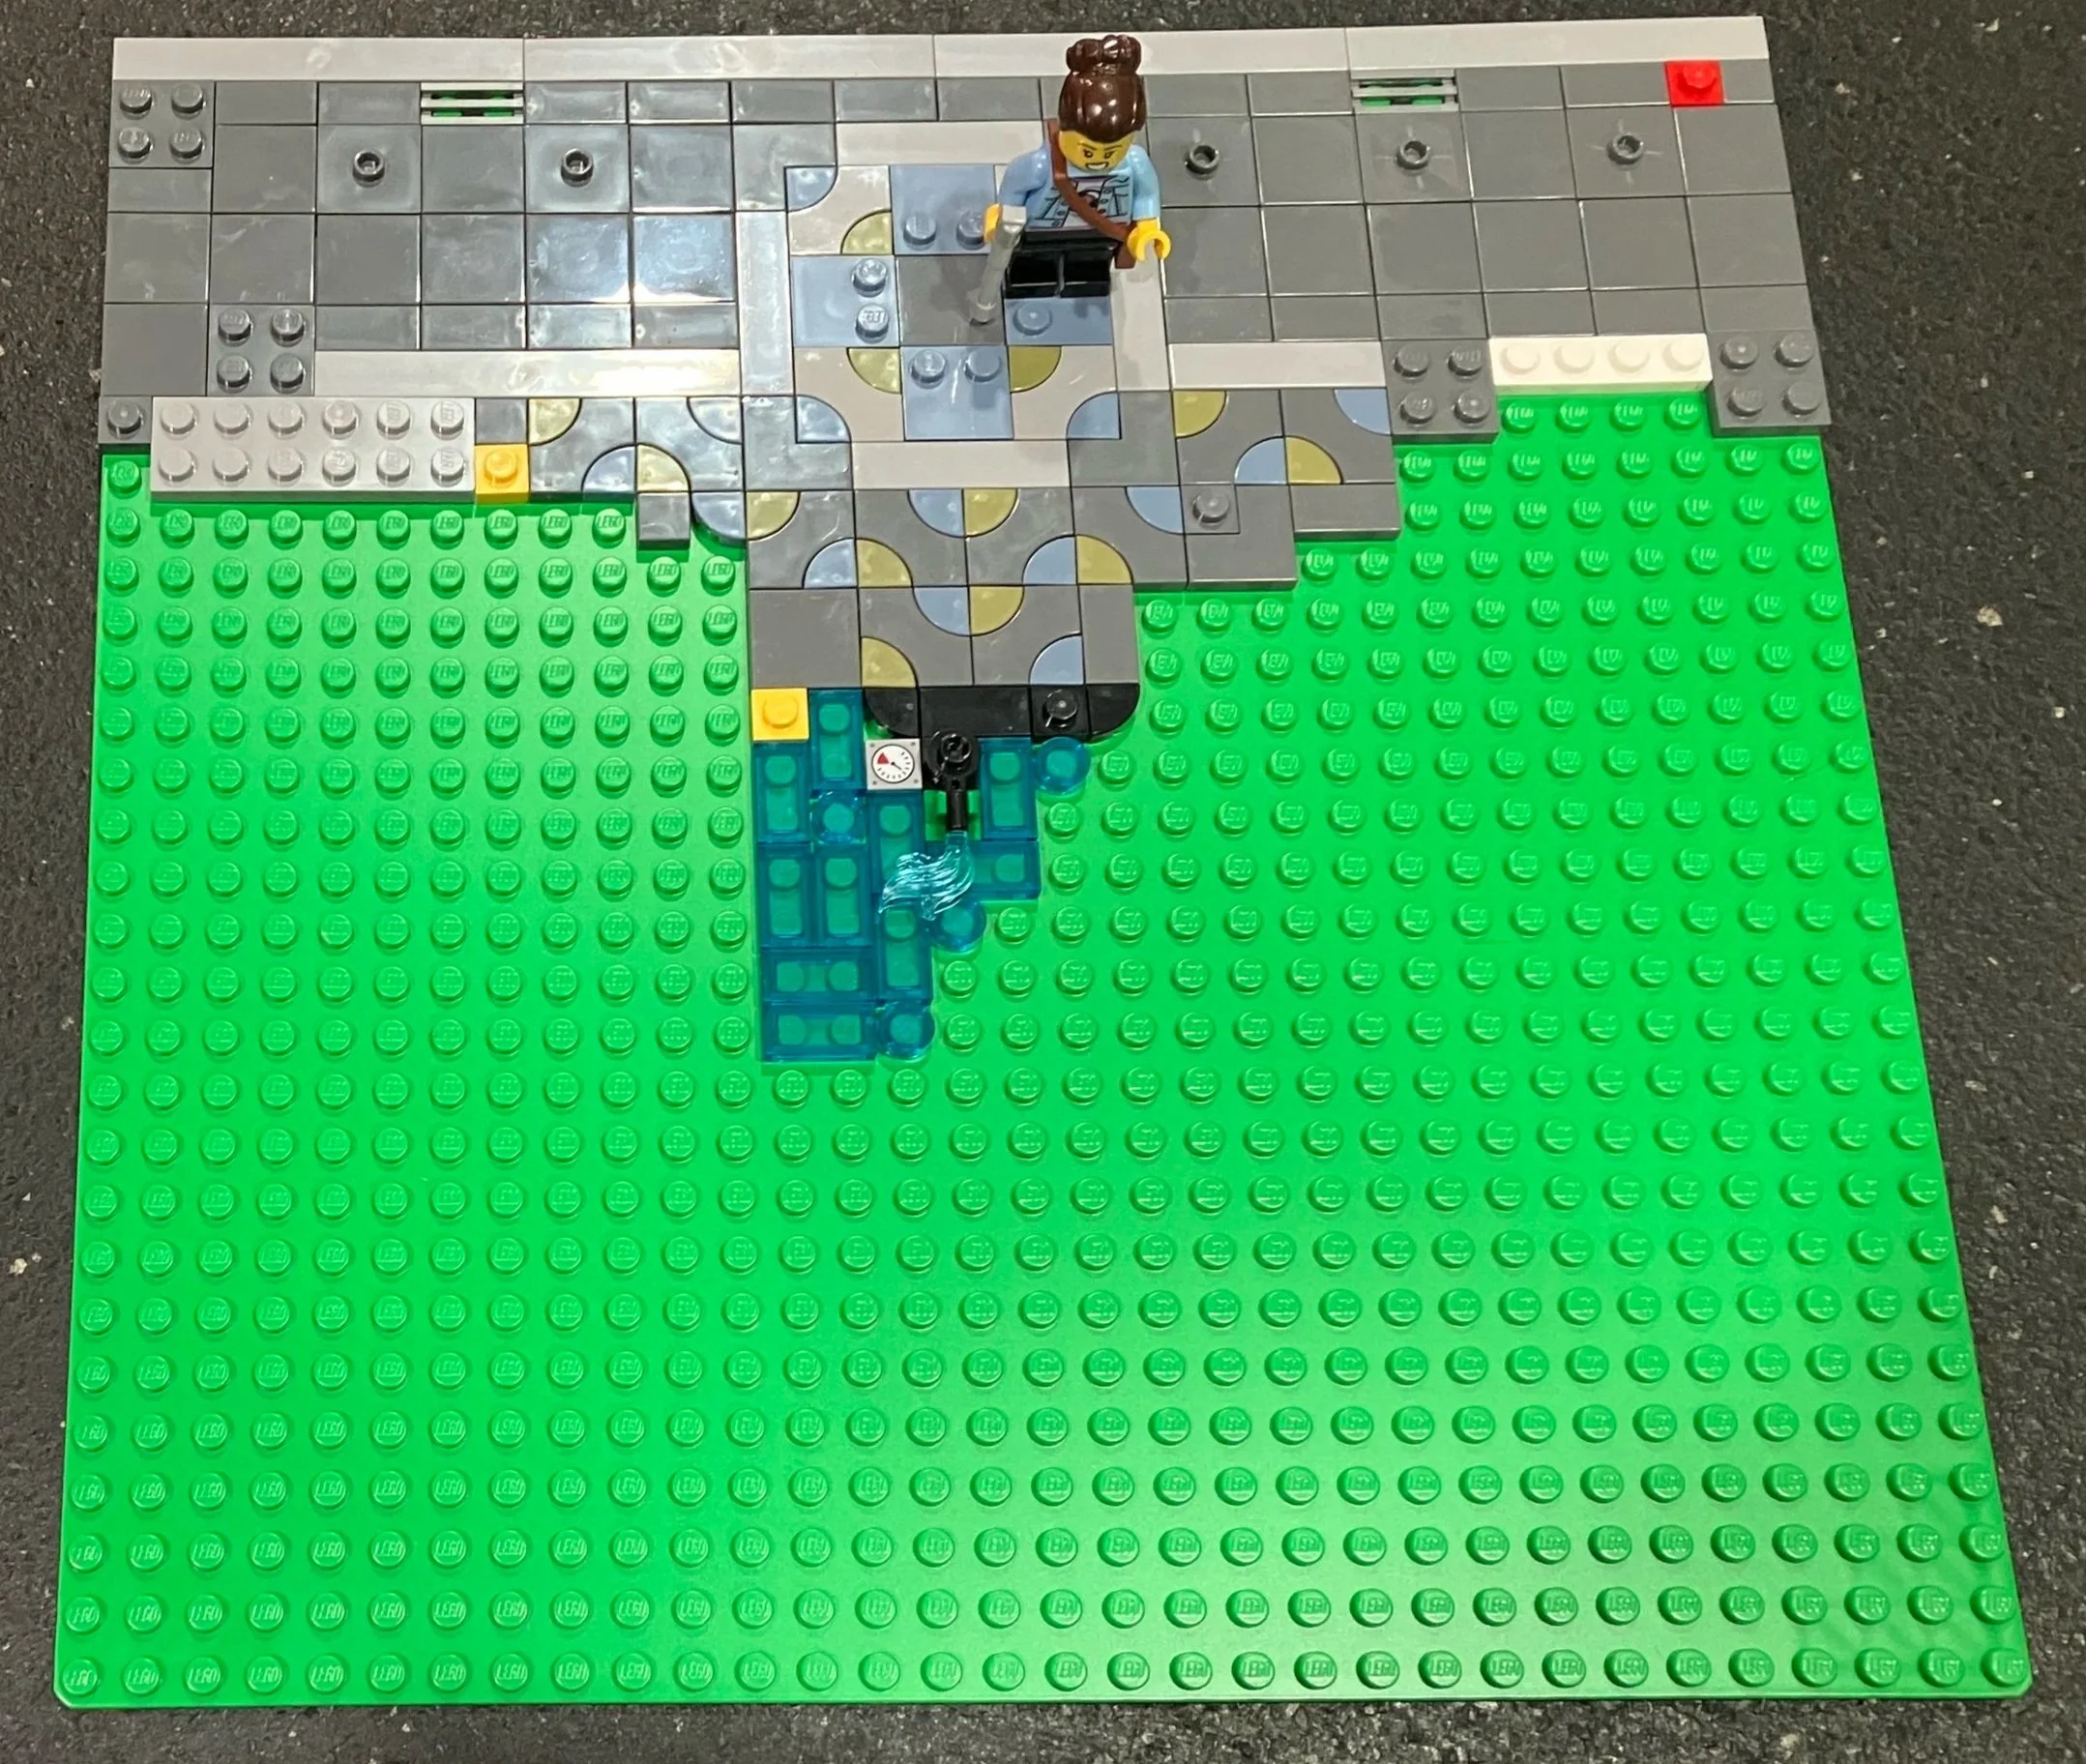
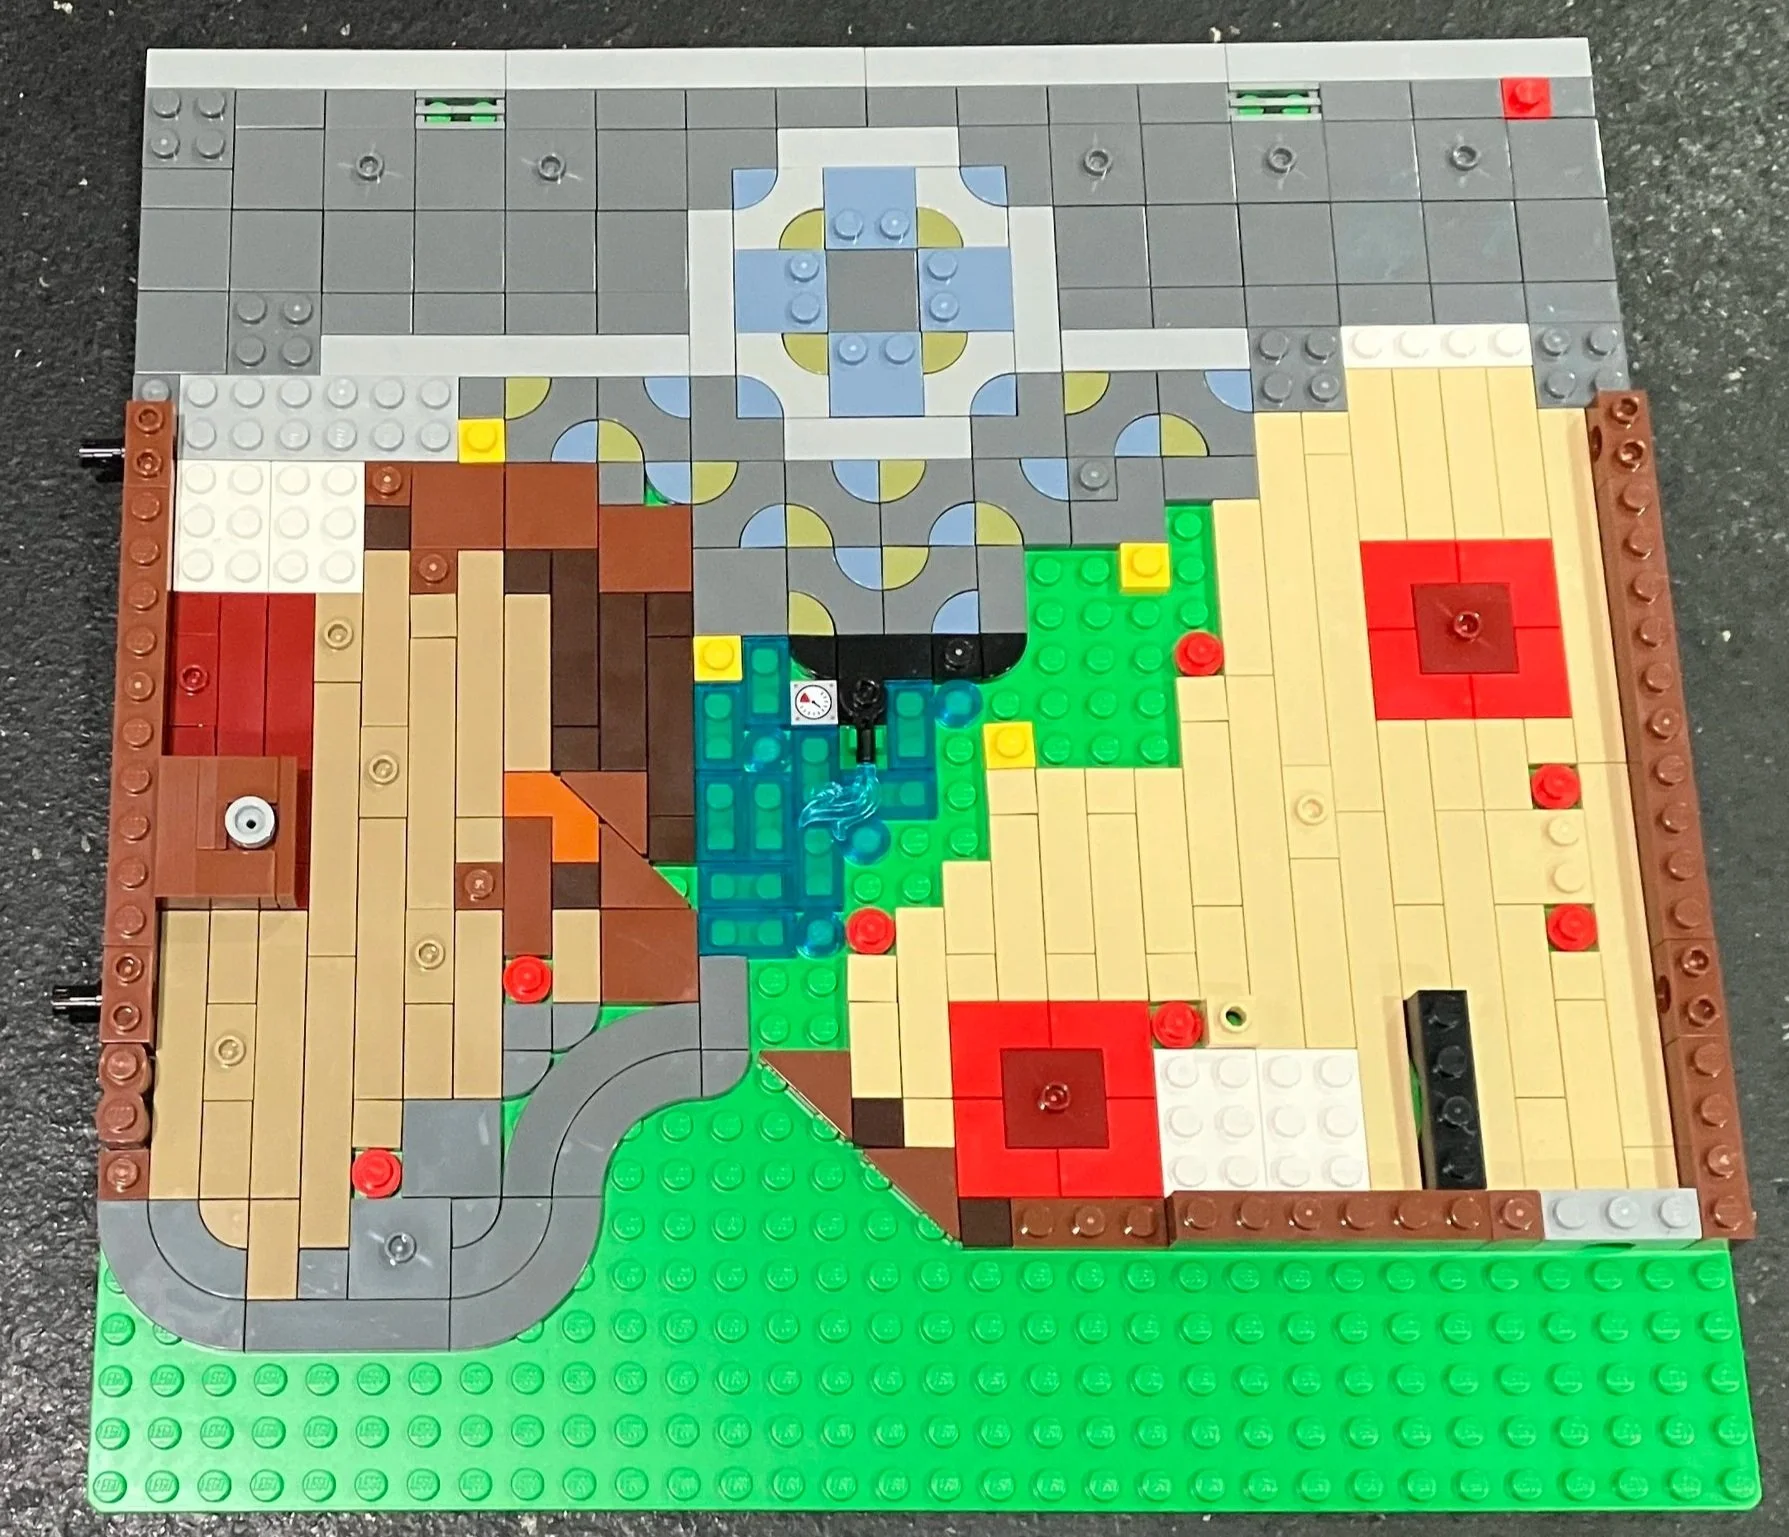
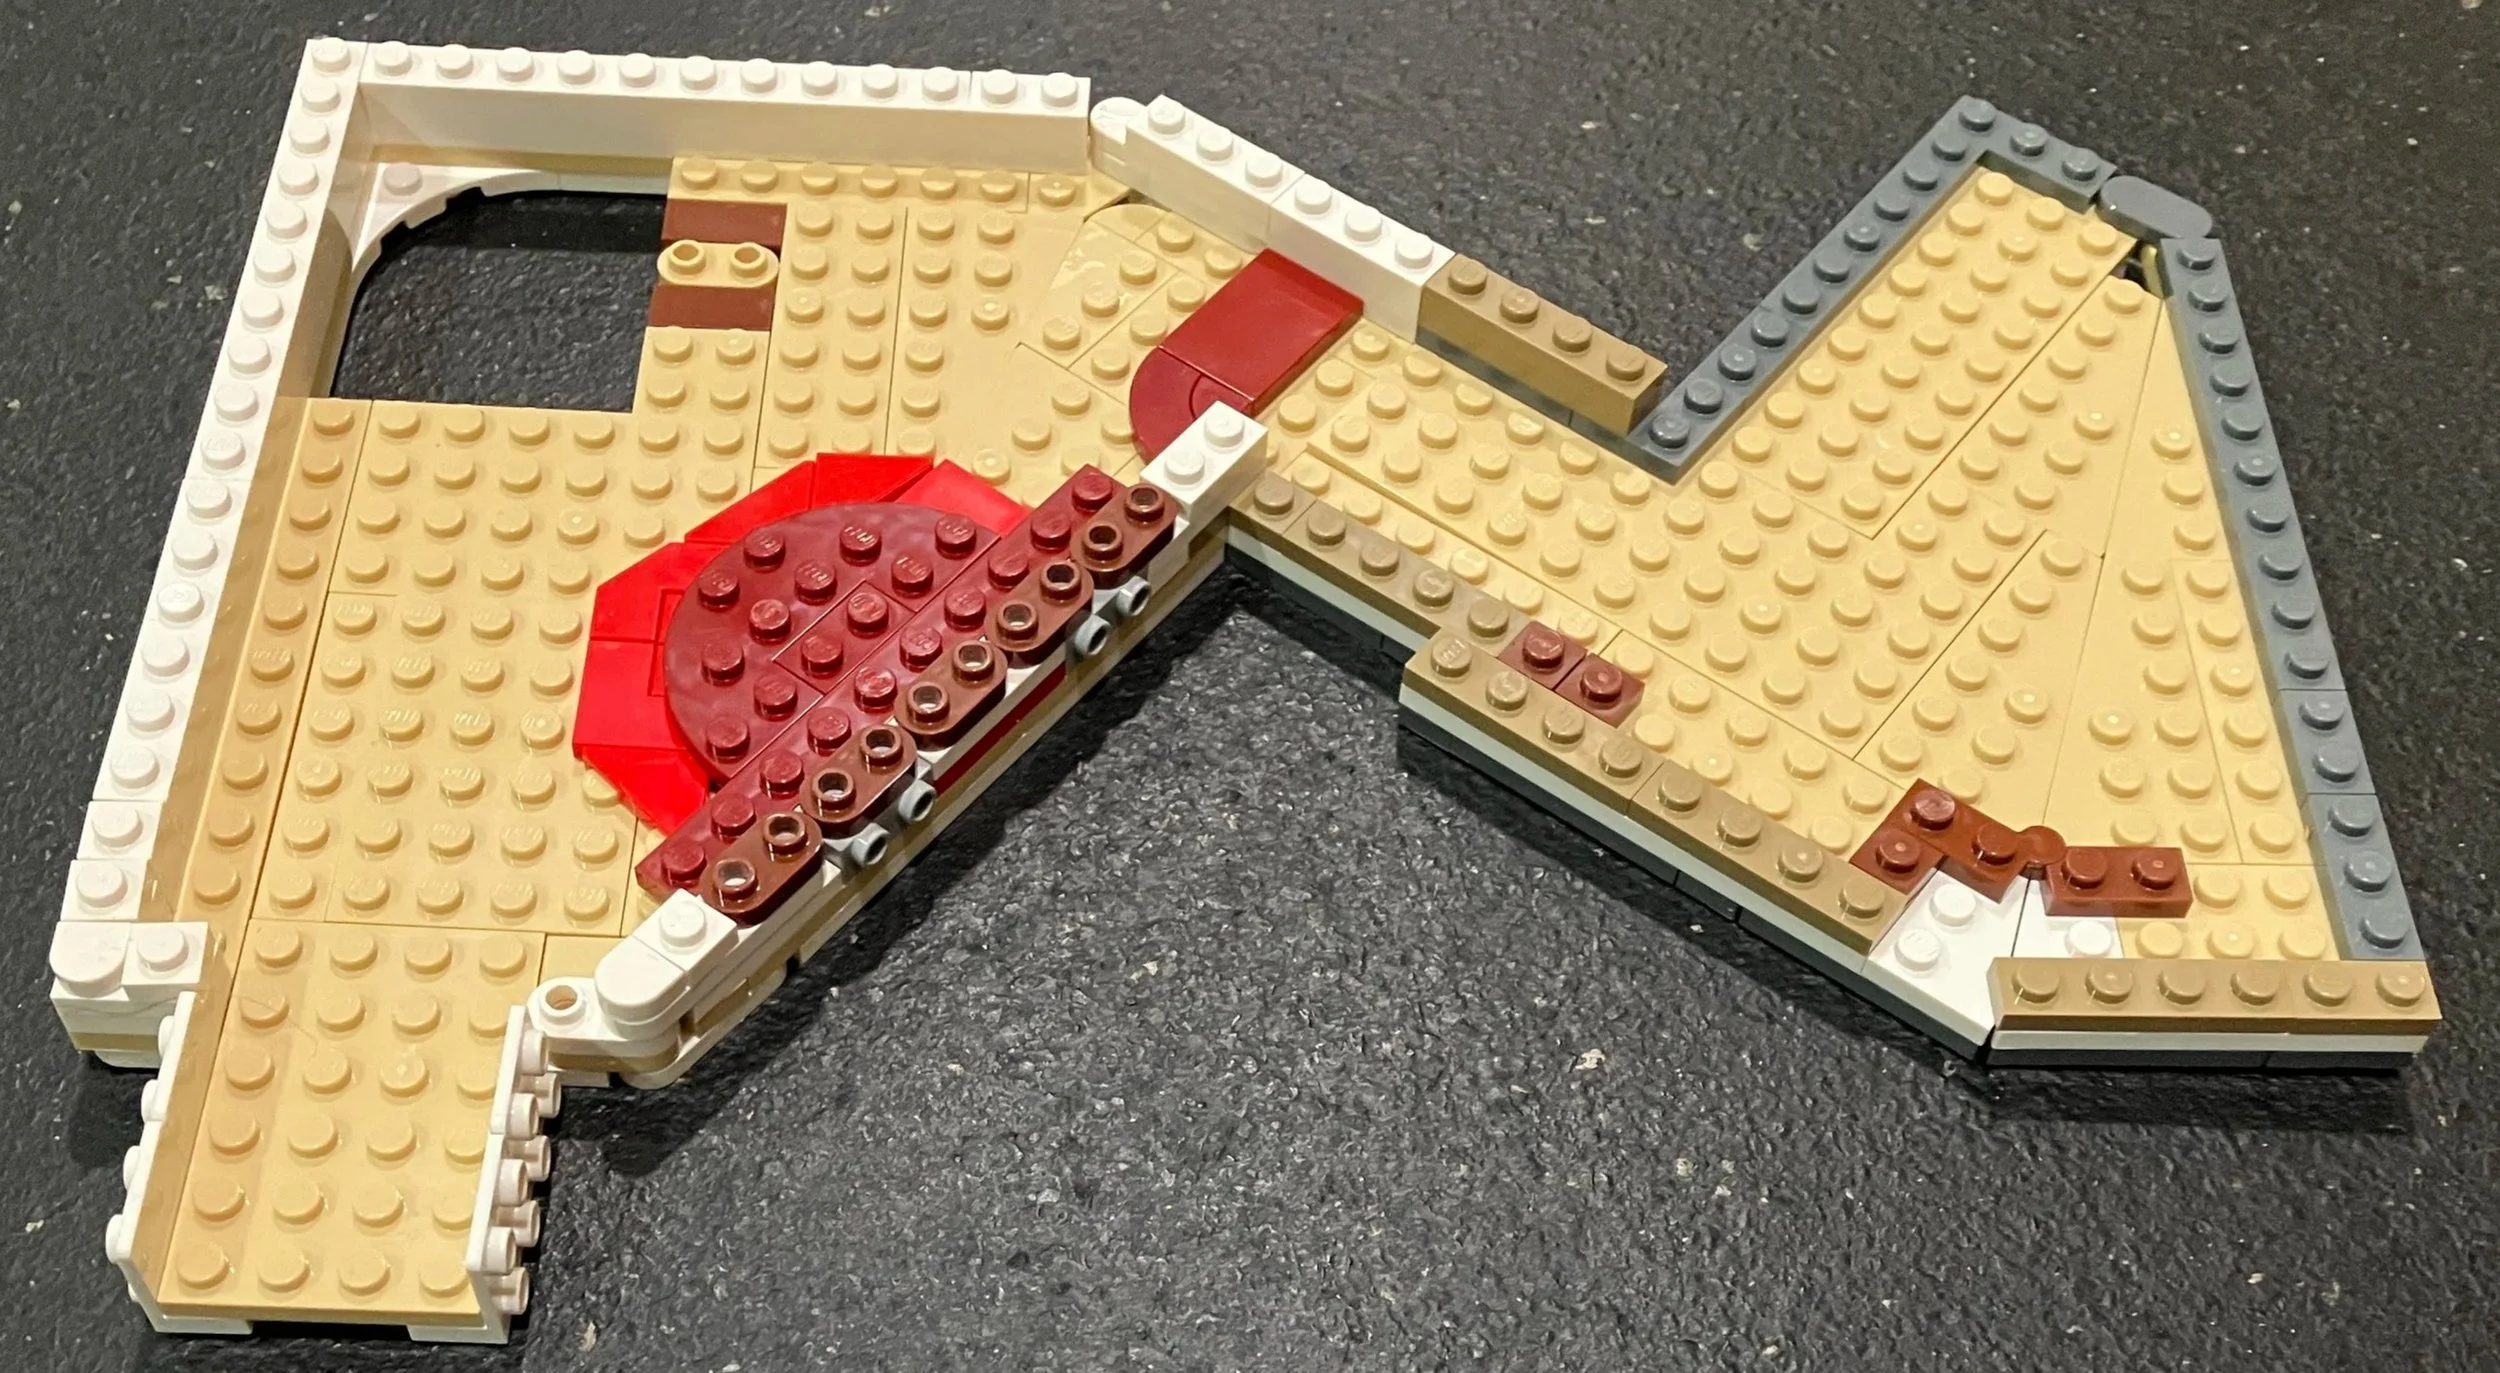
Bag one starts off by adding tiles for the sidewalk outside of the building. It includes some of the new-ish tiles where two parts are bit off. I’m not sure what it’s called, but there are then spaces to add some of the quarter round tiles of different colors to build patterns. Also, there are some trans-blue pieces for what is described as a leak in a pipe for the plumber minifigure who comes later to fix. Speaking of minifigures, this bag includes a female minifigure with a cane.

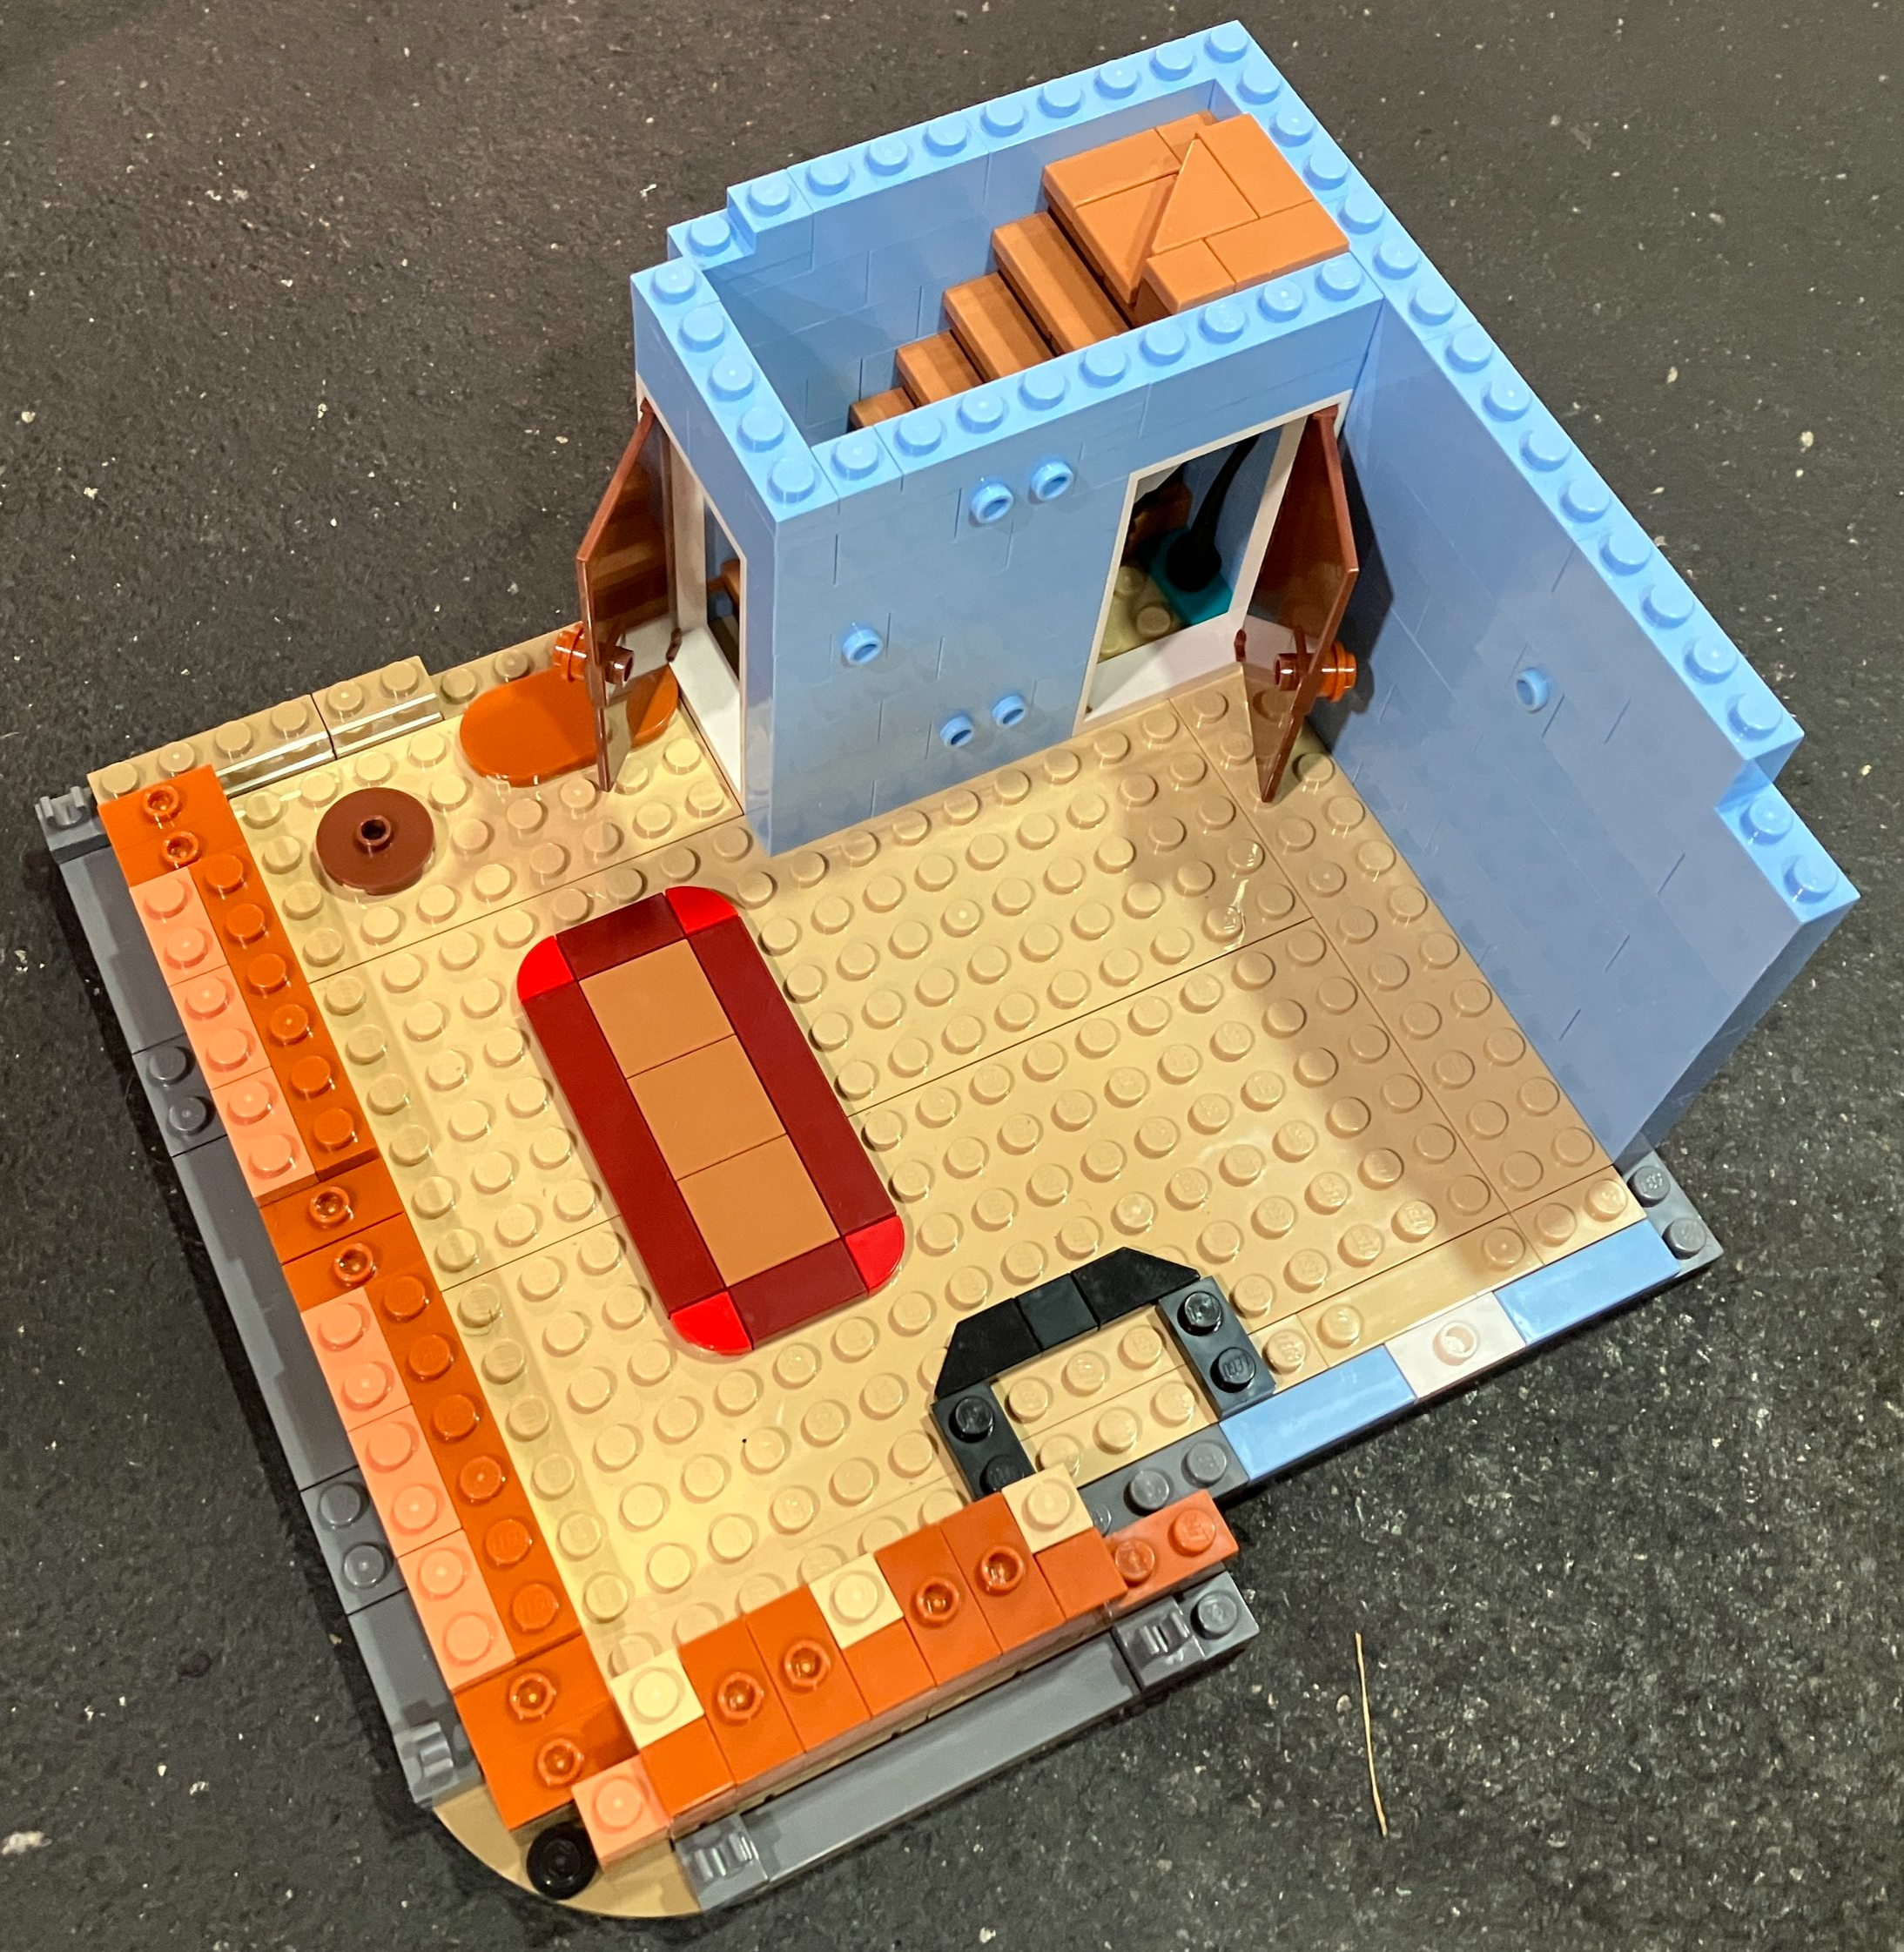
Bag two finishes up most of the tiles and adds a few of the bricks for the walls to include the outer walls with the Technic pins and holes to connect to other buildings.

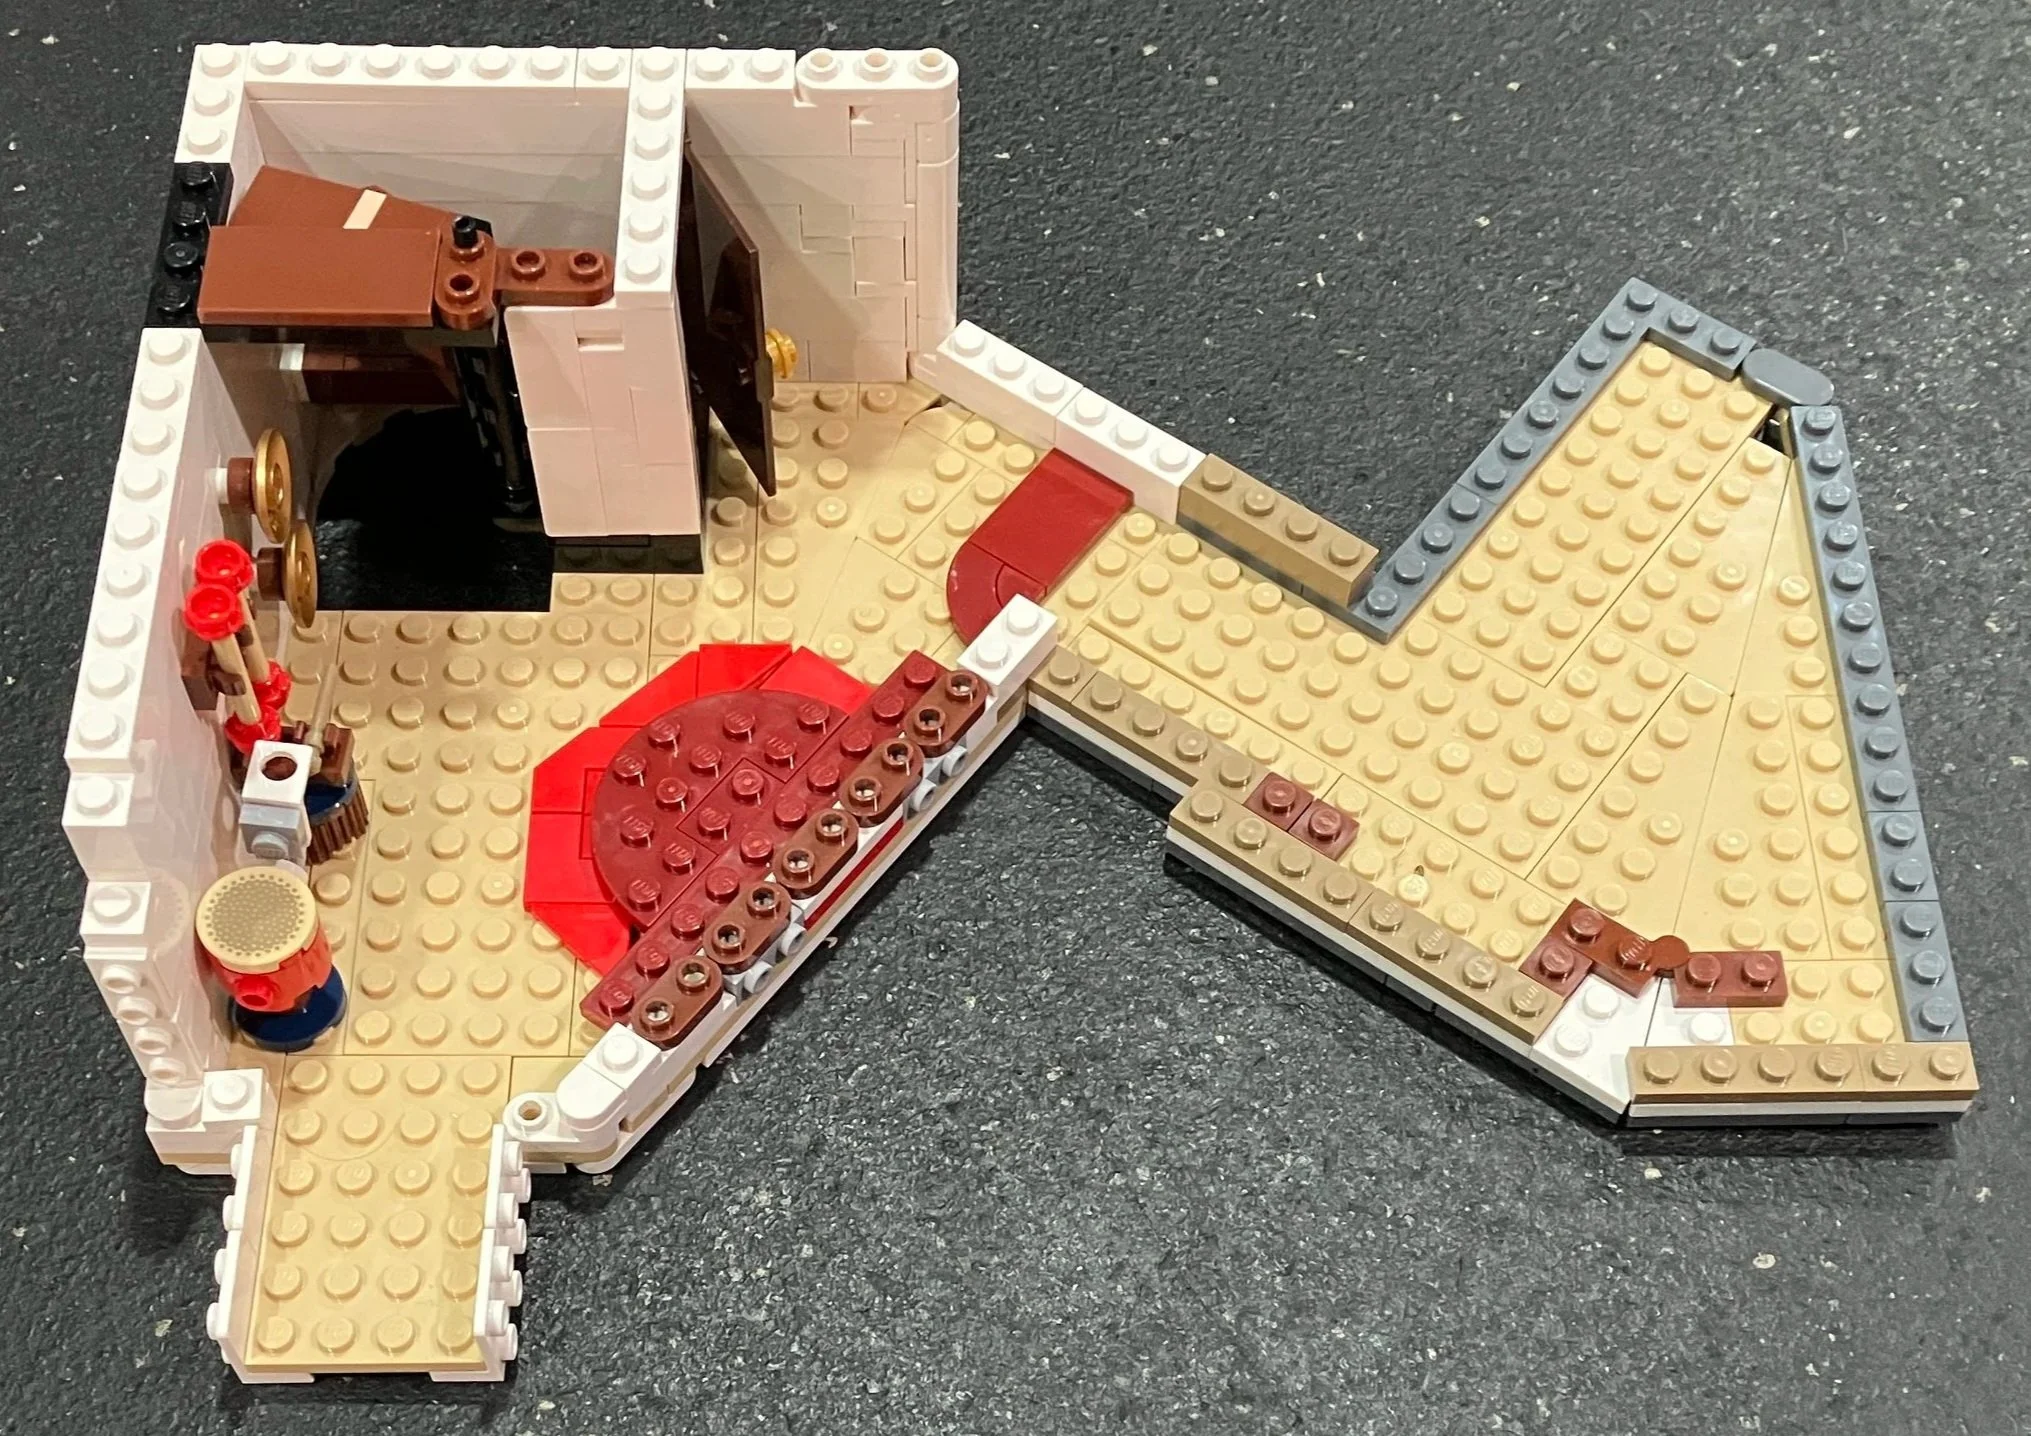
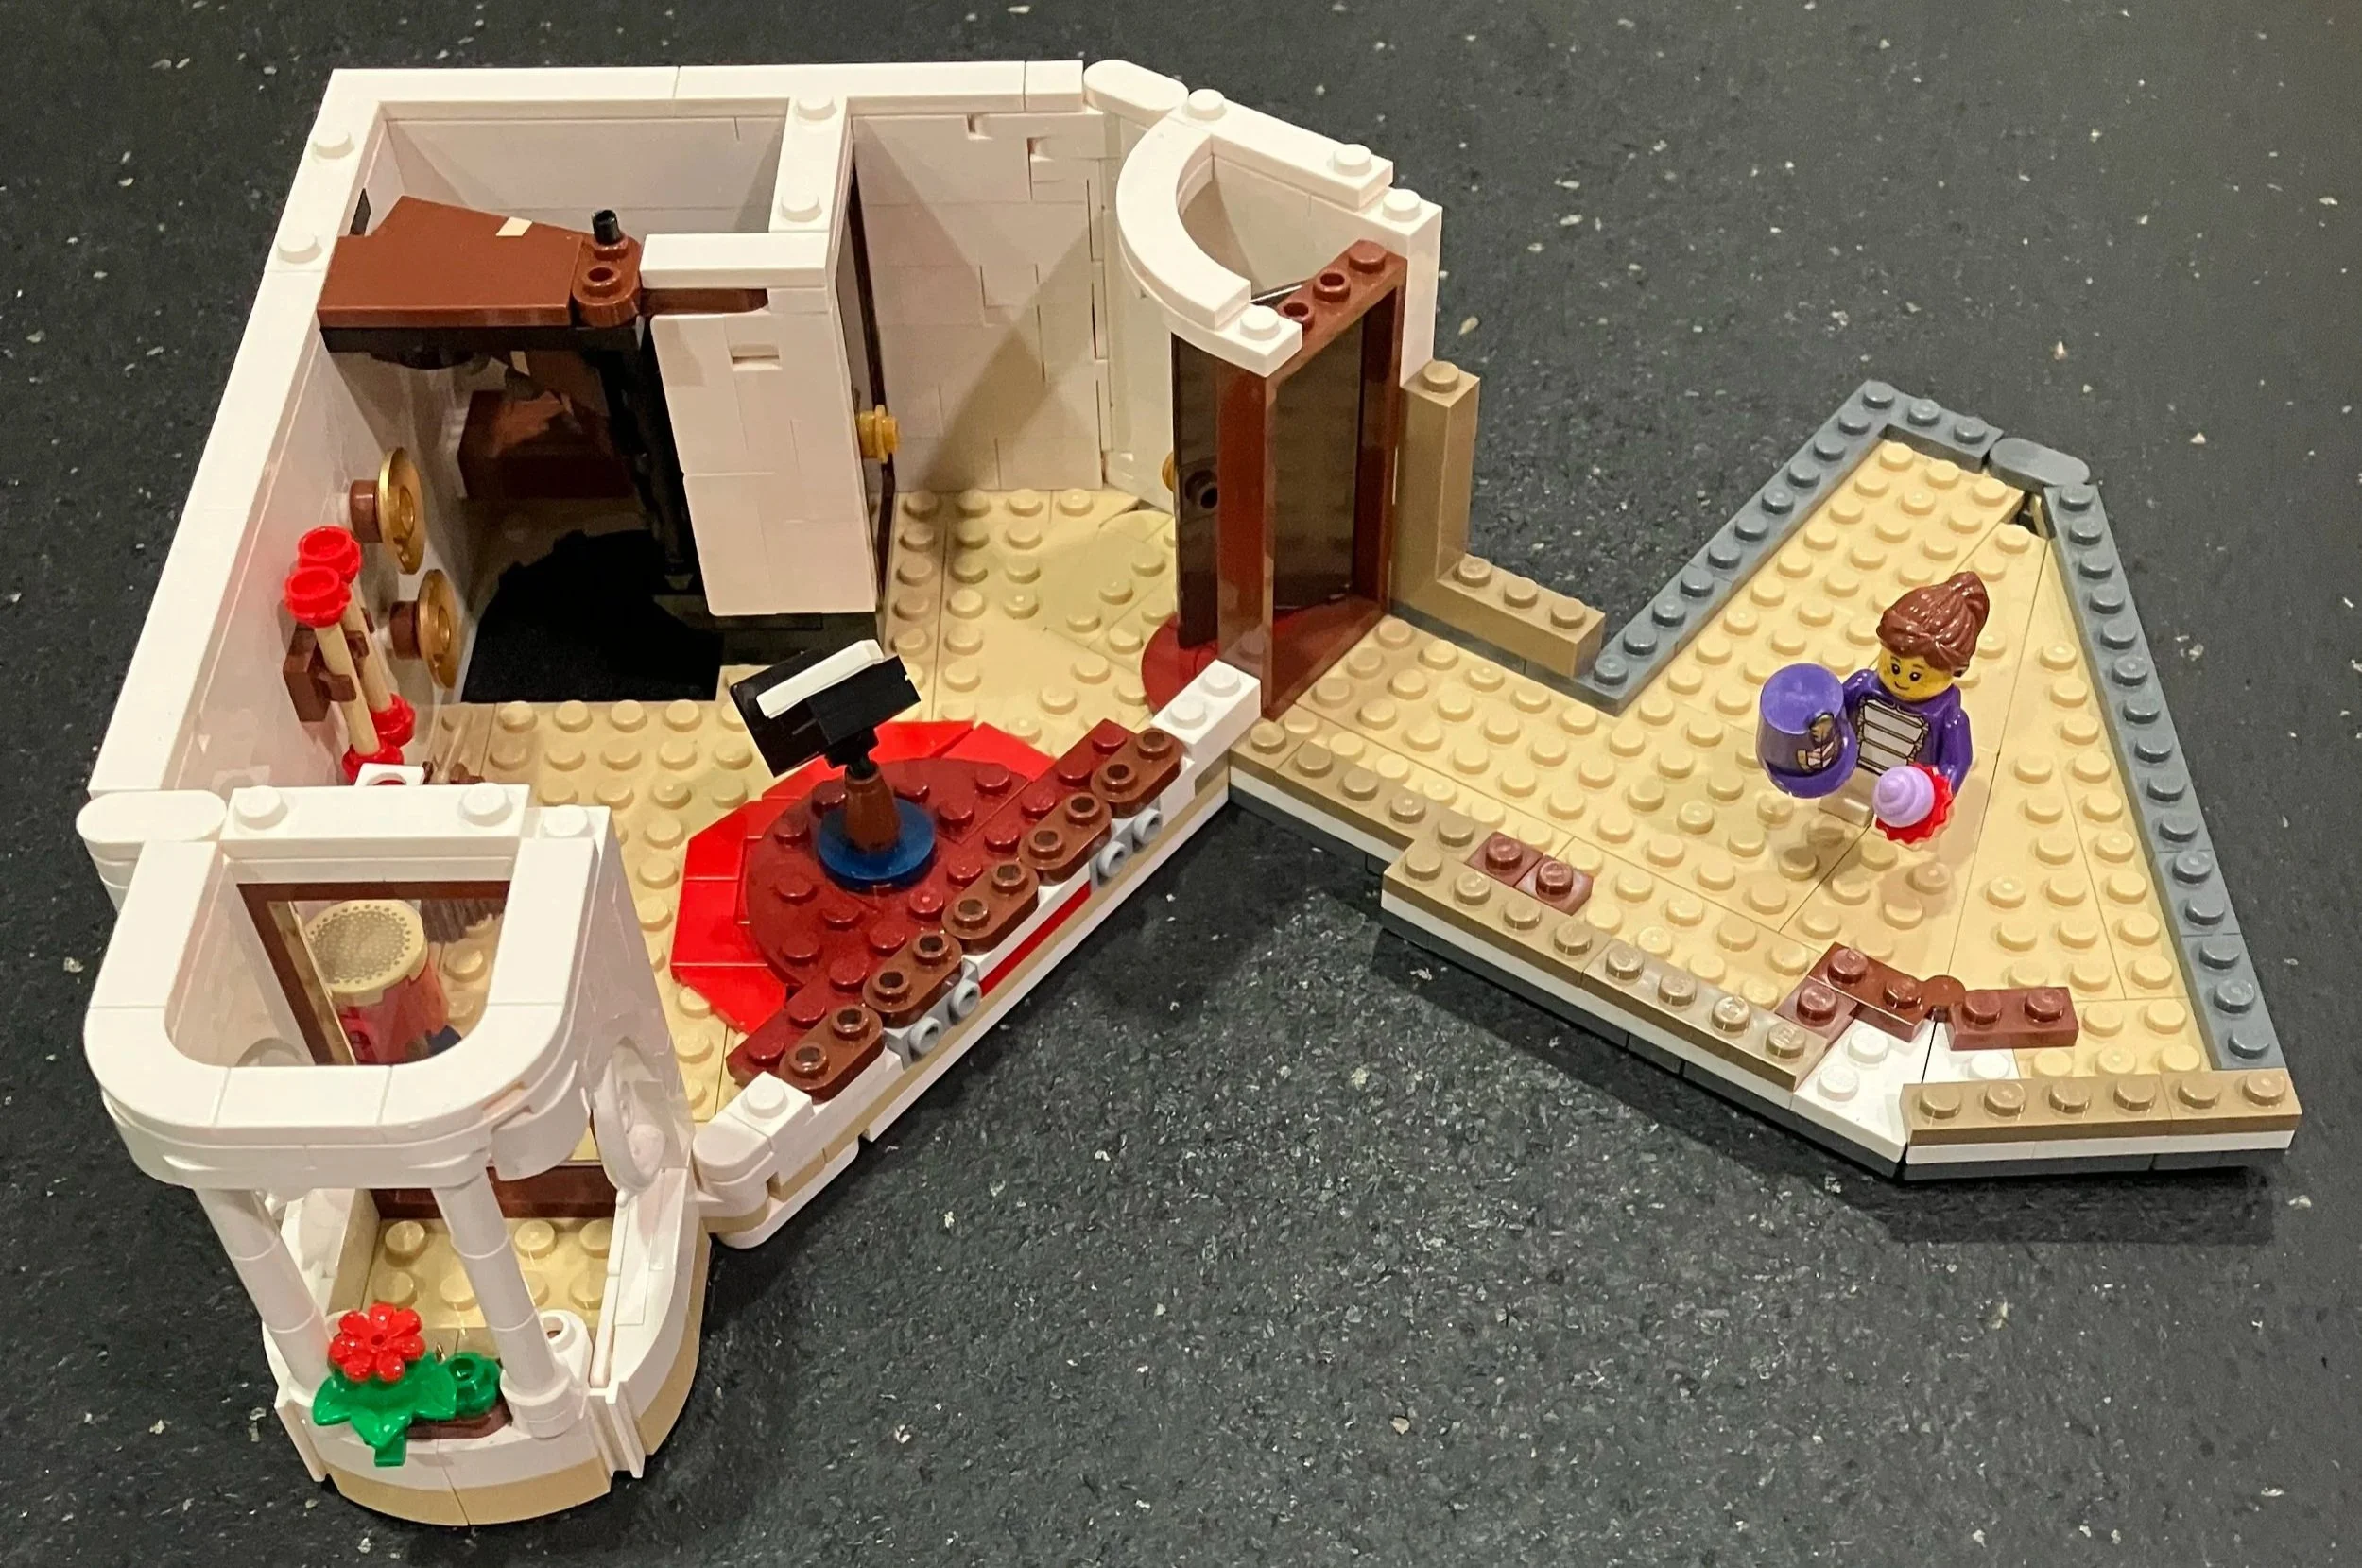
Bags three and four build up the music shop. I like the use of the rounded 1x2 plates to get the angles right. Bag three includes a male minifigure who is the shop owner. Bag four adds a girl minifigure. This one and another one later is billed as twins and the first set to include twins. Bag four also adds some instruments for sale which look fun in brick form.

Bag five finishes up the music shop with the last wall section. There is an instrument out front to advertise the store.

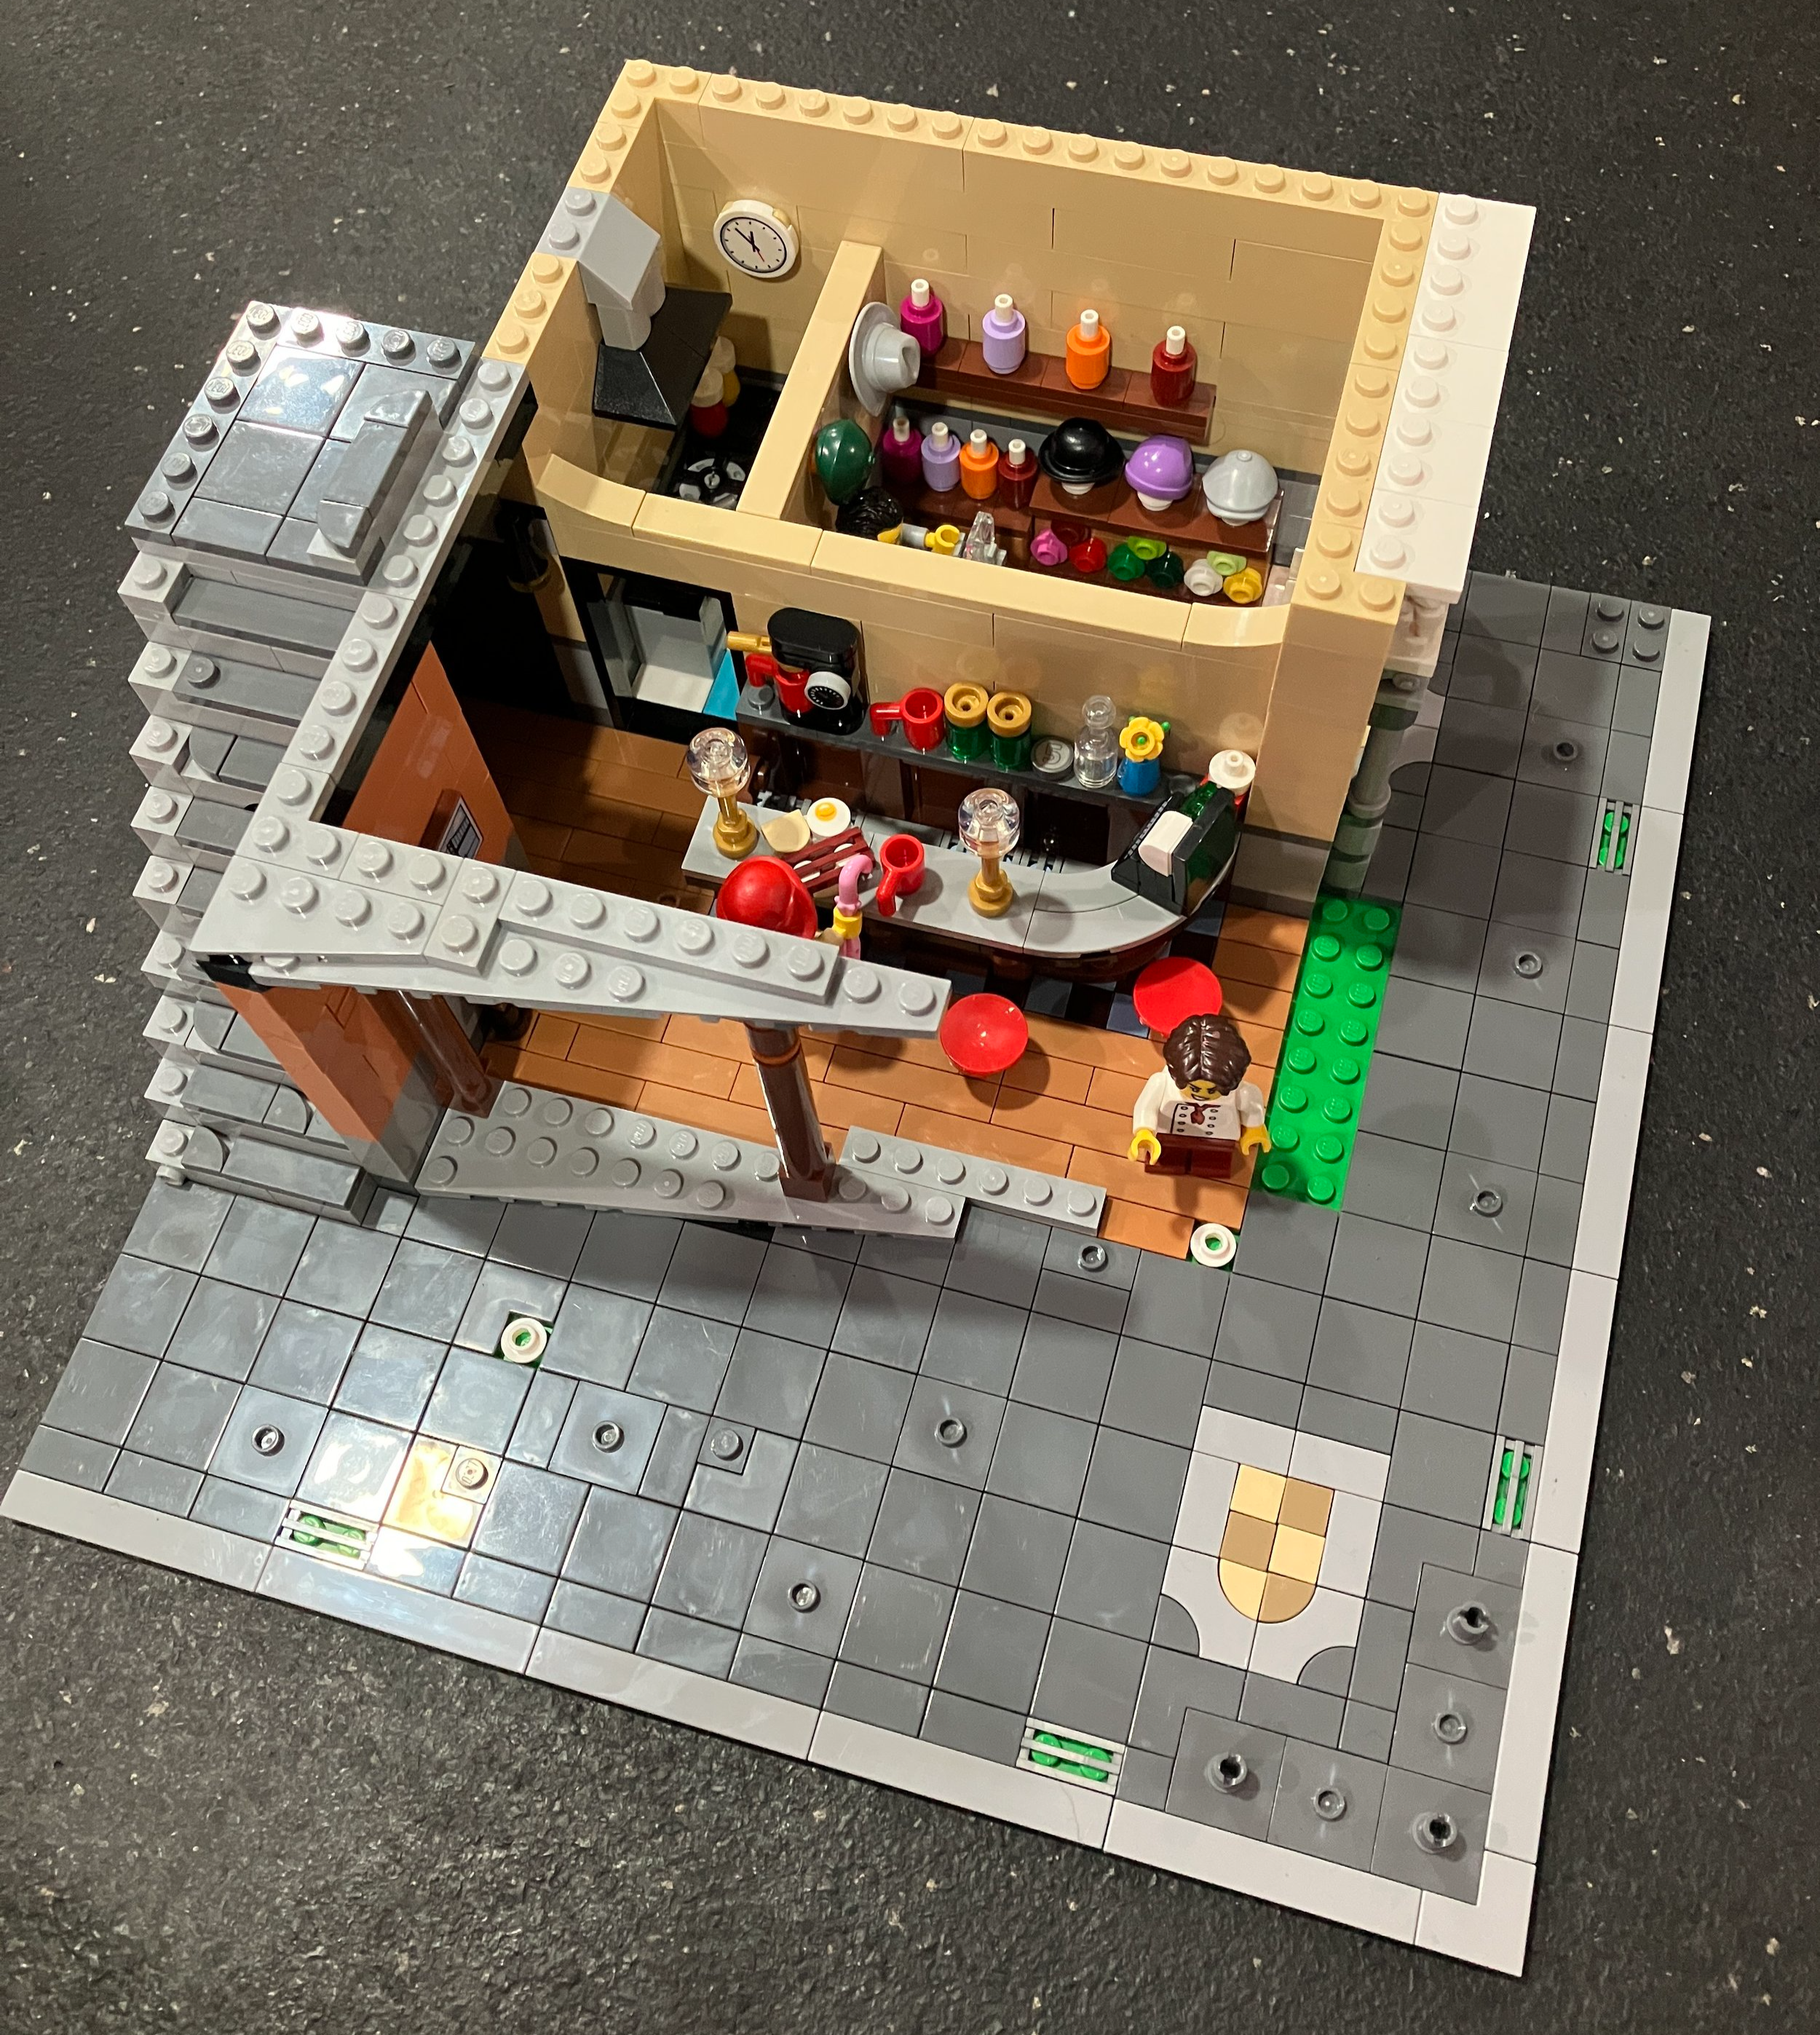
Bag six starts to build the chair shop next door with a few examples of chairs inside for sale. This bag includes the male minifigure who is the plumber. He comes with a tool kit. This bag also builds the walkway between the two buildings and this is where you build the faucet that is leaking.

Bags seven and eight finish up the chair shop and also adds some final pieces onto the music shop.

Bags nine and 10 start to build the second floor. Bag nine connects the floor plates over the music shop. Bag 10 adds the floor plates above the chair shop.

Bag 11 adds some stairs and walls to the second floor along with some additional musical instruments to include drums. Bag 12 adds more walls and the other twin girl minifigure.

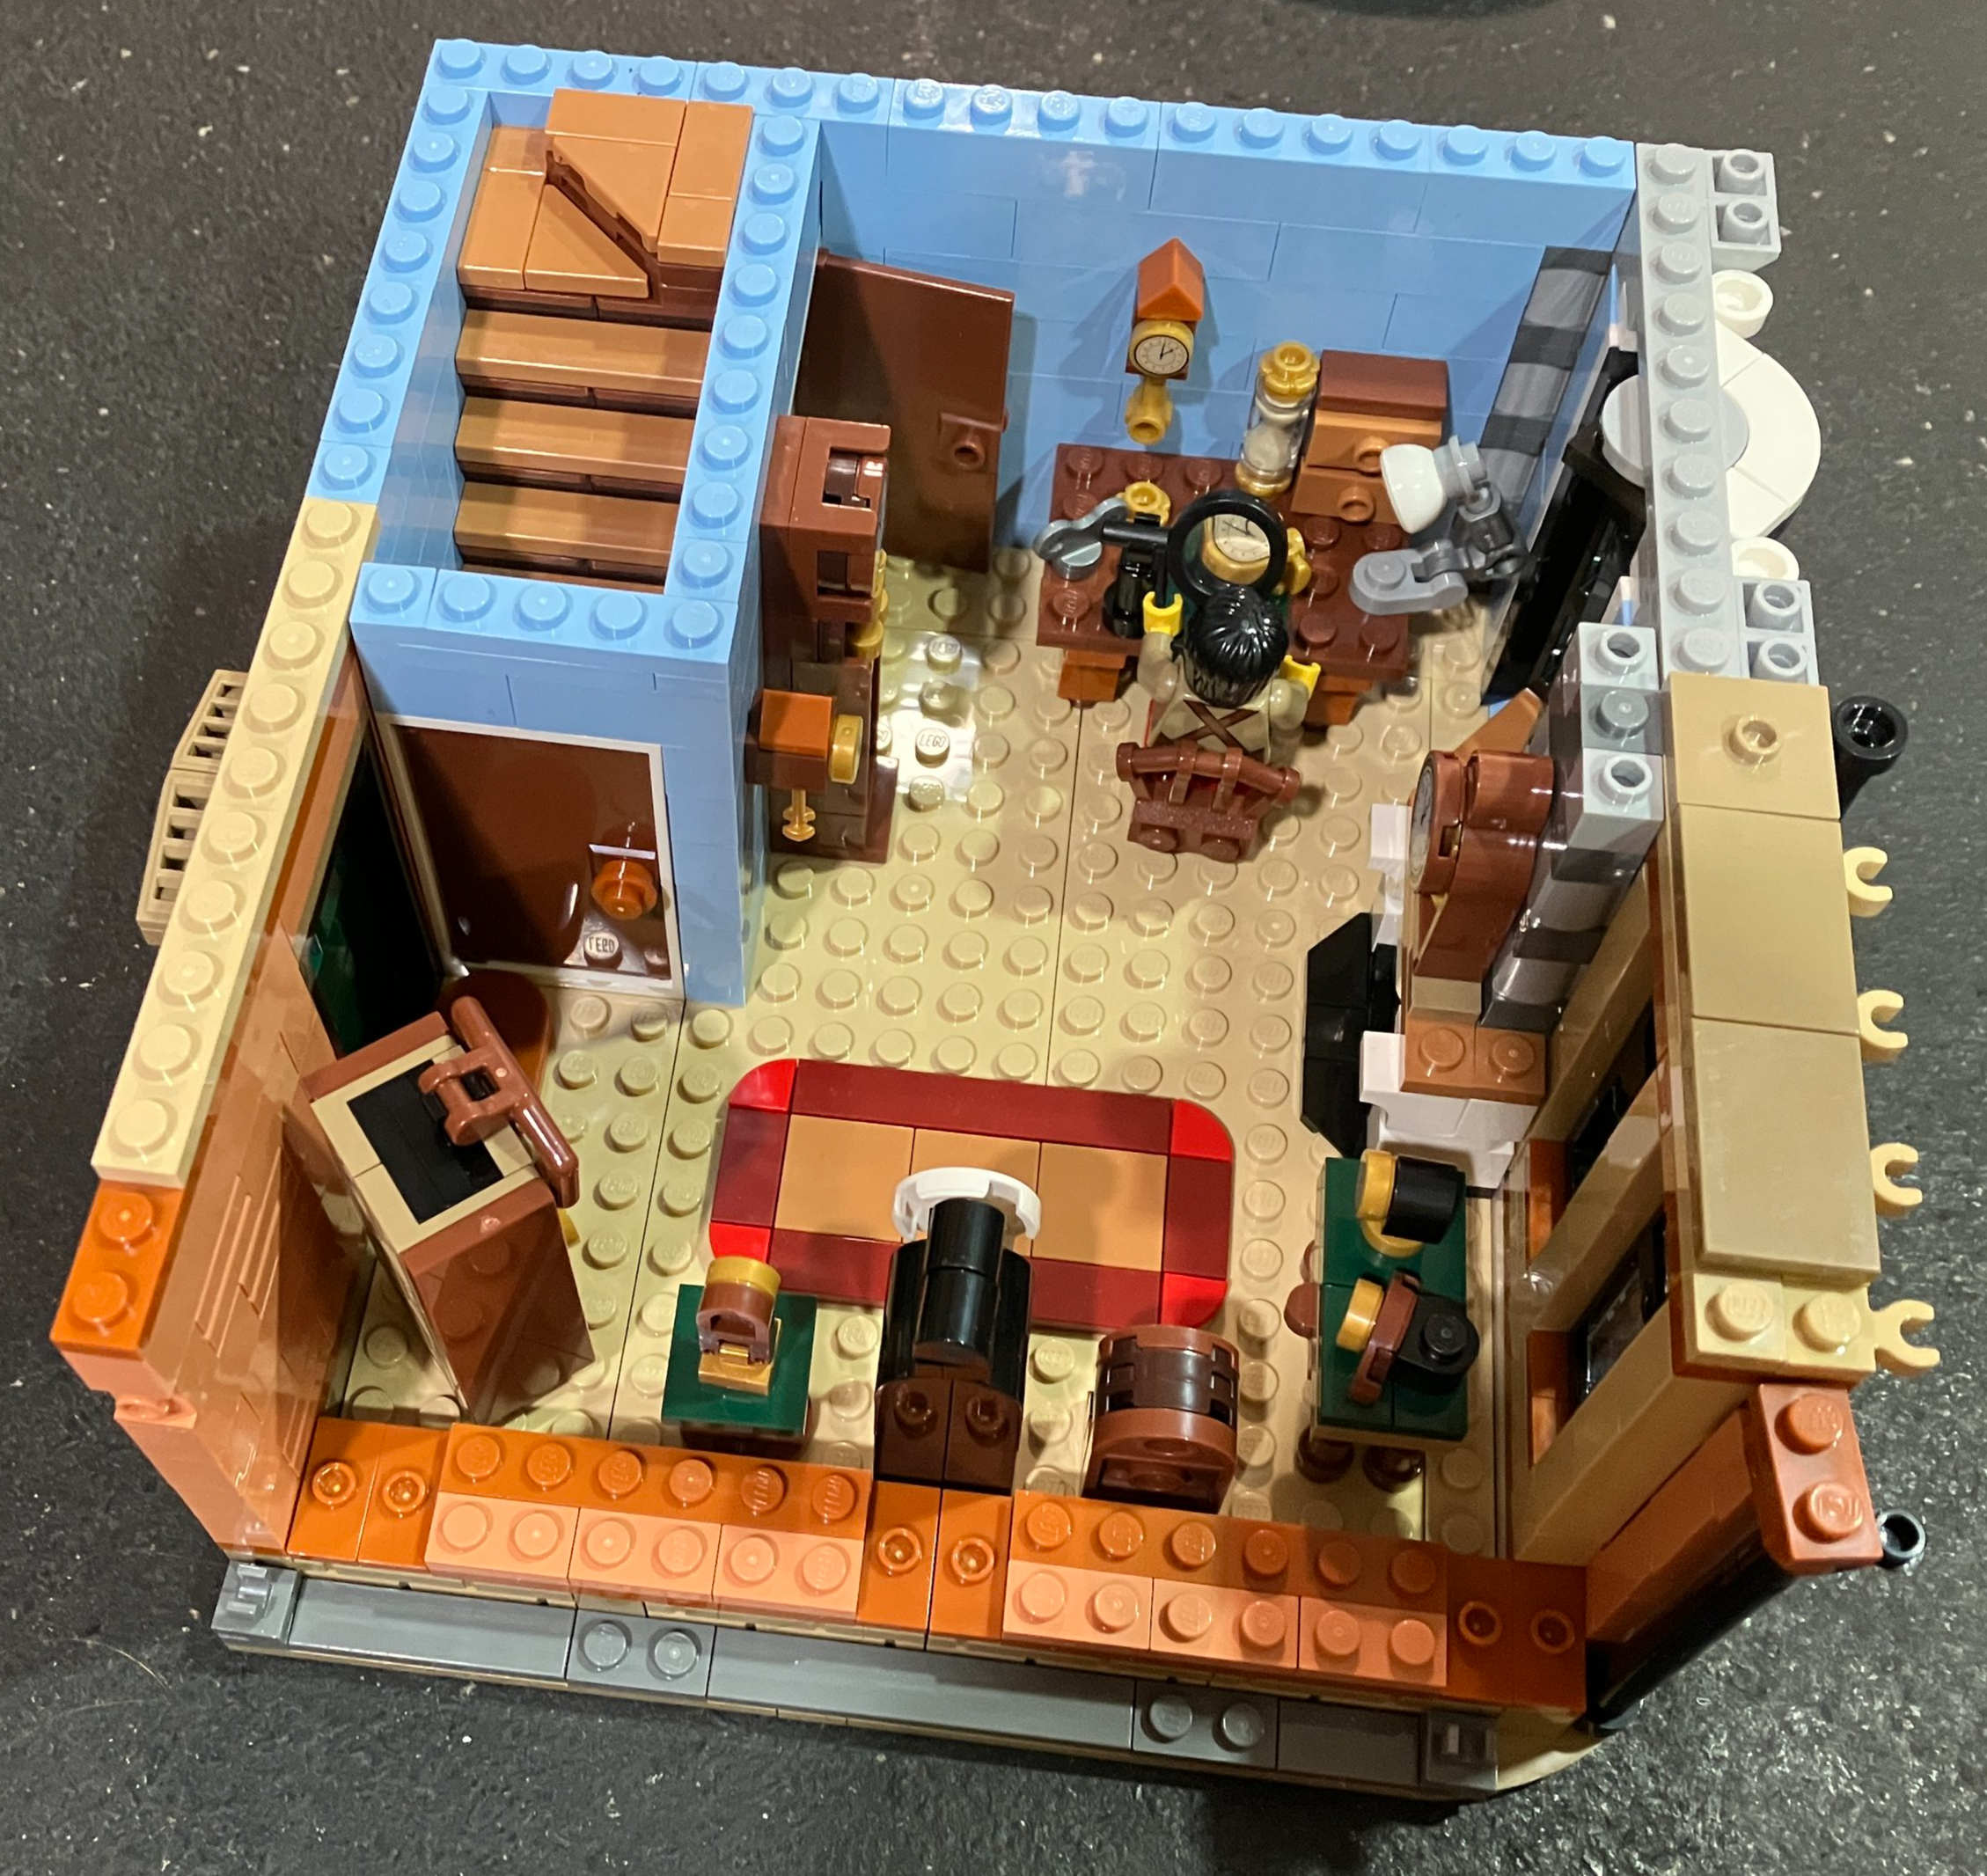
Bag 13 starts to build the wood working area and includes a female who works there. In the back corner is an assembly of pieces that is meant to represent the original LEGO wooden duck.

Bag 14 adds in some work tables and tools along with more walls and some front windows.

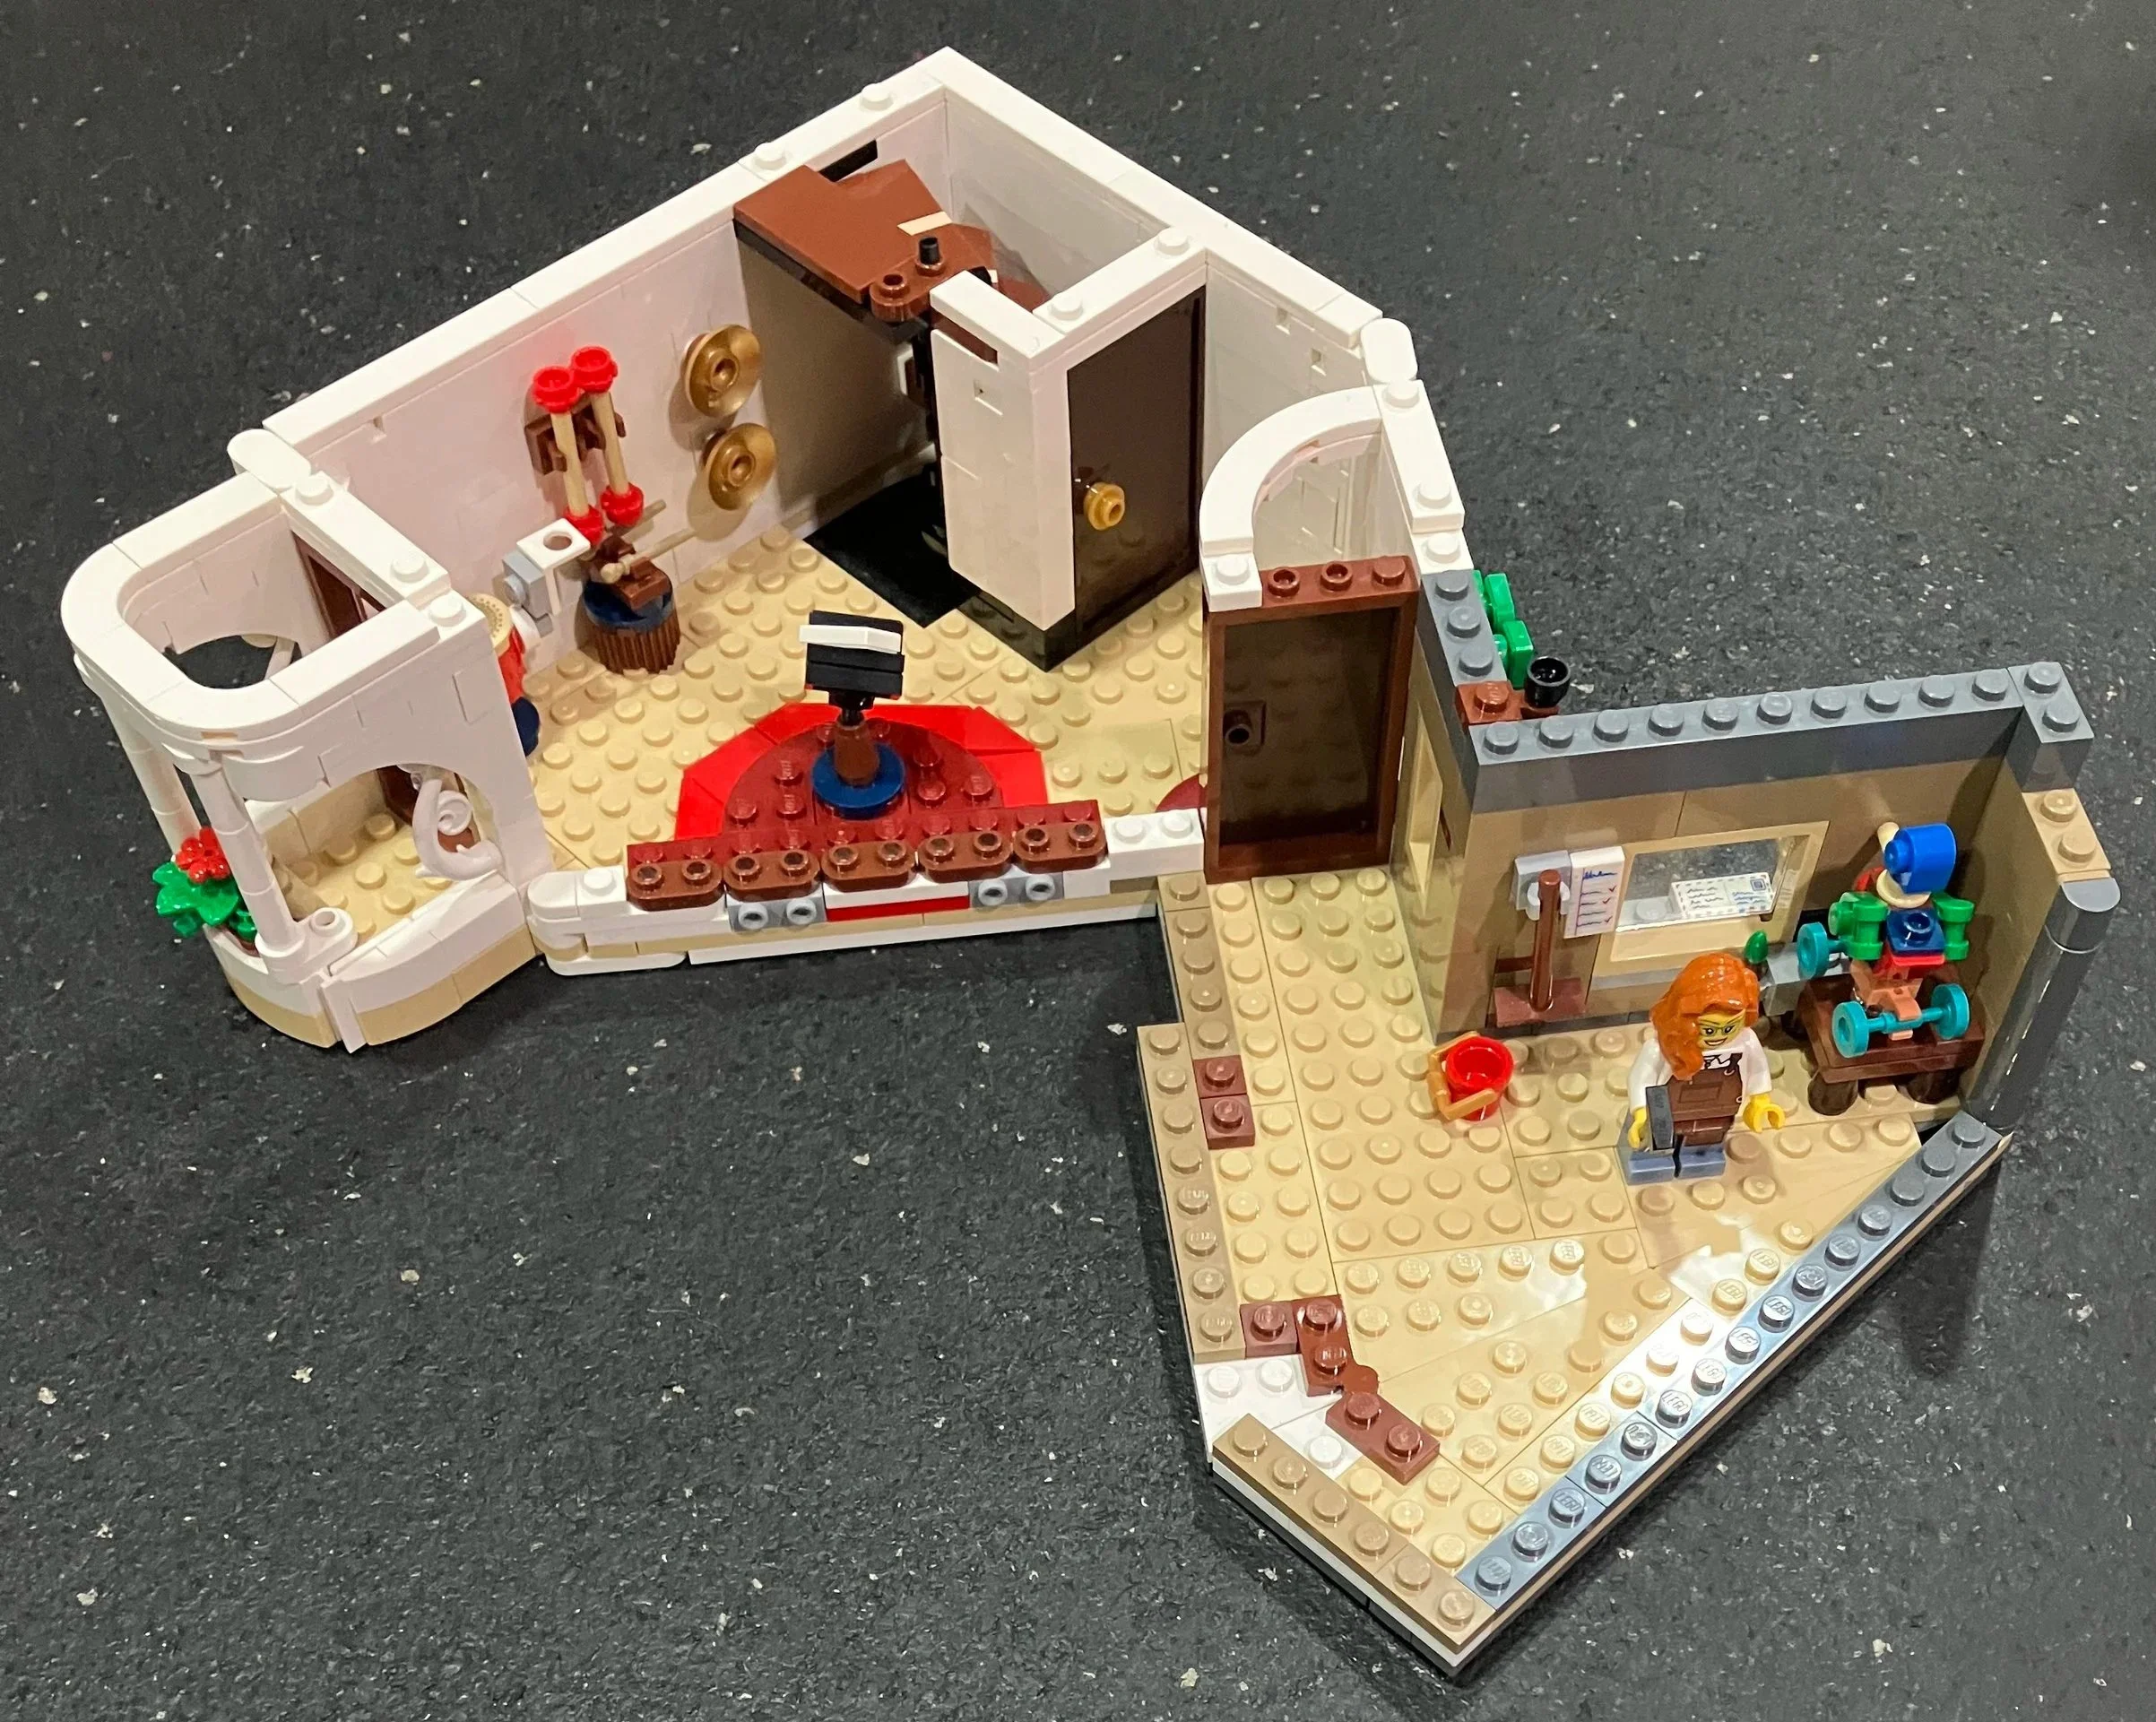
Bag 15 finishes up the wood shop area and finalizes the second floor with tiles on top of the walls.

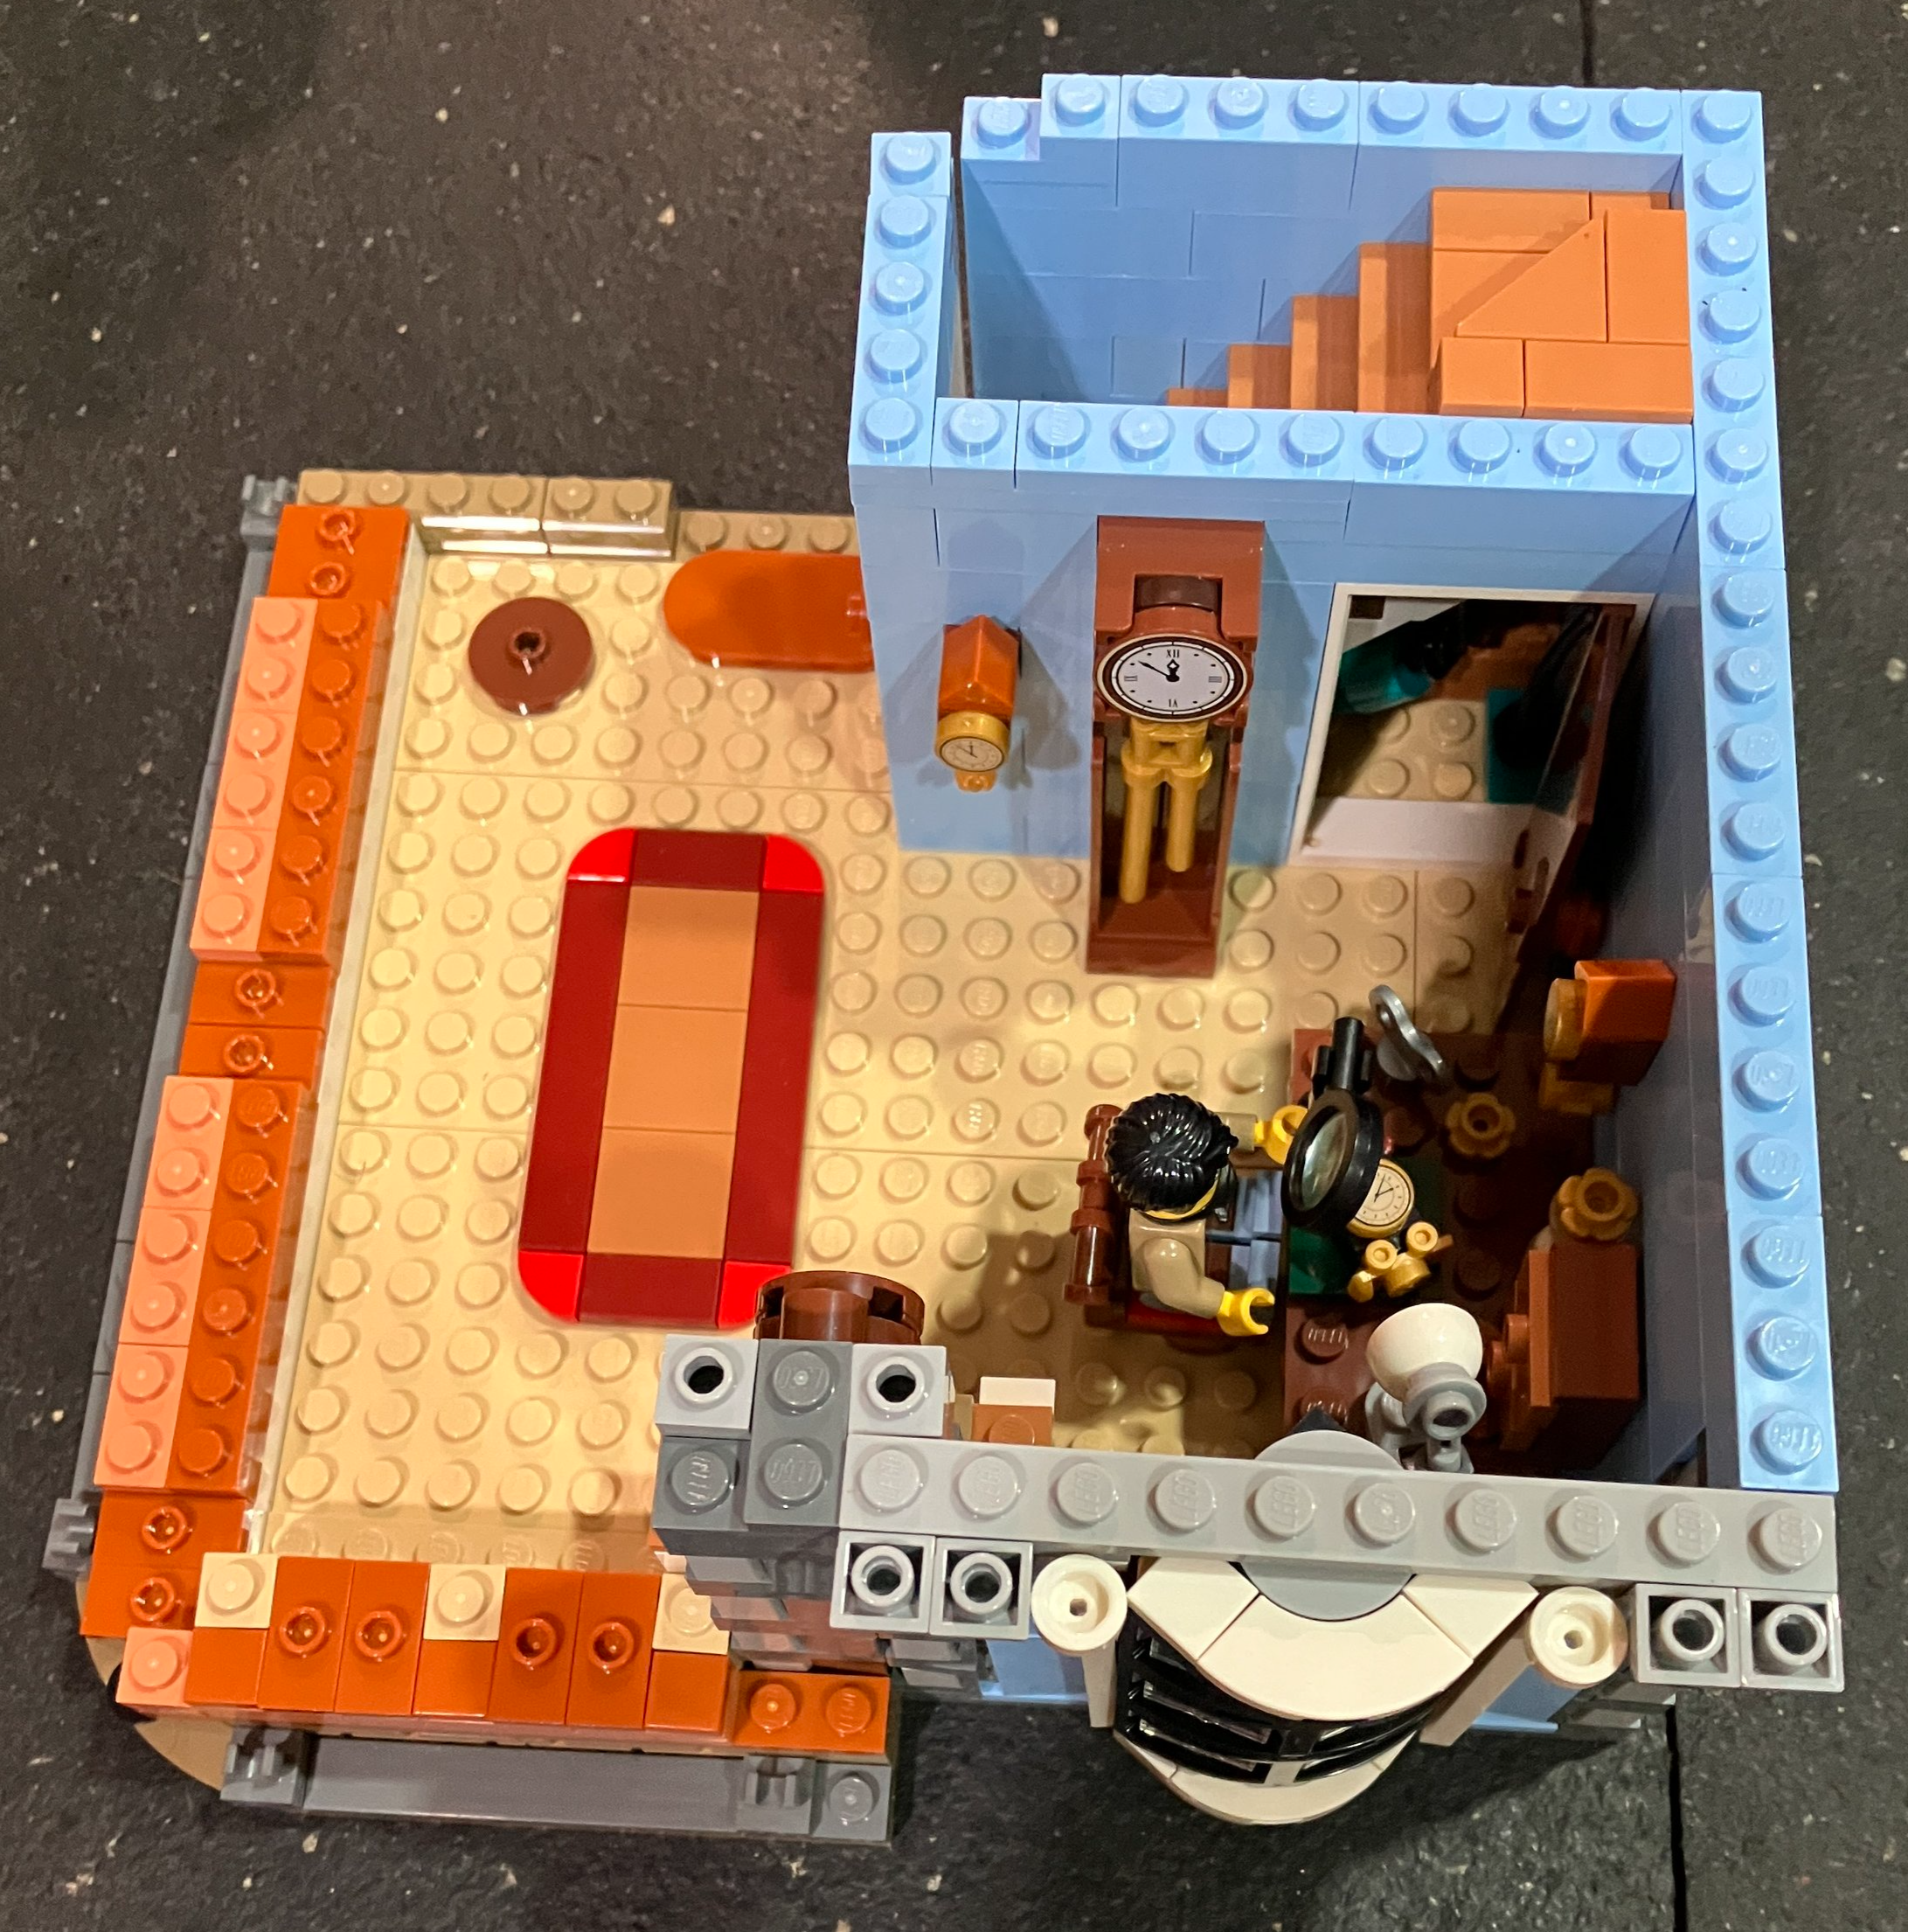
Bag 16 starts the third floor section. This is the section that goes above the music shop.

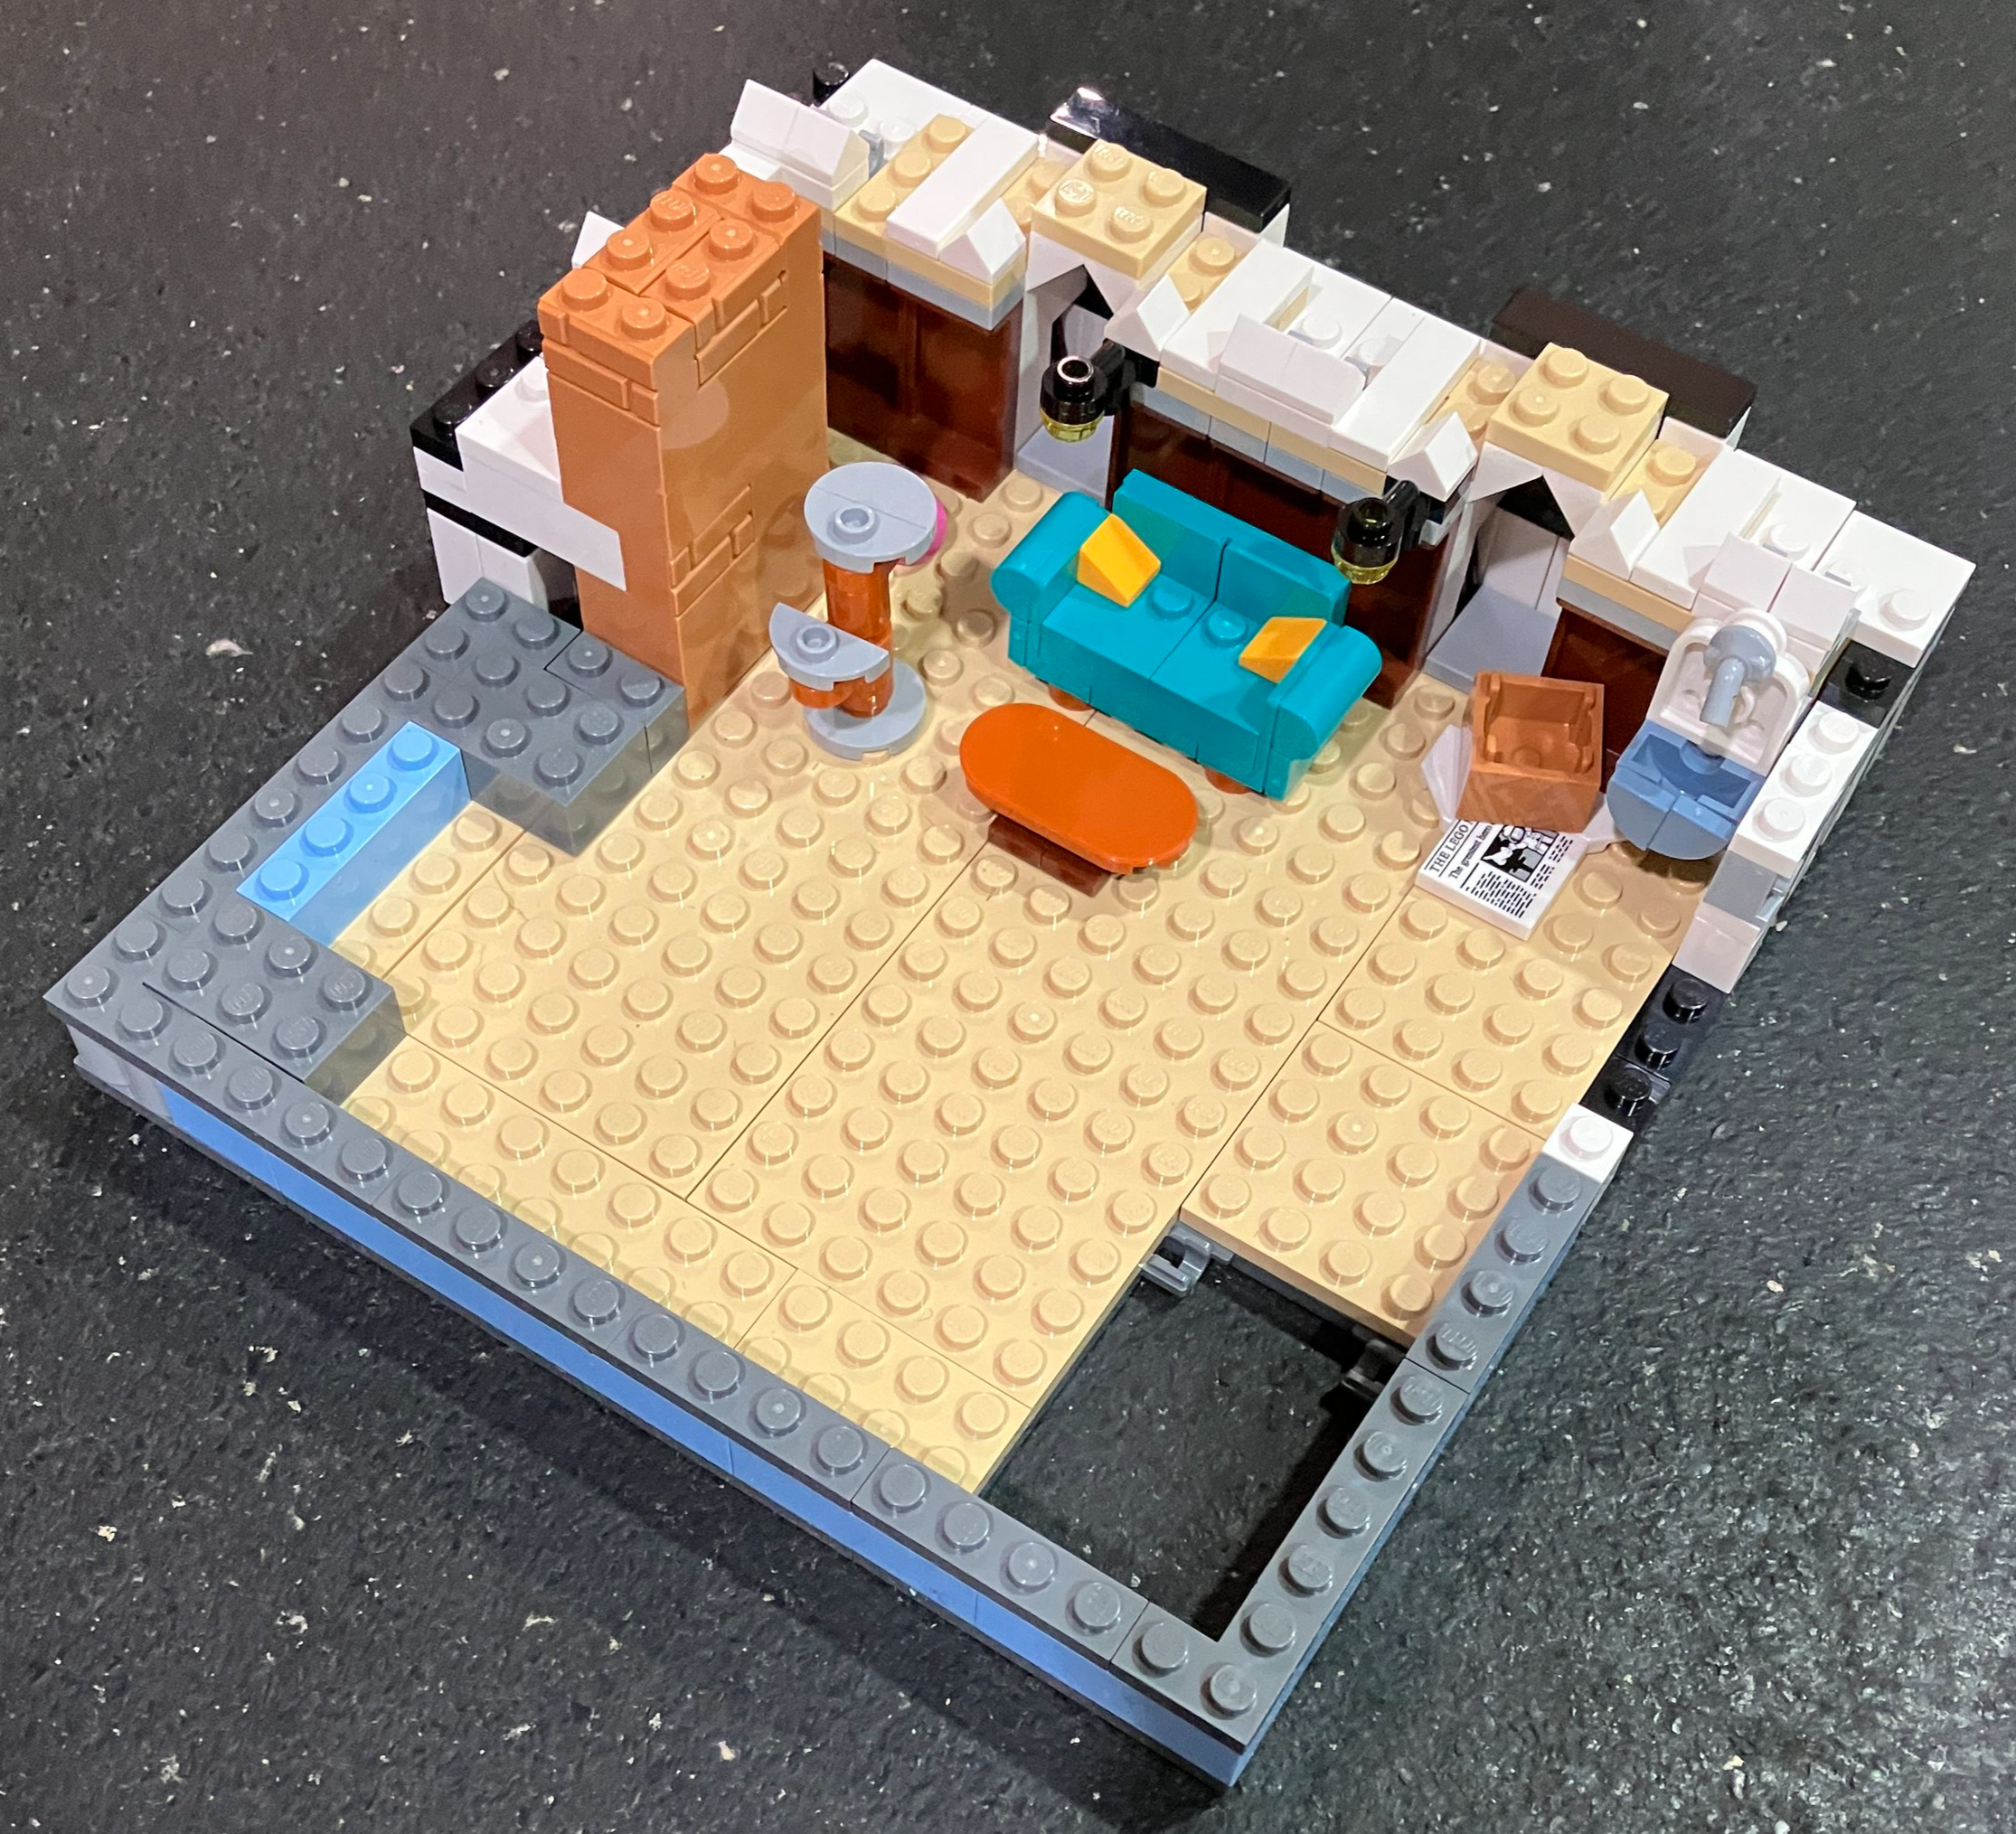
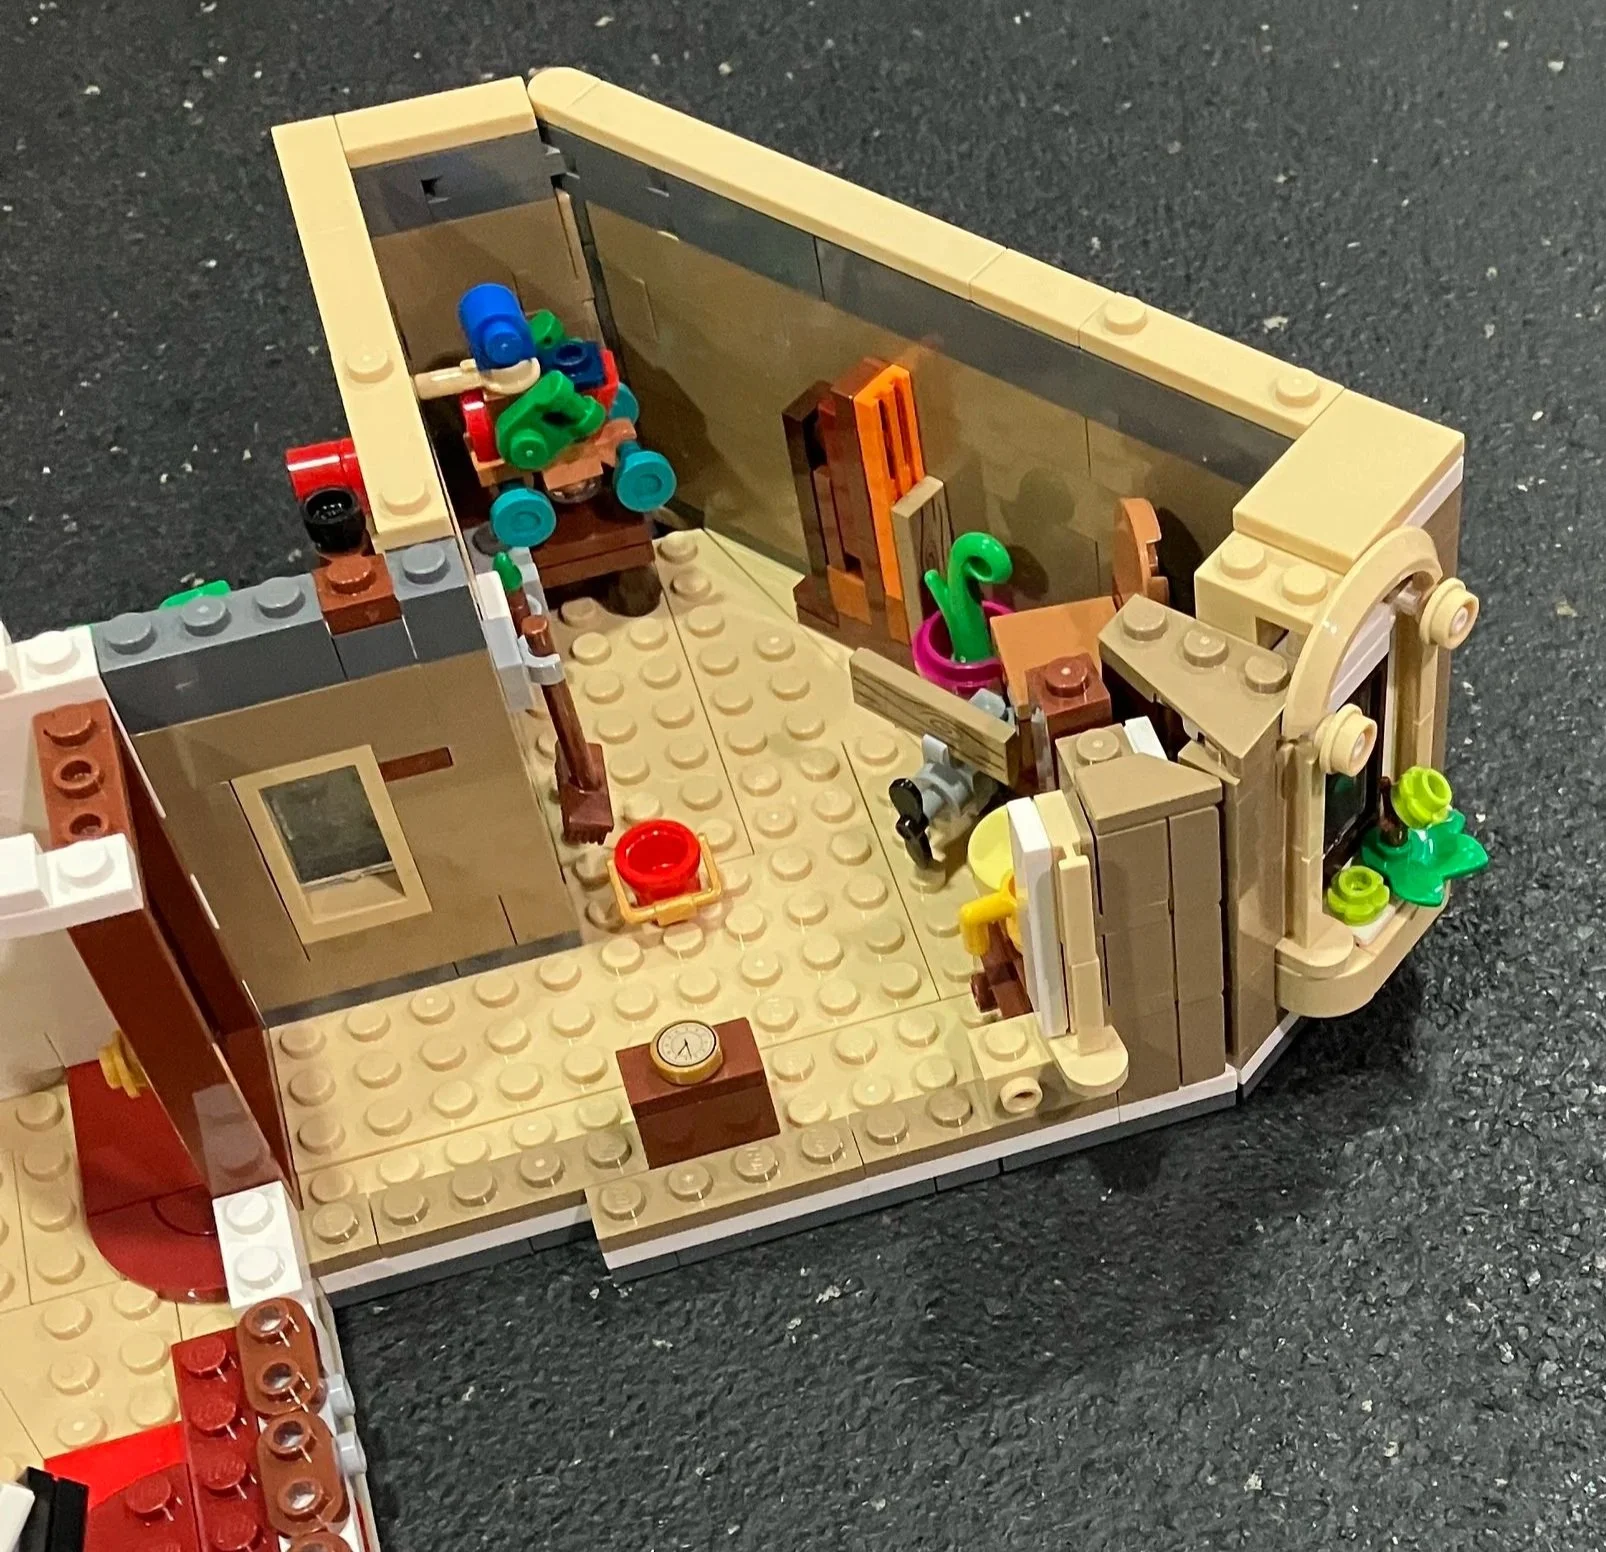
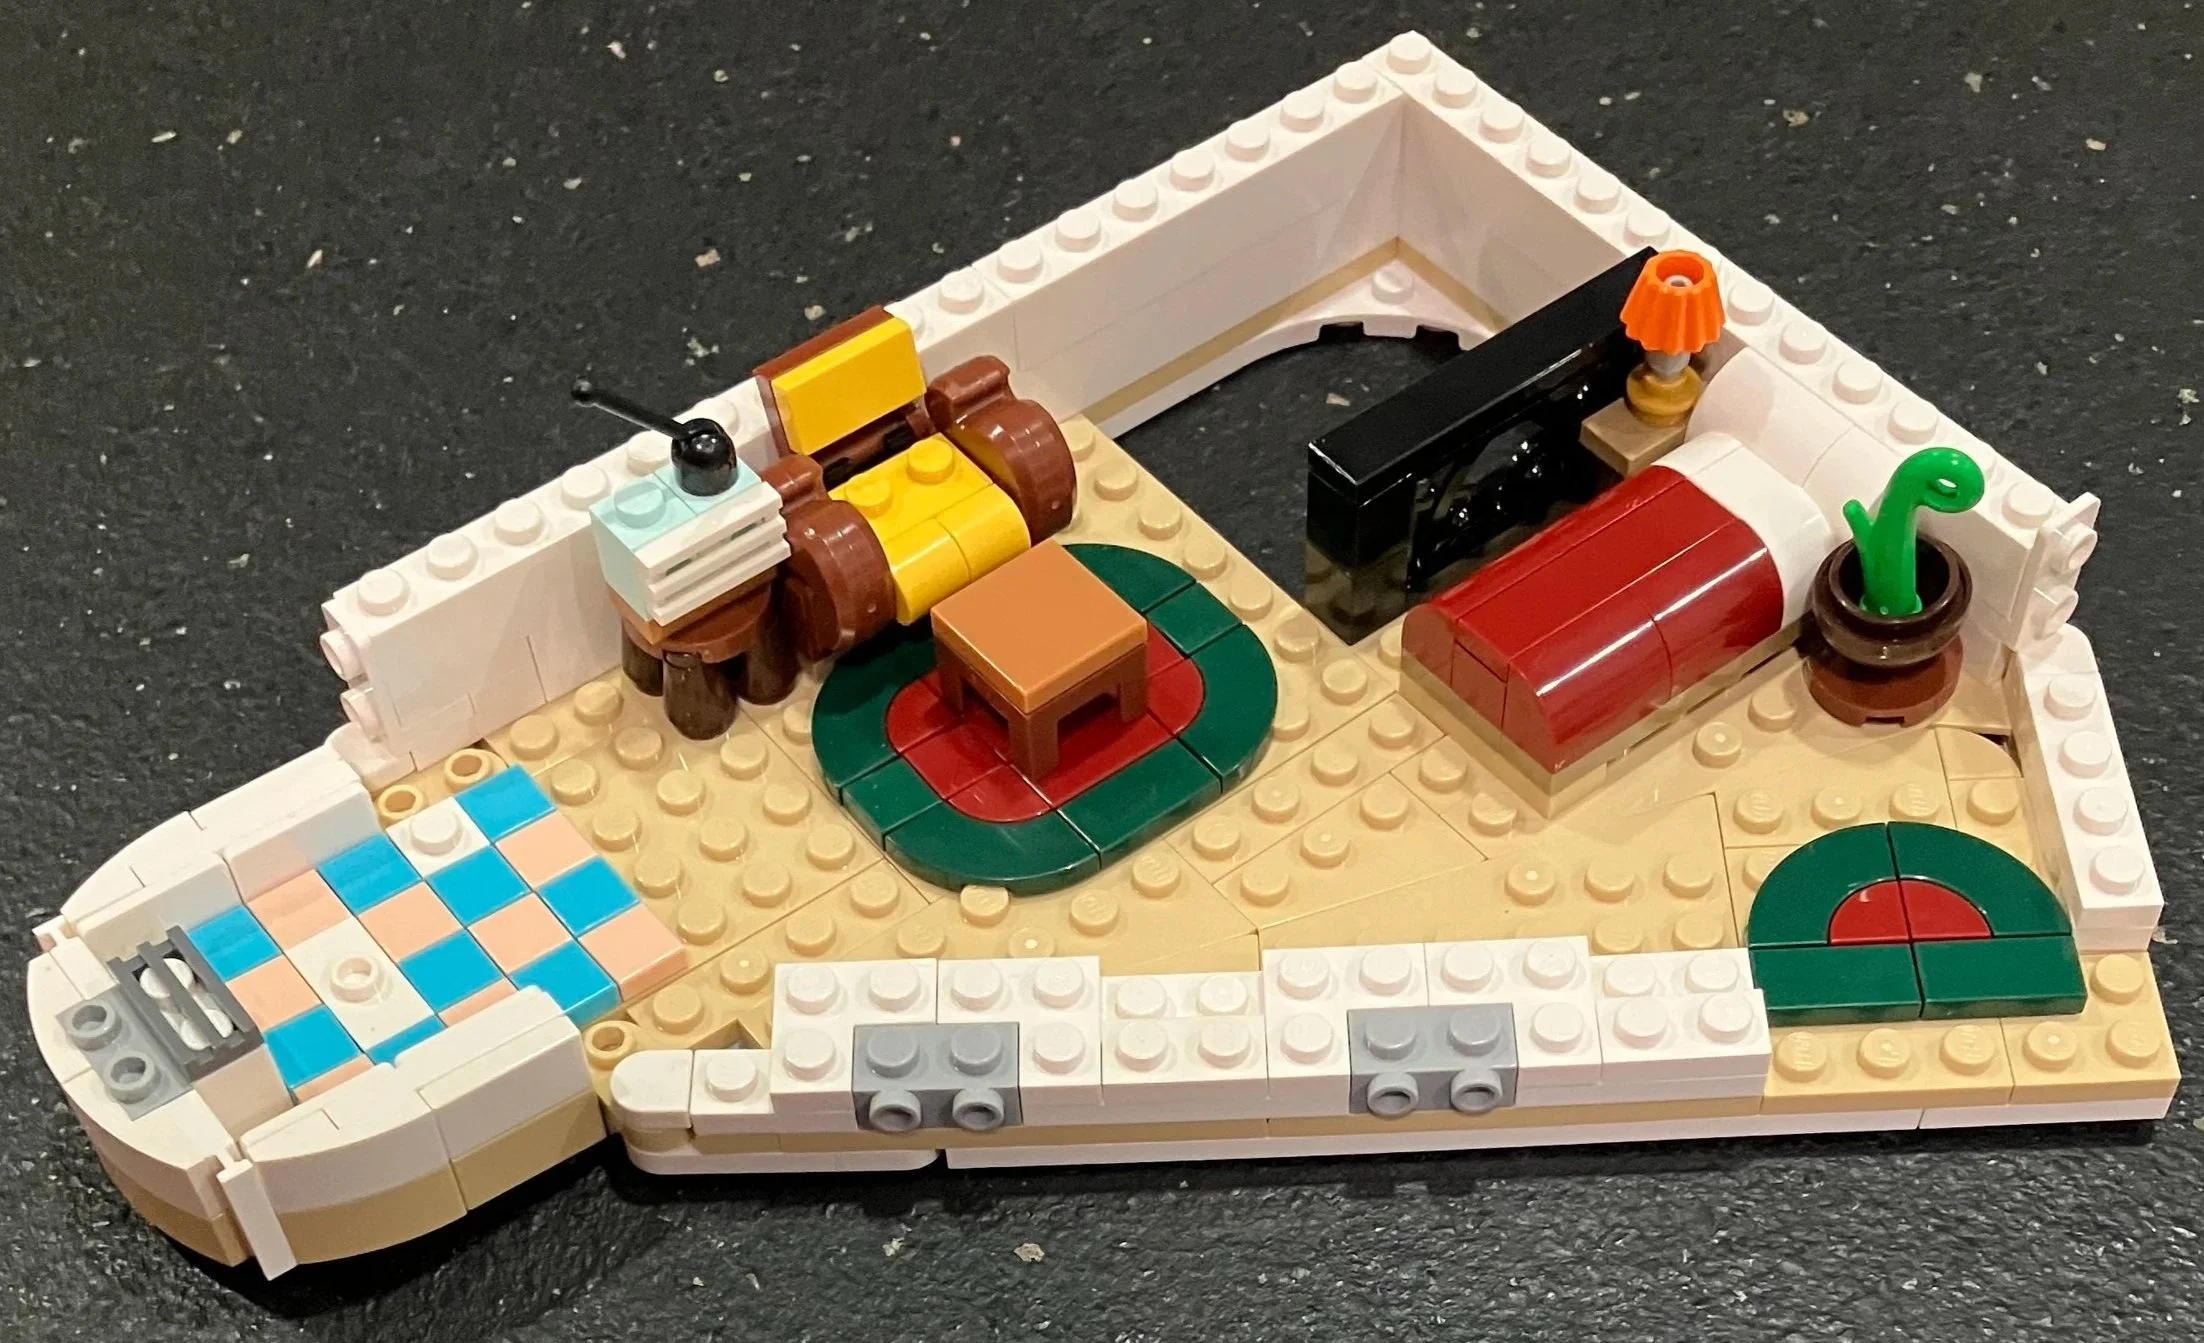
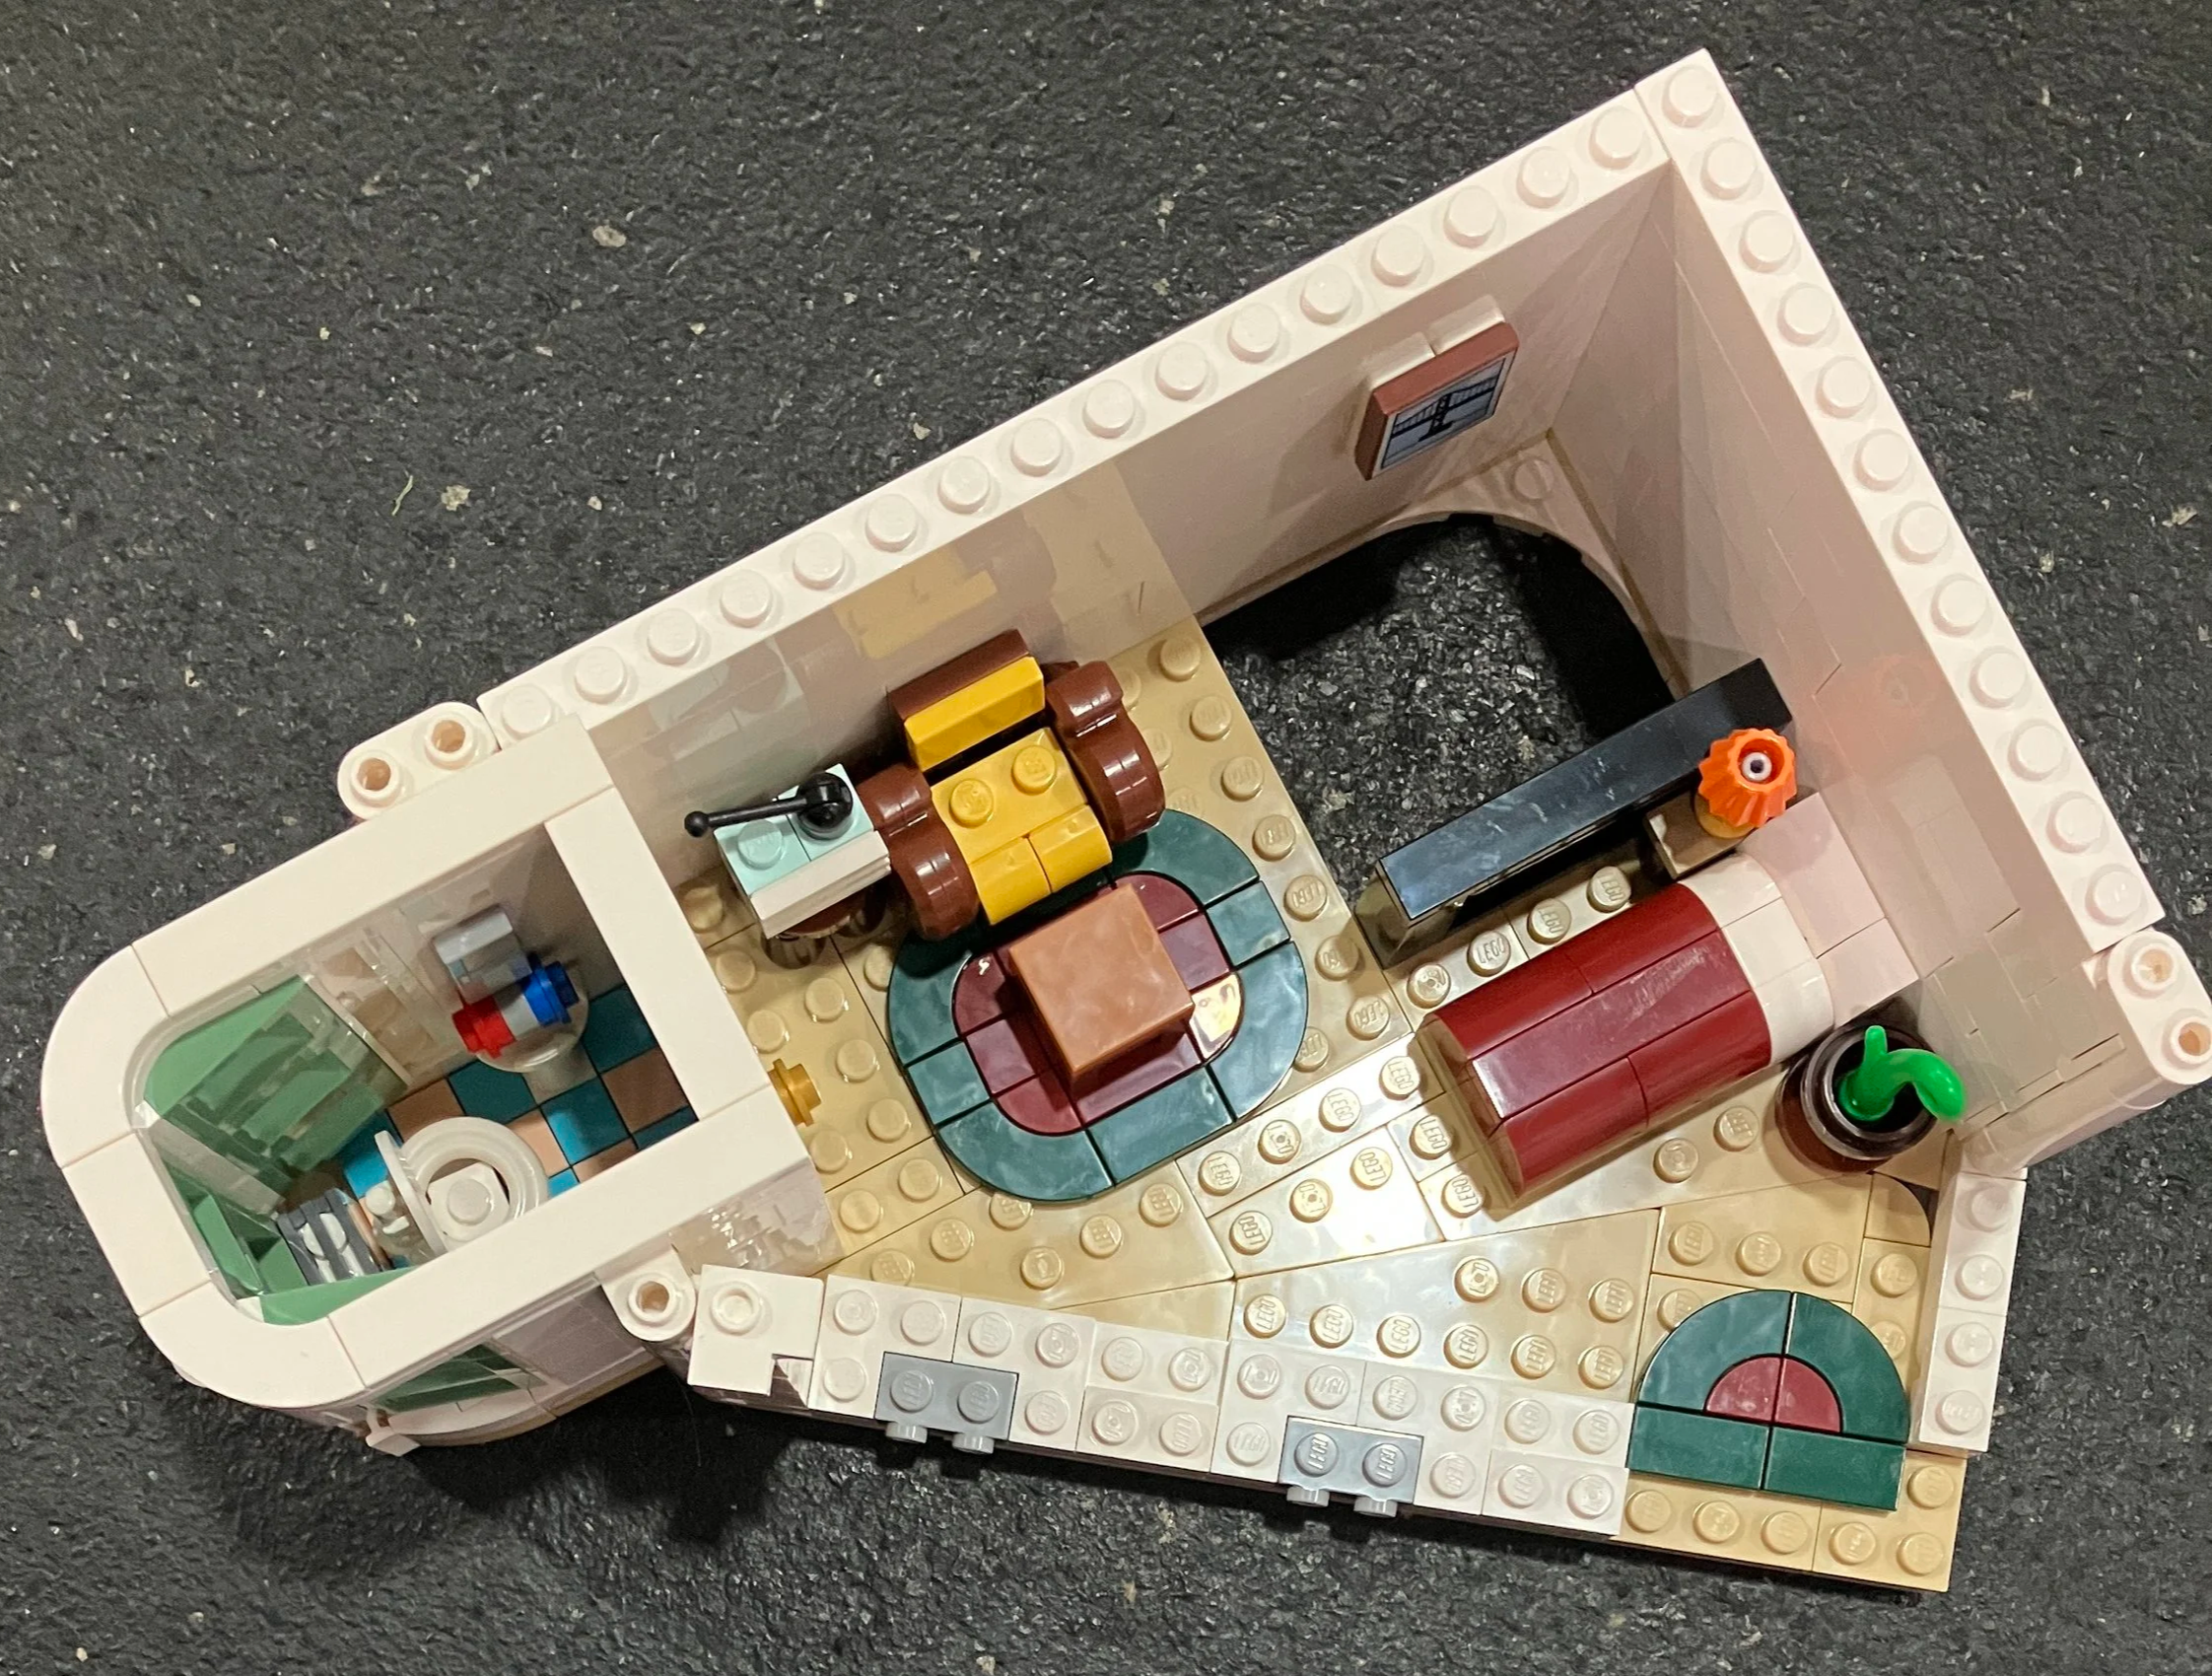
Bag 17 adds furniture to the small apartment. There’s a chair next to a radio, a bed, a lamp, and a plant.

Bag 18 adds more to the walls and adds in a small bathroom. As my kiddo pointed out, the room is full of windows so we’re not sure who would want to use the bathroom for the LEGO world to see.

Bag 19 finishes this section of the floor. It adds in some windows and a door which will lead to the roof area.

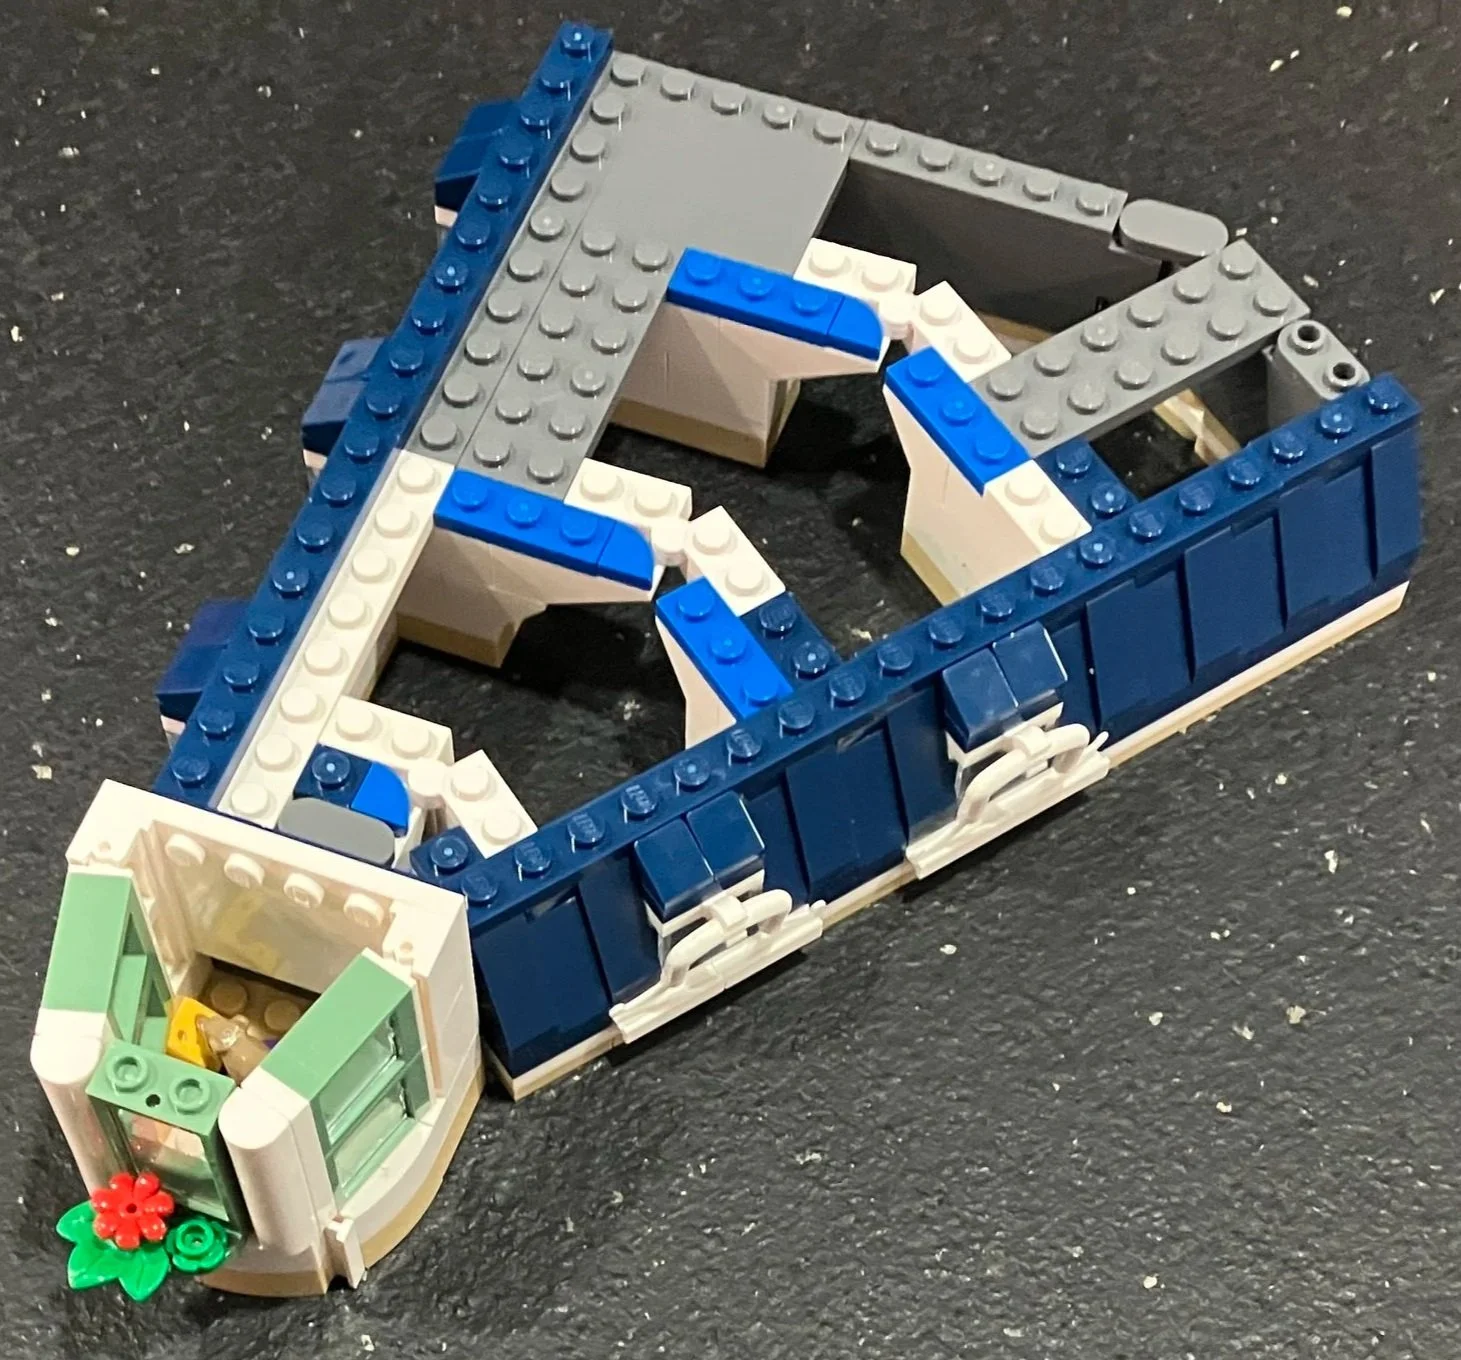
Bag 20 starts to build the roof over the small apartment.

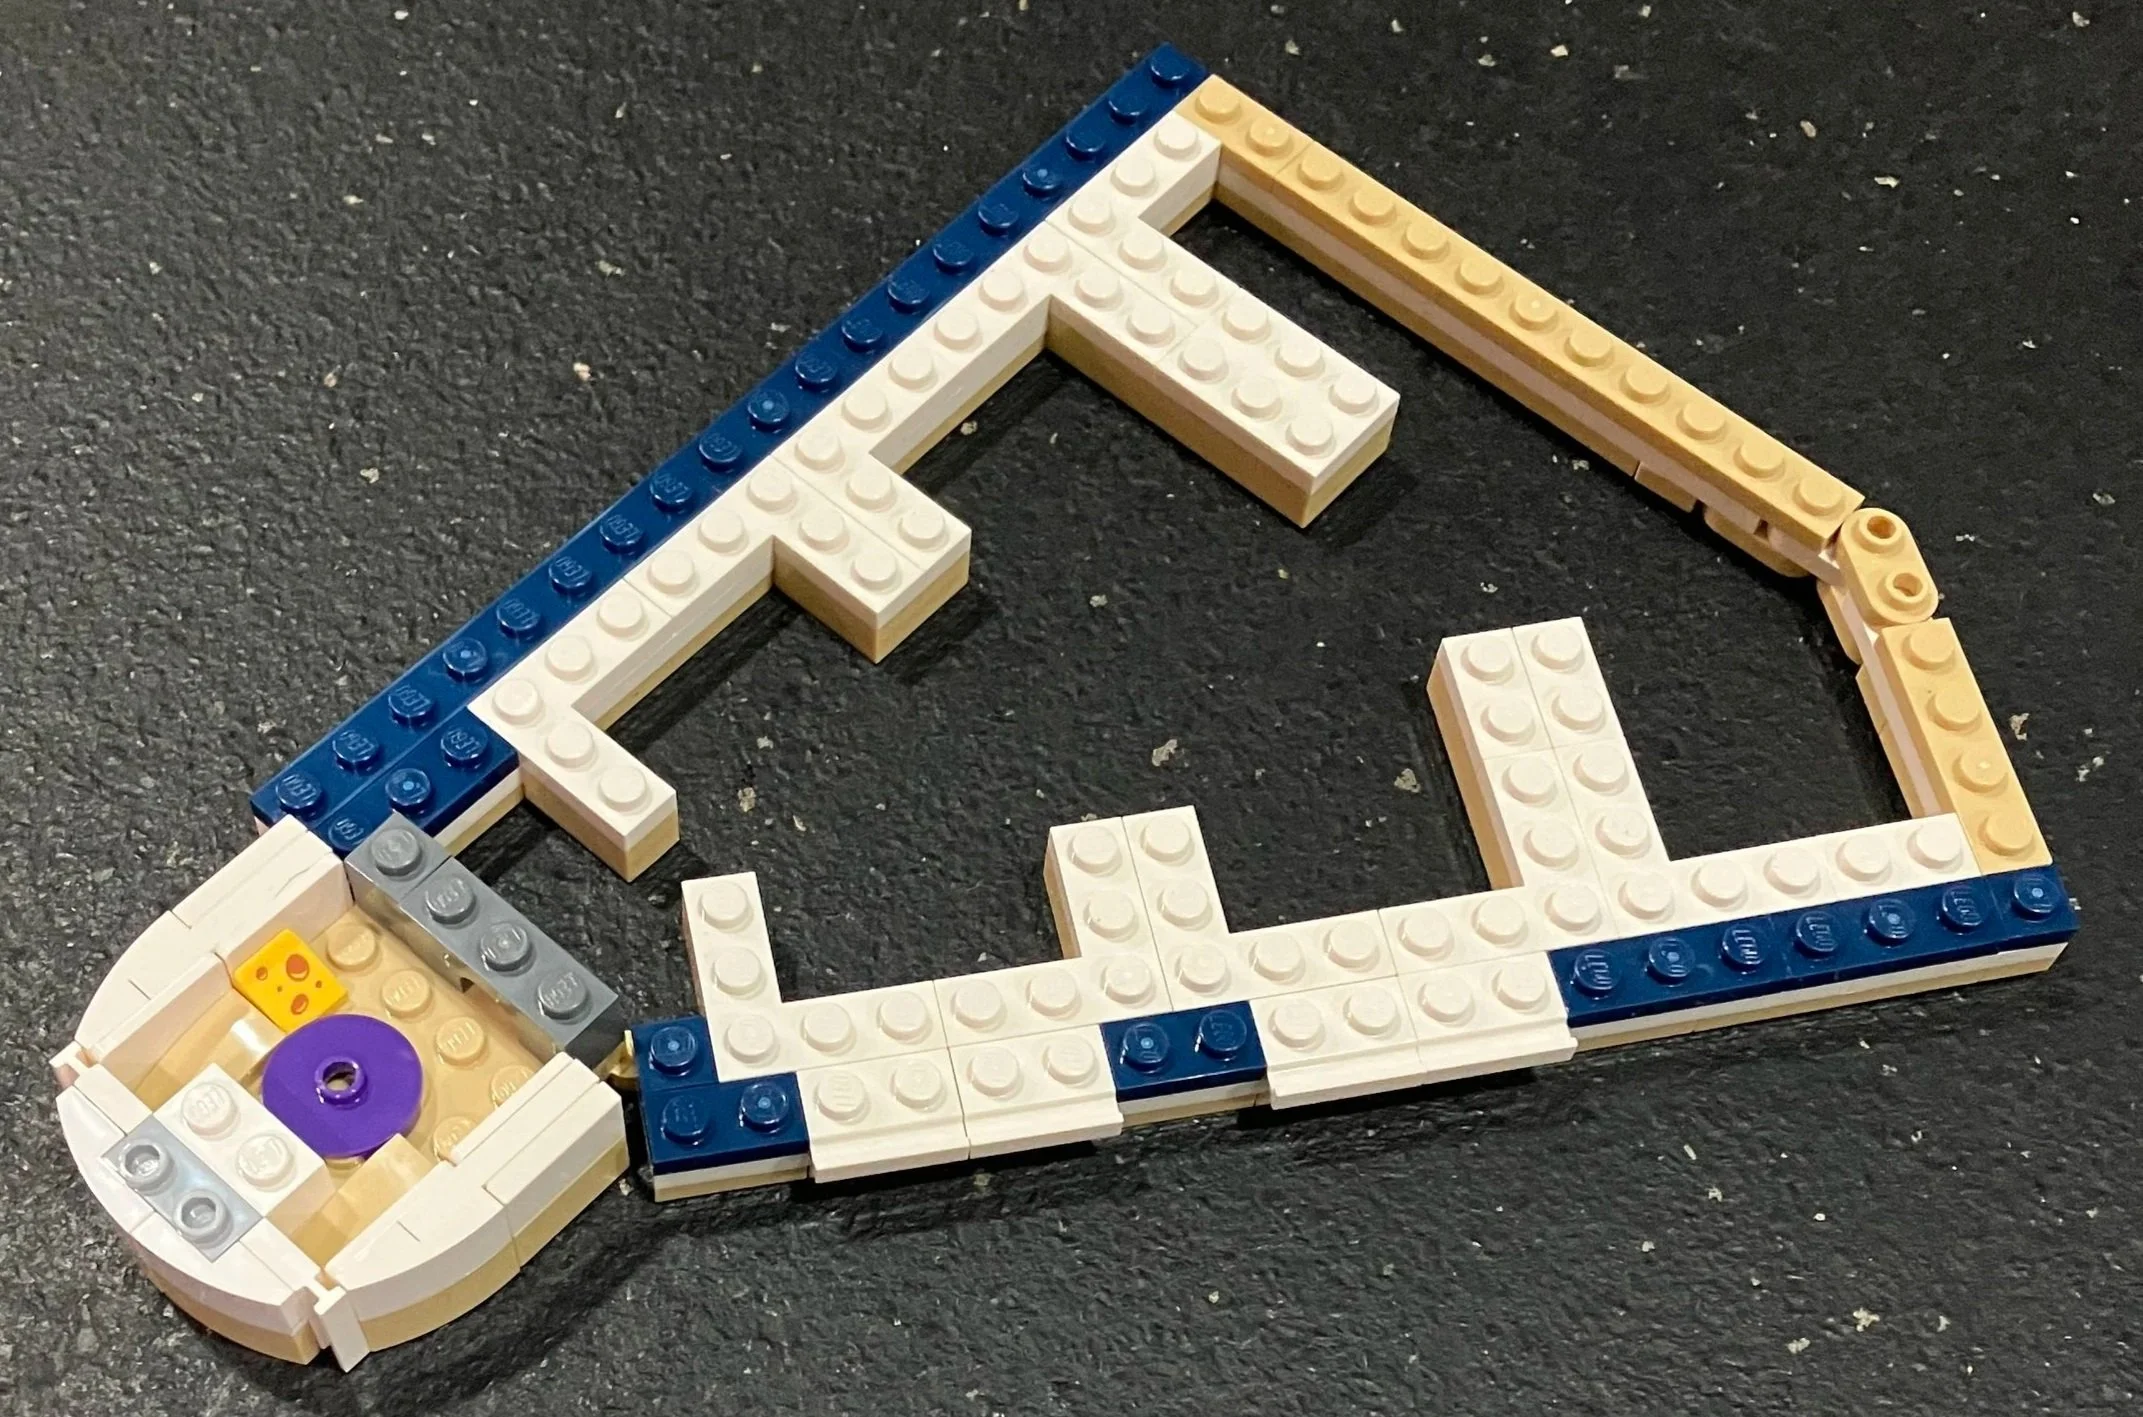
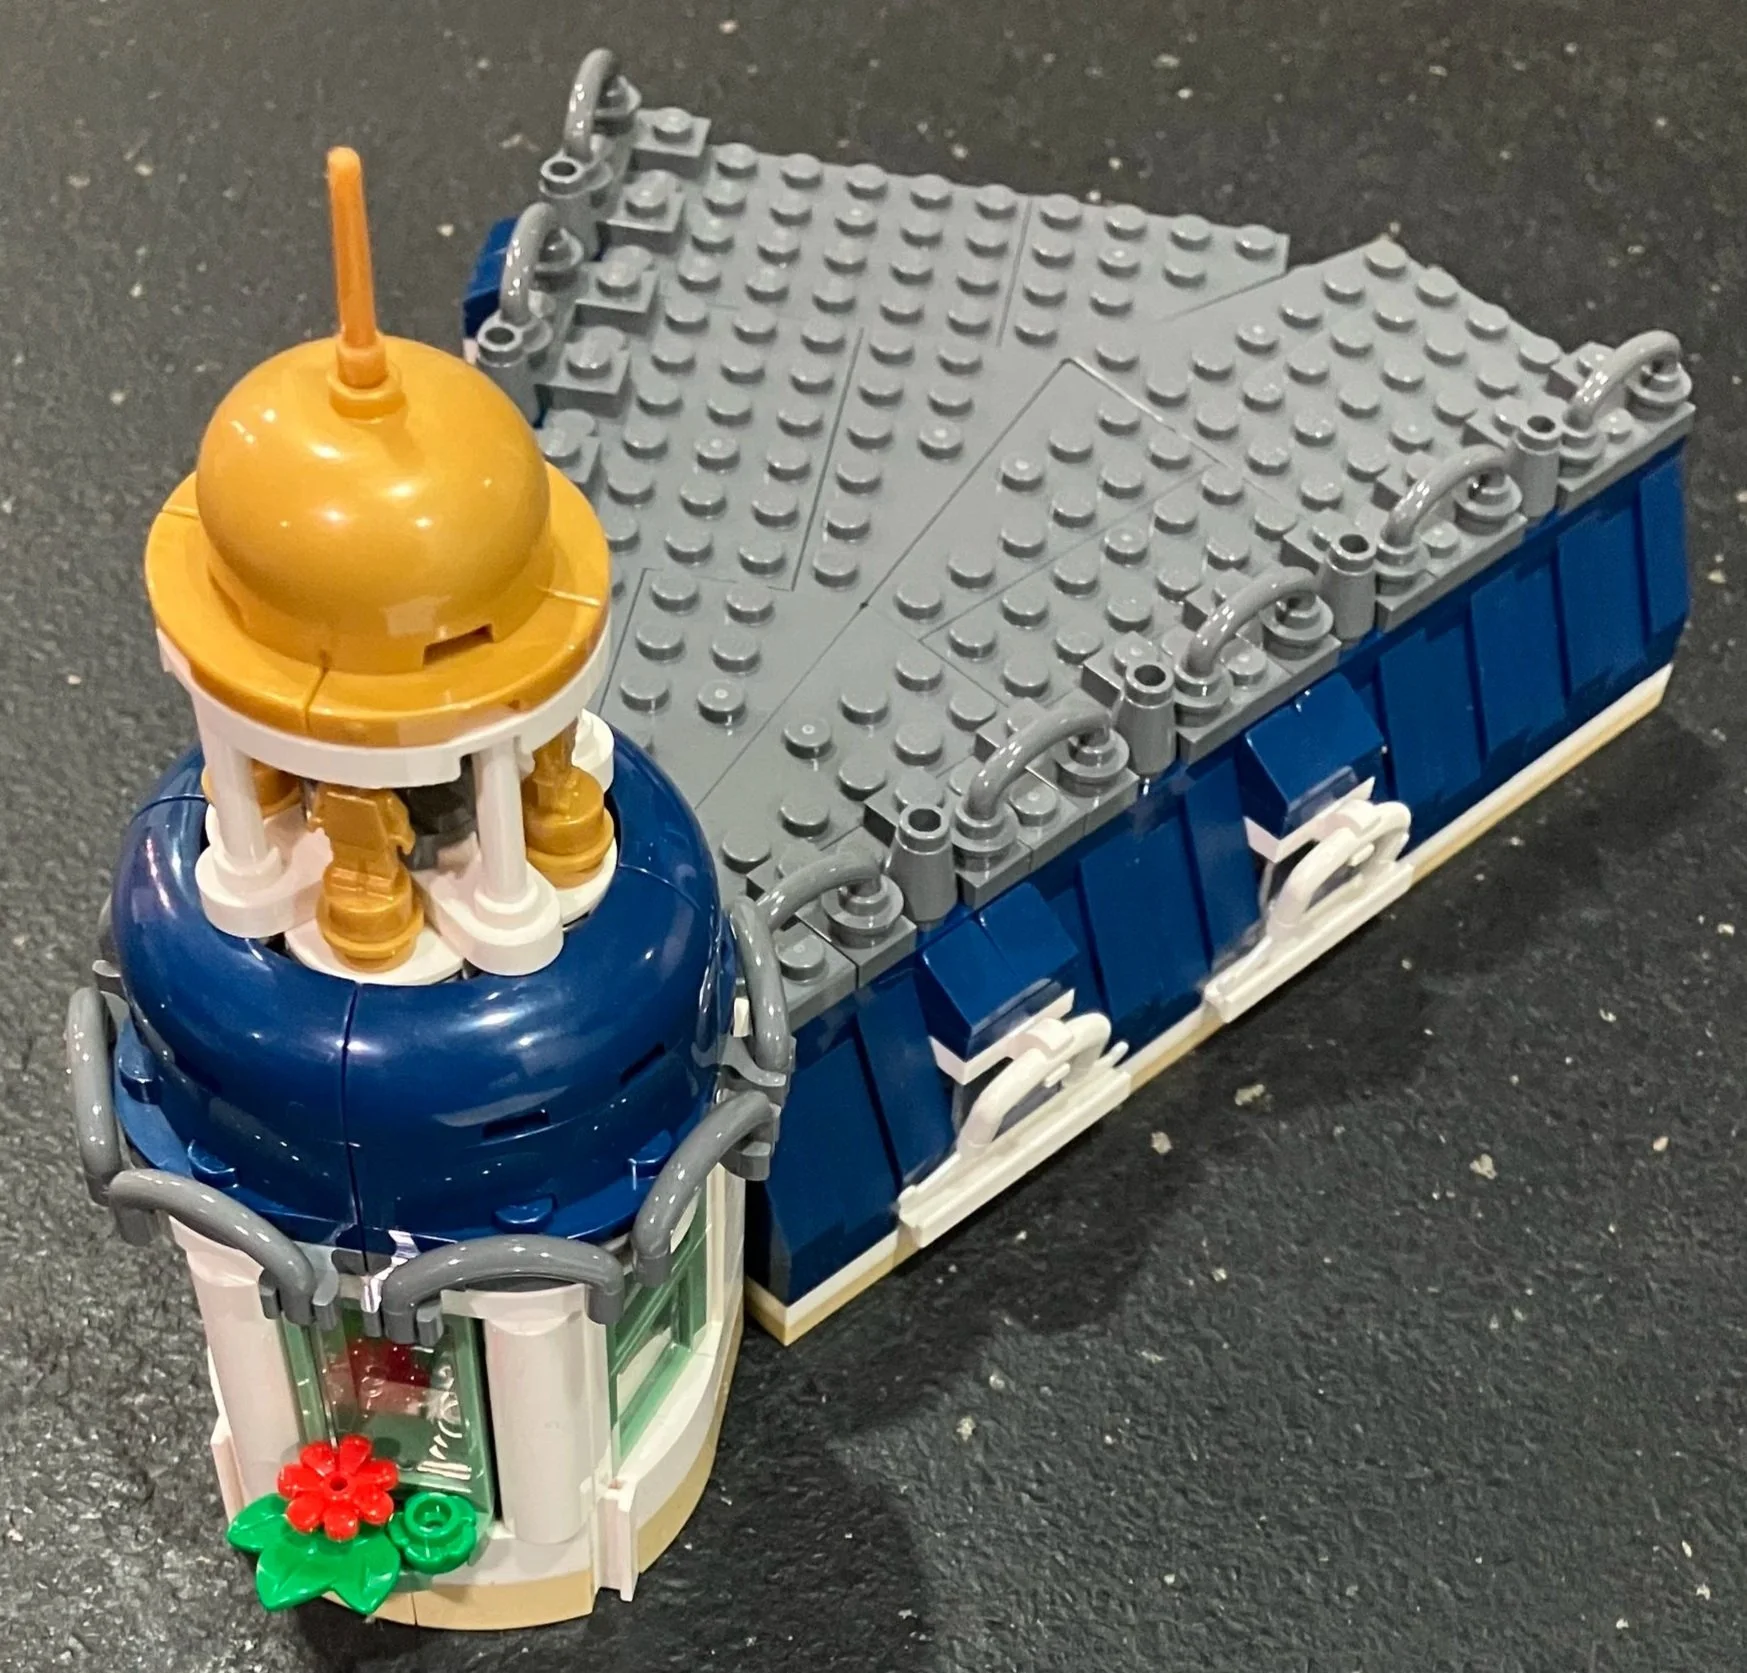
Bags 21 and 22 finalizes the roof over the top of the apartment. Bag 21 includes a small room that is for the rat/mouse and it’s piece of cheese. Bag 22 puts the finishing touches on the roof. I like how the microfigures are used in the tower above the rat’s room.

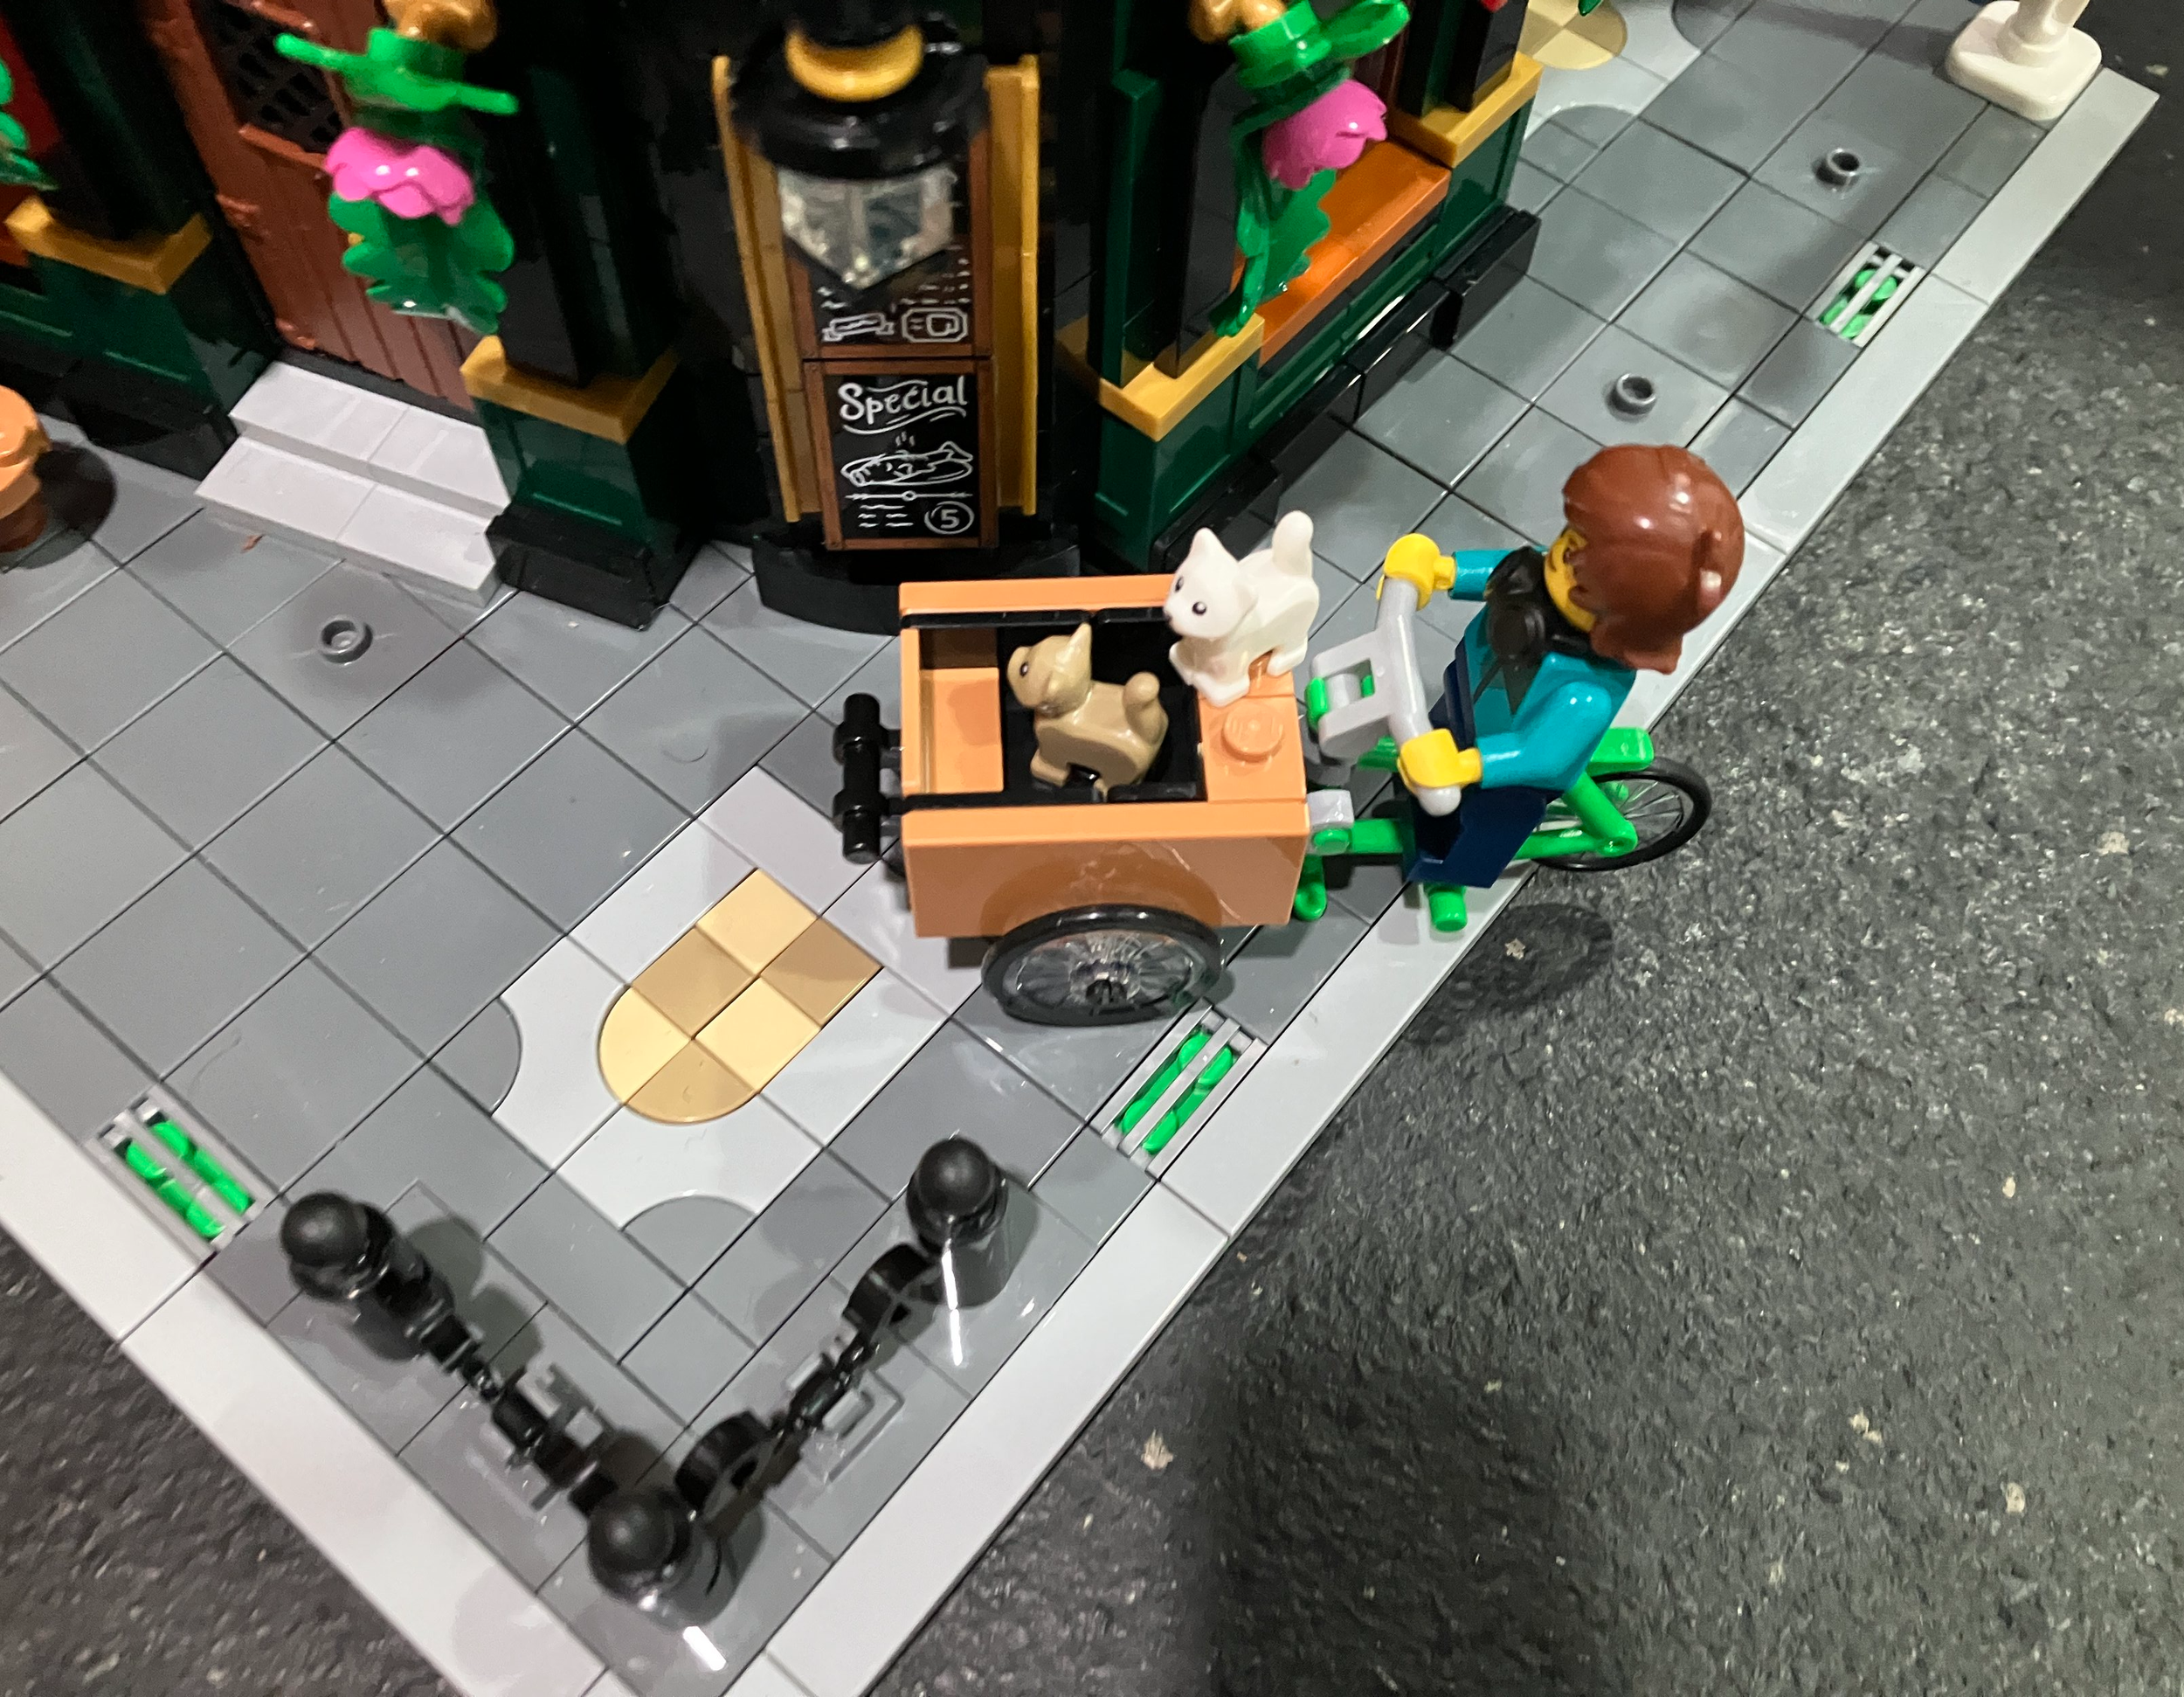
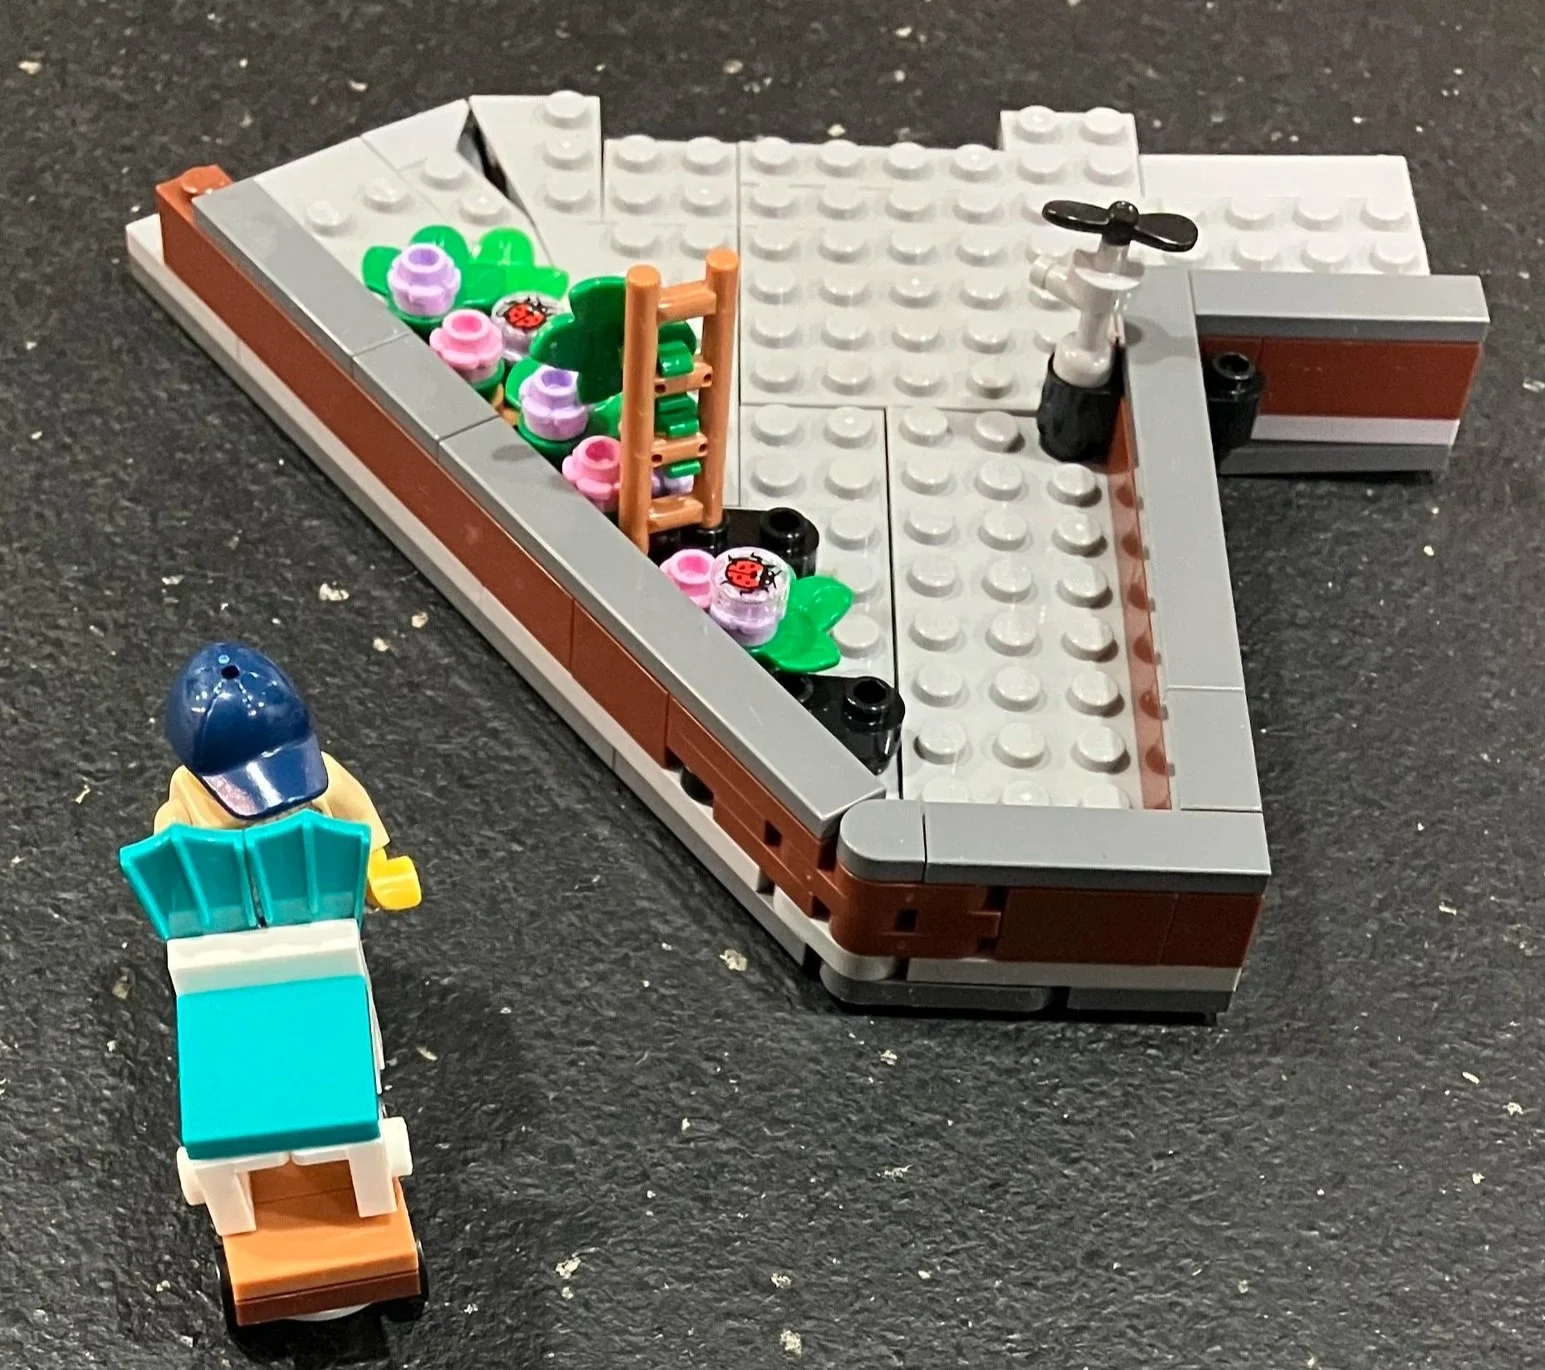
Bag 23 builds the roof over the furniture store and wood shop. There are some plants, a small ladder, and a spigot for water. This also includes a minifigure with a cart to move the chairs around.

Bag 24 finalizes the build with a small bird house with the new pigeon pieces and a small cat. There is also a watering can as well.

I’ve already been roped into modulars so do I really have anything bad to say? The price is high might be the big one and I don’t see modulars dropping in price anytime soon. Other than that, it was a great build and the different geometric shapes of the buildings made it fun. There were a lot of great details and some fun pieces. I’d definitely pick this one up if you can. Look for opportunities to get double insider points and/or gifts with purchase to lessen the blow to your wallet.

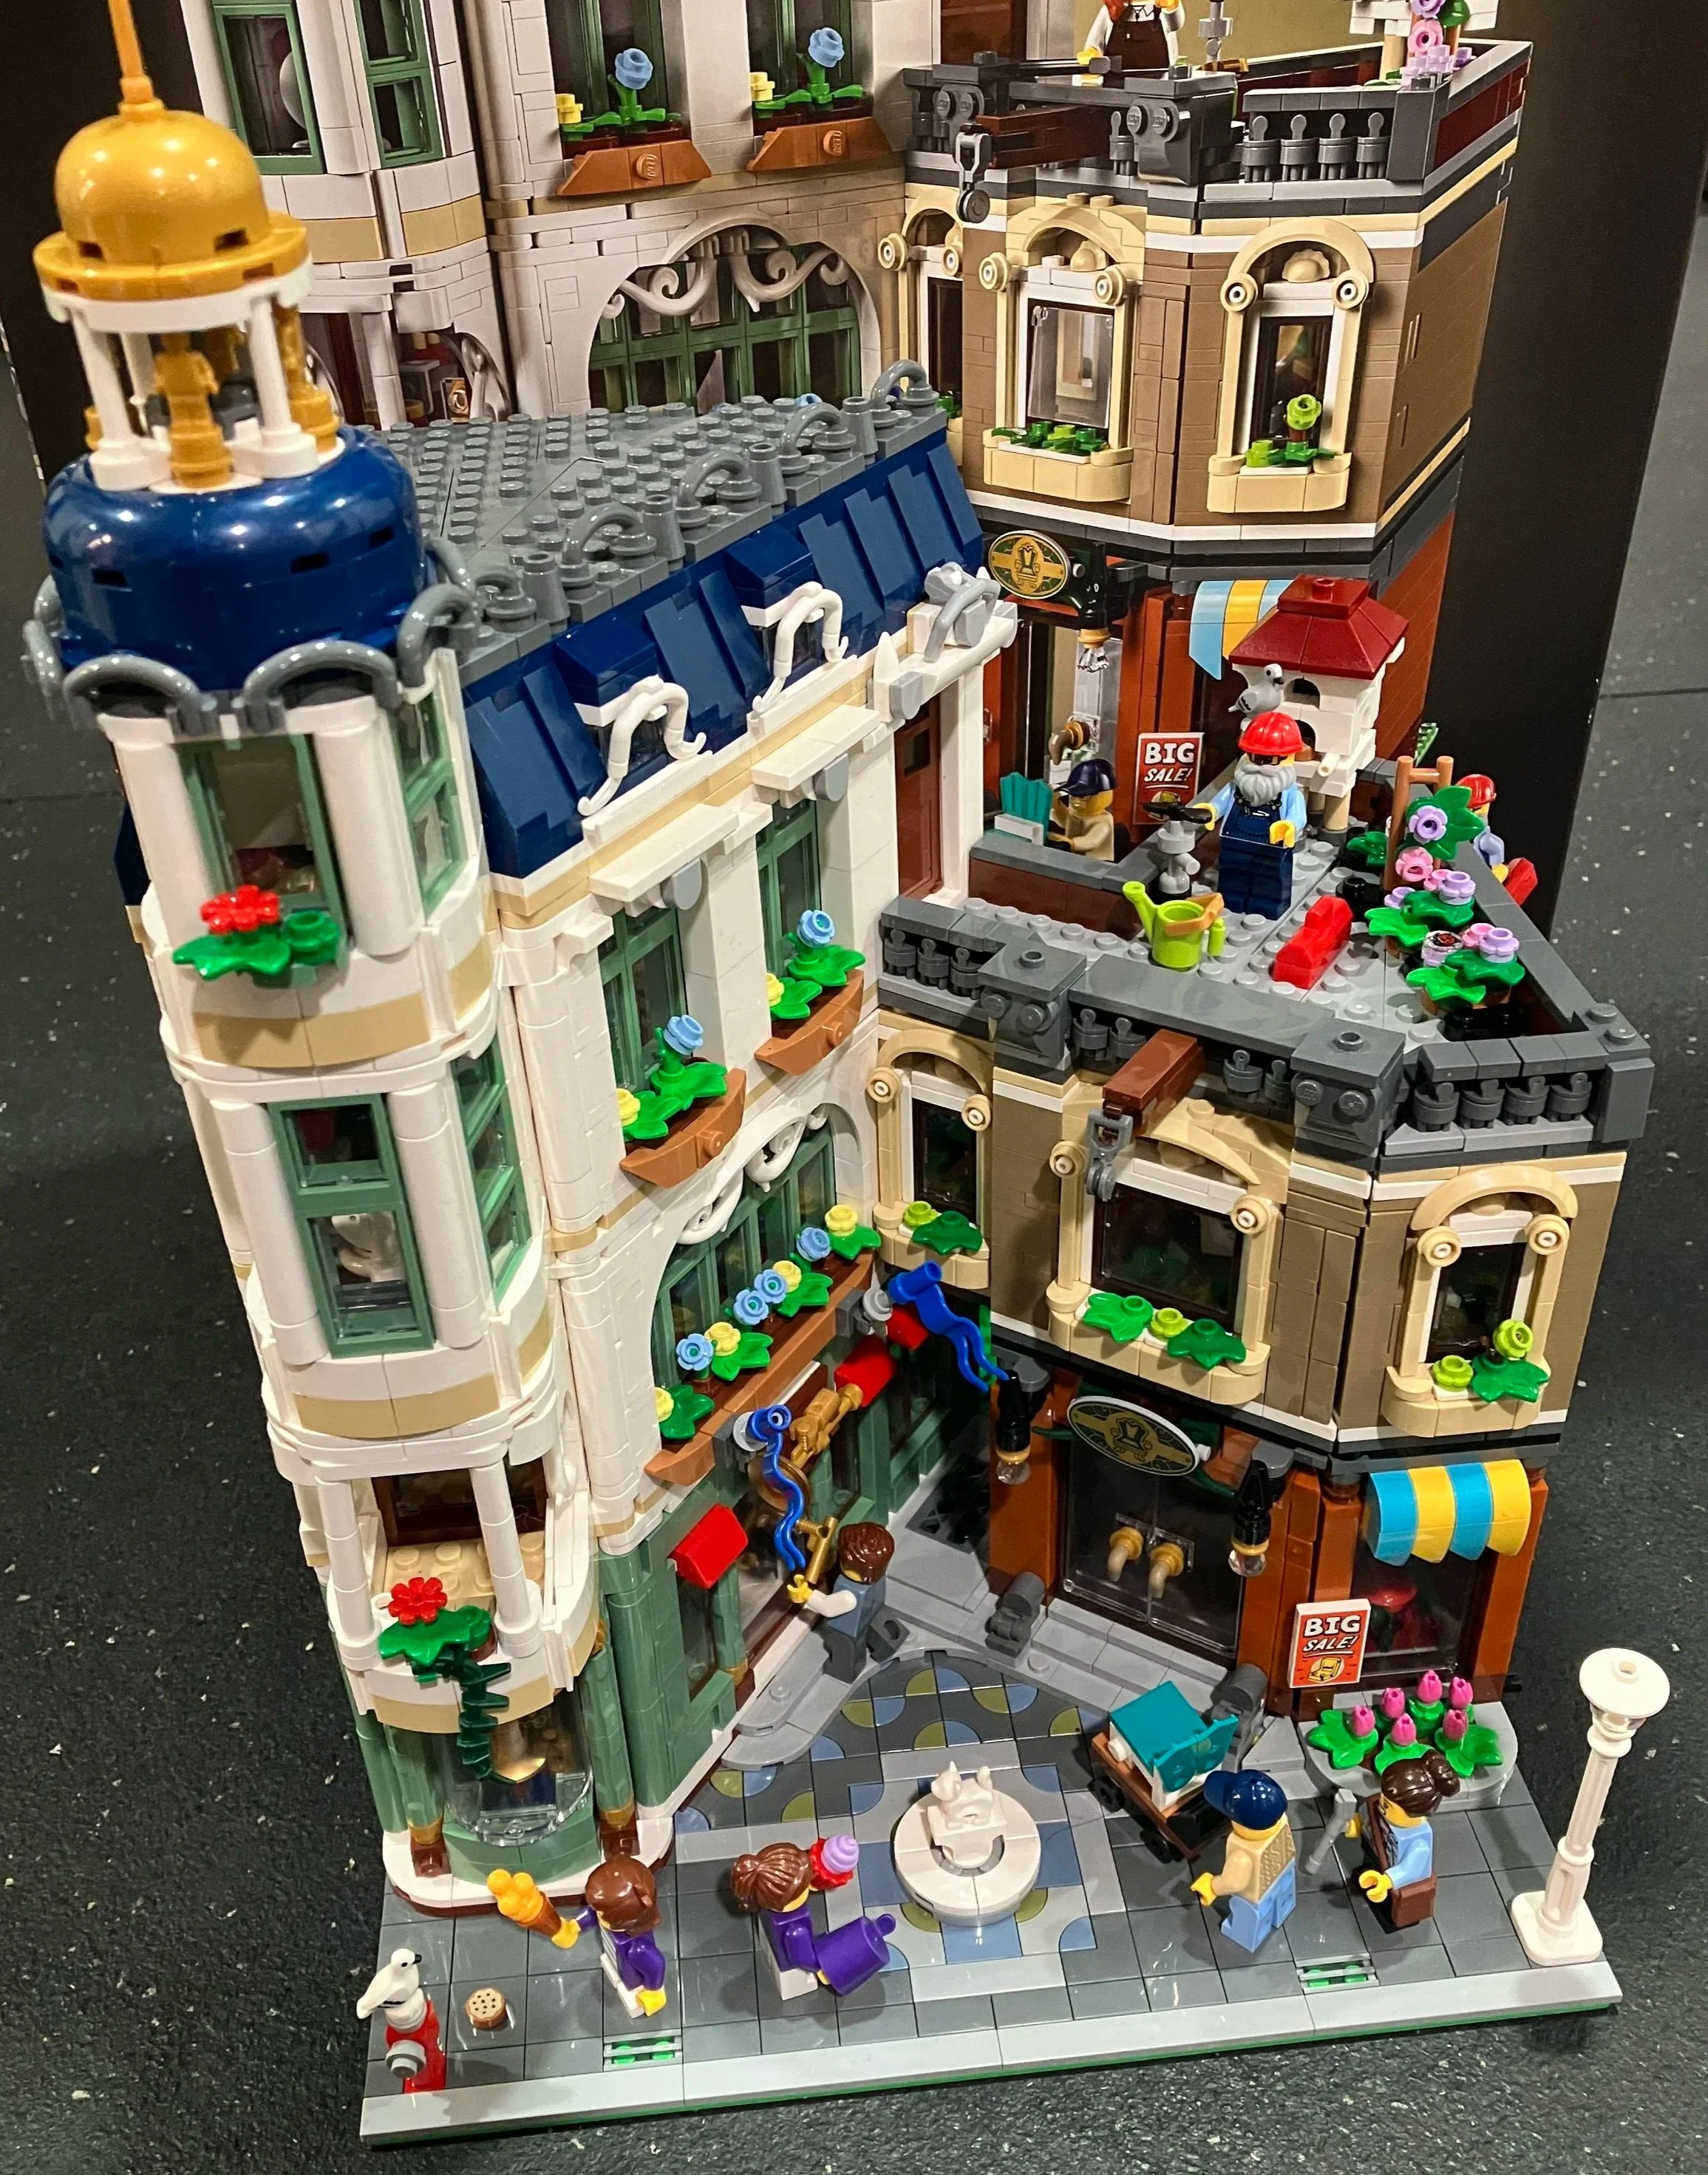
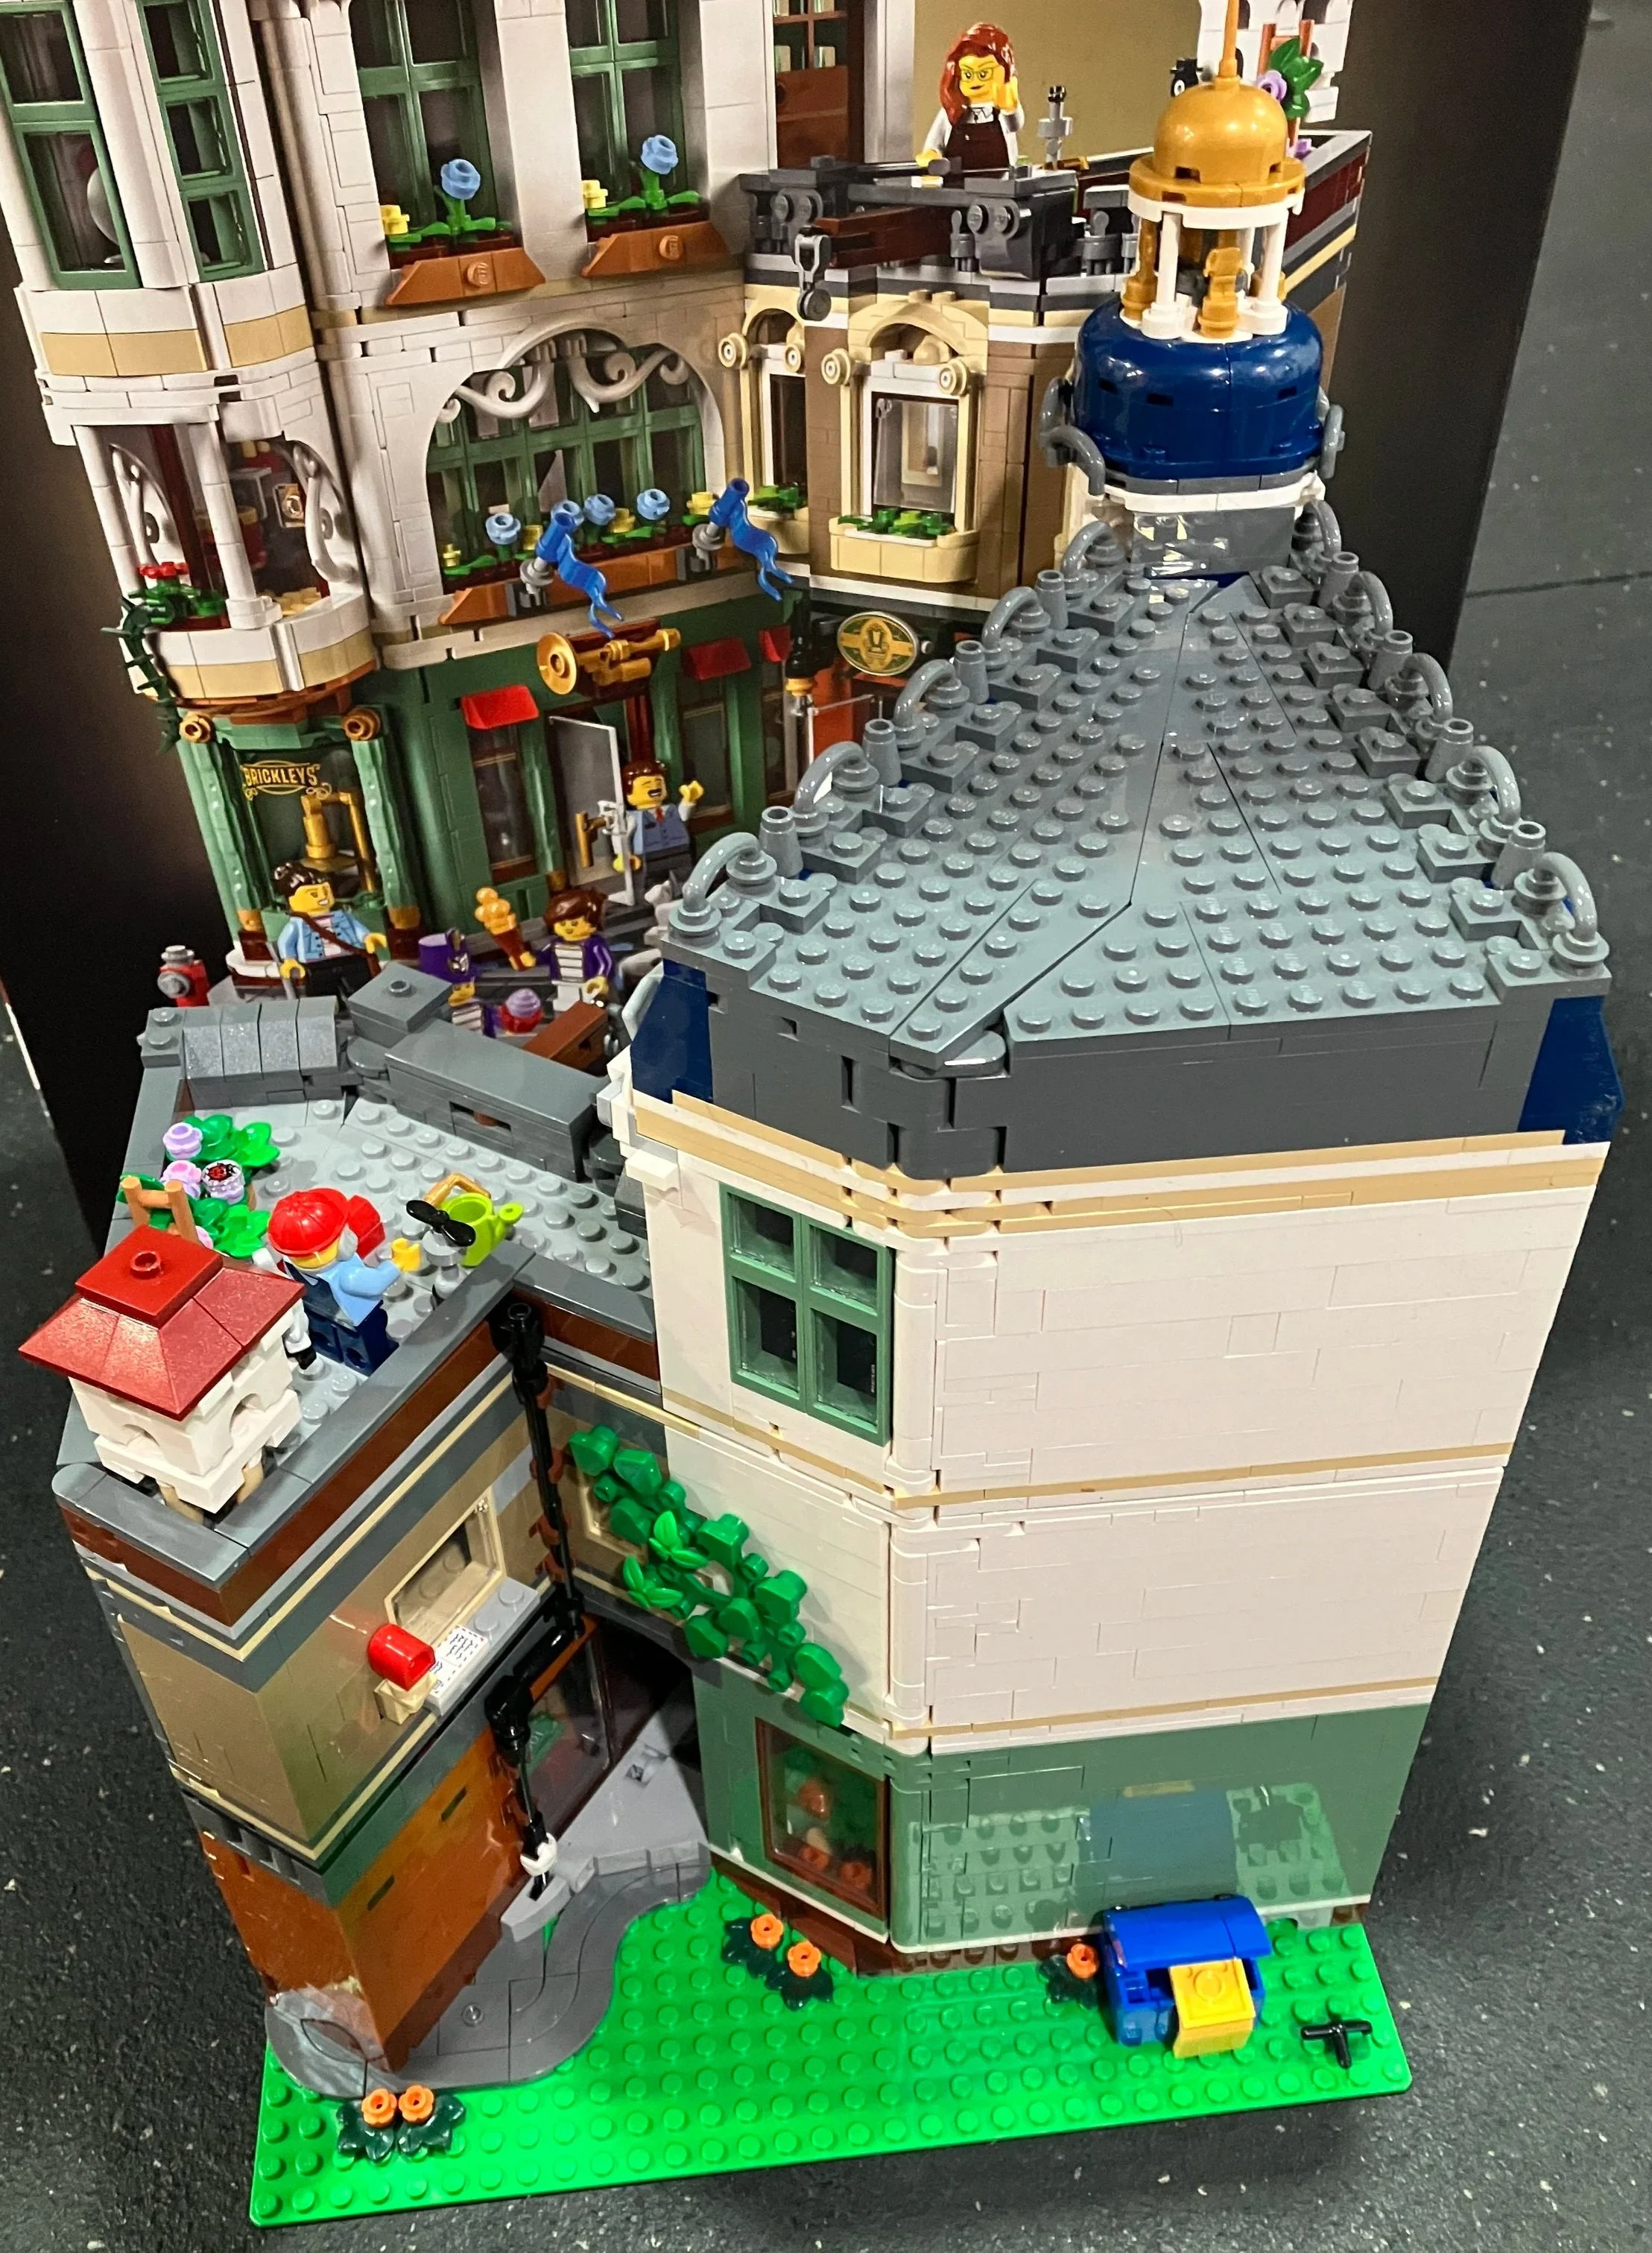
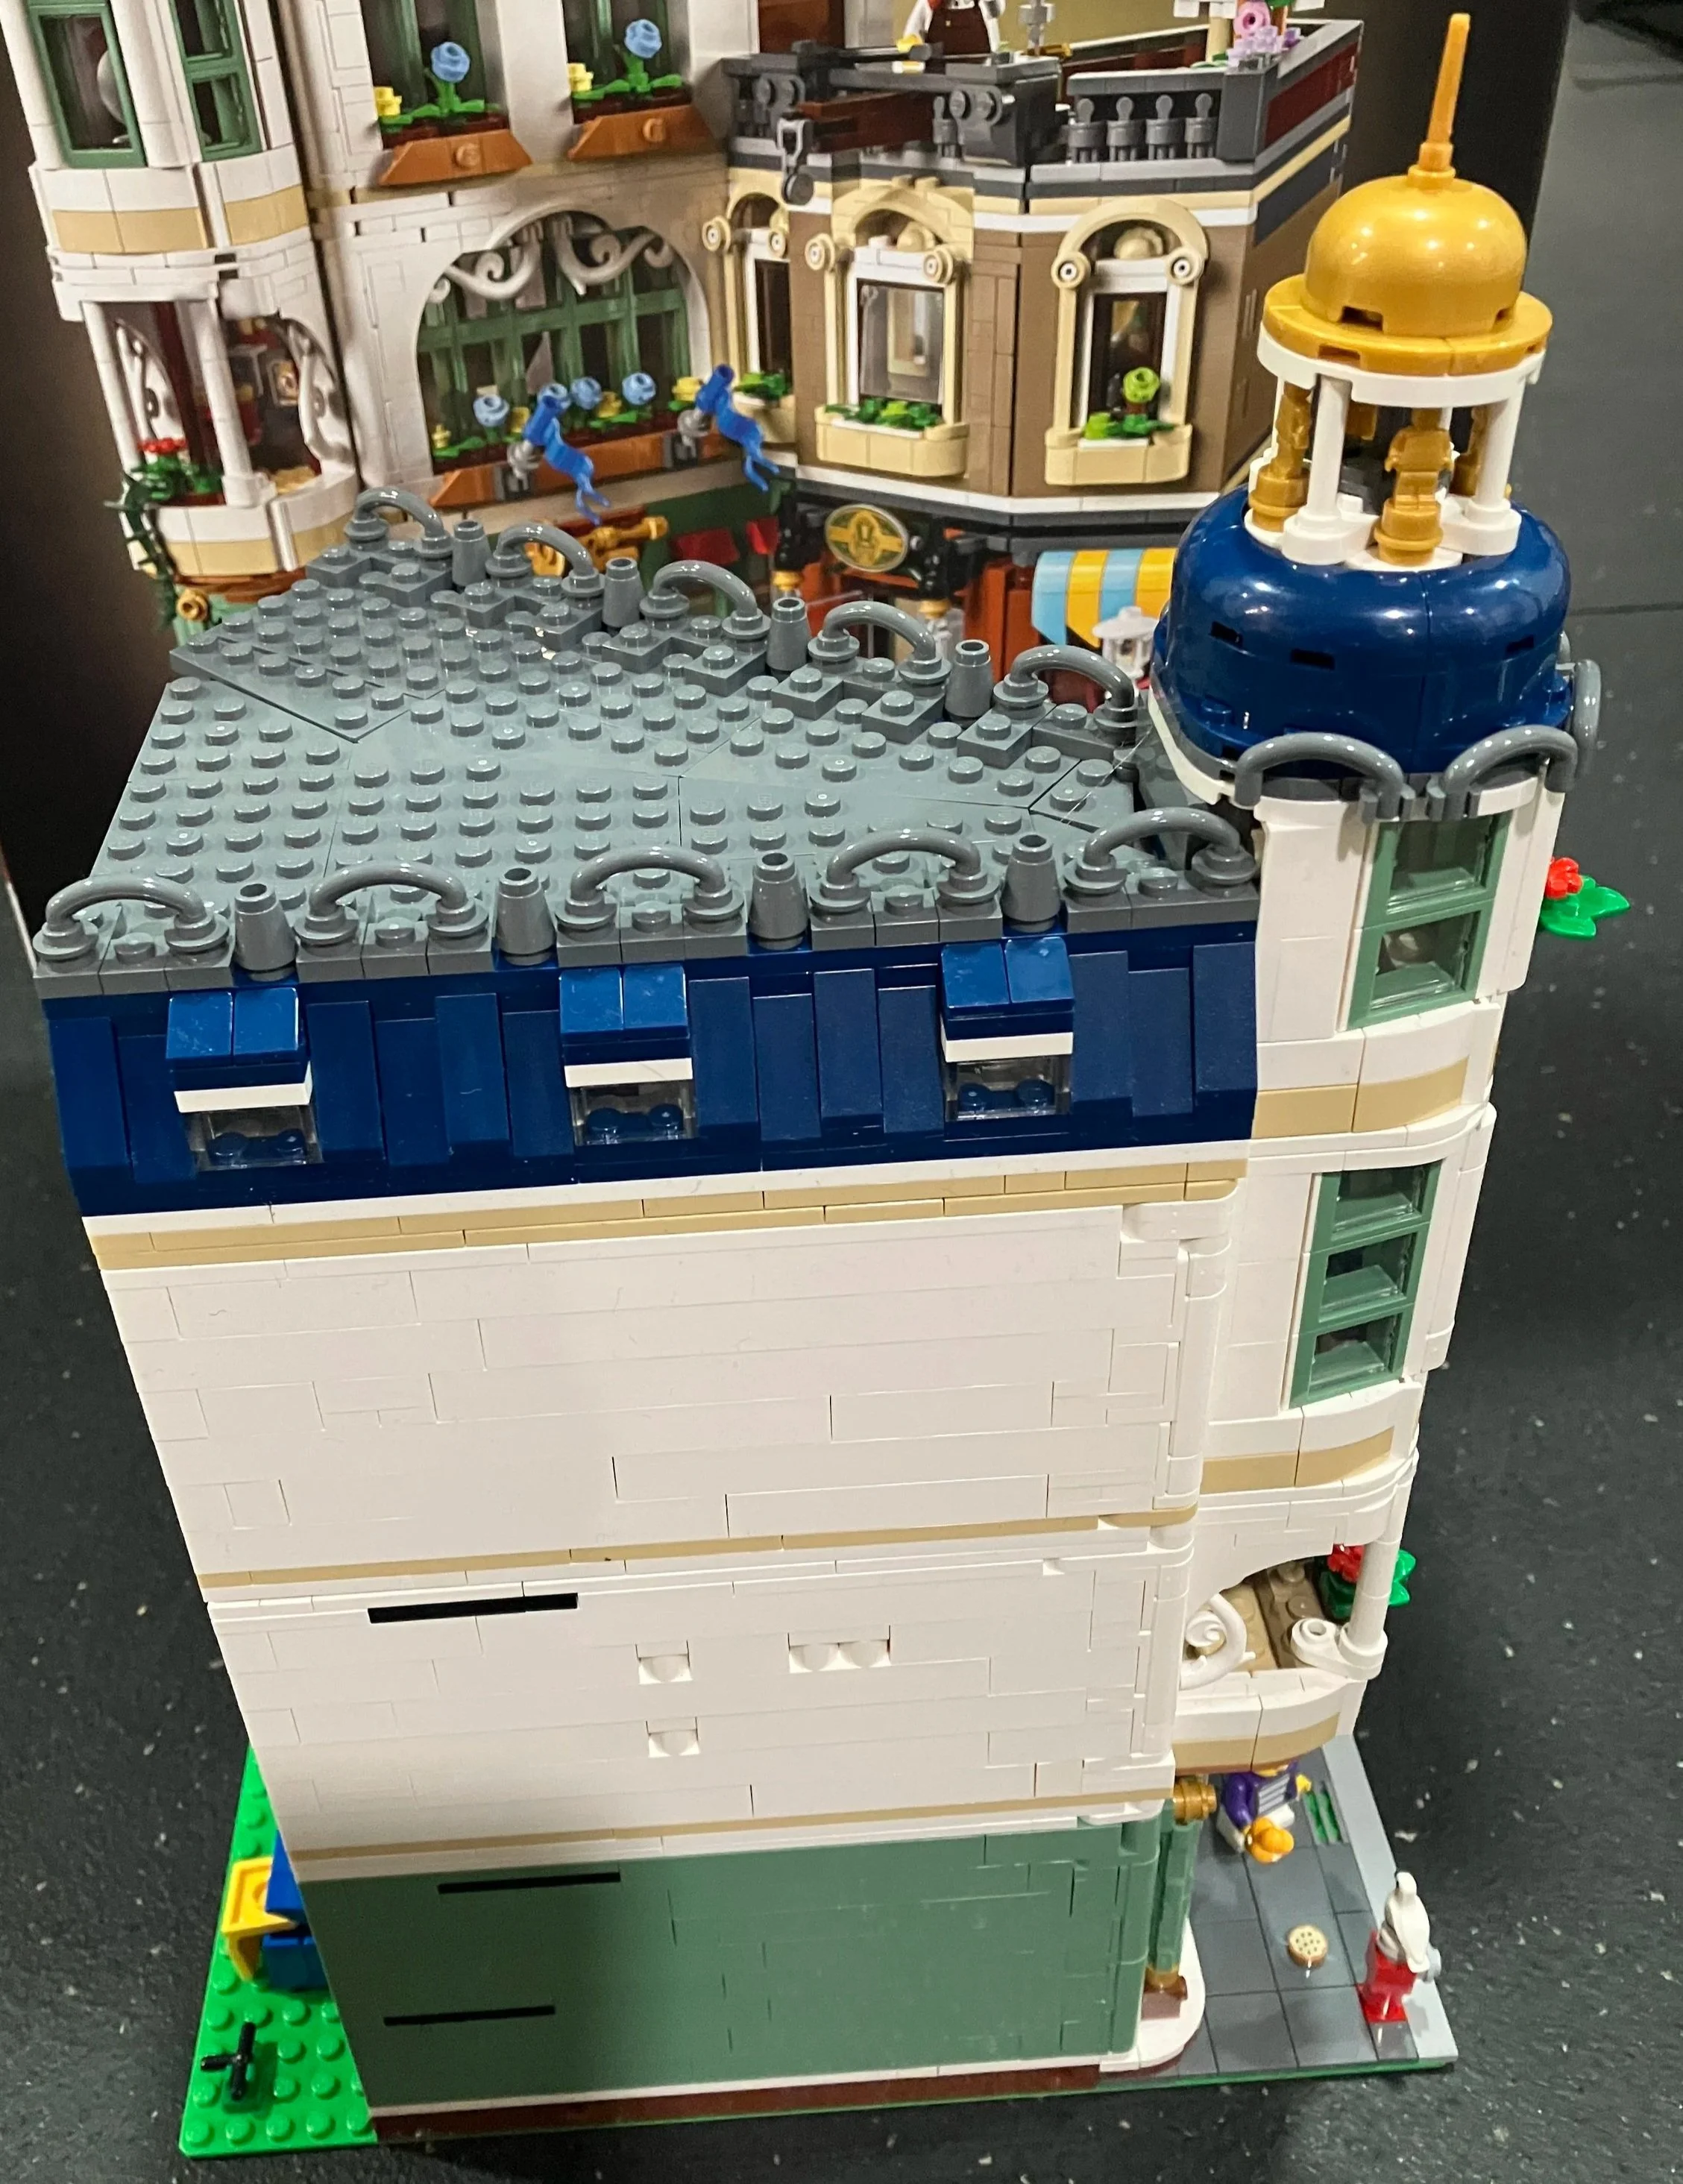
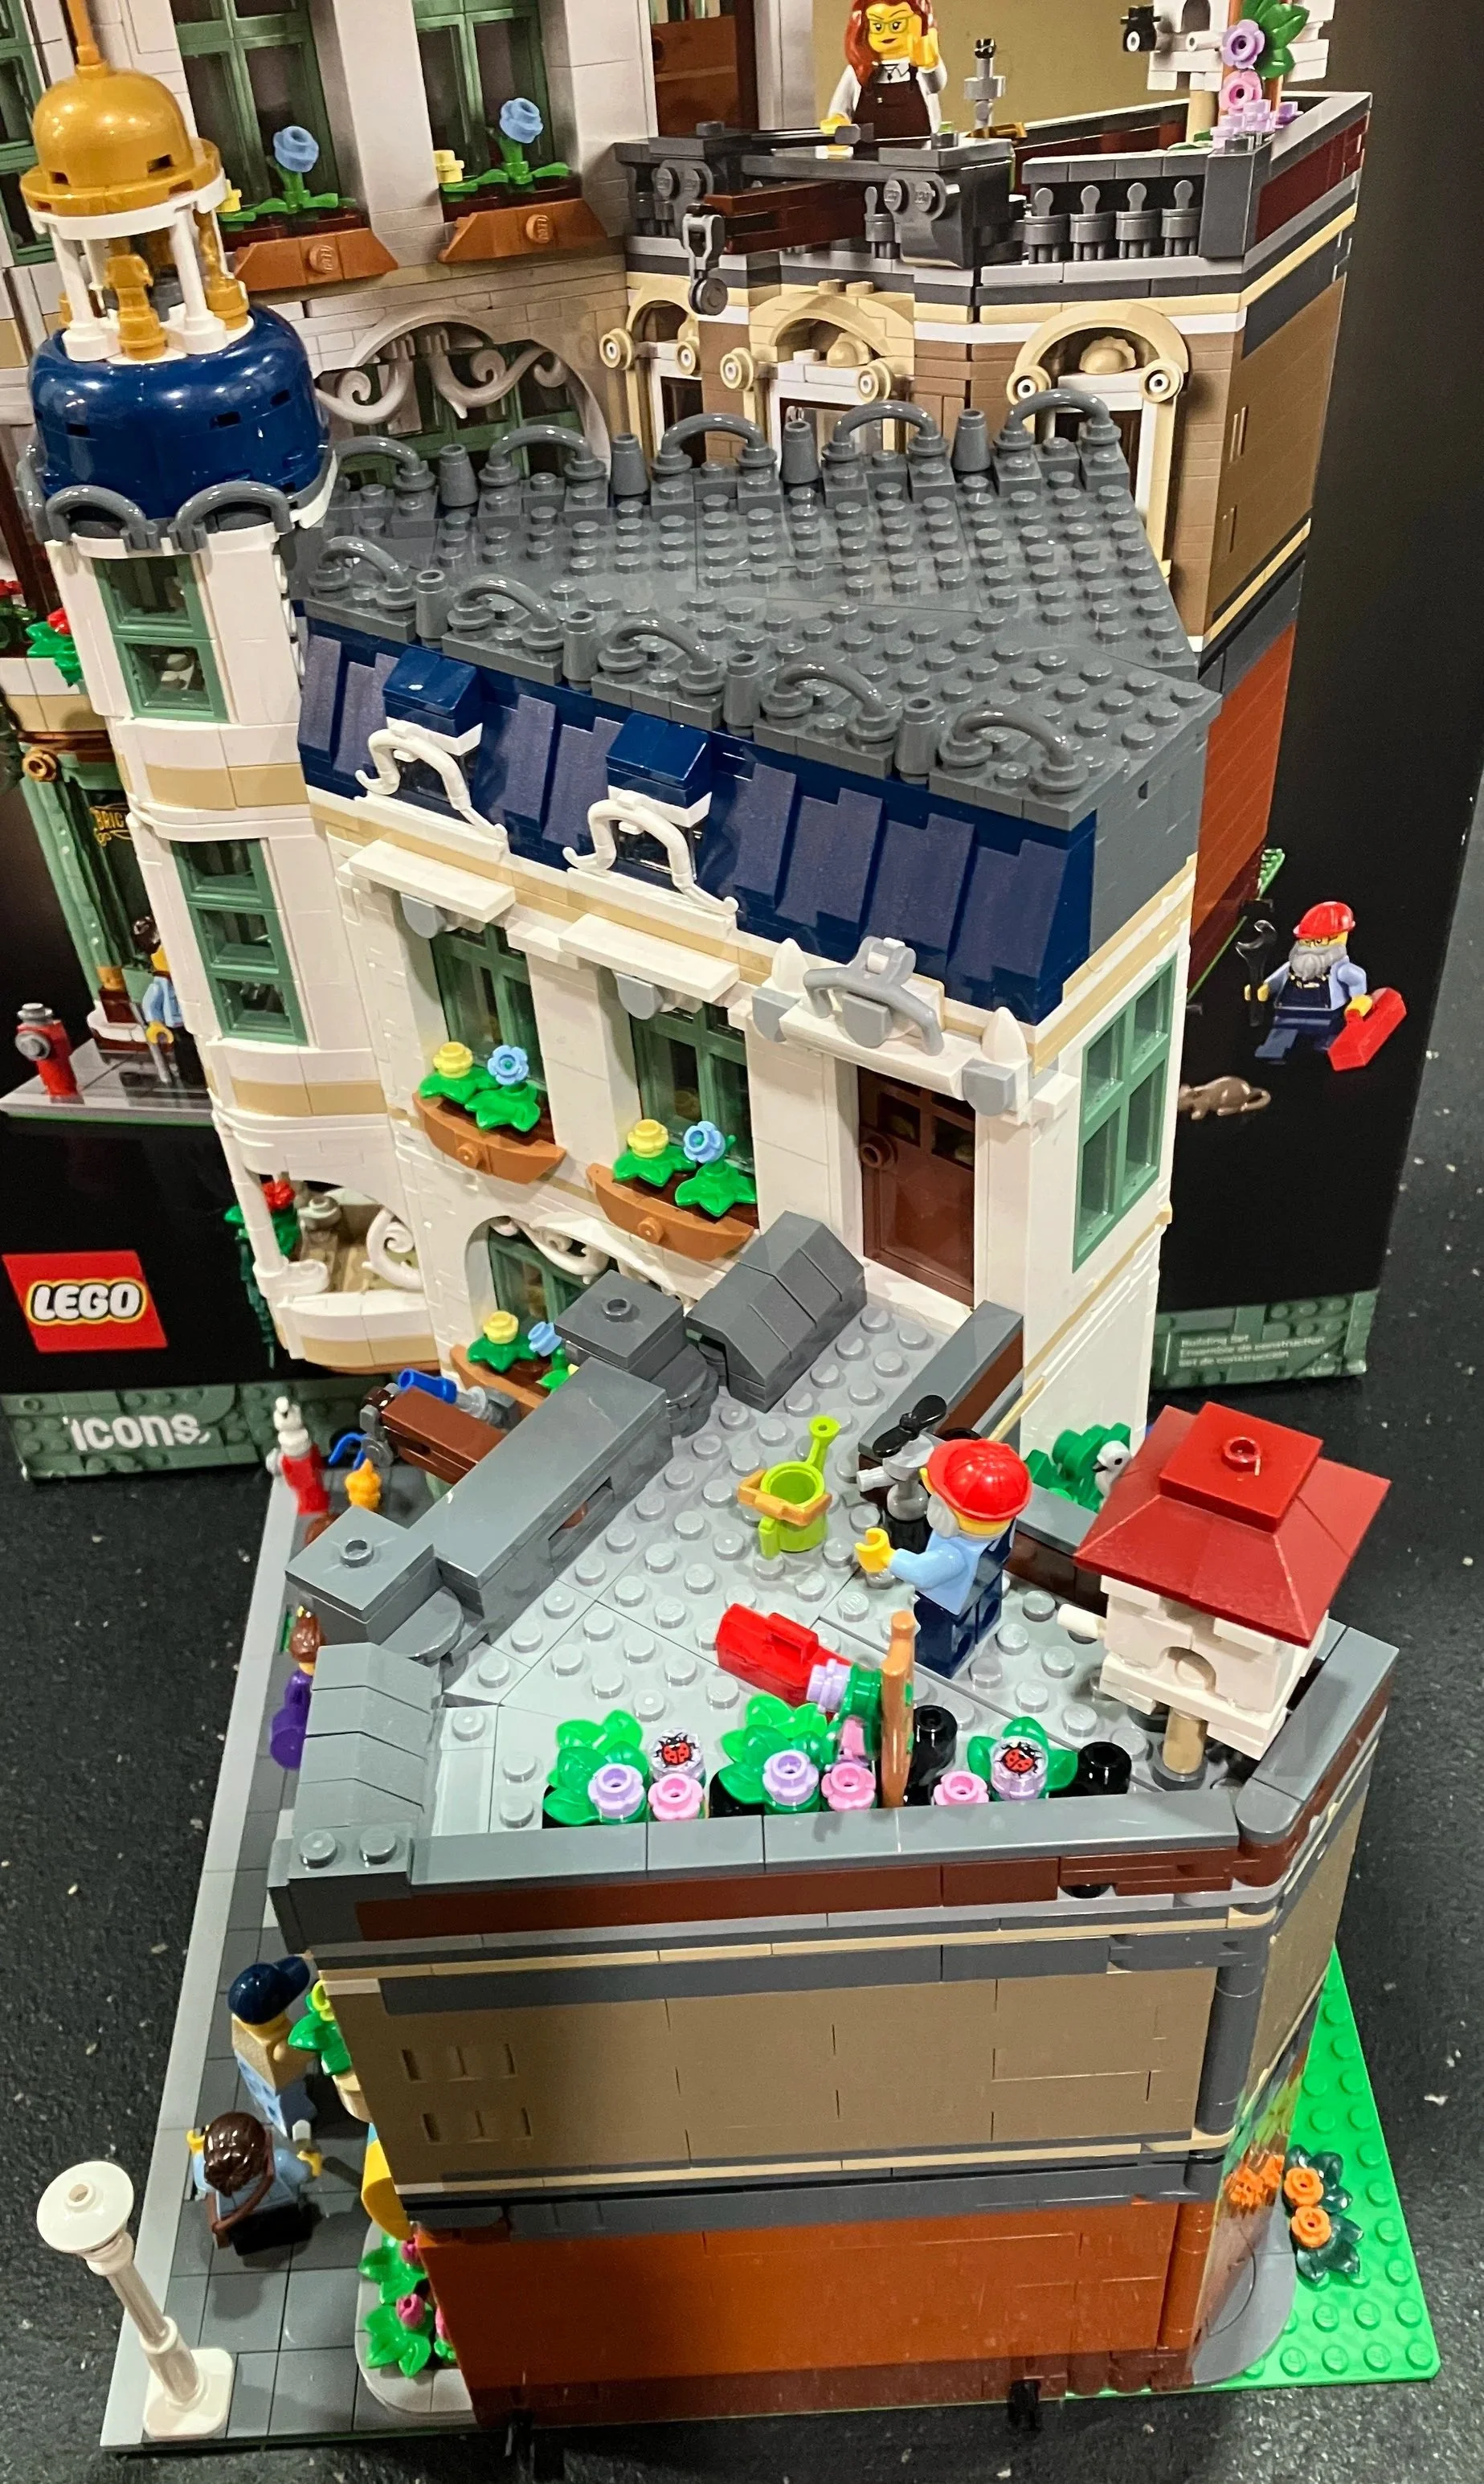
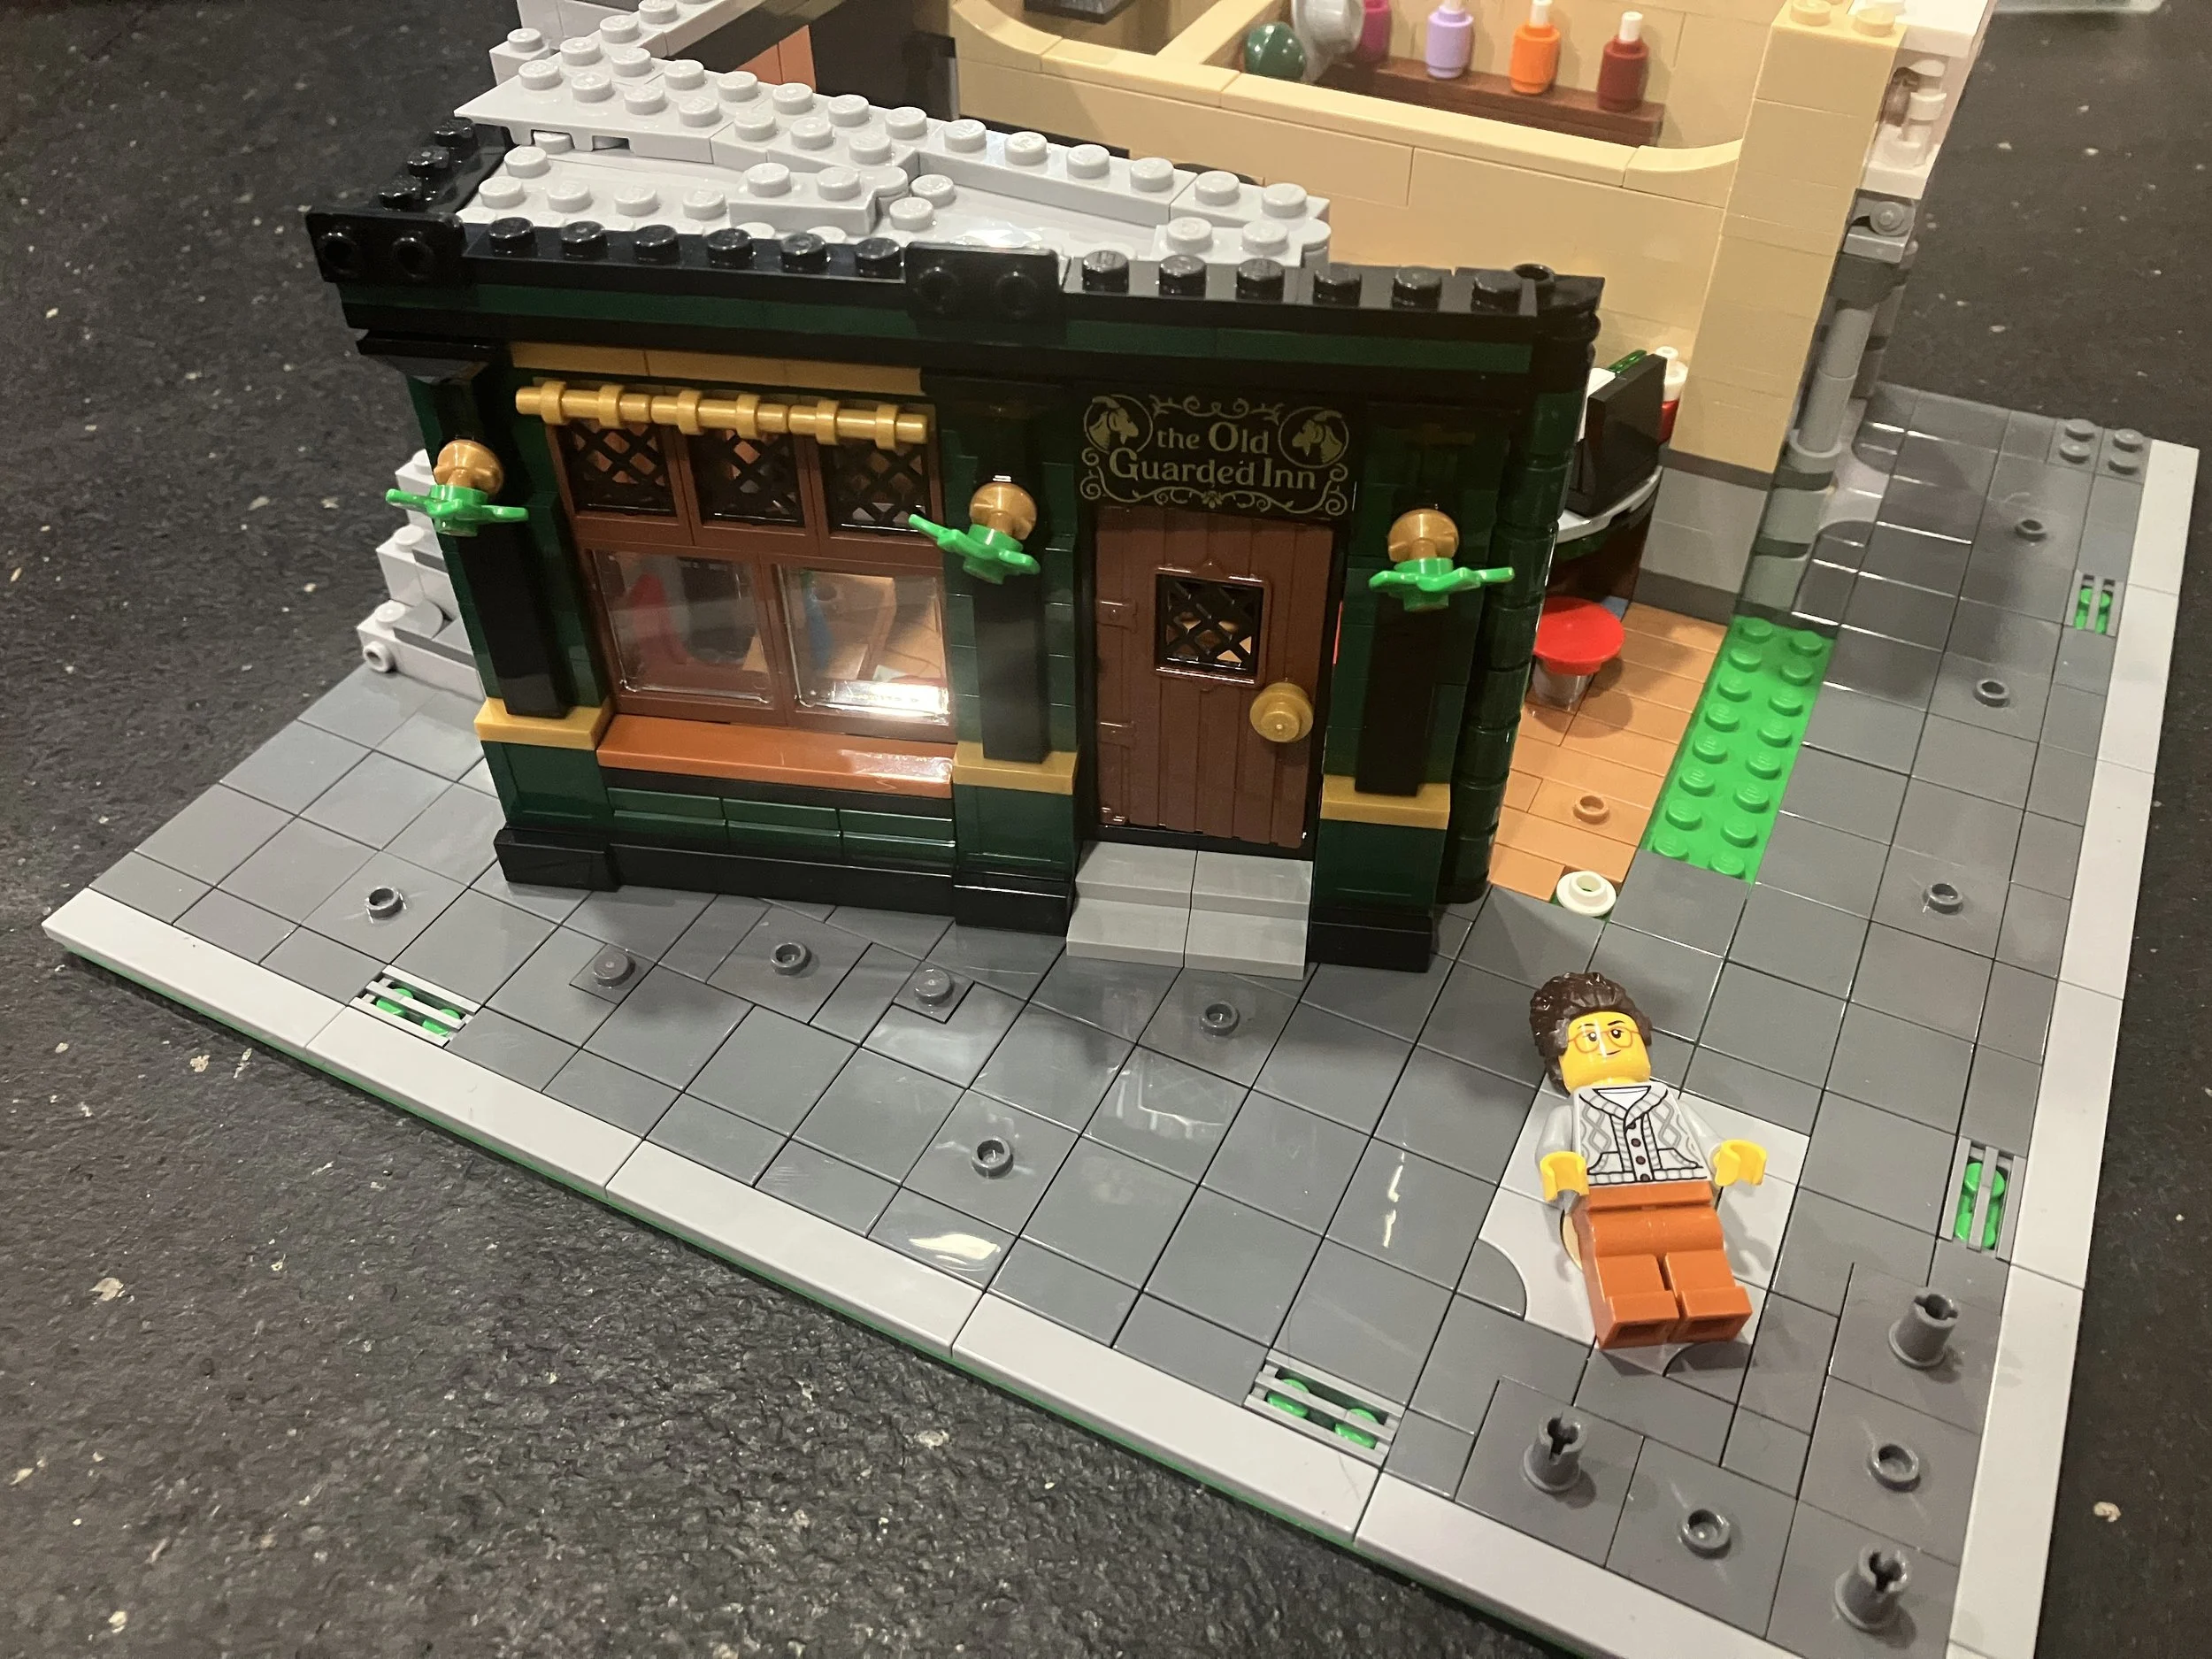
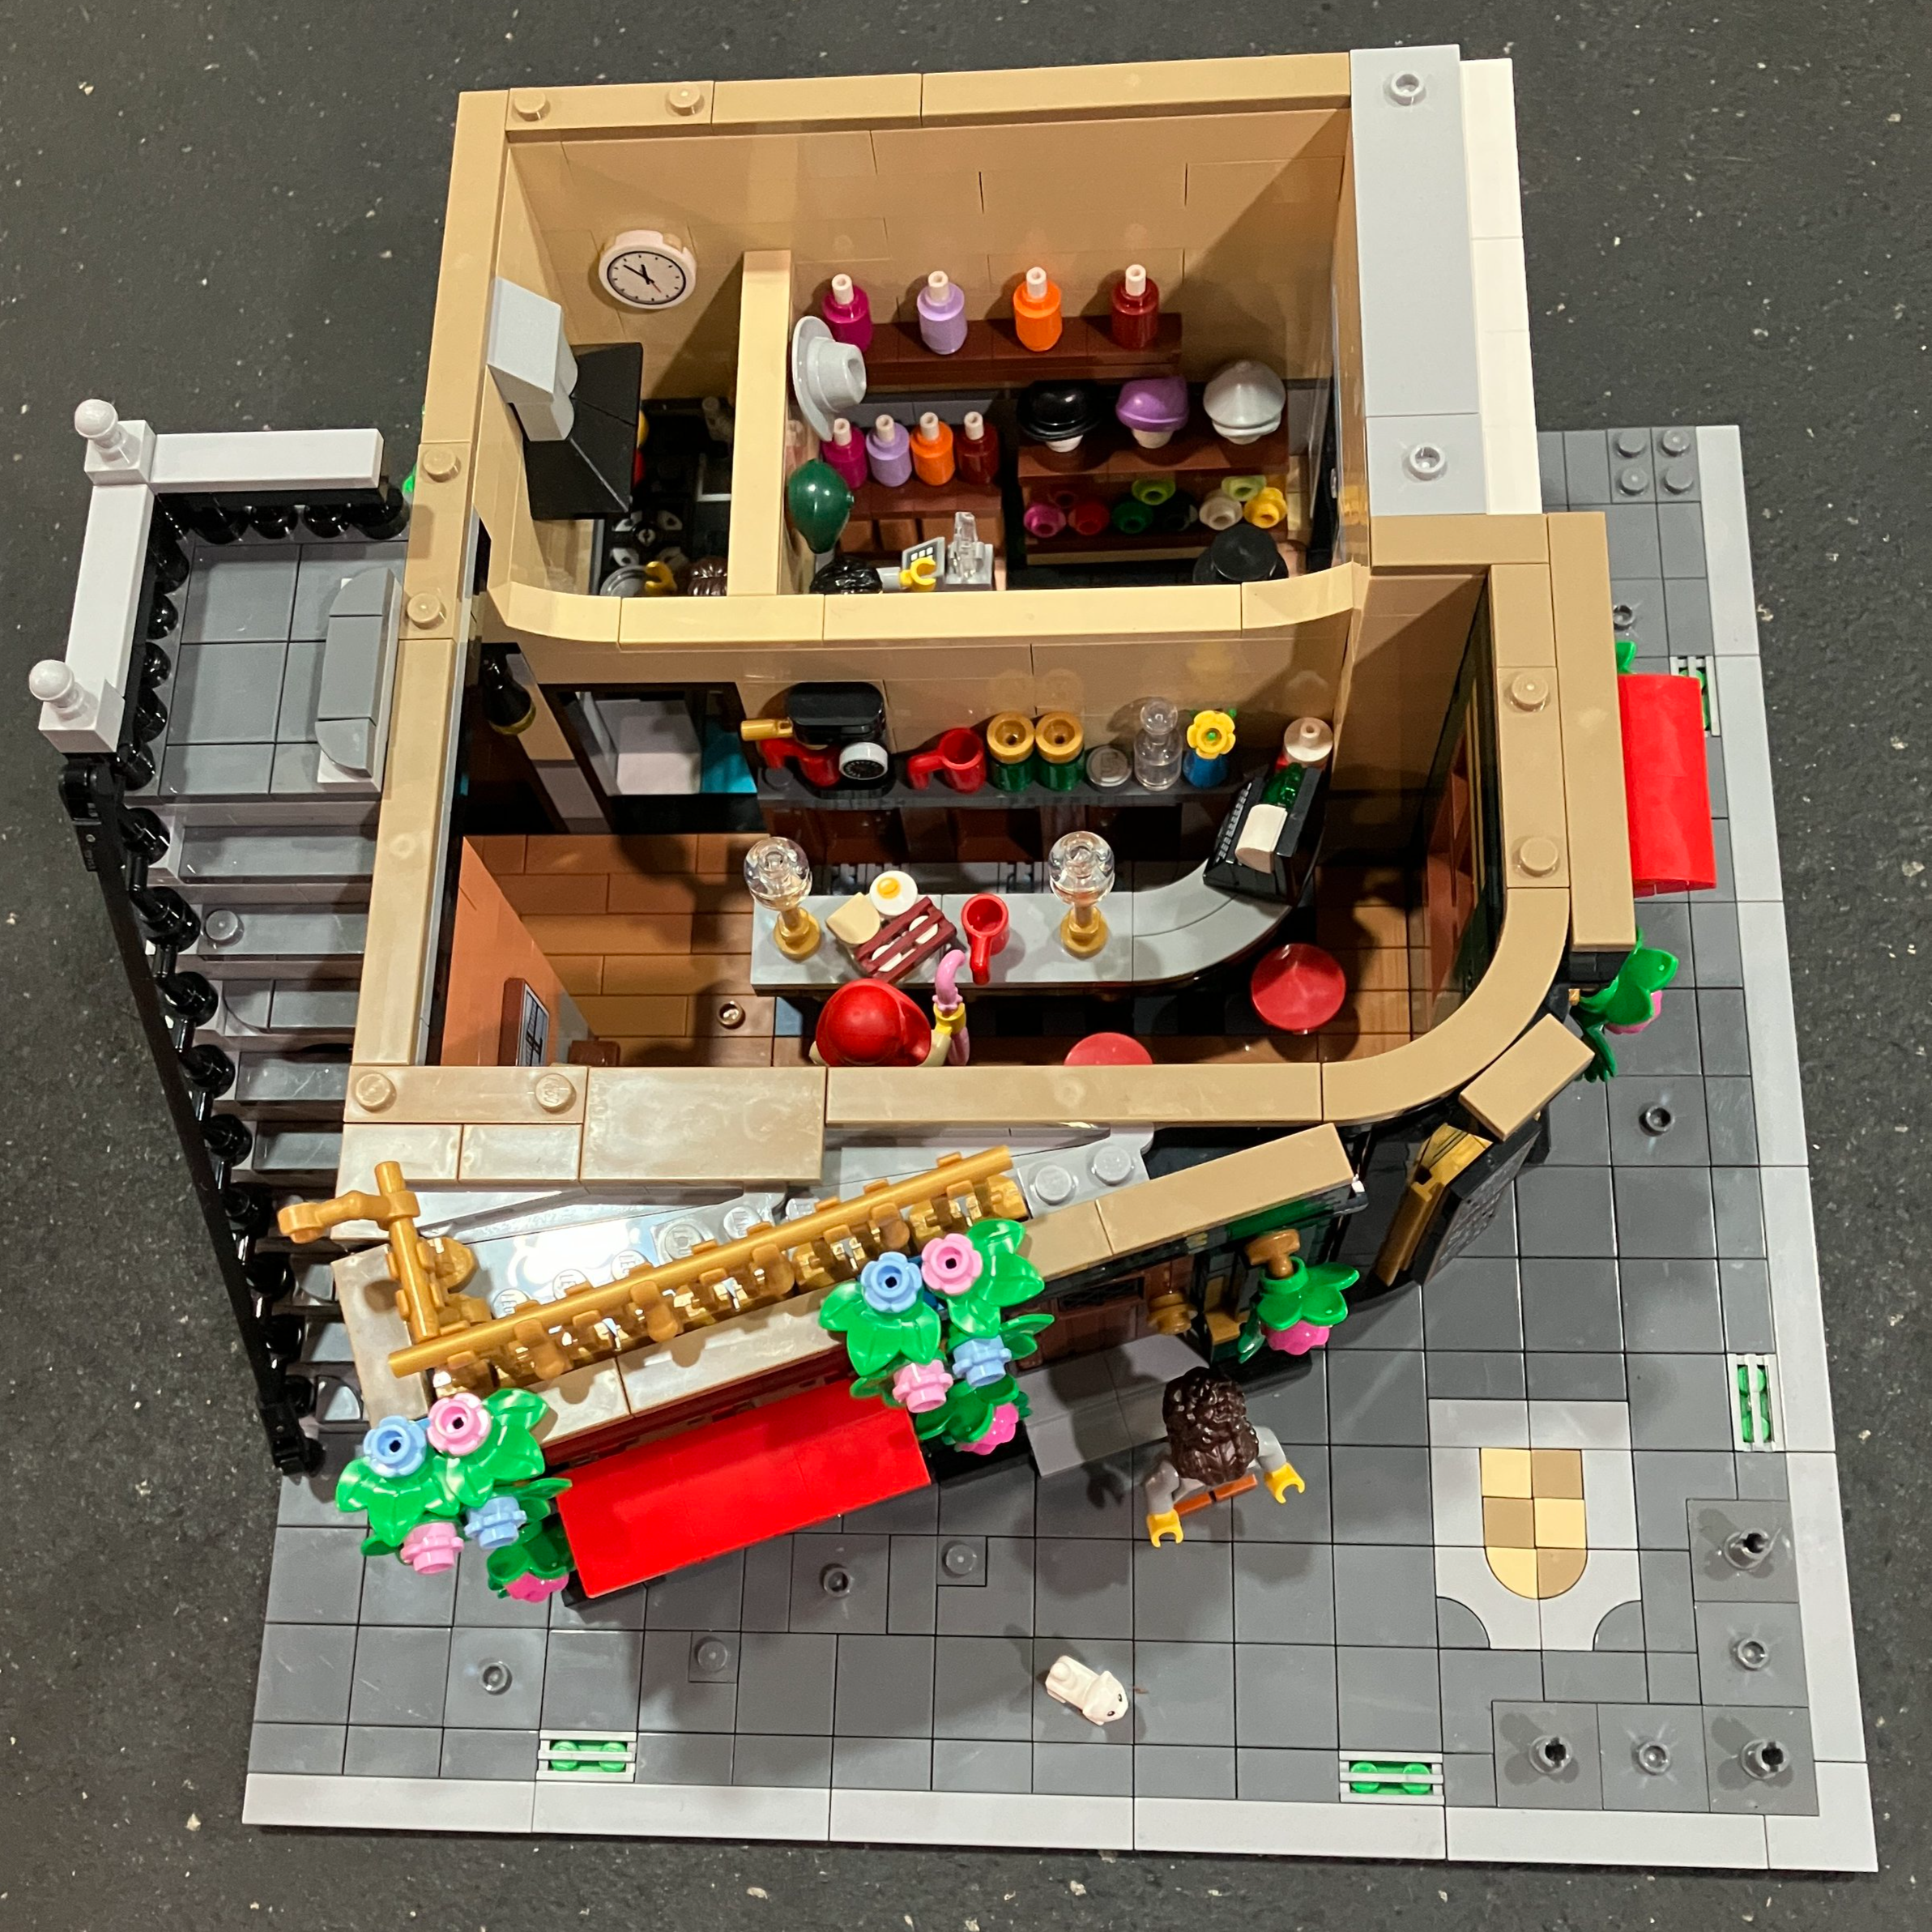
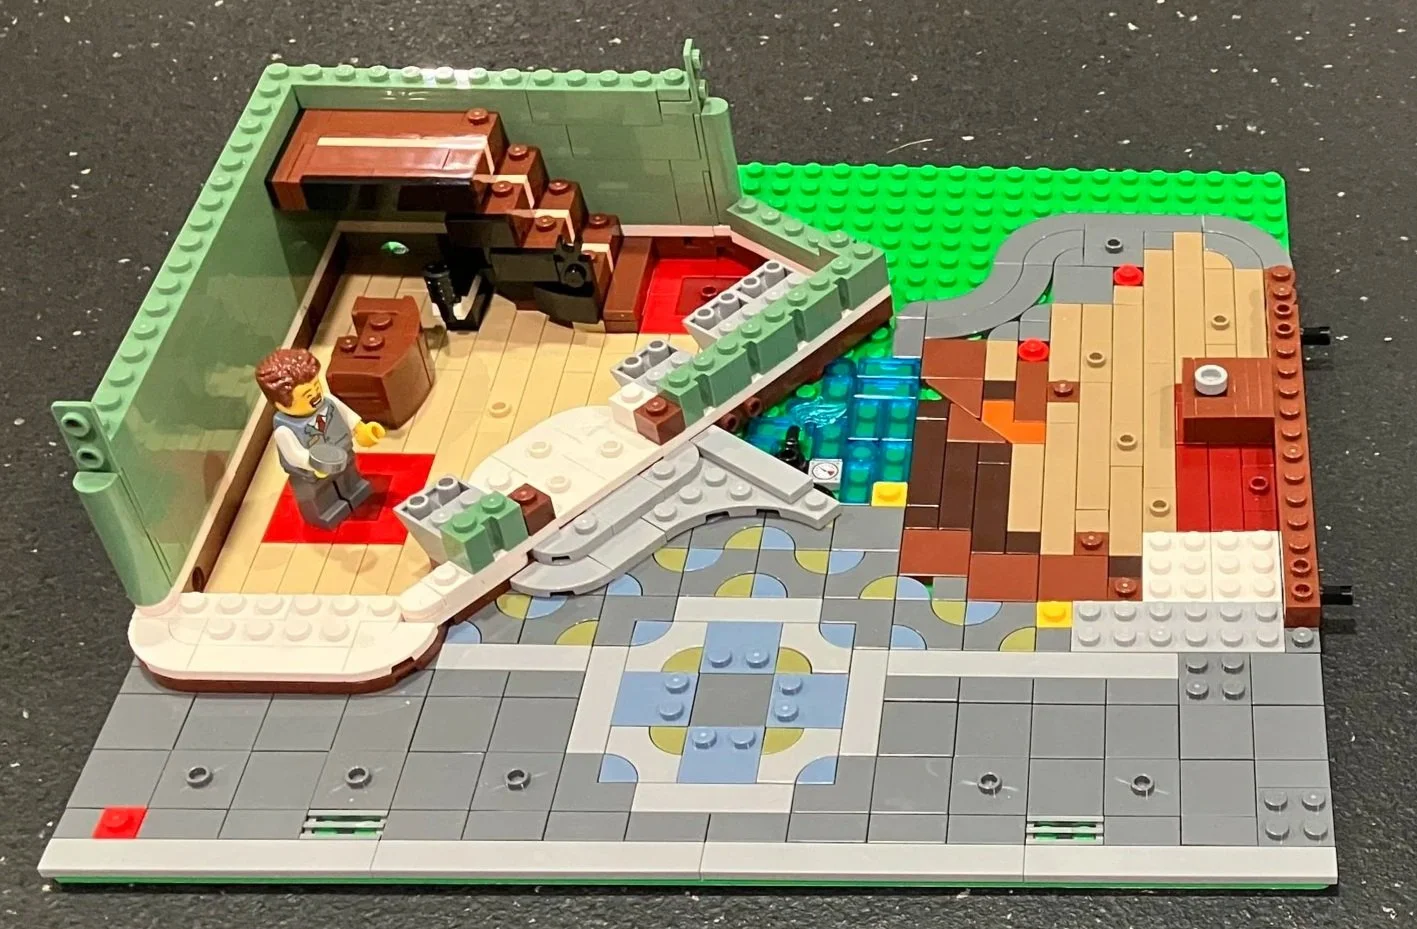
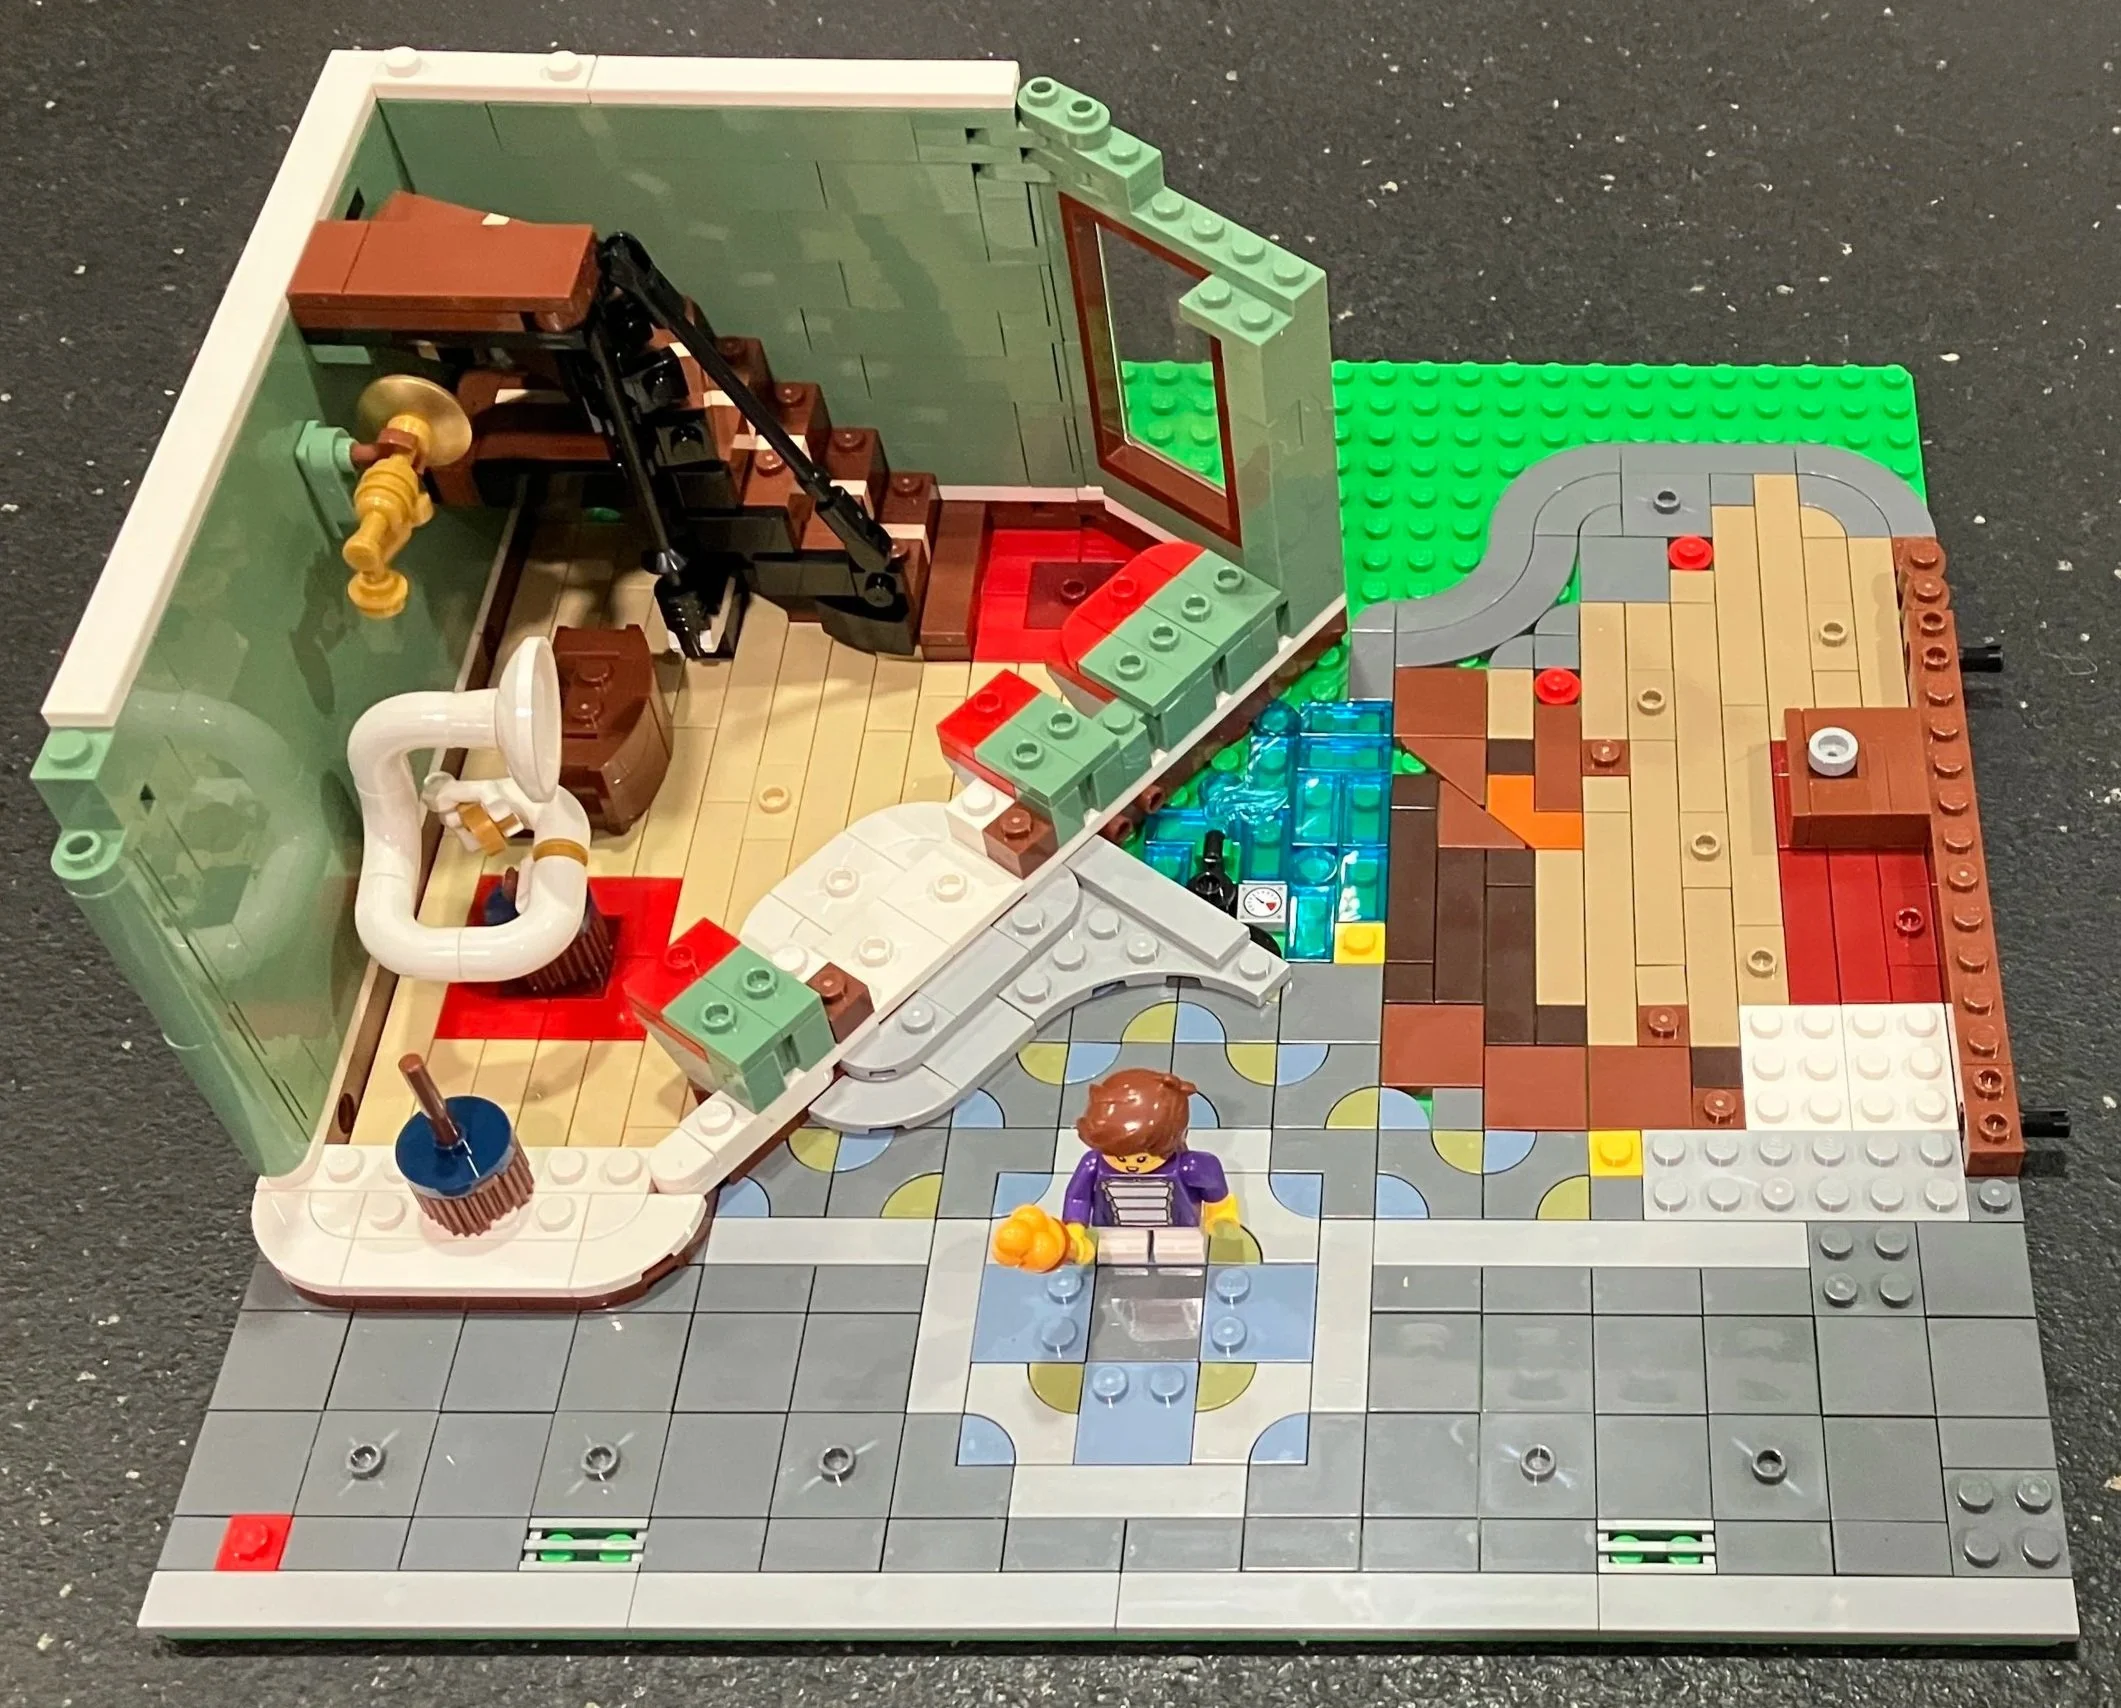
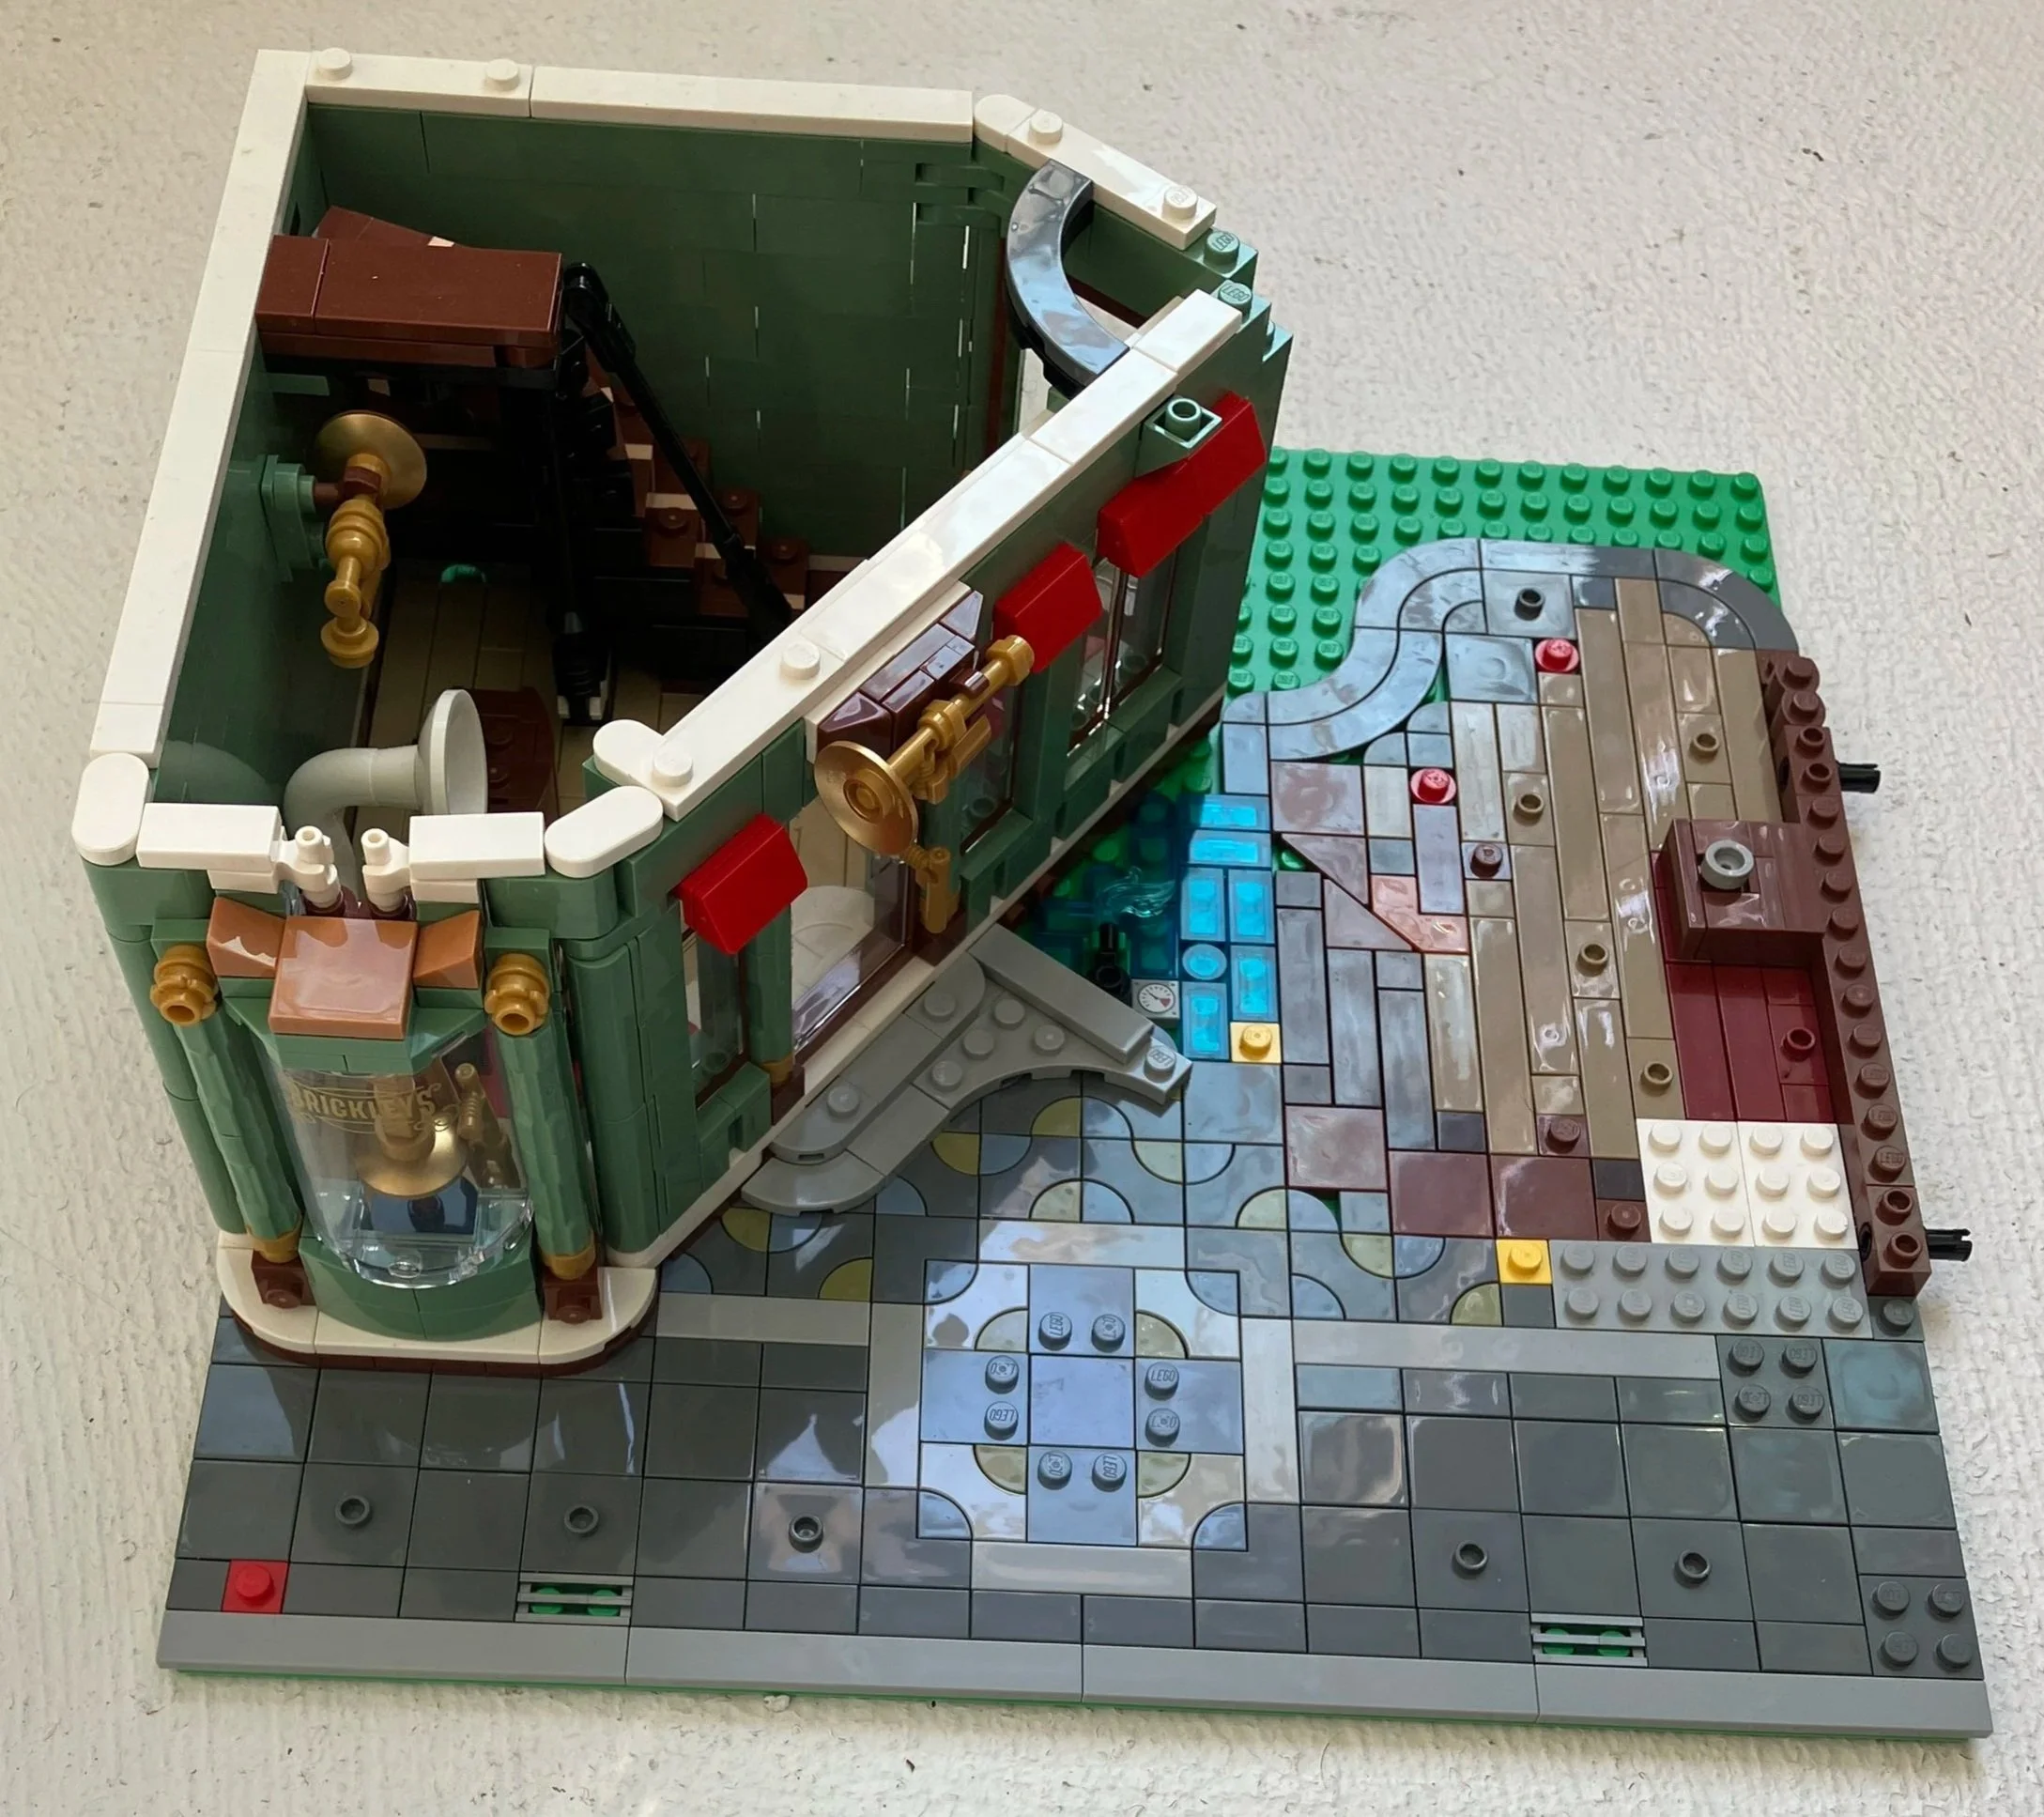
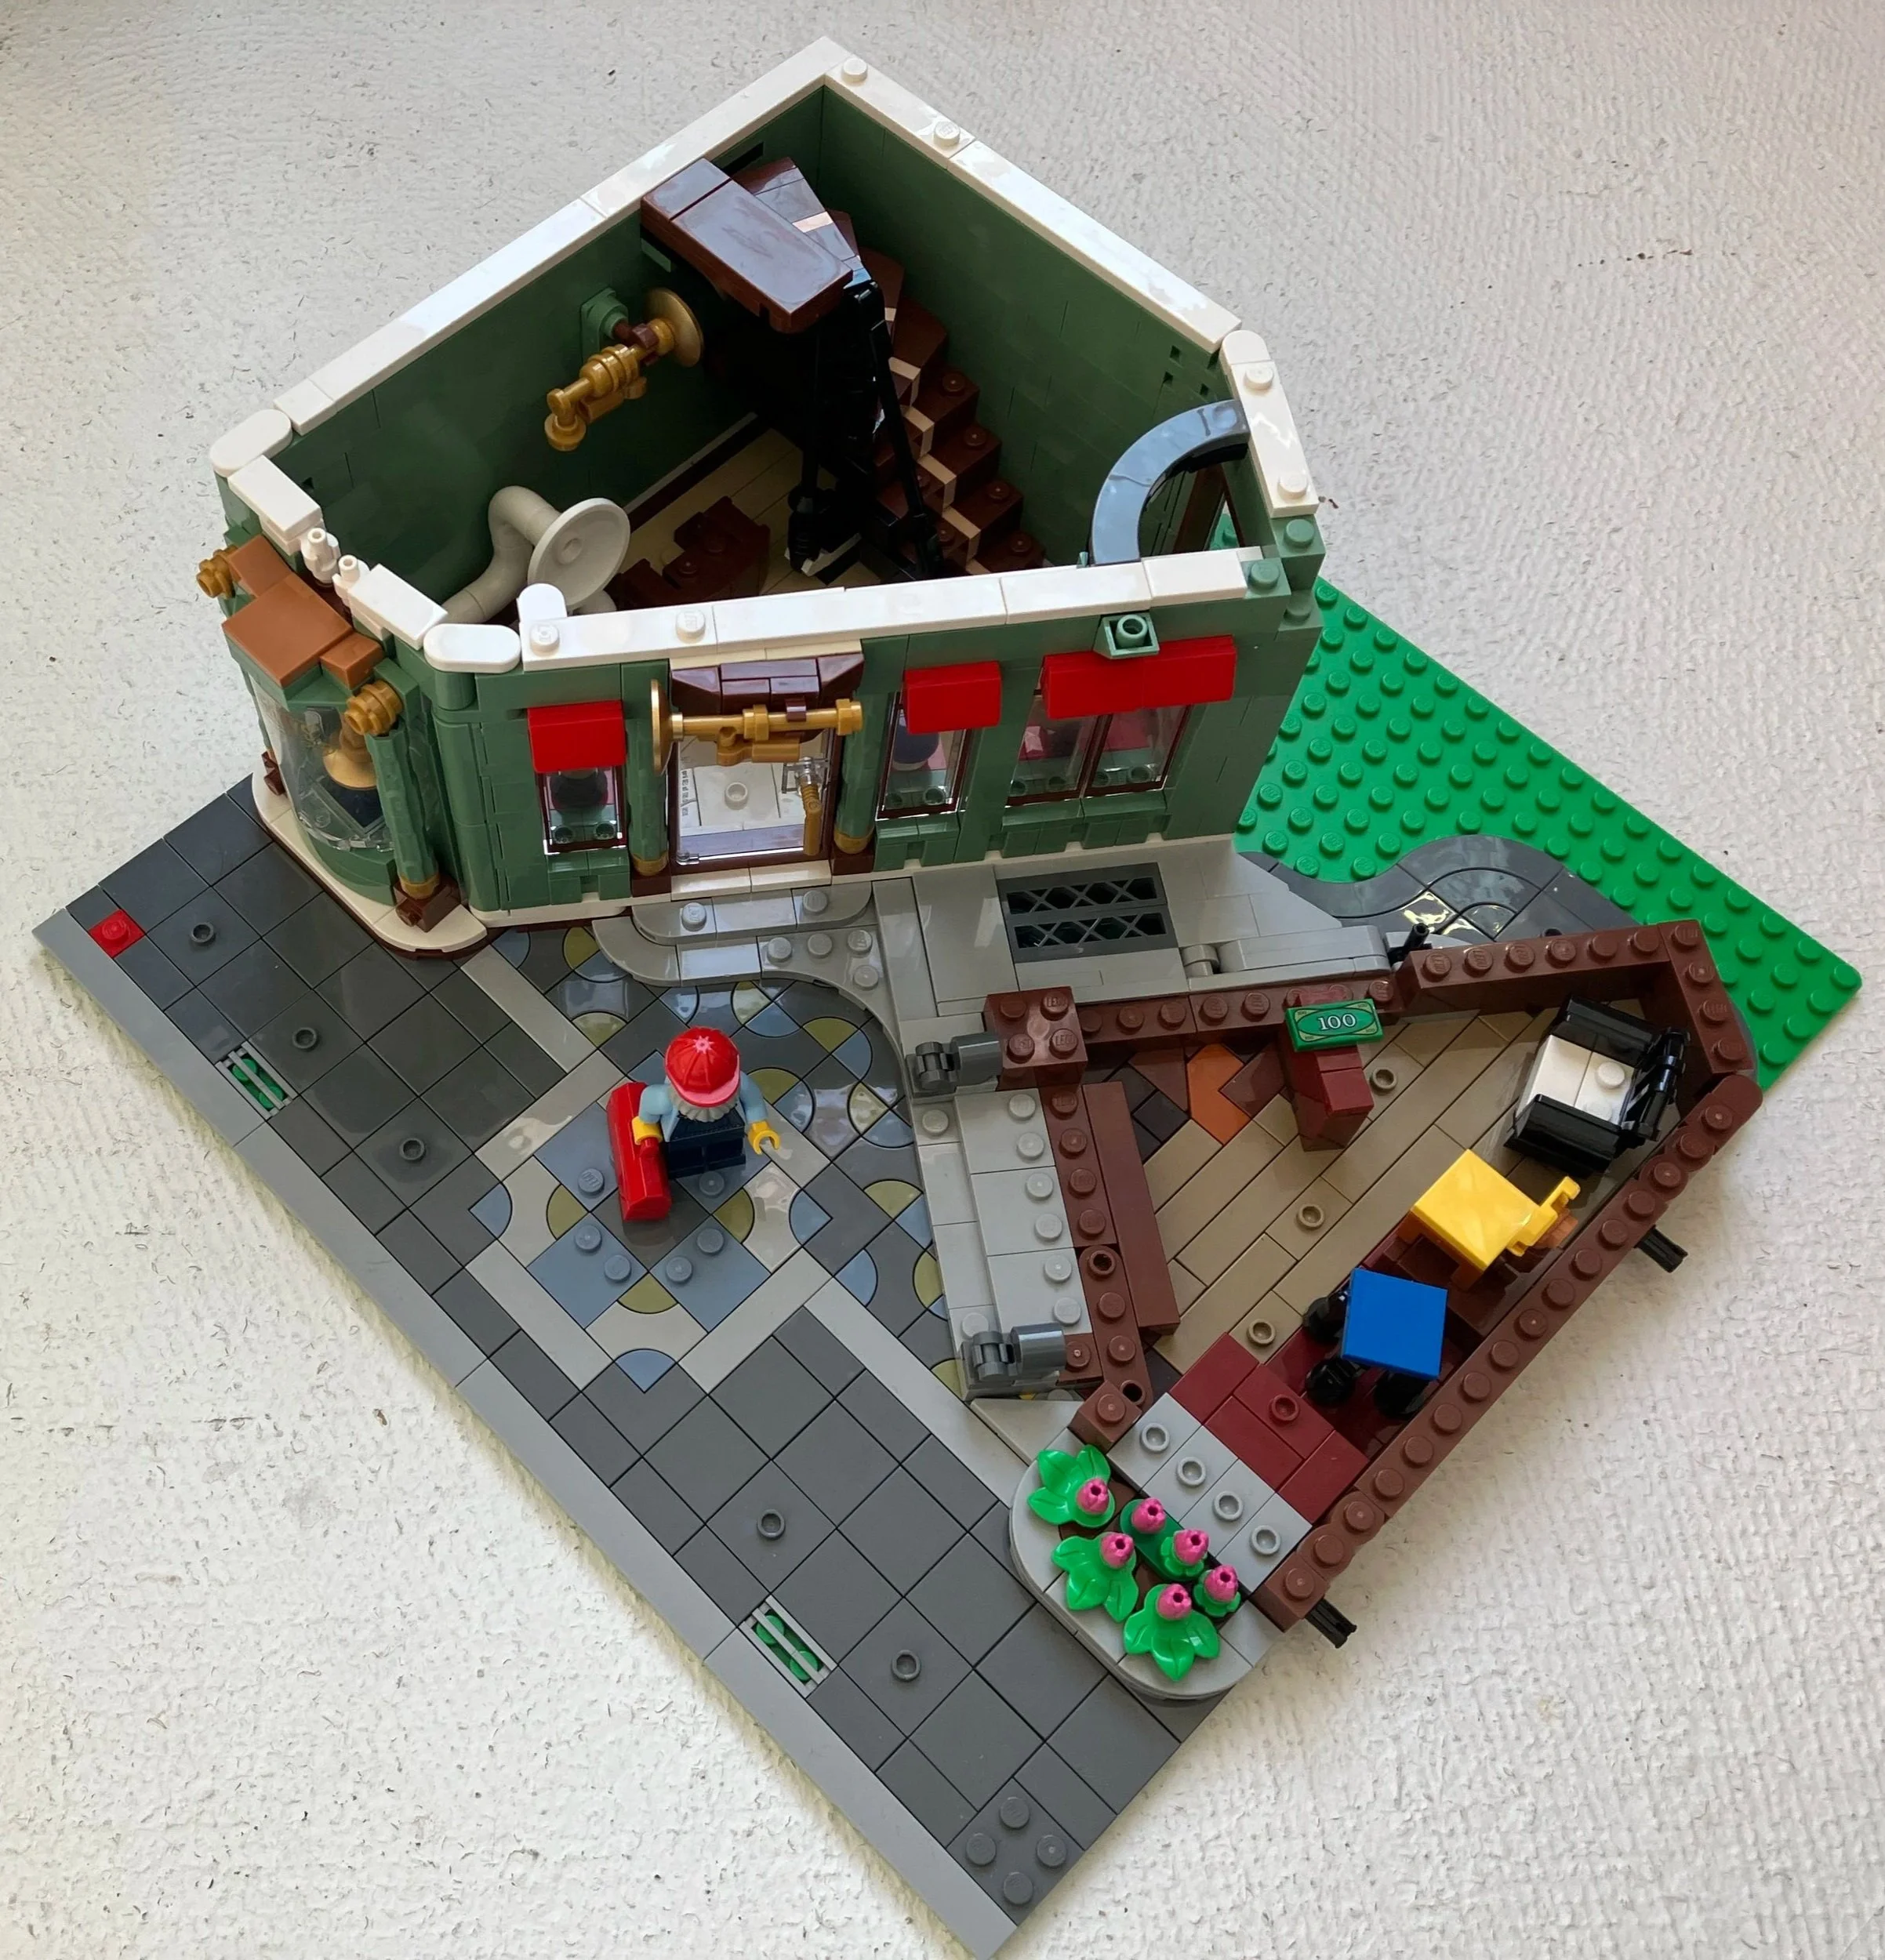
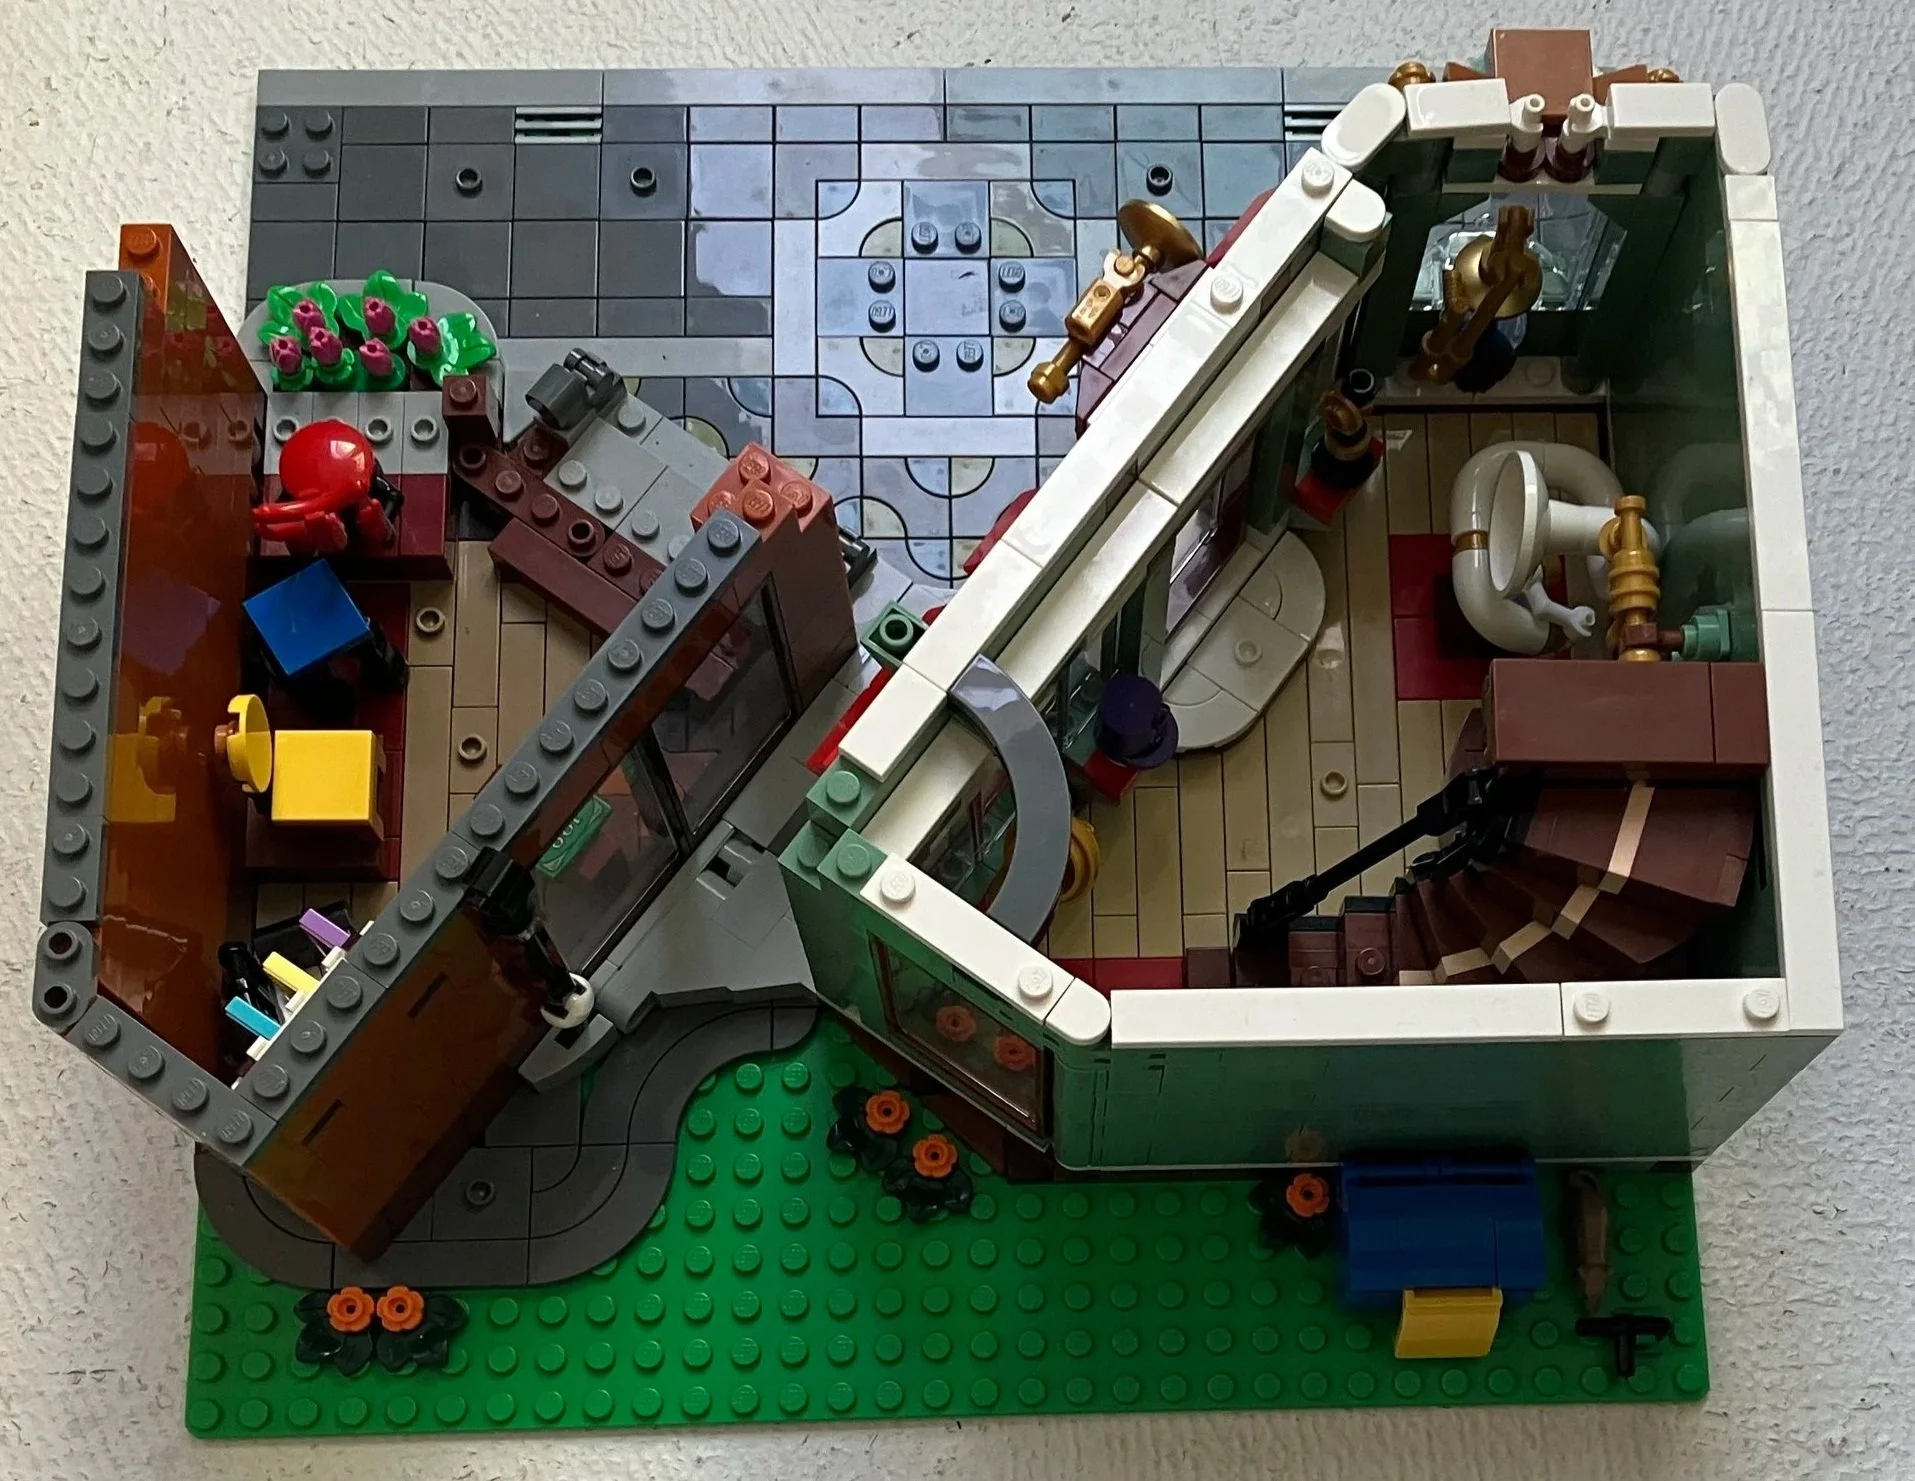
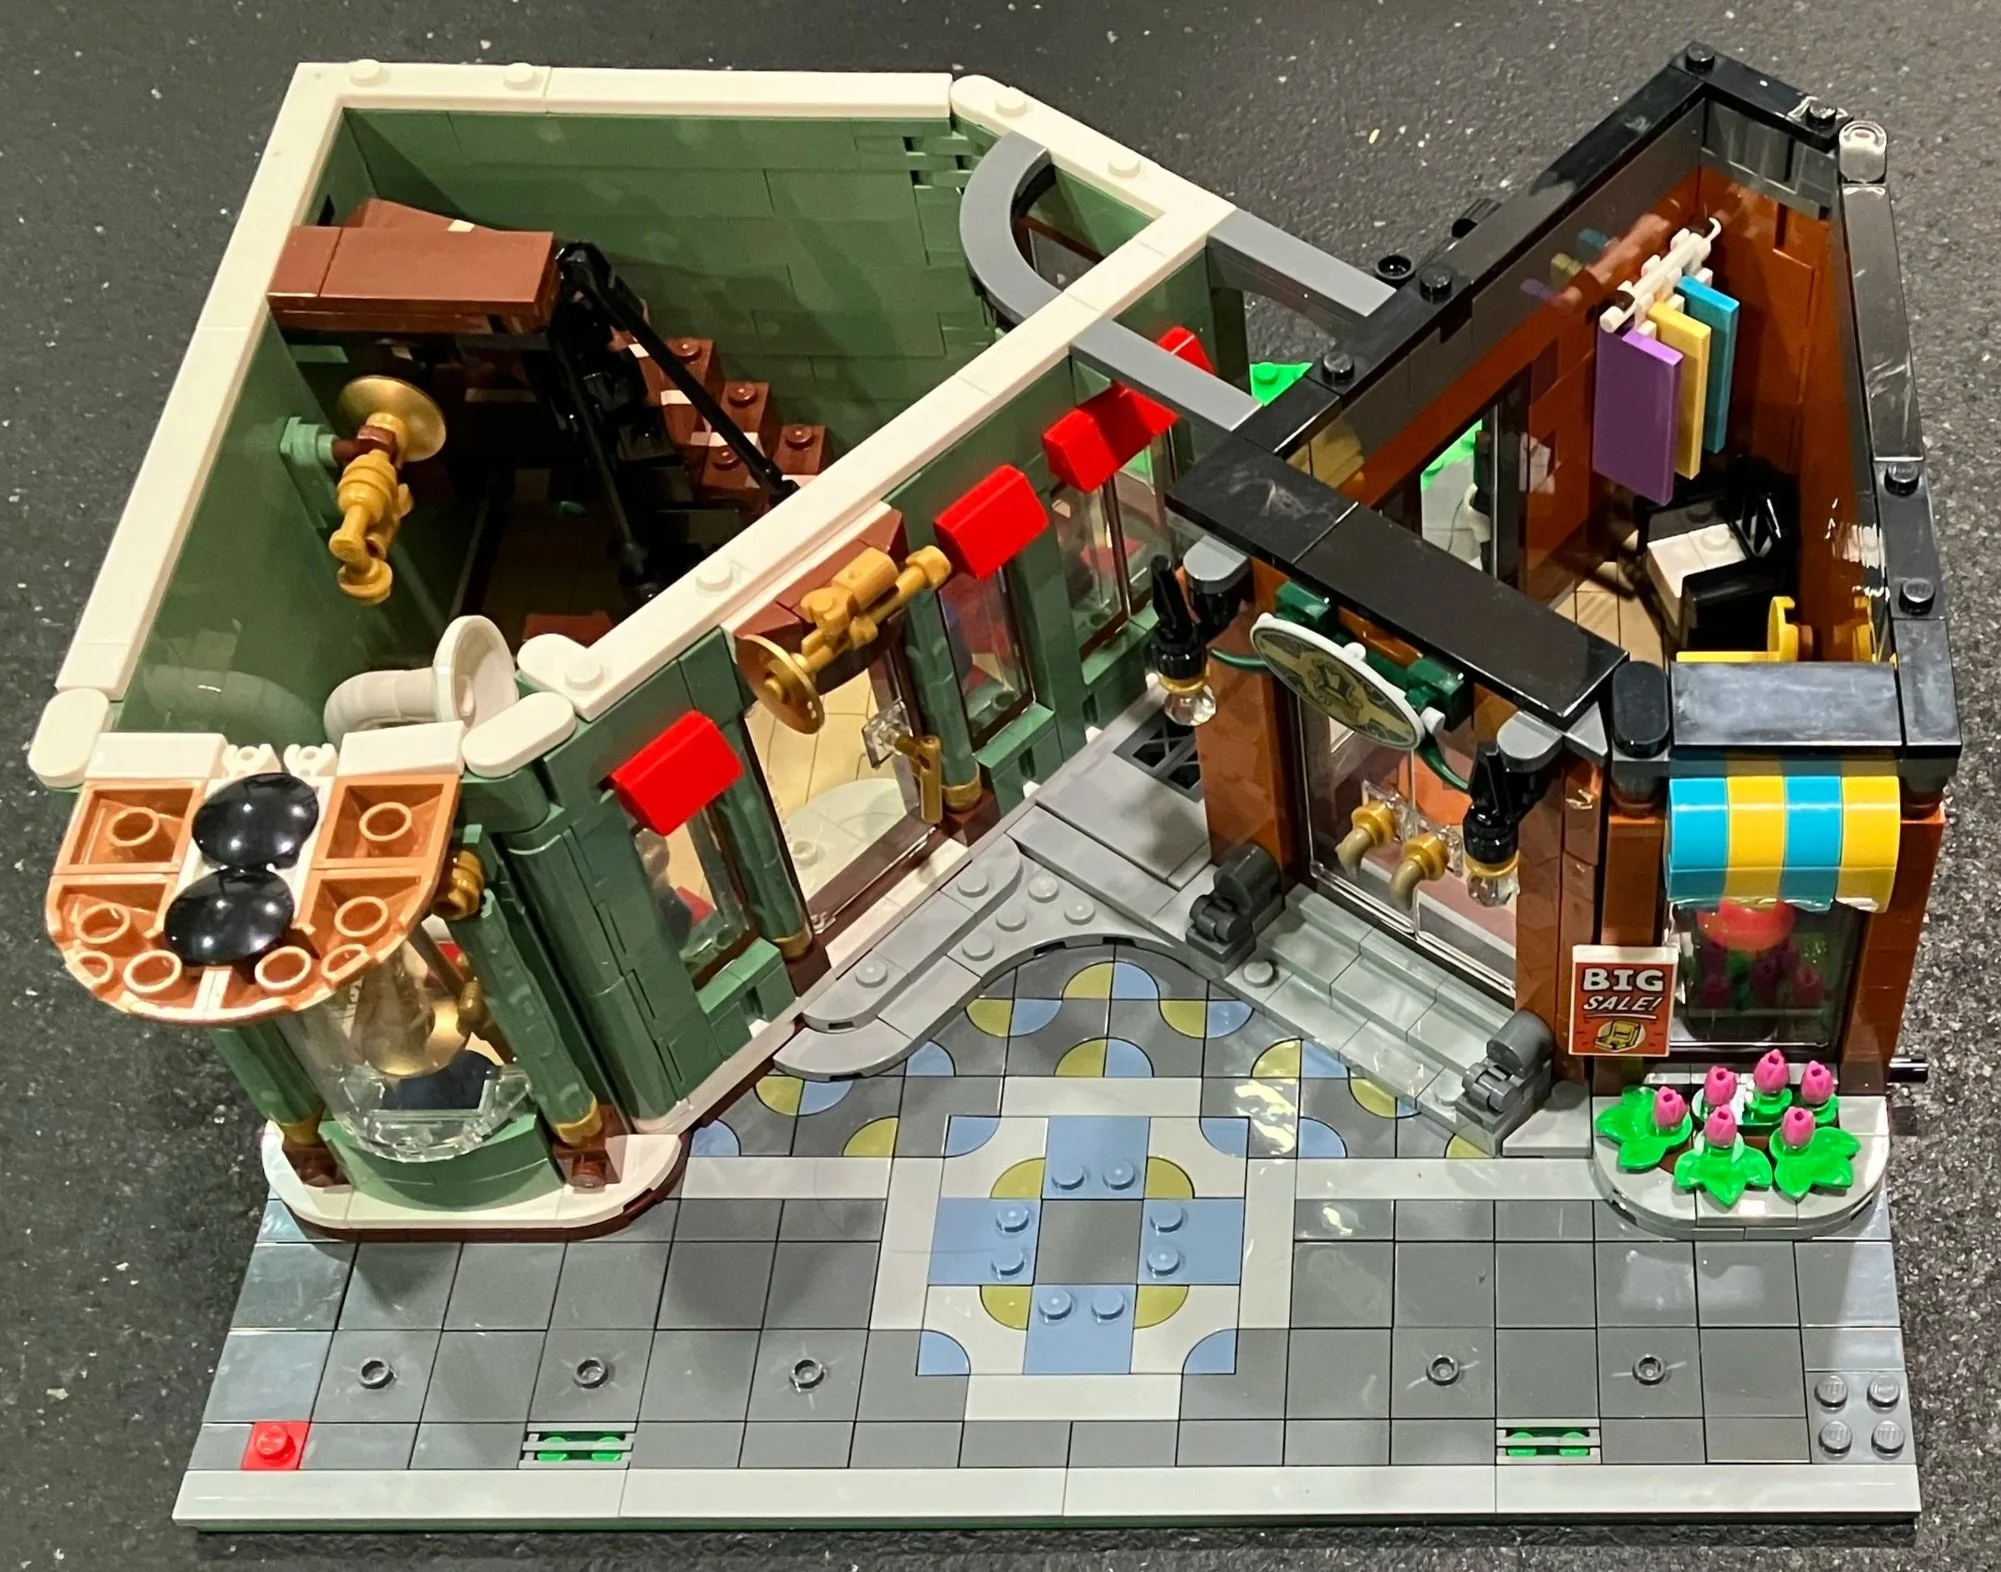
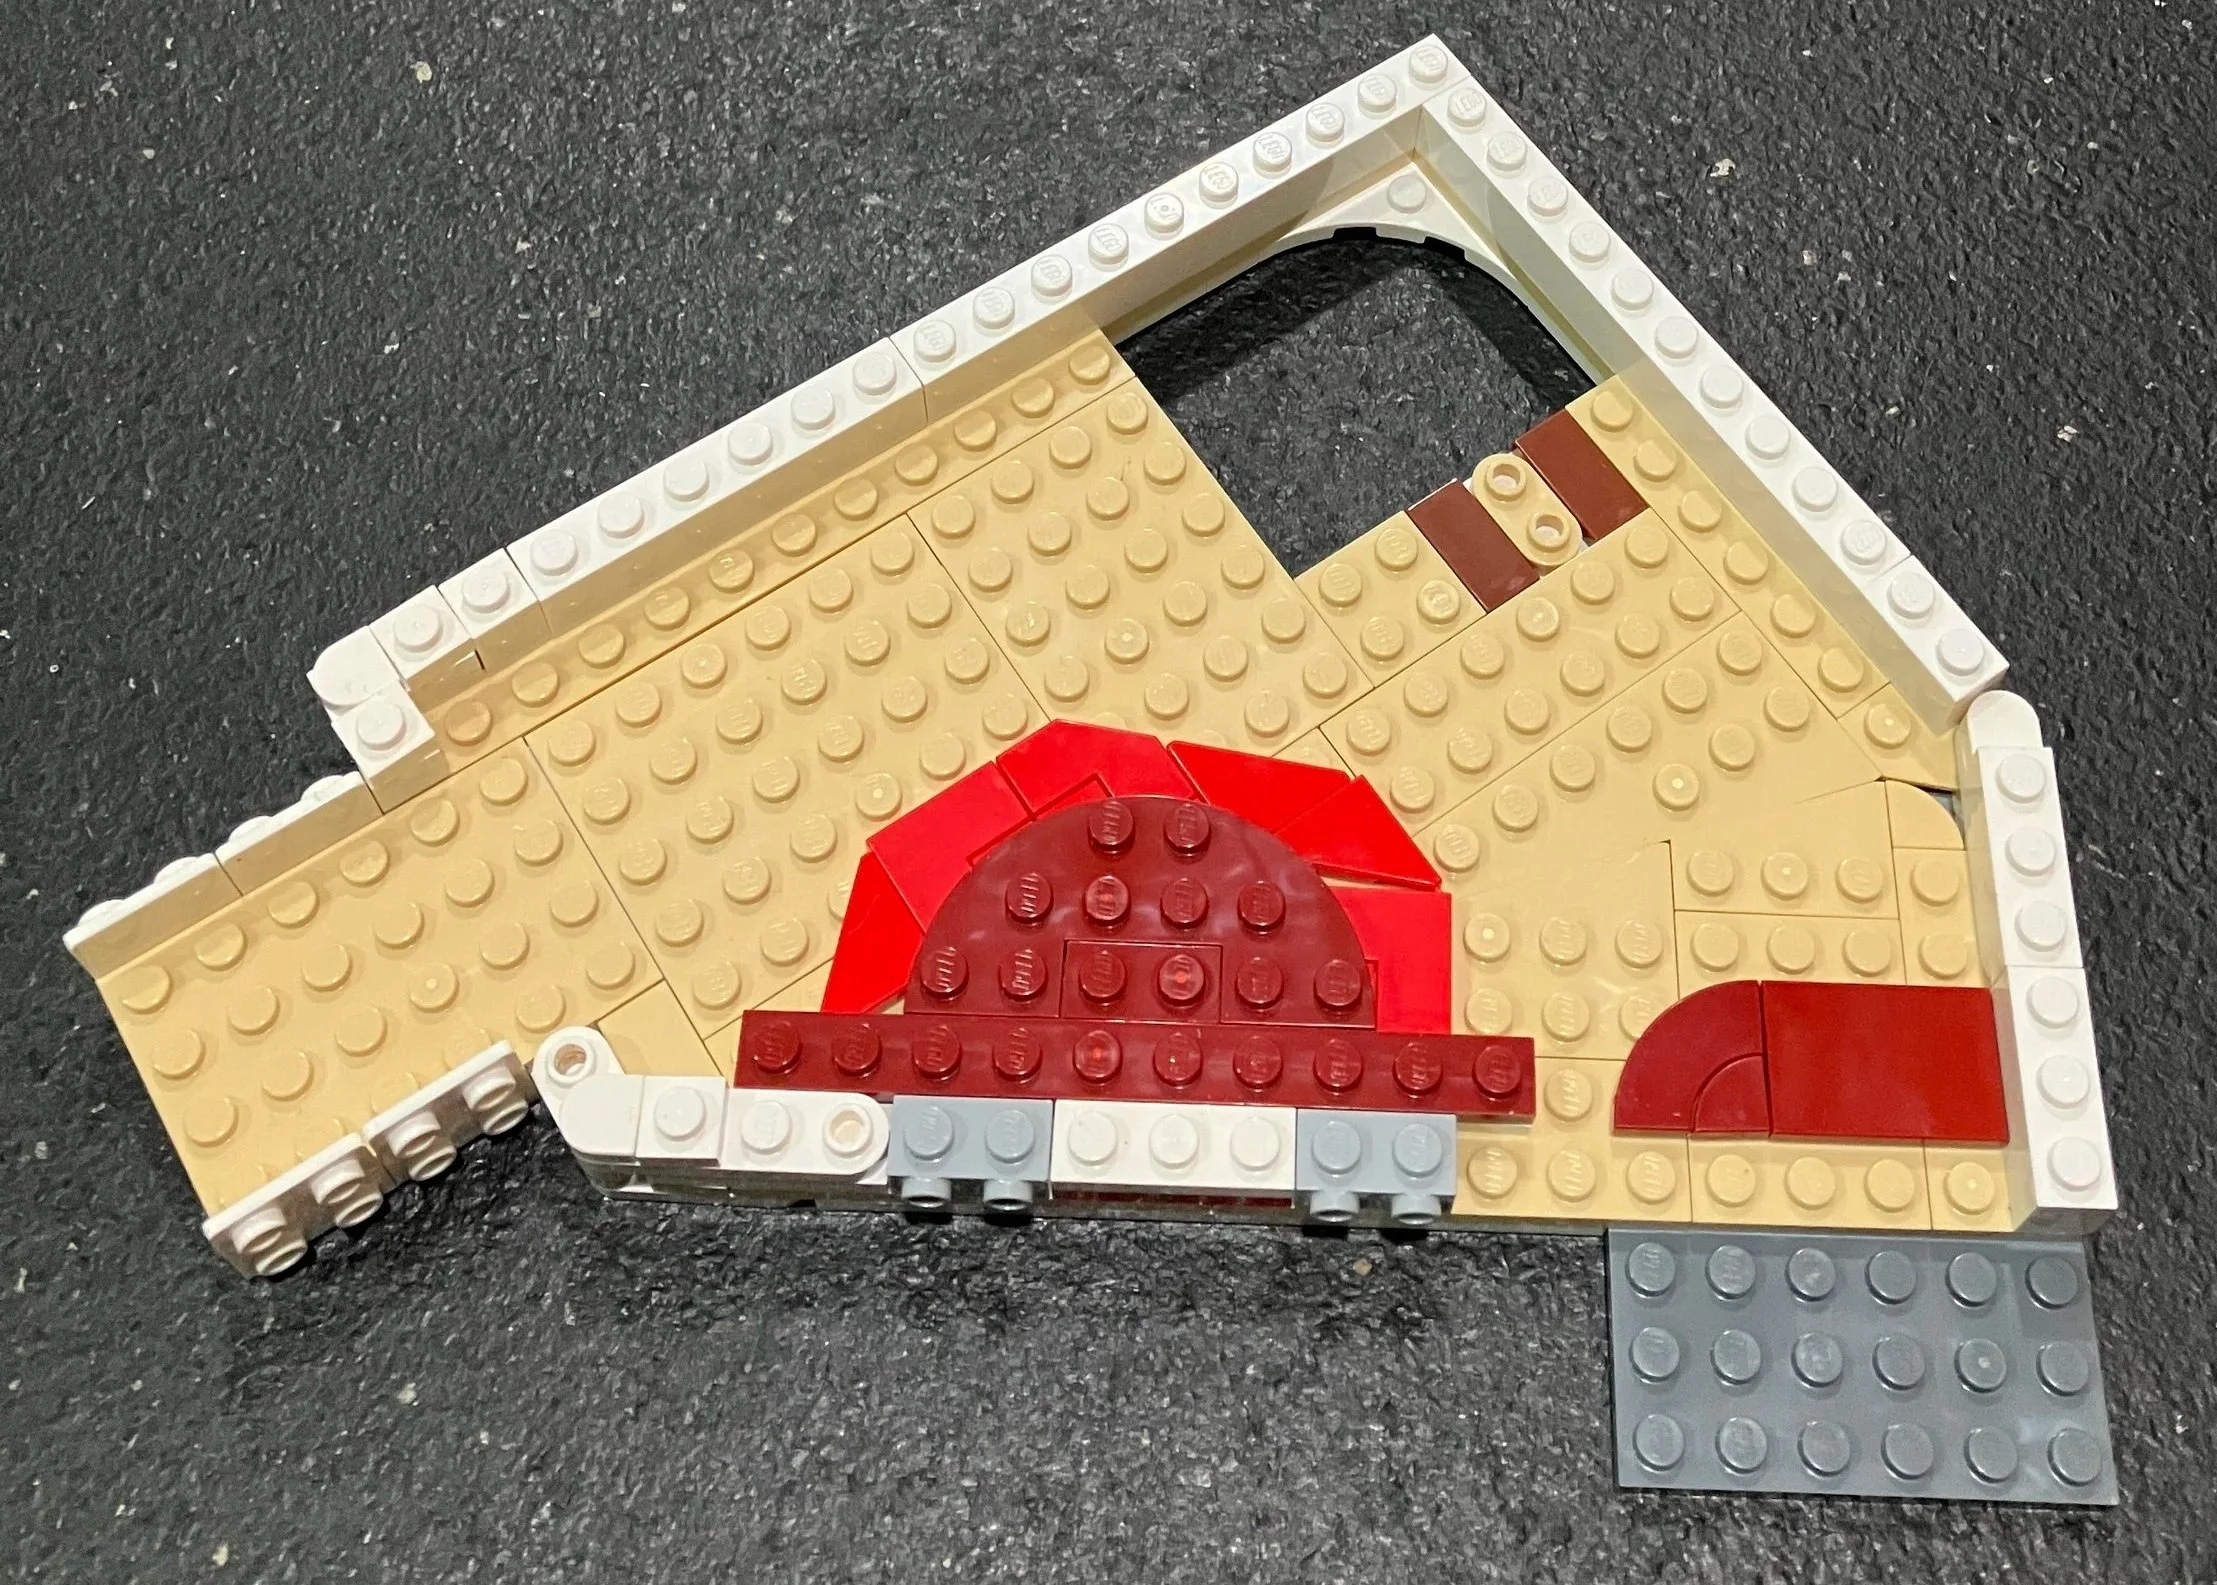
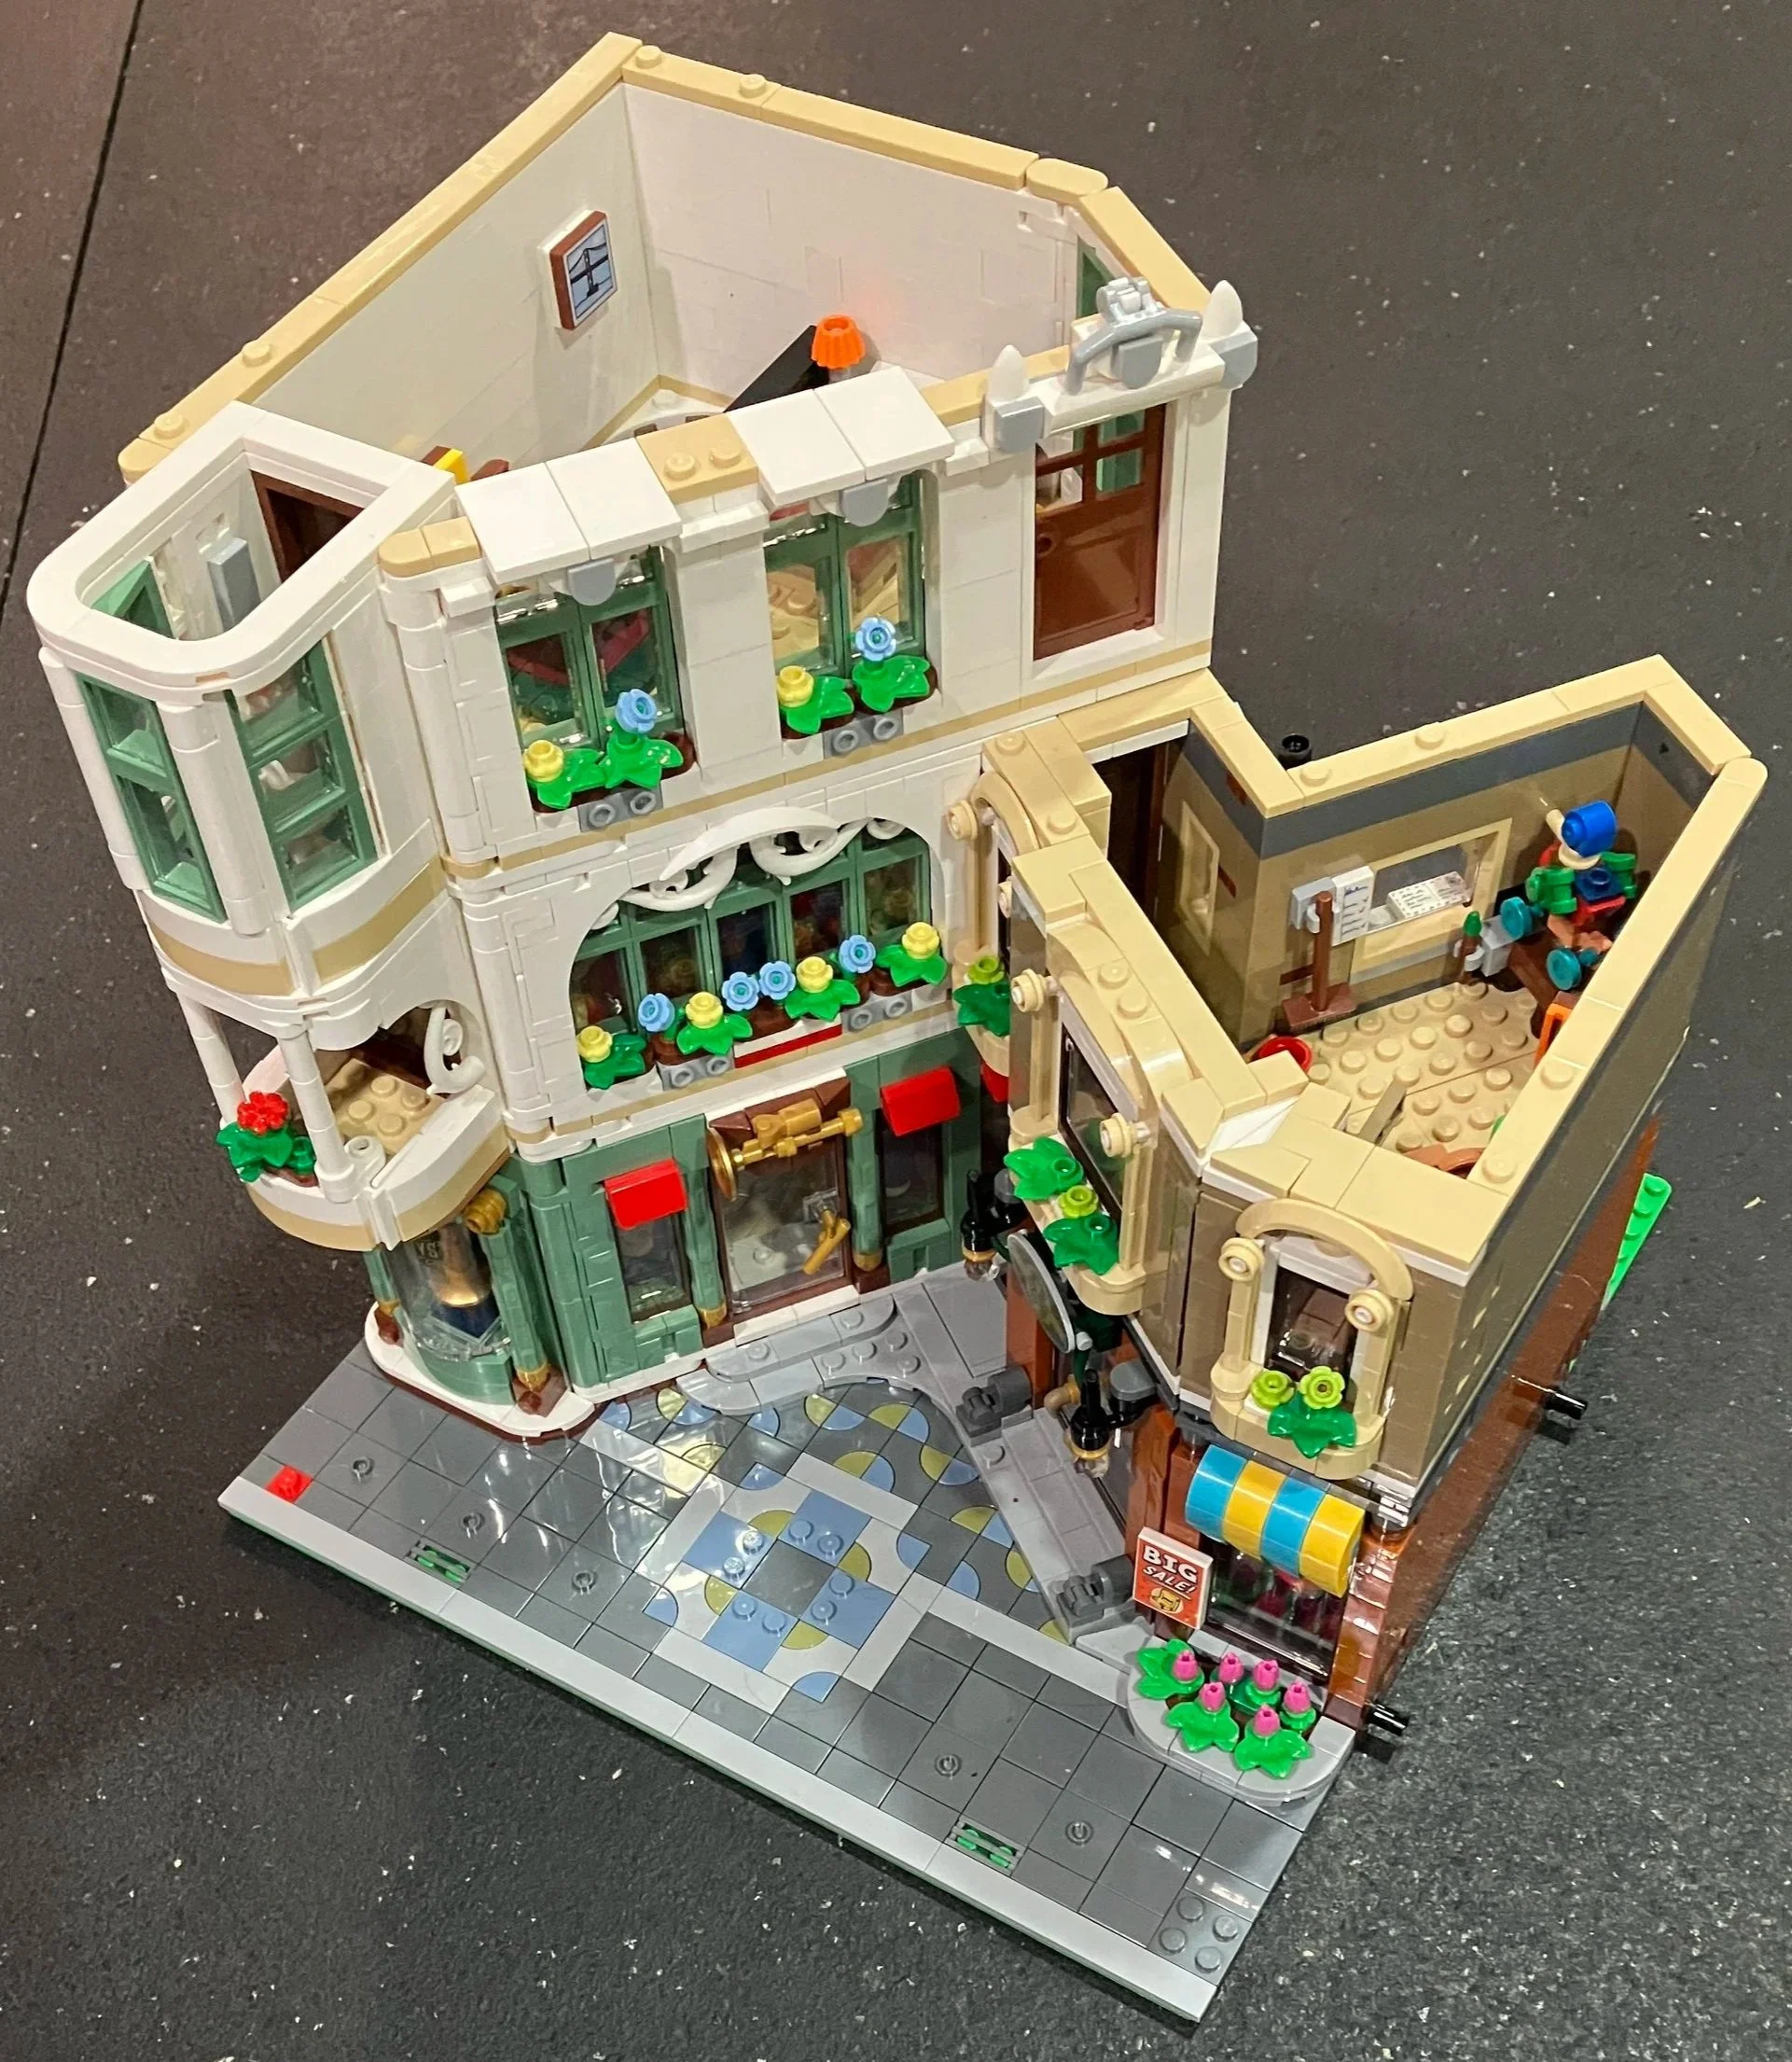
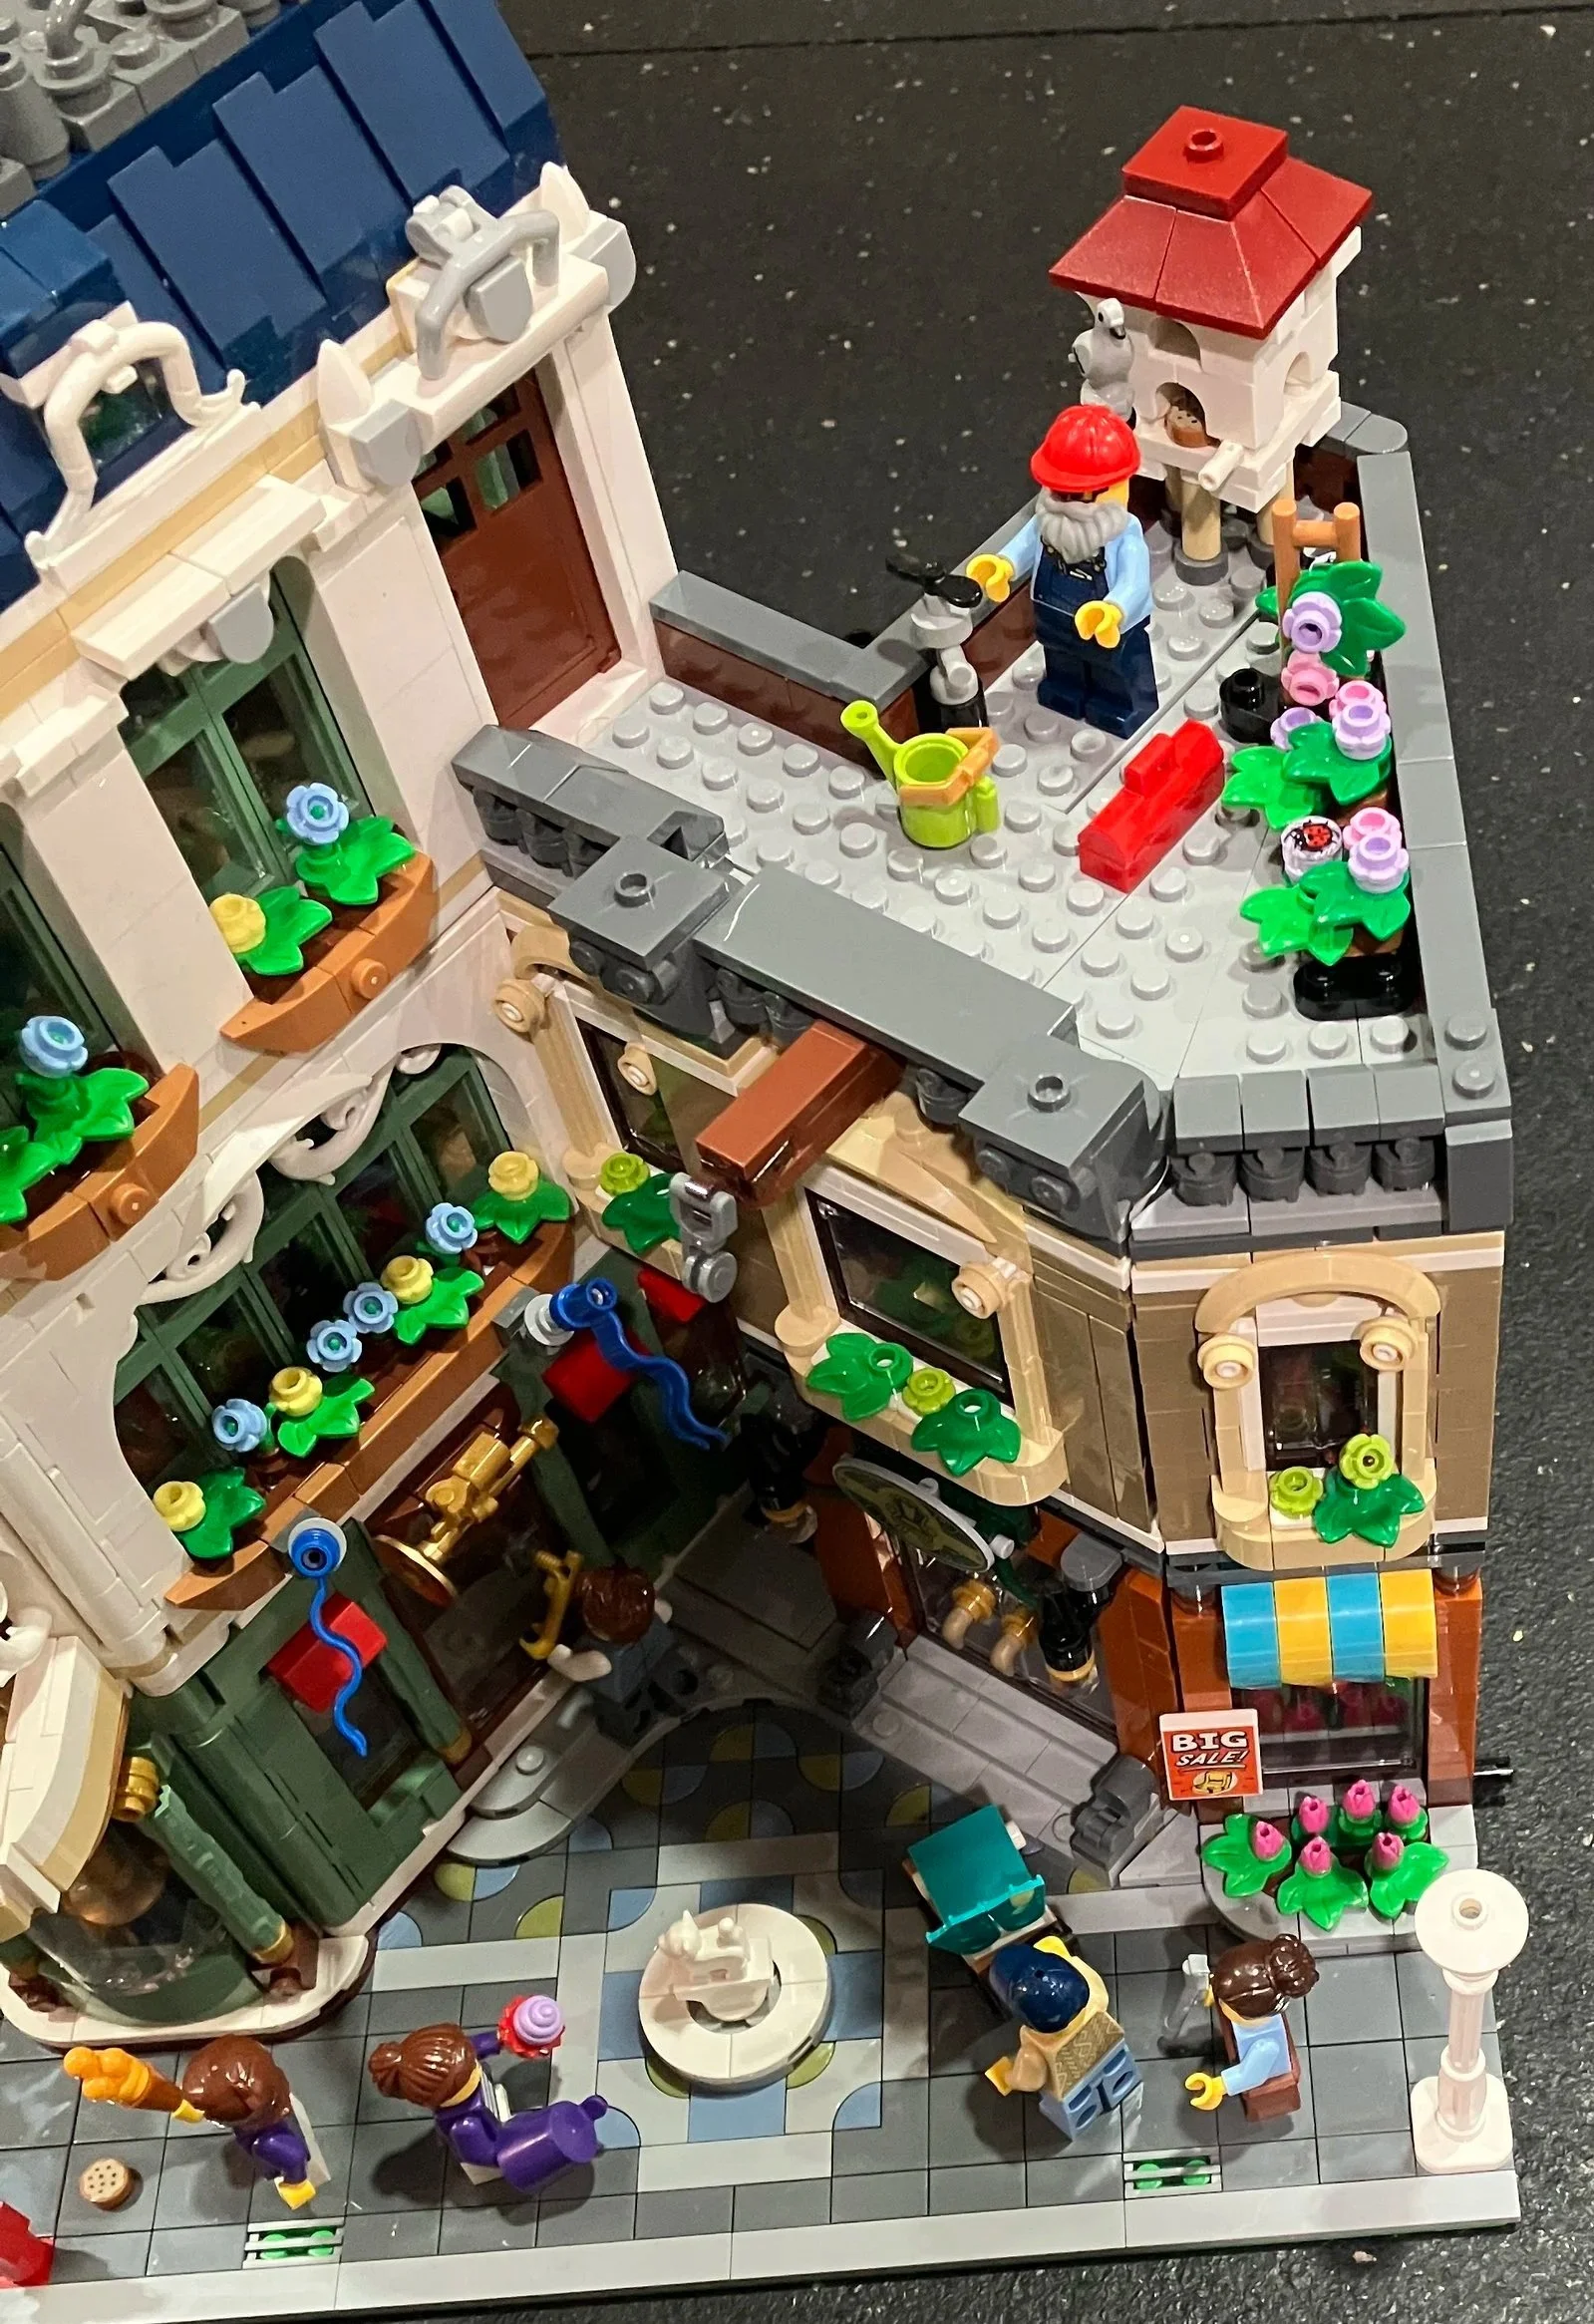
Some final pictures of the build are below from all four sides.

Happy building!

Set Review - #10350-1: Tudor Corner - Modular Buildings - Icons - 1

WOOHOO! Another modular building to add to the lineup. This one is #10350-1: Tudor Corner and it was released at the start of the year on 1 January 2025. It contains 3,266 pieces and retails for $229.99. This works out to $0.070 per piece which isn’t too bad.

The front of the box shows the set built from the outside with the Icons logo and greebling along with the Tudor Corner name. The back shows the set near the other recent modulars and some of the details. These include #10312-1: Jazz Club and #10326-1: Natural History Museum.

The set contains 20 numbered parts bags with each number having one bag. There is one bag without a number that contains some larger plates. The instruction book is in paper packaging and the baseplate is in a paperboard envelope.

Bag one assembles the base. Like most modulars, this step is a lot of tiles. You add a few pieces of the walls as well as the Technic pins to attach this modular to other modulars. This bag contains a female minifigure with an umbrella and a hat.

Bag two adds a lot of the flooring tiles and plates for the inside of the structure. You also build up some of the walls around what will become the bathroom and install the toilet with some toilet paper. The toilet appears to have been flushed which is a good start. No brown plates or tiles inside.

Bag three adds the haberdashery where various articles of cloth and materials are sold along with some hats. There is also a mannequin figure inside. It’s a full minifigure, but the face is blank. This section comes with a male minifigure who you can have work there. I built this set with my kiddos and we found that the desk in the back of the store is a bit tall. You either need to add a brick for the minifigure to stand on or lower the desk so he can see over it. Behind the haberdashery is a very small kitchen for the Old Guarded Inn (I can call it a pub. LEGO can’t). The kitchen is very small. A minifigure has no chance of bending over or getting to anything, but somehow they can manage I guess.

Bag four builds up the walls and adds the bar area of the pub with some food details, drinks, and barstools. The barstools are tiles instead of plates so a minifigure can sit on it, but will fall off if you hit the building too hard. You can easily switch the parts out for plates on your own, but a missed opportunity for playability there.

Bag five adds to the walls and adds in some stairs to the next level above the small bathroom.

Bag six just about tops off the walls, adds a front to the haberdashery, and starts the angled wall for the pub. This bag adds a minifigure to be the server for the Inn.

Bag seven adds a section of the wall for the pub. This section is on an angle and you use some clever techniques to keep the the angle while still staying within the tolerances for LEGO. I like the use of the dark green coloring with the black and the gold.

Had I remembered to take a picture of what bag eight did, I would be able to tell you that it adds a curve on the outer wall of the Inn with some printed tiles for the menu and specials. Then it adds another window and wall section for the front of the Inn.

Bag nine finishes the first floor. There are tiles with a few jumper plates added in around the tops of the walls for the connection to the next floor. Railings are added to the stairway. Also, a small gold fence is added above the pub with some plants. Additionally, some red awnings are added over the windows of the Inn.

Bag 10 builds the base for the second floor, adds in some tiles, a few wall parts, and a male minifigure with a big moustache.

Bag 11 adds some of the walls and the stairwell to the next level.

Bag 12 starts to assemble the clock makers shop. Along with the minifigure, you add a desk and start assembling various types of clocks. It’s pretty impressive the number of different designs of clocks they came up with to put in the shop. You also add more to the wall and build a window.

Bag 13 proves you can build as many LEGO clocks as you want. I was impressed to see that the clock designs just kept coming. You also add to the walls and outer decor which are all great, but the clocks are what stood out to me.

Bag 14 finishes up the floor with the rest of the walls and windows, plant life, and tiles on top so you can easily add and remove the next floor. I took this picture with level two on top of level one and I really like how the first floor has the added angle above the inn which is not continued on the second floor.

Bag 15 builds the base of the third floor and starts the Tudor style as you can see in the front of the picture with the angled pieces. The build isn’t that challenging, but it’s a good use of slopes and SNOT pieces to achieve this effect.

Bag 16 starts to build some of the walls and some of the interior to include items for the cats that live there.

Bag 17 adds more to the Tudor style walls and a window. You also get a minifigure that lives there with the cats.

Bag 18 finishes the floor with some additional details to include a book shelf, a rug, and a plant. You finish up the walls and add tiles to make sure the roof can be added easily.

Bag 19 adds the red sloped roofing. While not challenging to assemble, the dark red is a great contrast with the rest of the building and the use of angle pieces lines up well with the design.

Bag 20 finishes the set. You put a roof on the building which comes with a chimney sweep. You also add a chimney which the instructions say was left on after a building renovation for aesthetic purposes, but doesn’t actually connect to anything below.

Additionally, you add a bicycle with a cart in the front for transporting cats (I guess).

There’s a cool printed tile to use for a clock out front of the set that is added on.

Finally, you add a small chain fence in the front which the instructions say are also historical.

Here are some final pictures of the set. It was a great build and it was fun to see something different in the modular building lineup. You get some good pieces and the minifigure selection isn’t too bad. I still wish the price was lower, but I’m not sure there’s much we can do about that these days. I purchased when there was a double Insiders points event along with a GWP so that lessened the blow somewhat.

My downside for the set… I thought the little notes in the instructions got old. I understand LEGO is trying to create storylines within the modular building theme, but some of the references were a little corny. I say just keep the story to yourself so we can focus on the build.

What are your thoughts on this one?

Happy building!