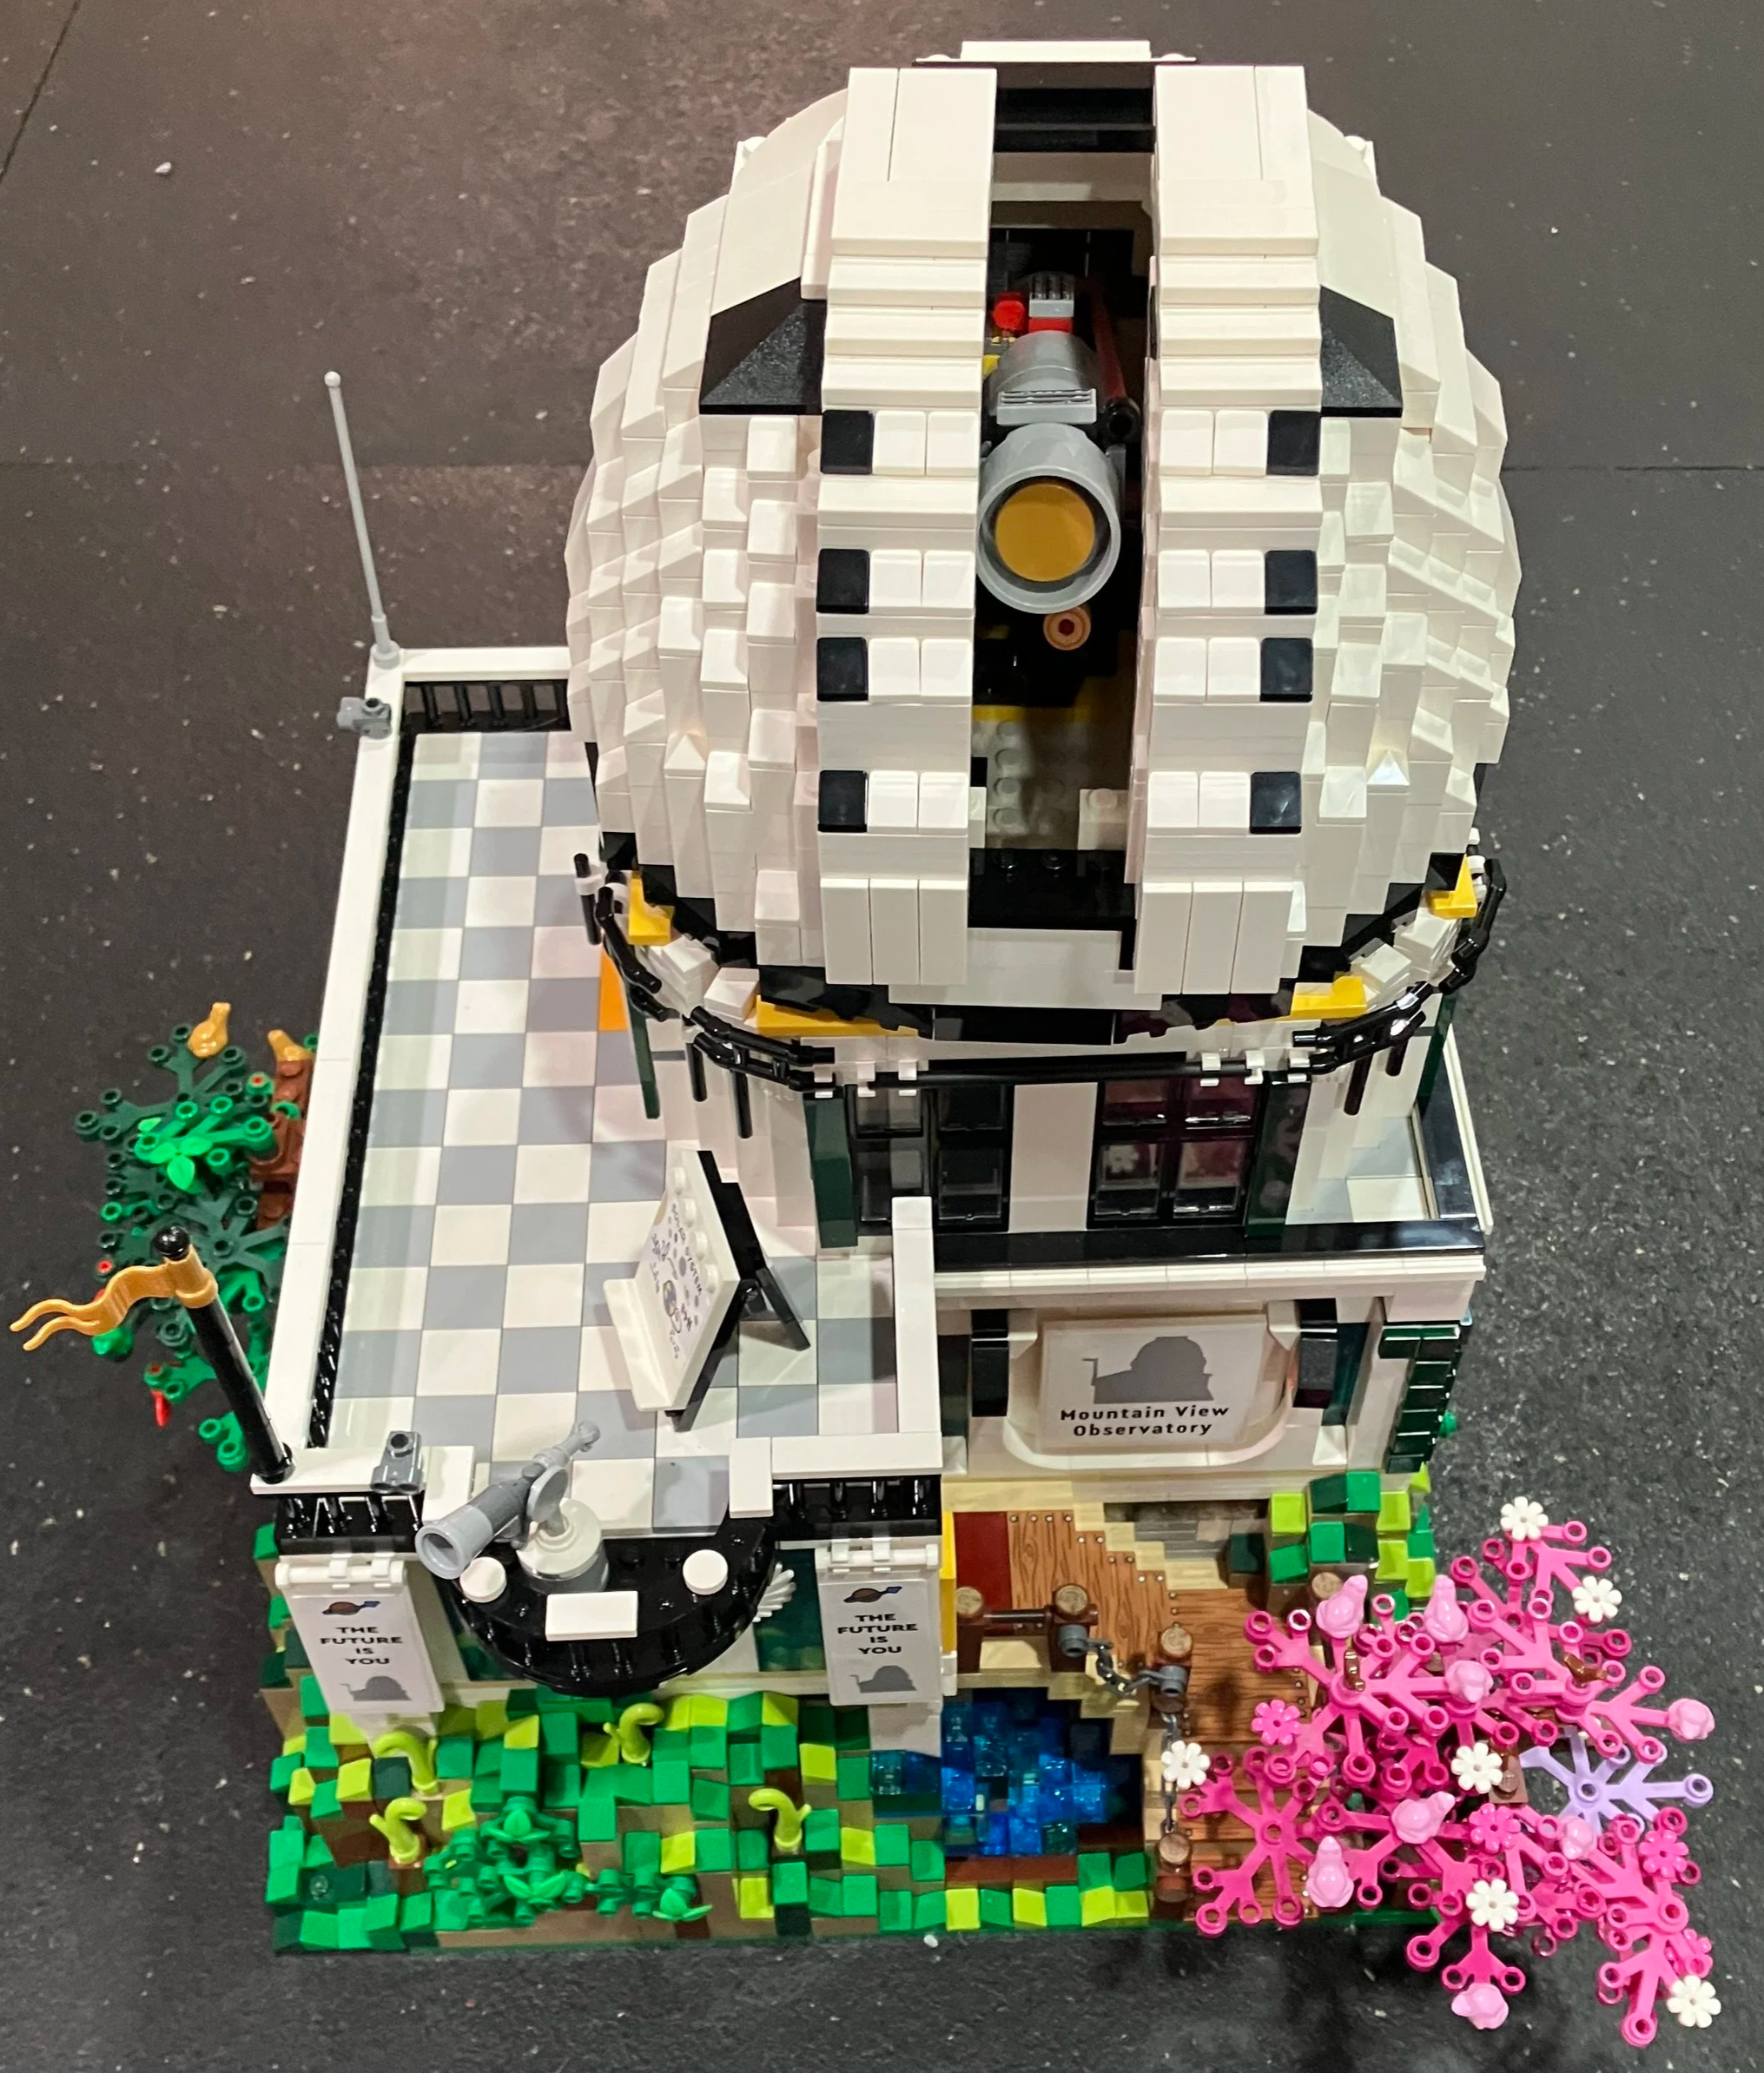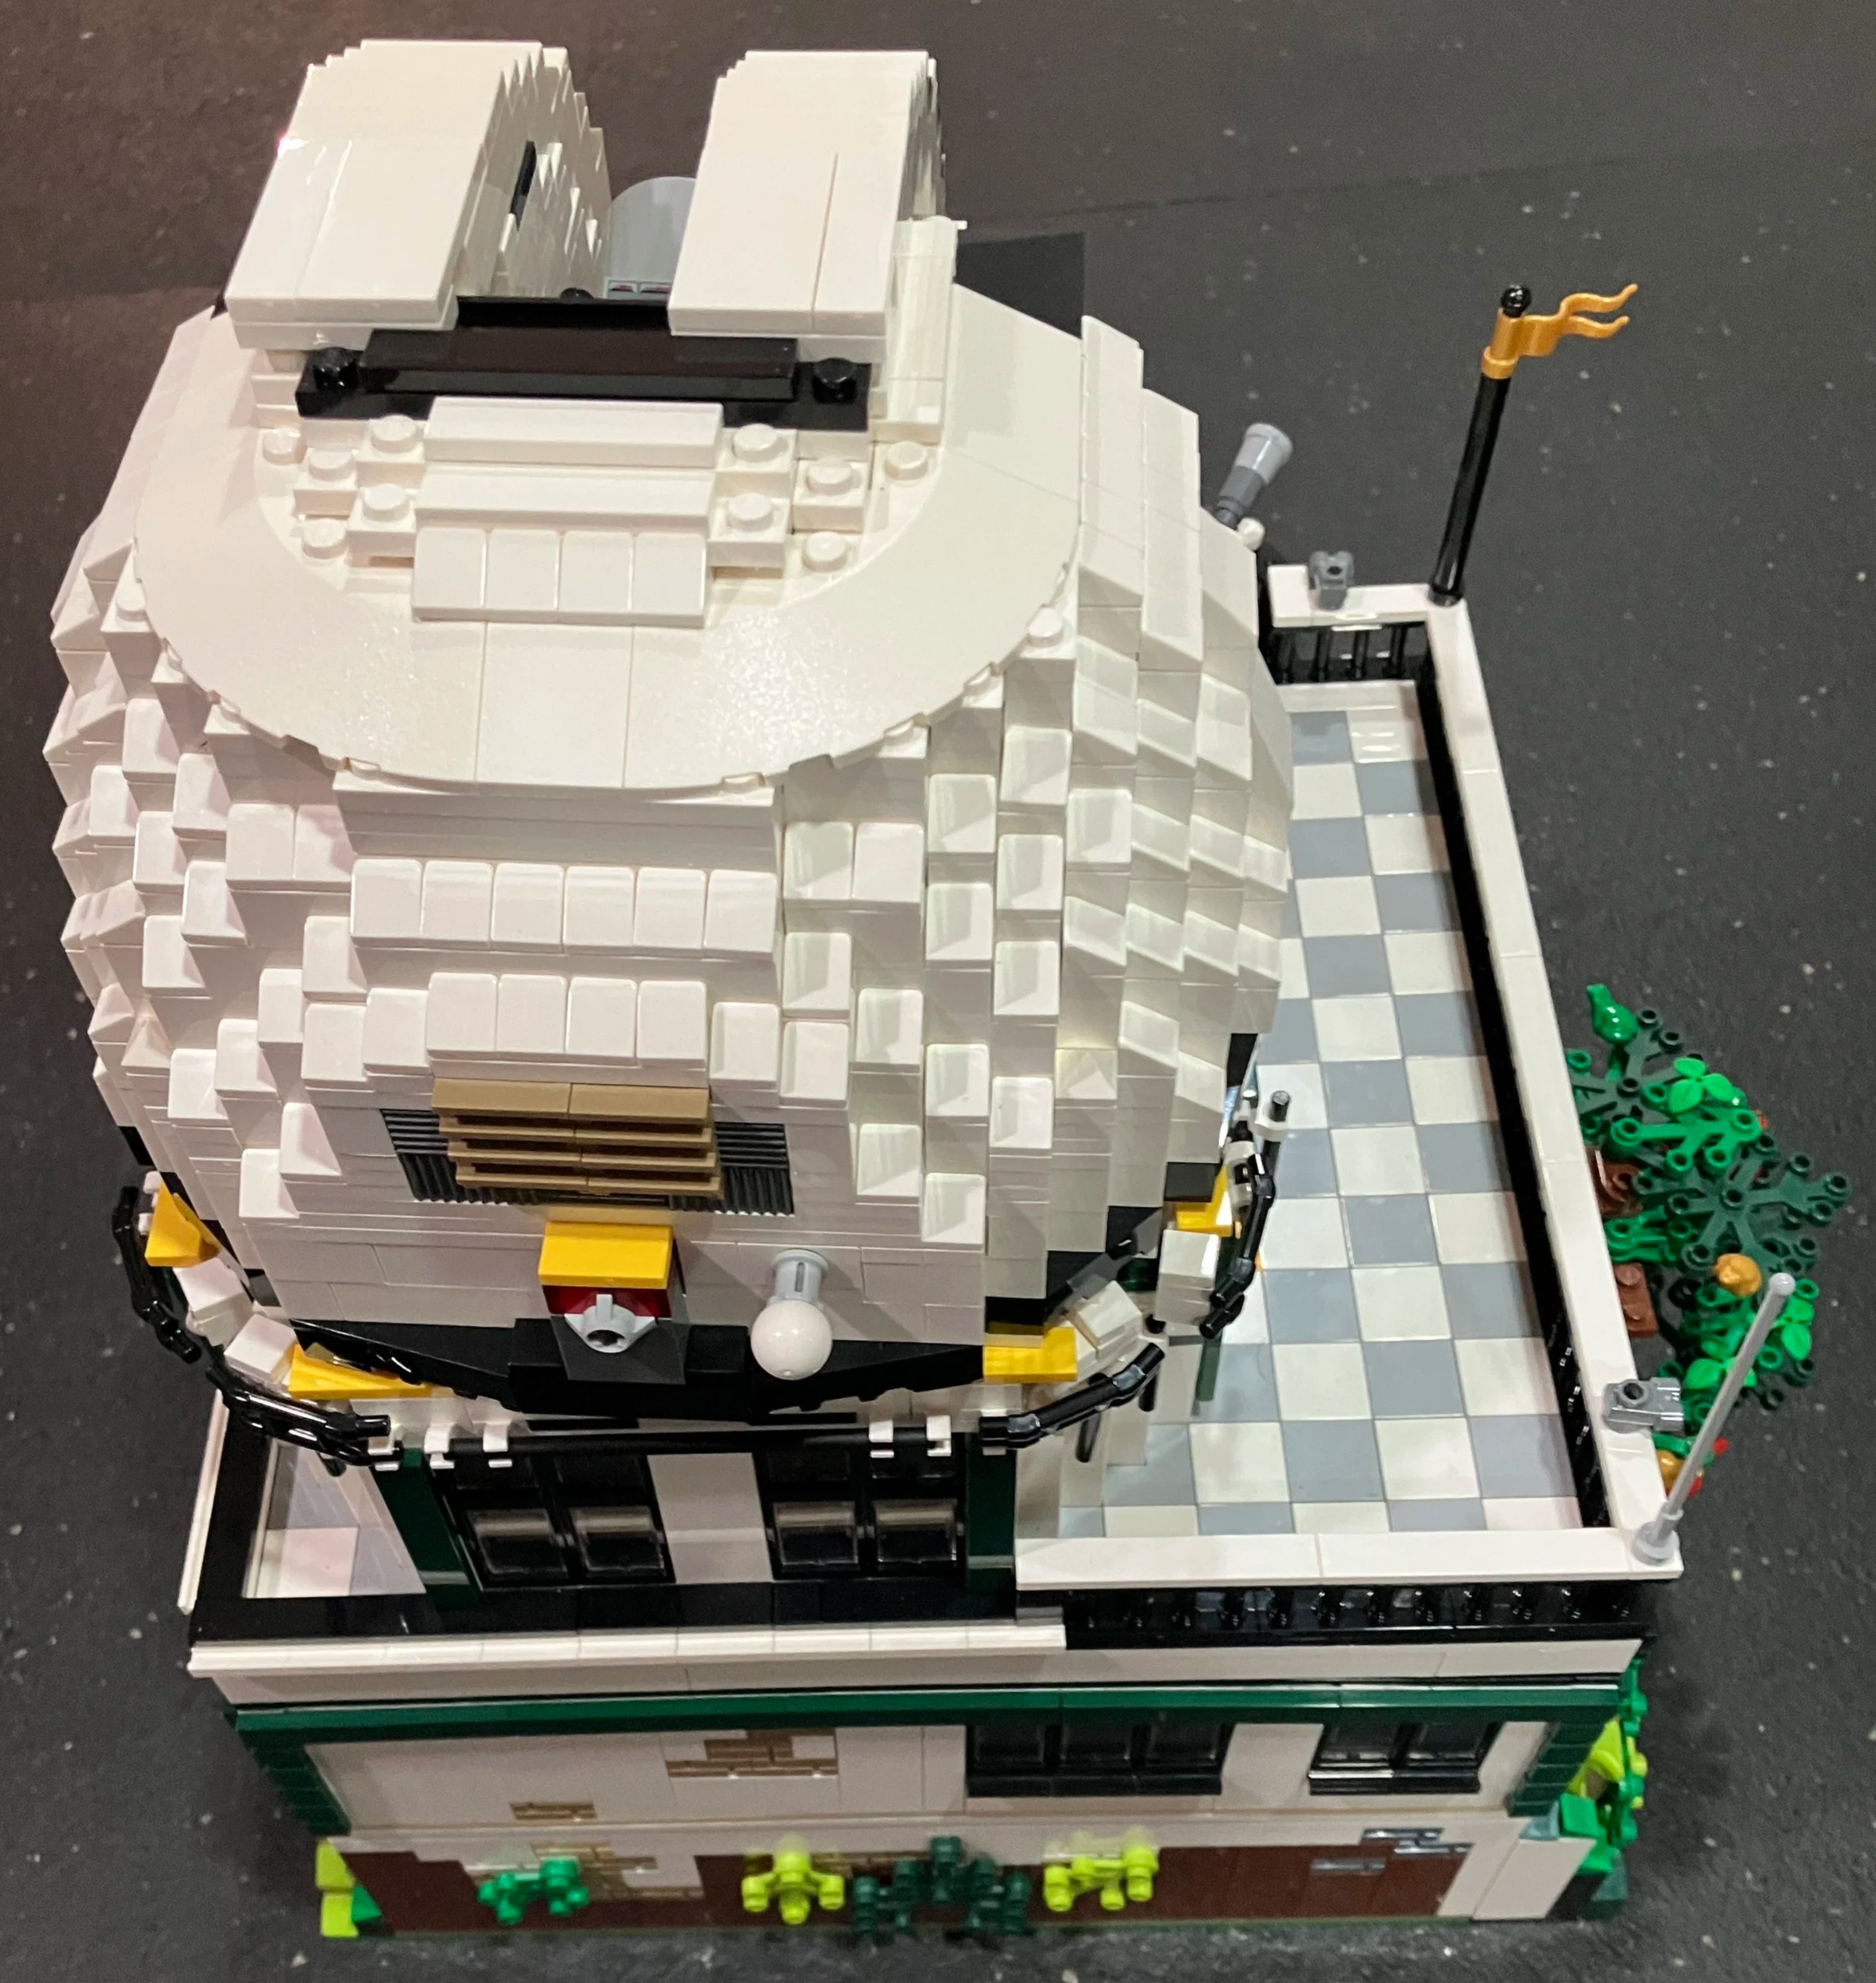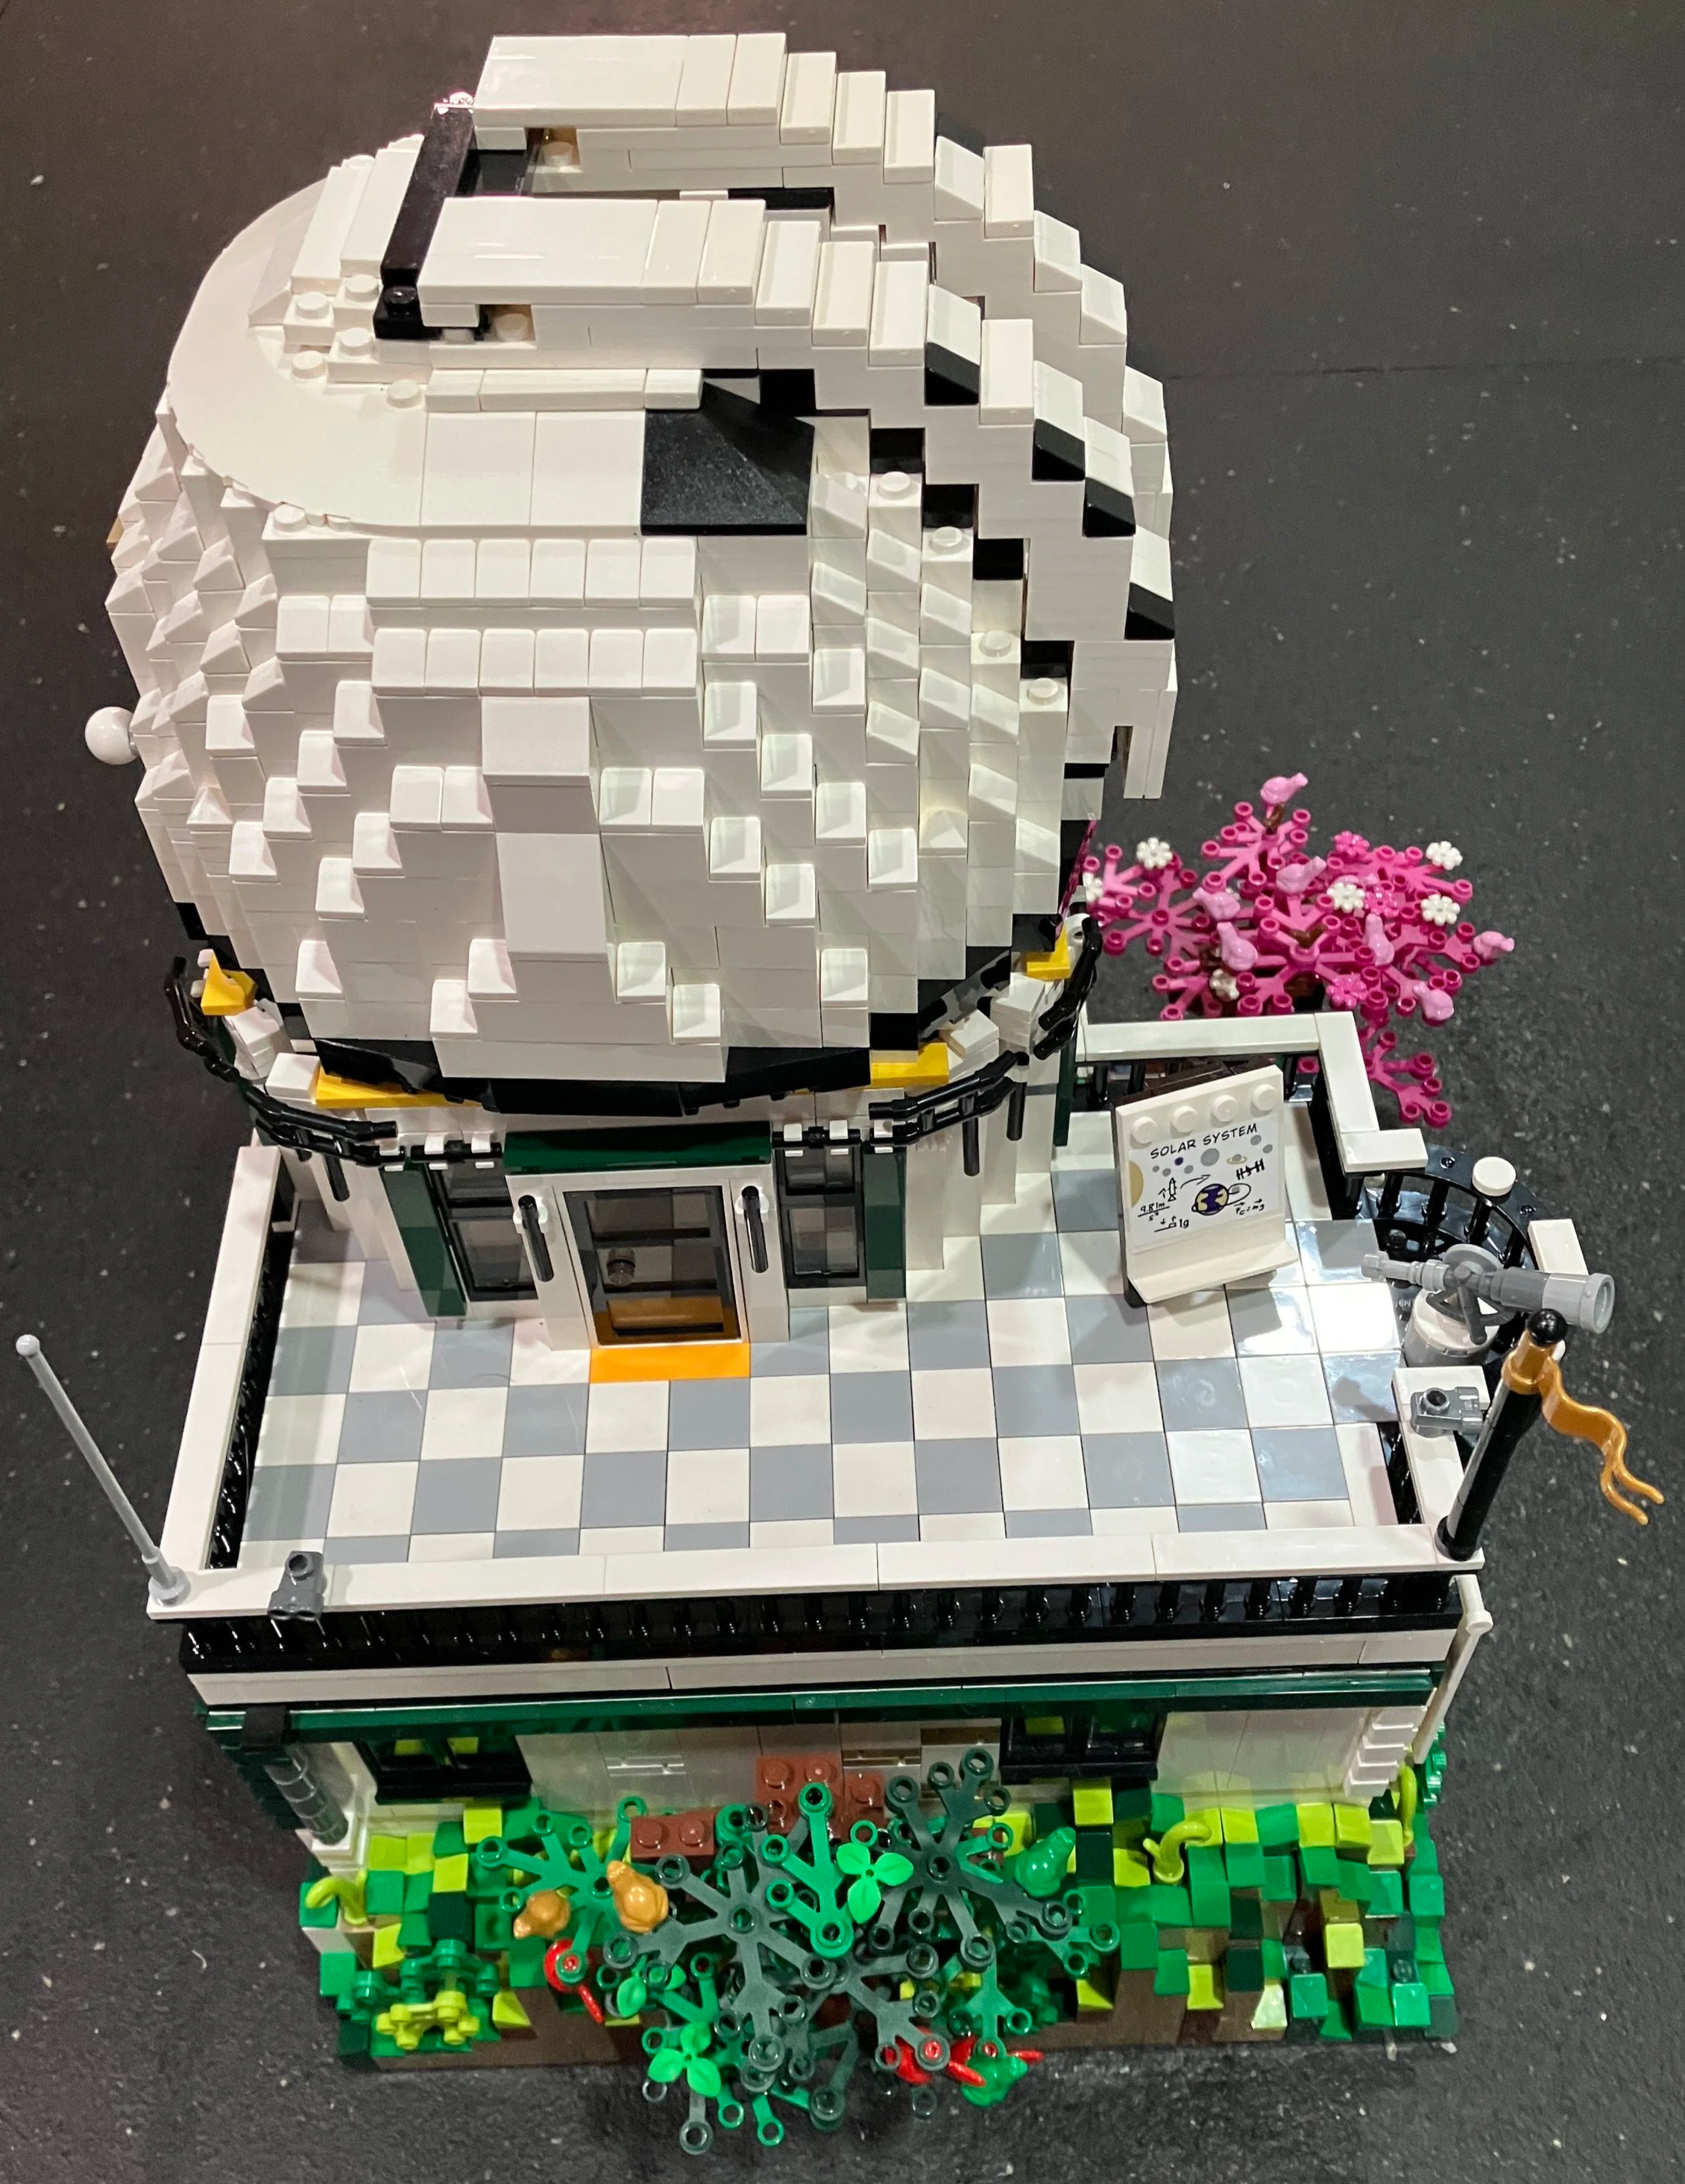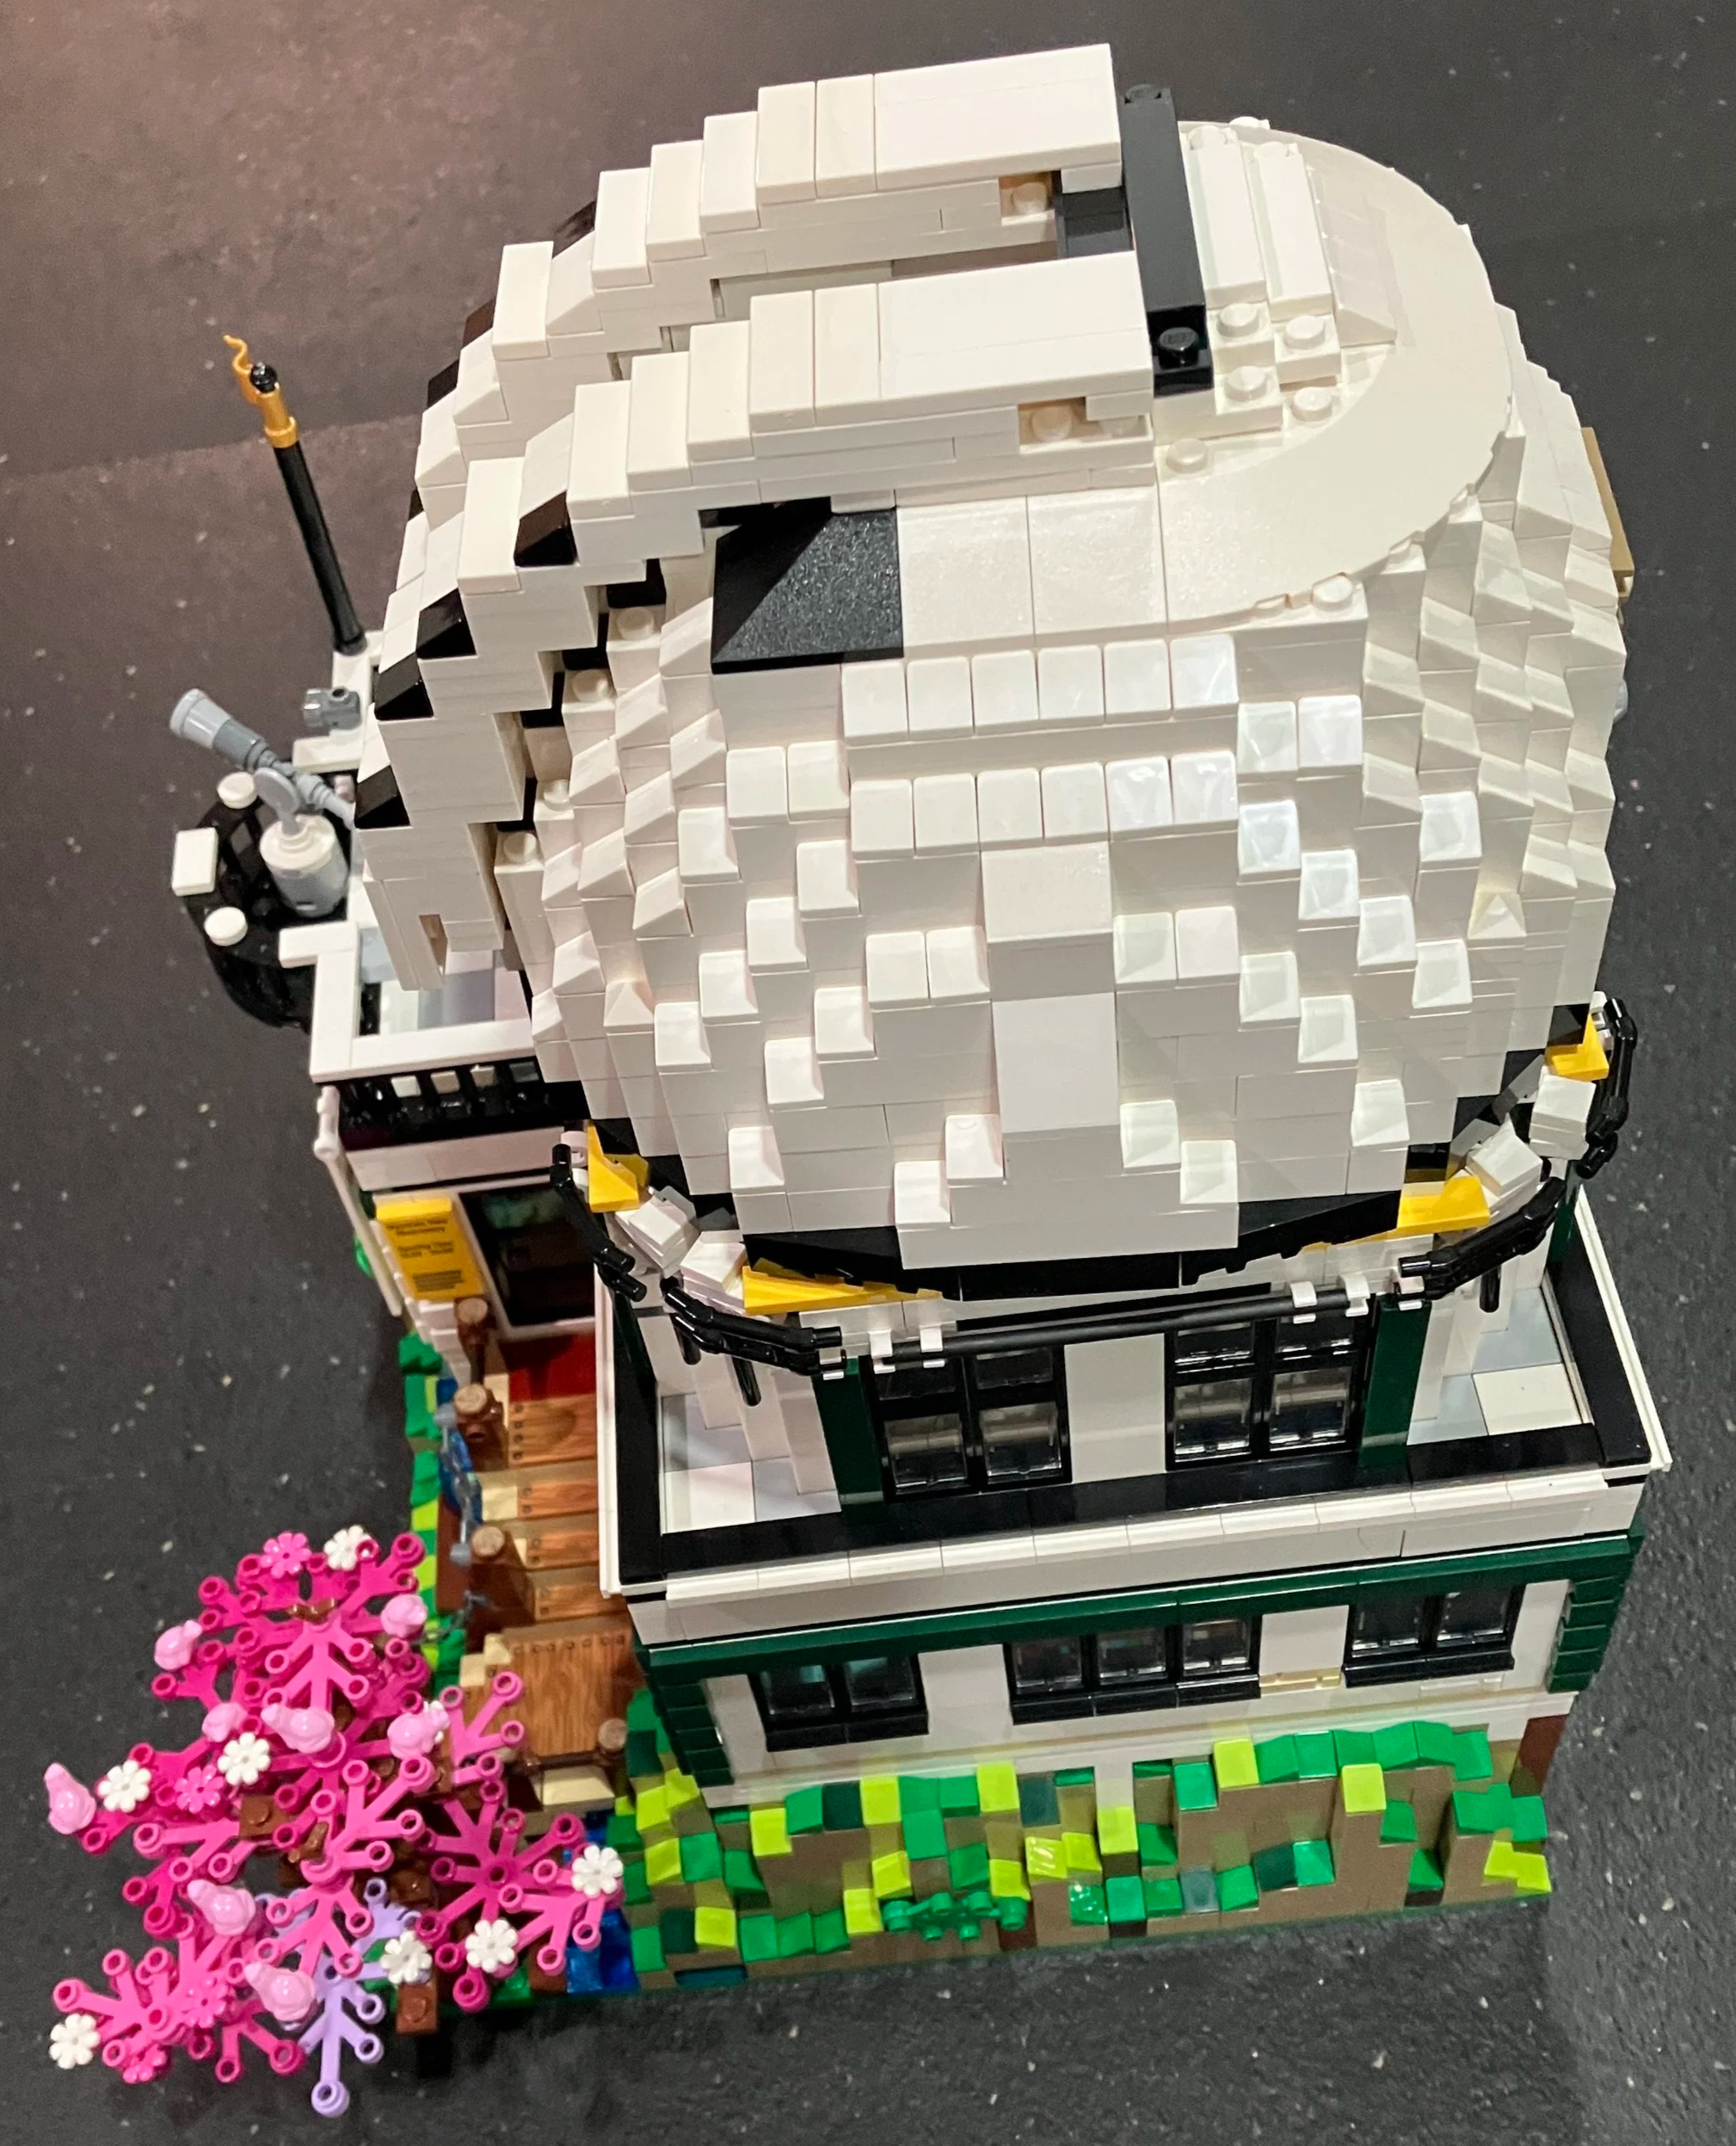
This is actually a set review for #910027-1: Mountain View Observatory which is part of the Bricklink Designer Program. It was originally released in 2023 and I hadn’t built it since then, but also didn’t put it in the store. It contains 3,876 pieces and originally retailed for $249.99. This worked out to $0.064 per piece, but now good luck getting it for under $500 in new in sealed box condition. I had it new and my kiddo said “hey, let’s build this one.” So I caved and we built it.
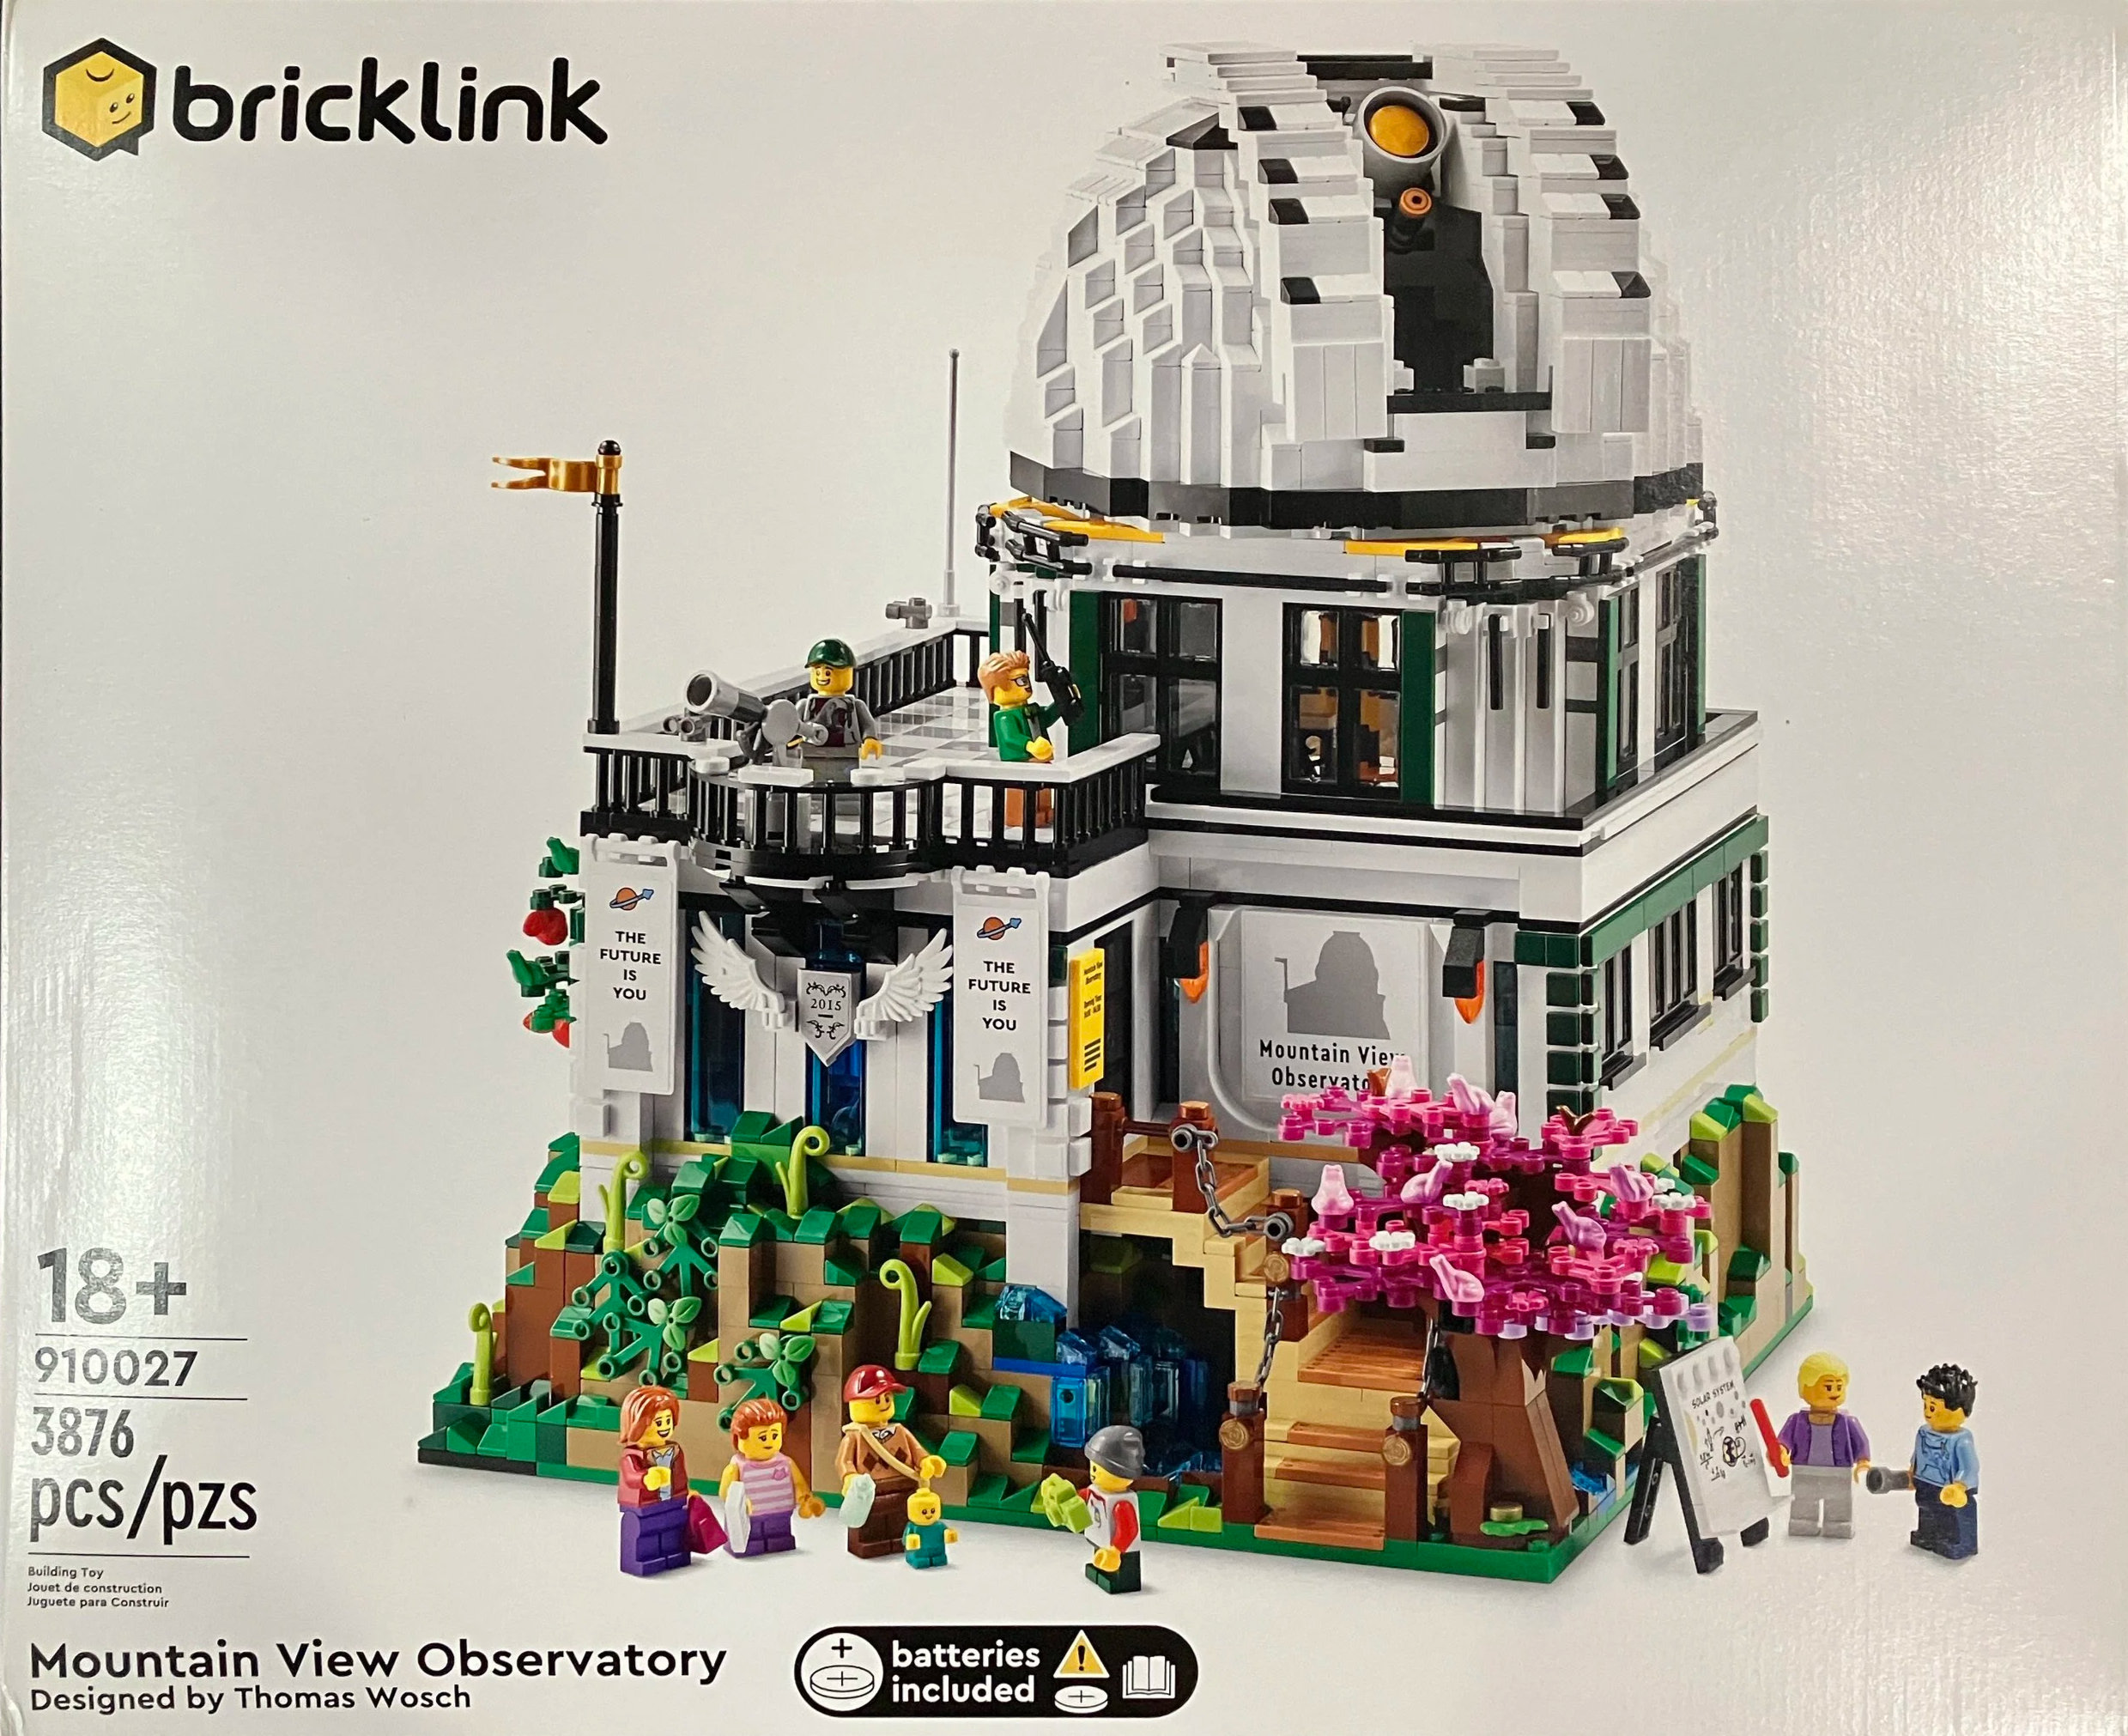
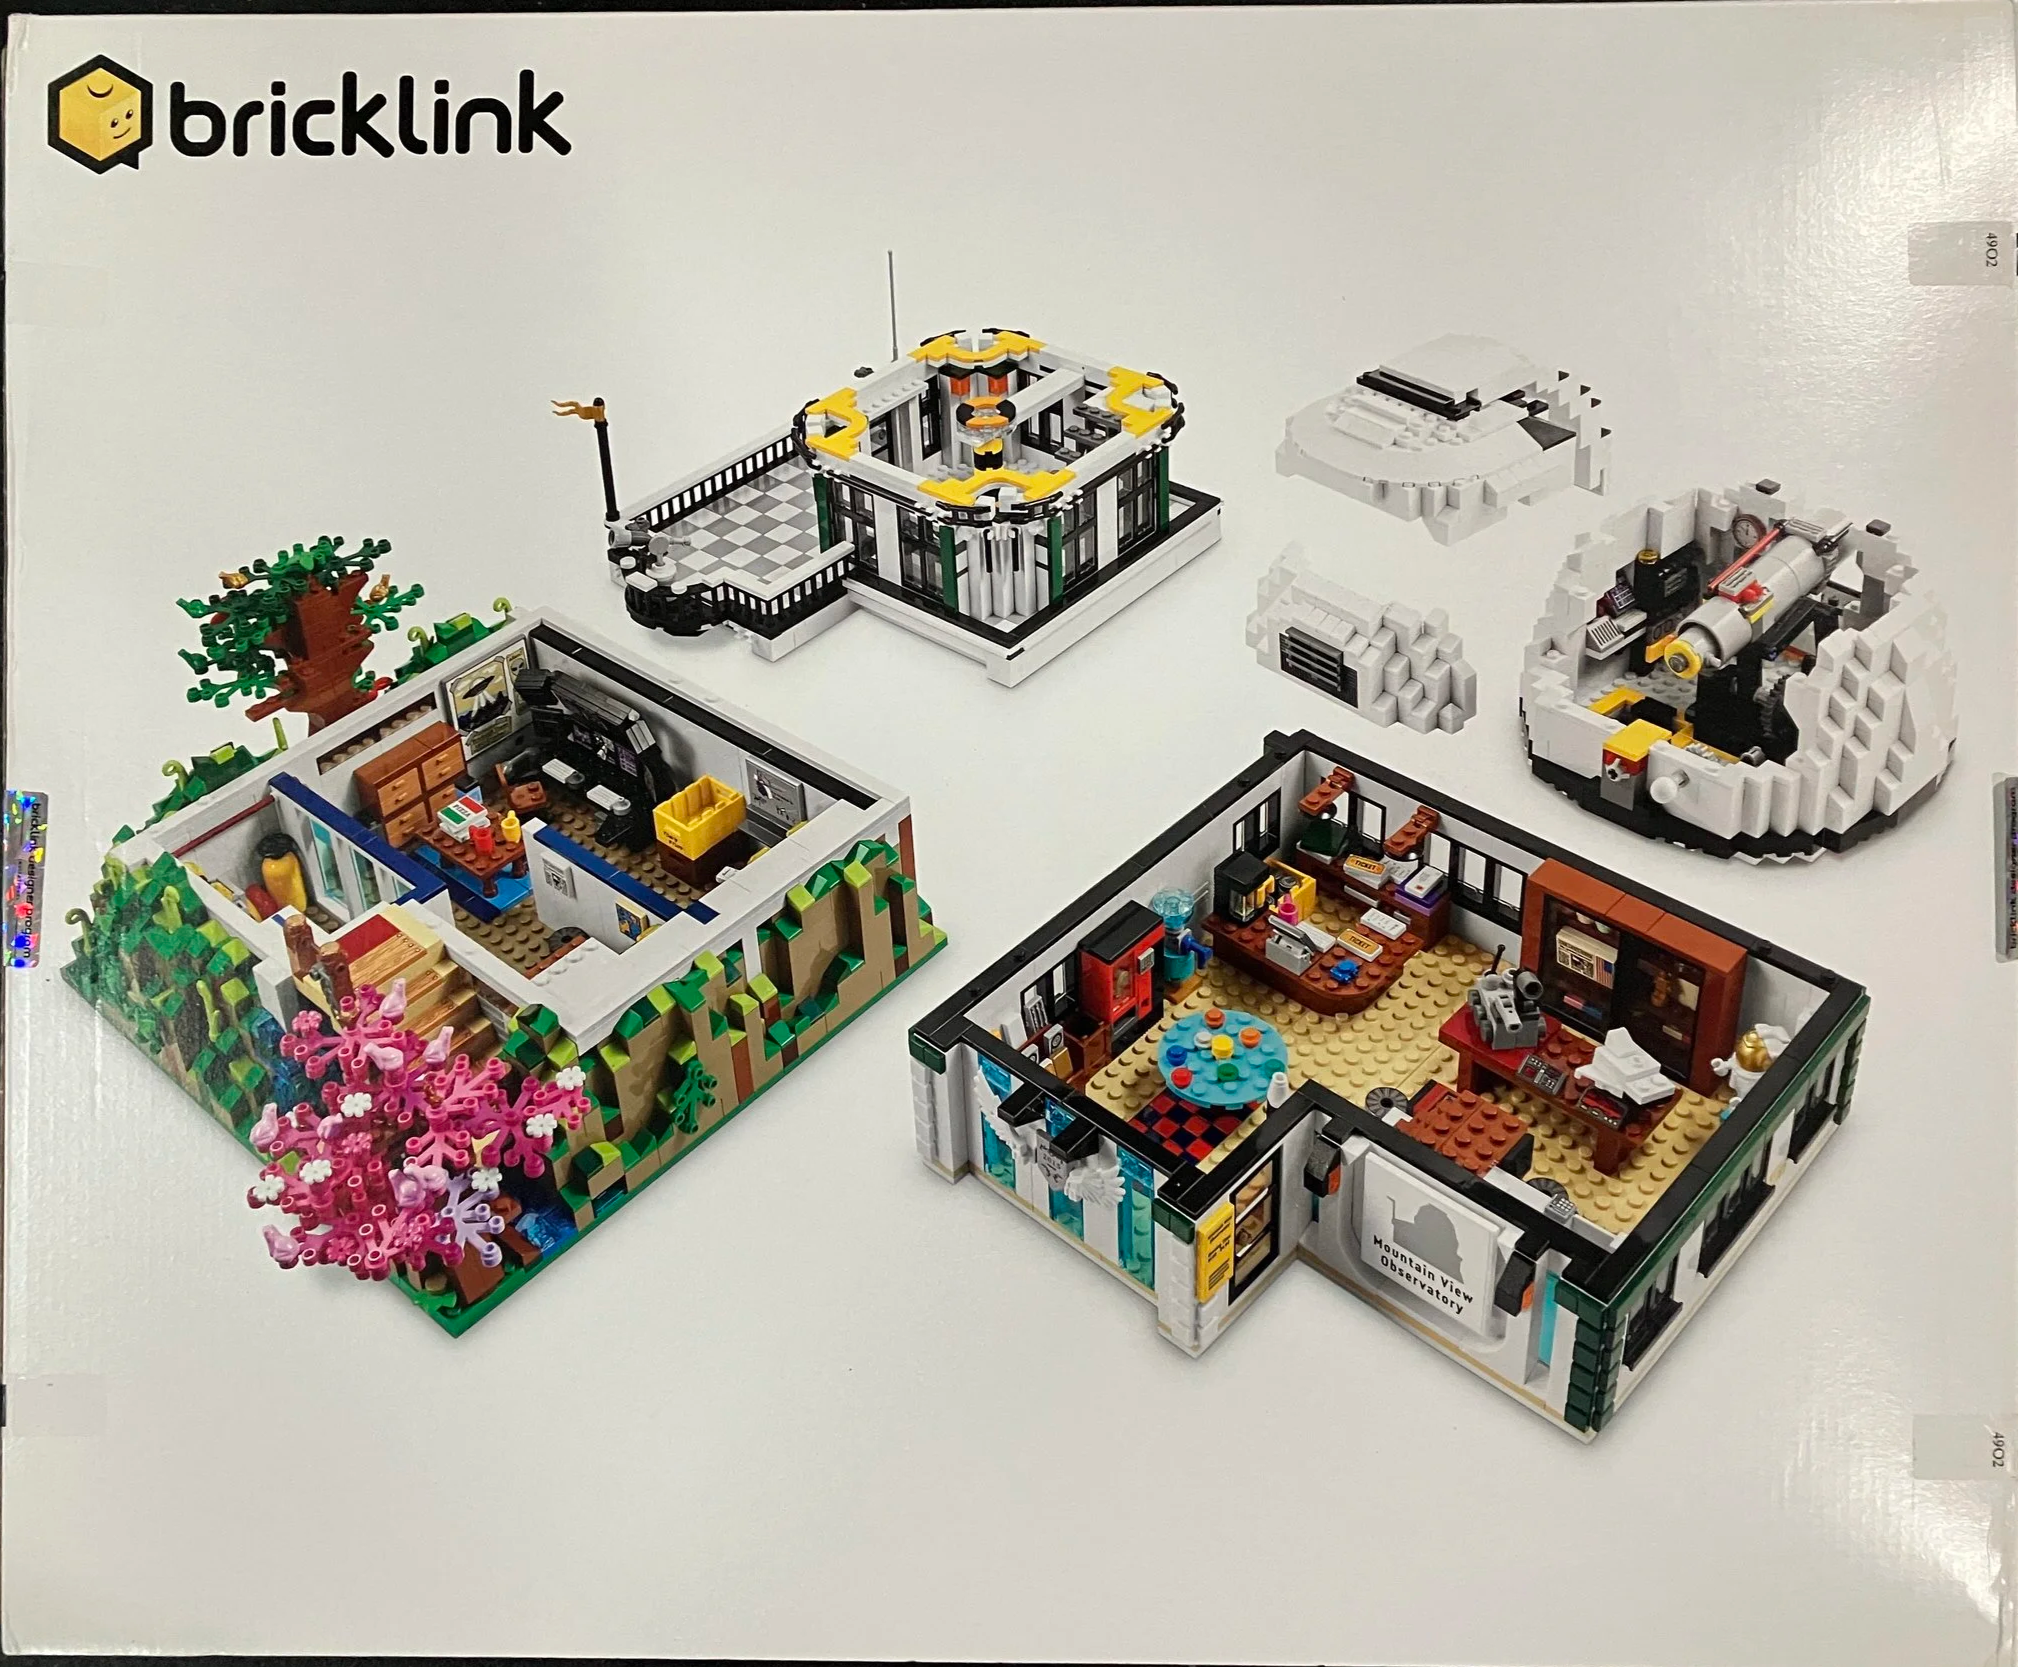
The front of the box shows the full built set while the back shows the different levels of the observatory.
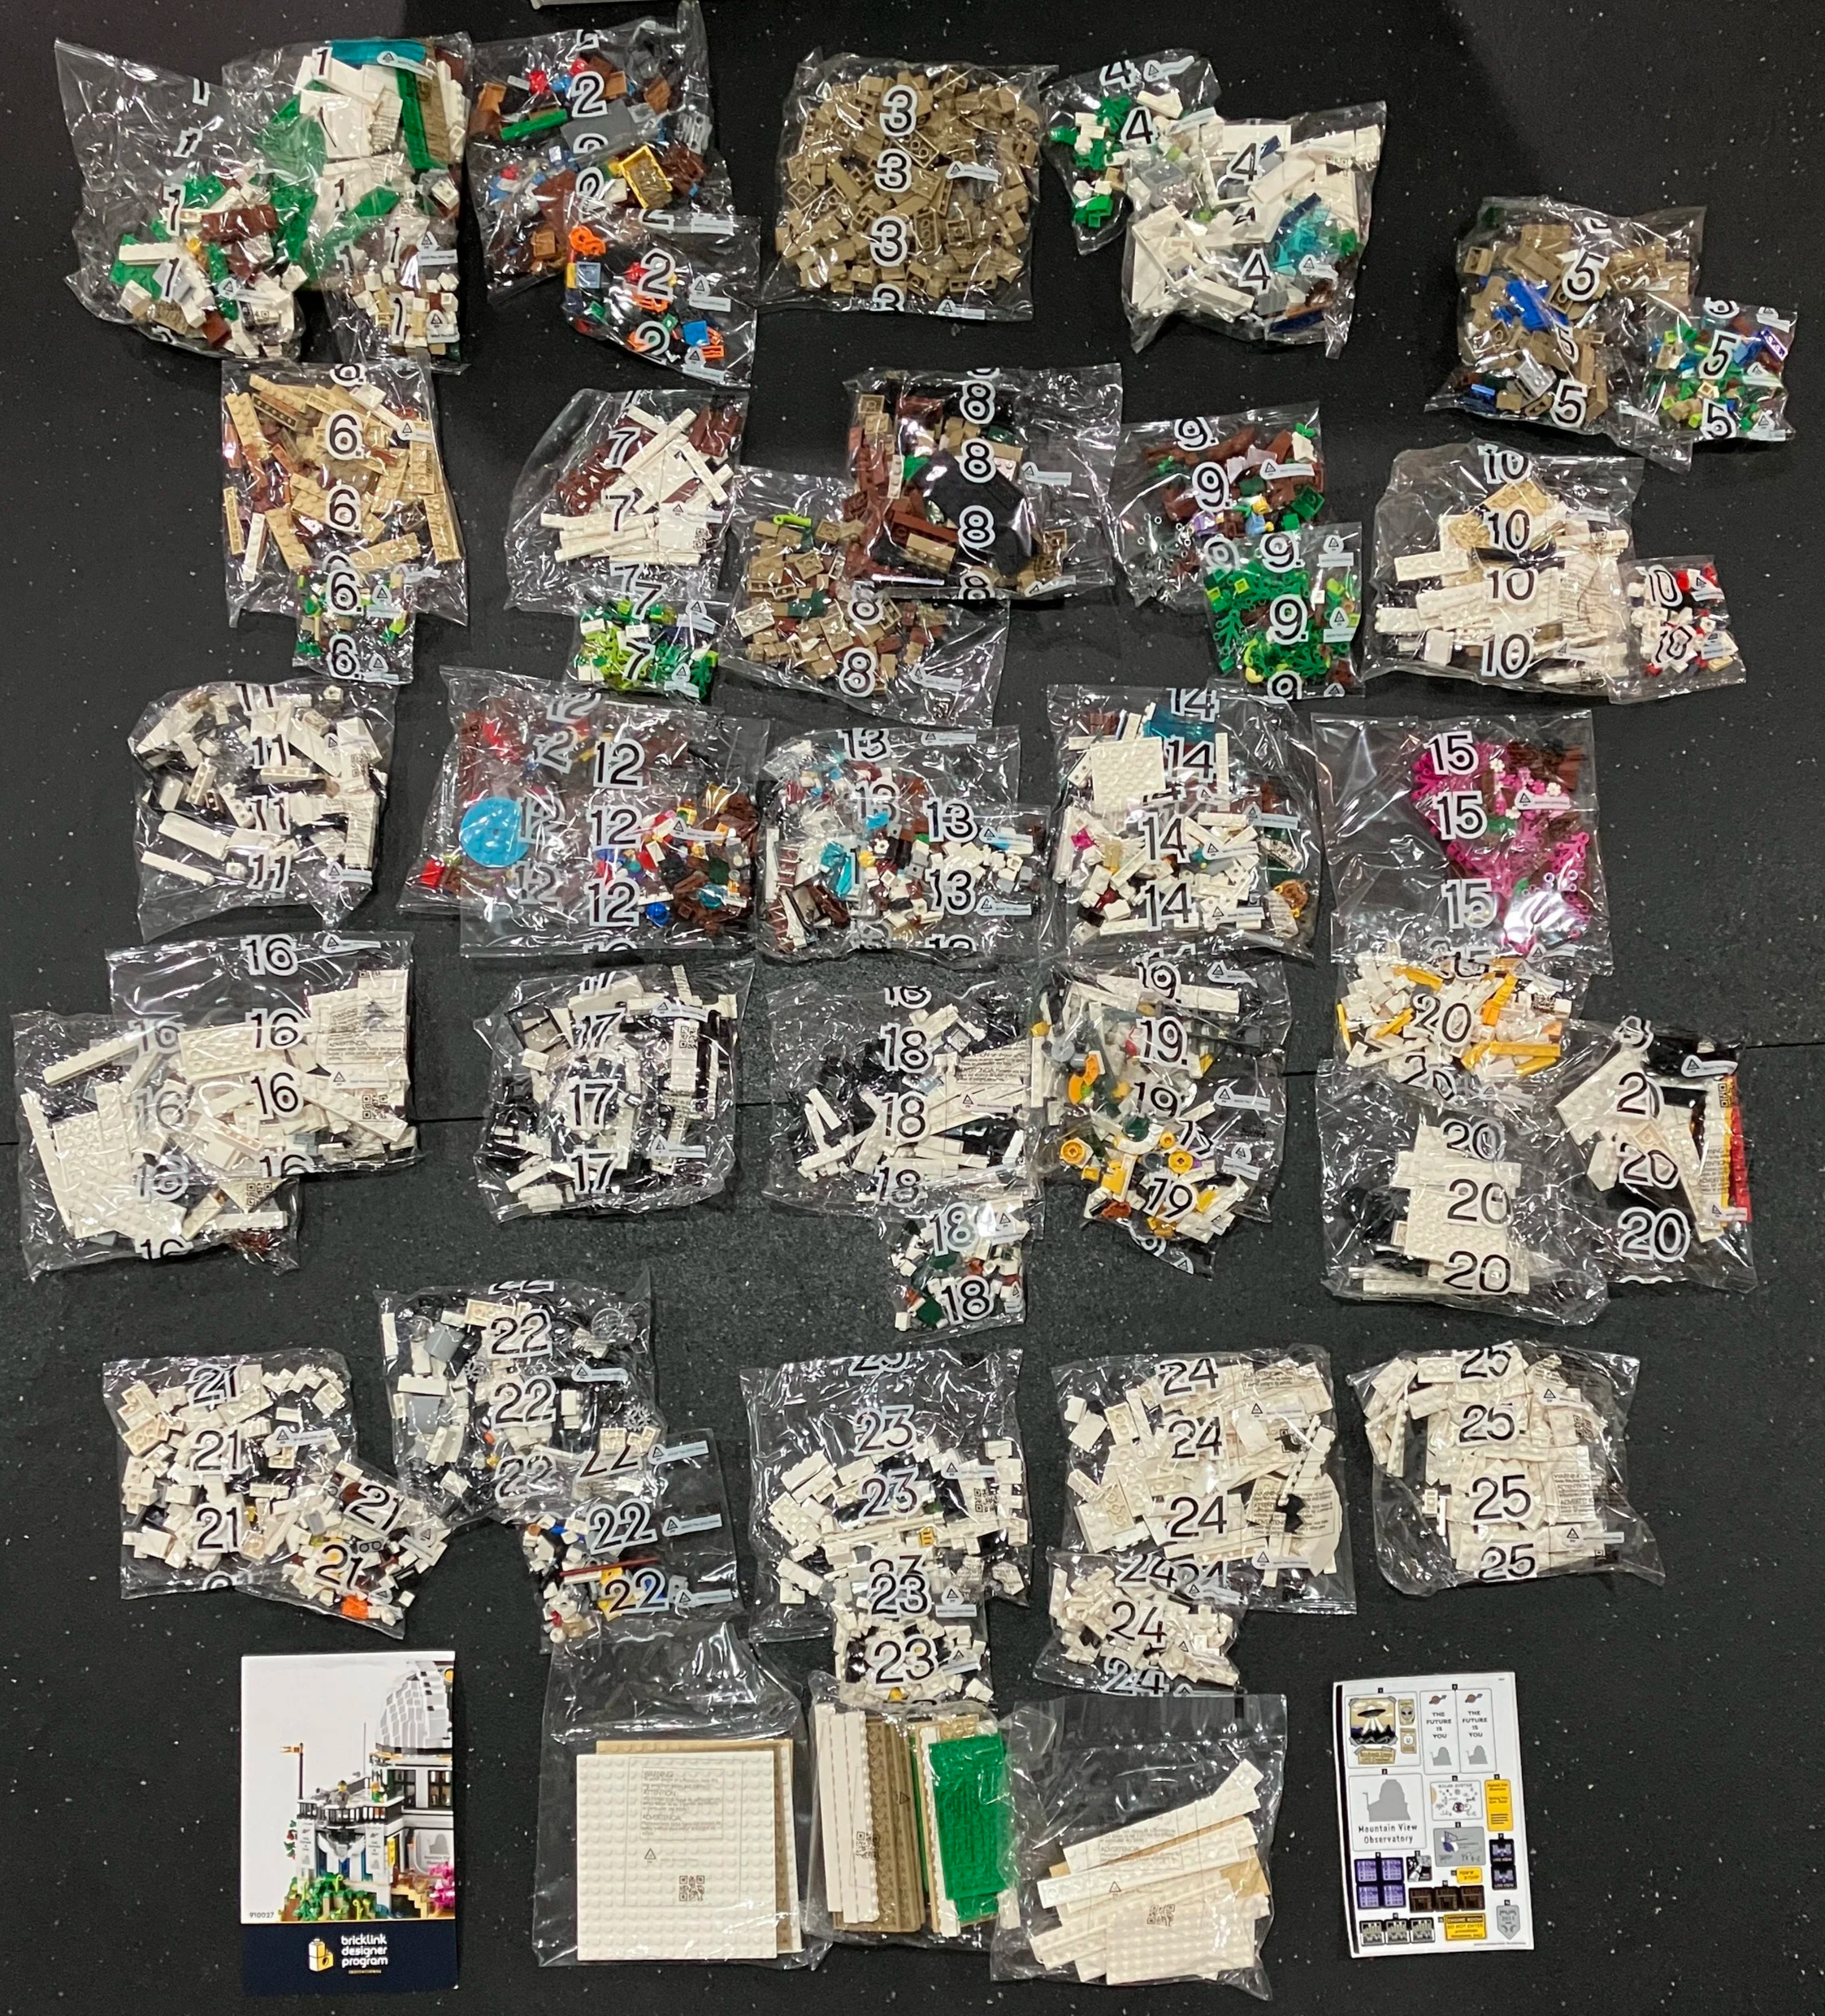
The set contains 25 numbered parts bags with some having more than one bag per number. There are three bags without numbers containing larger pieces. There is a sticker sheet, but no printed instructions. To be honest, that’s why it takes me a while to get to the Bricklink Designer Program sets. I have a few that I’ve been holding for a bit, but I don’t enjoy building with a screen. I like the opportunity to be off of a screen when I’m building.
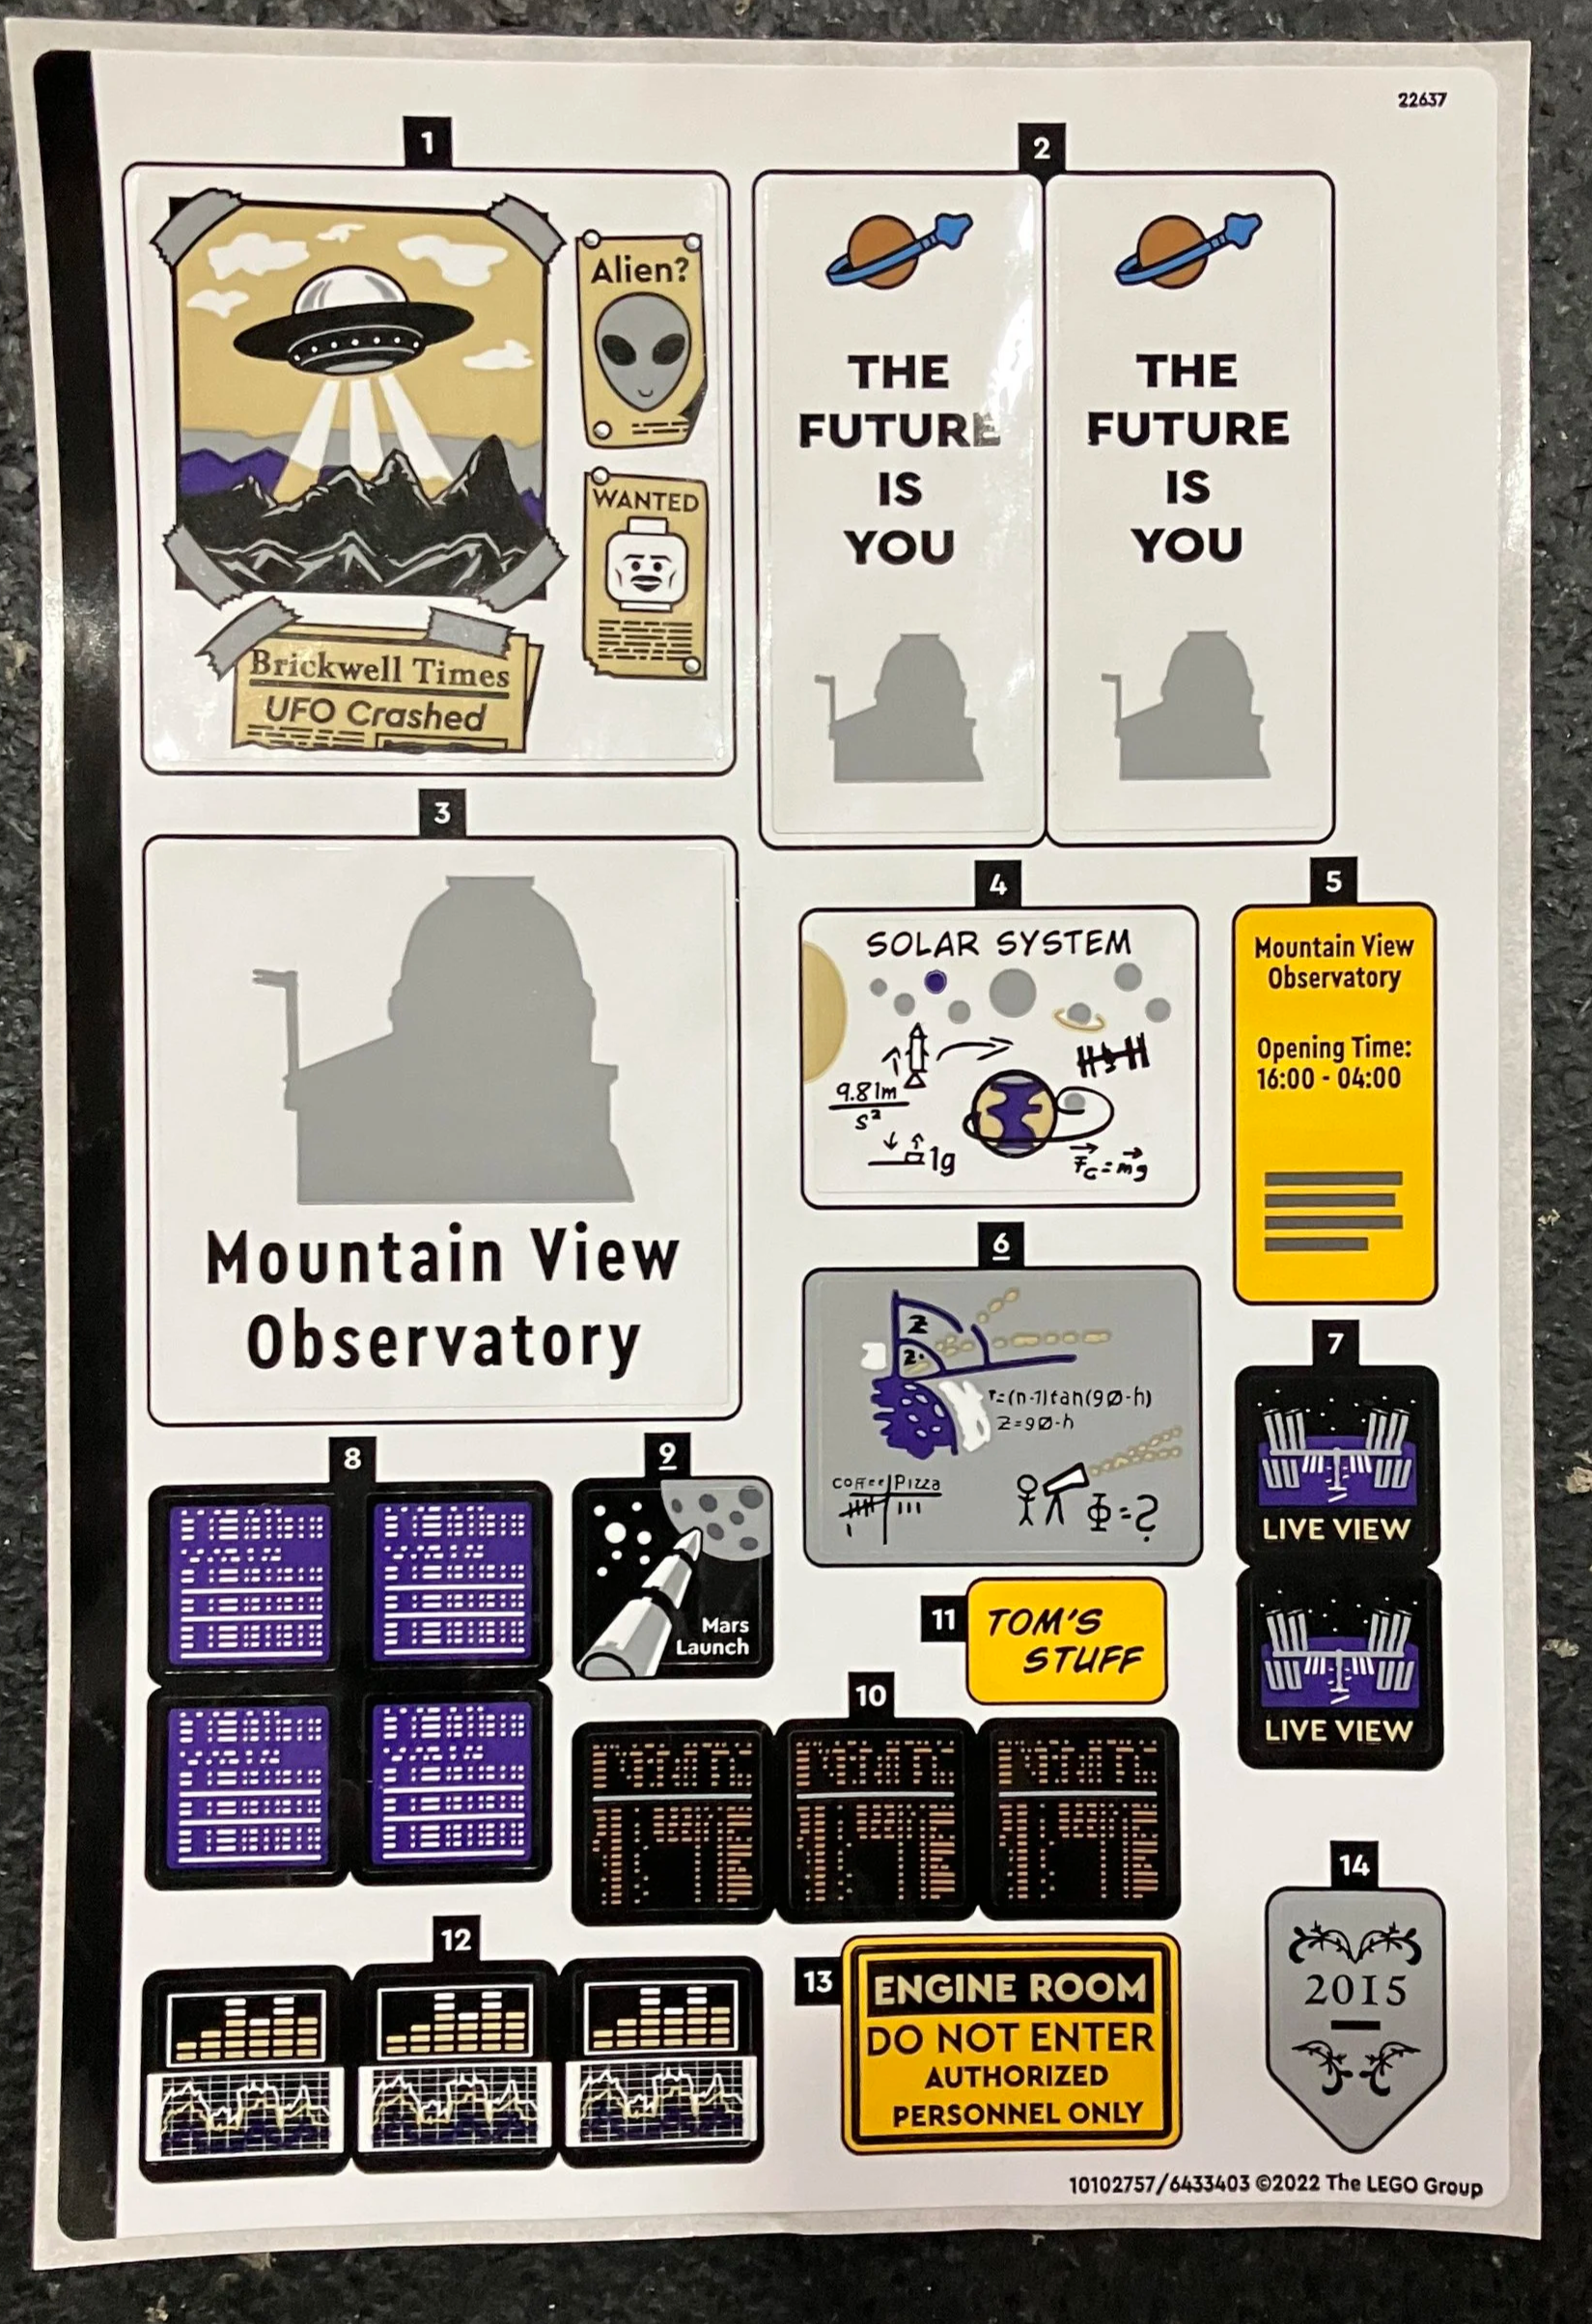
Here is the sticker sheet. There are quite a few. They look okay and help with the design, but it would have been better to assemble without stickers (as always).
The first bag assembles the base using plates instead of a baseplate and then the start to the walls of the first floor. The structure of the build is not that exciting. Lots of stacking bricks and building walls at 90 degree angles. It’s the details on the inside that make the build exciting. Bag one has two minifigues. One is a female worker and one is a male worker.
Bag two adds some of the interior details. The office items are fun and the giant screen system for controlling the telescope looks cool.
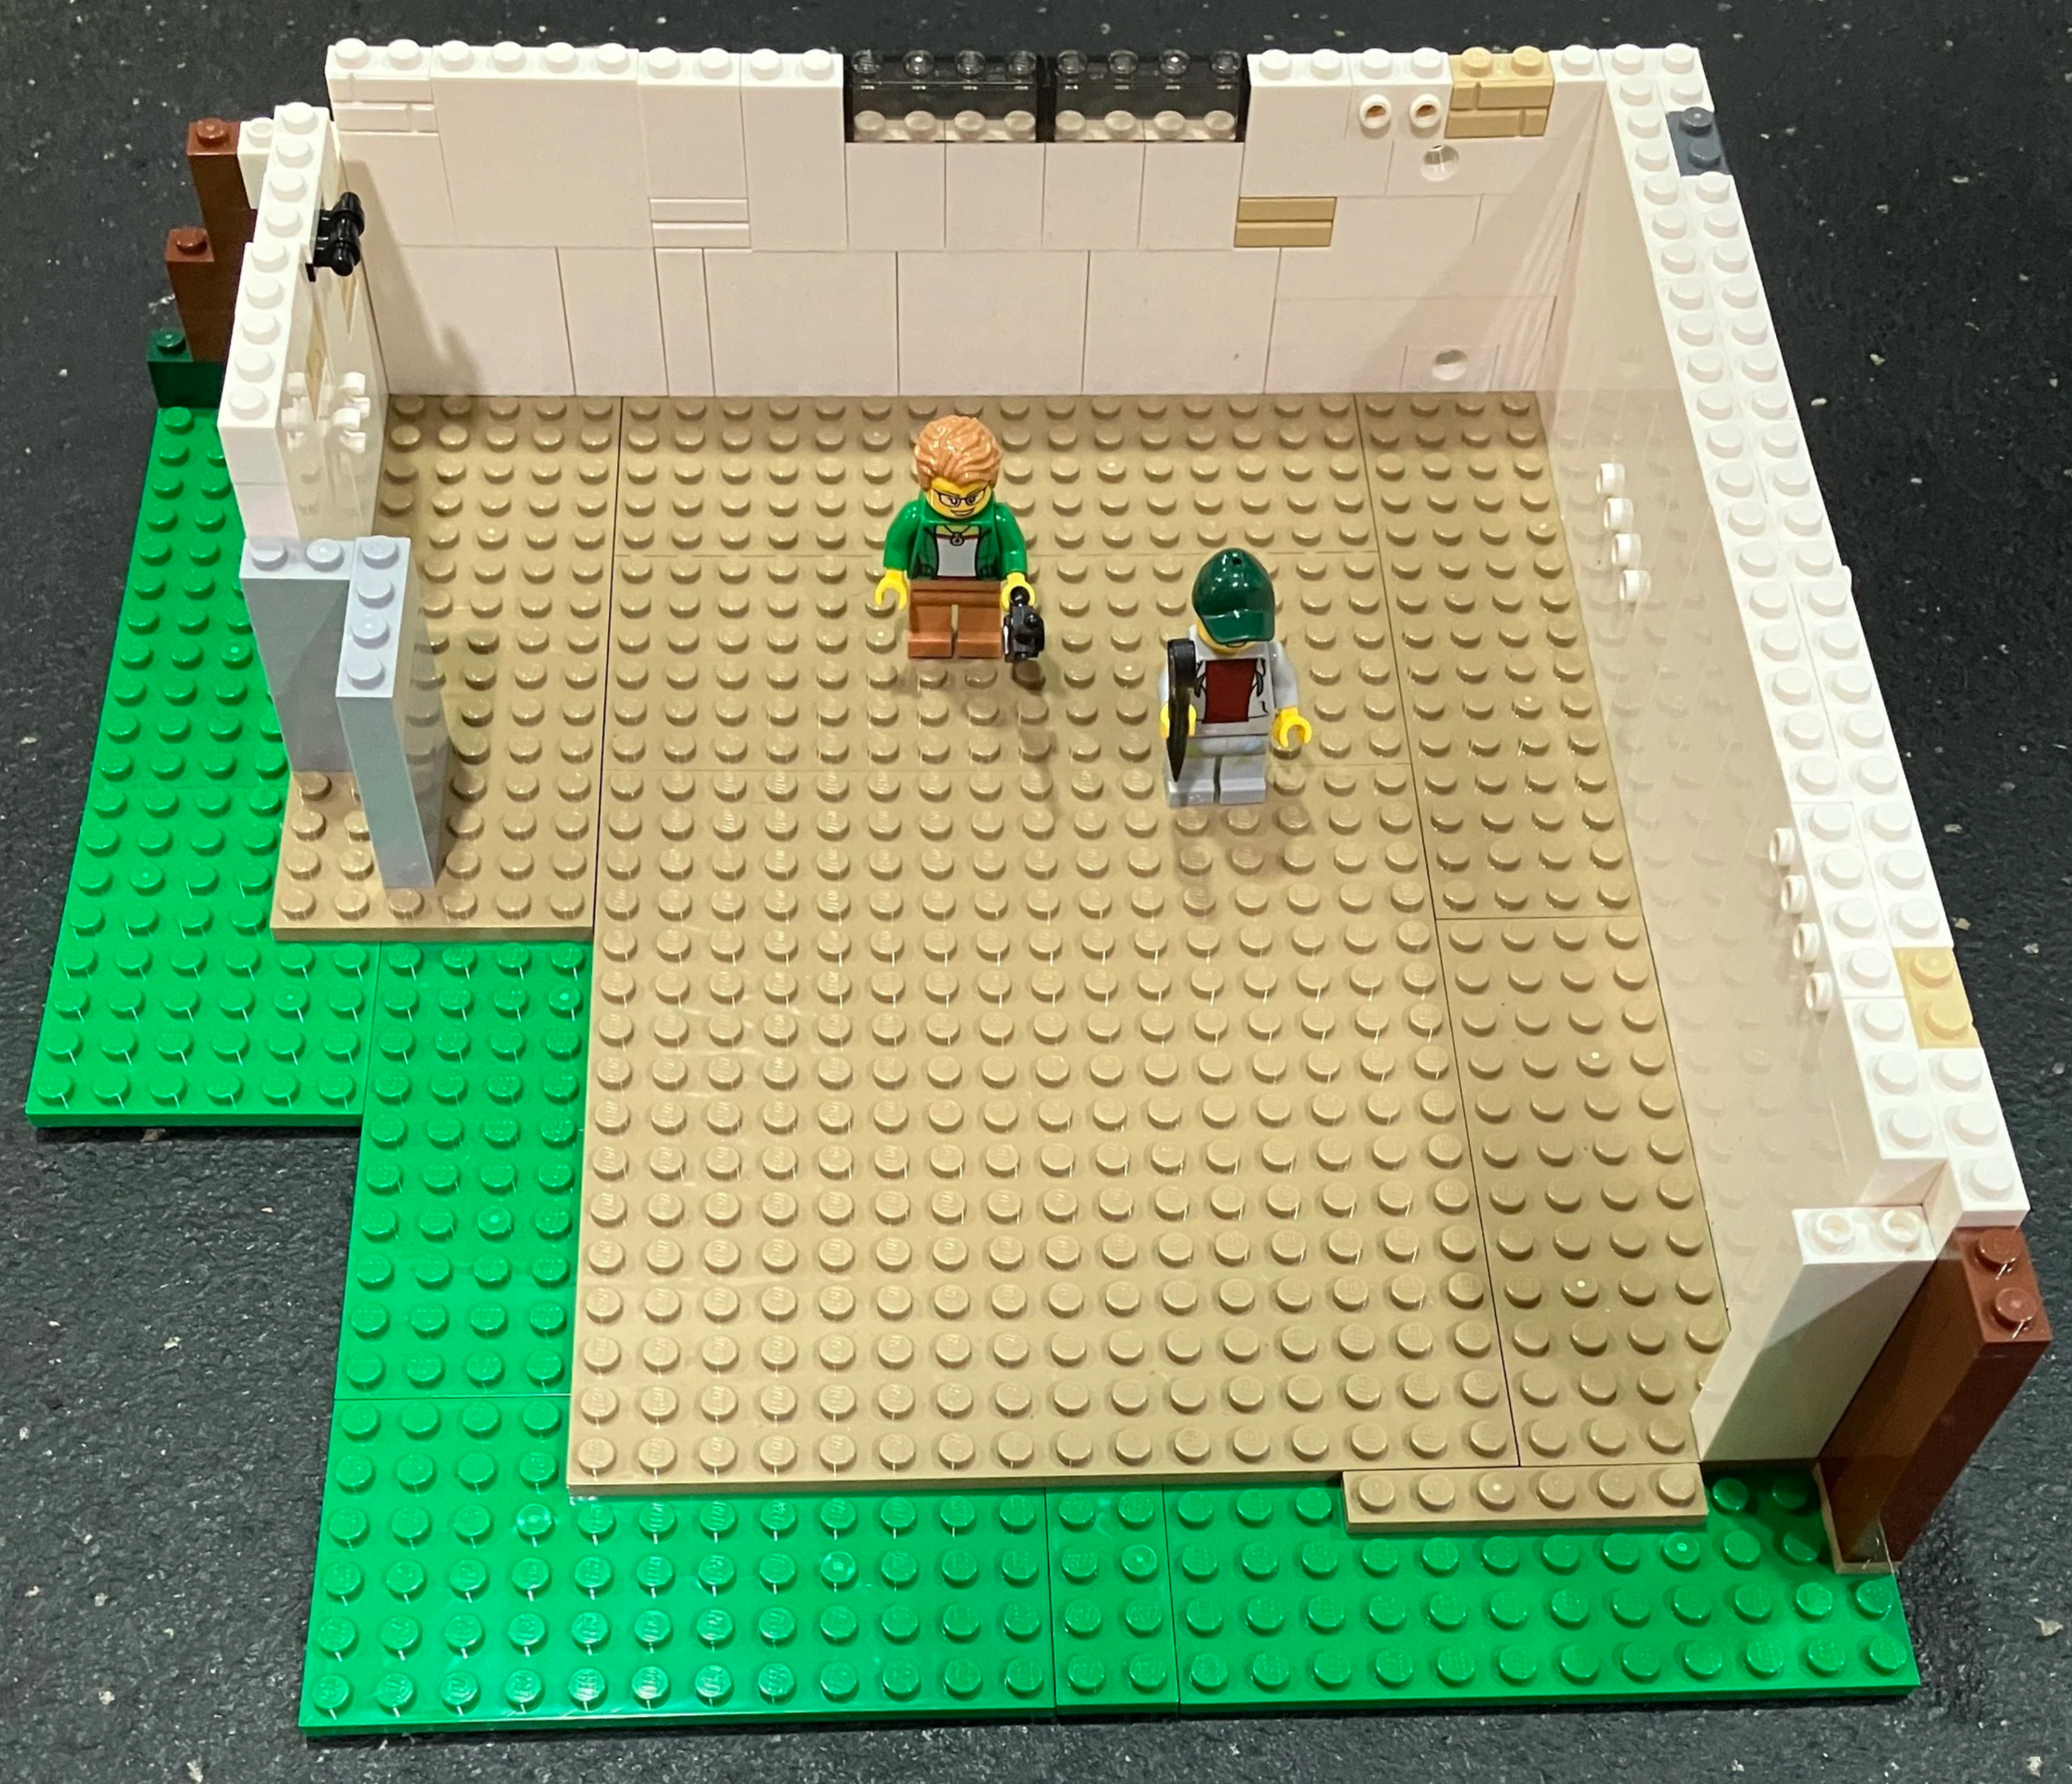
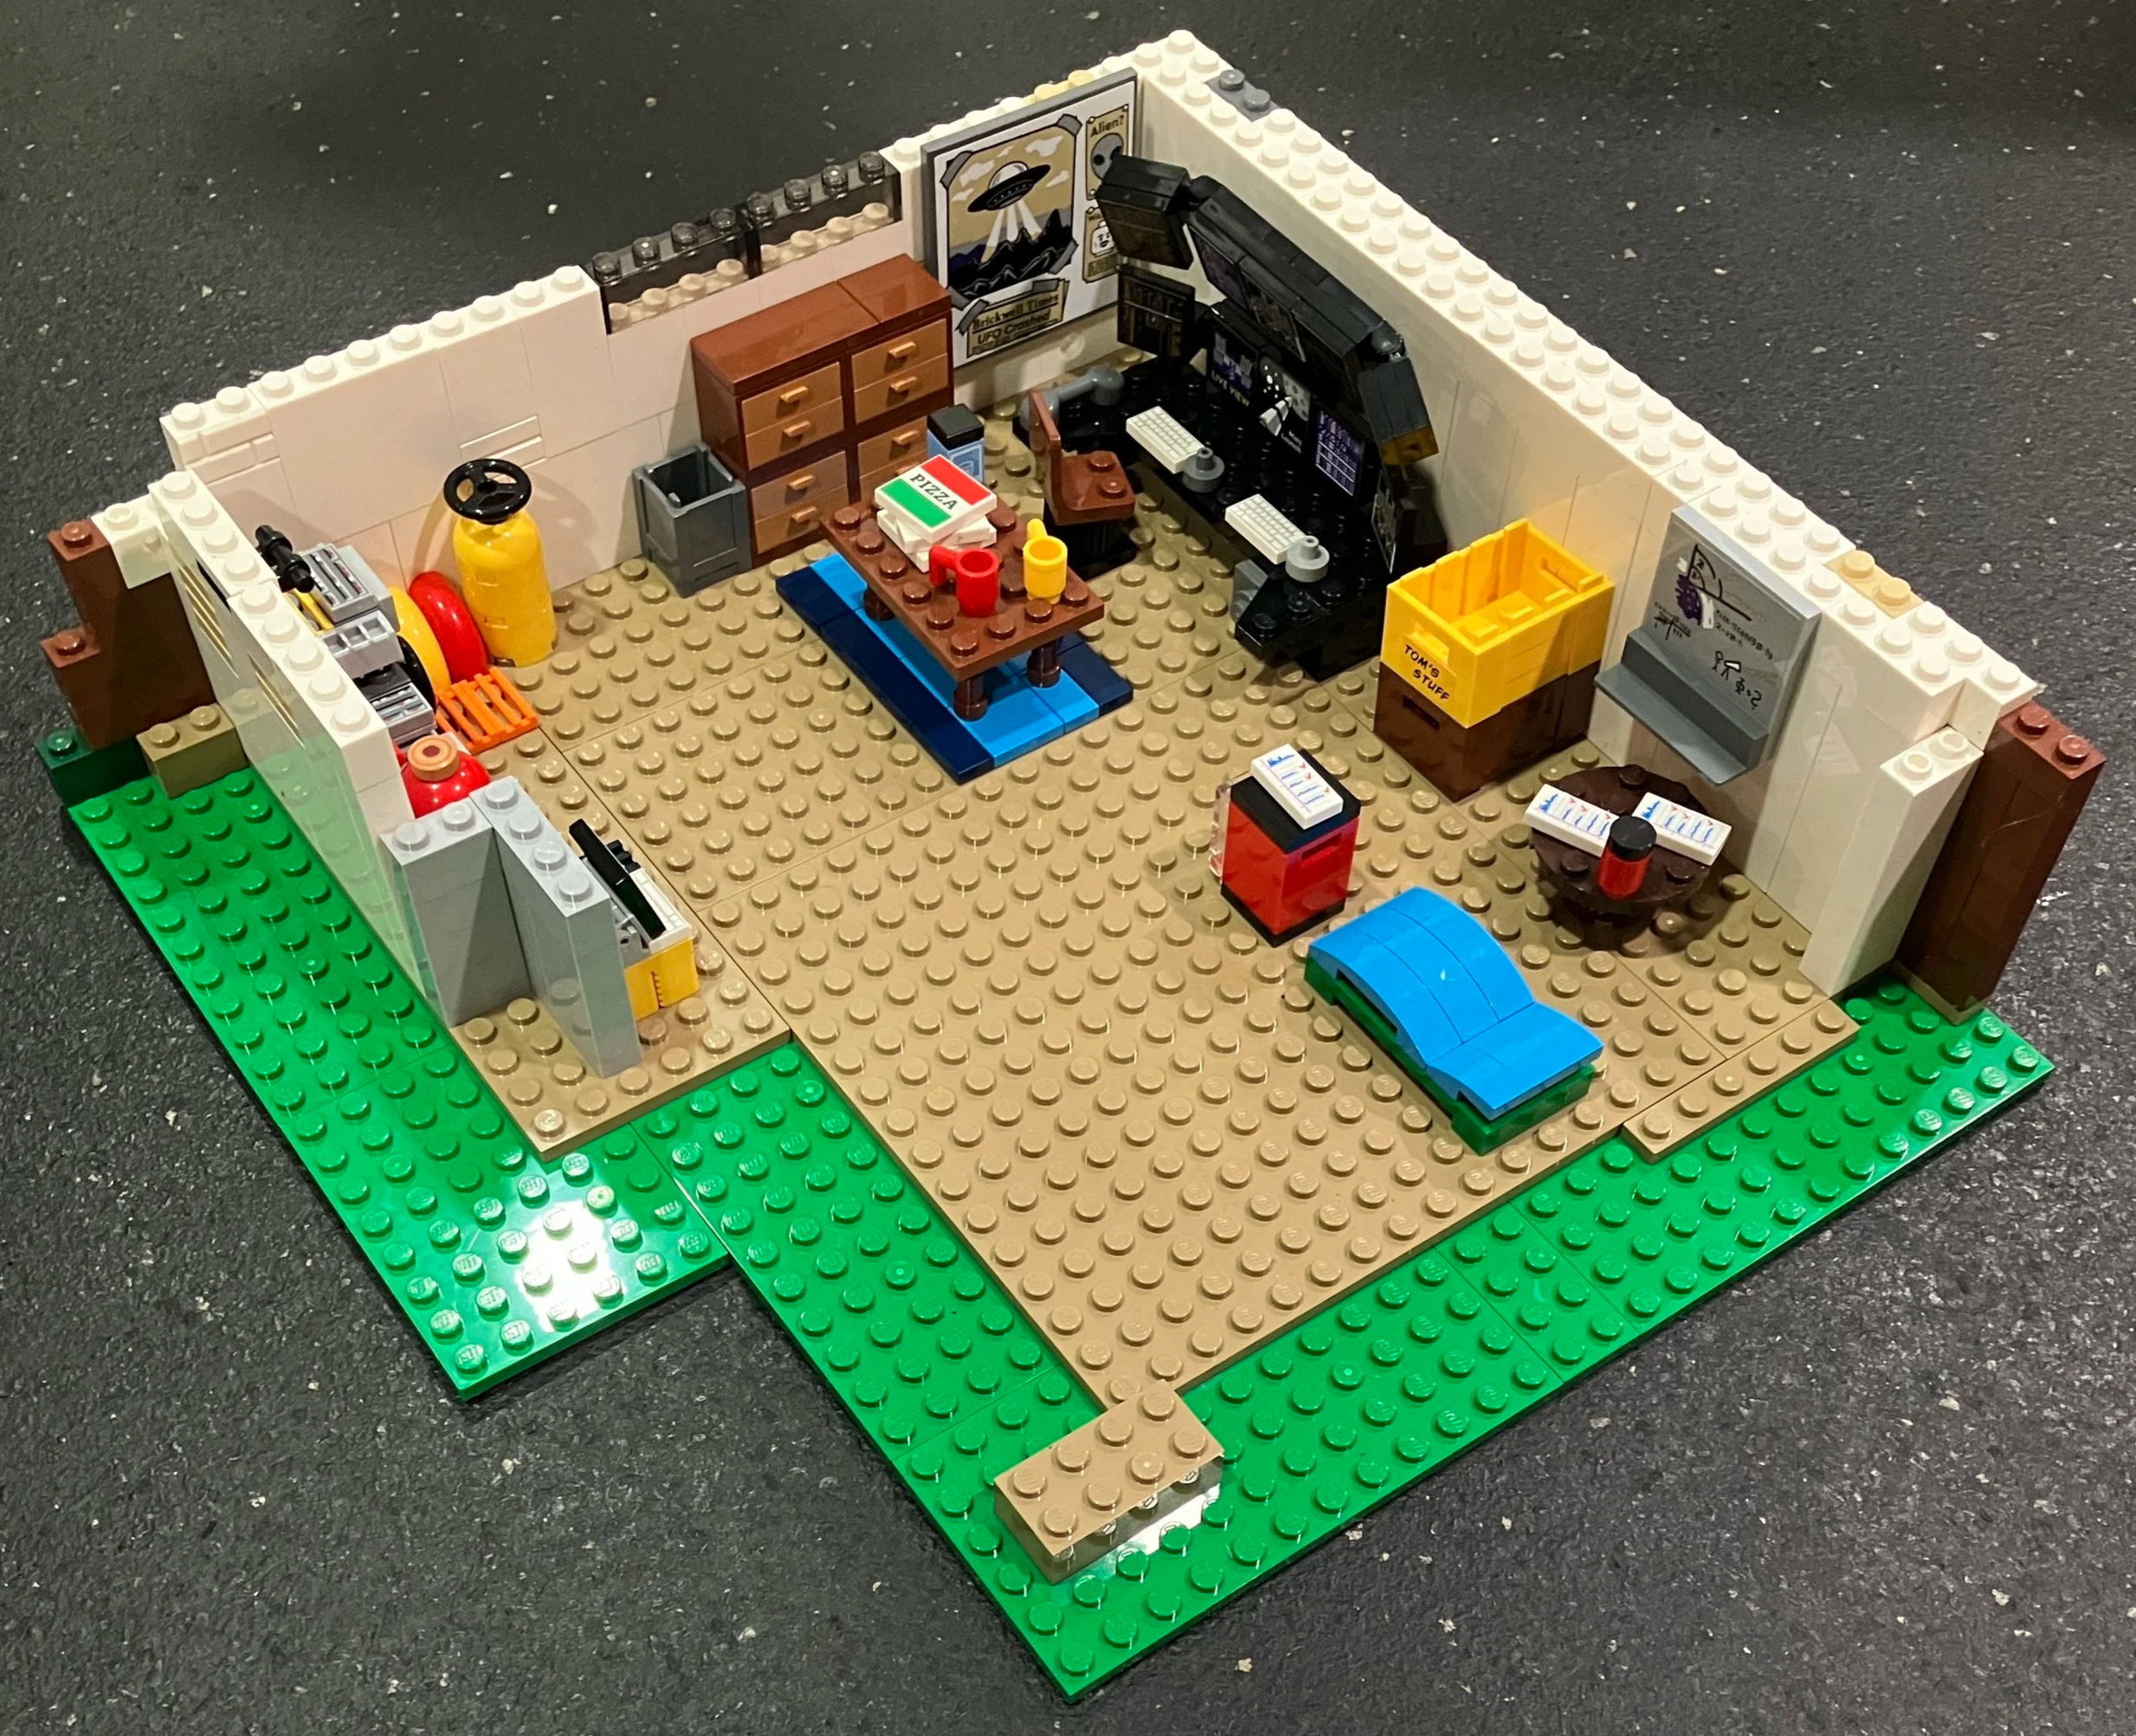
Bag three adds to some of the outer structure to make it seem like the observatory is built into a mountain. Bag four finishes up the walls for the ground level. I like the mechanical room with some of the different controls and storage.
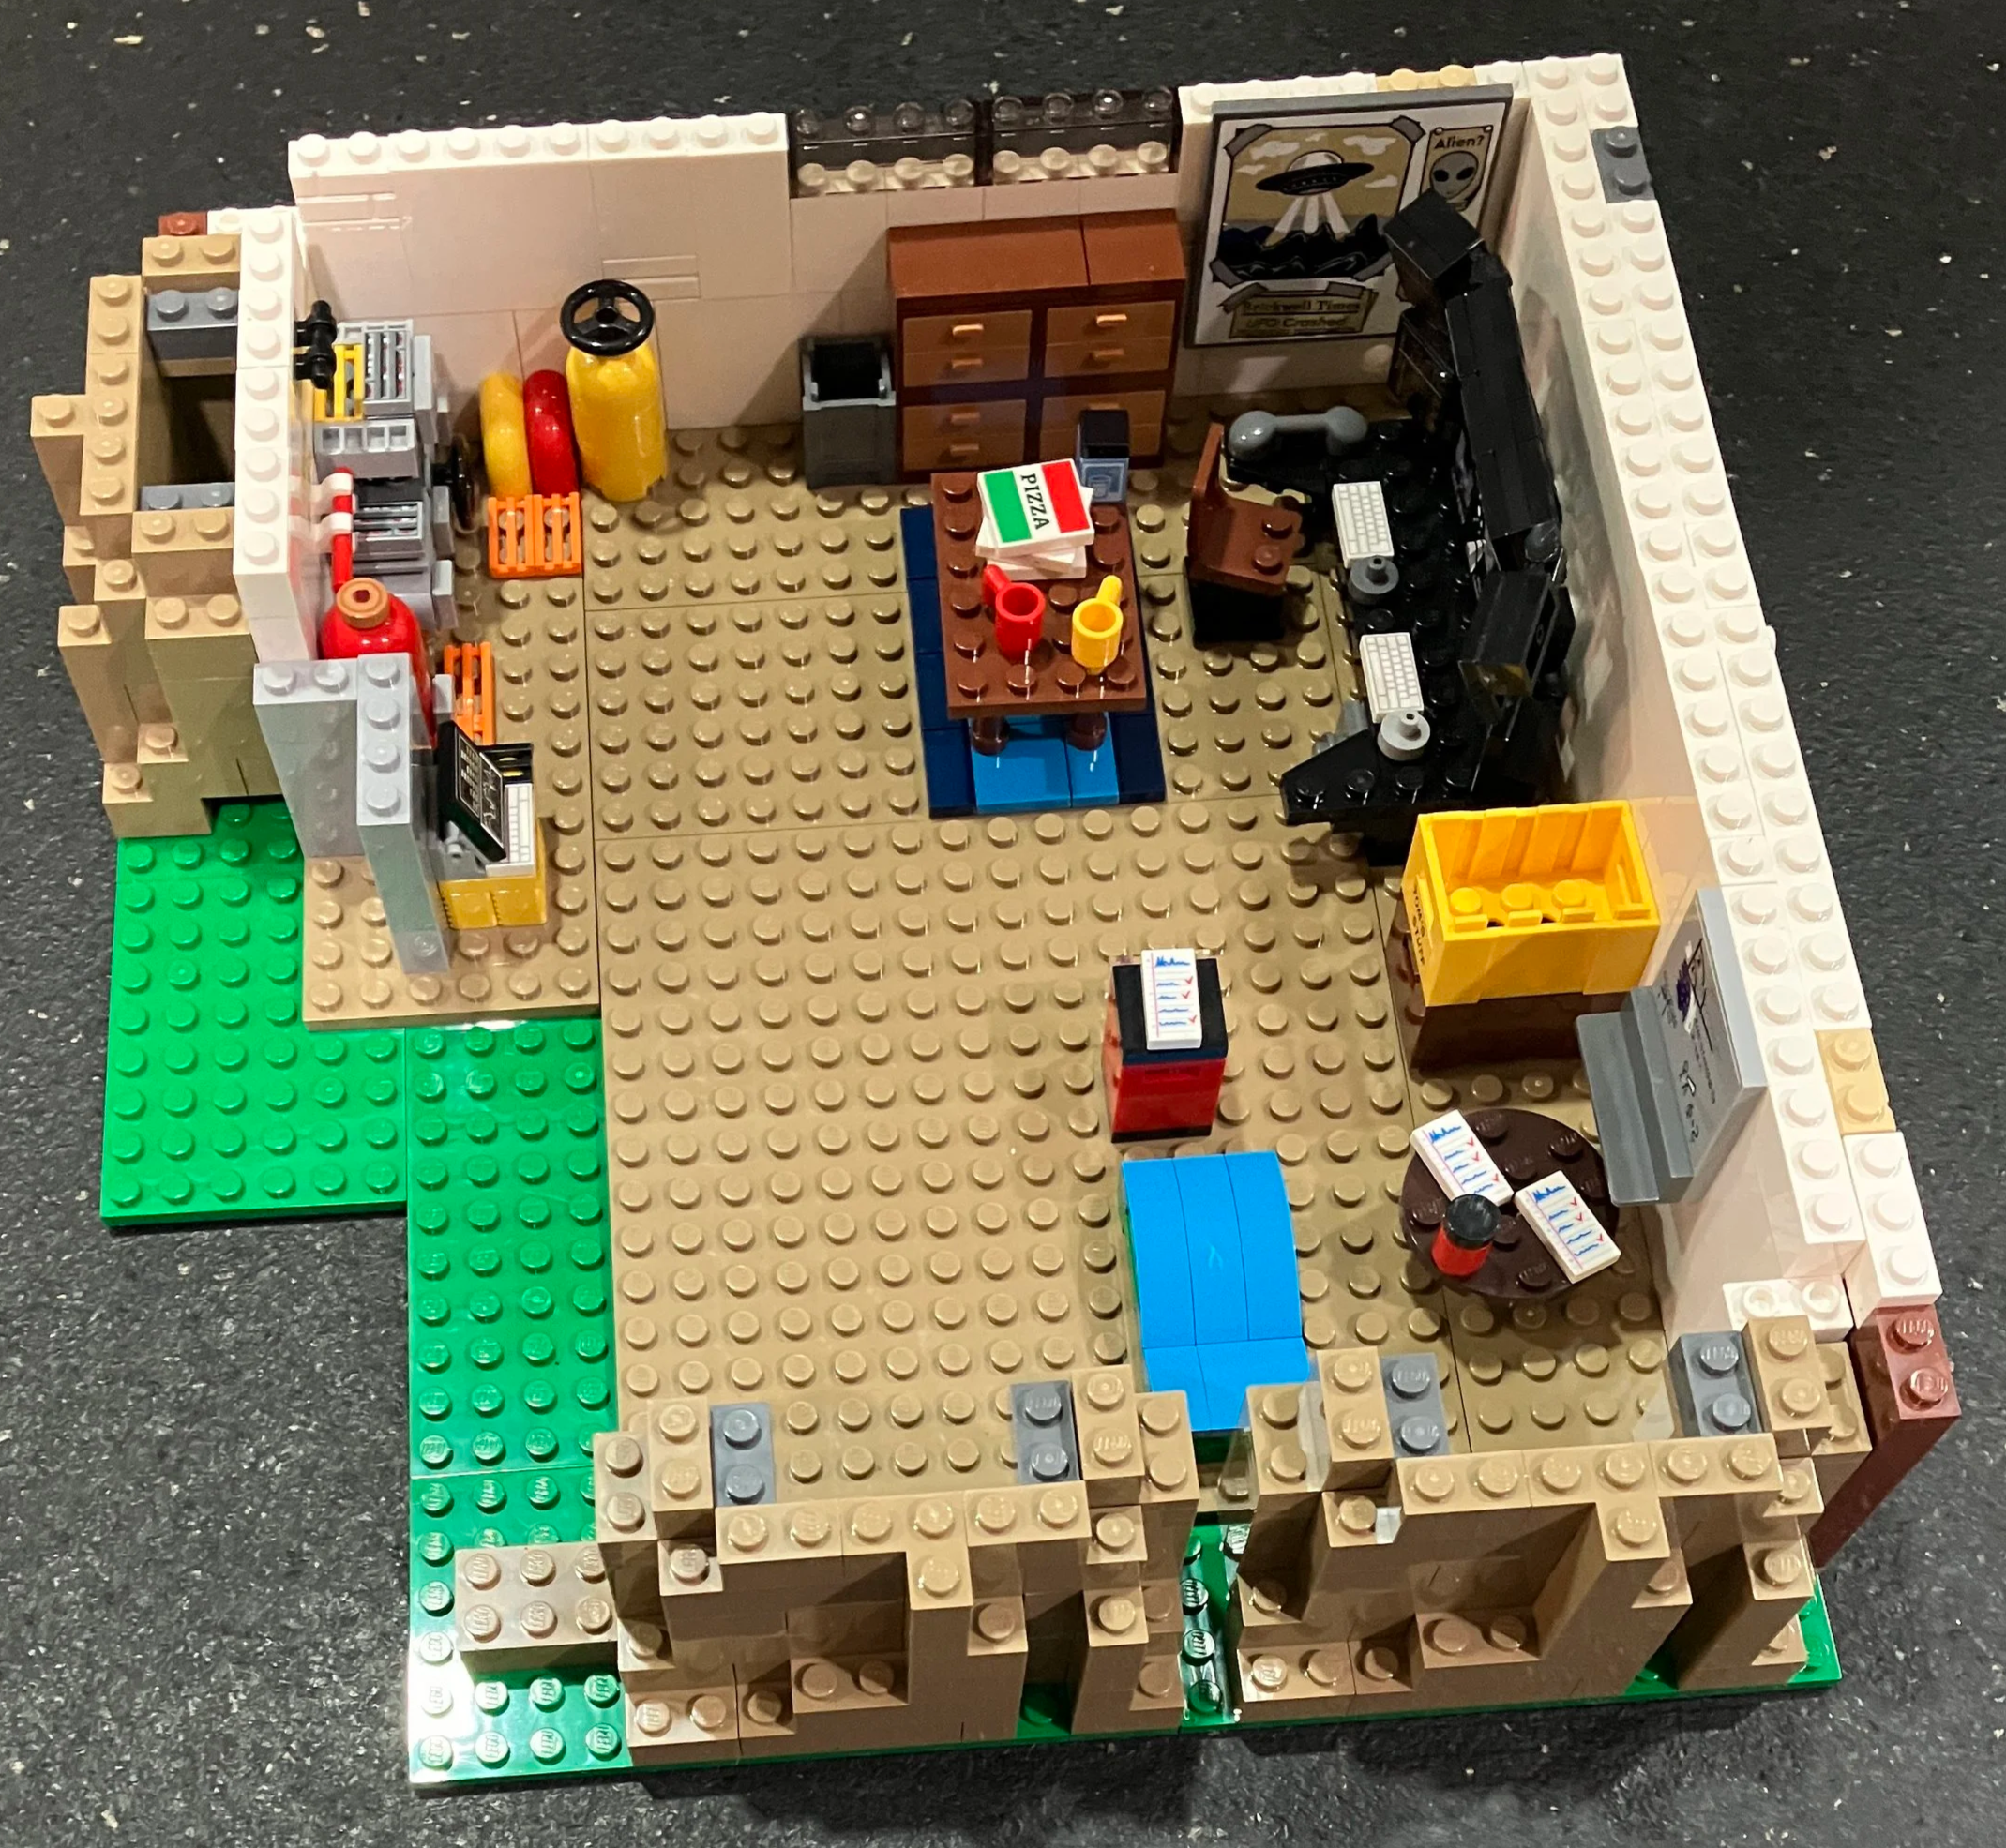
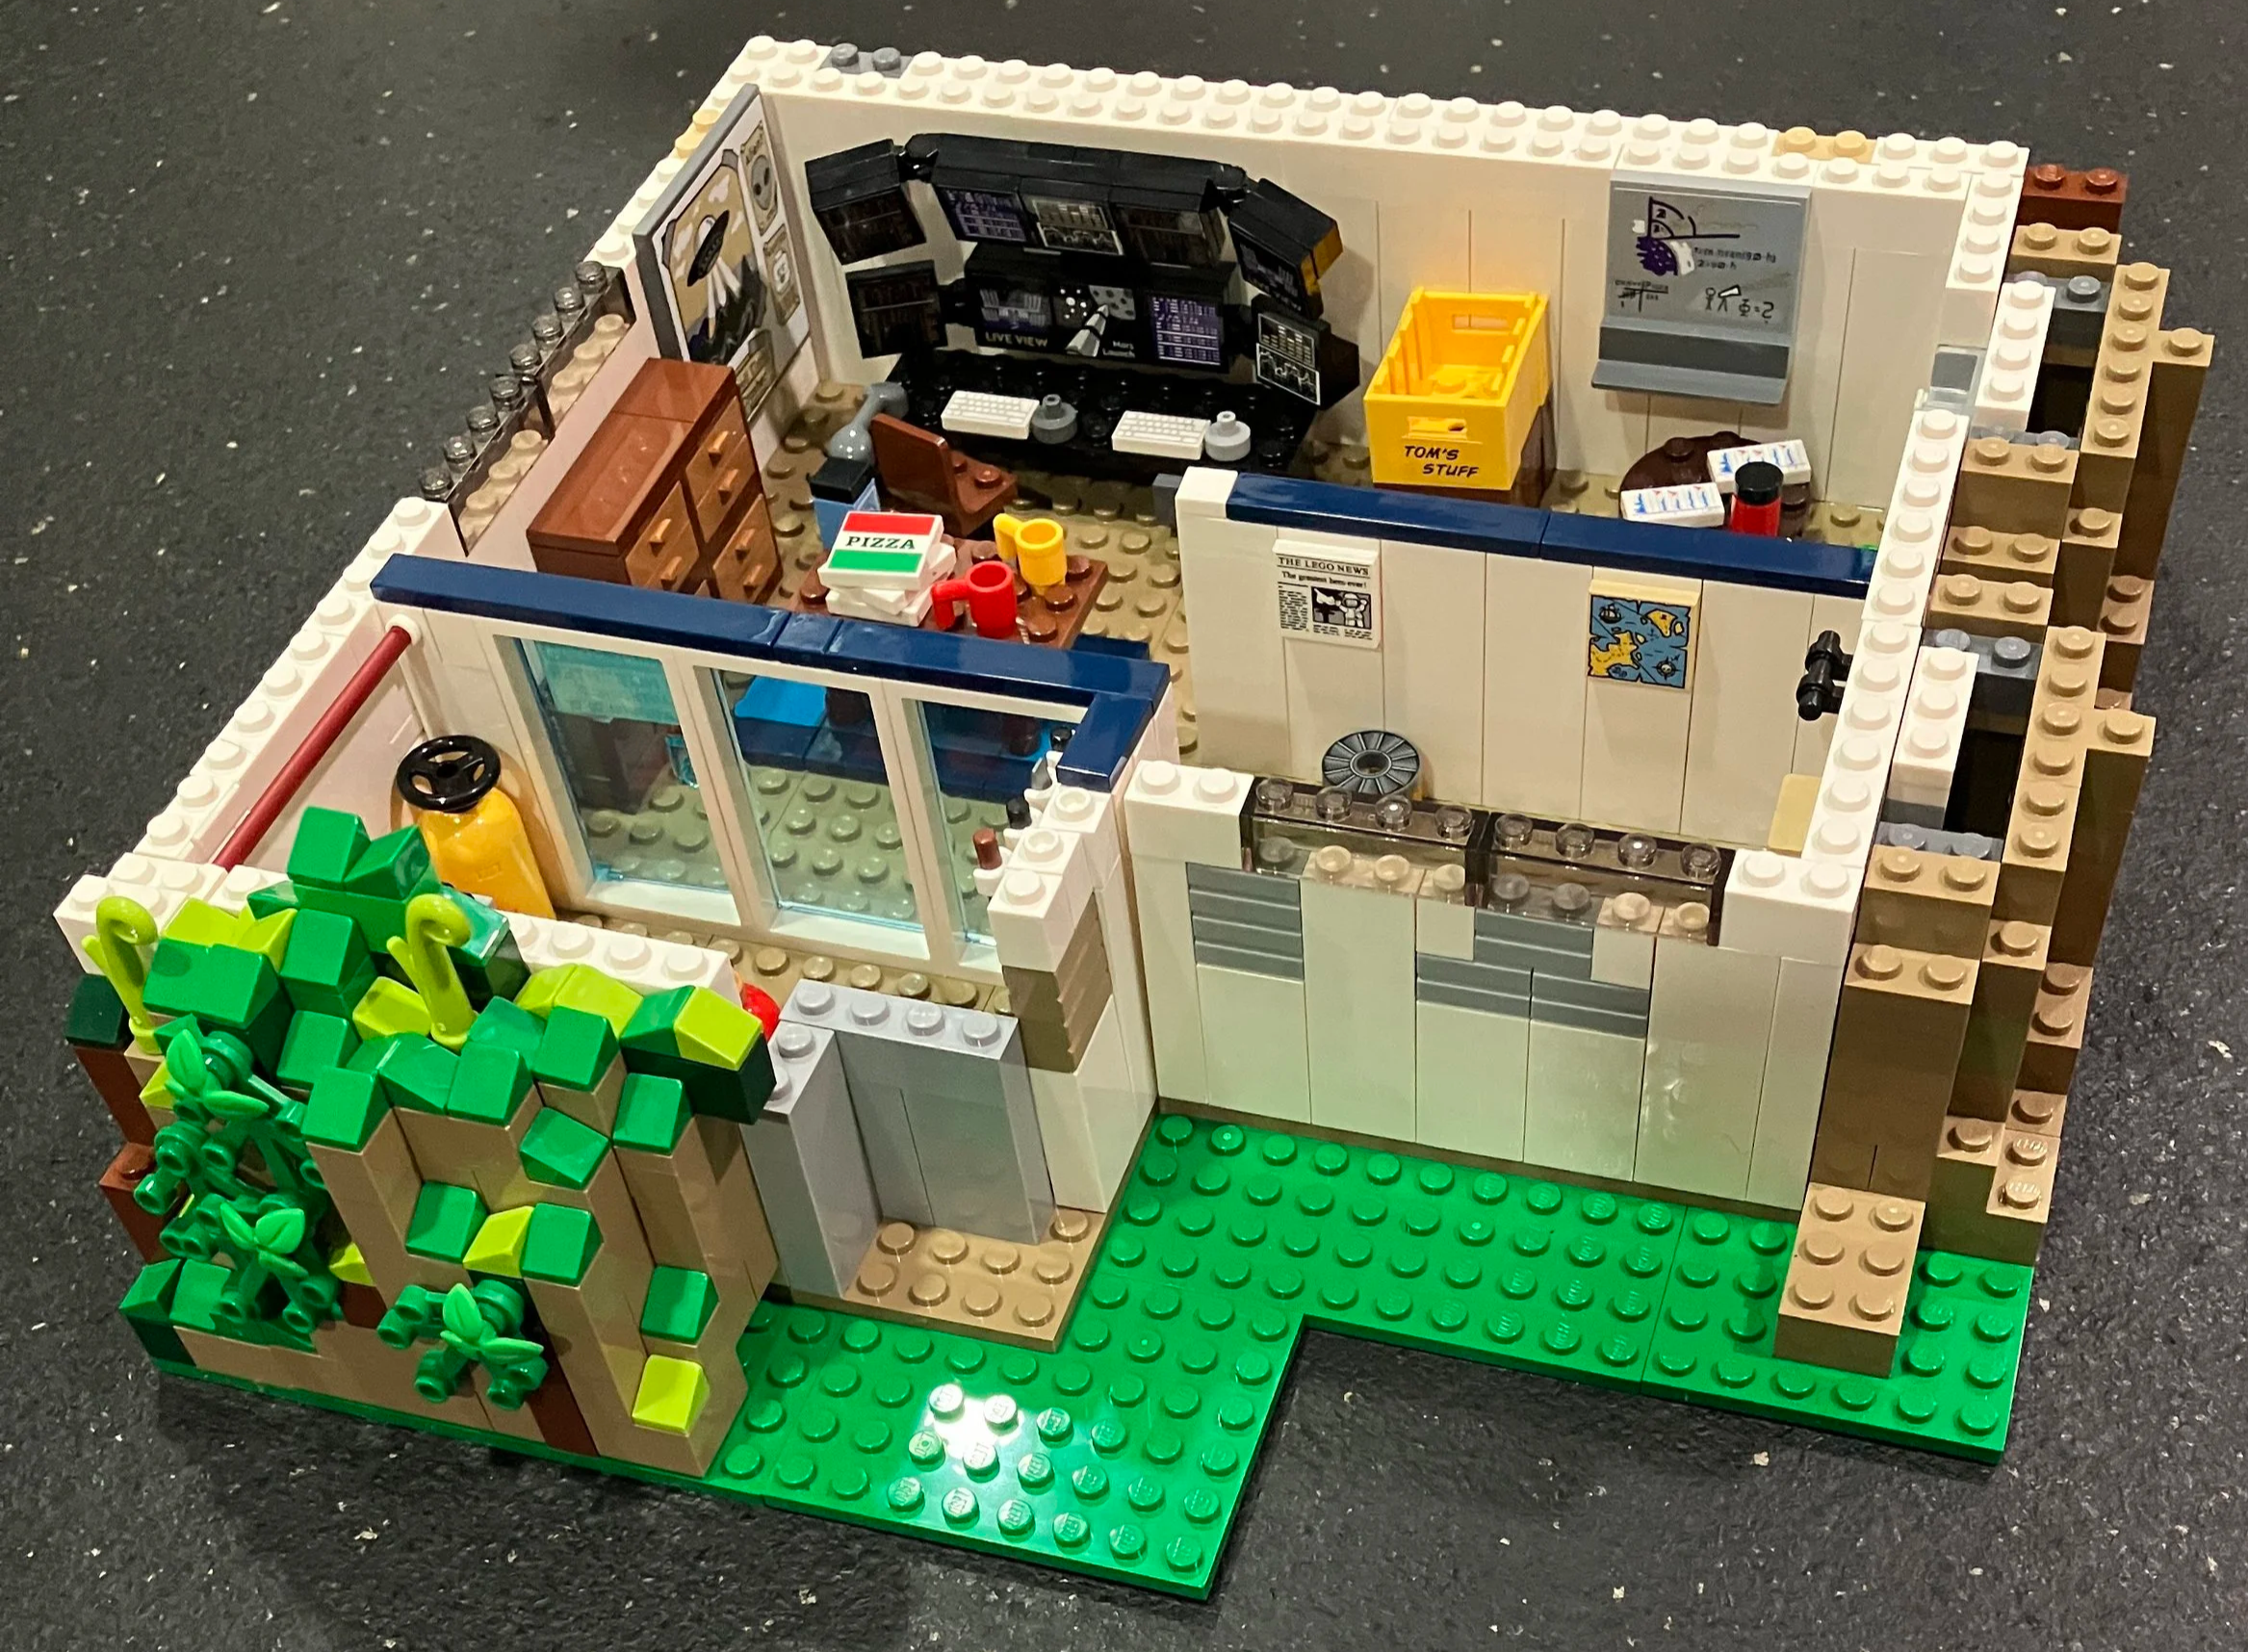
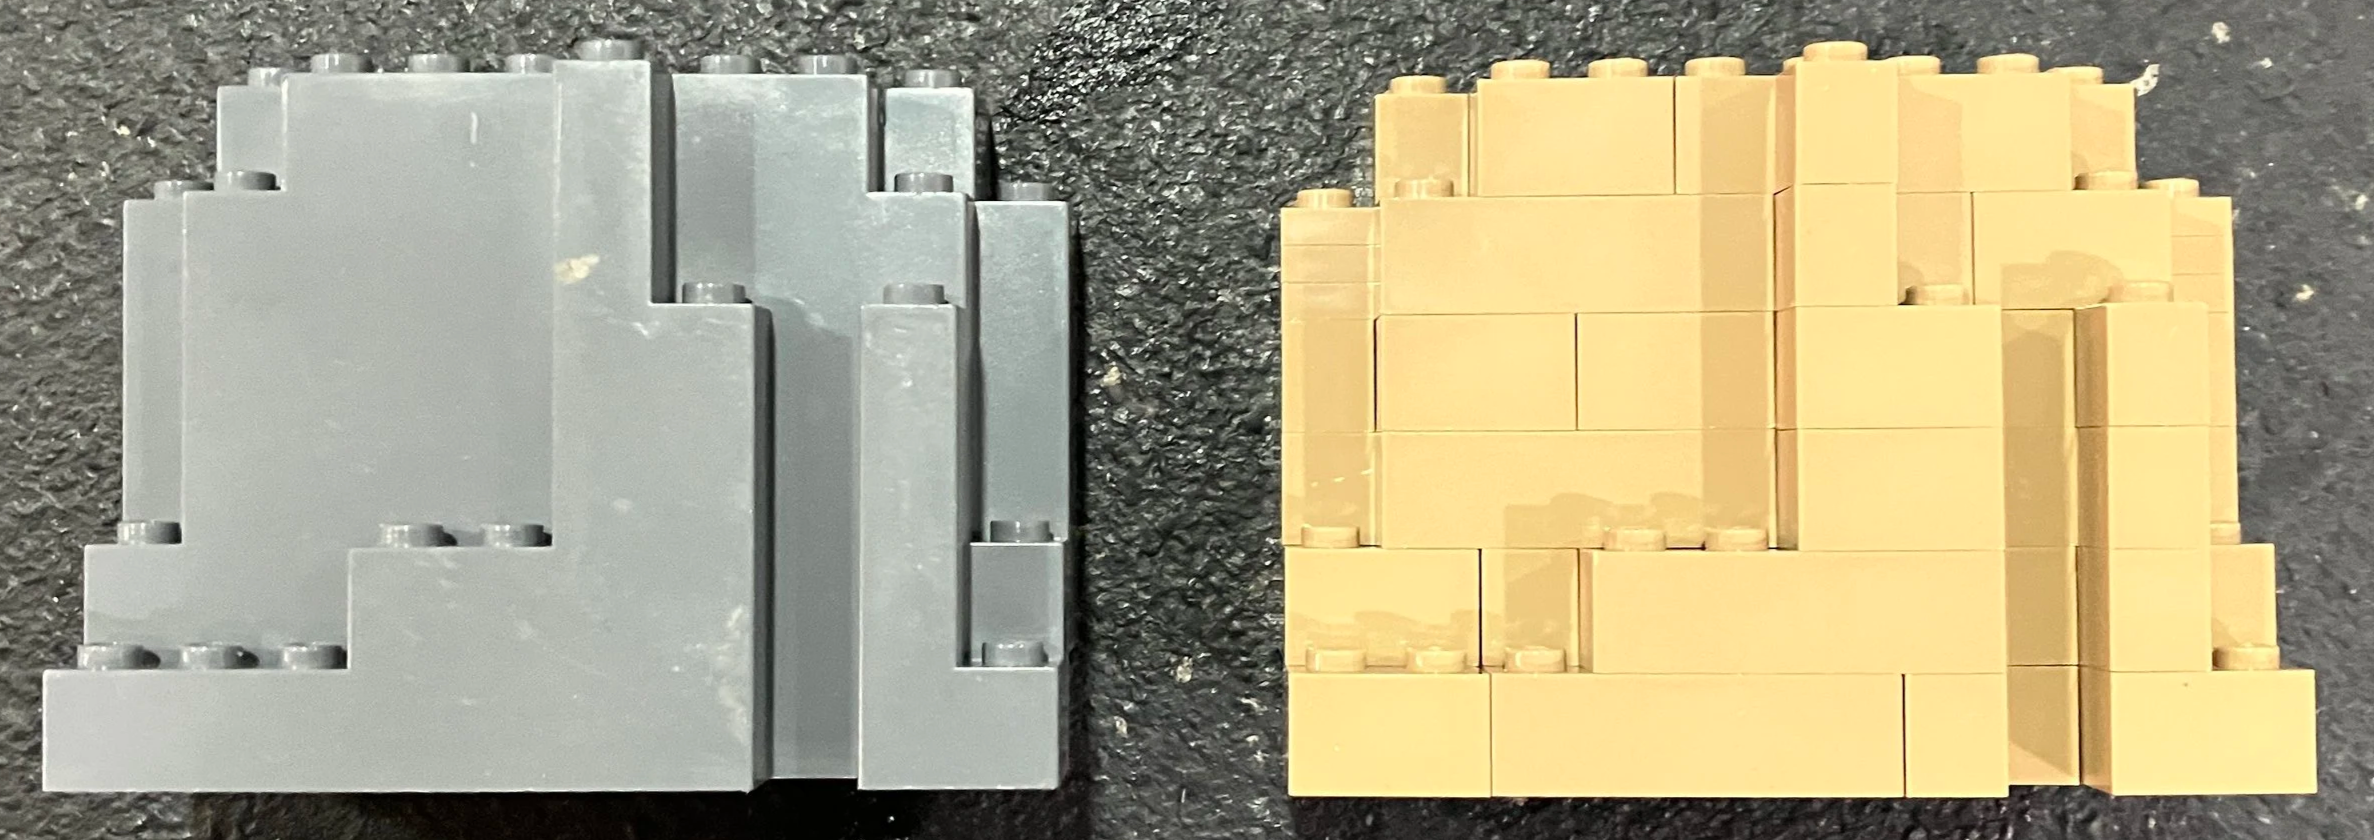
To complain more about the build, there is a lot of stacking of bricks. In bag three, you create the item on the right three separate times. Then I grabbed a gray one from my collection (on the left) and realized you are just recreating a BURP! What!?!?!? Really???? It seems as though this was built using a digital design program and the builder just did a copy and paste to add the detail. Maybe I’m wrong, but if you were free building this, I don’t see you repeating that design three times. That’s my opinion anyways…
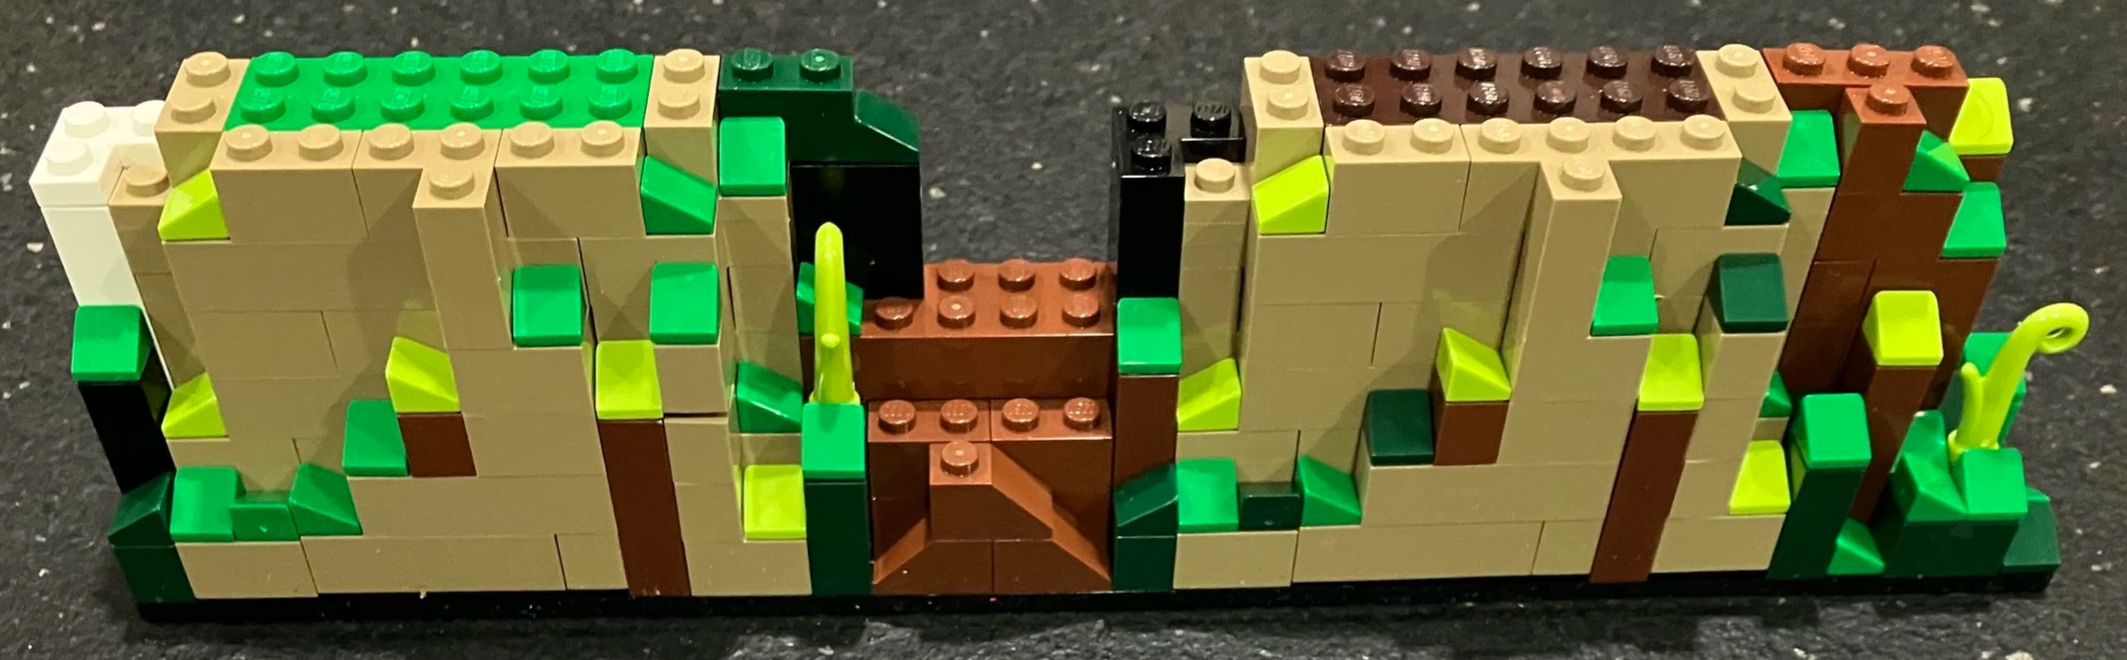
Bags five and six add to the exterior details with lots of cheese slopes and then a water feature. There’s also a walkway into the building built as stairs over the water.
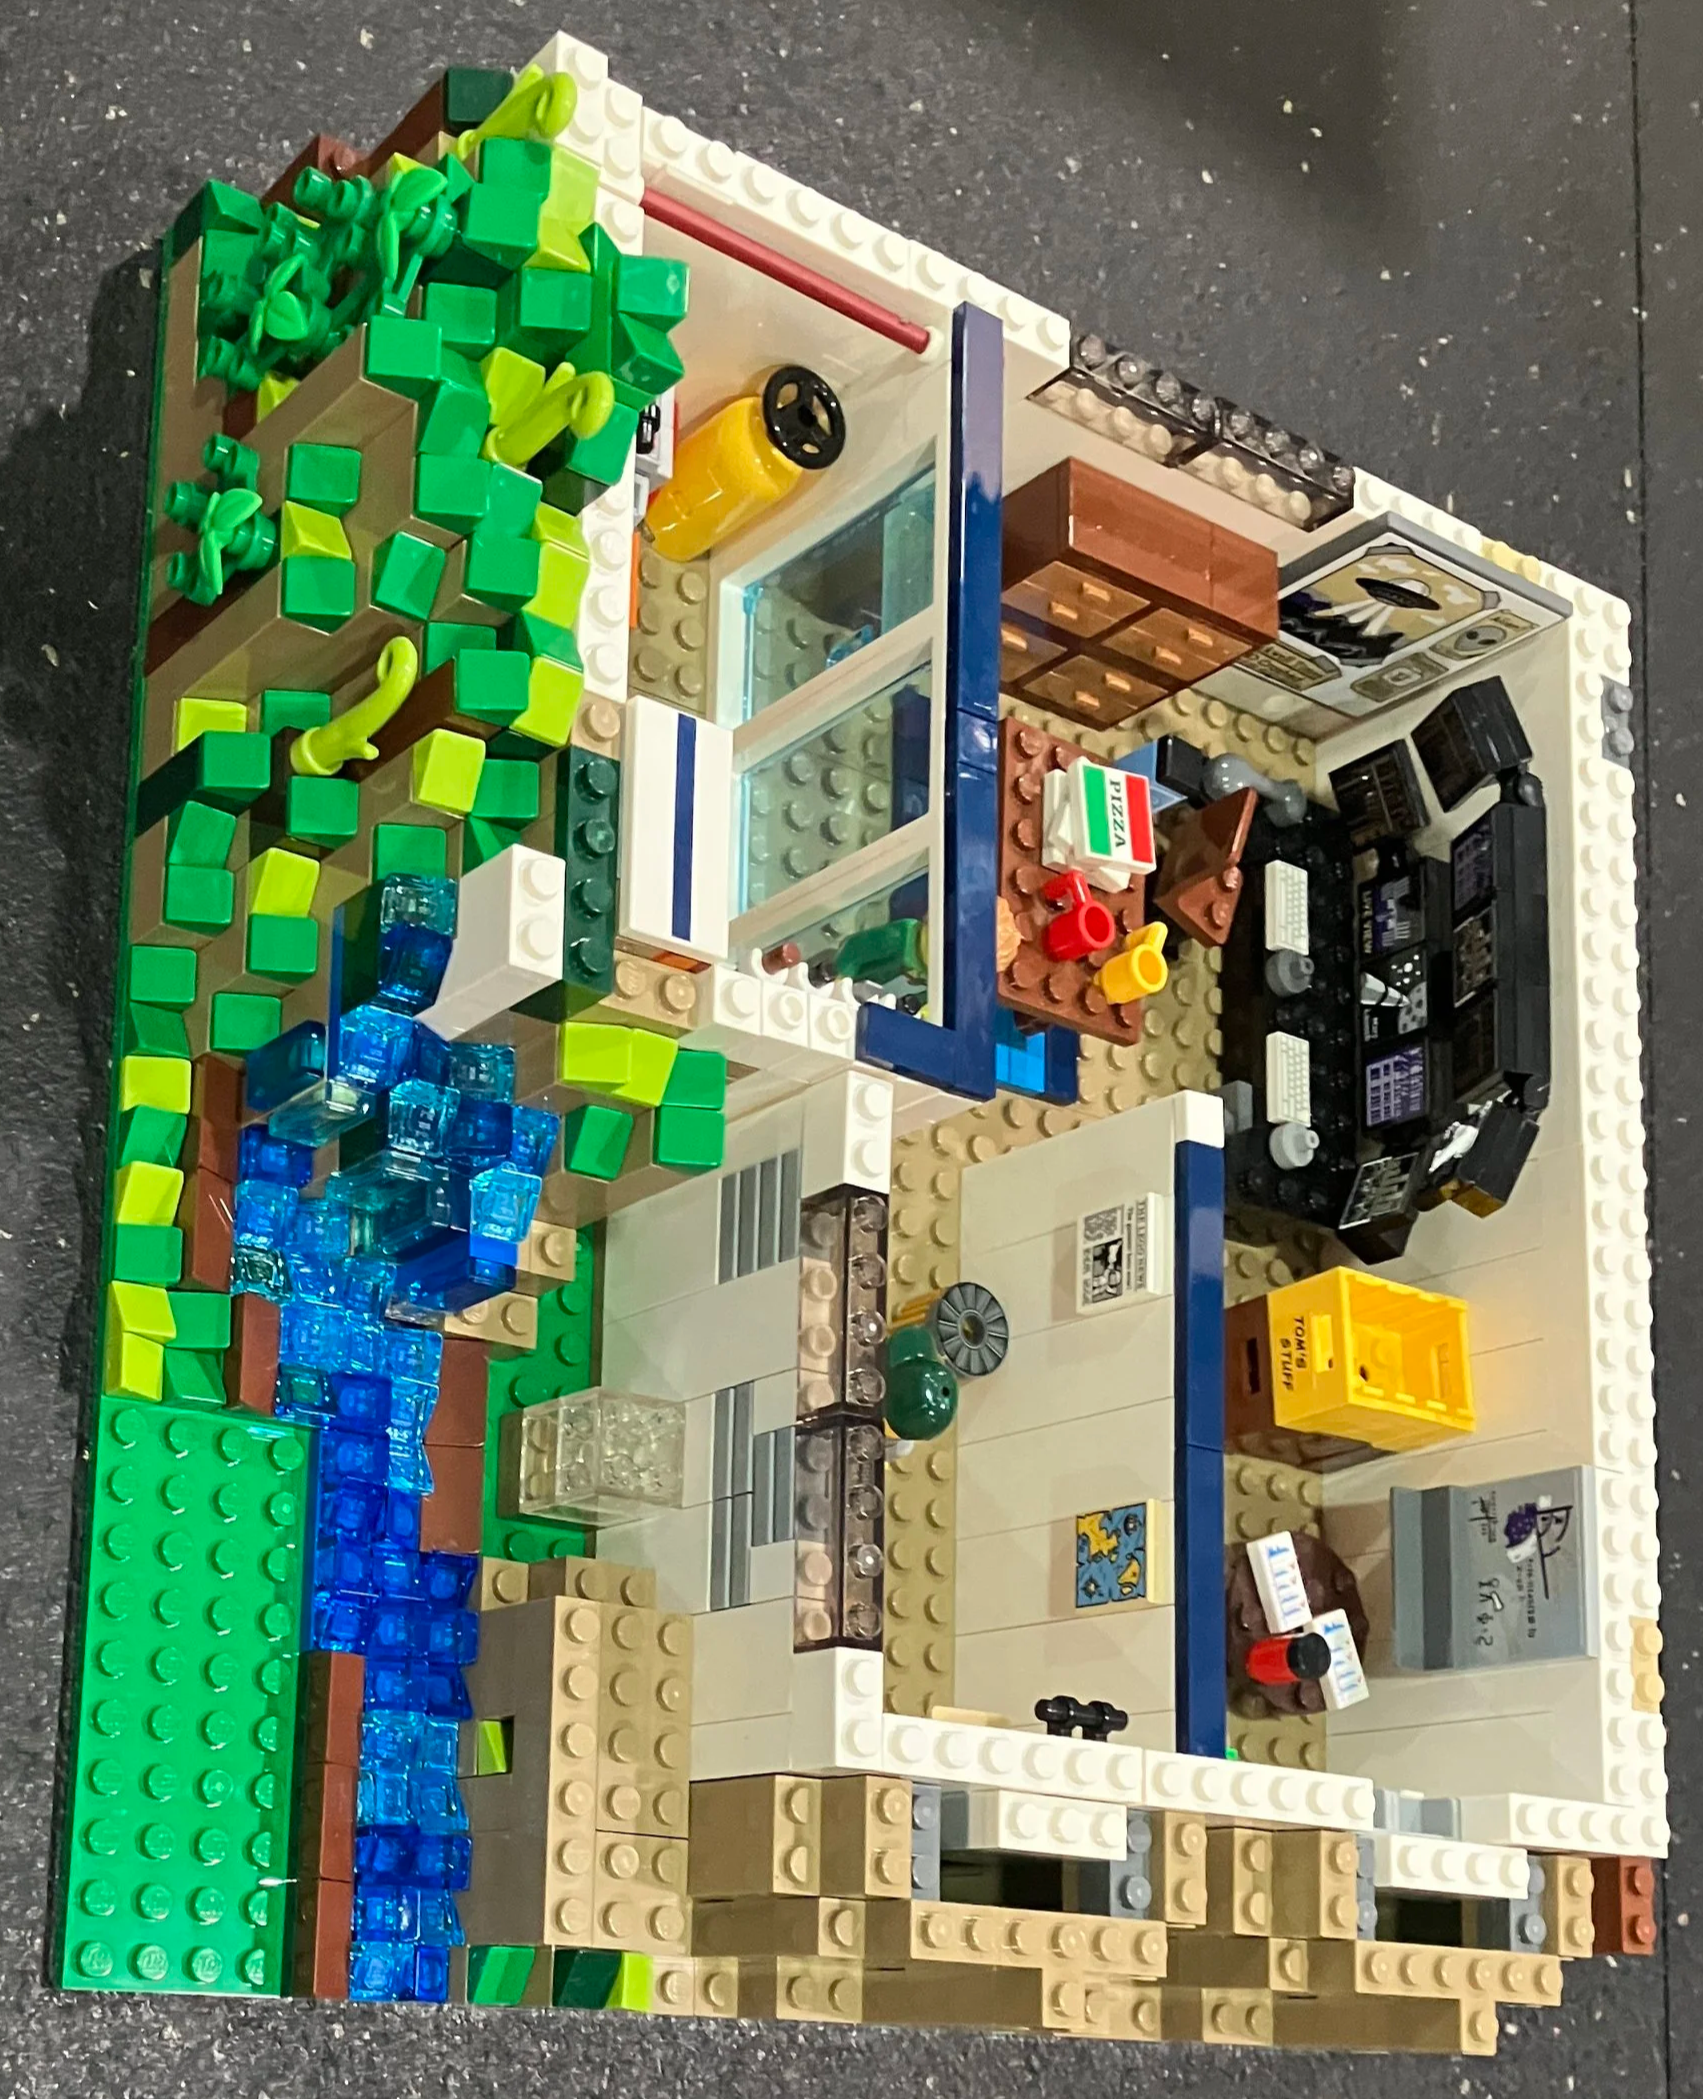
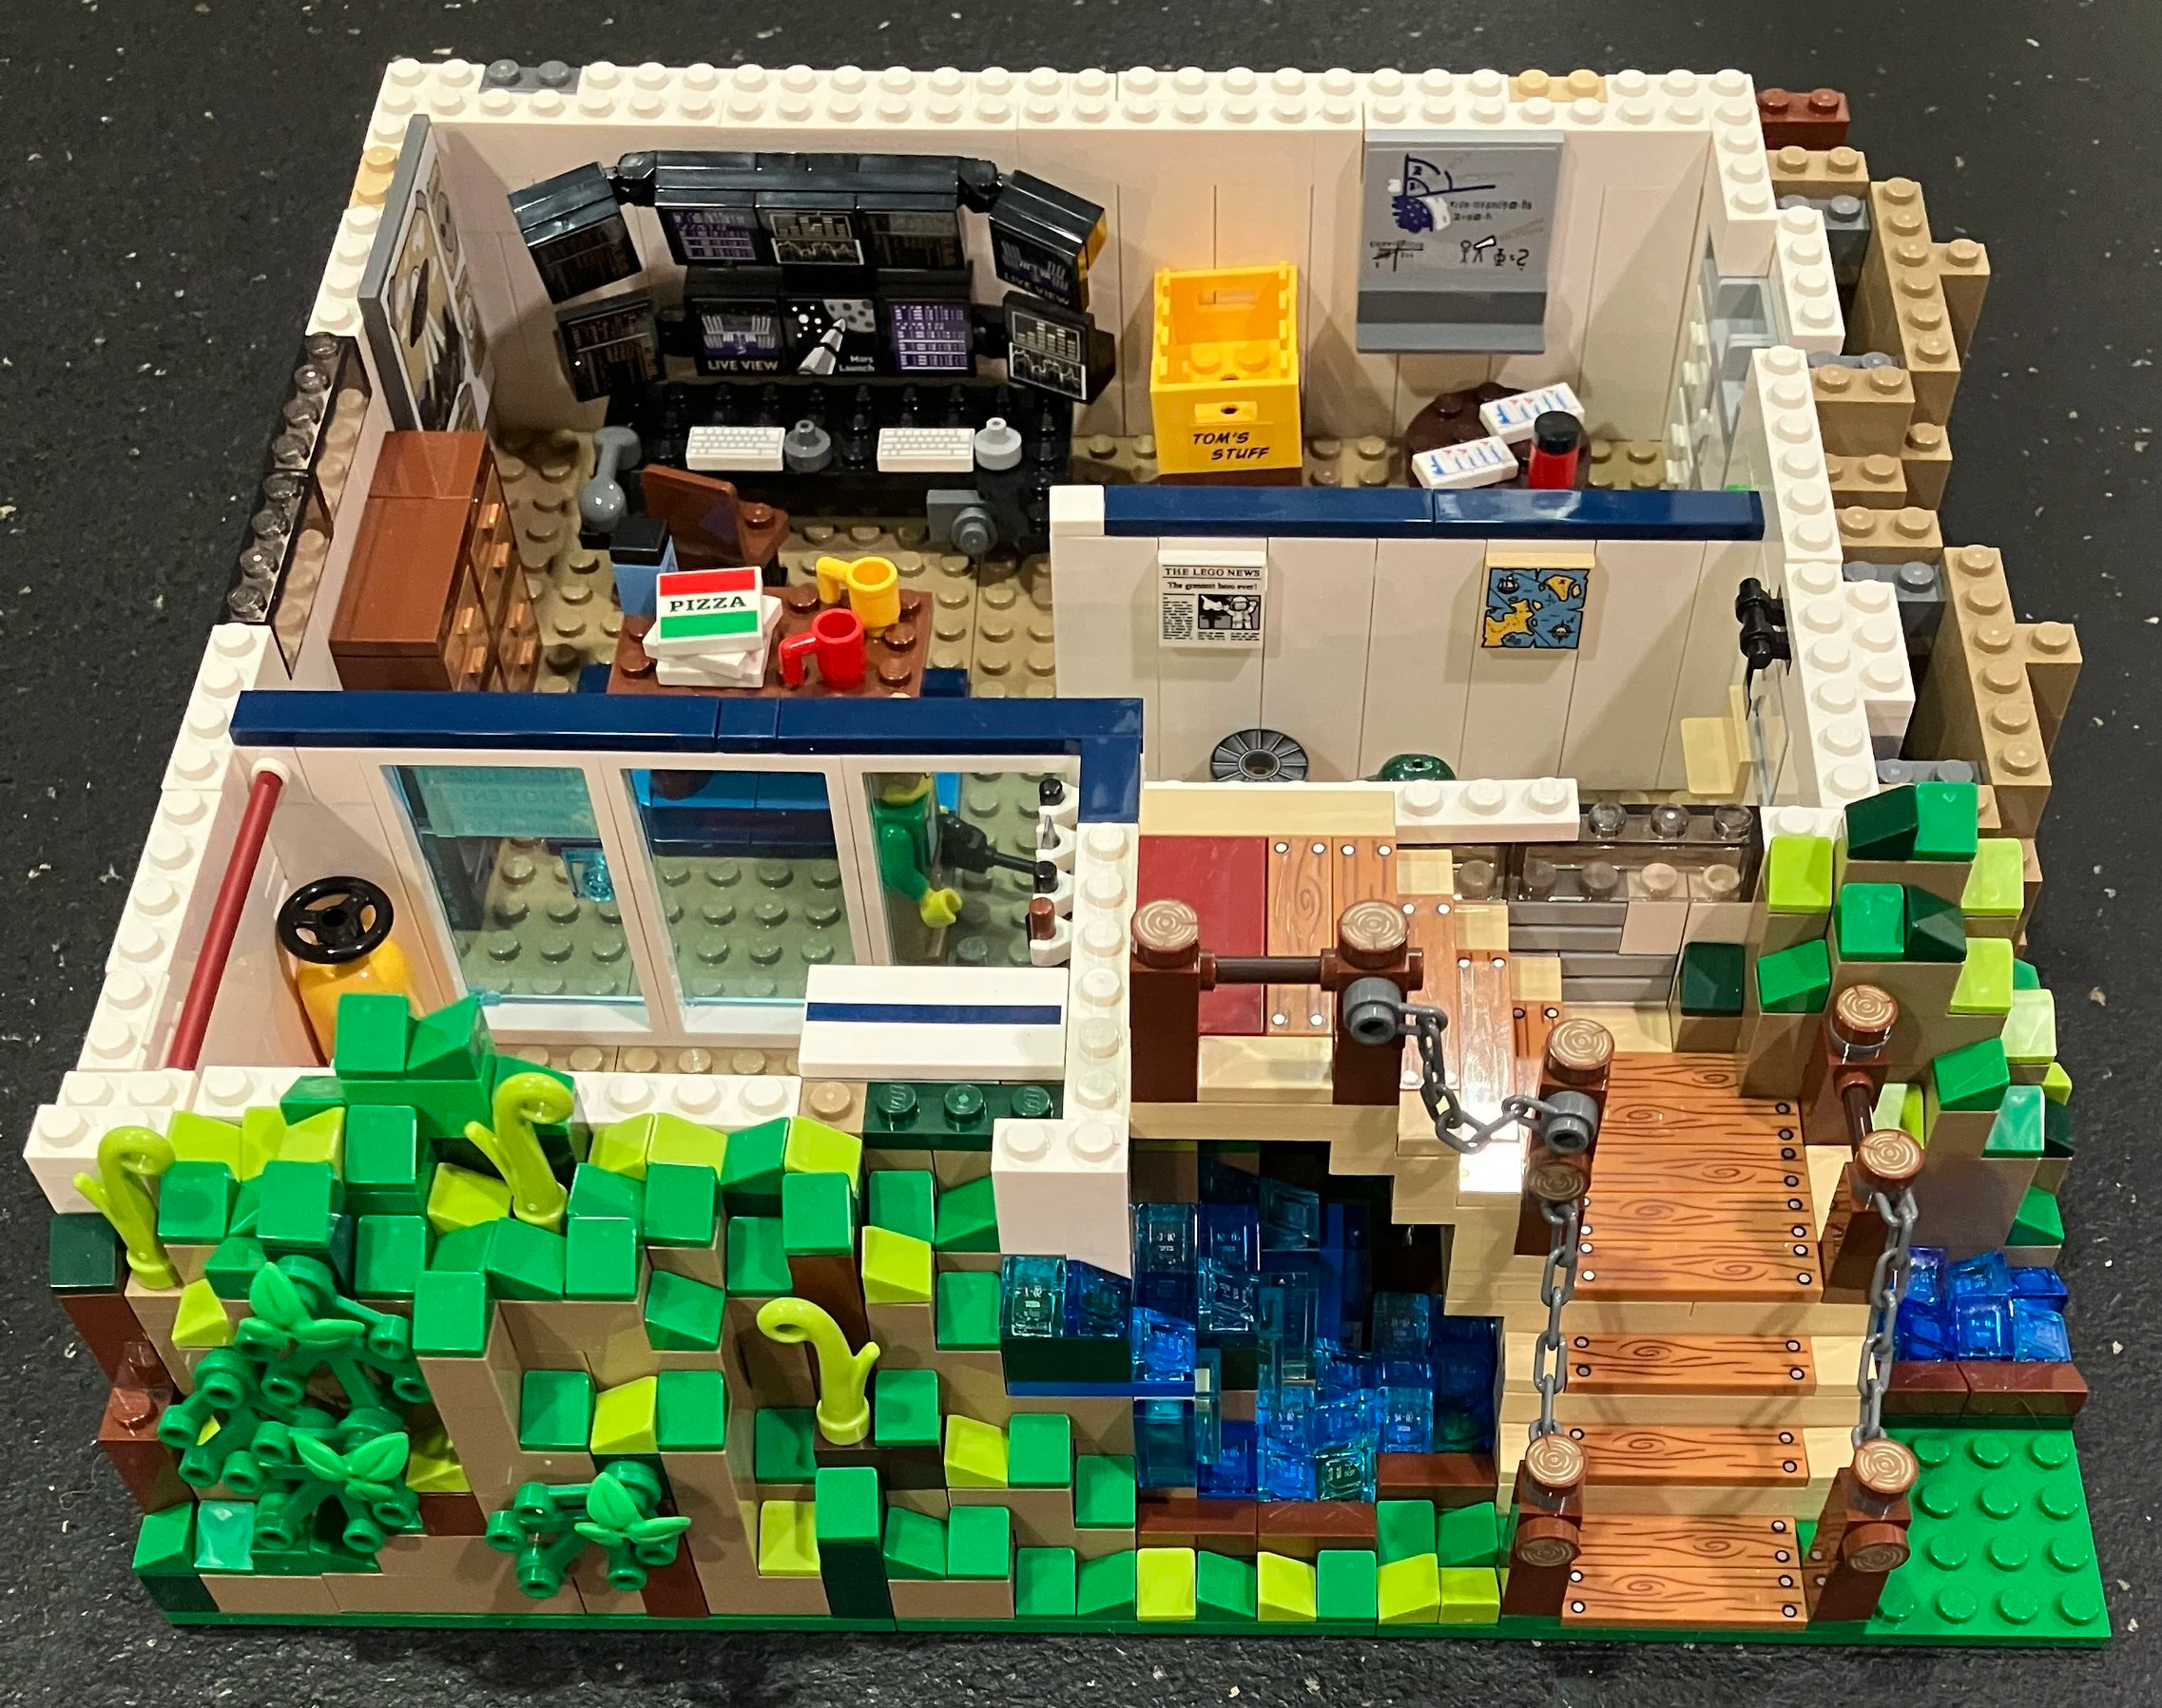
Bag seven finishes up the ground level section while bag eight constructs a separate section to connect to the base.
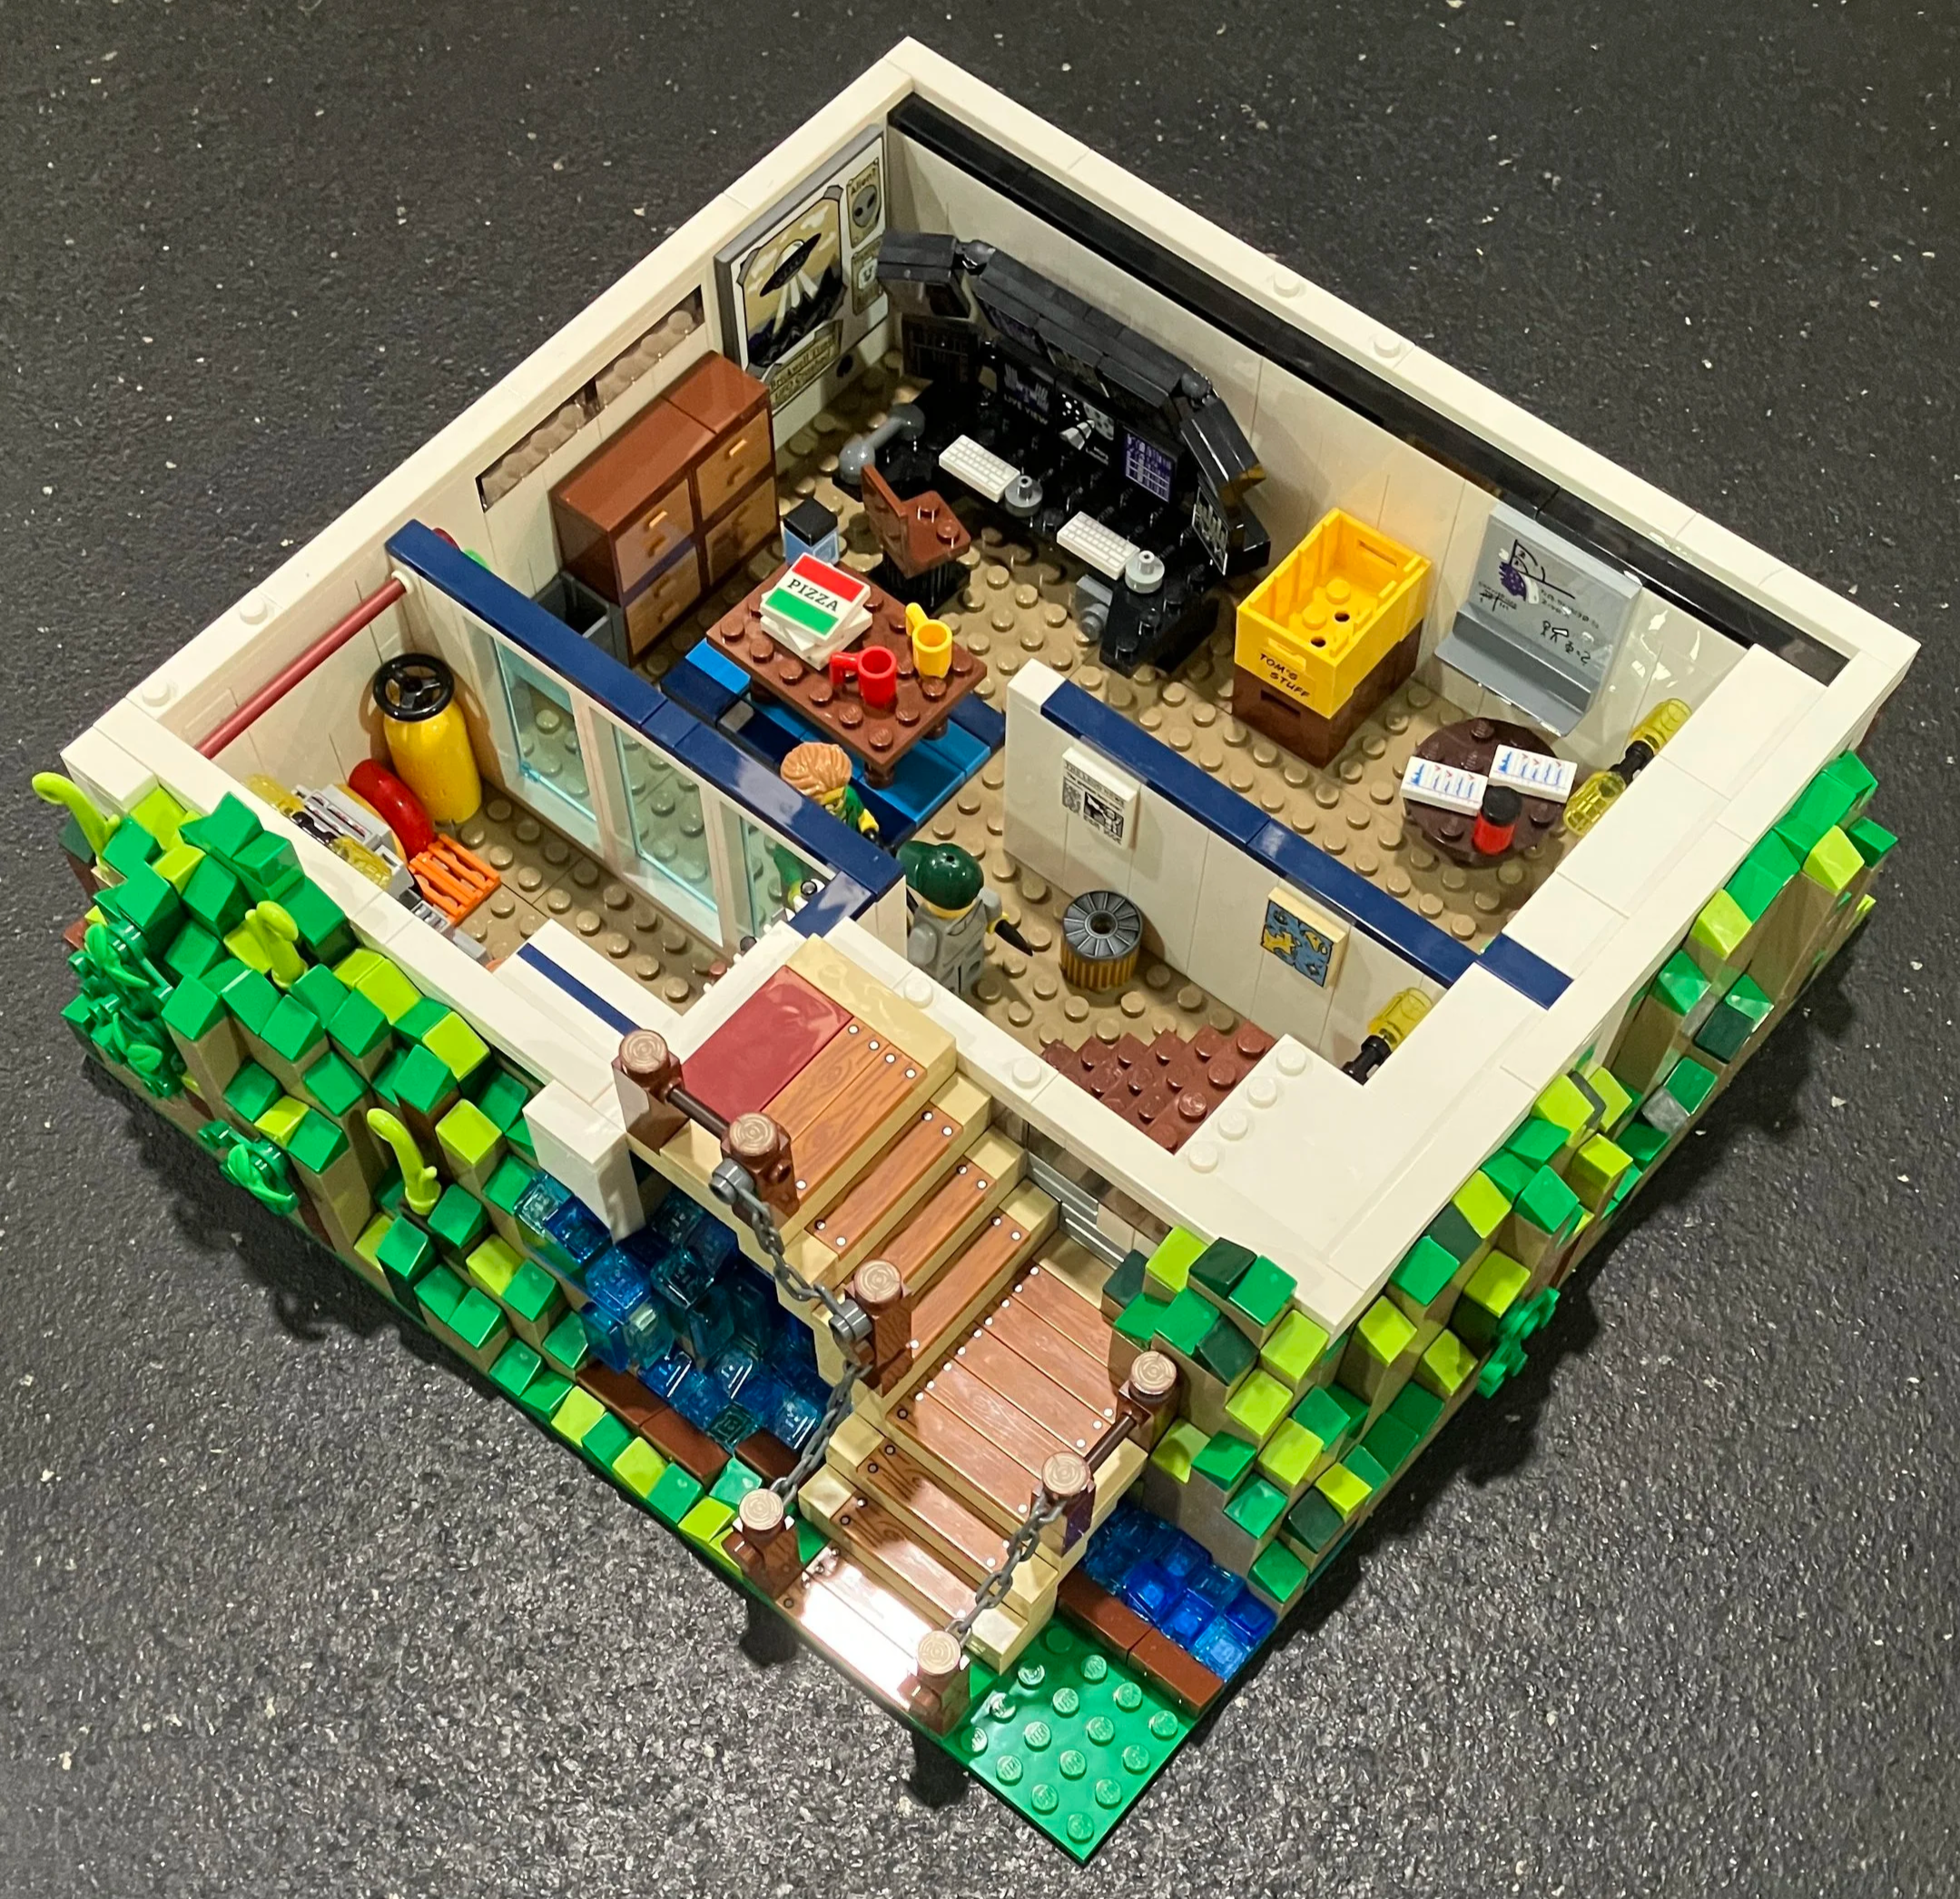
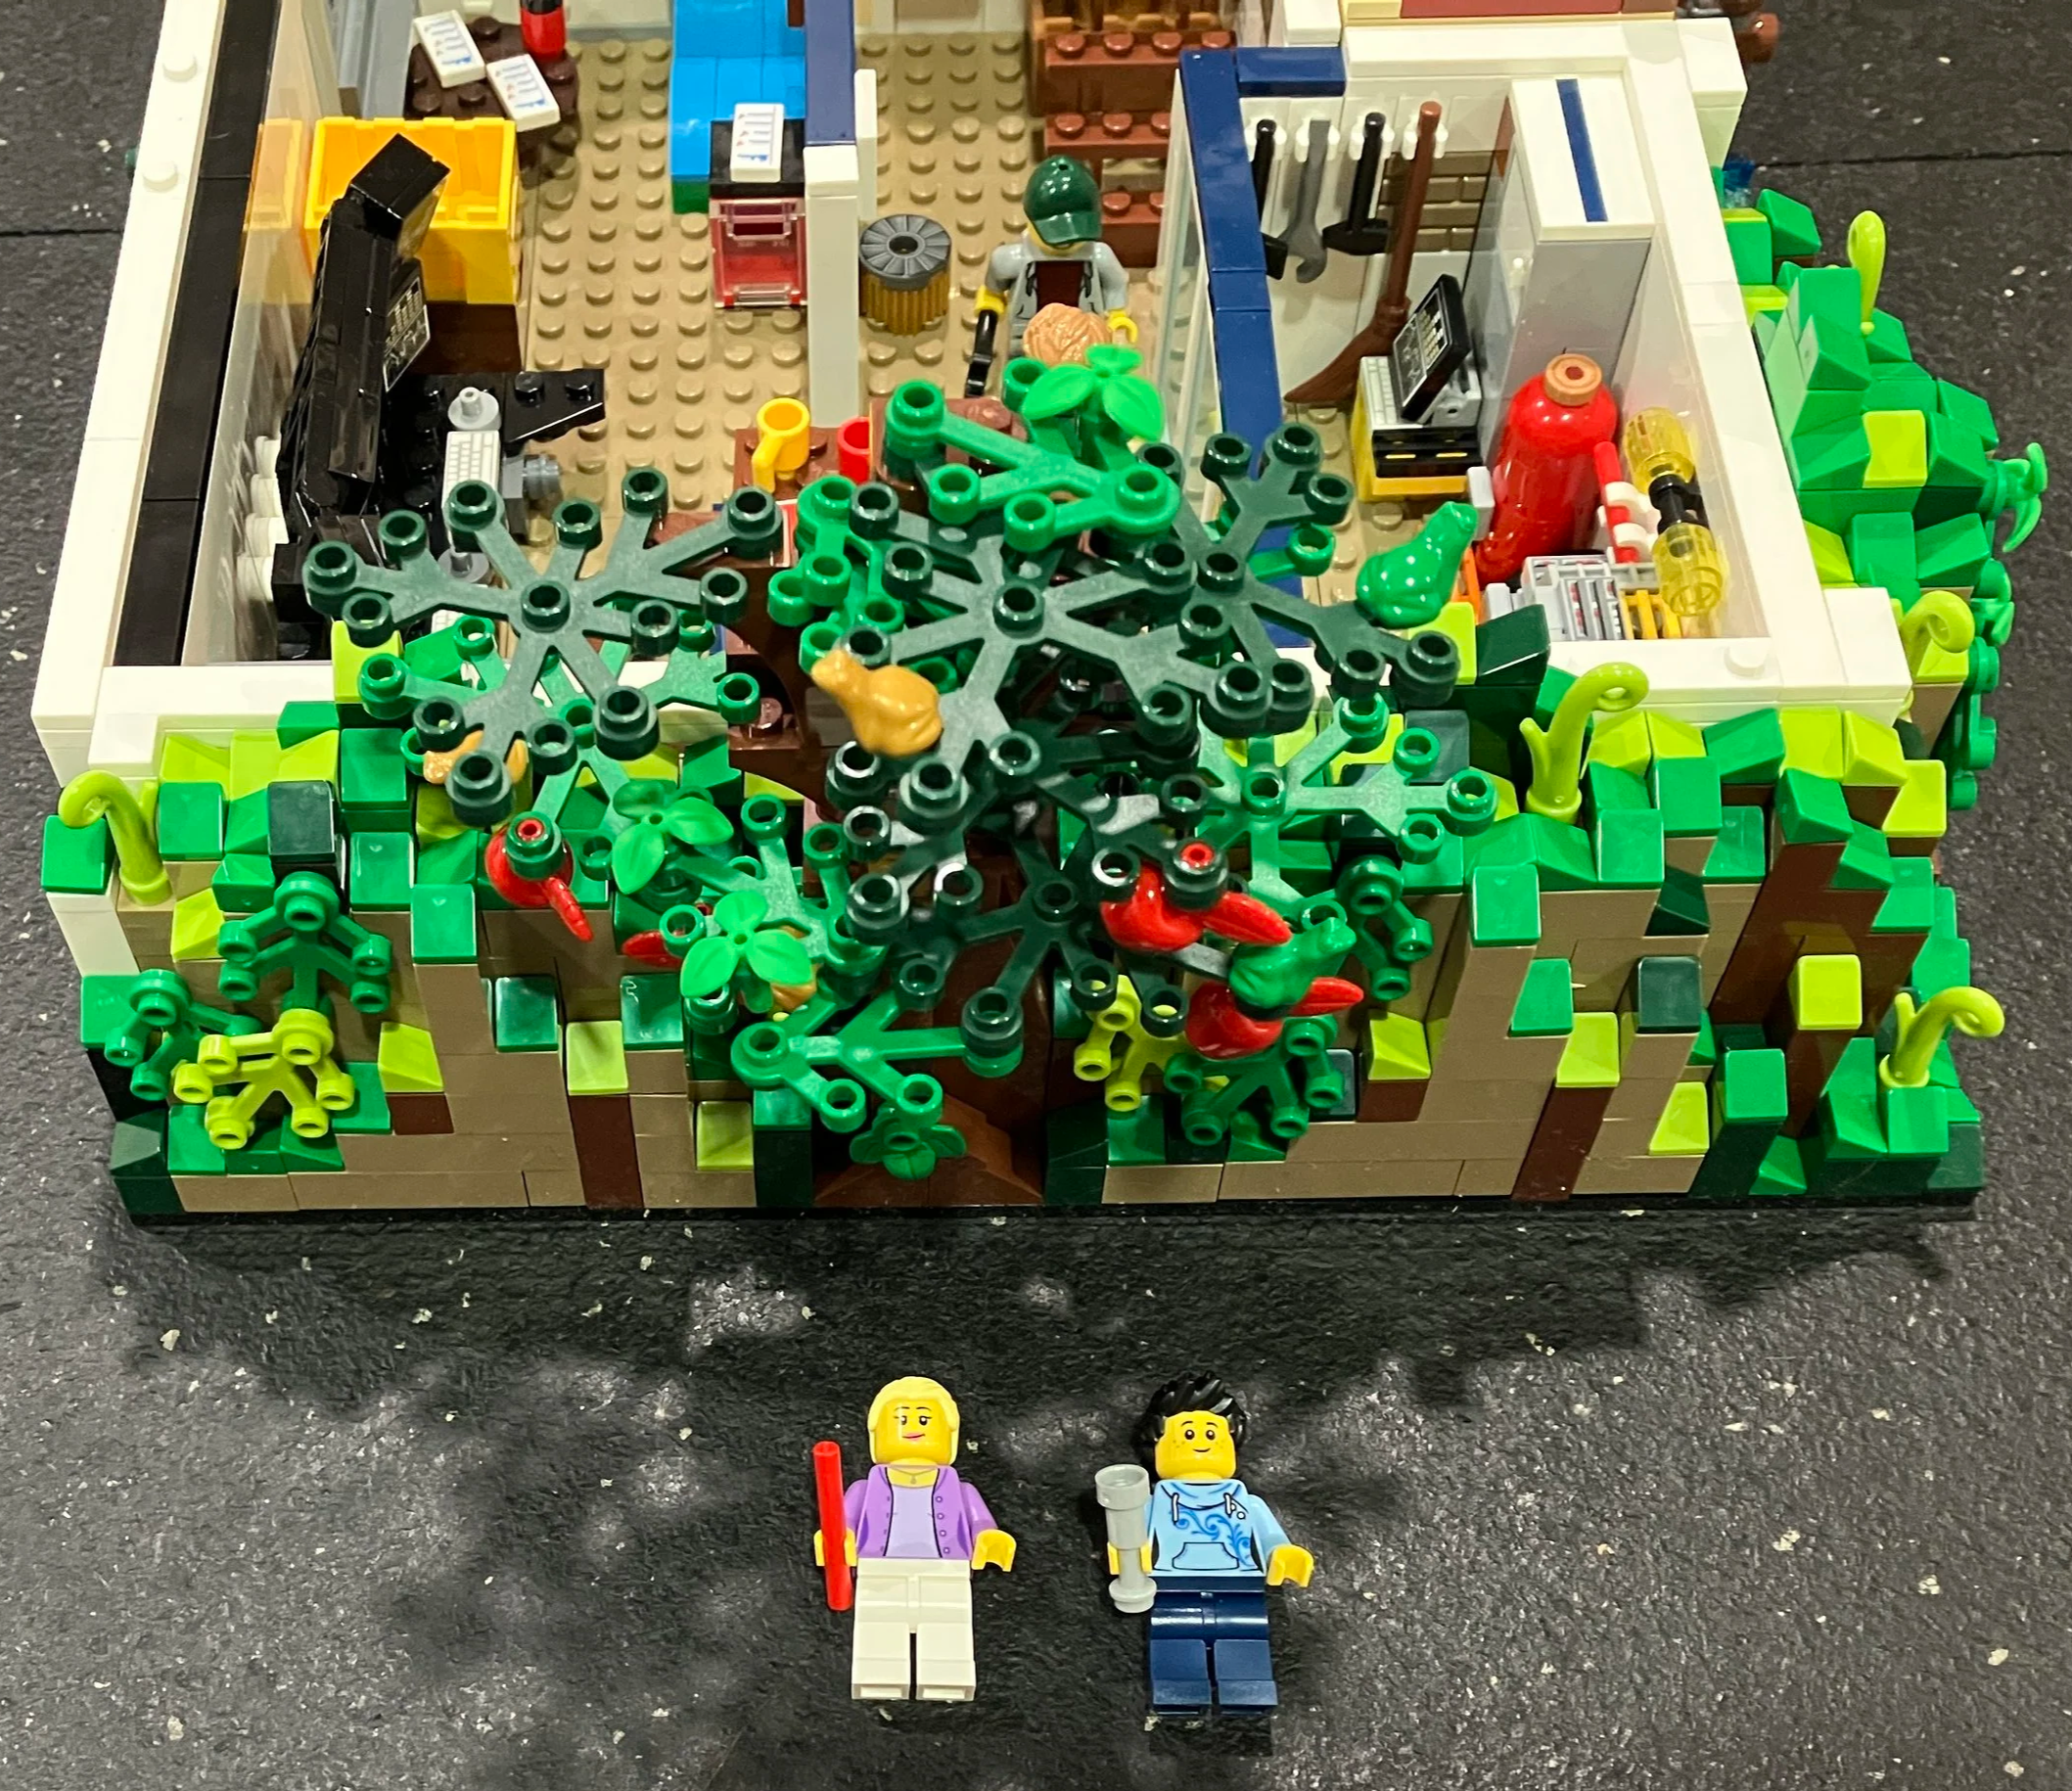
Bag nine adds a tree to the outside with some frogs in it. You also get two more minifigures.
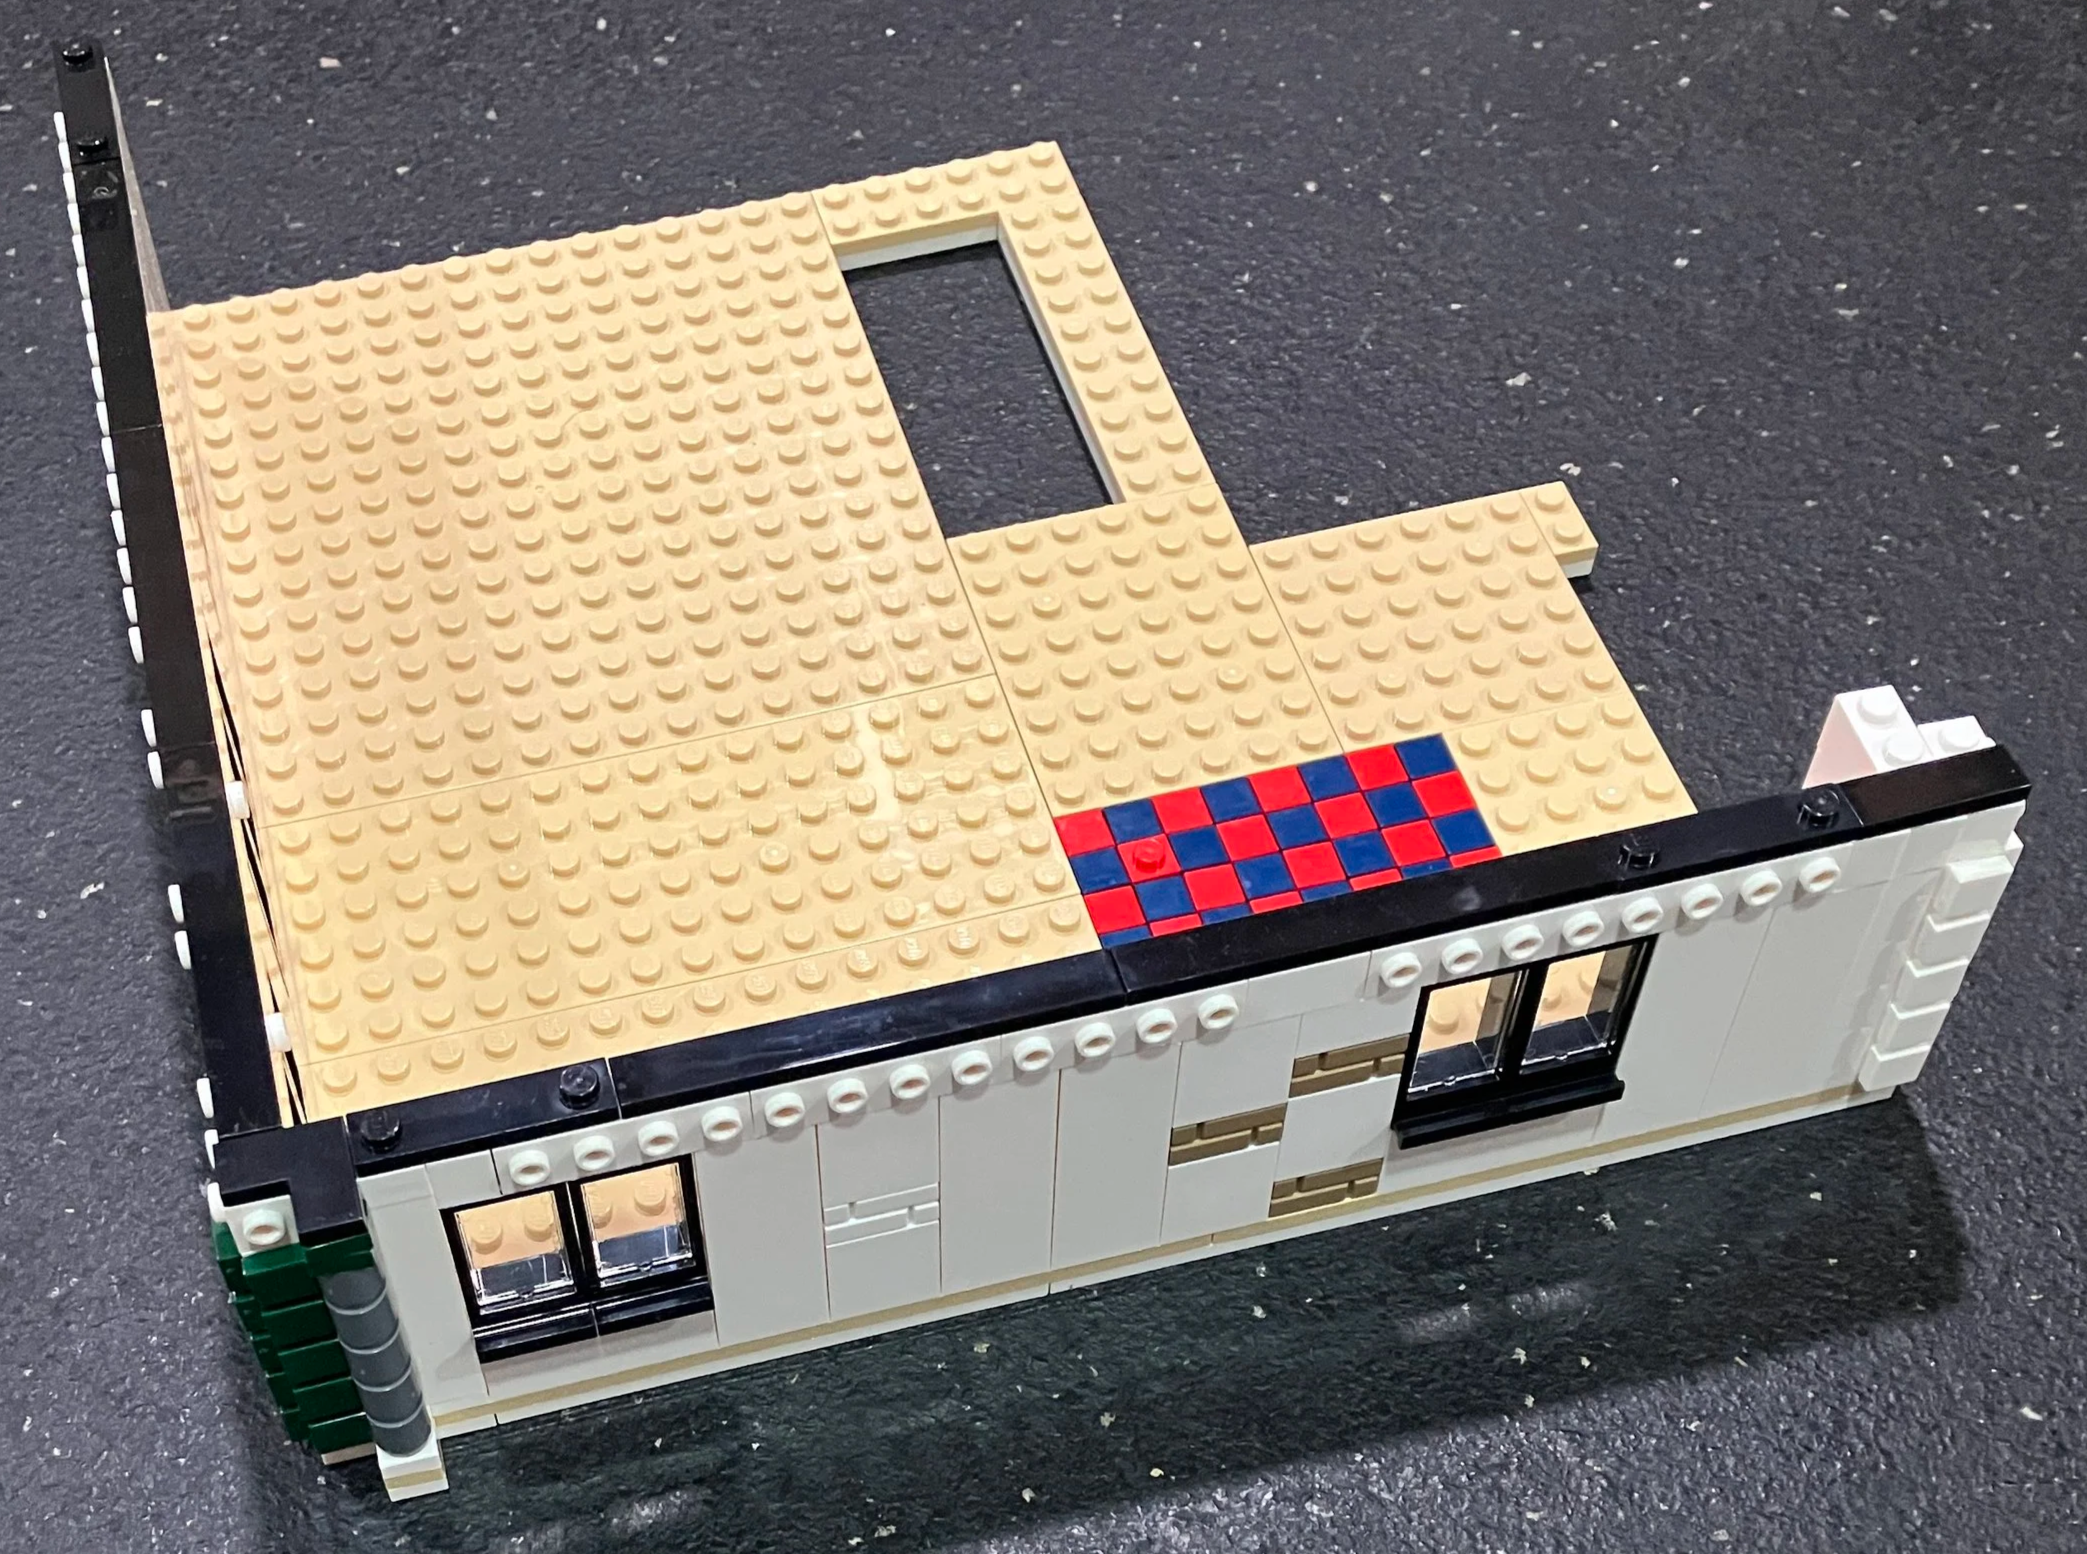
Bag ten starts the second level. The floor is made of plates and then the walls start with bricks being stacked.
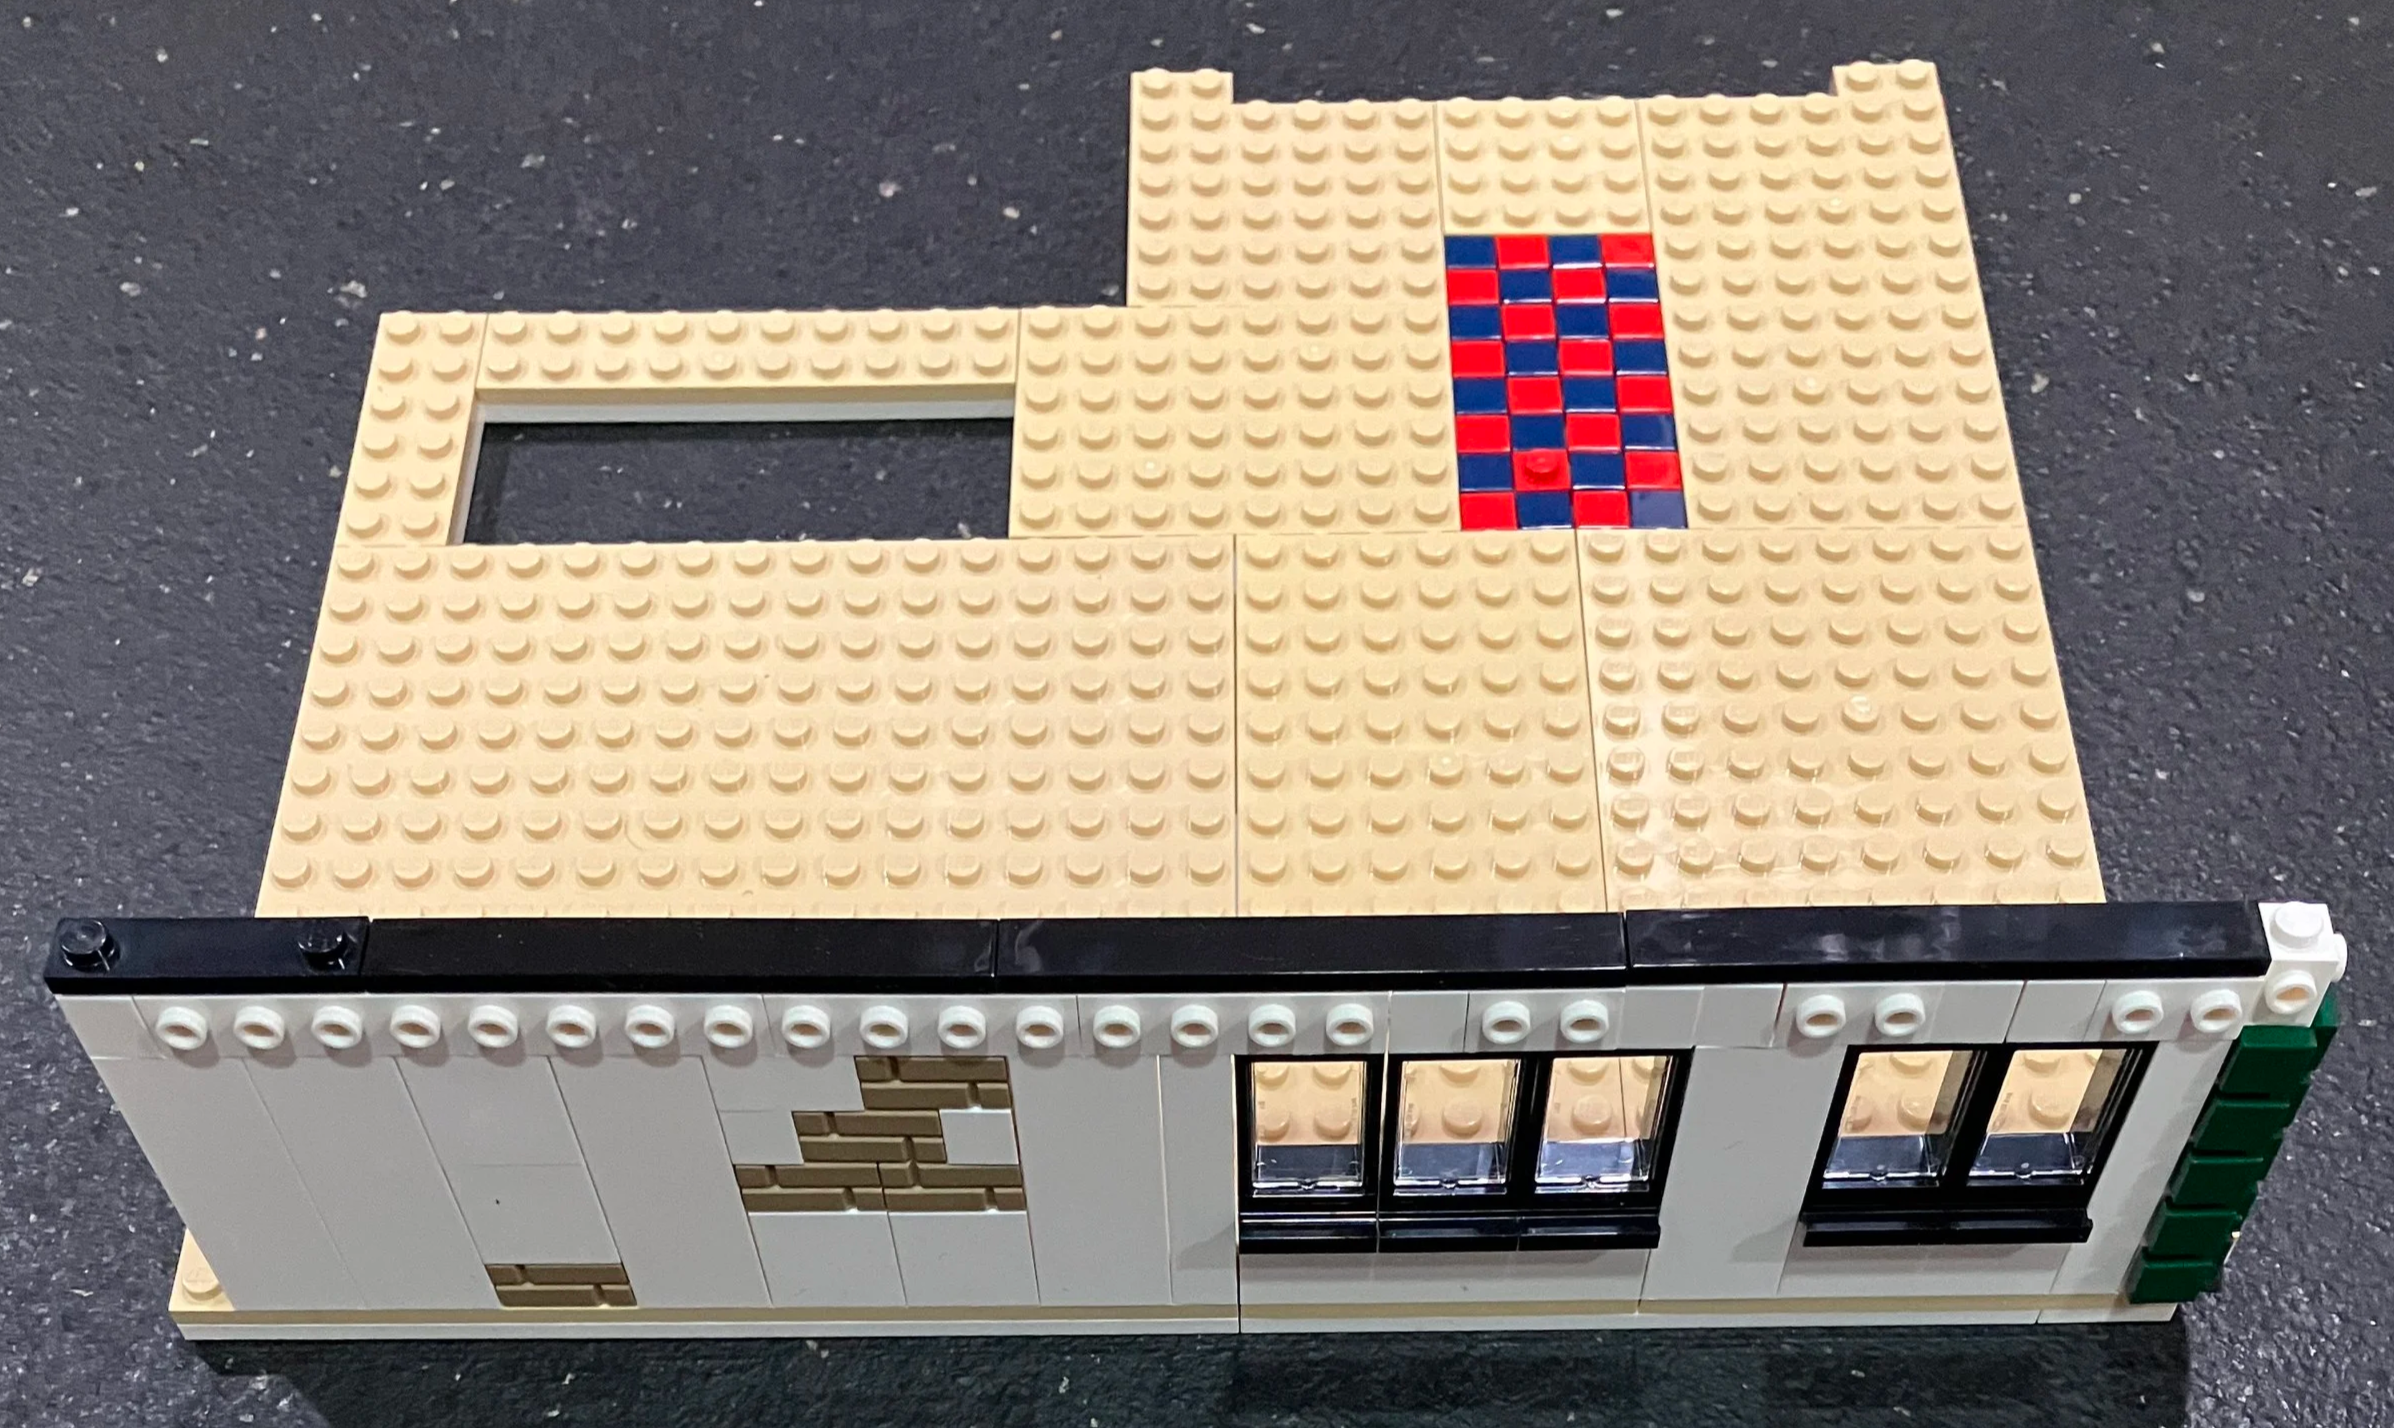
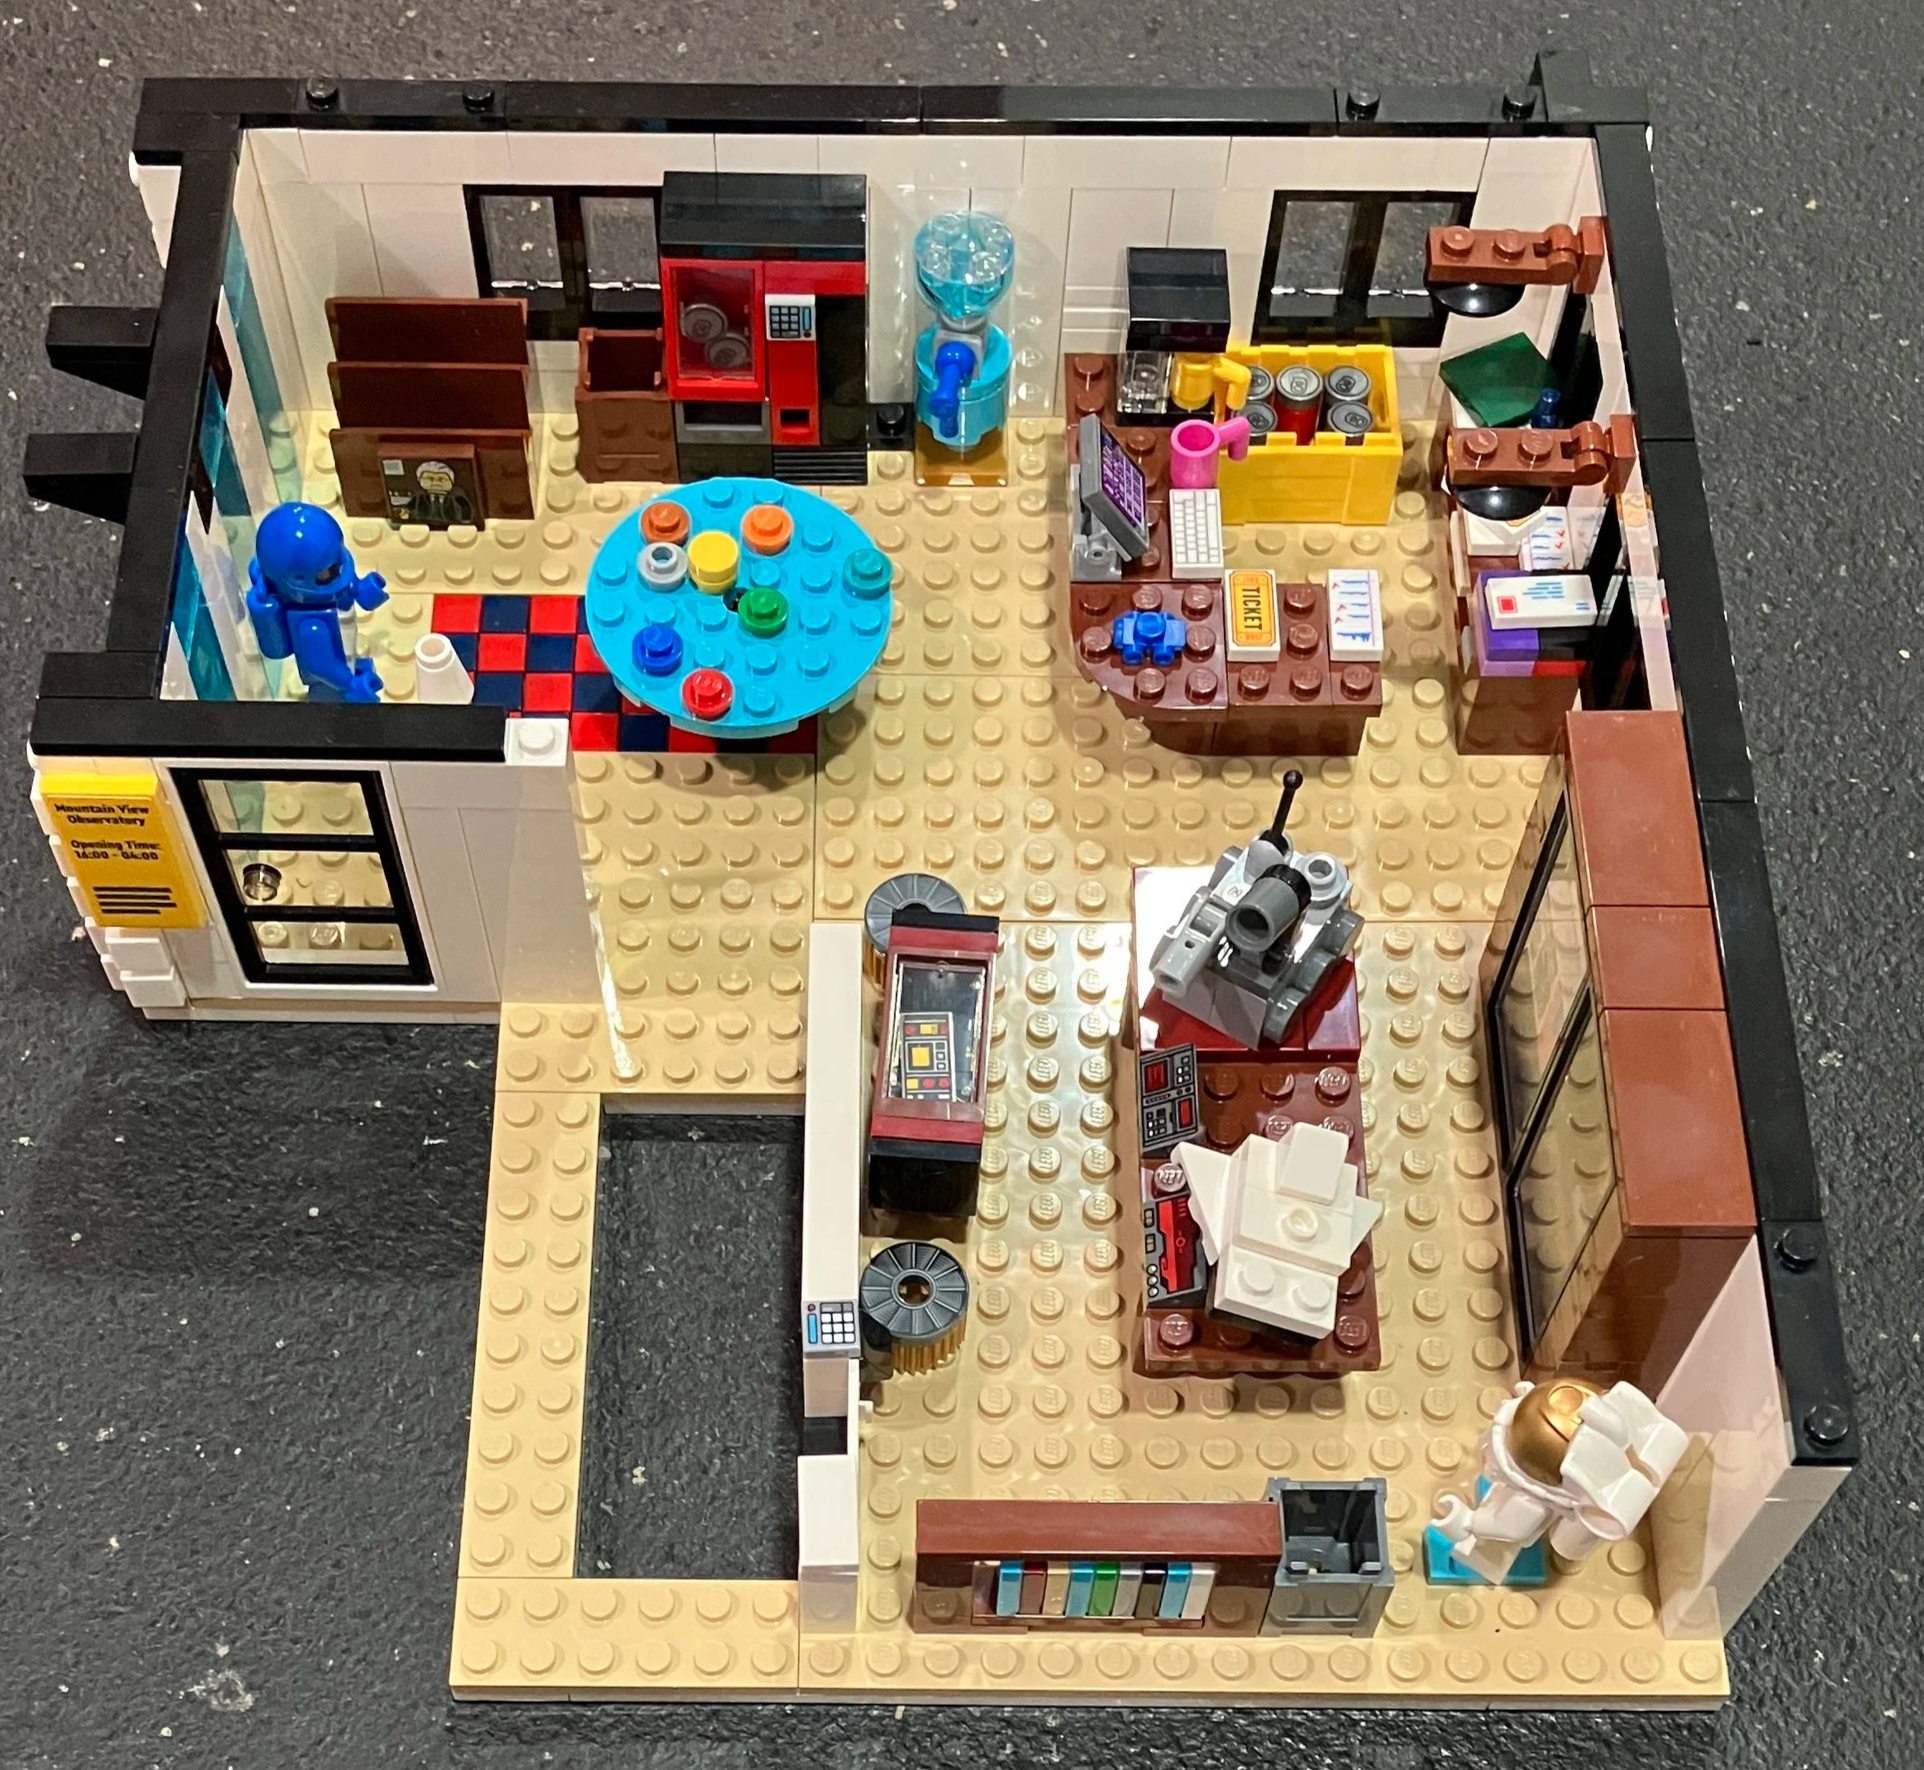
Bag 11 continues to build the wall while bag 12 adds details on the inside. There are some great items in here to include a display shelf with various space items, a soda machine, a space suit, a model rocket, and a worker’s desk.
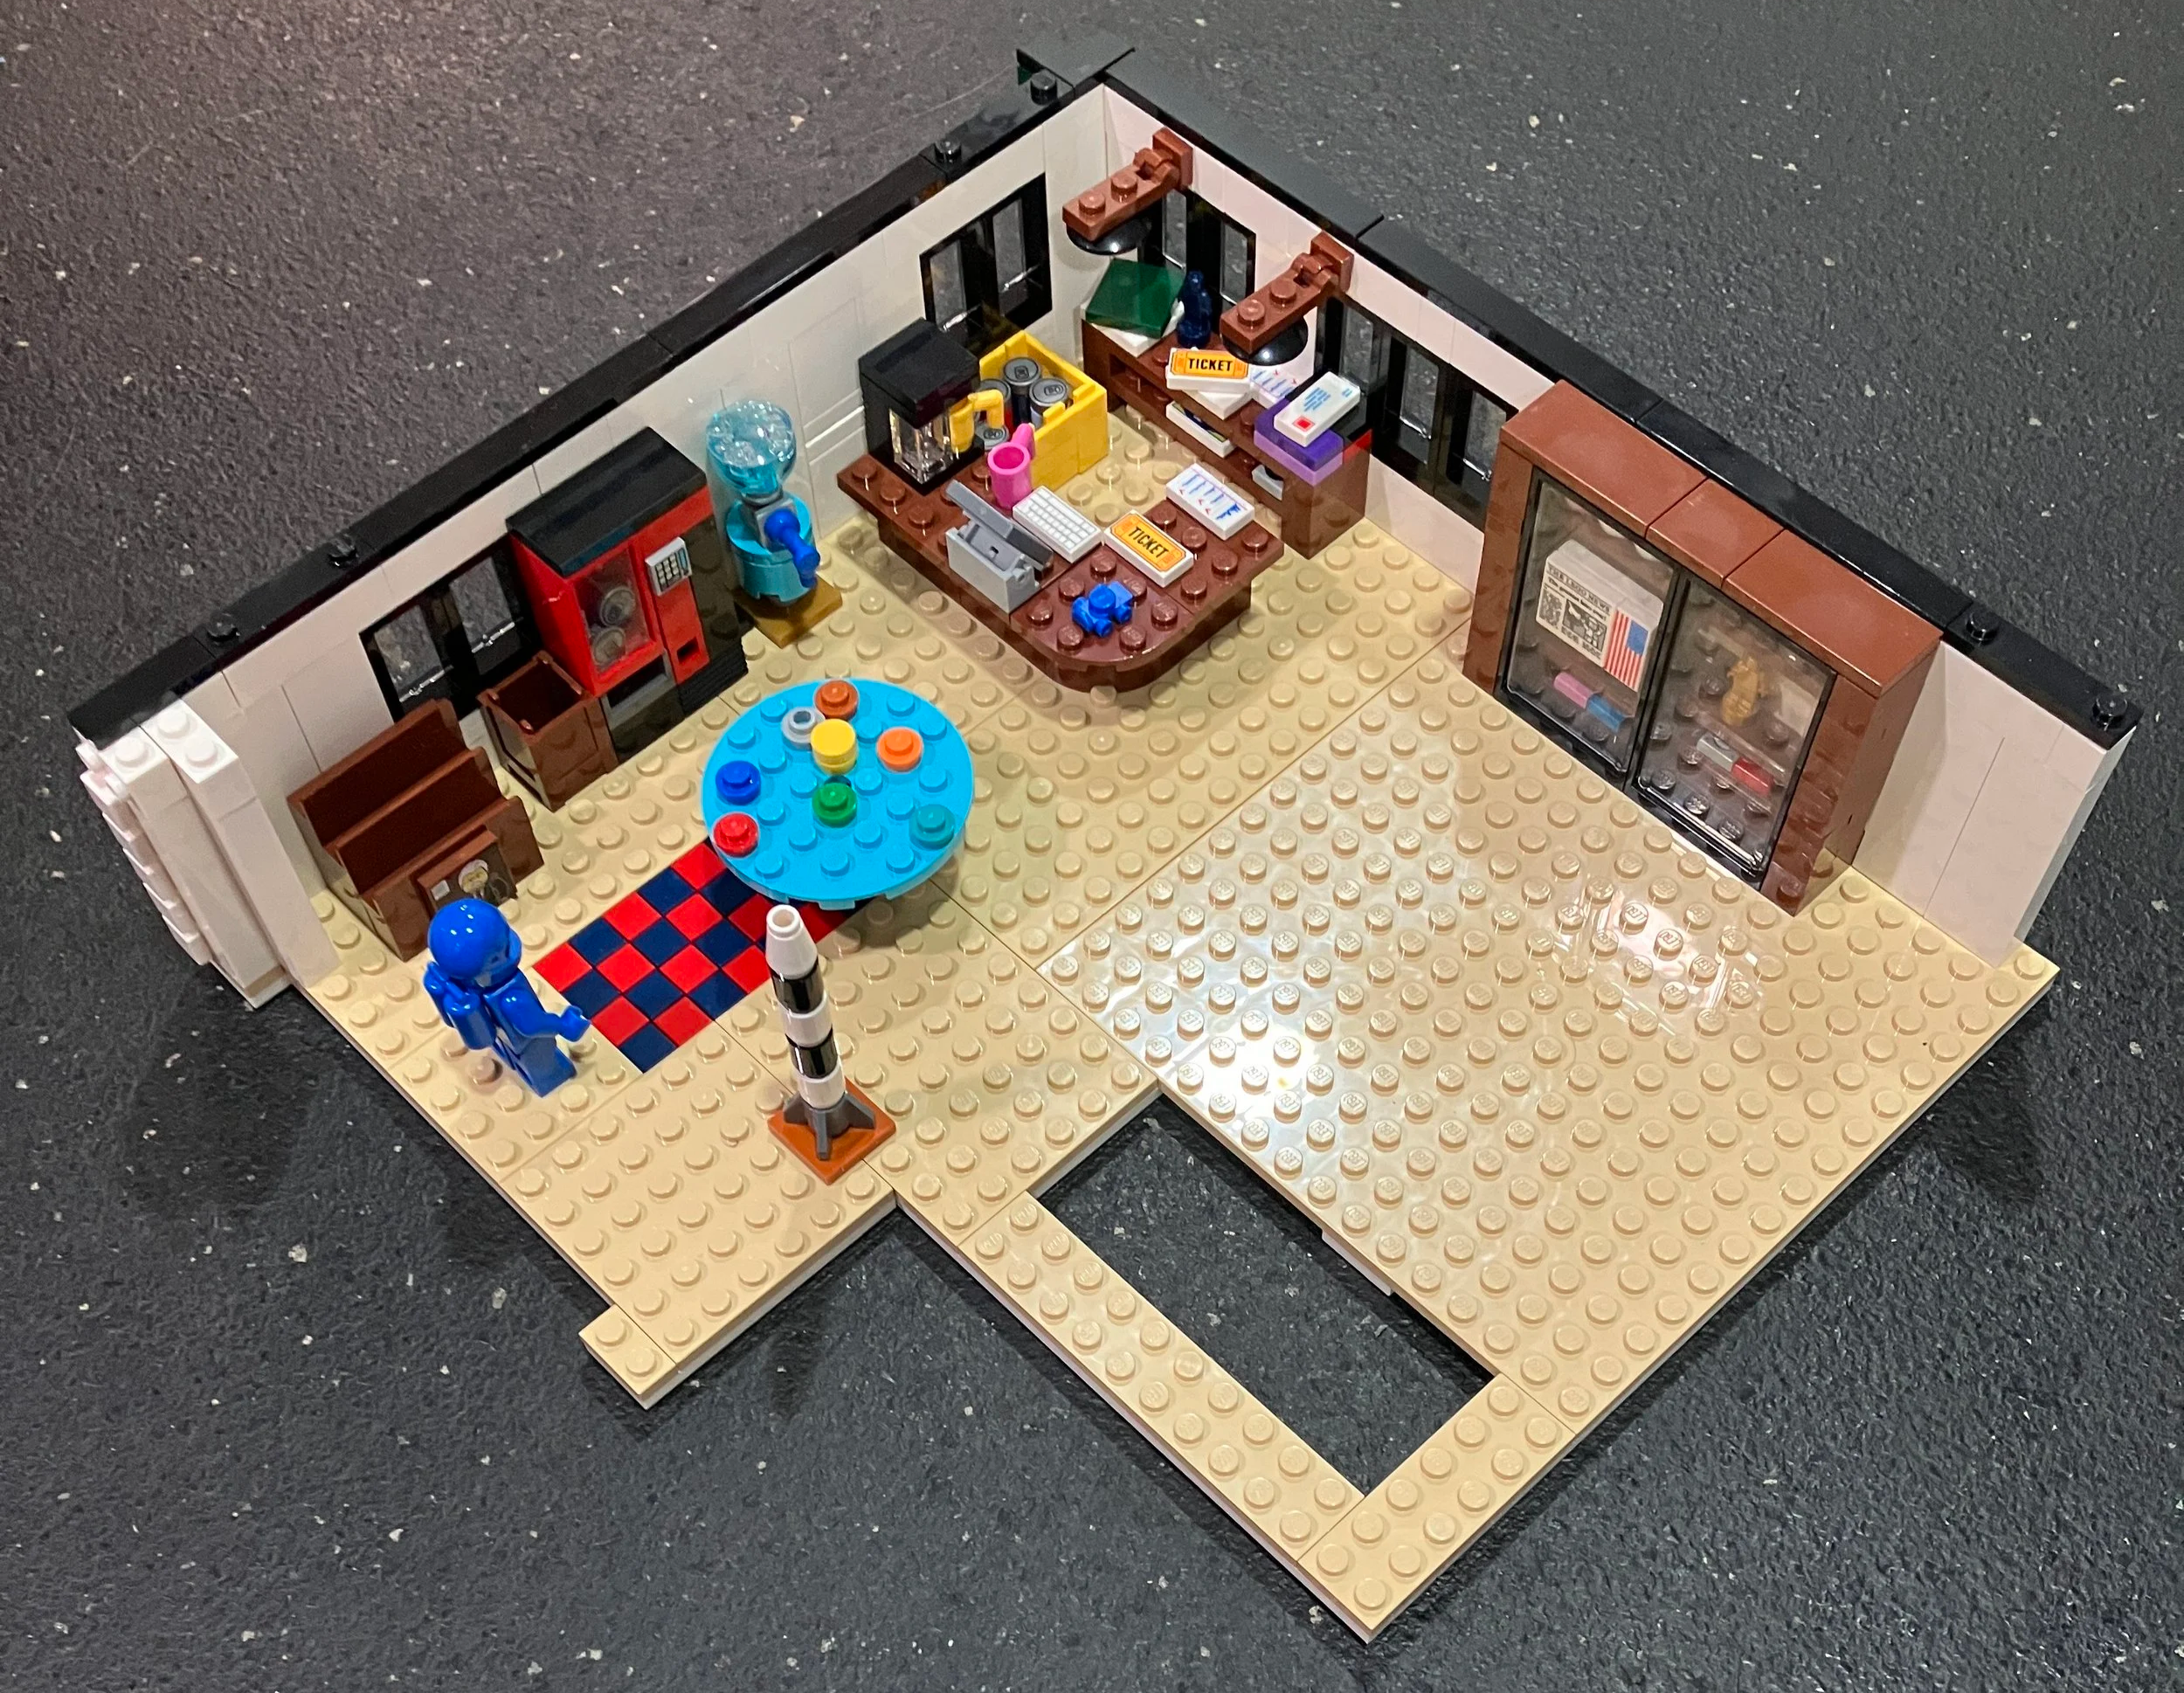
Bag 13 adds more details with a small rover and spaceship model. There’s also another space suit on display.
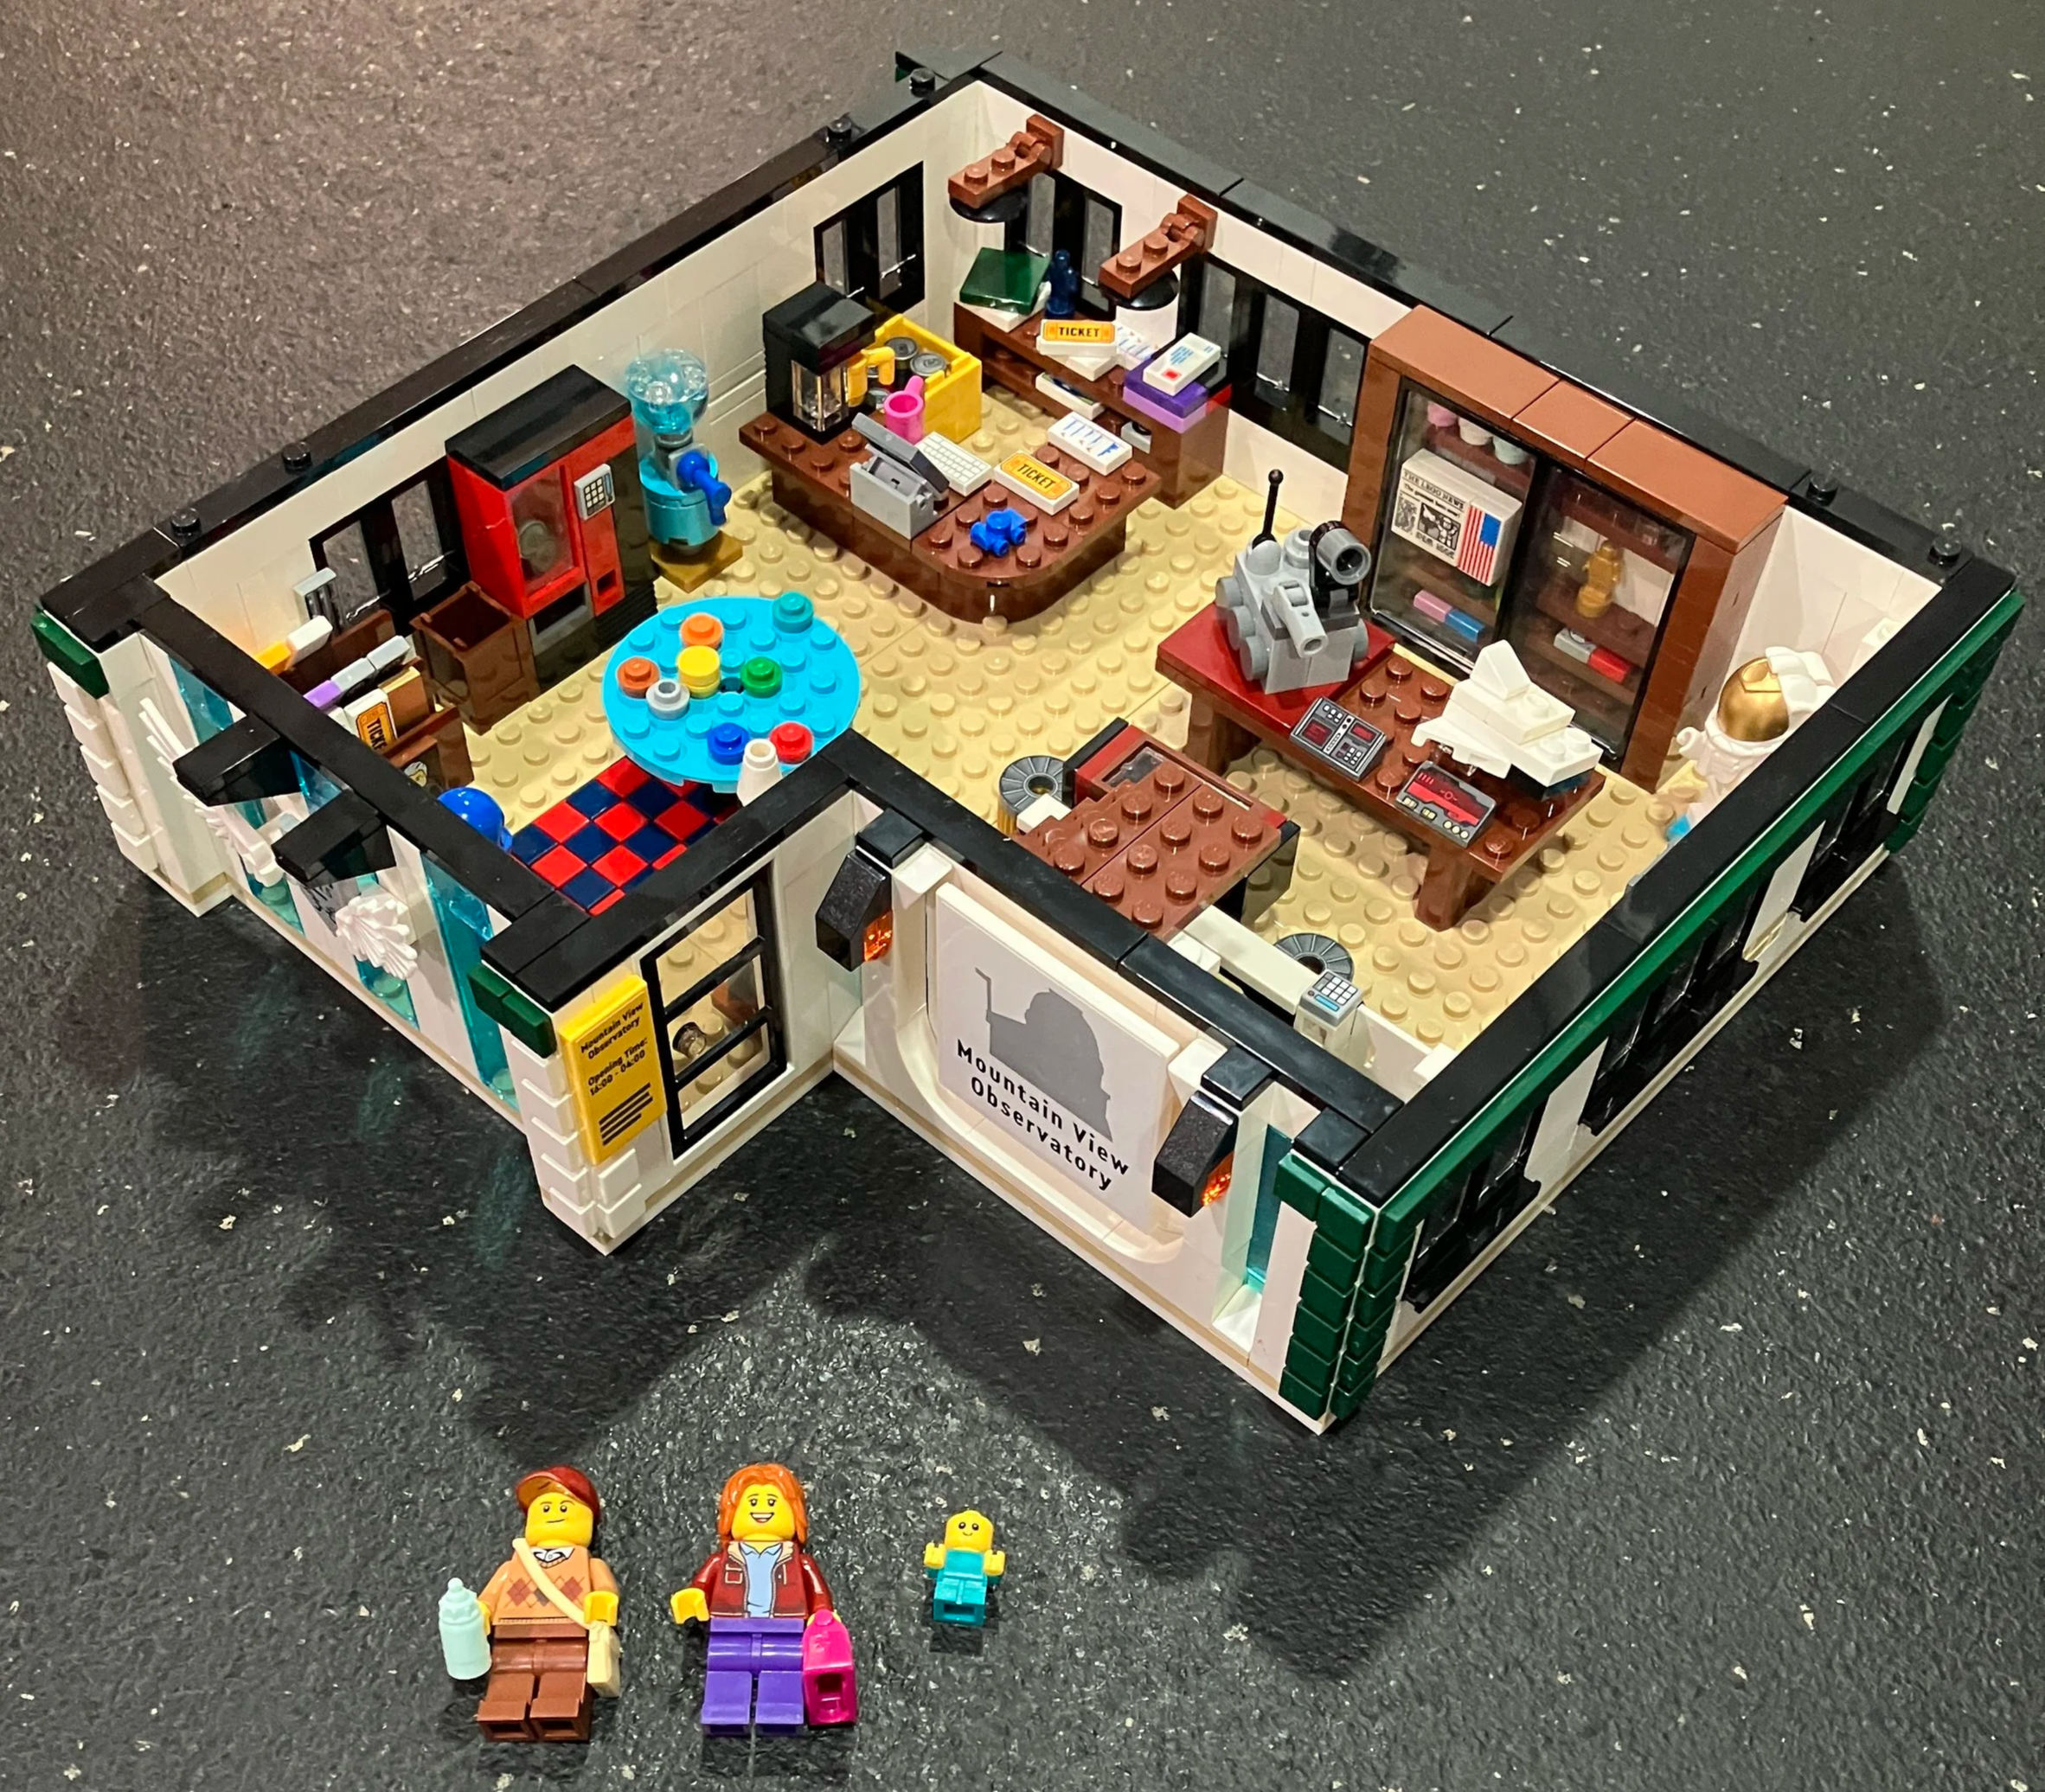
Bag 14 finishes up the floor with walls and three minifigures (to include a baby). You can see one of the large stickers on the outside of the wall.
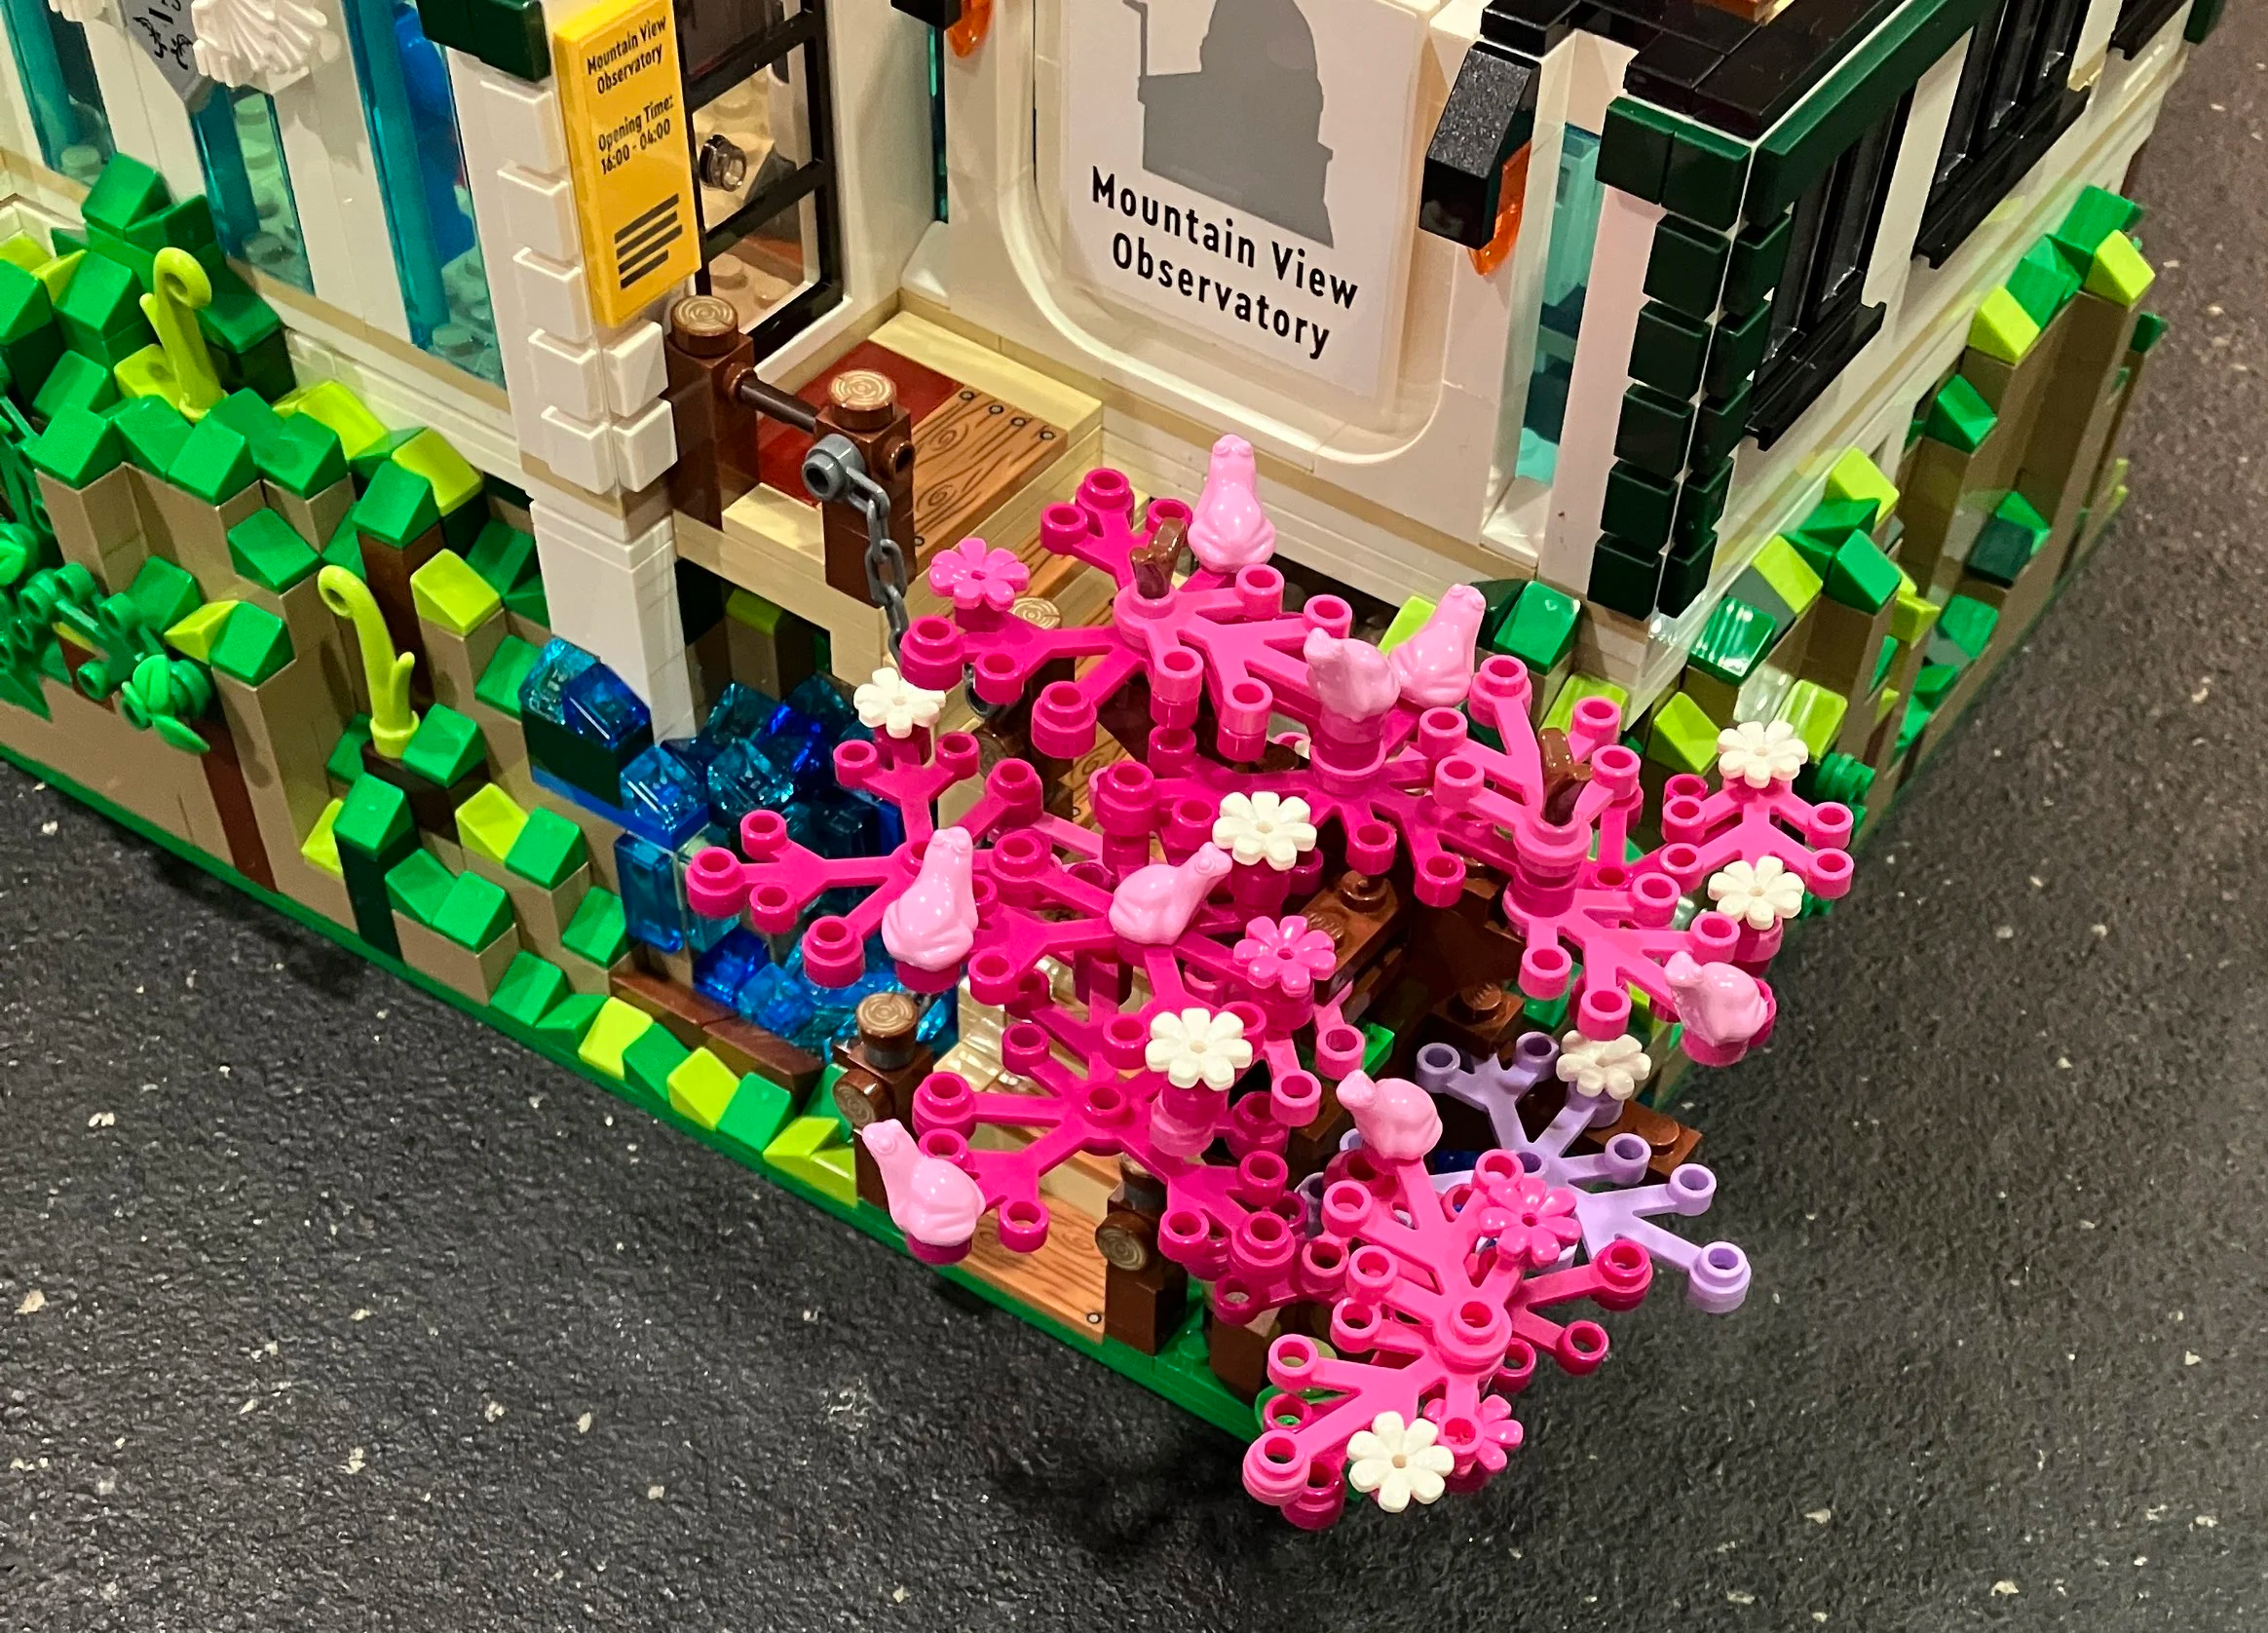
Bag 15 adds a colorful tree out the exterior which adds some nice color to the set. There are more frogs in this tree.
Bag 16 begins the next level.
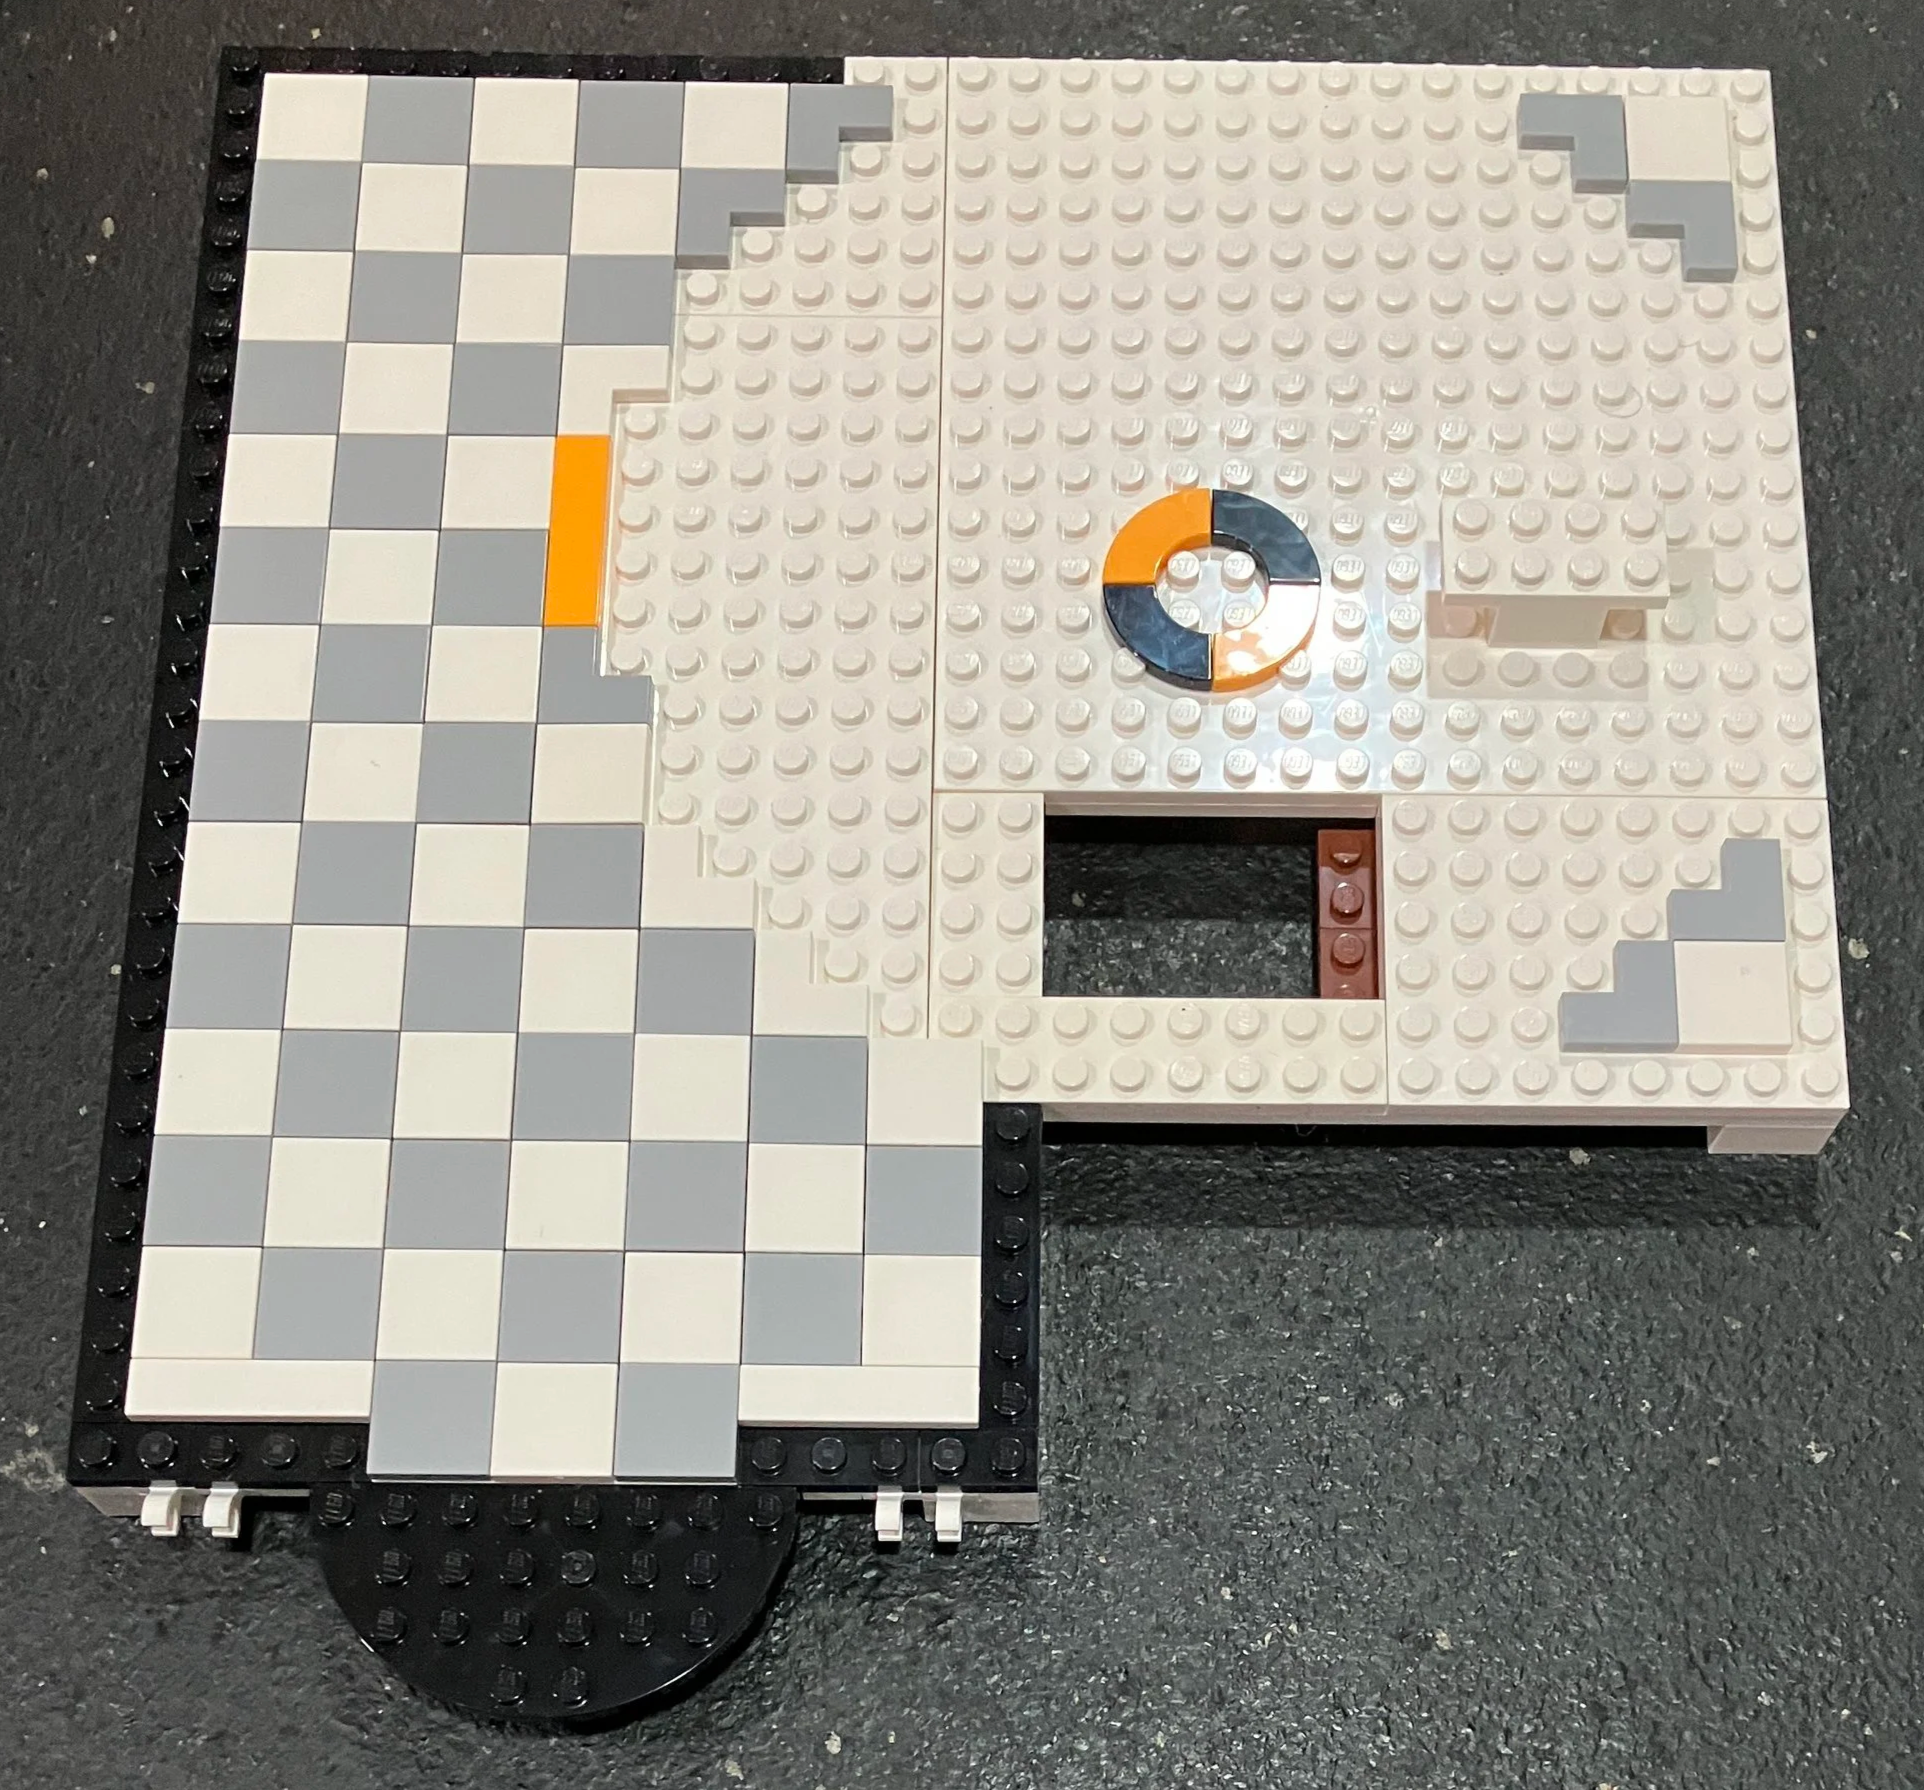
Bags 17 and 18 build up the section where the telescope will be located. Again, lots of stacking of bricks and repeat patterns. Not super interesting here, but thankfully, not a lengthy part of the build.
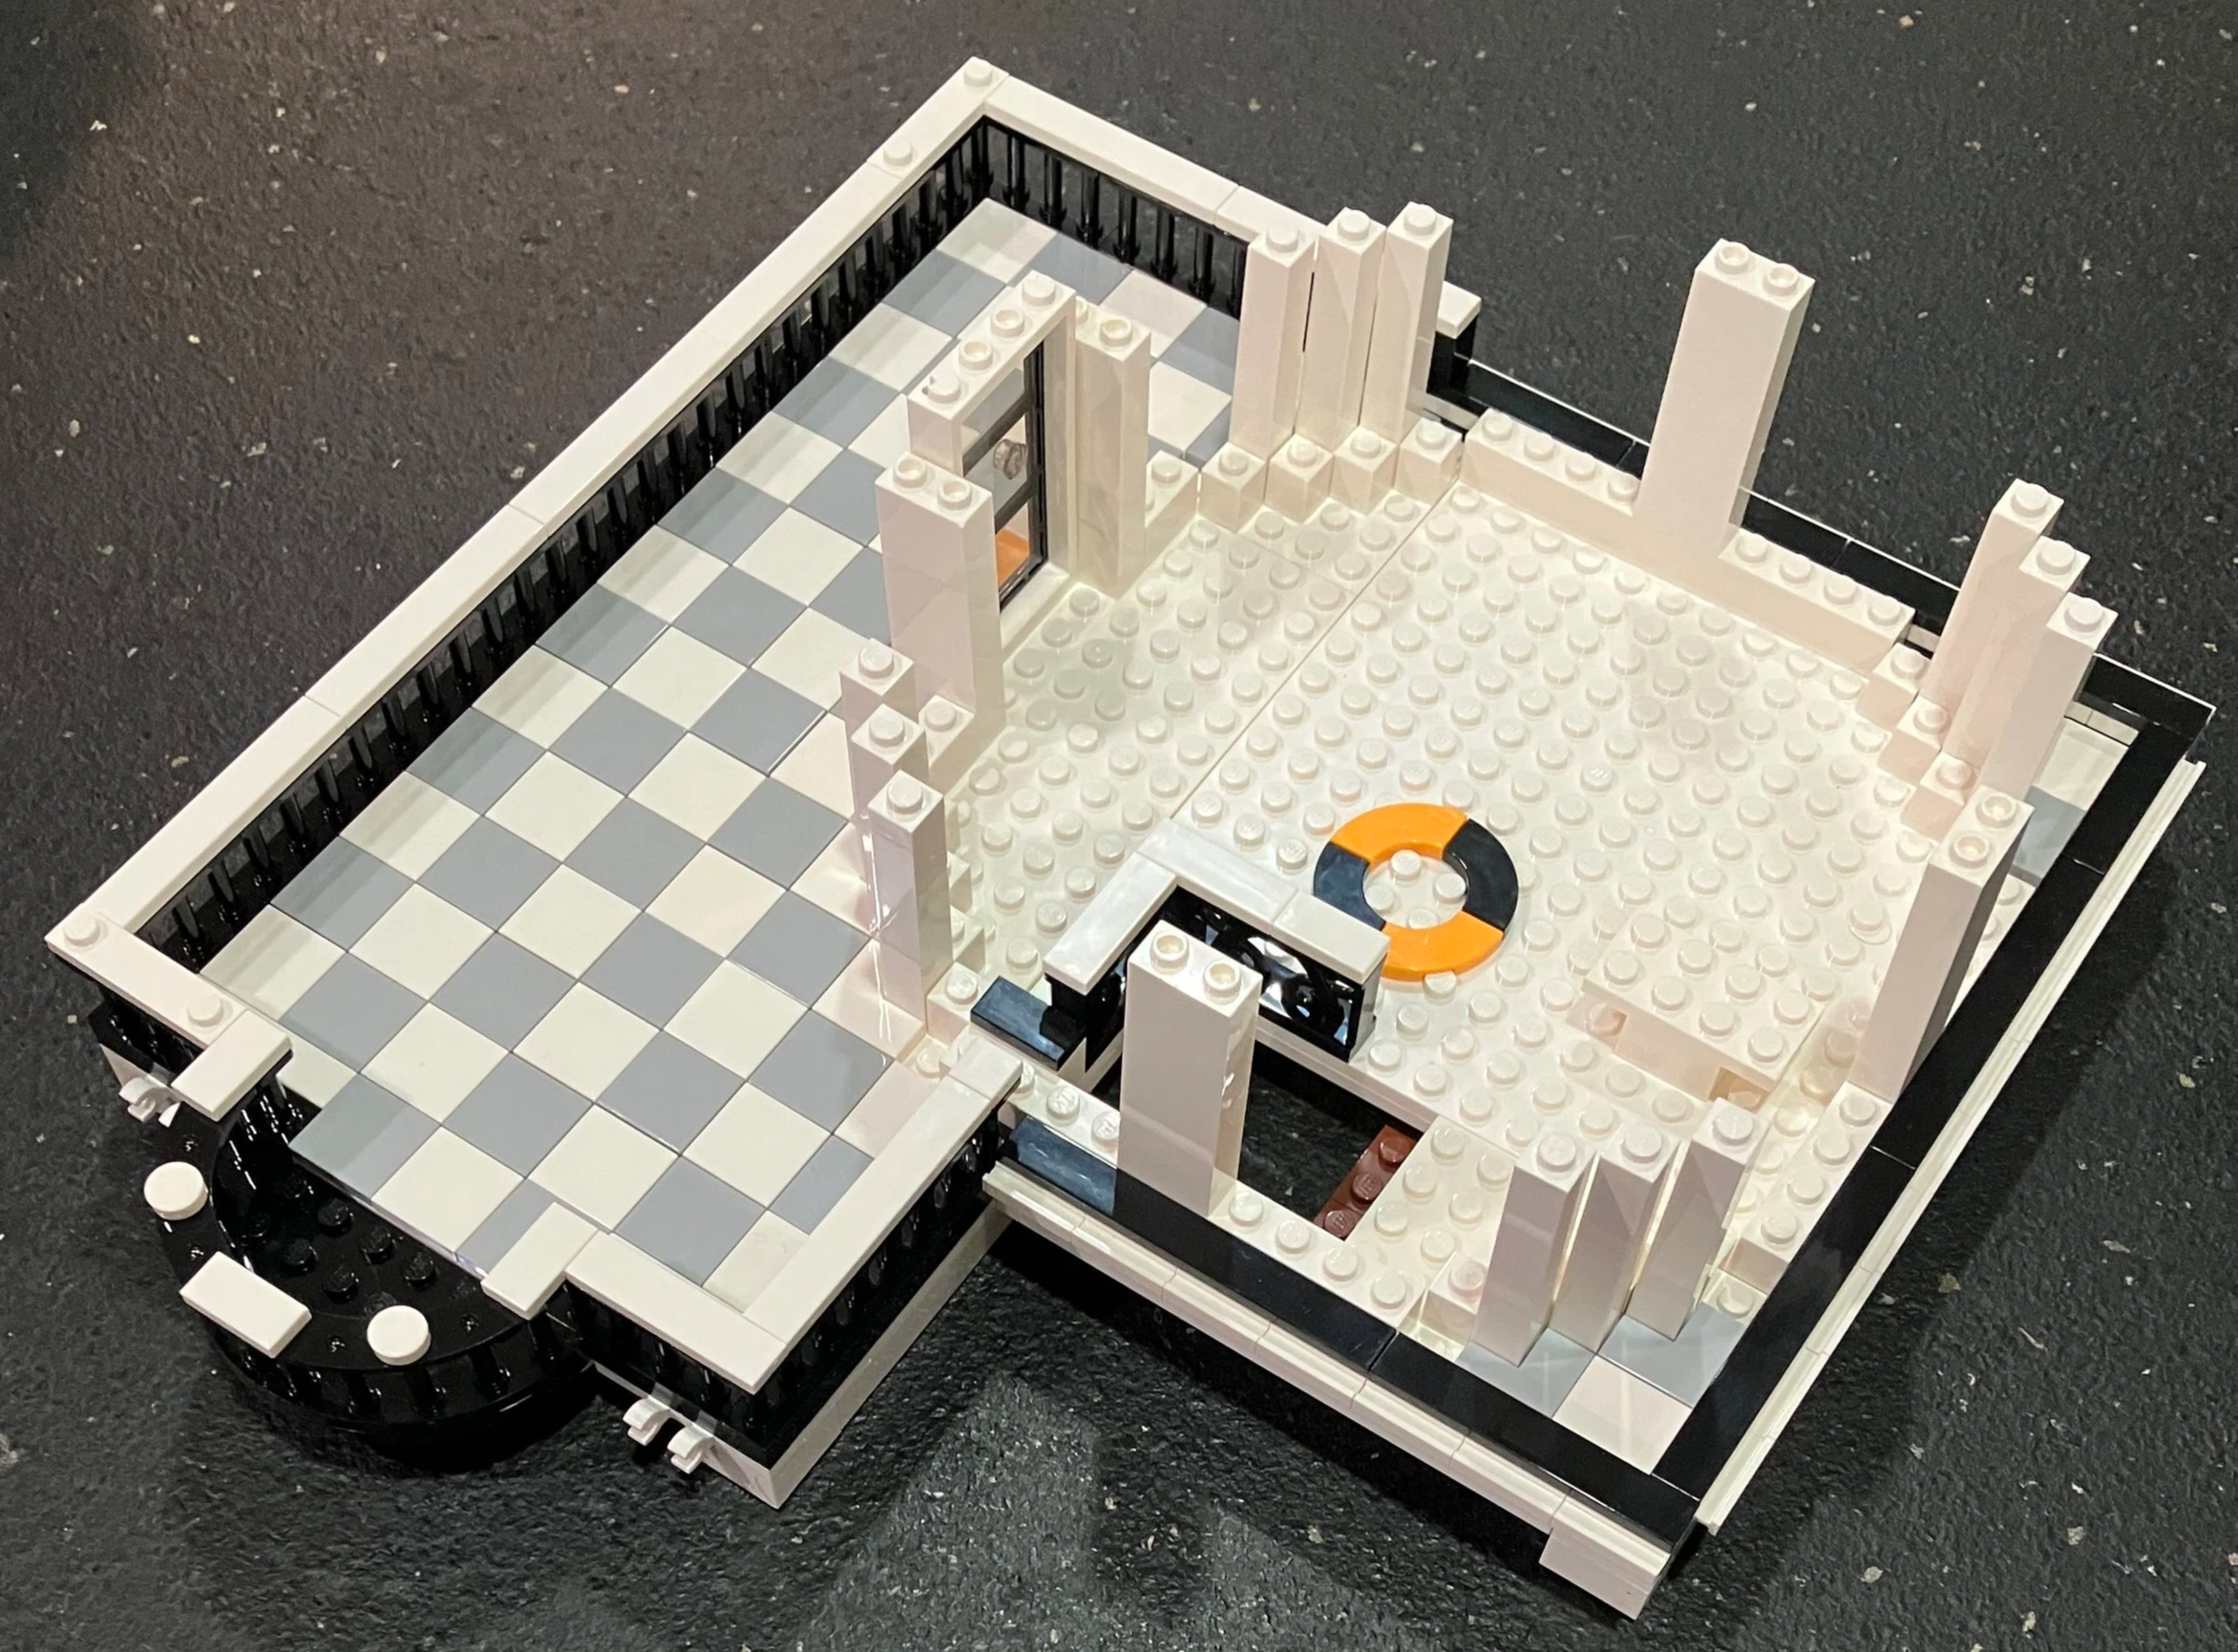
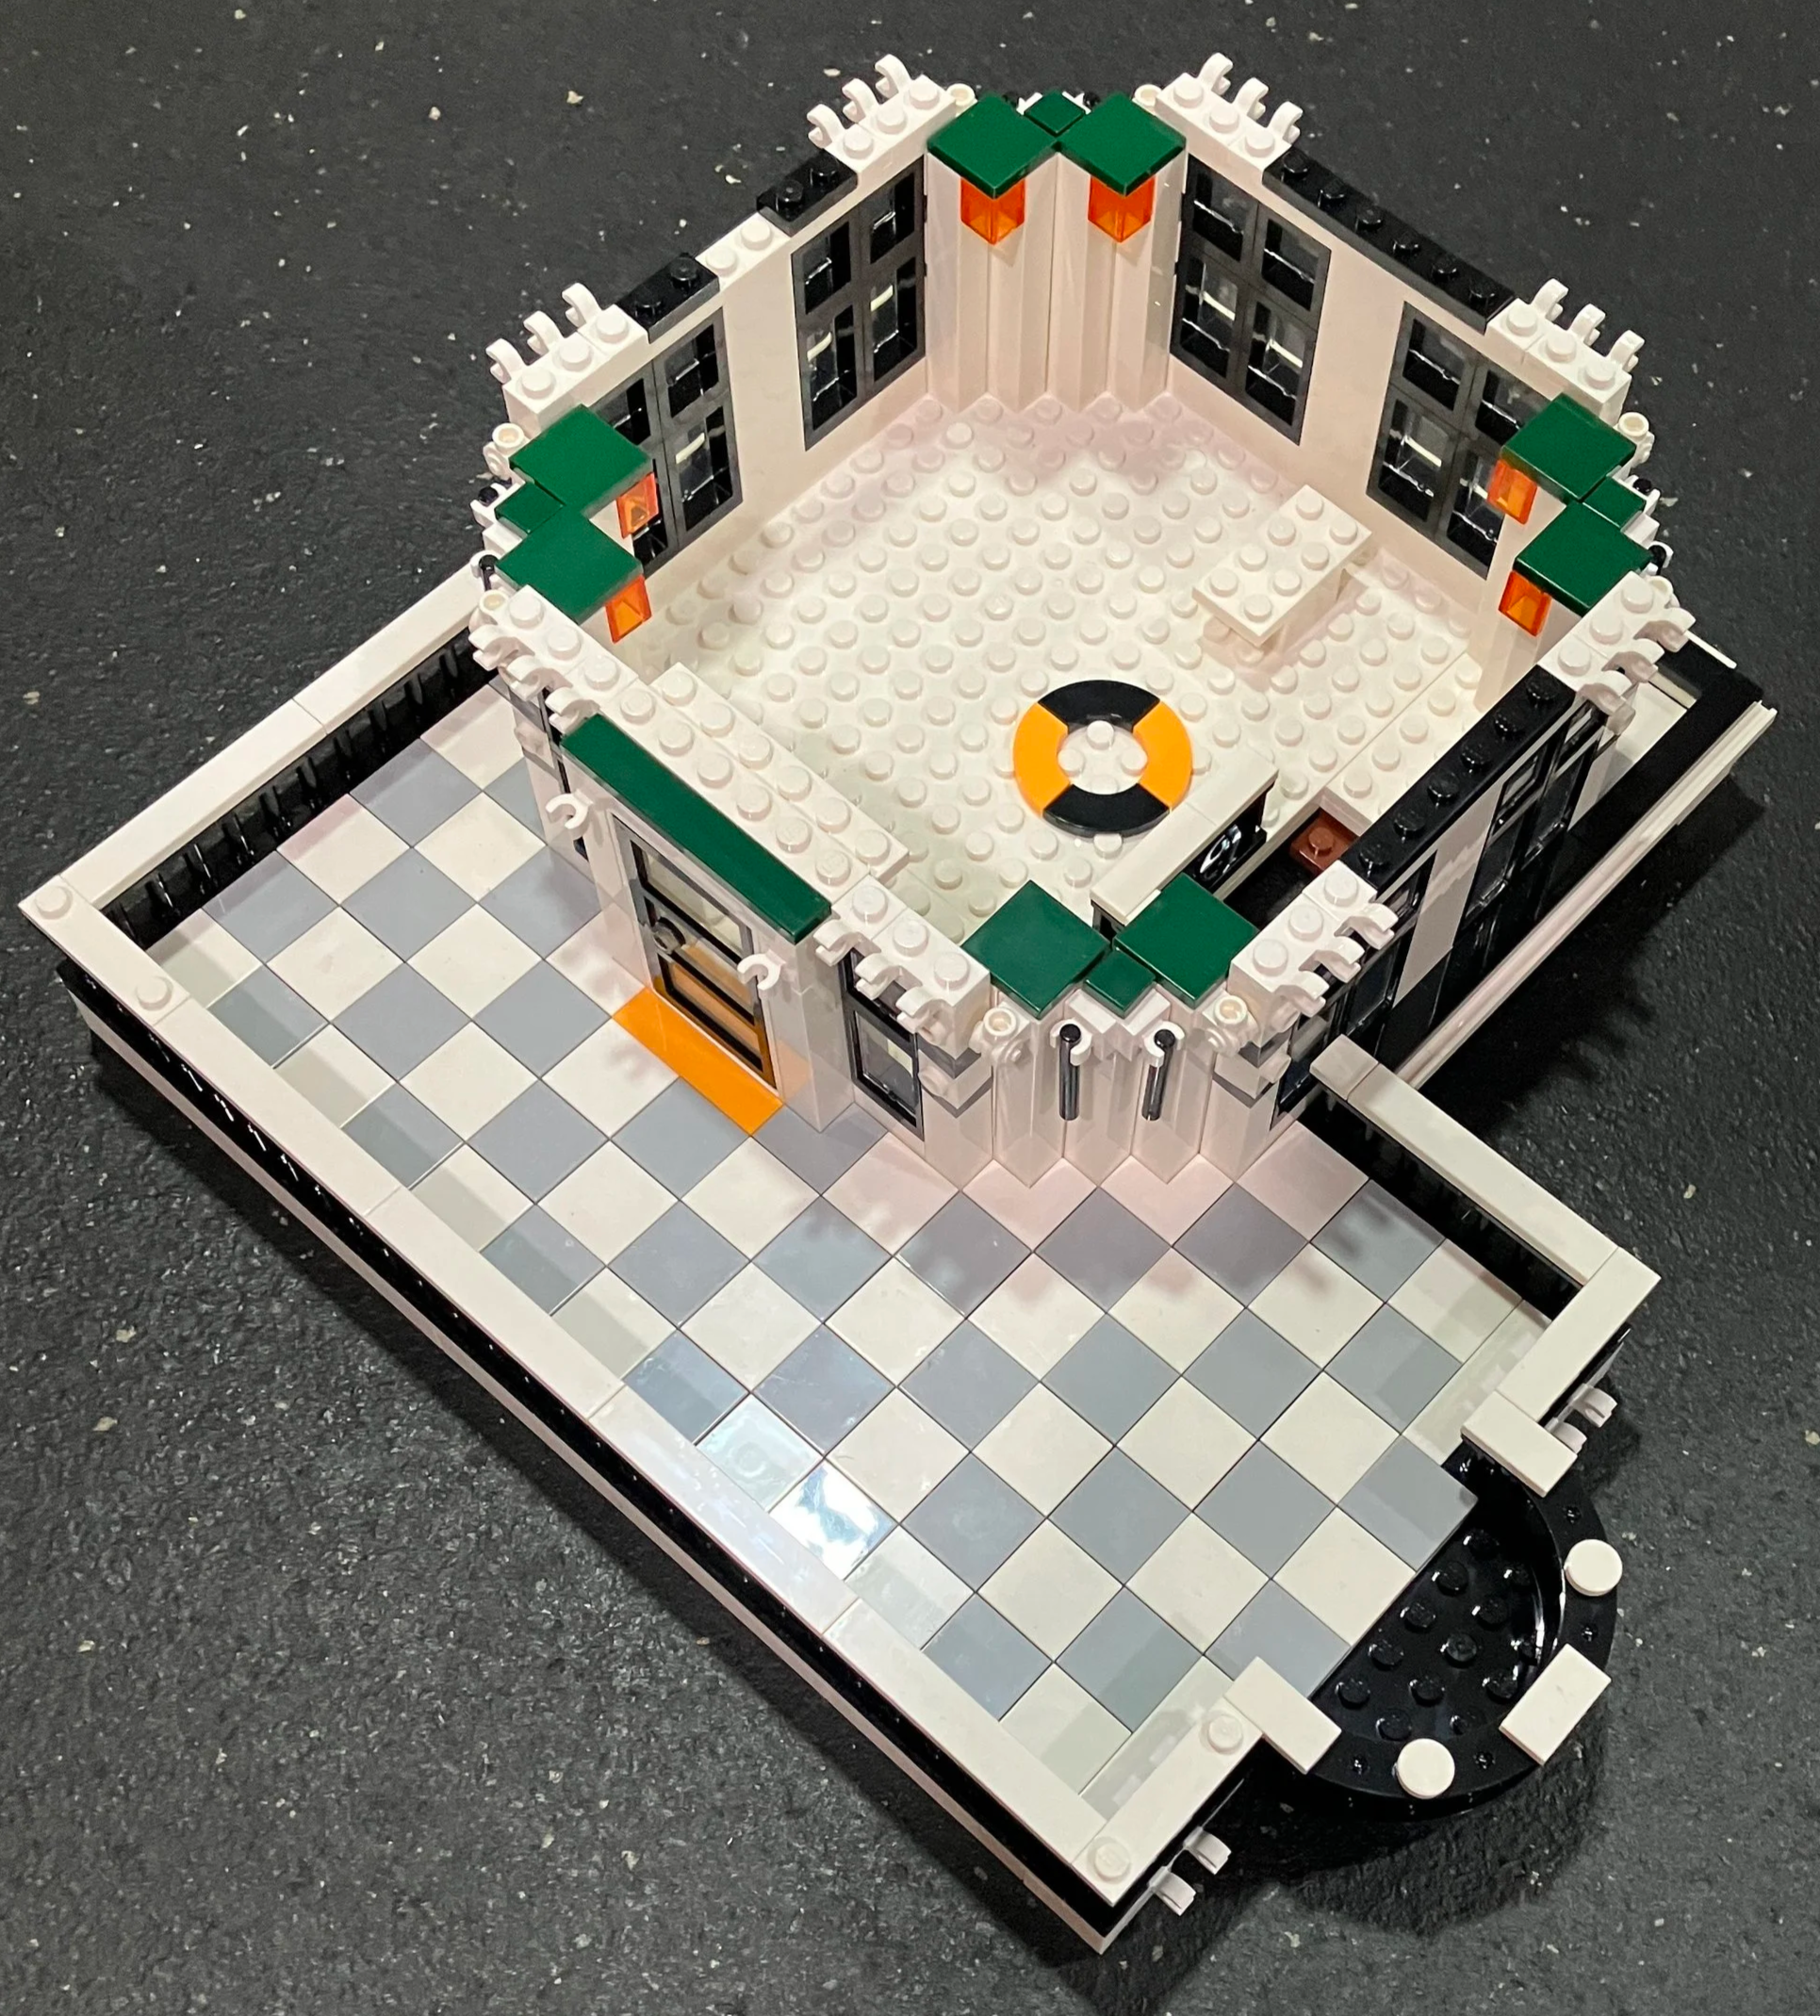
Bag 19 finishes up this level. It’s pretty much just a walkway to the stairs to the telescope. You also get two more minifigures and a display stand with a sticker for the workers to explain the solar system.
Bag 20 begins to build the section where the telescope is located. The base is made of plates and then bricks are used to make the rounded dome. There is also a light brick here to light up the telescope area.
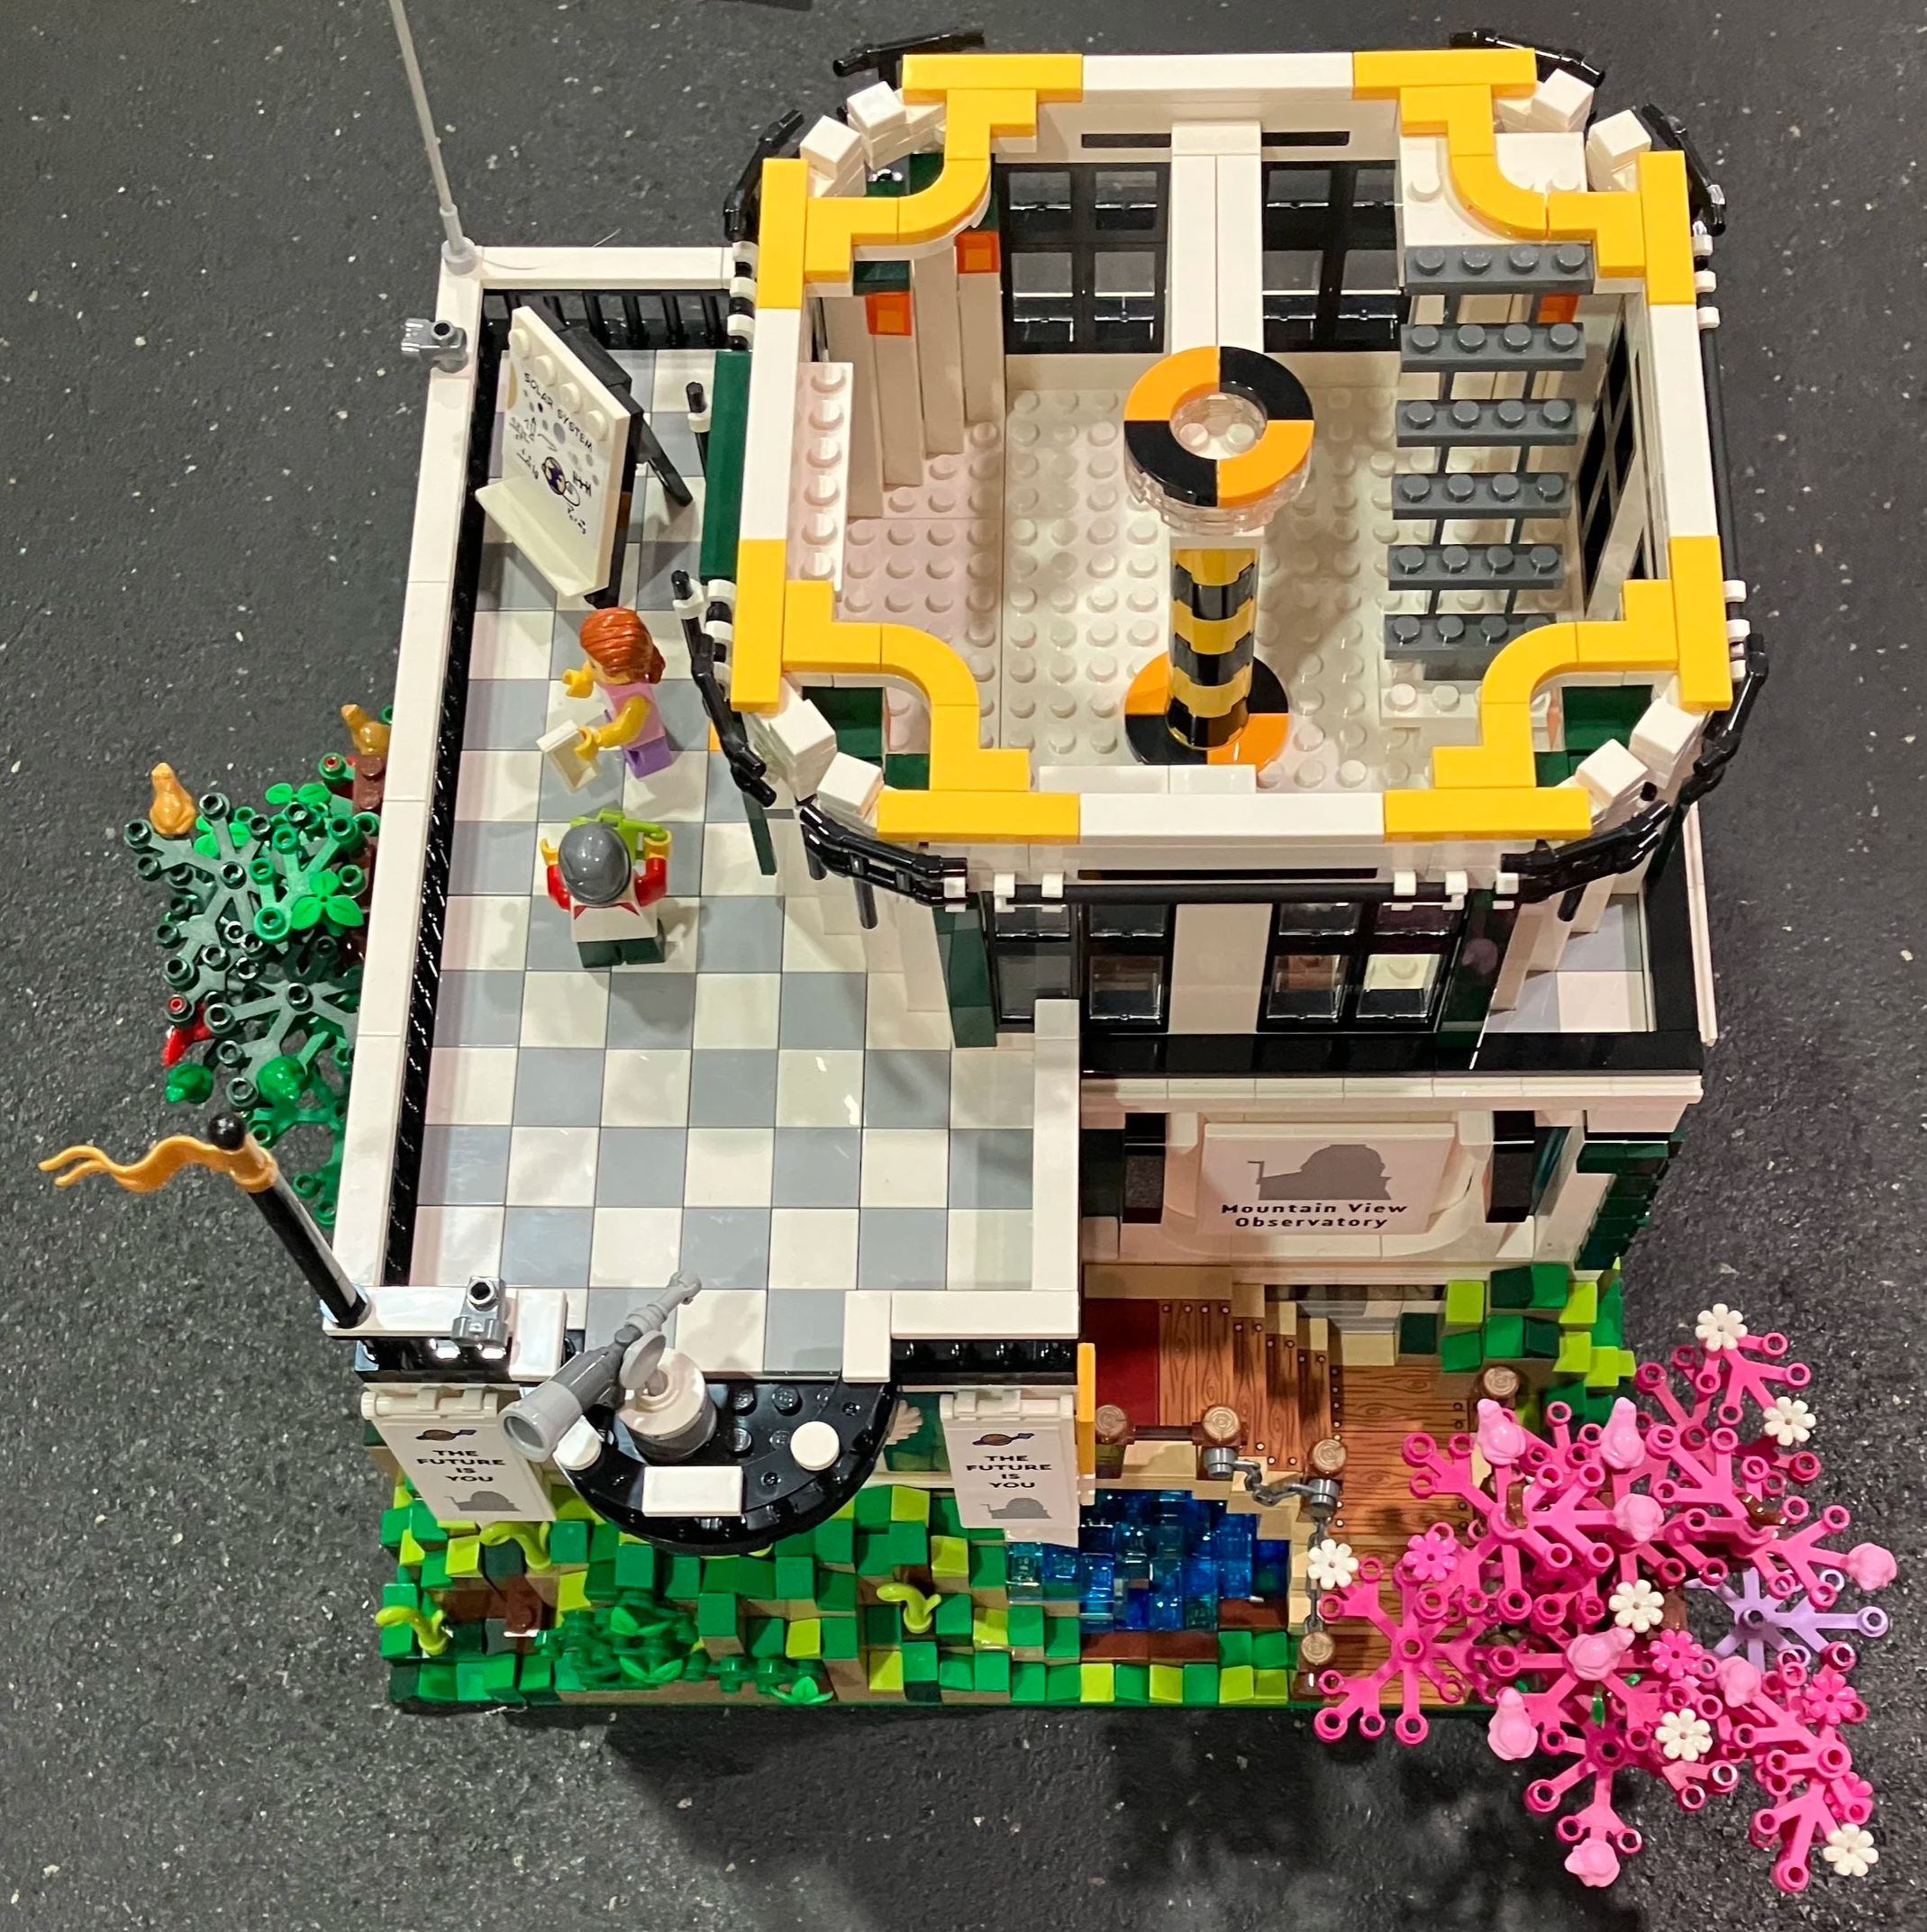
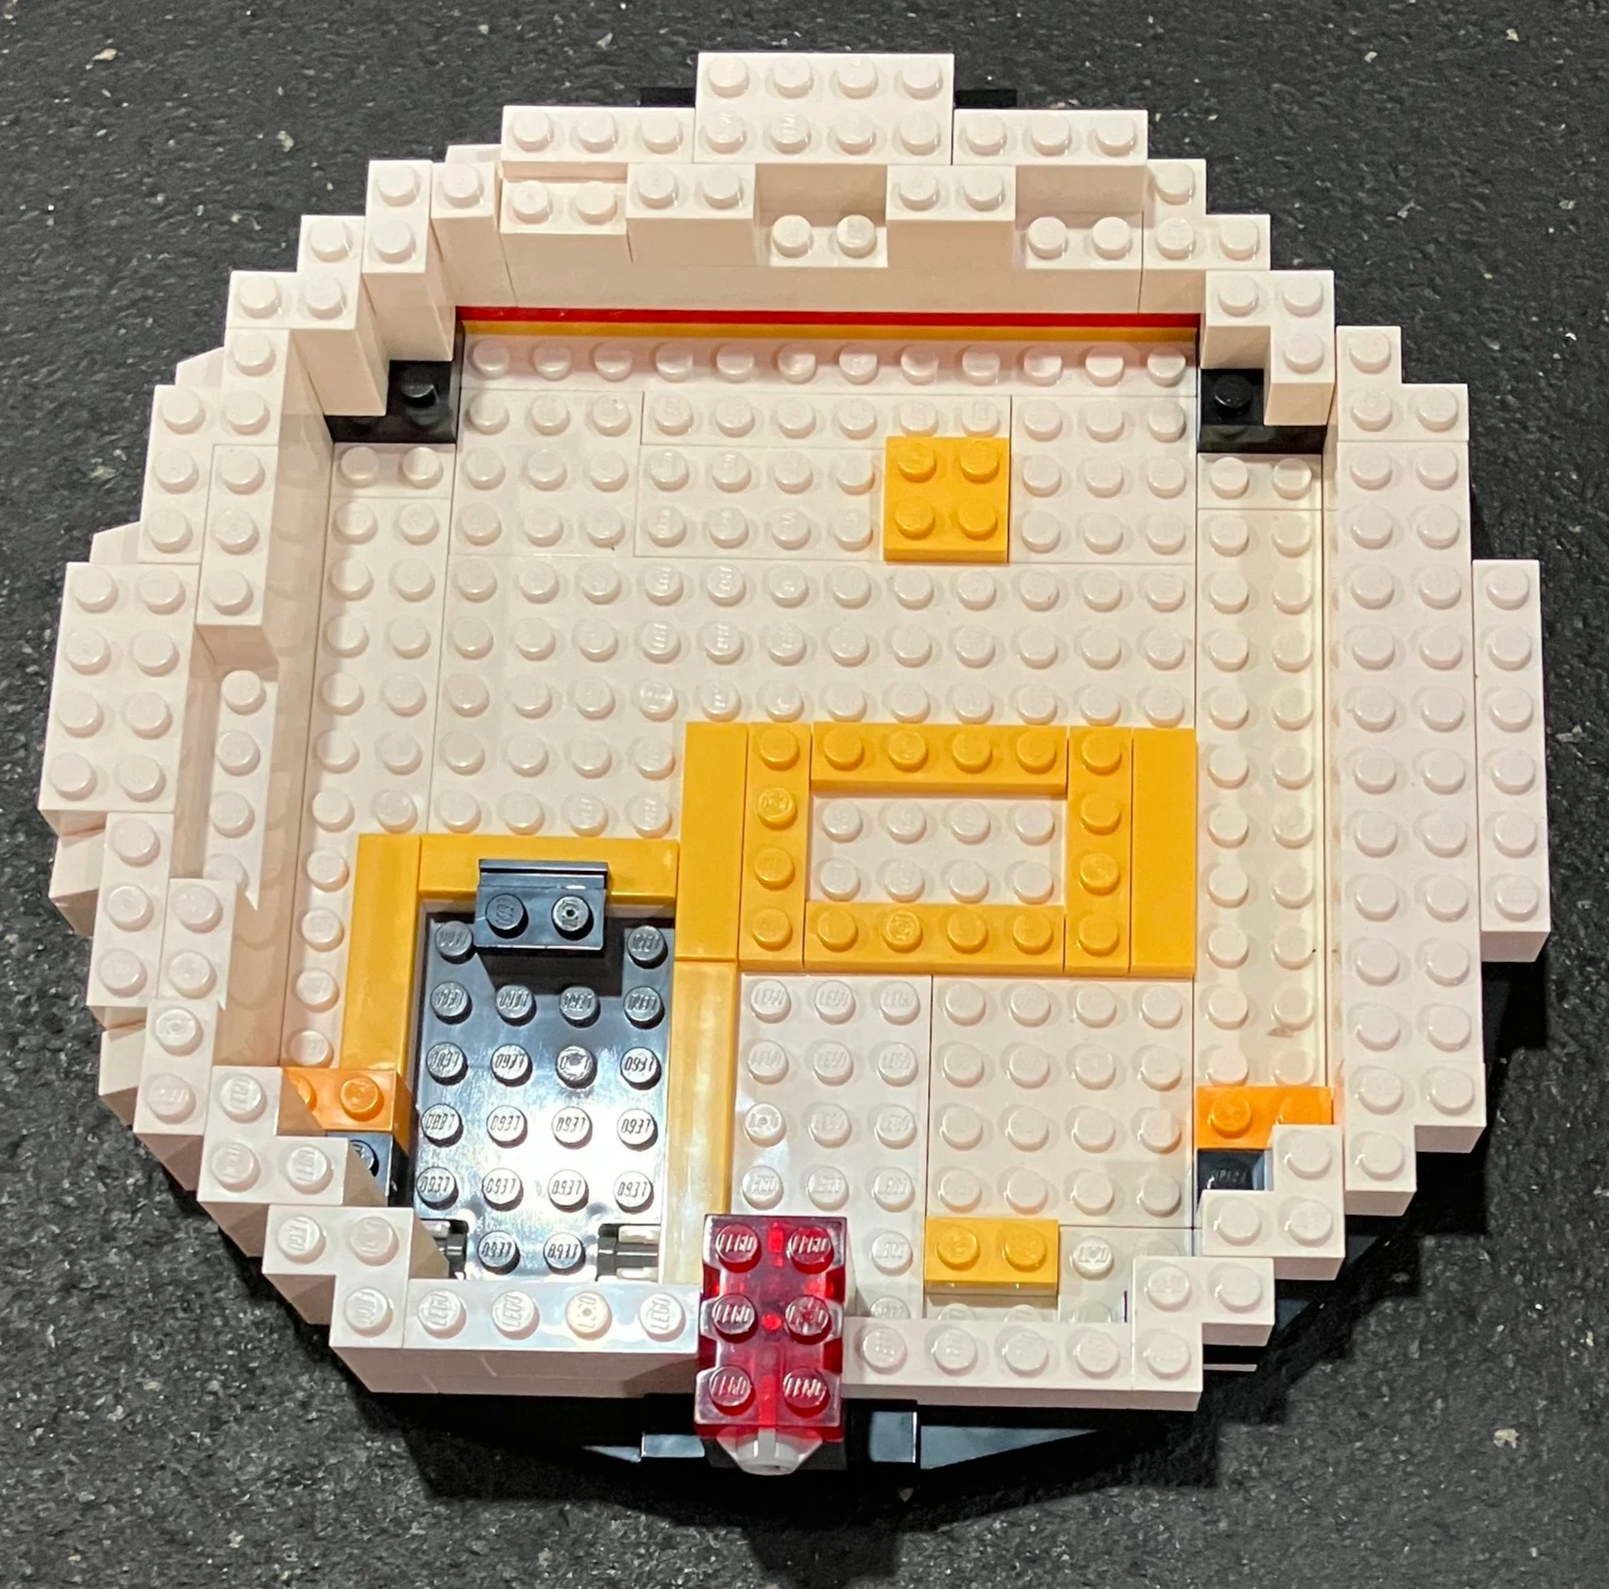
Bags 21 and 22 continue with the dome build and add some details inside. The telescope is built on a Technic system to angle it up and down which is a fun play feature.
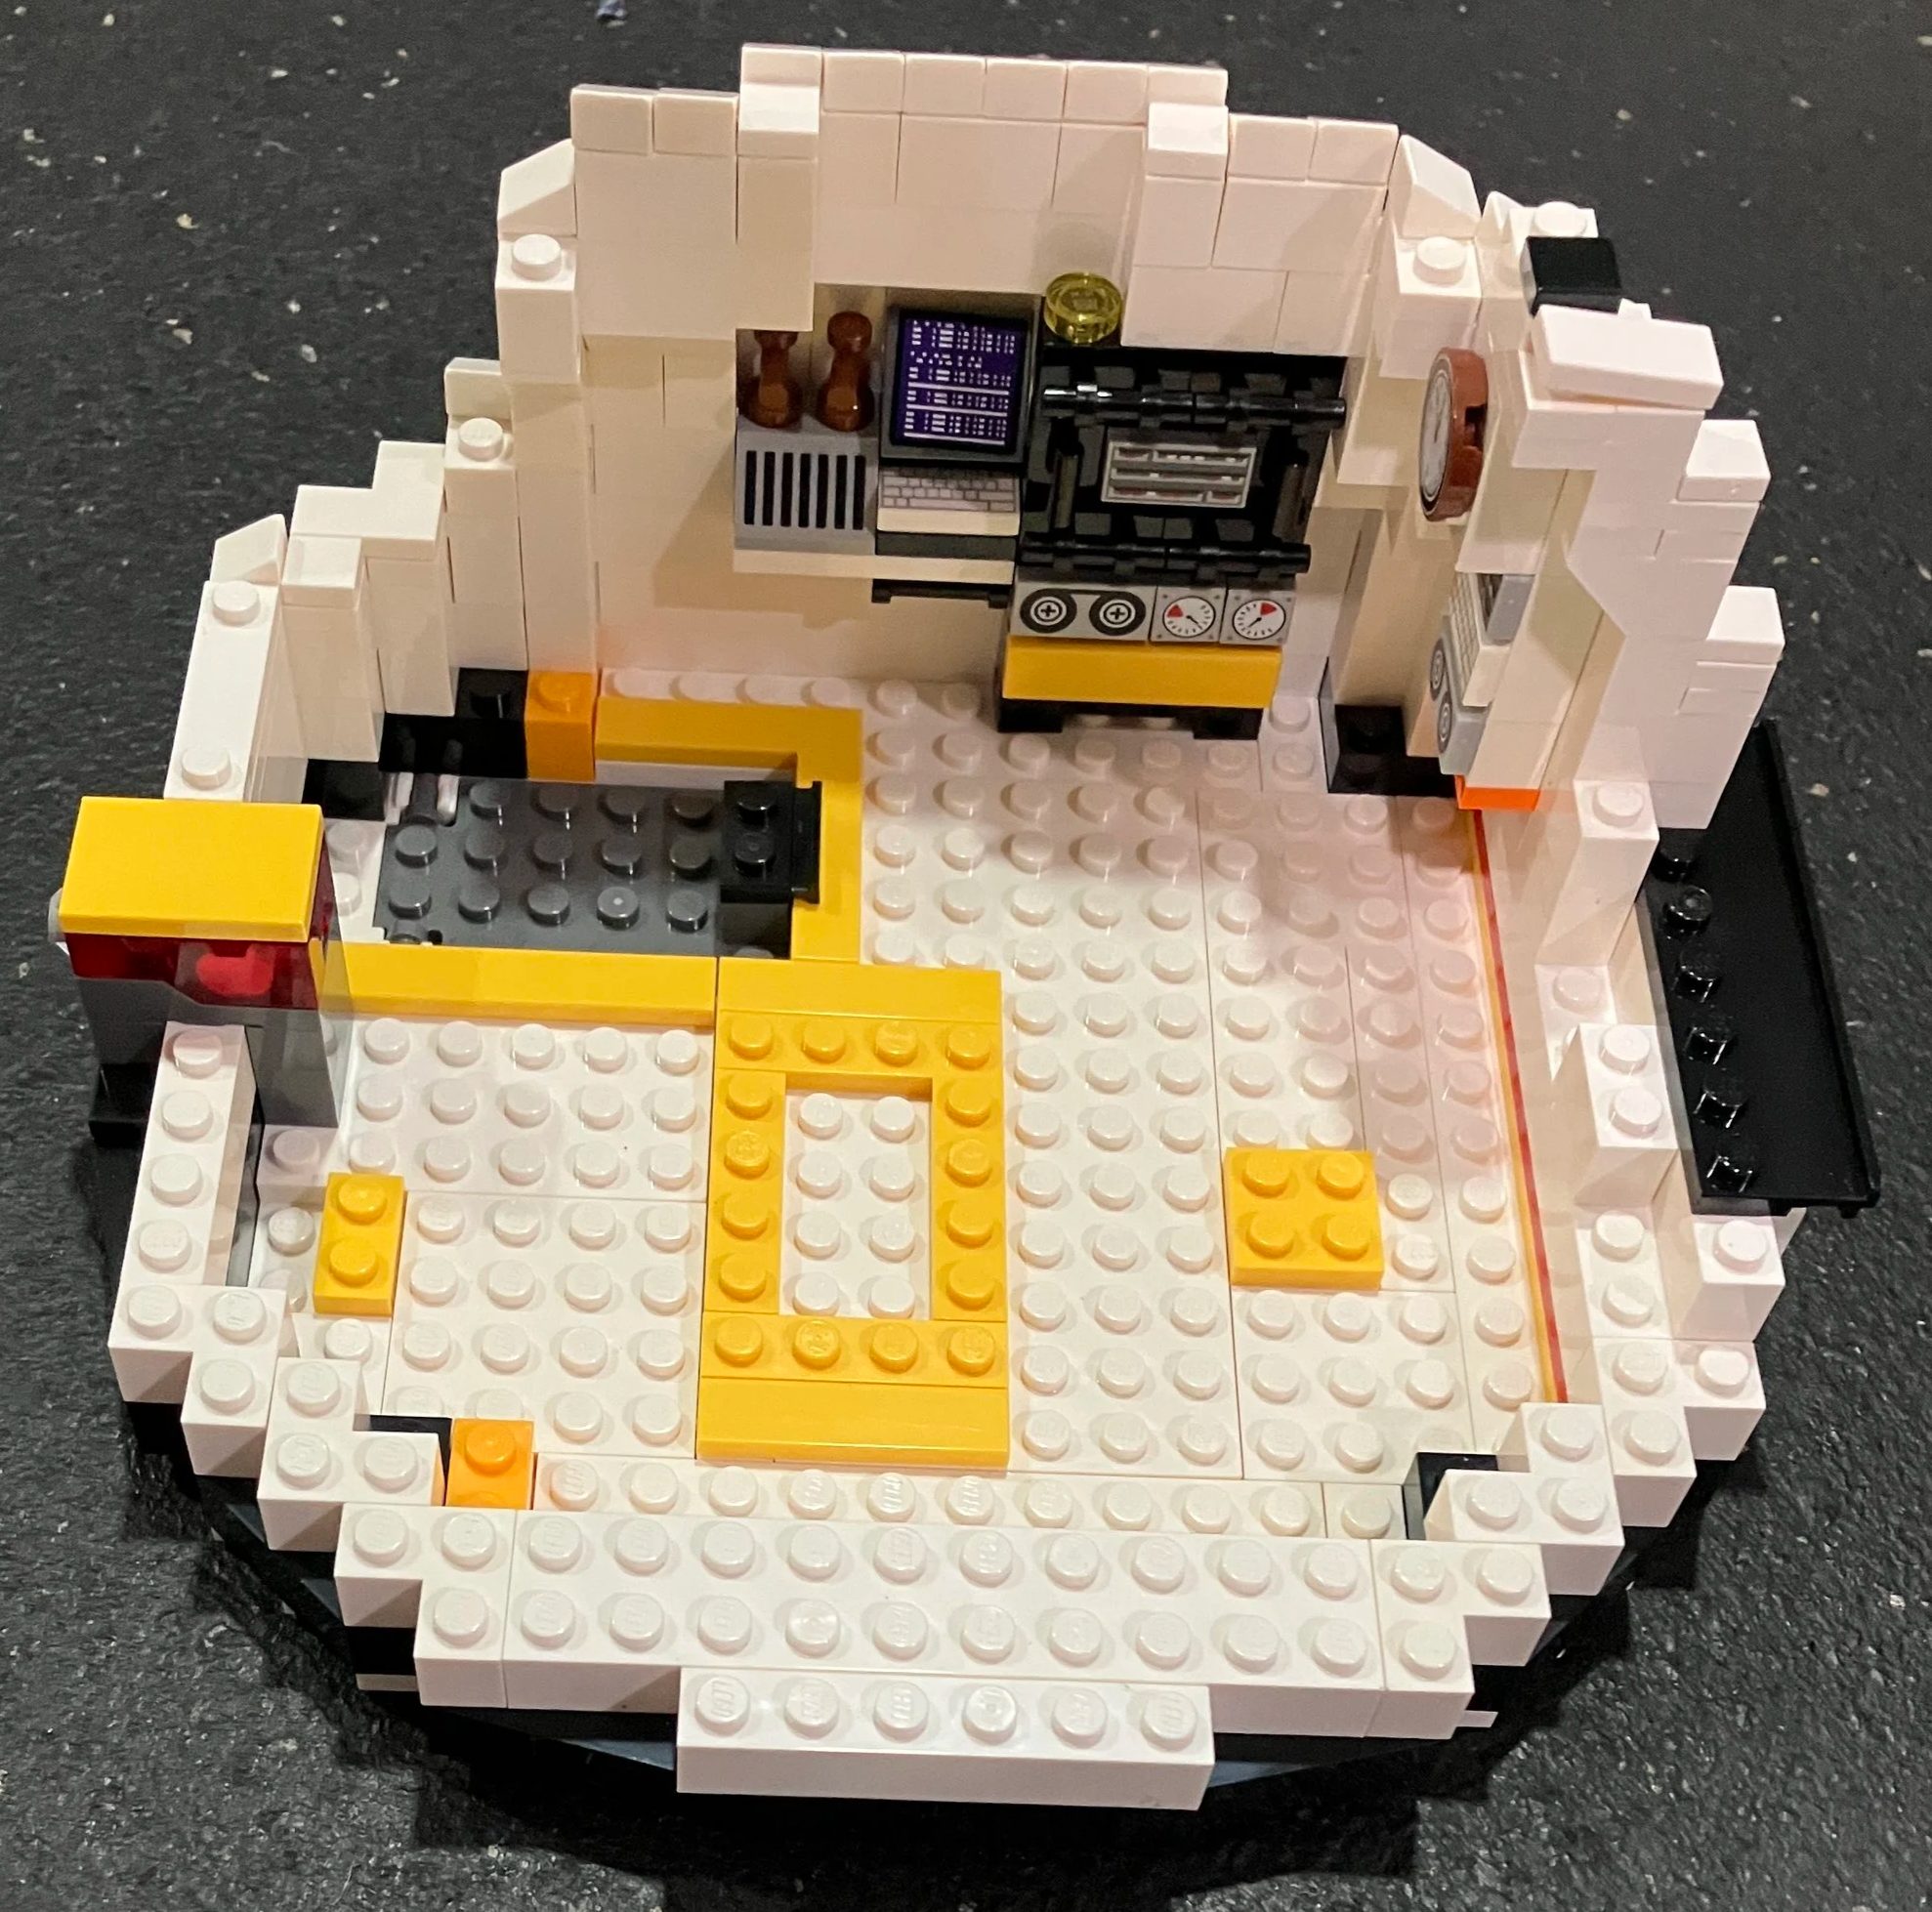
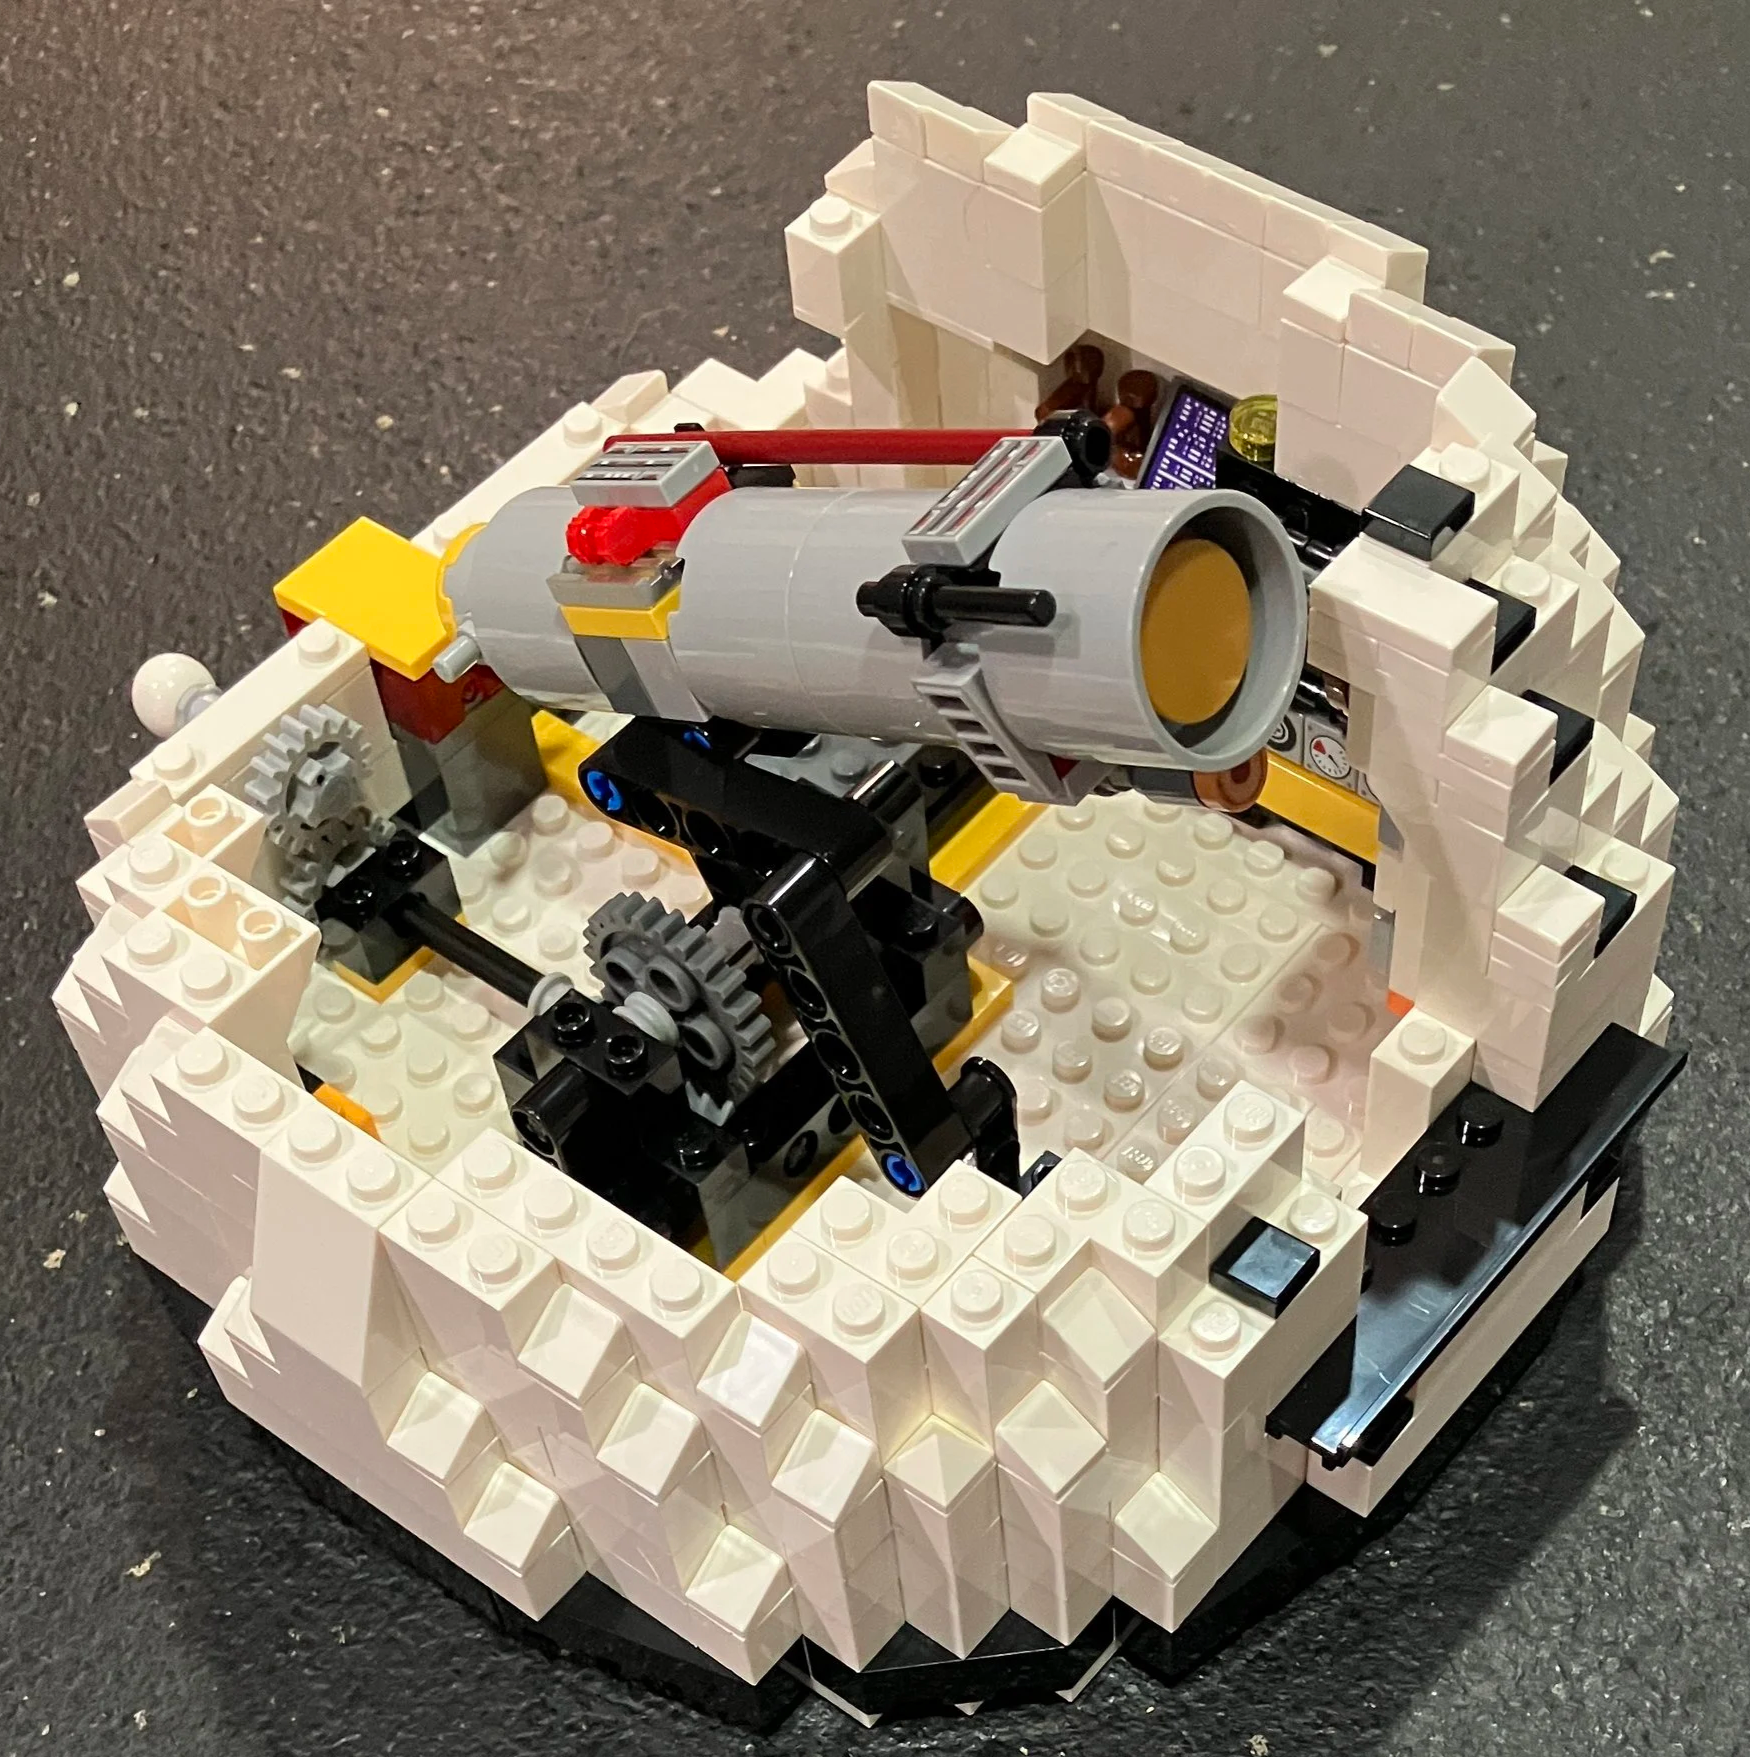
Bags 23 and 24 continue with the use of bricks, plates, and cheese slopes to get the rounded shape of the dome.
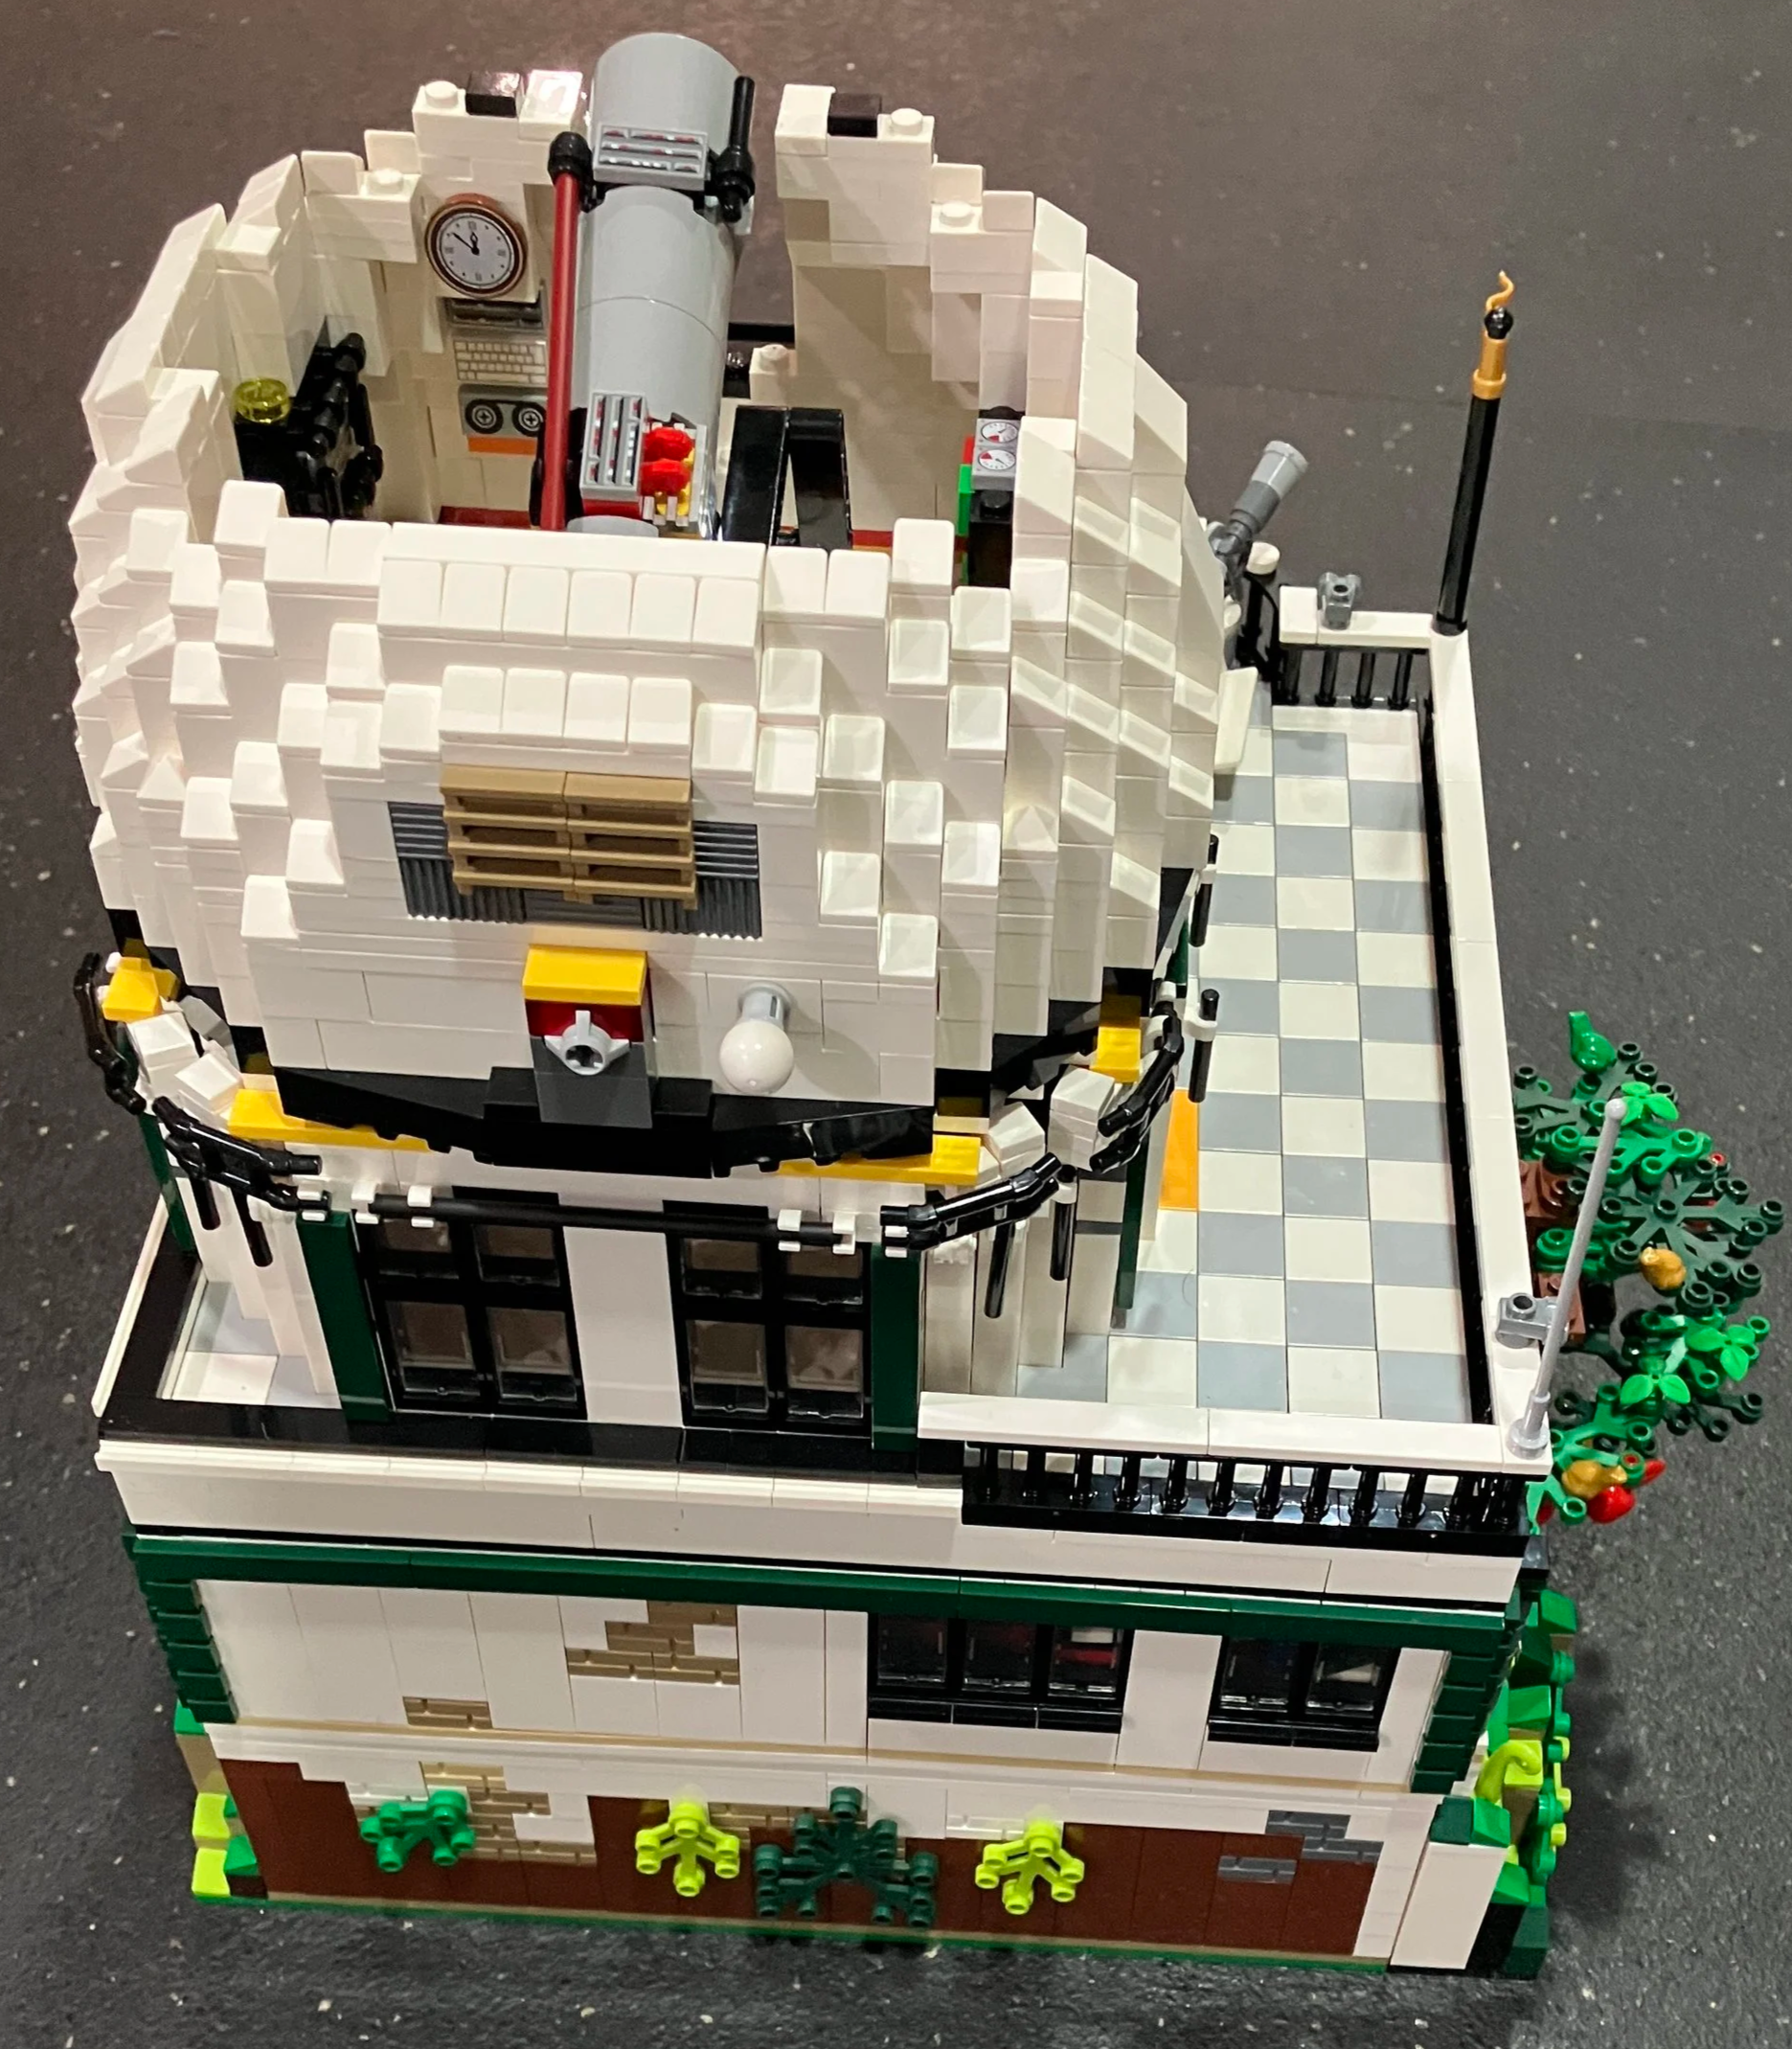
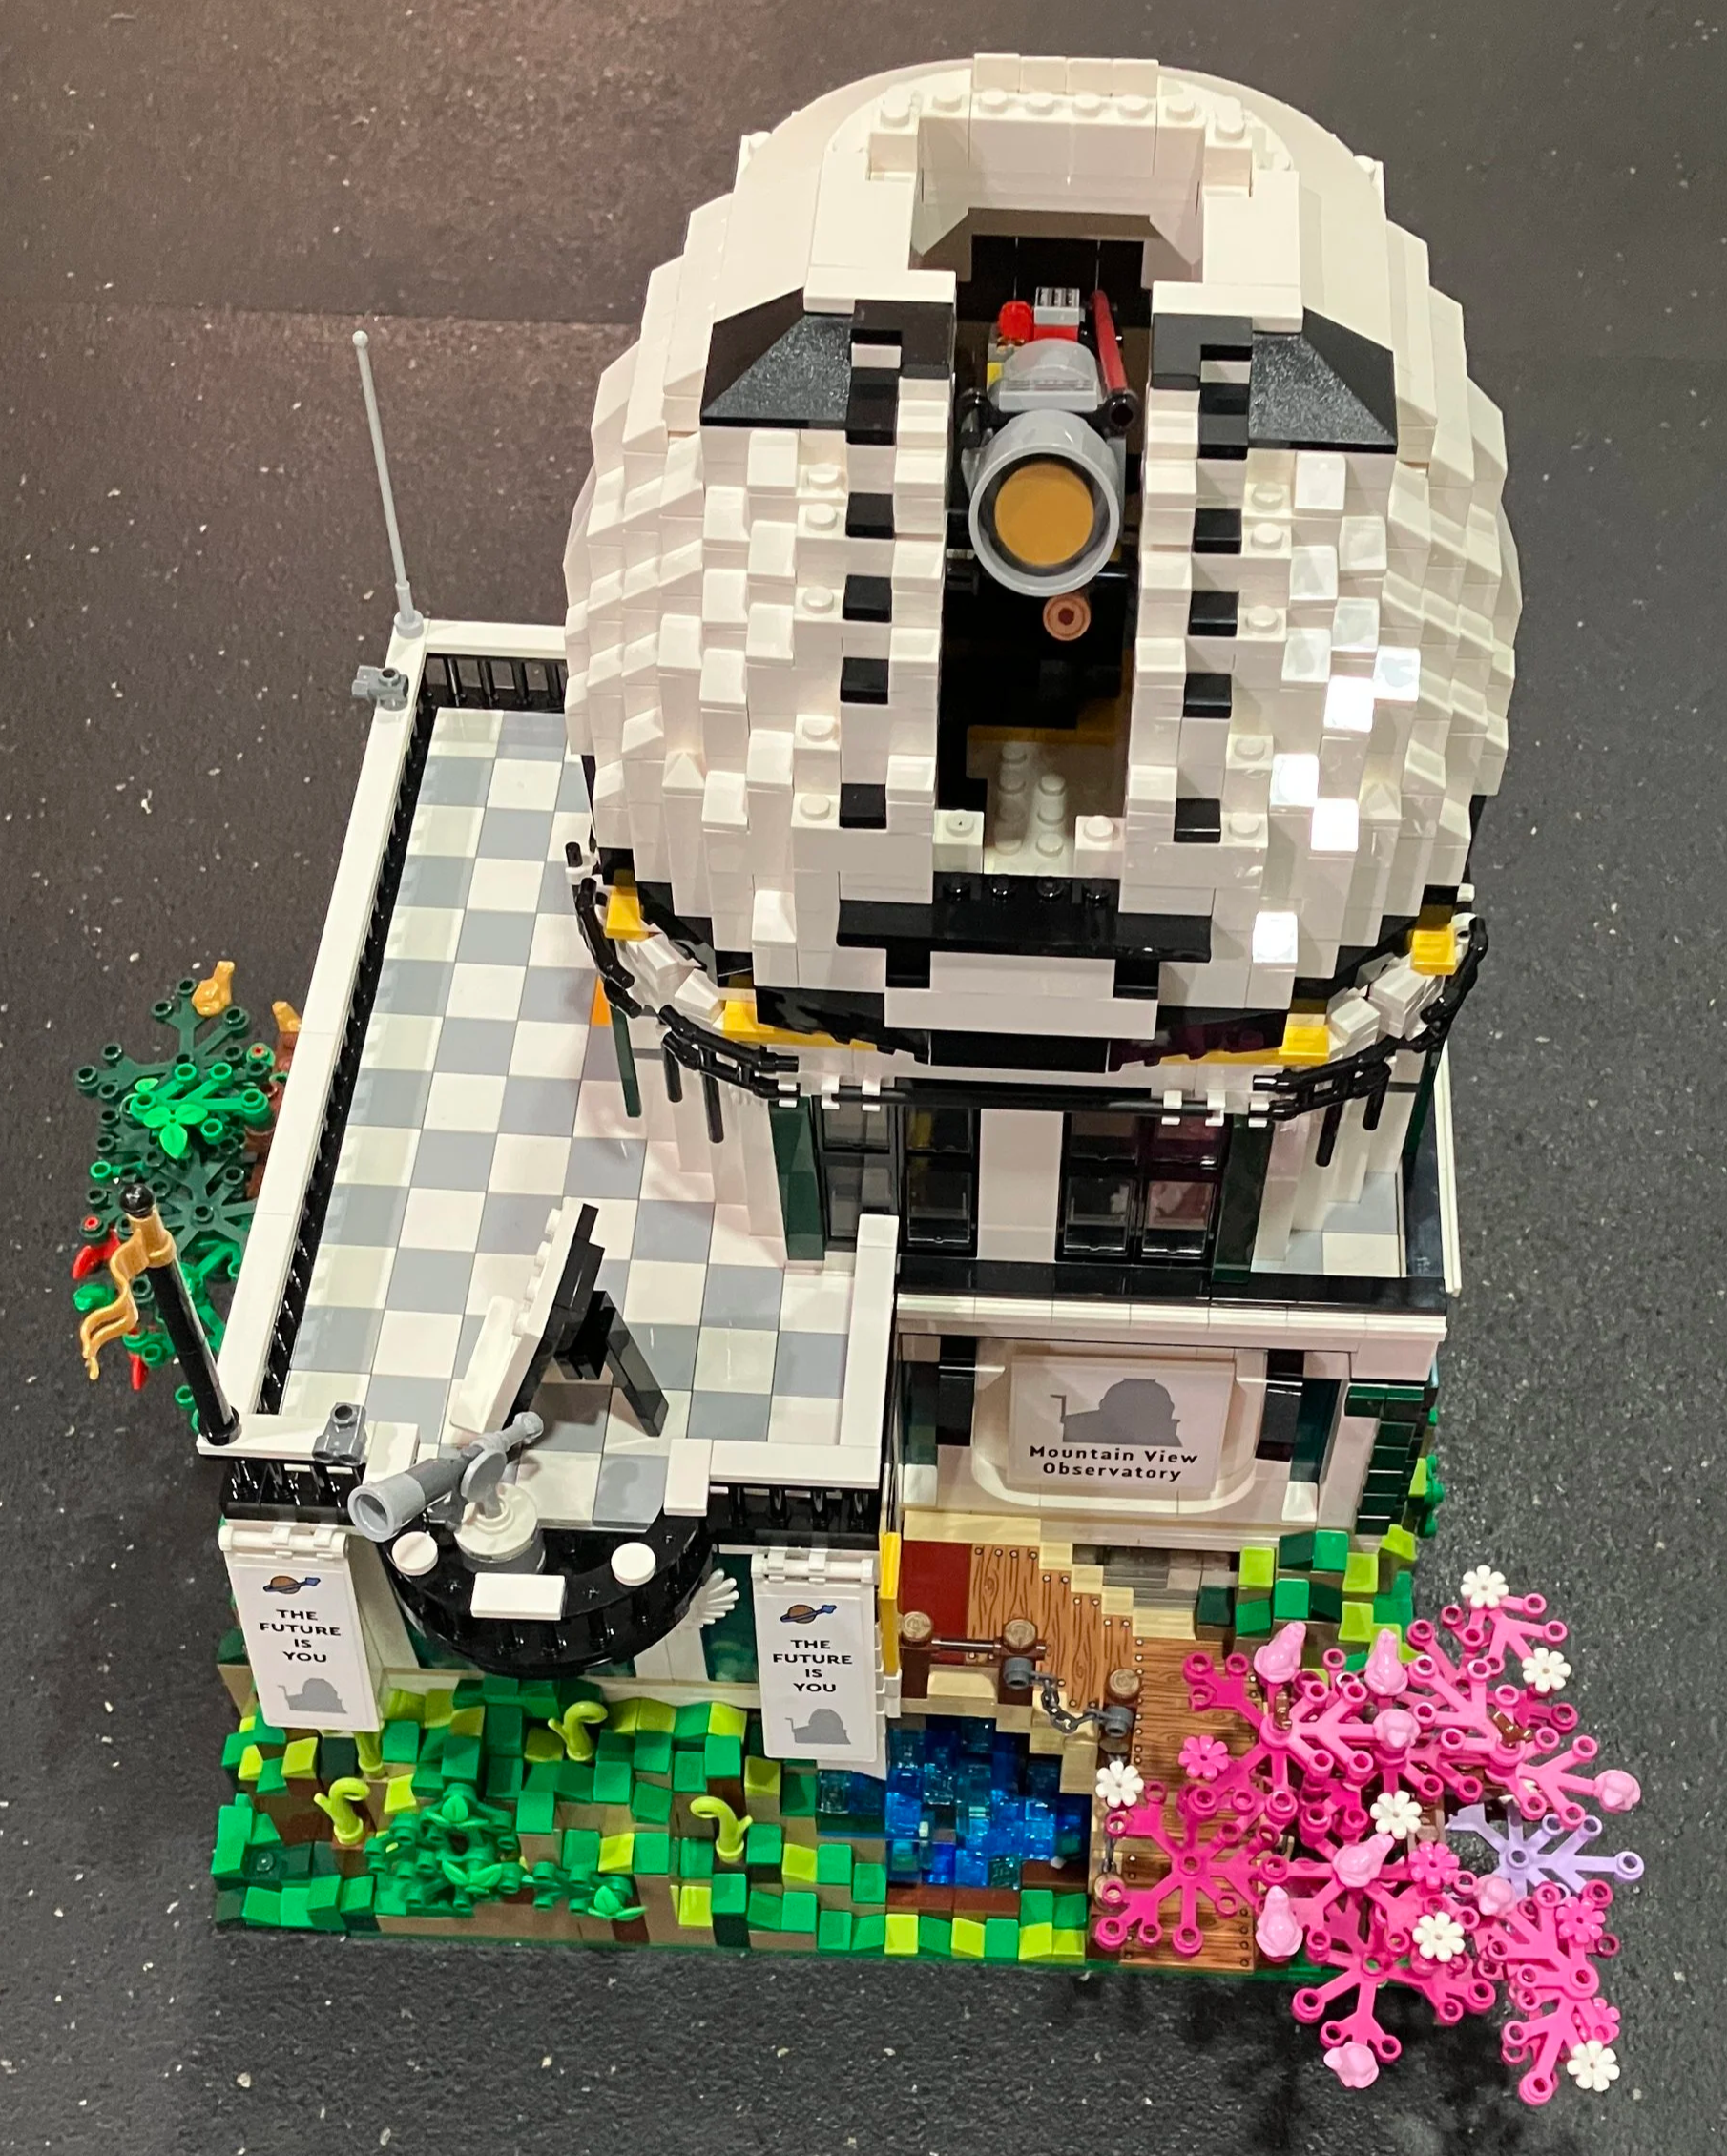
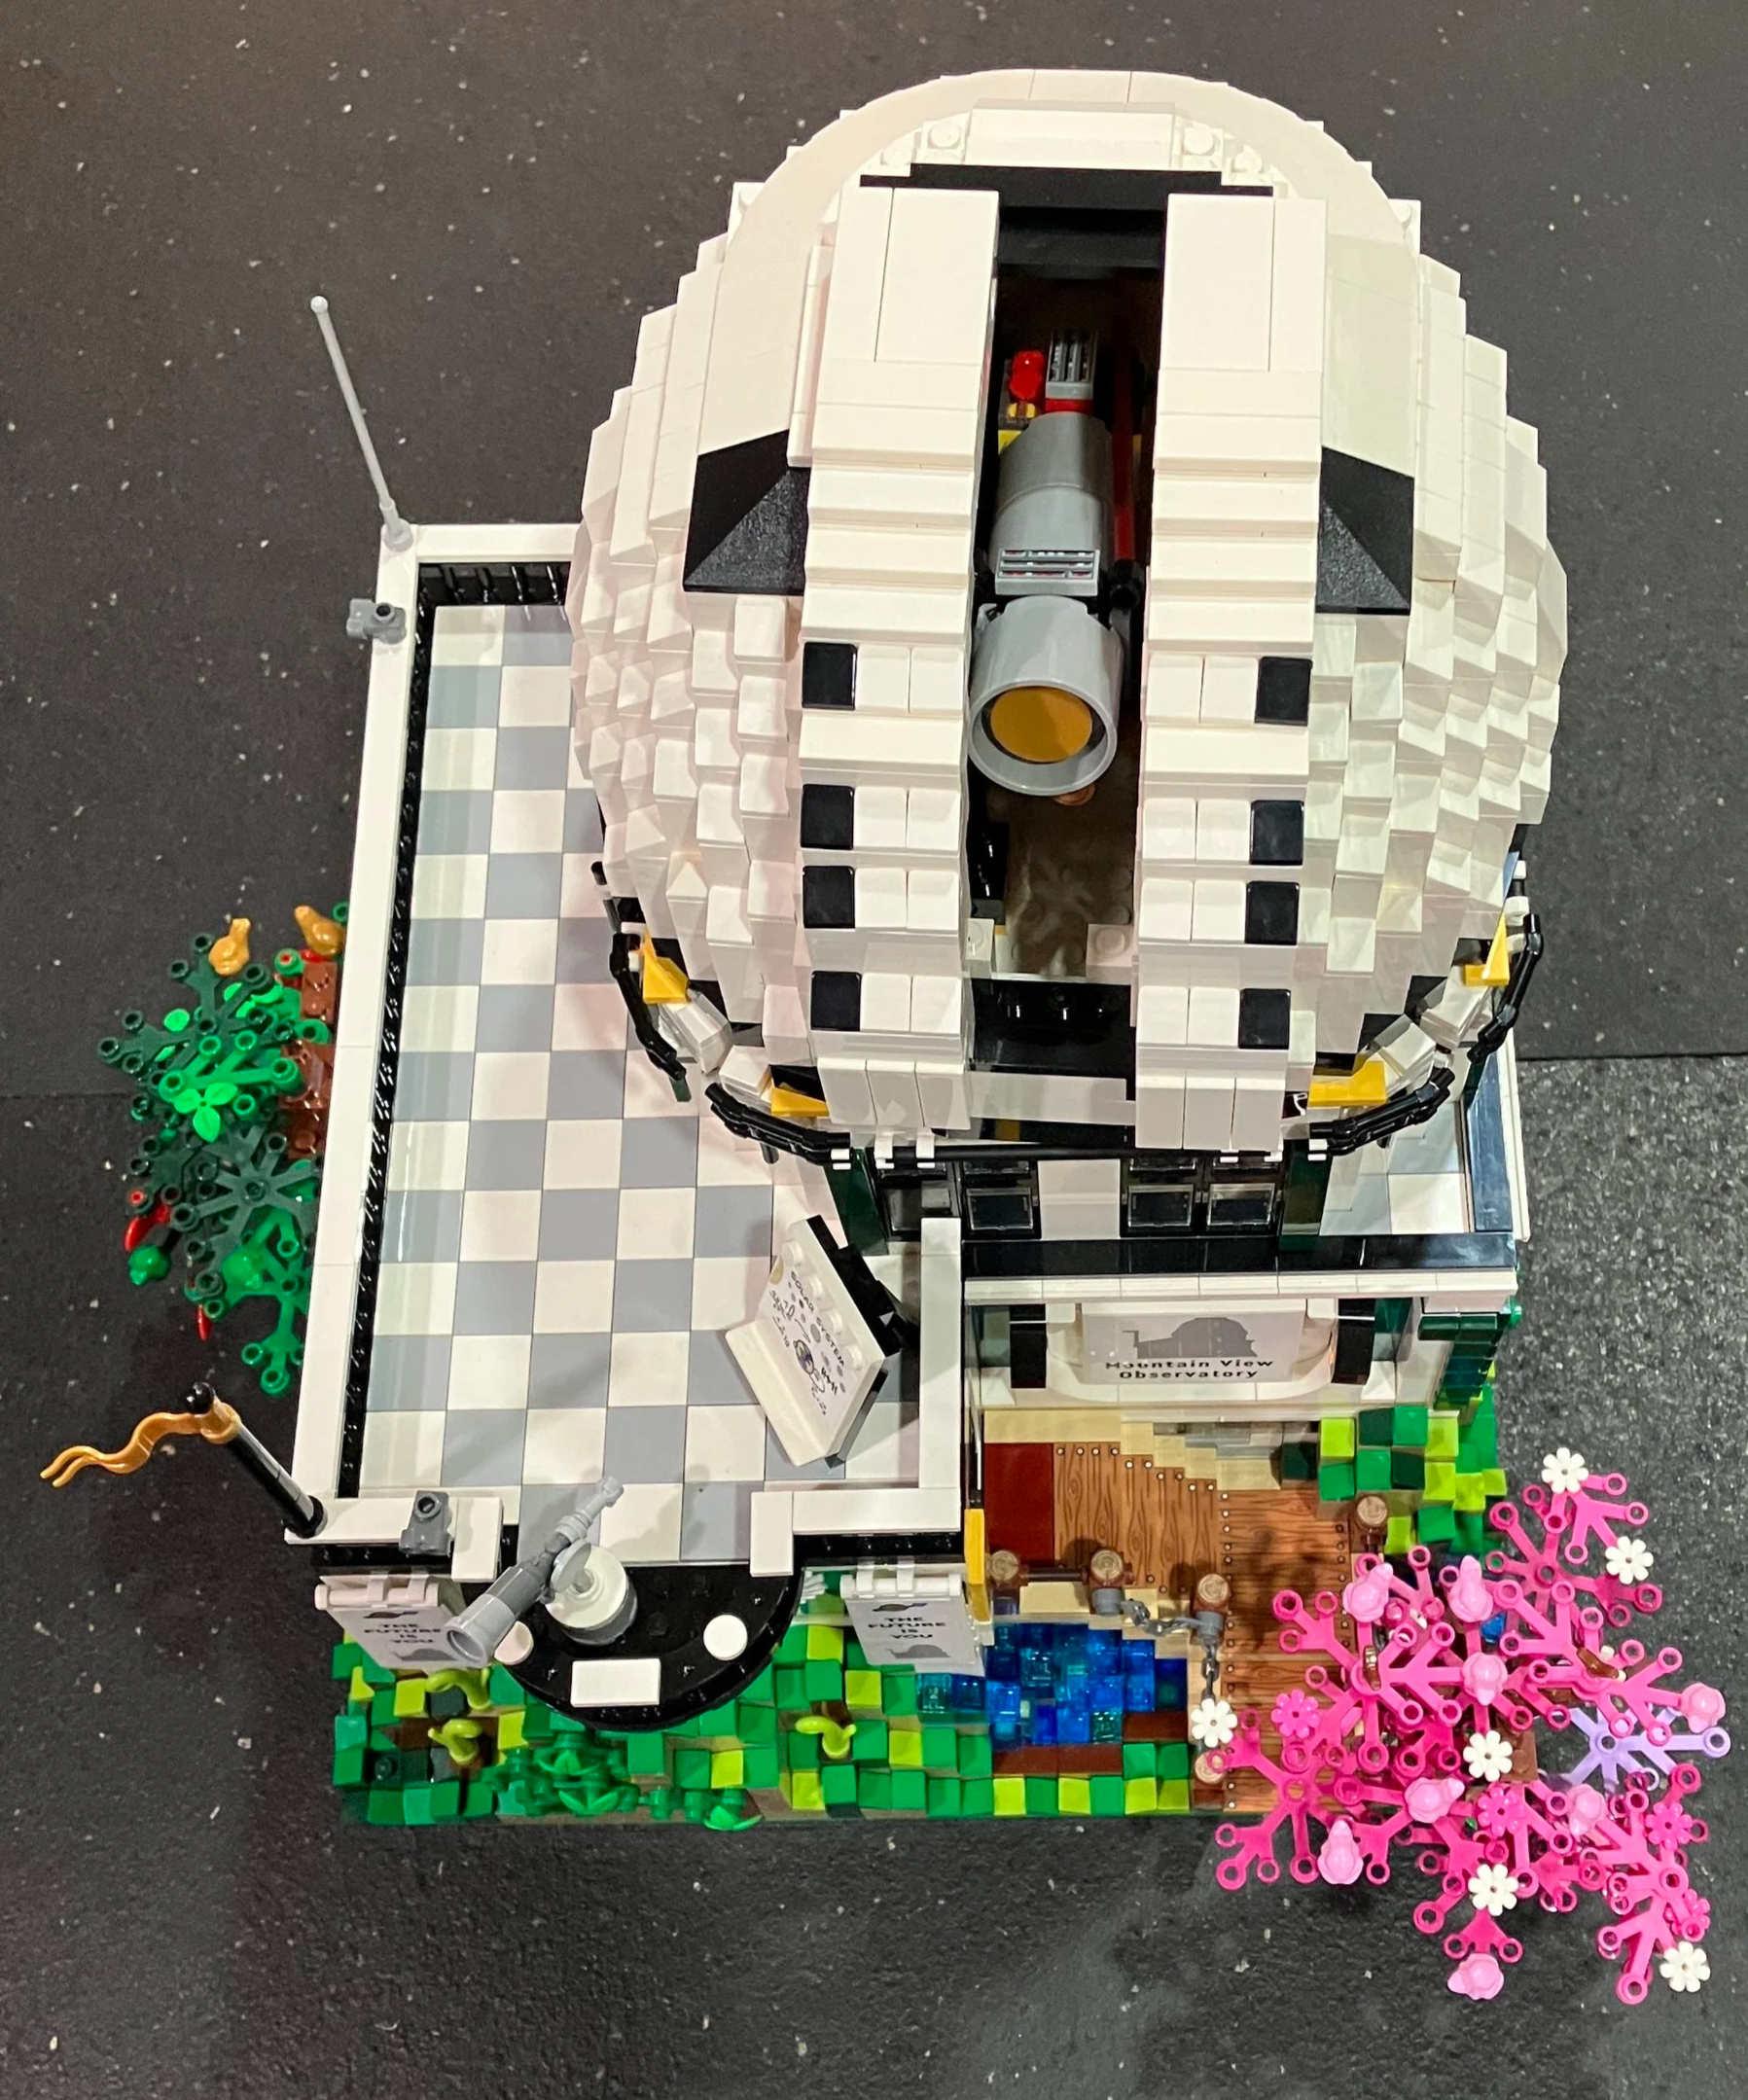
Bag 25 finishes up the dome. The outer pieces can be moved to close the dome up if it’s raining in your LEGO city. Also, the dome rotates freely 360 degrees so you have two fun play features to add to the telescope movement in the building.
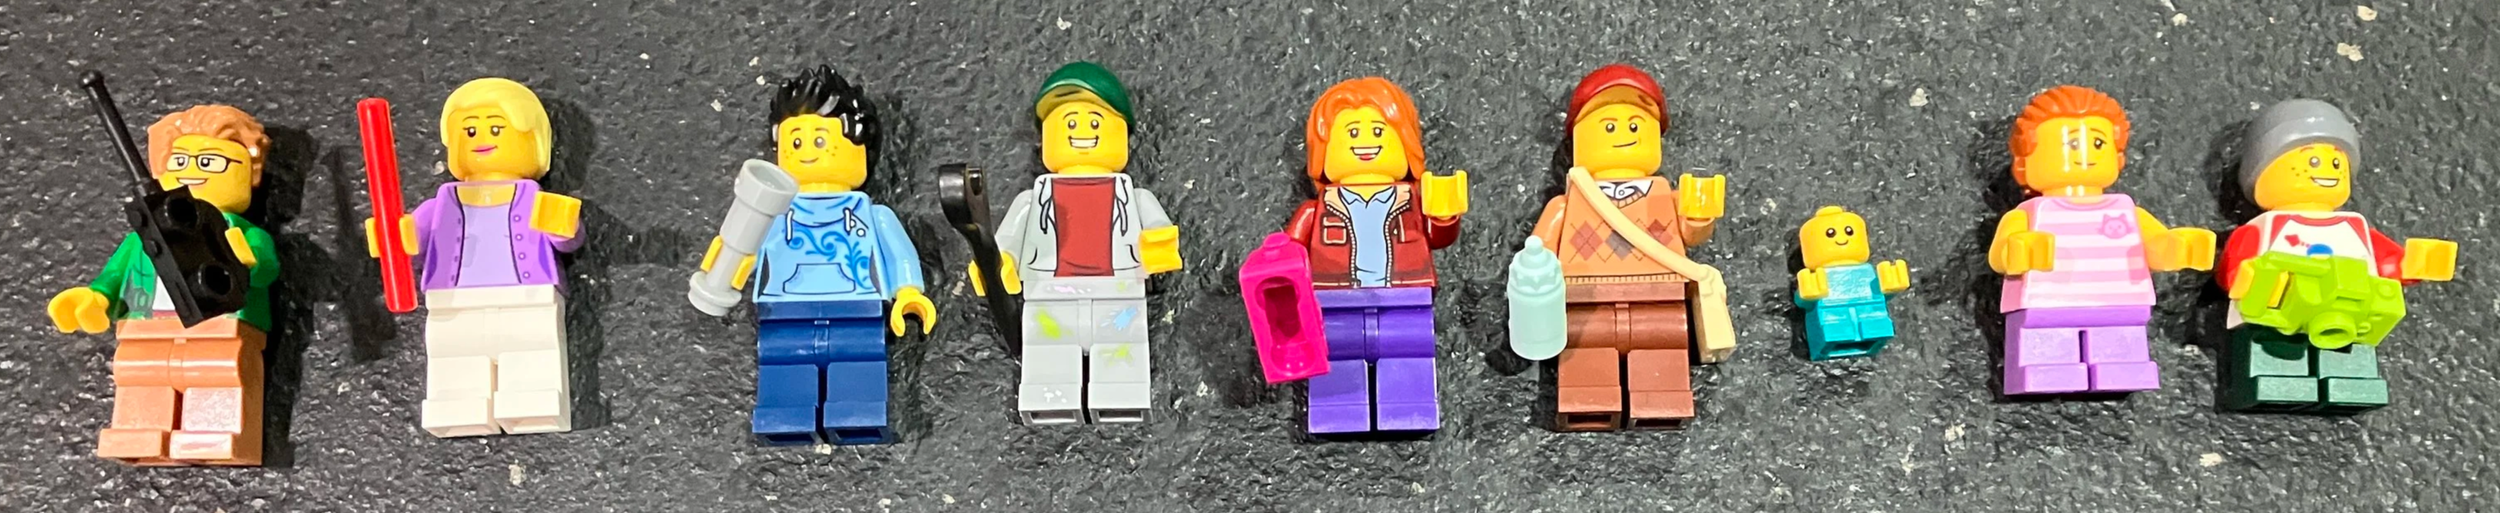
The set comes with six adult minifigures, two kid minifigures, and a baby. Additionally, there is a blue spaceman and a white astronaut on the second level, but they do not come with faces, just solid colored head pieces. Nothing rare or original, but a decent amount to set up around the building and on the outside areas.
Here’s the final build. The exterior walls weren’t fun and I didn’t enjoy the landscaping builds on the outside. The interior details were fun to assemble with a lot of great details. Overall, it wasn’t my most favorite build, but I’m not complaining. Should I have sold it? Too late now. It doesn’t fit with the modular buildings, but with enough BURPs and other pieces, you could really get this looking like it was on a mountain.
Which Bricklink Designer Program set should I build next? And how long should I wait to build it?
Happy building!